 I don’t know how but I came up with the hair-brained idea to make chia pets with the girls, but I did. So we bought a big lump of dark brown clay from the Clay Arts Guild for $1. Pretty sweet deal. We saw a chia pet made by someone else at the Clay Arts Guild so we had an idea of how to make them.
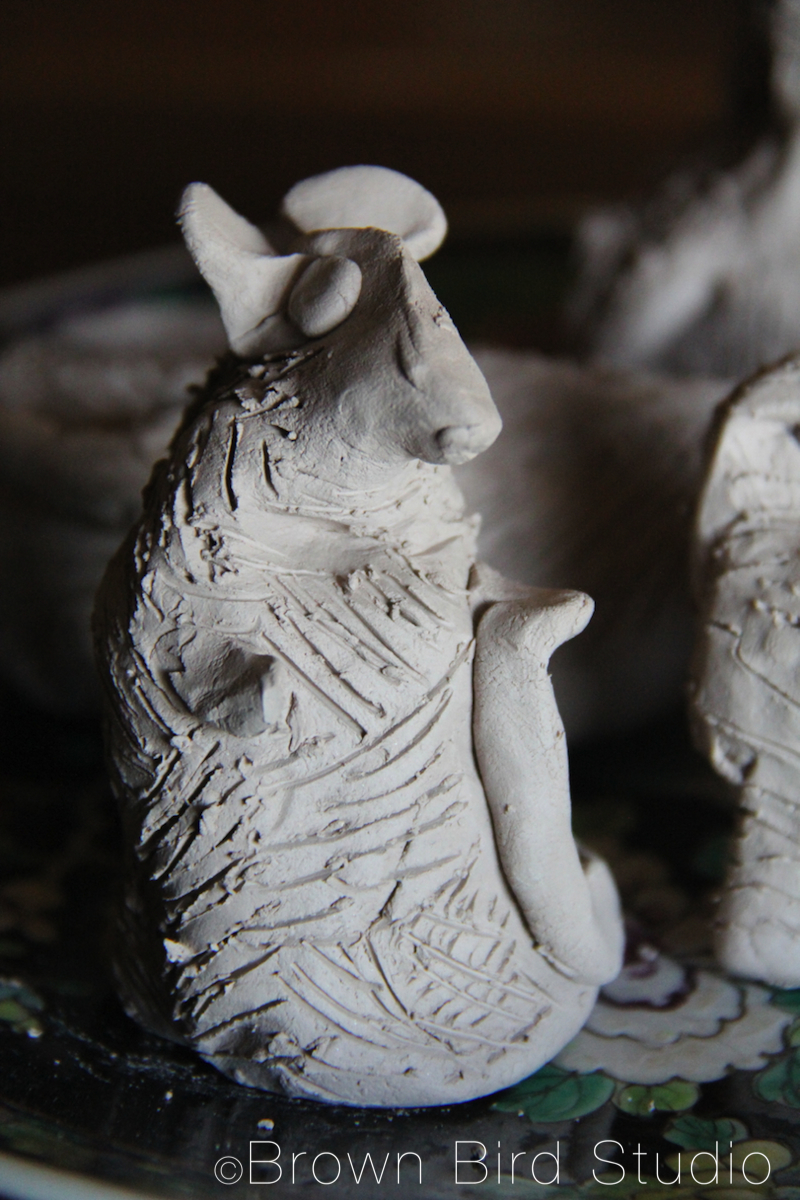
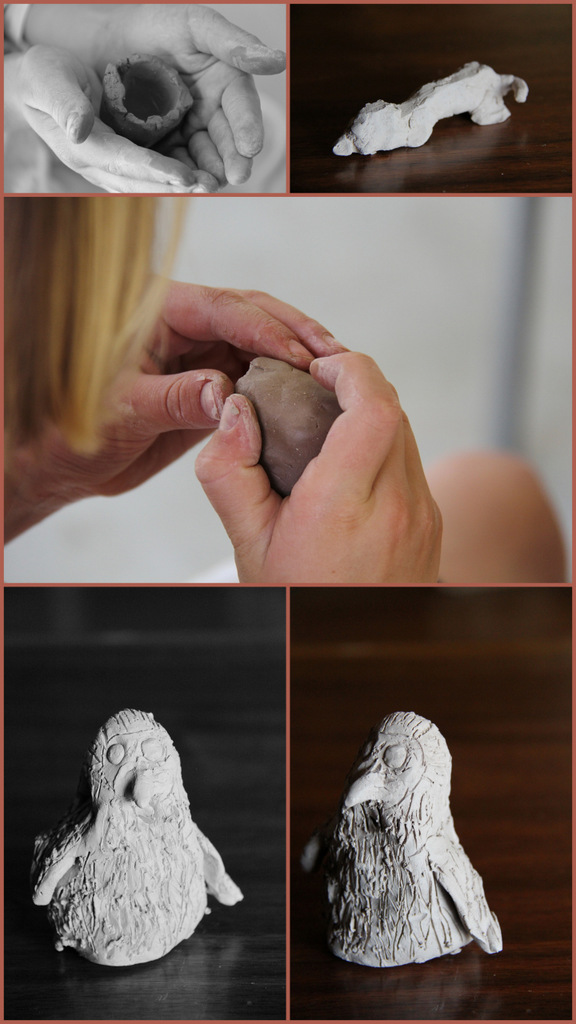
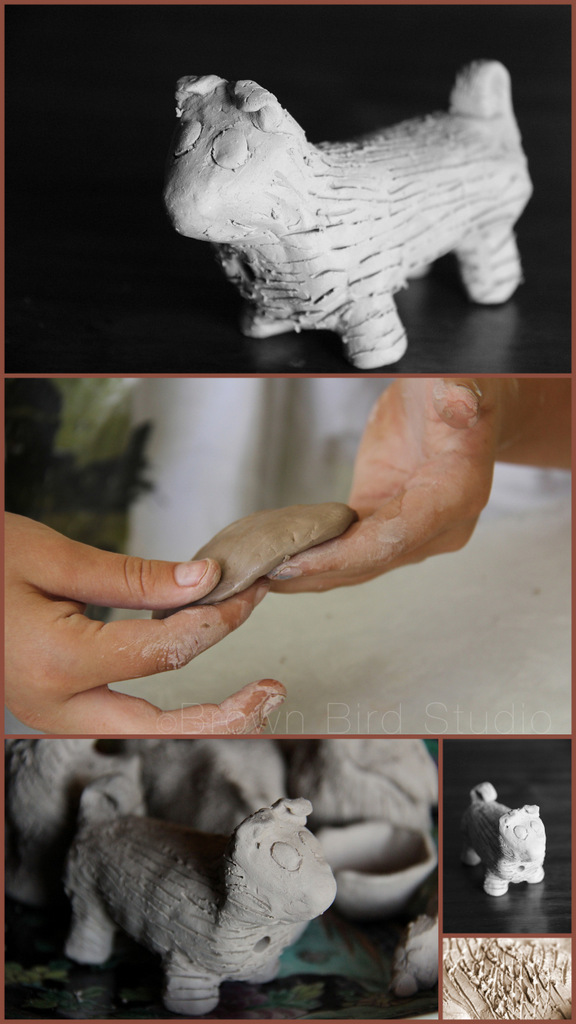
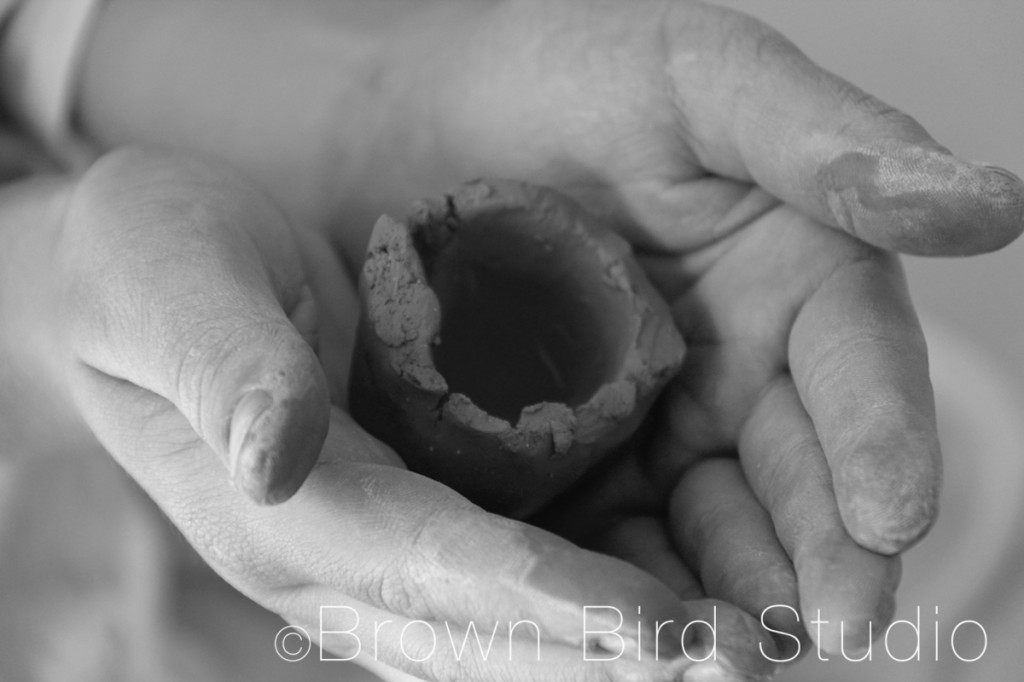
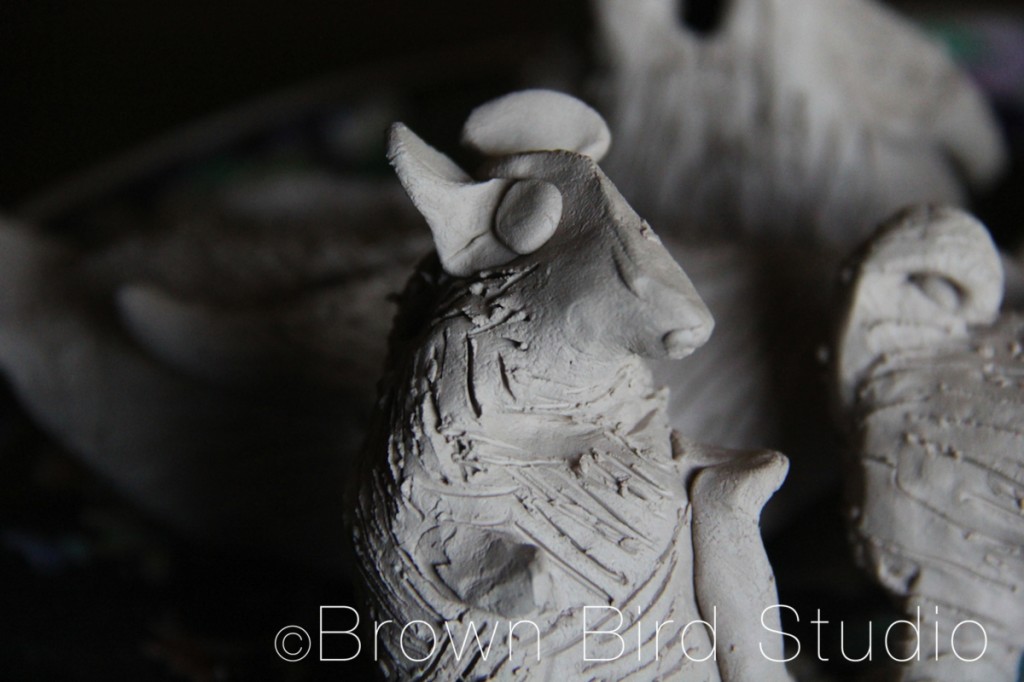 It took us about an hour to shape several chia pets. They are hollow and have a small hole near the top so you can pour water inside them. We made the holes by punching through with a drinking straw. We used a wooden skewer to score lines in the chia pets (these are where the seeds cling and grow.)
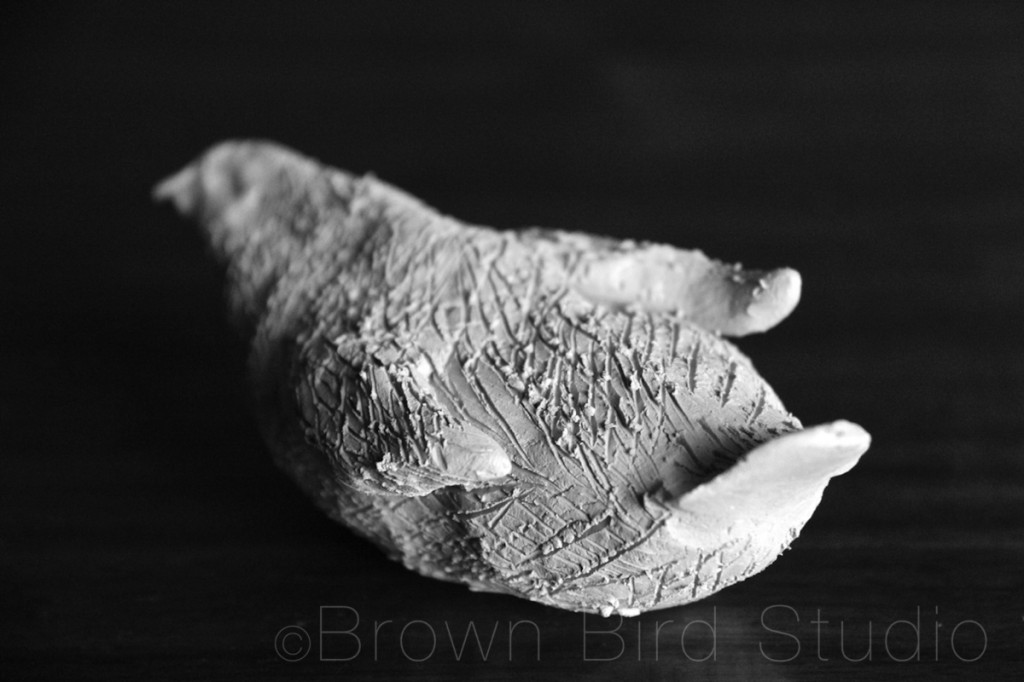 After they are totally dry, we are going to take them back to the guild to have them fired. Remember not to glaze the clay pets where you want the chia seeds to sprout and grow. We are just going to leave our bisque-fired pets totally unglazed. I’ll keep you updated on our chia pets progress. In the meantime, please enjoy our photos of the chia-pet-making process.
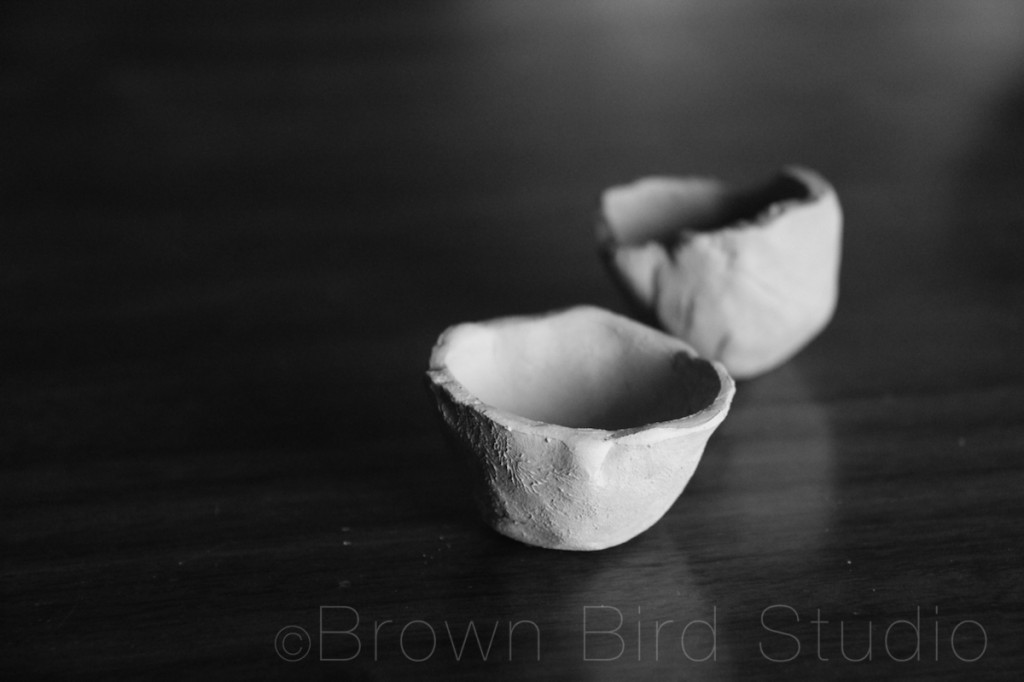
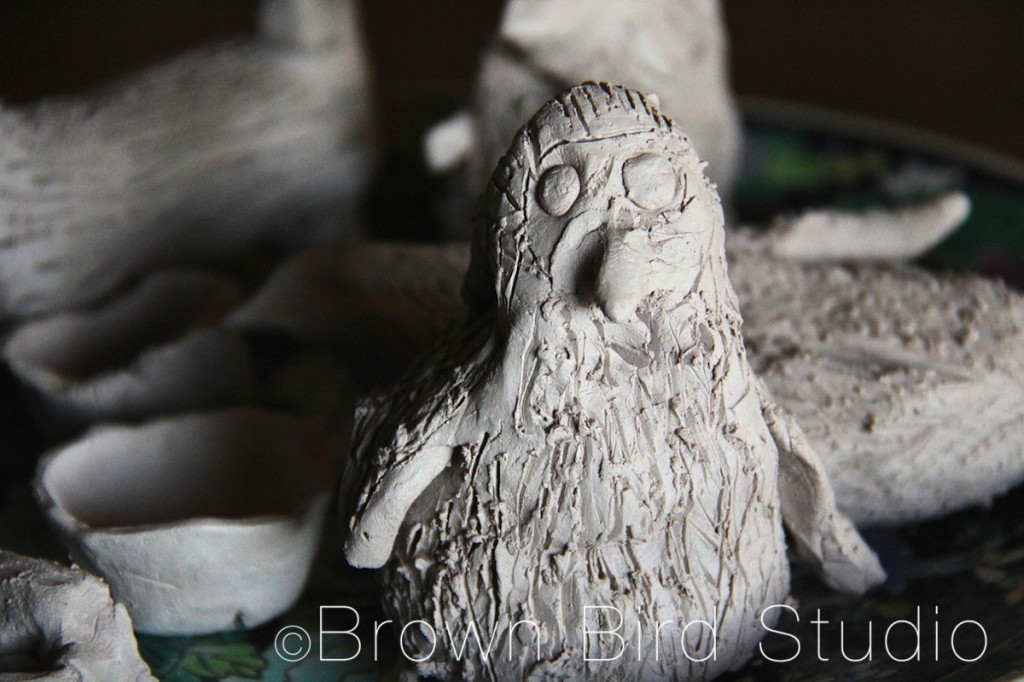
 There is a Chia-Tuffy (dog.) a Chia-Penguin, a Rat and a Bird. Adia also made a tiny sculpture of Charlie (she asked Charlie to lie down and used him as a model.) We also made a couple of teeny-tiny pinch pots.
LINKS and CHIA PET TIPS
- Chia Pet Tips from someone who tried it (we haven’t tried growing the chia seeds on our pets yet.)
- Another how-to-grow-chia on a clay chia pet blog post. We will be consulting this and the link (above) before actually trying to grow chia-fur on our pets.
- Some interesting Chia facts
