5 Fun Kid-Made Valentines

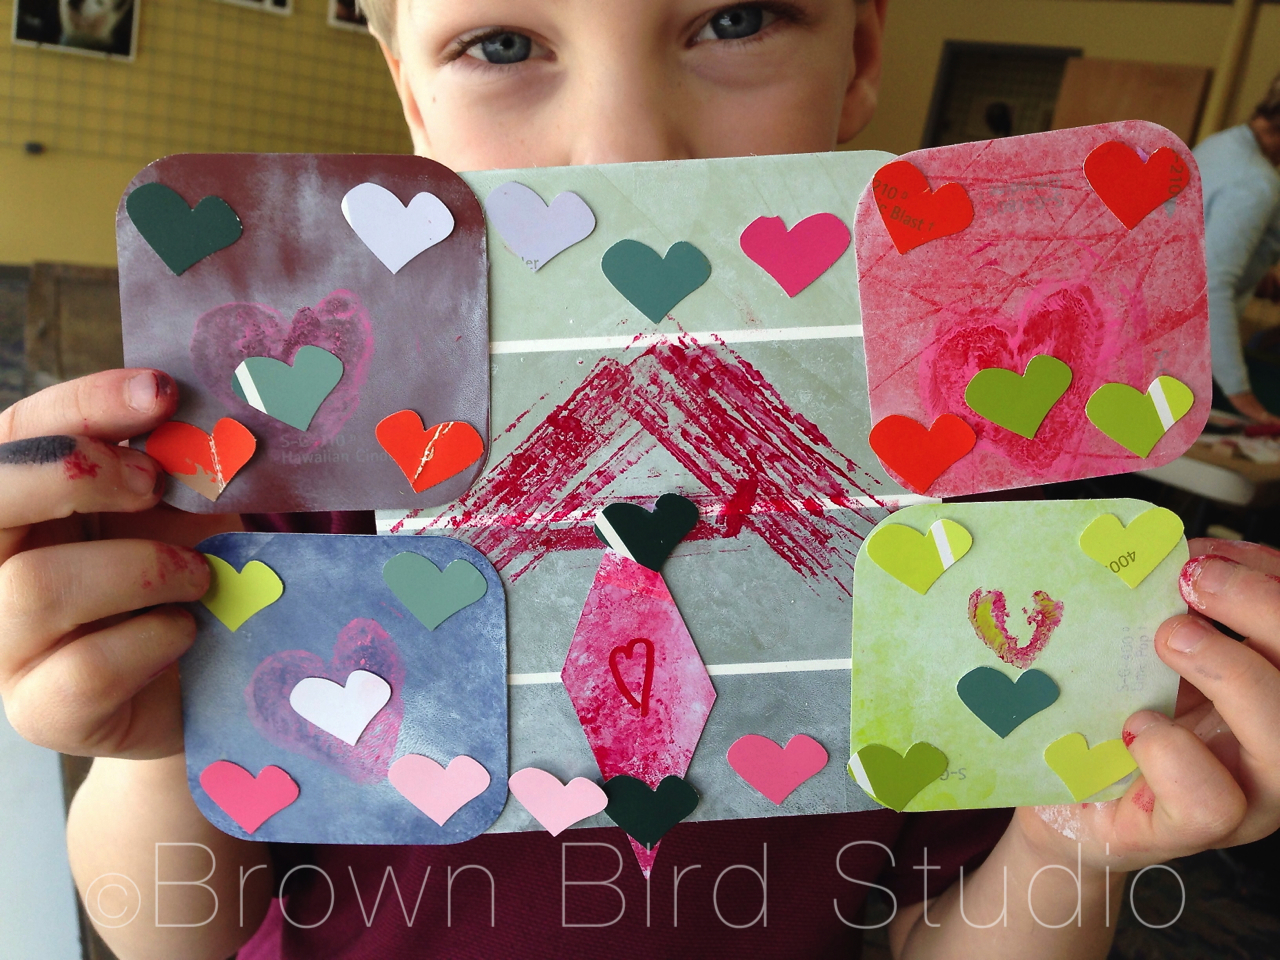
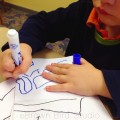
Aidan Proudly Shows one of his Valentine Creations

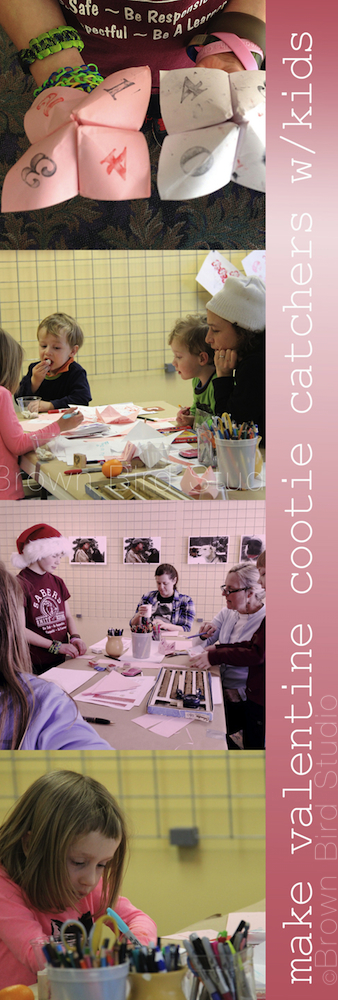
Make Cootie Catchers with Love Notes Inside

Cootie Catchers (aka salt cellars or fortune tellers) are perfect for a unique Valentine card that becomes a game. The basic shape is an origami fold. Make these with inexpensive copy paper in different colors. To make a cootie catcher into a Valentine gift, instead of writing “fortunes” on the inside, write little love notes or positive messages like the ones you find on Valentine candy hearts.  Examples: “Be Mine” … “Call Me Later”  “I-Luv-U” “Kiss Me” and “Hugs!” and “Sweetheart.”

Valentine Cootie Catchers

Cootie catchers are easy to make and can be adapted for any age from 3 up. For toddlers, you might want to fold the shapes for them, letting them decorate the paper. They can tell you what they want you to write on the inside. This is a fun way to remind your little ones of all the positive messages you give them every day.

For older kids, try suggesting they use rubber stamps for the numbers or letters on the outside of the folded shapes. Or they can think of Valentine-related symbols such as a bumble bee (bee-mine) a heart, a flower or pair of lips to use instead of the traditional numbers on the outside flaps.

Remind kids to stay positive, and keep a great sense of humor. Your kids may surprise you with the fun sayings they come up with for their cootie catchers.

One of the kids came up with a cool idea: on the inside flaps she wrote things like, “Hug the person to your right” and “Your Valentine is on your left.” A perfect party cootie catcher!

HERE’S WHAT YOU NEED:

  • pink or white printer paper
  • rubber stamps and stamp pads (optional)
  • scissors (to make letter-size paper into squares)
  • markers, colored pencils

HOW TO DO IT:

Instead of trying to formulate instructions that make sense, I am sending you to momsminivan.com because she has not only complete instructions, but detailed photos and a video on folding. Check it out here.  And here’s how to play cootie catchers:

  1. Practice opening and closing the cootie catcher. Open it first with your forefinger and thumb on each hand together. Then open it with your two forefingers together and your two thumbs together.
  2. With the Cootie Catcher closed, have someone choose a number or symbol from the four outside flaps. Open the Cootie Catcher once for each letter in the symbol (eg if they choose a heart, spell out h-e-a-r-t) or count the number they picked. Leave it open at the end so they can see four numbers or symbols inside.
  3. Next, have them choose one of the four inside flaps they can see, and close-and-open the Cootie Catcher that many times, again ending with it open.
  4. Last, they should choose one of the four flaps they now see, and you lift up that flap to show their love note or personal message.

Printing Valentines with Fruits and VeggiesMake Valentine-y Prints Using Fruit and Vegetables

All you need for Valentine printmaking is some fruits and veggies and a few other things you probably have around your house. Think about handing your Valentine a bunch of flowers you made yourself!

HERE’S WHAT YOU NEED:

  • pink or white printer paper
  • vegetables such as a bunch of celery, apples, brussels sprouts, carrot, potato and lemon
  • cheap sponges
  • a printmaking roller
  • little plates to put the sponges on
  • red, pink and black stamp pads
  • very sharp knife and a cutting board

HOW TO DO IT:

  1. Place a moistened sponge on a small paper plate. Squeeze a little red tempura or acrylic paint onto the sponge and spread it evenly with the roller. Cut the celery bunch about 3 or 4 inches from the root end, leaving the stalks all together. (Save the stalks you cut off of the root end.) Holding the celery bunch together tightly, press it onto the sponge and get some paint on the ends. Next, stamp it on your paper. Don’t squish it around or you will smear your design. Lift it up and Voila! There is a beautiful “rose!” Make a bouquet of roses.
  2. Cut a brussel sprout in half horizontally. Make a clean cut! Now, press it onto a red stamp pad (paint is too much for a brussel sprout print) and get it good and red. Next, stamp it onto your paper and lift it straight up. You will have a miniature rose. Make a big bouquet of mini roses!
  3. Use the stalks of celery you cut off of the celery bunch, to make little squiggle designs. Use your stamp-ink-pad for these. Play around and see what you can make with these.
  4. Cut an apple in half vertically to make a heart shape. Try cutting an apple in half horizontally for a circular shape with a perfect star in the middle. Use the paint-soaked sponge for the apple prints.
  5. Cut a lemon in half and dry it well on paper towels. Use your ink-stamp-pad to ink up the lemon and press, press, press.
  6. Cut a potato in half and using a sharp knife, carve the flat side into a heart shape or any other simple shape. Use this as a stamp, with either the stamp pads or in paint-soaked sponge.
  7. Compost the veggies and fruits after you finish.
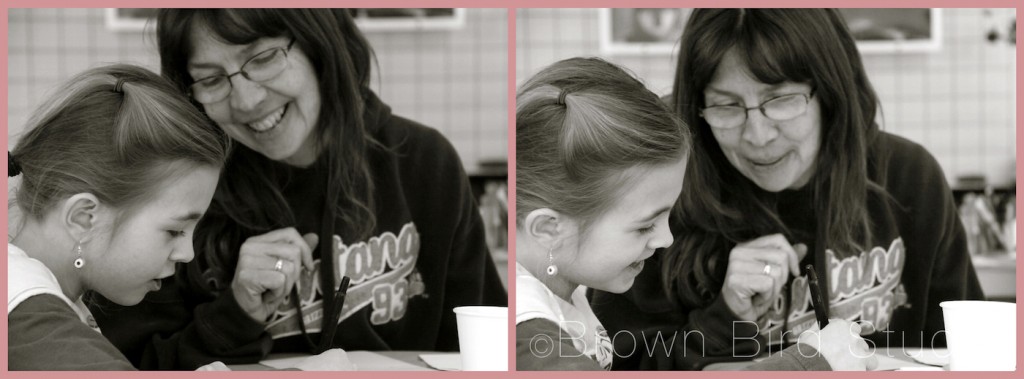
Delight in Each Other
Delight in each other

Thumb Print Hearts Make Cute Valentine Cards

What is easy, simple, and uses something you have on you ALL the time? Hearts made with your very own thumbs. Big grownup thumbs or tiny toddler thumbs make super cute Valentines. This is a popular card making activity with the littlest ones.  (I used washable red ink stamp pads for obvious reasons. heh)
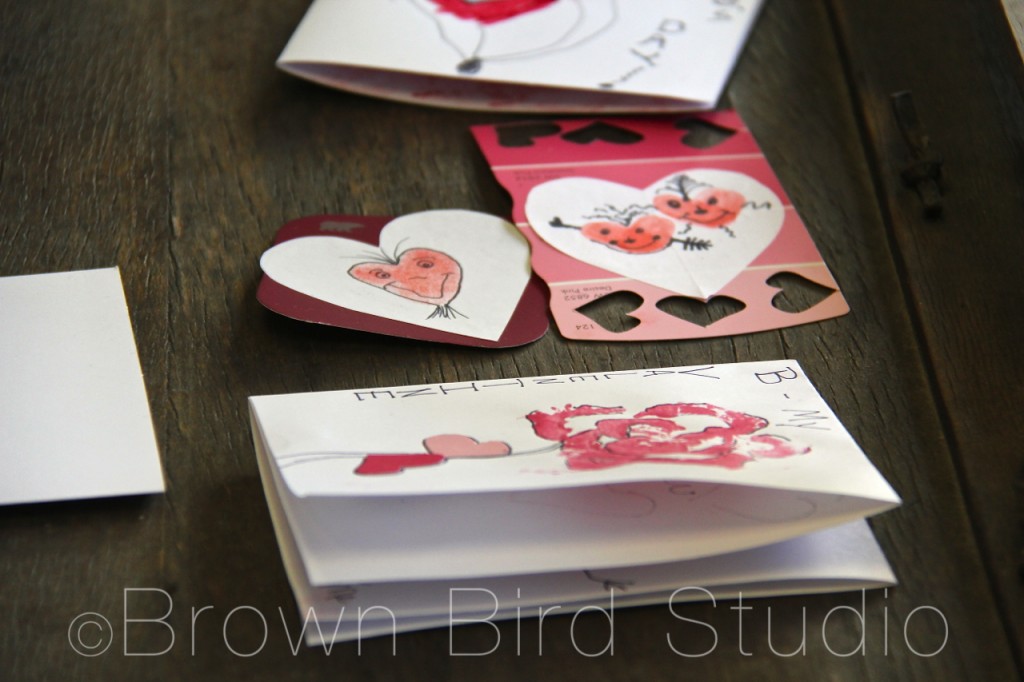
Sarah and Bailey Were Almost All Thumbs
Sarah and Bailey were almost all thumbs

HERE’S WHAT YOU NEED:

  • thumbs
  • white or pink printer paper
  • washable red stamp pad
  • paint samples
  • glue sticks
  • scissors
  • markers, colored pencils, fine-tip permanent pen
  • heart shaped paper punch (totally optional)

HOW TO DO IT:

  1. Press your thumb onto a red stamp pad and get it good and inky.
  2. Make two thumb impressions, at slight angles to form the shape of a heart. Play around with your own ideas.
  3. After the thumb prints dry (takes a minute) draw on them with markers, colored pencils or sharpies.
  4. Cut the hearts out and glue onto paint samples from the paint store.
  5. We also used a heart punch to embellish these cards.

Just Draw!

Some of the kids who came to this workshop decided just to draw their Valentine’s cards — and I just say there were some really cool cards being made at that table! They used the markers and printer paper we had to exercise their creativity. Three-year old twins and their sister made these:


And Then There Was Aidan — He Went All Out(side-the-box)

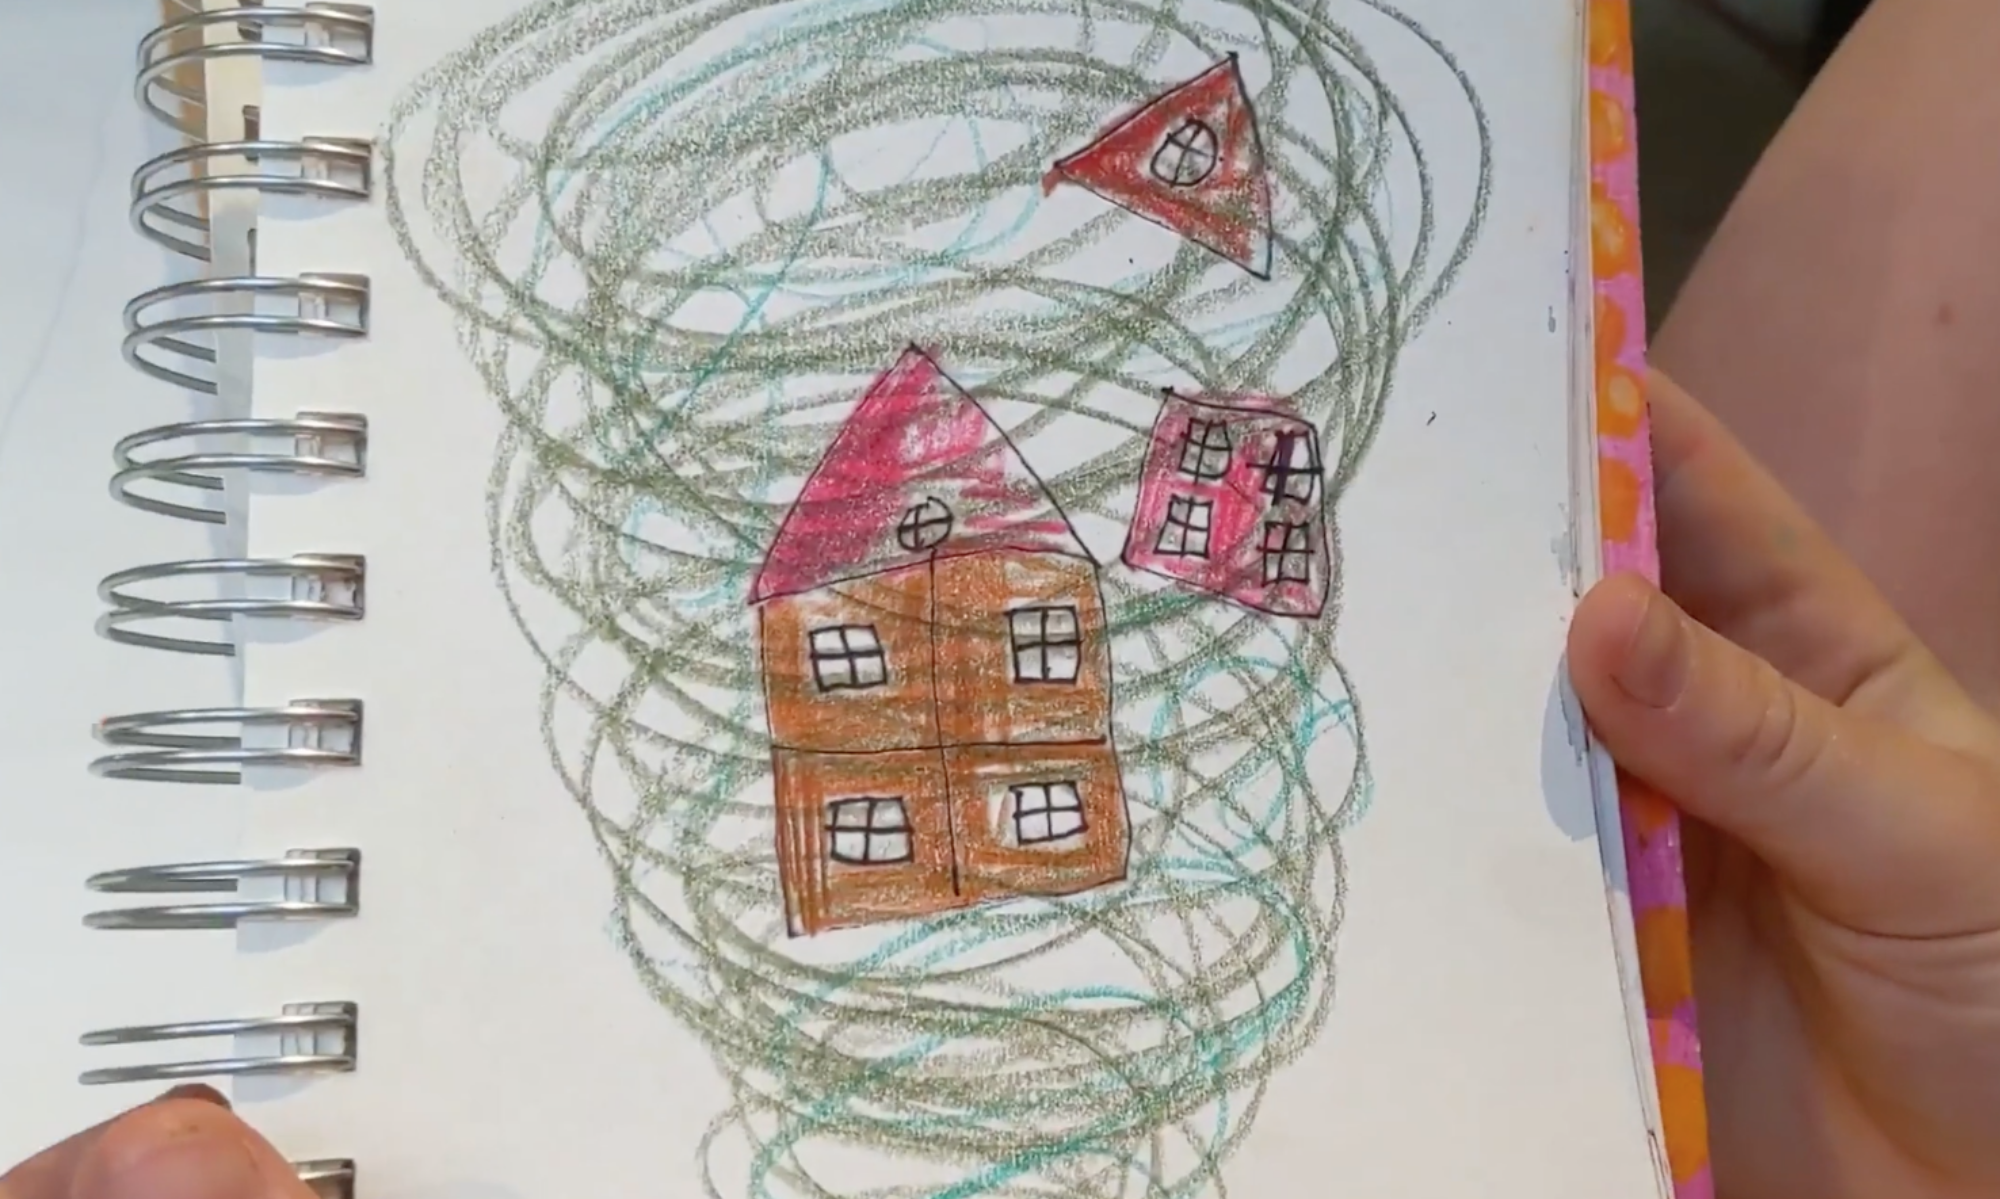
I love, love, love how this happens! Aidan made a cootie catcher, but the thing that really caught his imagination was the idea of printing and getting messy with paints. I had three planned valentine techniques and Aidan made such a beautiful — creative — Valentine using the materials and tools I had available but his very own multi-layered techniques. If he had given me his Valentine I would have proudly framed it and hung it in the gallery. Check it out below. Can you tell how Aidan made his valentine?  (I’ll give you a hint about one little part of his design  … below the picture)
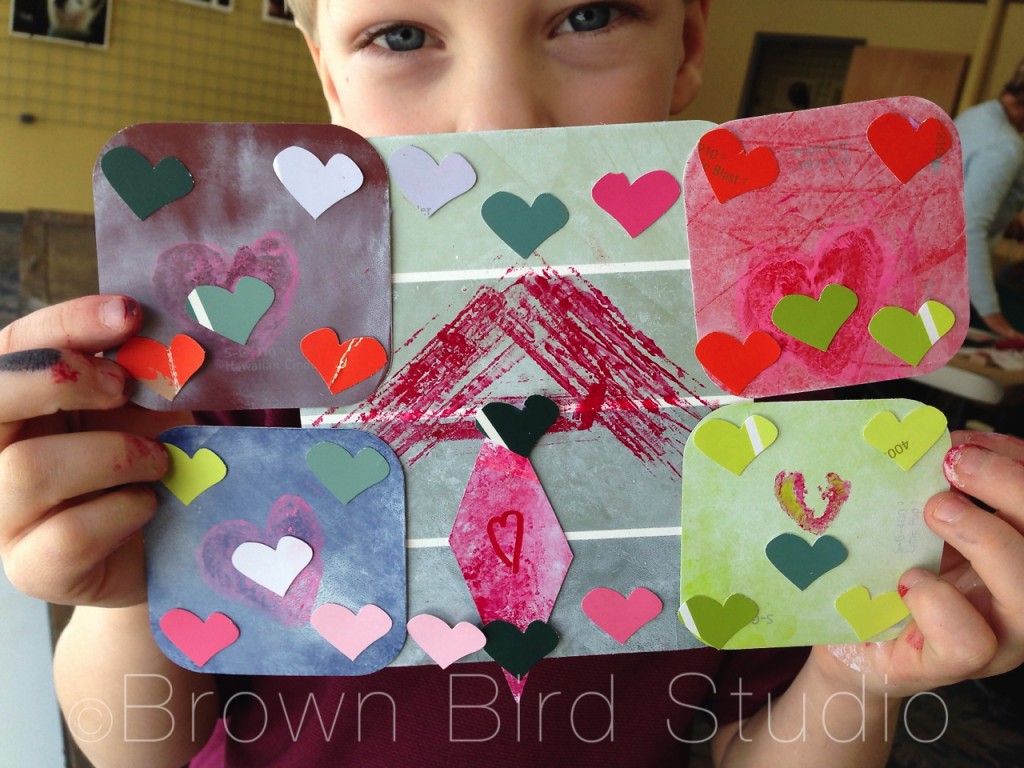
Aidan Proudly Shows one of his Valentine Creations
Aidan proudly shows his amazing Valentine creation!

(hint: Aidan used the outside of the celery stalk, lengthwise, to make the cross-hatched pattern in the middle. The rest of his techniques you’ll have to figure out yourselves.)
Enthusiastic Valentine Maker
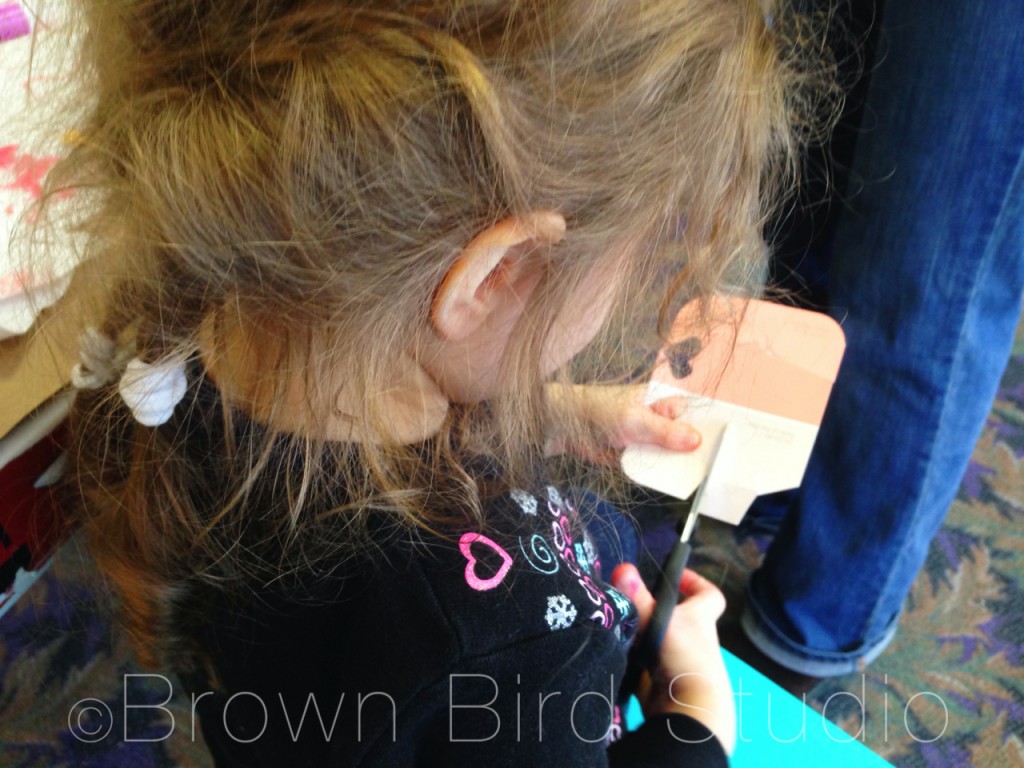
Lily really got into punching and cutting the paper samples!

How to Recycle a Cereal Box into a Mask

how to make a mask from a cereal box

how to make a mask from a cereal box

lady selling masks she made at the farmers market

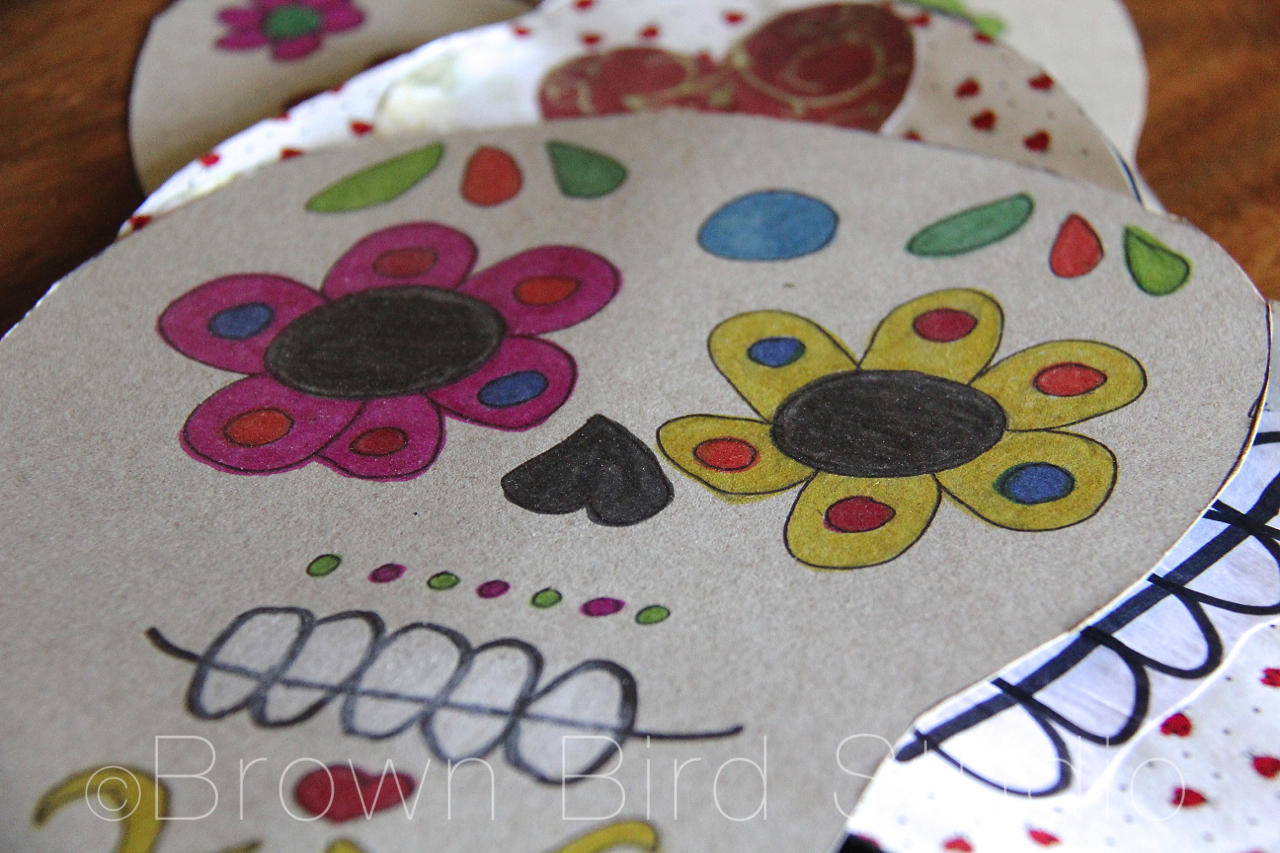
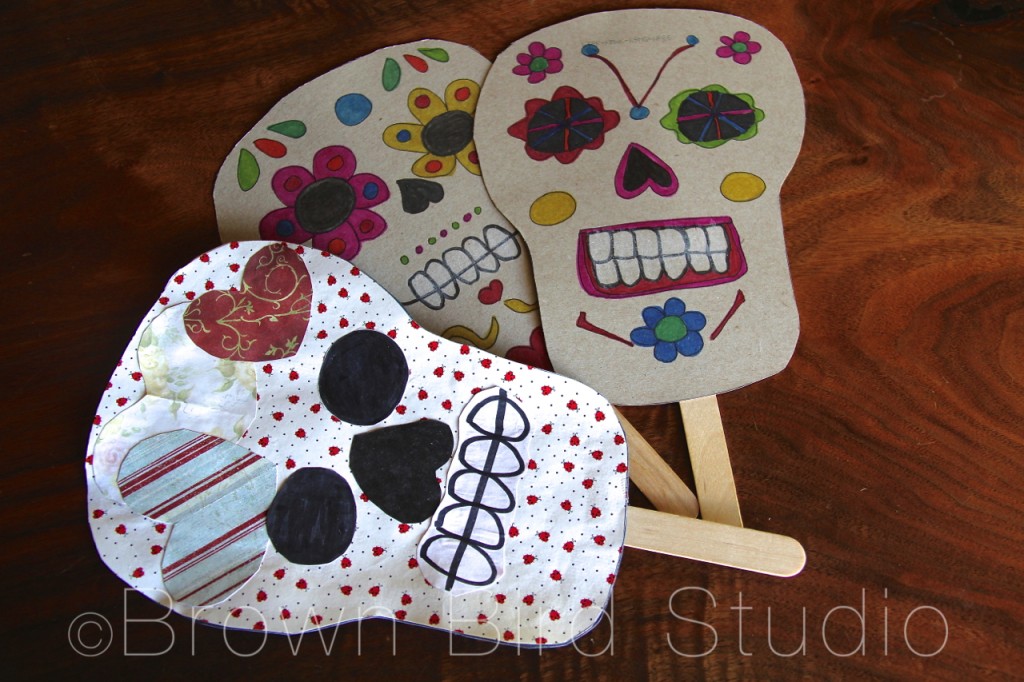
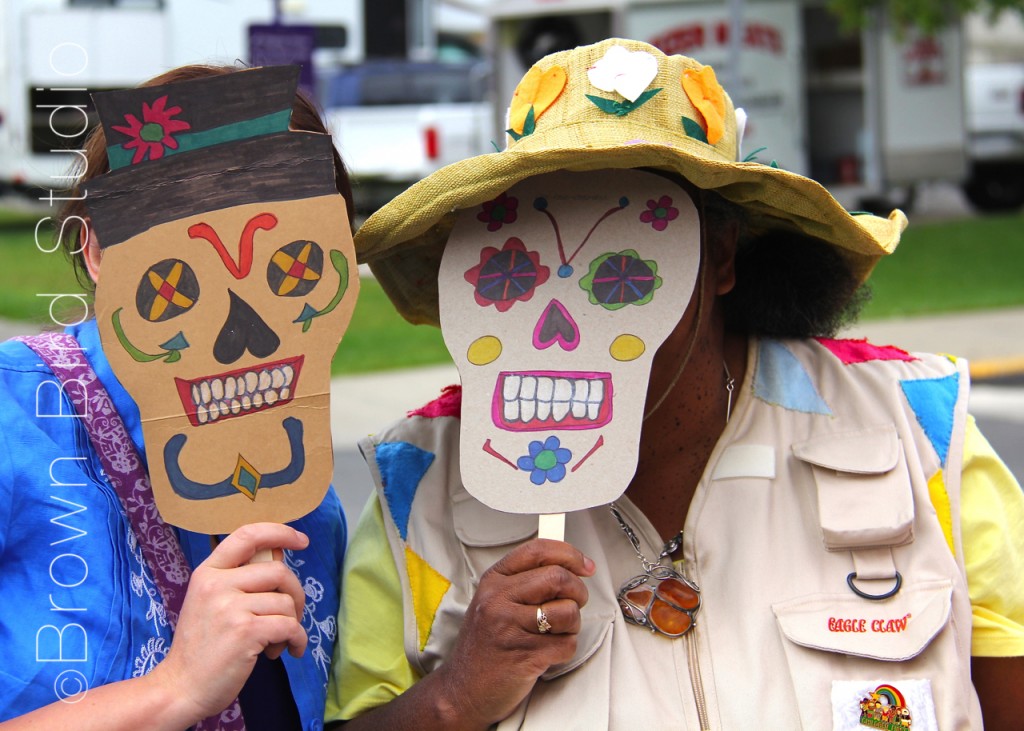
My friend, Jaime, and I bought these masks from Diane at the Helena Farmers Market last weekend. Here are Jaime and Diane posing with them. Ema and Adia wanted to make their own masks so we got out markers, scissors, clear packing tape, some driftwood sticks and a cereal box and they dived right in to making them without any instruction from me. They basically just copied Diane’s technique.

Here’s how:

  1. Cut open the cereal box. one box will make two masks
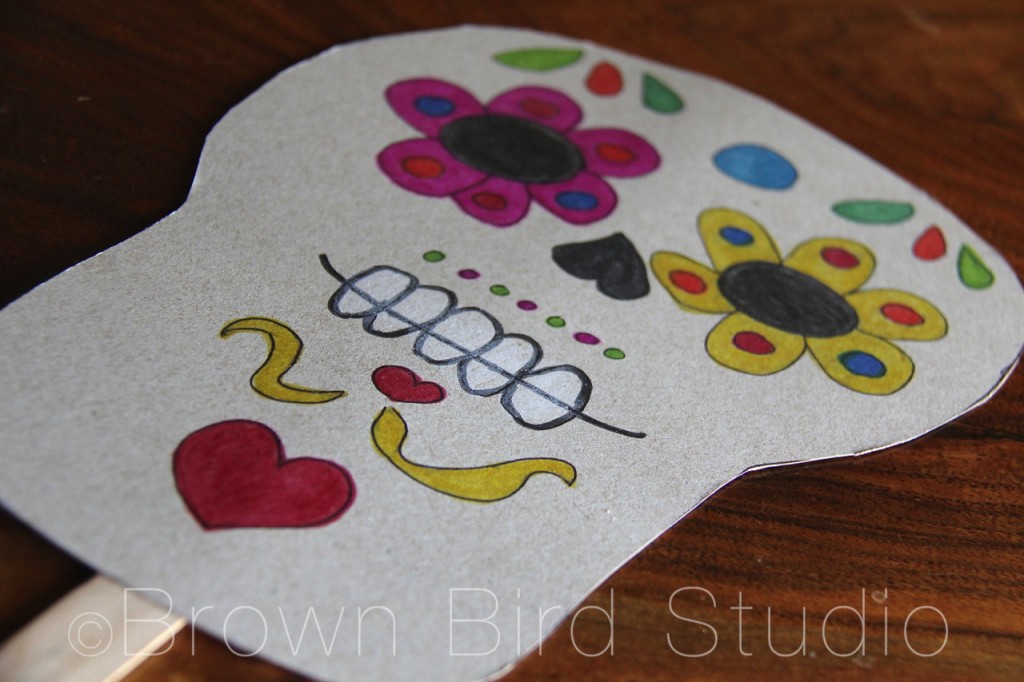
  2. Cut a skull shape out of one side of the cereal box (you can use this template by saving the image and printing it out if you want to)
  3. On the inside of the box, draw a skull face. Make it cool. Make it funny or cute. Whatever you like. The nose looks like a skull nose if you draw an upside down heart. Make the eyes big! Decorate the face with interesting features.
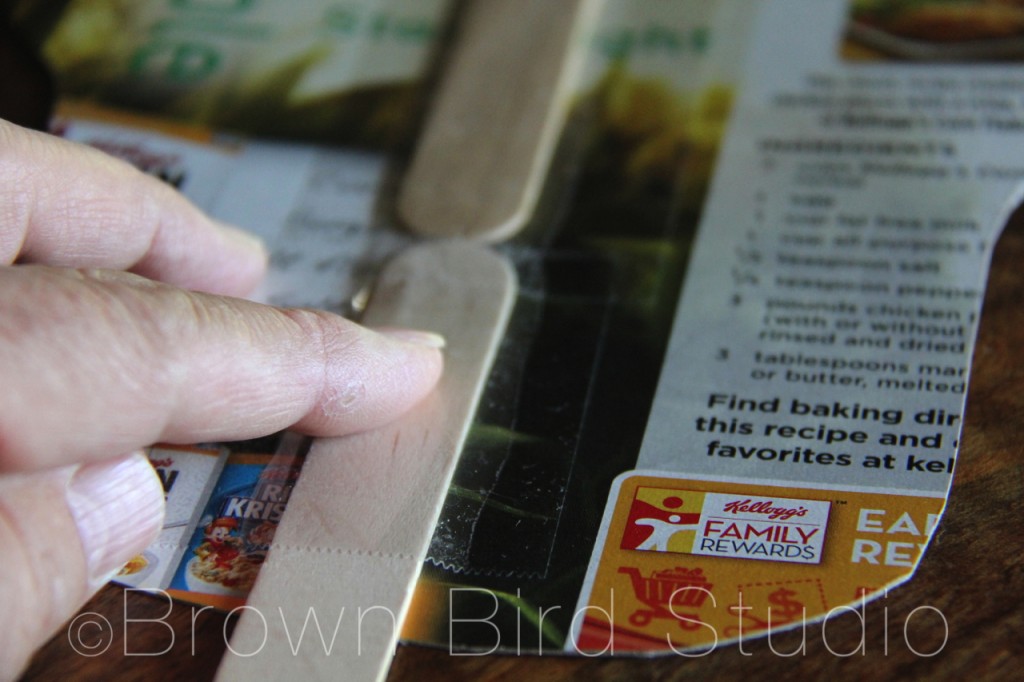
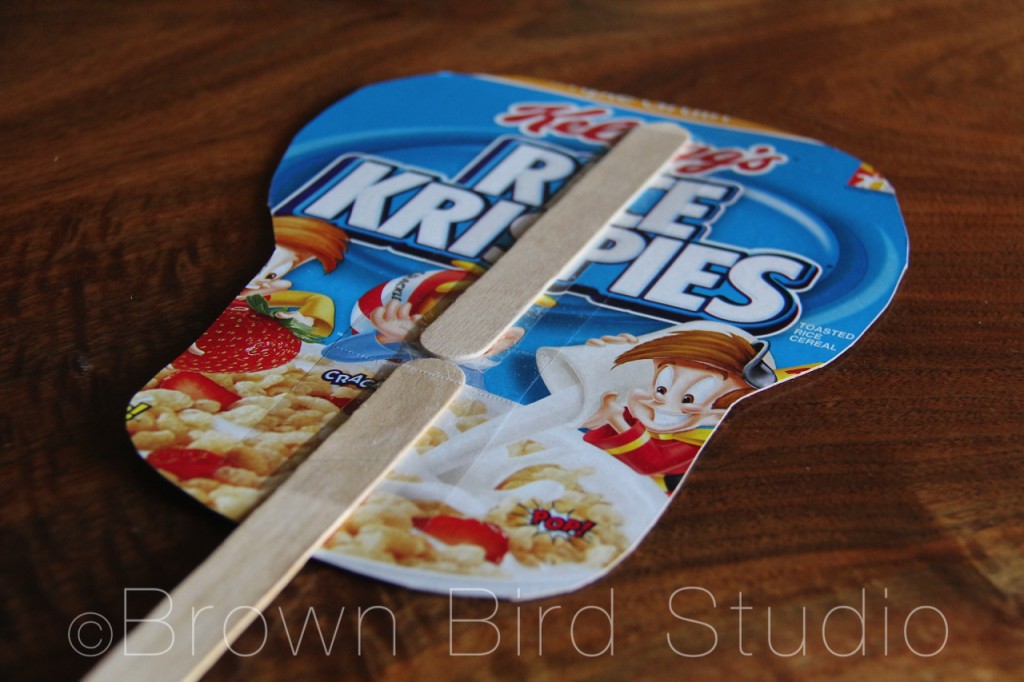
  4. Flip it over and use packing tape to add a handle. The handle will also help stabilize the thin cardboard. We didn’t have tongue depressors, so we just used some sticks we had lying around from our summer projects. Diane uses tongue depressors.
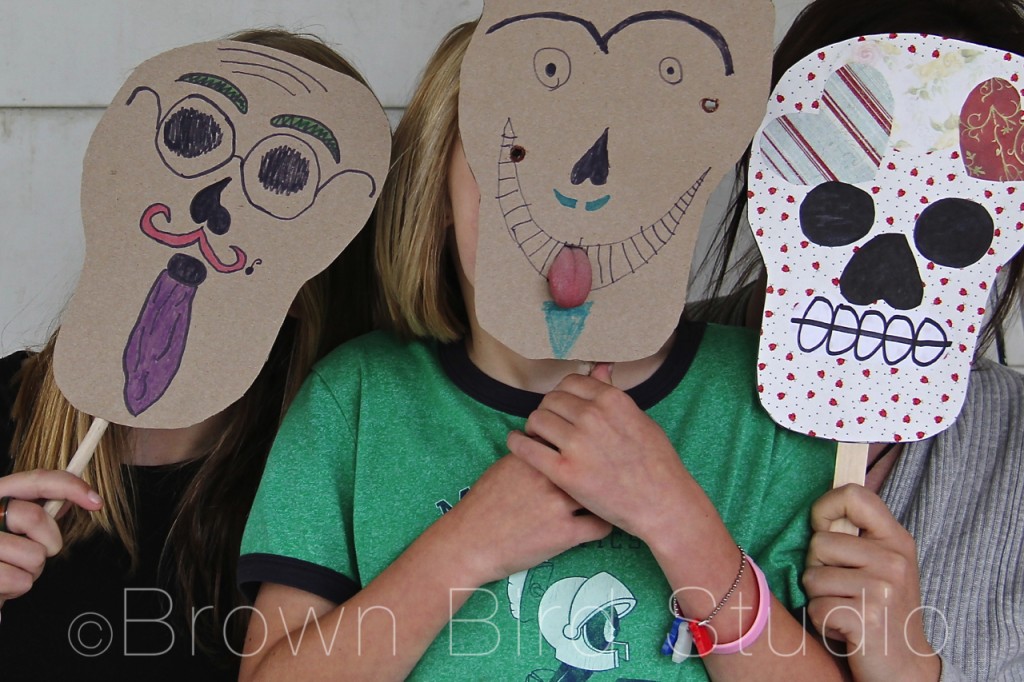
  5. Adia wanted to be able to stick her tongue out of the mask, so we cut a small hole in the mouth. We also cut a very tiny hole so she could see out when she’s holding the mask to her face.
  6. Now go out and have fun with your masks.

how to make a mask from a cereal box

how to make a mask from a cereal box

how to make a mask from a cereal box

Tim came home just in time to take some photos of us wearing our masks. Cool, eh?

kids can make these masks from cereal boxes

Kid’s Art: Clothespin Puppets

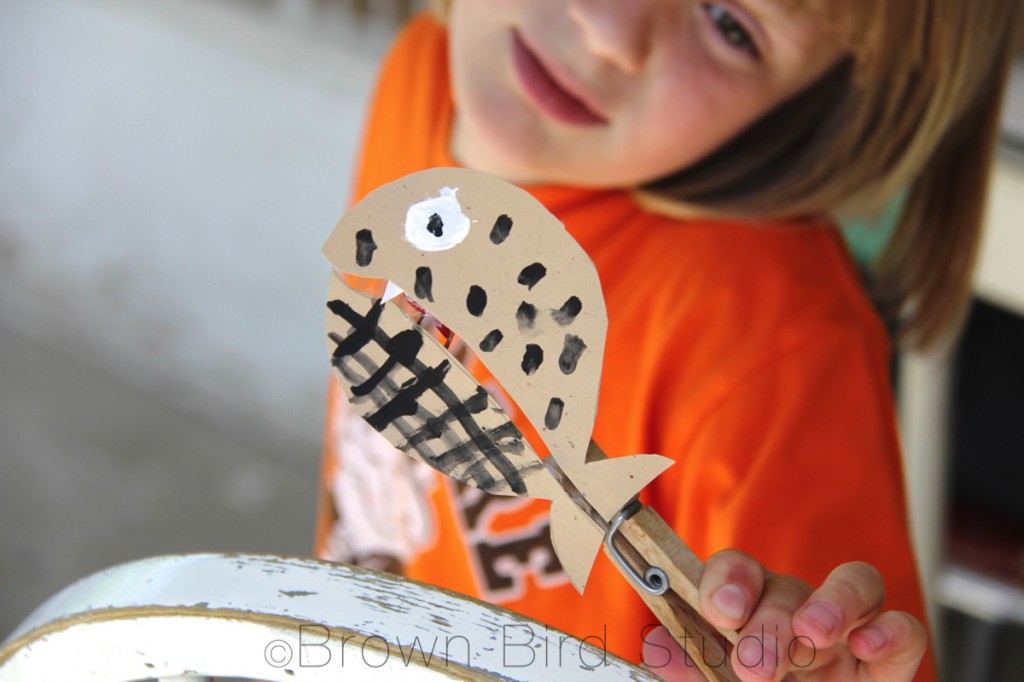
clothespin puppet fish

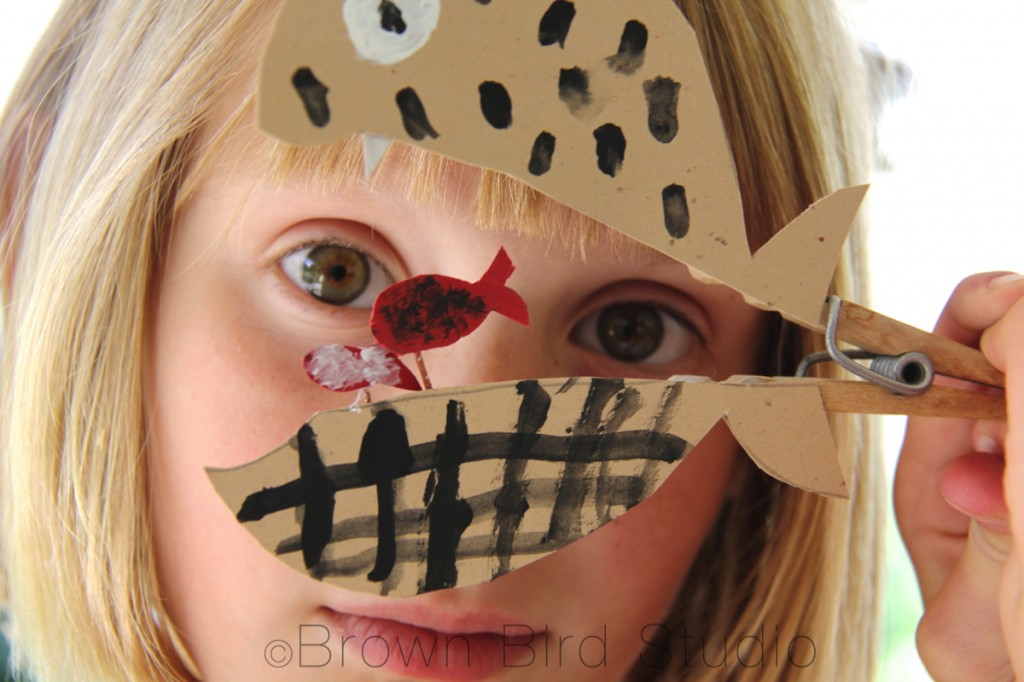
clothespin puppet fishWe had an idea on our Summer Fun Pinterest board both girls wanted to make, so here’s what we did:

Clothespin Puppets

What you need:

  • clothespins (the kind you pinch to open)
  • heavy weight paper or lightweight cardboard *
  • acrylic paints, markers or other tools to decorate the puppets **
  • hot glue, regular glue (like Elmer’s) ***
  • scissors
  • paint brushes if you decide to use paint

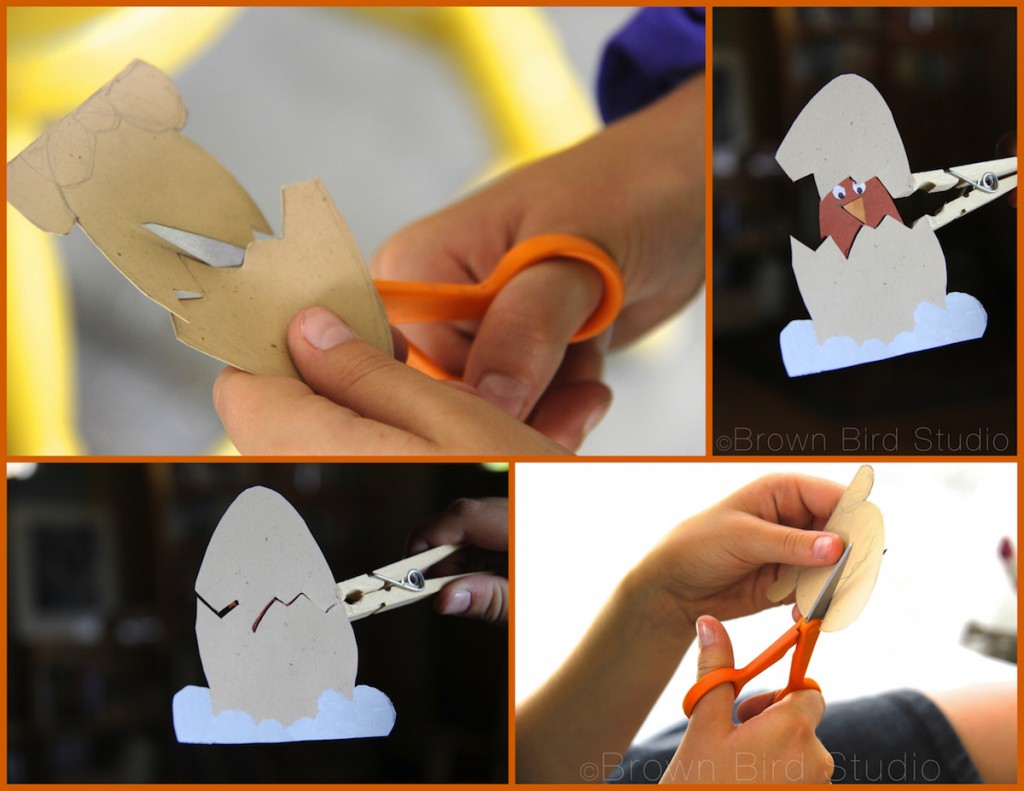
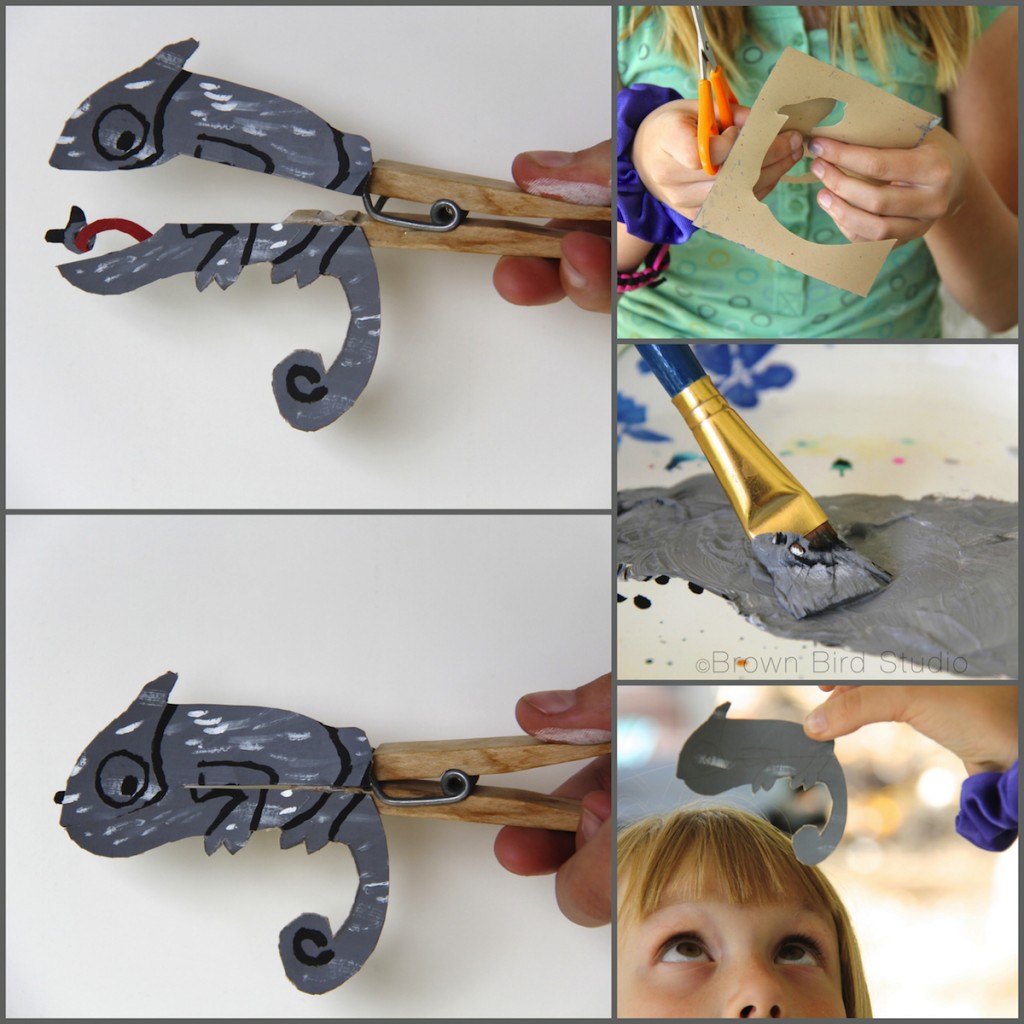
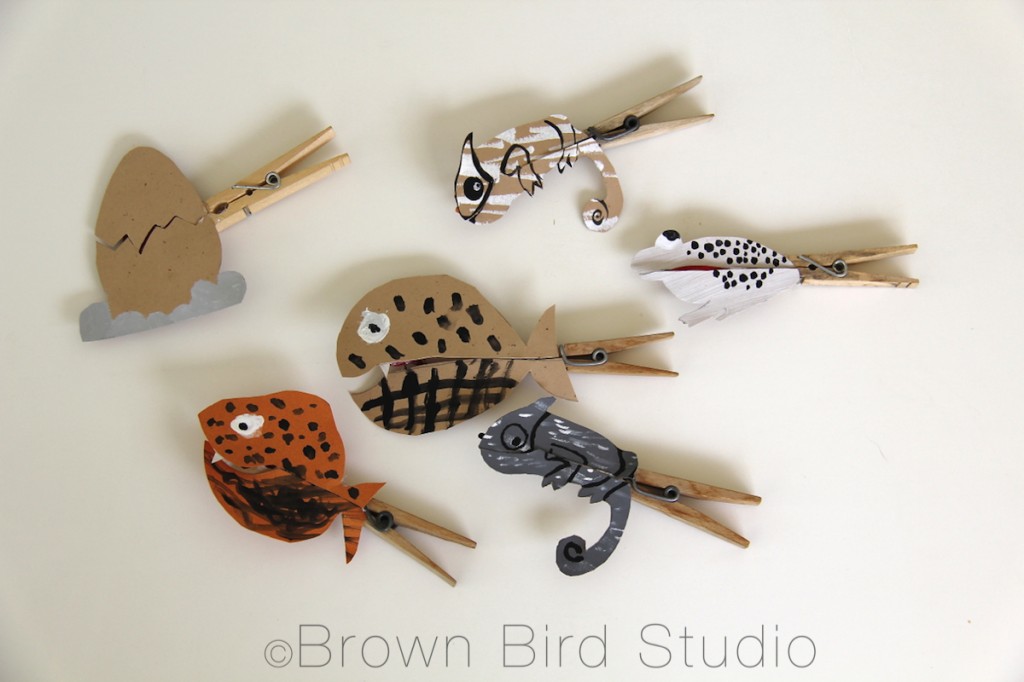
hatching egg clothespin puppet clothespin puppet fish clothespin puppet chameleon clothespin puppet chameleonHow to make the puppets:

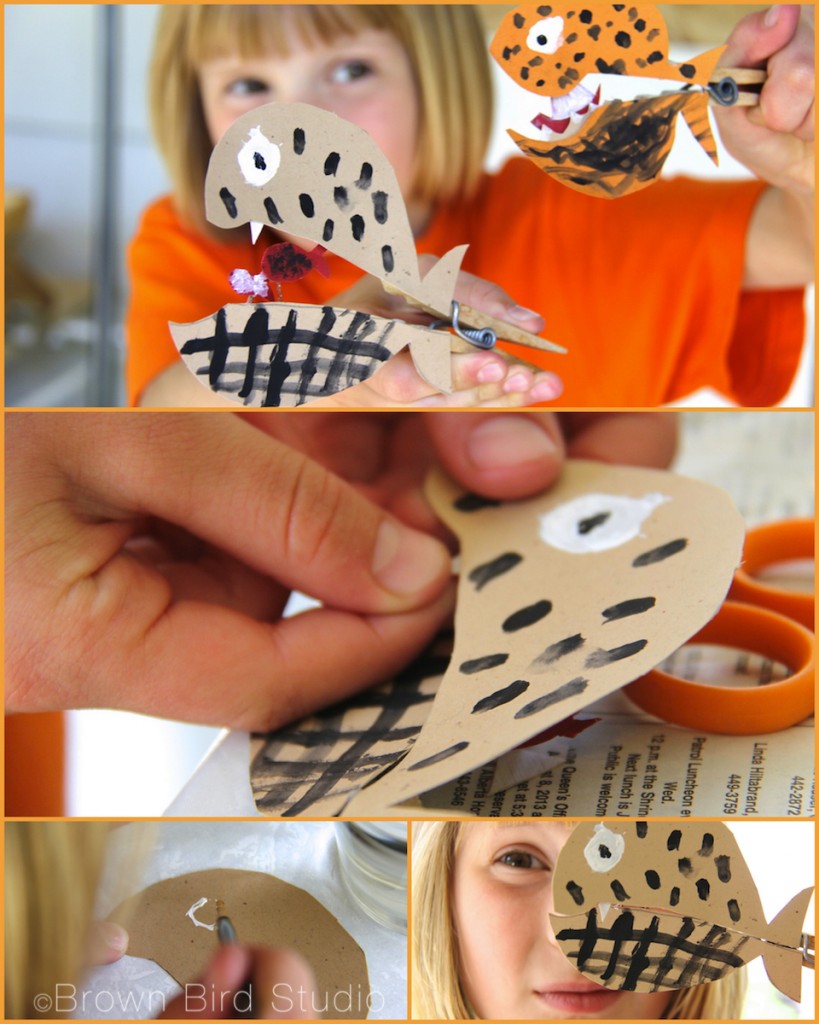
  1. Decide what you want to make. We liked the idea of a mouth opening to reveal something inside. Ema also made an egg that “hatches.” You could choose to make a person whose mouth opens to show a word-bubble, or an envelope that opens to show a letter inside. We mostly got our ideas from this lovely Flickr user, Molas & Company, but I can think of lots more ideas… get creative!
  2. Draw your shapes on heavy weight paper and cut out.
  3. Cut through the middle of the shape so you have two halves to glue to the two parts of the clothespin
  4. Paint or otherwise decorate your puppet shape.
  5. Make the inside piece and attach to the bottom of the puppet shape.
  6. Figure out the best placement of the two halves, on your clothespin.
  7. Hot glue the two halves of your puppet shape onto the bottom and top of the clothespin.

Have fun with your puppets:

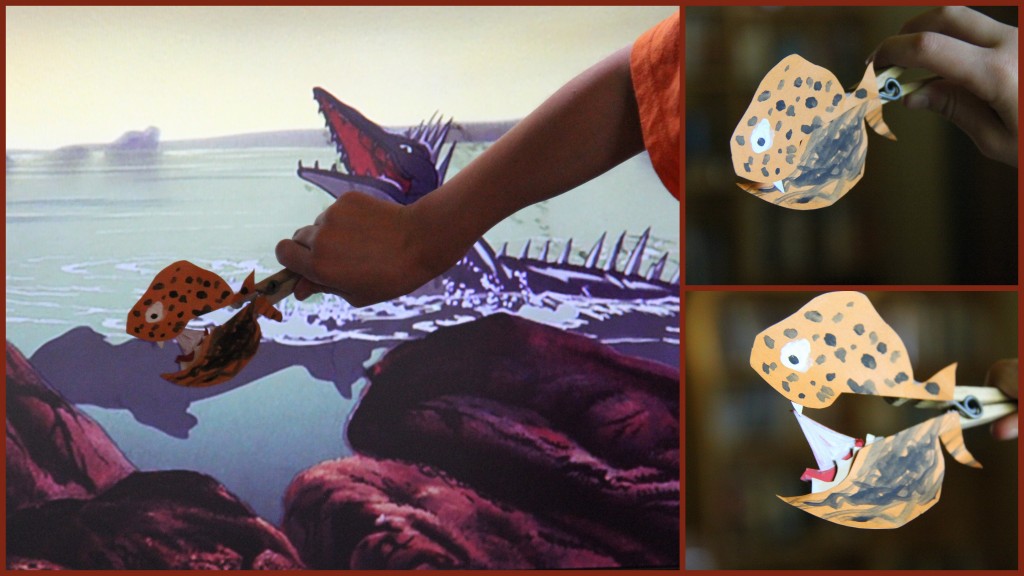
clothespin fish puppet
Headline: Very brave whale tries to eat prehistoric sea dinosaur even with mouth full of boat!

Adia played with her puppets while watching Fantasia, above. They are interacting with the movie. That’s what I call active-watching (and a brave puppet whale!)

clothespin puppet fishNotes & Tips:

* One of the puppets we made using a lighter weight paper because Adia liked the color. The paper sort of curled, so I would suggest a heavier weight (cover stock is perfect) paper.

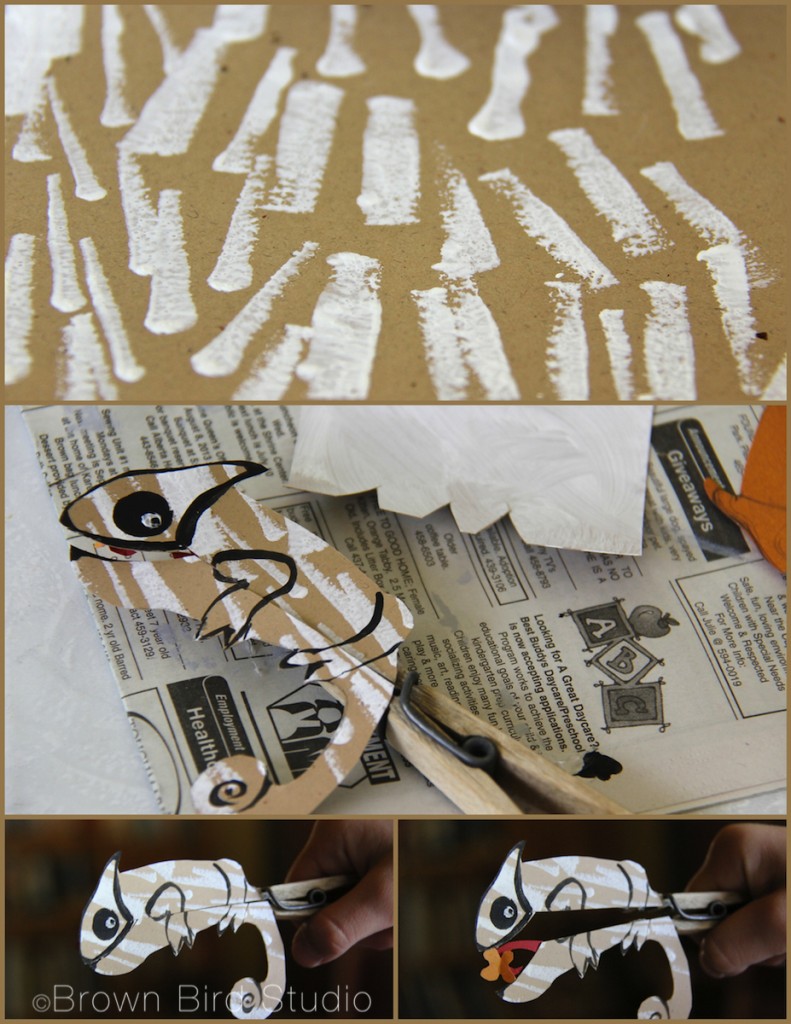
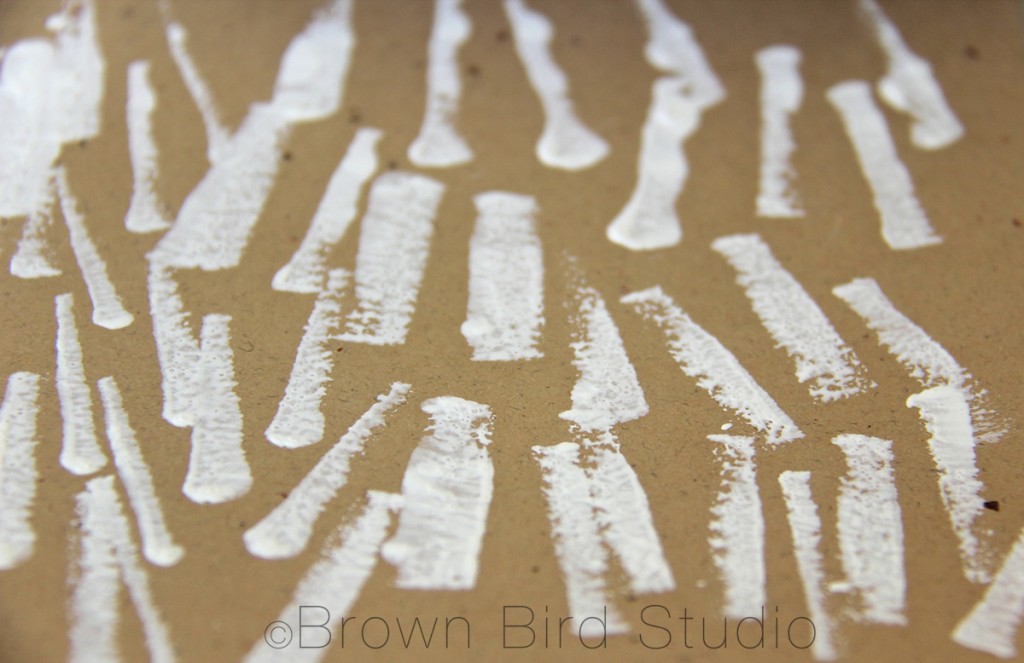
** We used acrylic paints and I limited the girls to just black and white (and gray mixed from the two colors.) Use brushes or any other tool you can think of, to apply the paint. The tan chameleon has a texture made by stamping white paint with the tip of a sponge brush (see photo below.) You could also use a pencil eraser to make polka dots. Get creative!
If you use a heavy weight paper, or light cardboard, you could decorate the puppets with glued on buttons, sequins, beads, felt, bits of fabric, ribbons, or pieces of magazine photos.  Very young artists could use stickers.

*** We used Elmer’s glue to attach paper bits to the paper puppet shapes. Hot glue to attach the puppet shapes to the clothespin. Use whatever glue you think will work best with the stuff you’re applying to your puppets.

Clothespin Puppet Critters
An egg that hatches, a whale swallowing a boat, a big fish eating two smaller fish, two chameleons eating flies and a frog eating a butterfly. Your imagination is the limit!
This texture was made by stamping the tip/edge of a sponge brush filled with white paint, on tan paper
I made this texture by stamping the tip/edge of a sponge brush filled with white paint, on tan paper

Links for Clothespin Puppets:


How to make Chalkboard Signs from Old Kitchen Bits

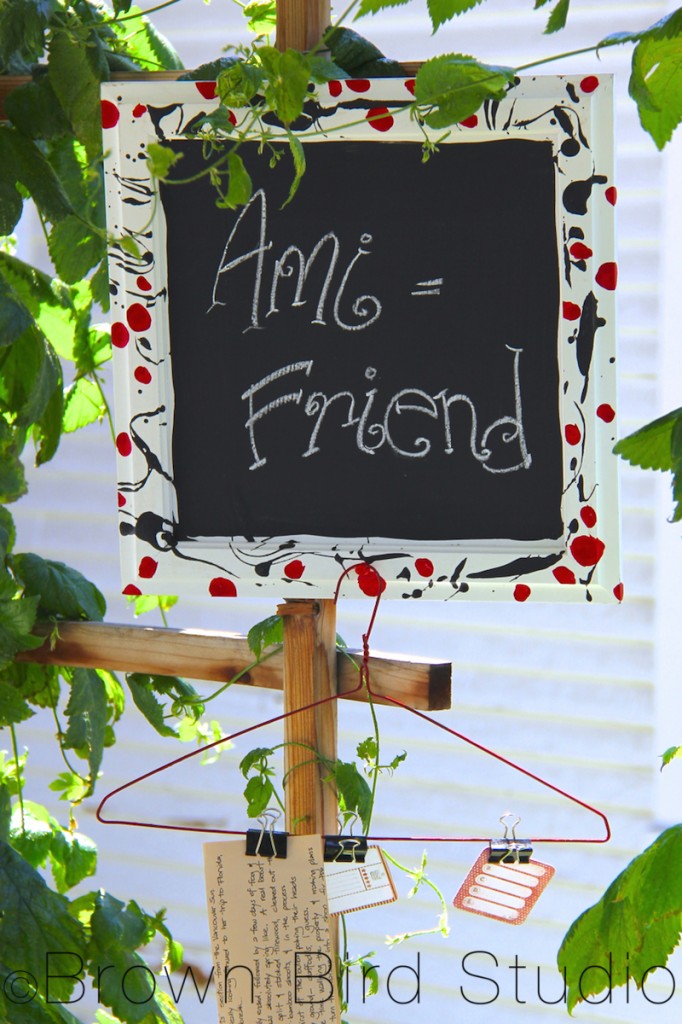
chalkboard sign

chalkboardOur local Habitat for Humanity has a depot for sourcing used building materials, called ReStore. I love to stop in regularly to see what they have that I might up-cycle into something useful, even though we are not  building or remodeling right now.

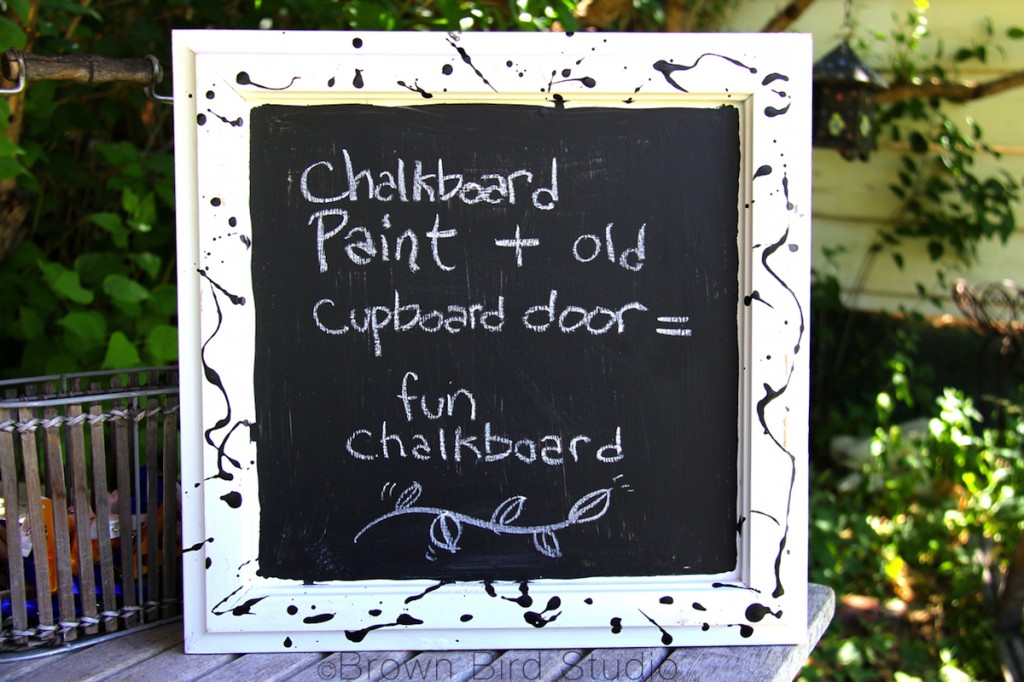
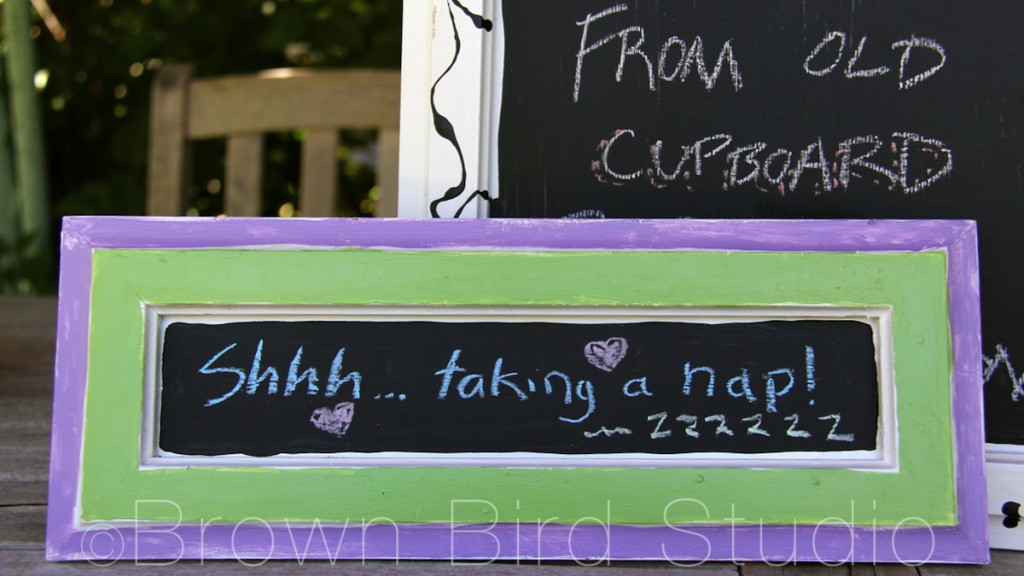
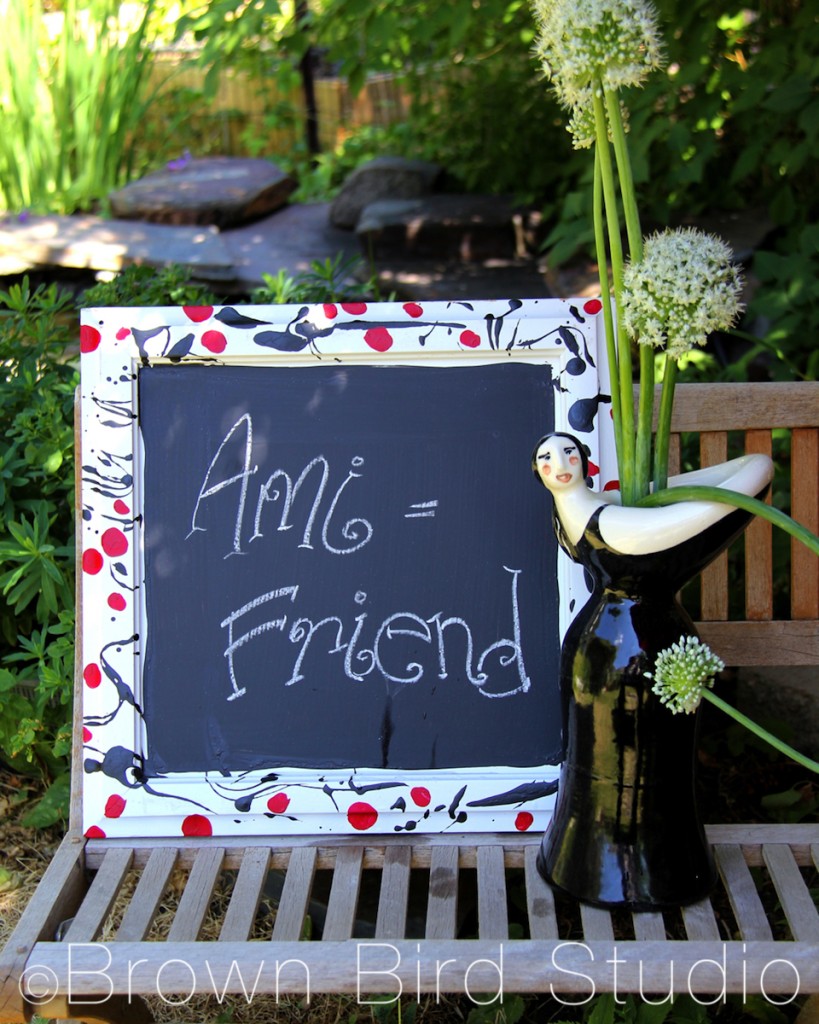
Last week I went to ReStore specifically to find something I could turn into small chalkboard signs with Ema and Adia and I scored! I found some old white frame and flat panel kitchen cupboard parts that already had that slight shabby-chic look that’s so popular now. I already had a can of chalkboard paint, though if I didn’t I would be writing now about making our own chalkboard paint.

A sign she can hang on her bedroom door, to change at her whim

The girls painted two drawer fronts to use as signs on their bedroom door. We also made one for my kitchen, and another for Jaime’s office.

chalkboard sign
A little something special for my friend’s office

Here is how we made our chalkboard signs:

Supplies Needed:

  • Something to use for the board. We used drawer-fronts and cupboard doors. You could also use an old mirror, or any flat piece of wood or substrate that will take the chalk paint. 
  • Chalkboard paint (You can  make your own if you want. I found directions here.)
  • Acrylic paint if you want to add decorative designs to the frames
  • Modge Podge (matte or gloss) to seal the decorative paint (don’t use Modge-Podge on the chalk paint, though!)
  • Sponge brushes or a good quality flat bristle brush for painting the chalk paint
  • Smaller brushes for the decorative design
  • Metal hanger or brads, for the back of the board
  • A ribbon, to hang between the brads if you choose

Instructions:

  1. Lightly sand the surface of whatever you are using for your chalkboard, so your paint will adhere
  2. Use acrylic paint to make decorative designs around the frame of the cupboard door or drawer front. Use brushes appropriate to acrylic paints and the size of your frame and strokes.
  3. Use a sponge brush or flat-bristle brush to apply the chalkboard paint — we didn’t worry about getting the edges perfectly even because we wanted a shabby-chic effect. Also, I like the way the brush strokes and imperfections show on the chalkboard part of our signs.
  4. Let dry. Seal with a layer of Modge Podge and again, let dry.
  5. Add brads, metal picture hangers, or good tacks on the back of the frame. Add picture wire, string or a lovely ribbon to hang your sign by.
  6. Enjoy changing the message on your sign whenever you feel like it!
chalkboard sign
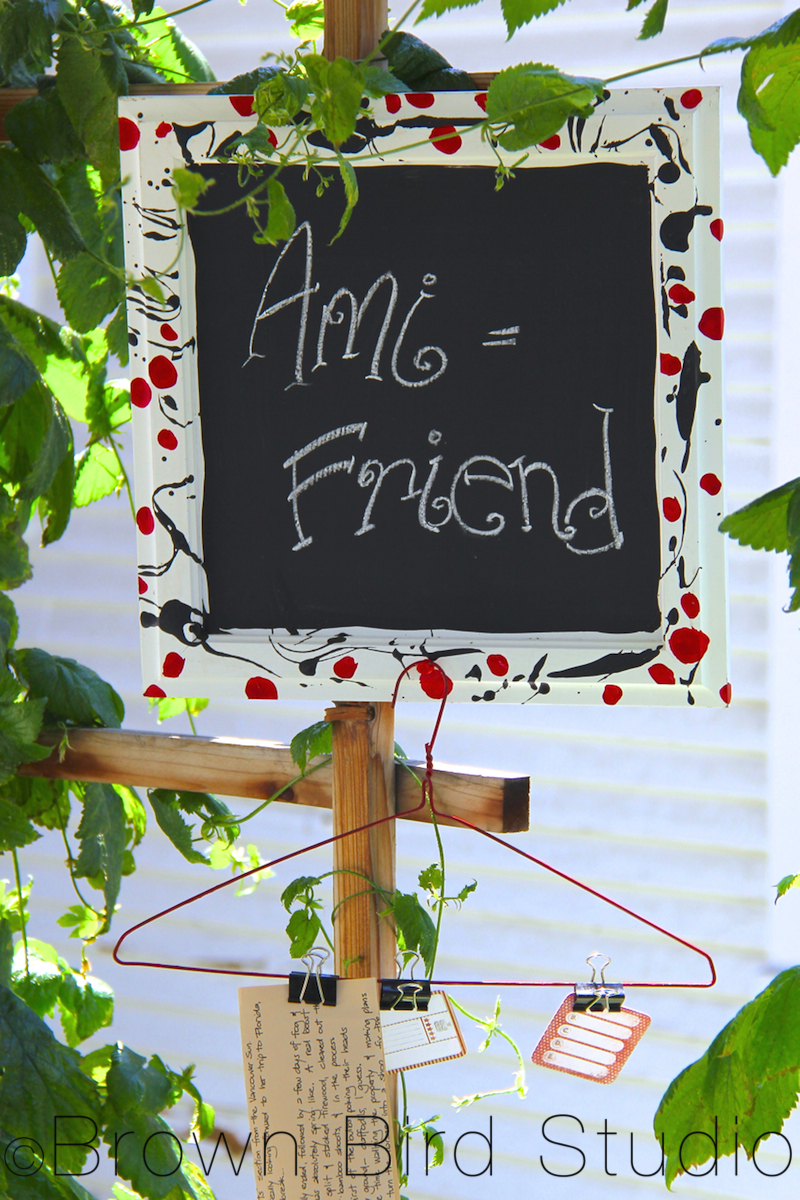
A removable red painted hanger gives Jaime something to hang notes on.

Additions we made to Jaime’s sign:  we added a red painted wire clothes hanger and some clips so Jaime can hang notes, photos, whatever. Like it?

Links and Other Chalkboard Ideas:

  • Comparison of homemade chalkboard paints — author also has some good ideas on using chalk paint on salvaged furniture
  • Fun diy magnetic chalkboard idea. Making this next!
  • Paint chalkboard risers on steps and write poetry
  • Pinterest board with tons of chalkboard ideas (just a side note: I really appreciate it when people include the ORIGINAL source with their pins on Pinterest. On the other hand, it irks me greatly when people steal others’ photos by downloading, then pinning to their own Pinterest boards without giving credit where credit is due. Just sayin’)

3 Ways to Have Fun in One Summer Day

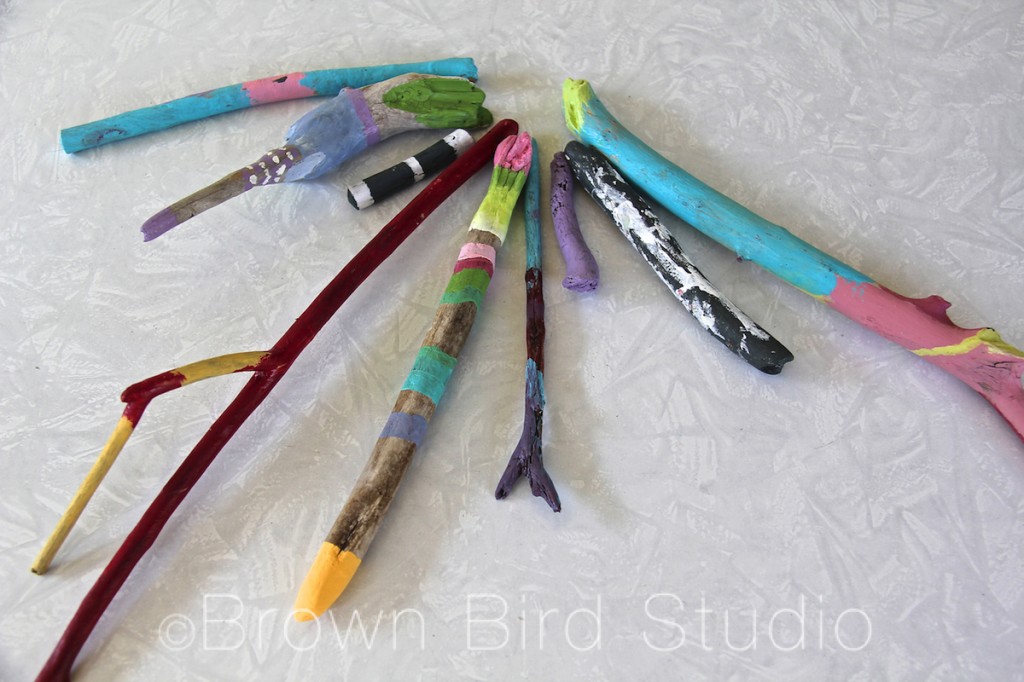
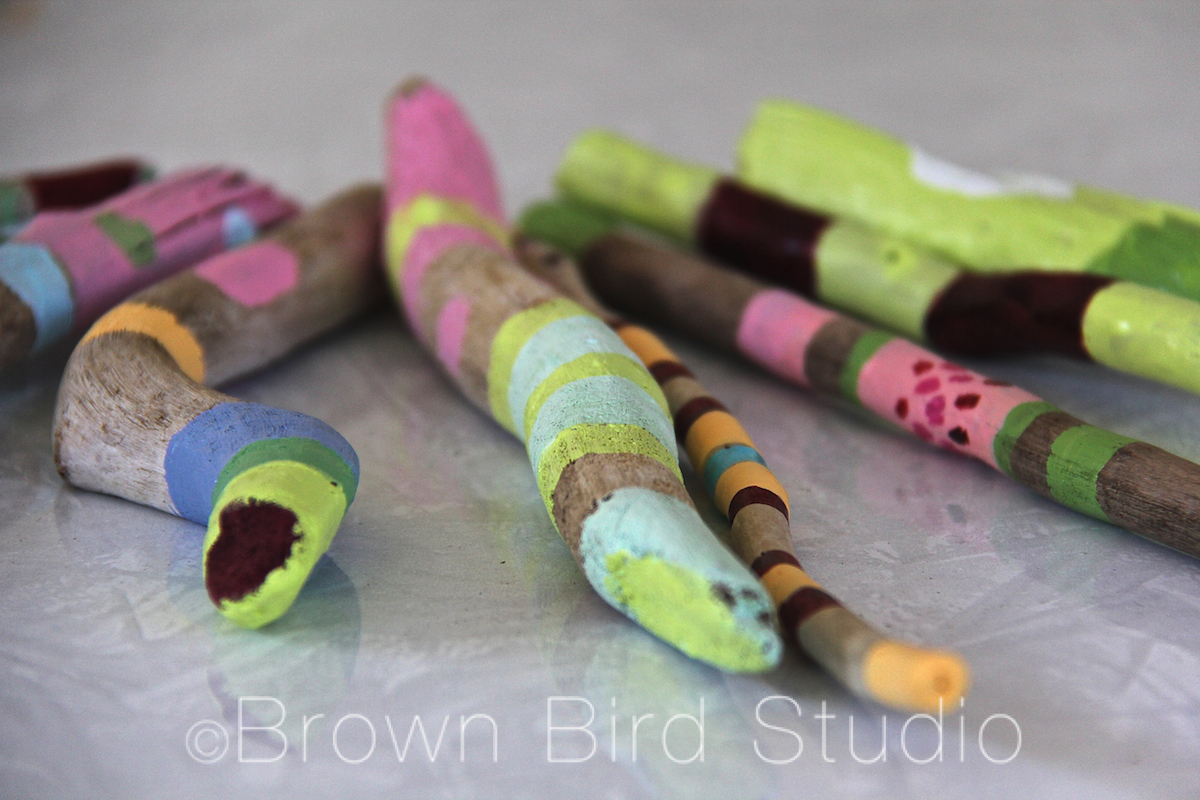
Painted Driftwood Sticks

Painted Driftwood Sticks

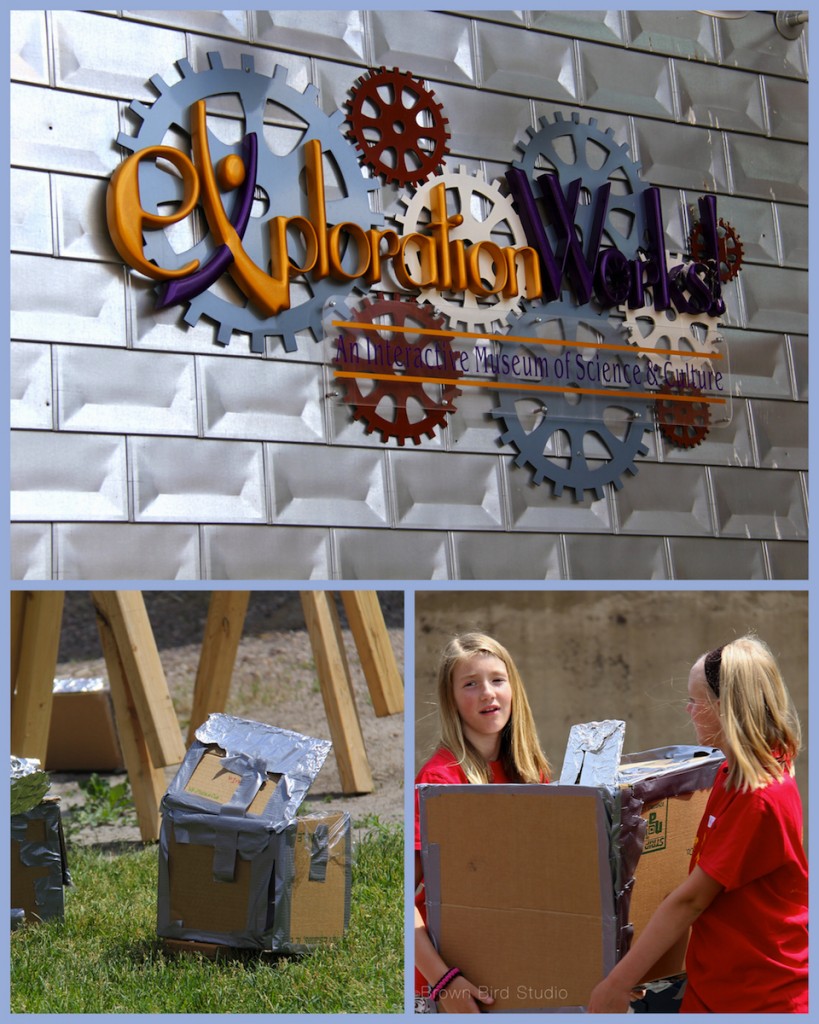
  1. Attend the Exploration Works/Holter Science of Art Day Camp. Then have french fries and other unmentionable deliciousness.
  2. Head out to Lake Helena Reservoir to collect driftwood sticks of a certain size and smoothness. Take Charlie along for sweetness and chuckles.
  3. Paint your sticks while eating dried seaweed on the porch, all the while enjoying an afternoon thunderstorm.
solar ovens by kids
Teams of kids made solar ovens at Exploration Works

It has been 10 days since Ema and Adia and I spent the day together making art, playing with Charlie and doin other summer kid stuff. I actually missed them. And I think maybe they might have missed playing with me too. When I picked them up at the Exploration Works Science Museum at noon, they both gave Charlie and me big hugs and smiles.

So … we went to a fast food place for lunch (it shall remain unnamed — grin) just to do something totally unexpected and different. The girls liked it. (I remembered why I don’t eat there.)

Lake Helena
After lunch we headed out to the lake to collect sticks for our afternoon art project. Charlie also wanted to get in the water and show us his favorite trail. We could tell there was a thunderstorm brewing over the town.
drill press
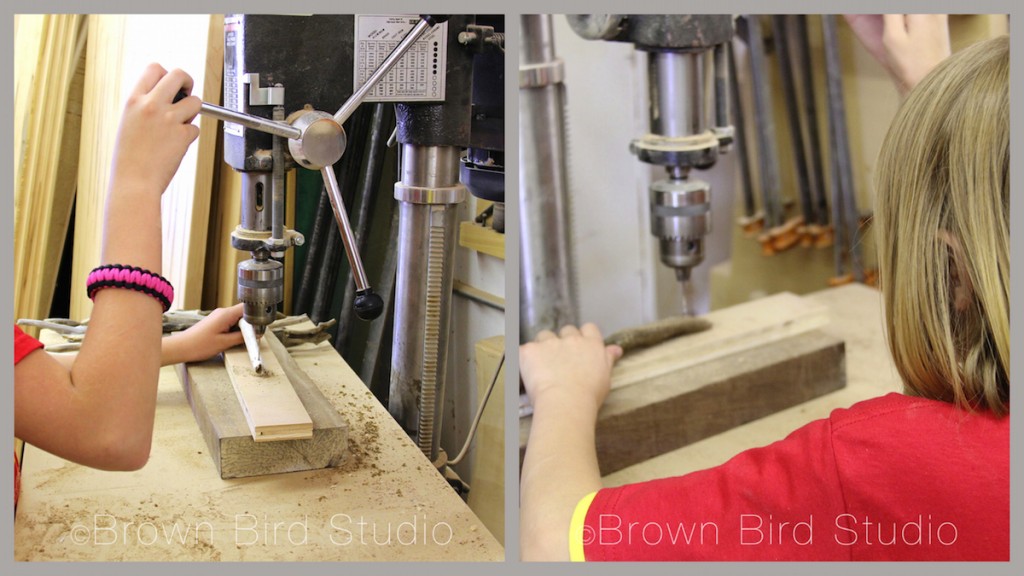
Back in town, Tim let us use his shop’s drill press to make holes in our sticks.
painting sticks
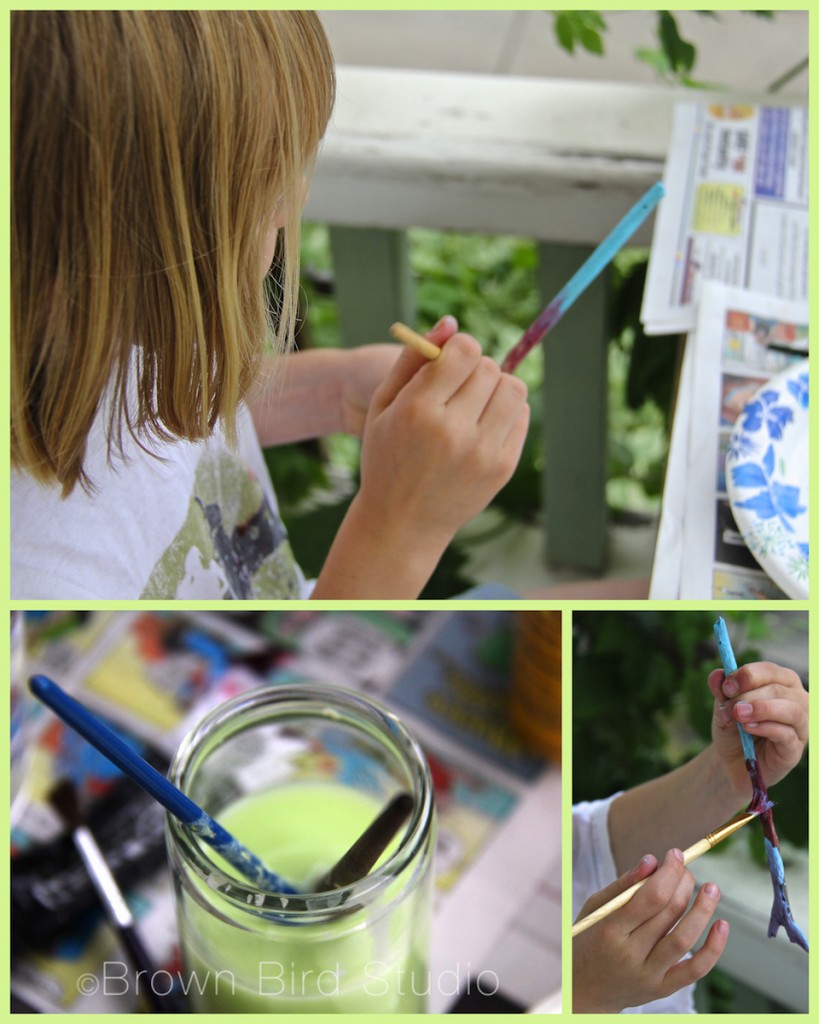
Adia stayed absorbed in this activity for a long time — she’s the one who colors outside the lines. 🙂

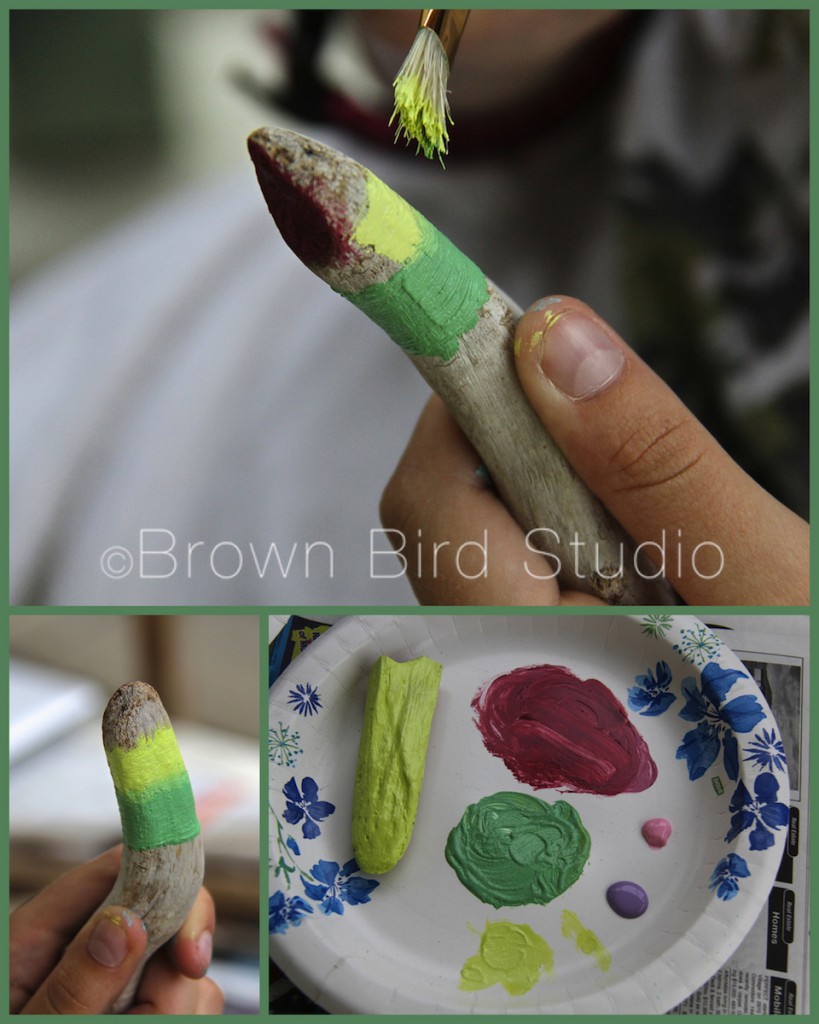
Thunder and a sweet summer rain kept us company while we painted our sticks. It’s my favorite kind of weather — a warm thunderstorm when you’re nice n’ dry on the porch so you can feel the hairs rising on your skin but you don’t get drenching wet. Welp, that was fun! And definitely something 8 to 10 year olds can handle.

painting stick art
Ema is meticulous … taking her time and considering each brush stroke. Her color choices are fun!
painted stick art
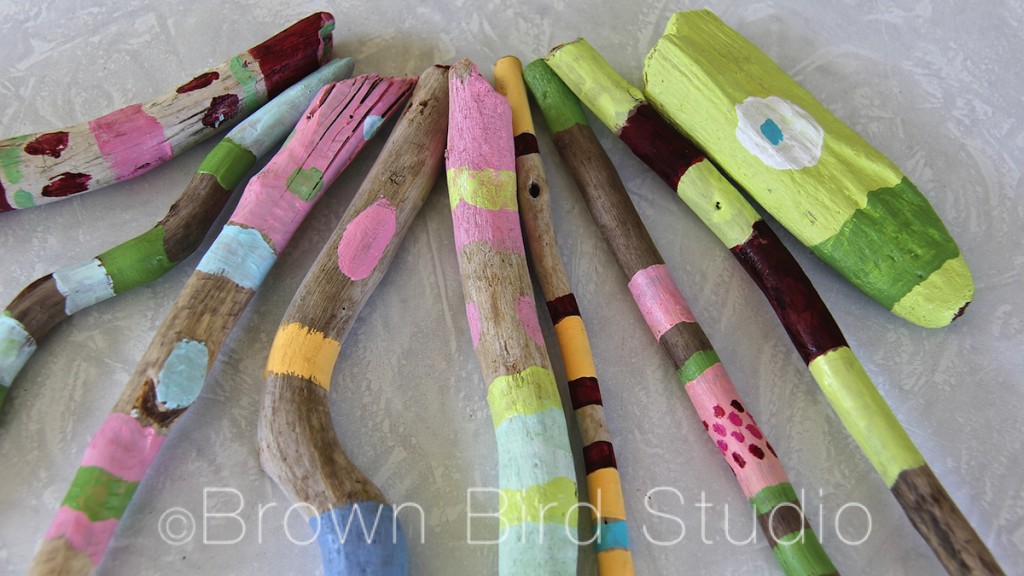
Ema’s finished artful sticks, ready to be threaded and hung tomorrow
Painted Stick Art
Adia’s awesome finished sticks, ready to be threaded and hung as a sculpture tomorrow

Tomorrow it’s time to turn in our Chalk It Up Helena applications. We will have a cooking lesson (Pepperoni Pizza Puffs) and try to finish our stick projects. We’ll show you the finished results next time, okay?