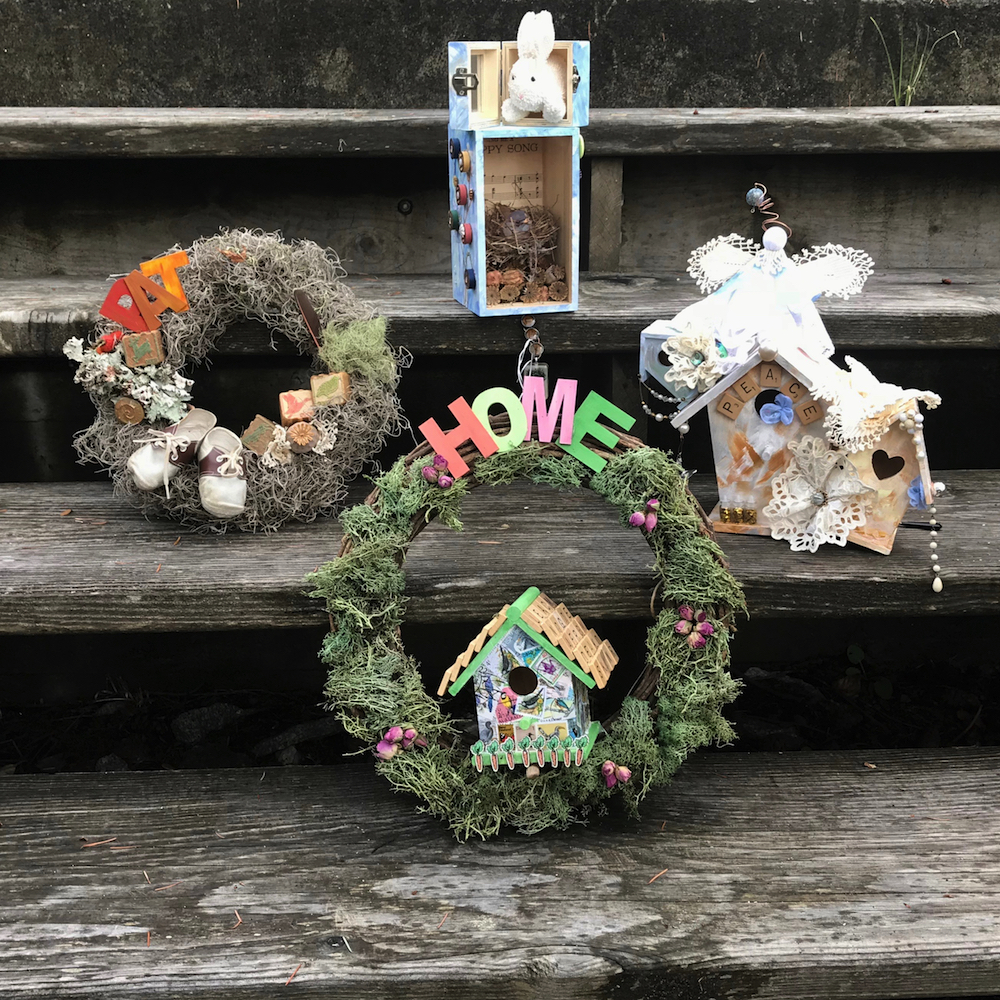
Wreaths don’t own front doors. And house doors don’t own front door decorations, either. Why not put a bird house or a bird-i-a-box on your front door? My mother recently downsized to a two bedroom apartment in a retirement community, so she has an apartment door in a hallway rather than the outside door she used to have. She has always loved having a wreath or some other wonderful, hand made seasonal decoration on her front door to welcome family, friends and strangers.
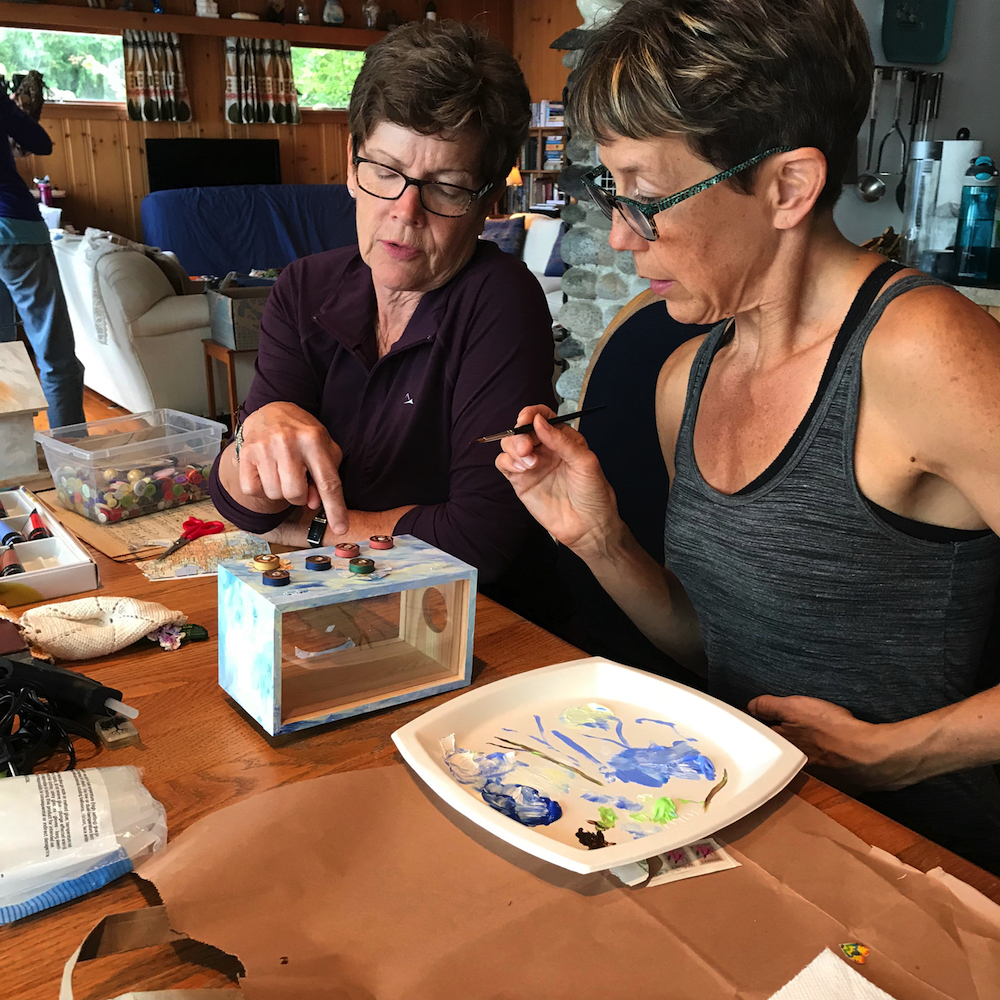
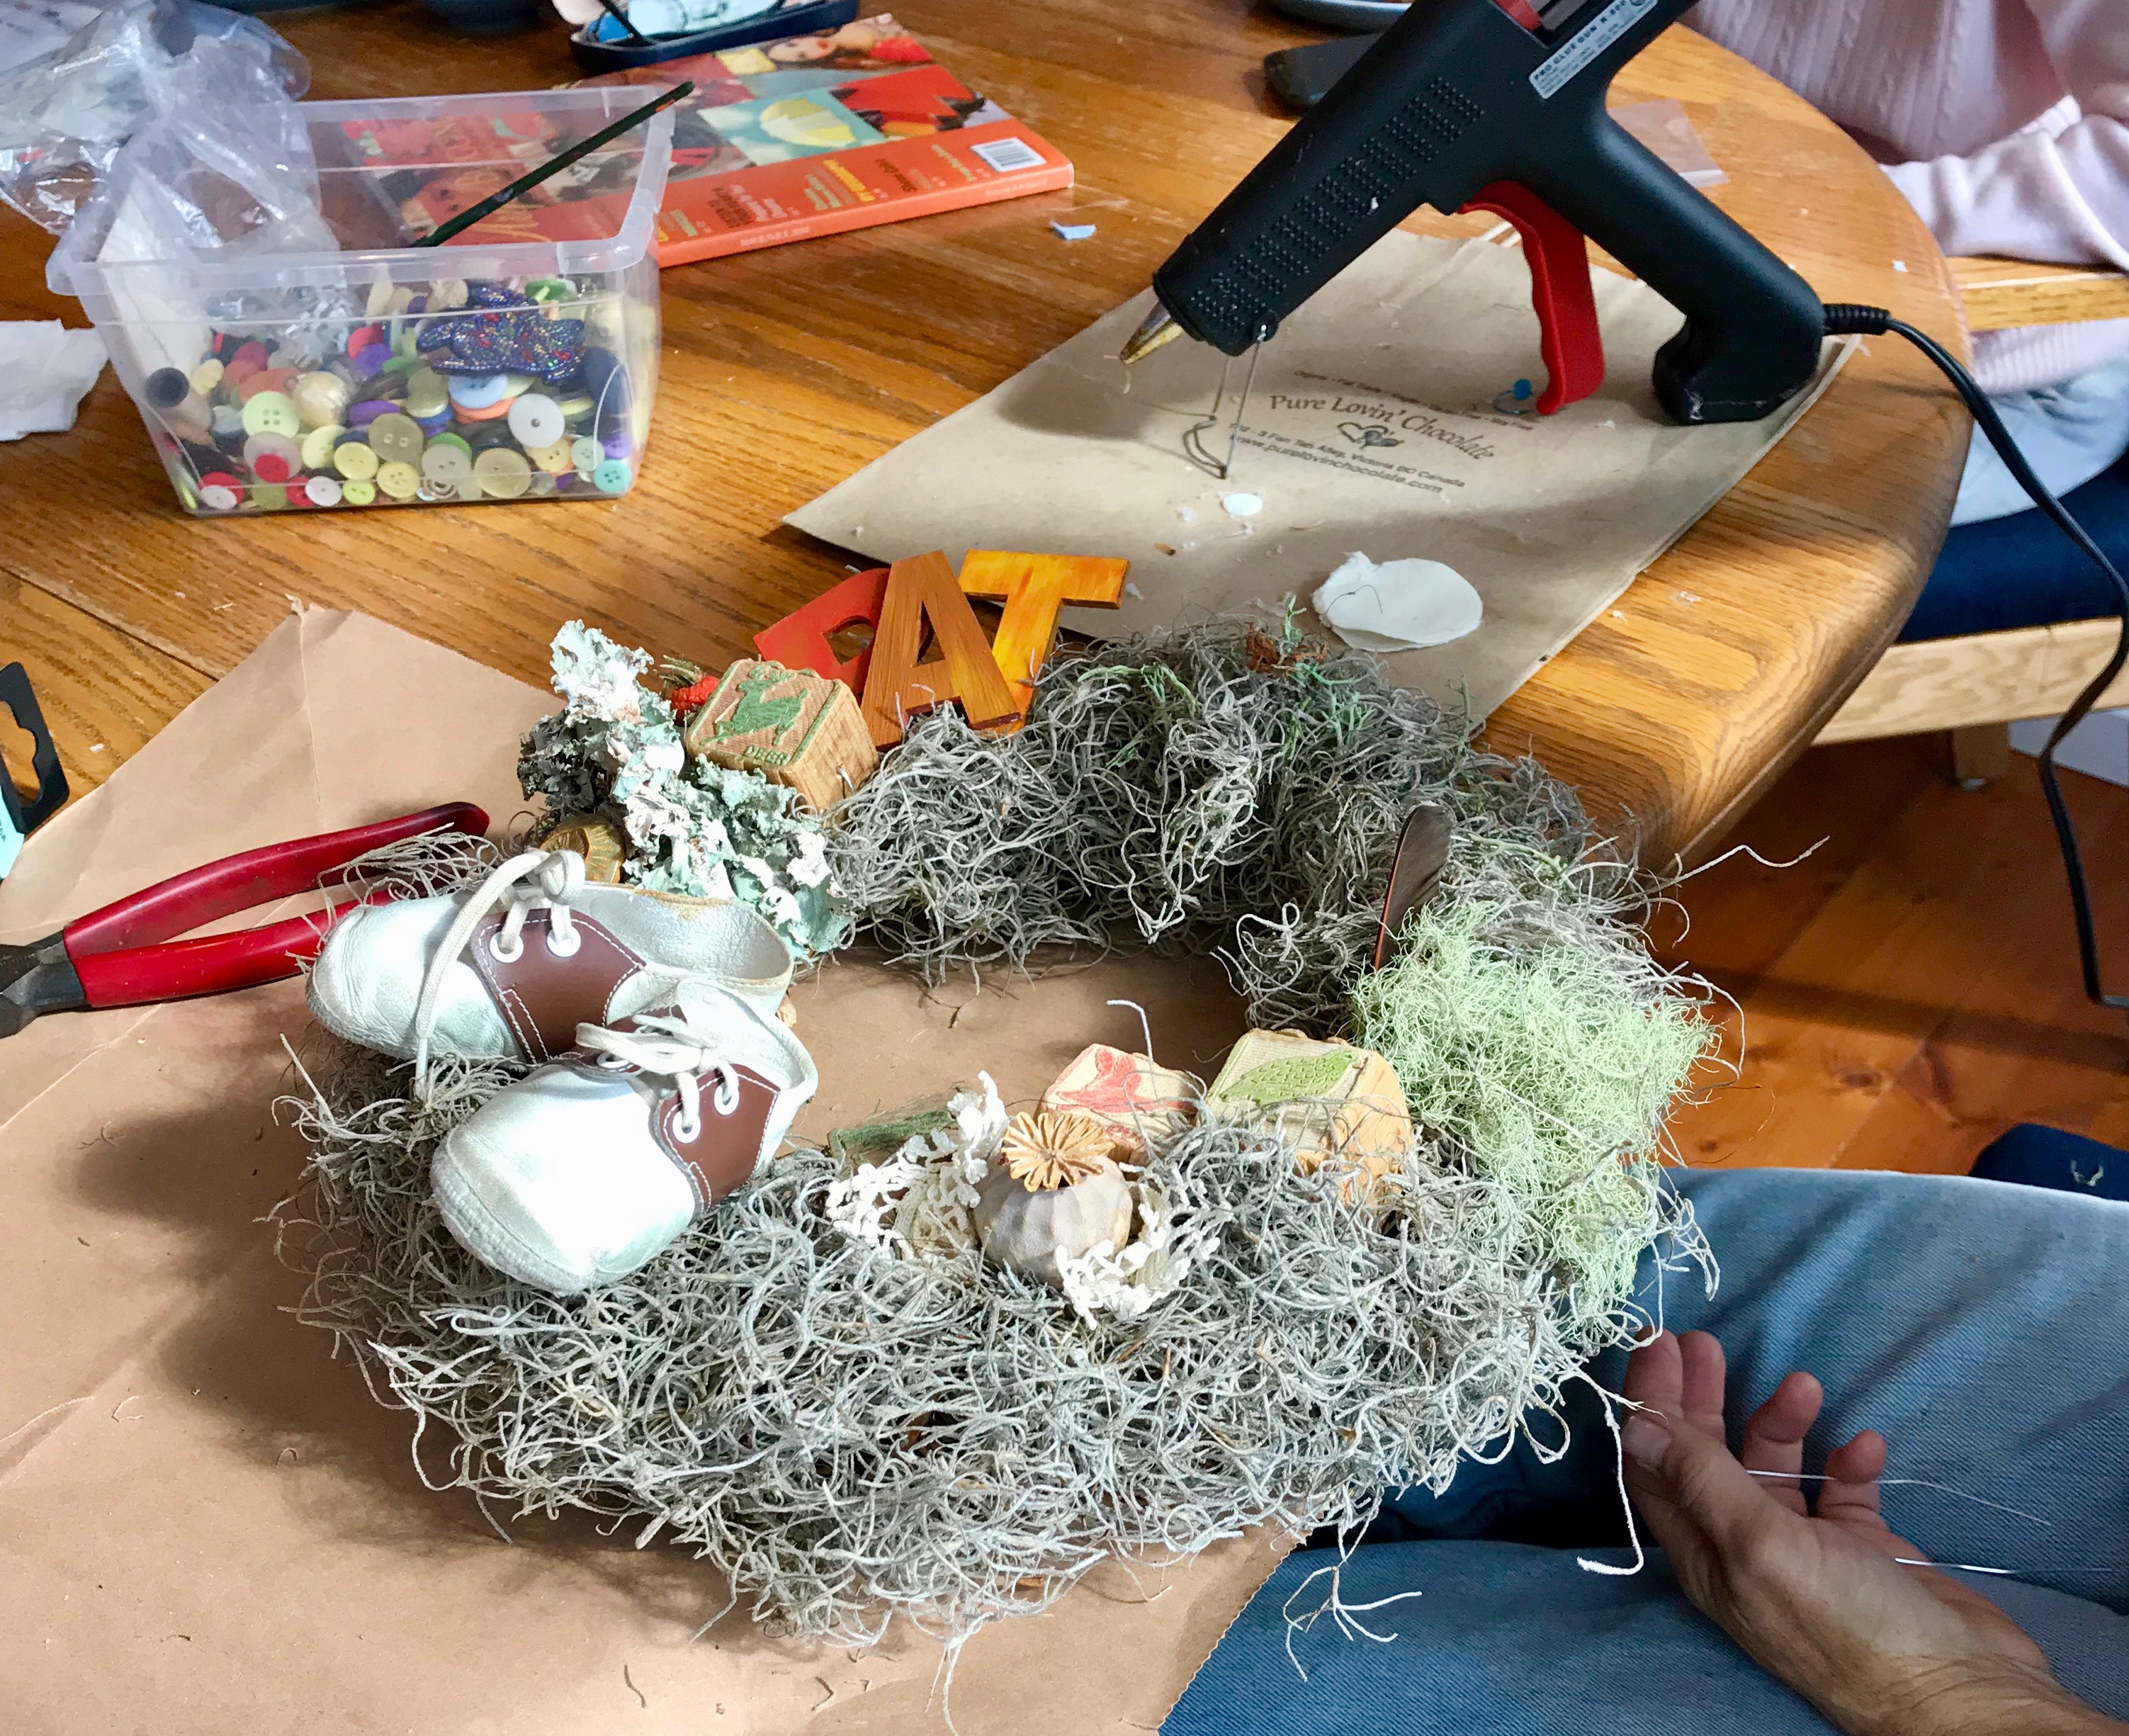
So … my sisters and I got together and made Mom four seasonal craftily-decorated yummies for her new apartment door. She loves birds, gardening, traveling and artsy things. So we all brought bits and pieces from our closets, junk drawers and craft rooms and collaborated on these wonderful pieces.
For spring, she has a little box with a glass-front box containing a bird nest and music … oh. plus a bunny-in-a-box on top. Of course!
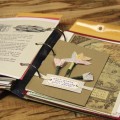
Summer’s door decoration is a wreath with bird house covered with bird and flower stamps from around the world, 8 carrots for her 8 children, and roof tiles of scrabble bits. Rose buds, reindeer moss and the word, “Home” make it really welcoming.
Fall is another wreath, this one with vintage alphabet blocks, tiny child’s shoes, lichens, mosses and feathers … and mom’s name, Pat, so everyone in her new community knows just who lives behind that door!
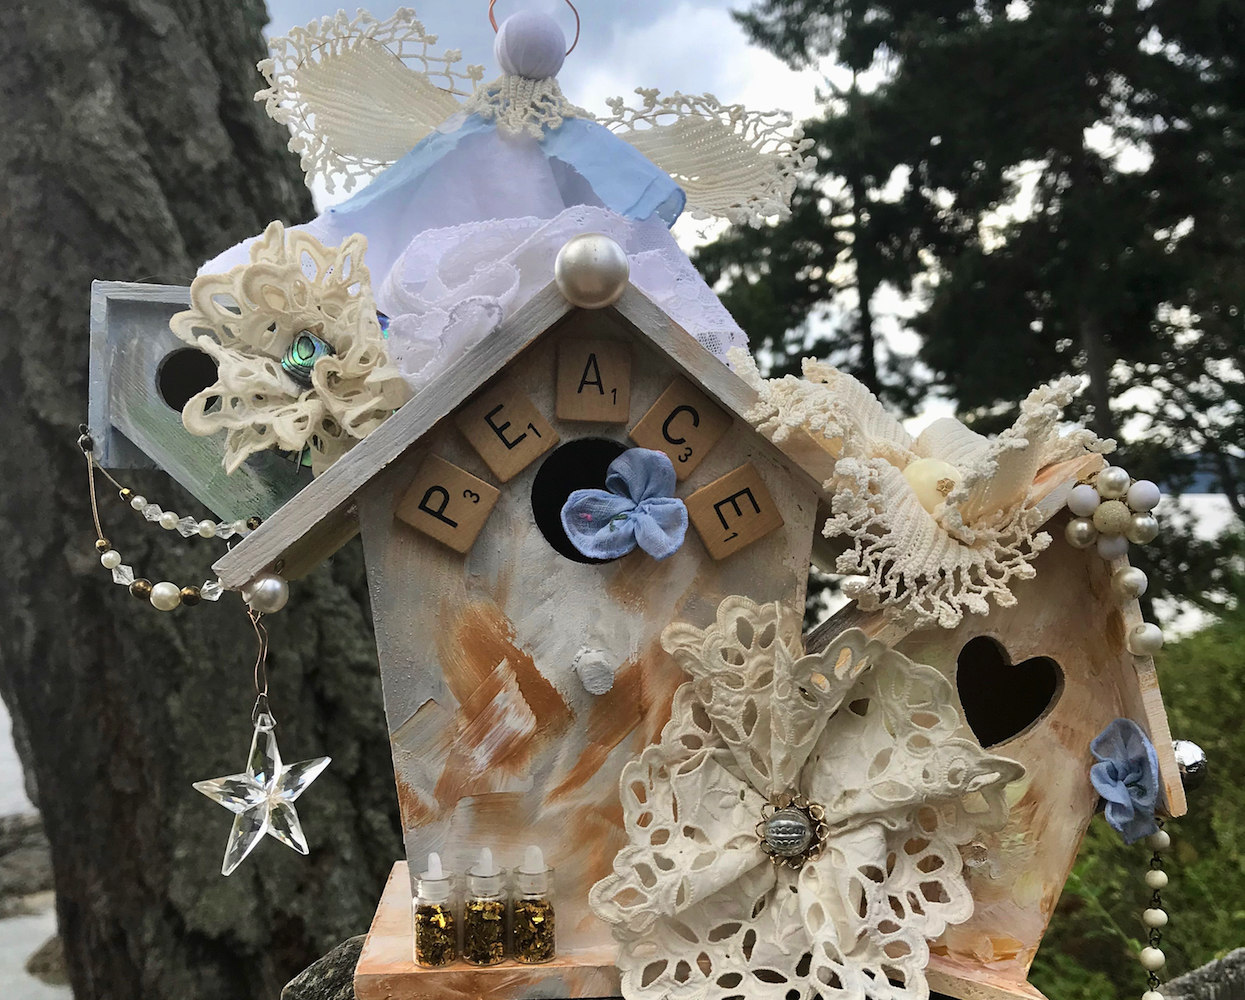
Lastly, her winter door decoration is a tilty-tiny-village of whimsical bird houses in a white, gold and silver theme. We used old hankies and lace to make flowers and an angel that sits on the roof. Dangly crystals and beads and the word, “Peace” complete this sweet “community” welcome.
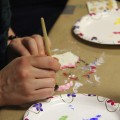
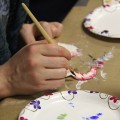
Our kids creativity seshes for the last couple of weeks were about making monoprints with some different techniques and a small tabletop press.
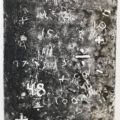
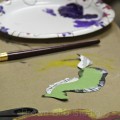
The first week, we made monoprint plates with drypoint etching on plexi. After learning how to ink the plates and wipe them (leaving the ink only in the scratched lines) we added other ink colors and made painterly marks in the ink layer.
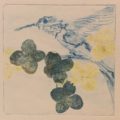
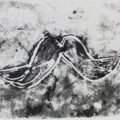
Monoprint by Ema
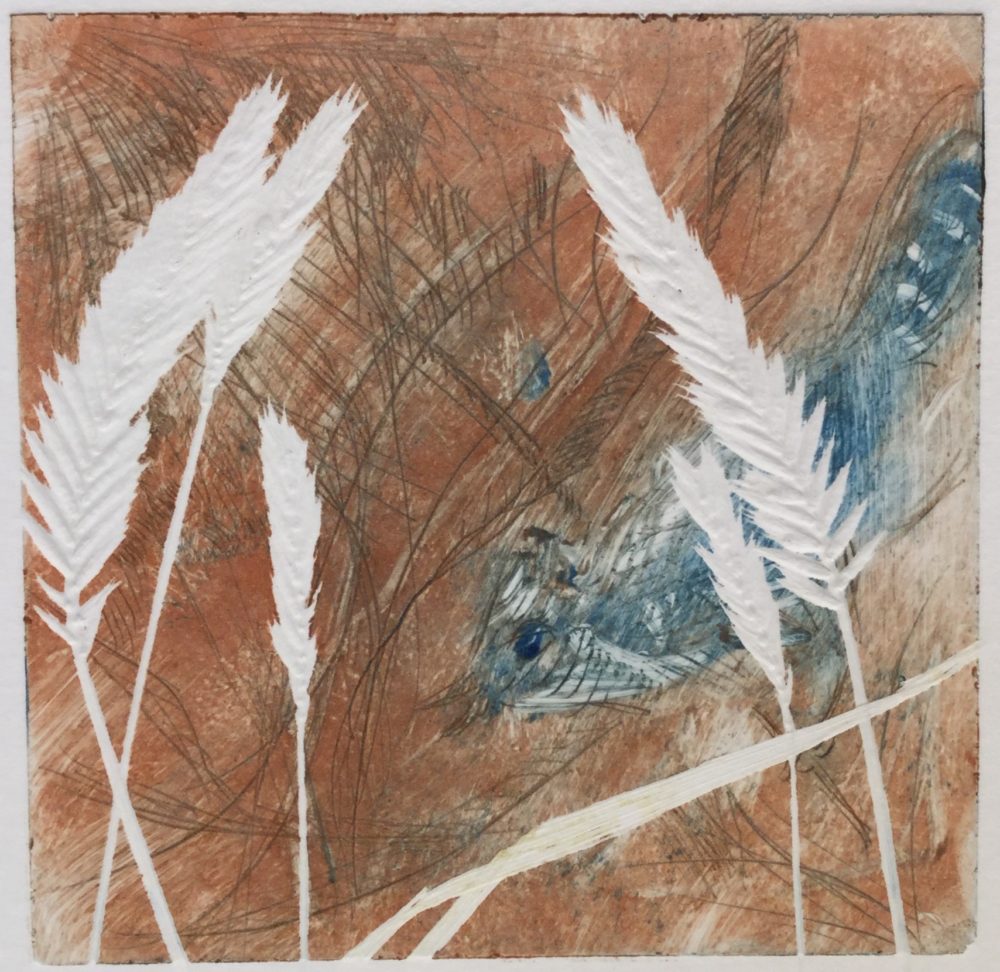
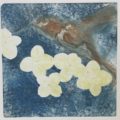
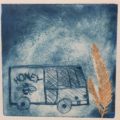
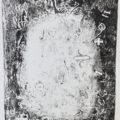
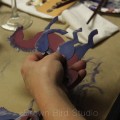
When the inked plates were ready, some of us added flat objects on top, like paper cutouts and pressed leaves or flowers to create collagraphs. The objects we put on top of the inked plates, left white areas on the monoprints (see the grasses on the print below.)
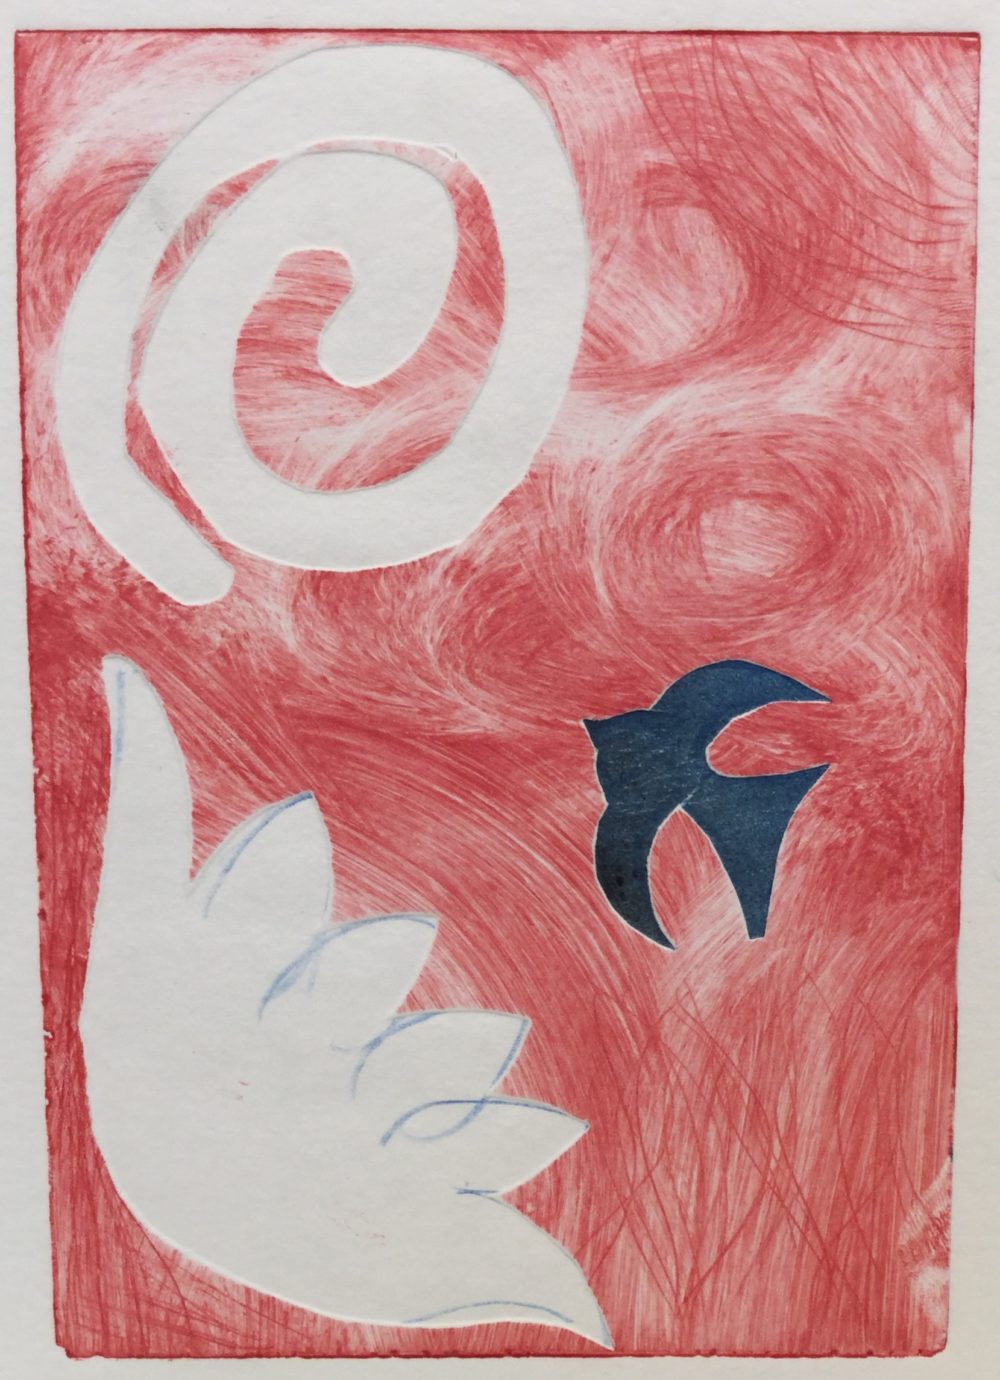
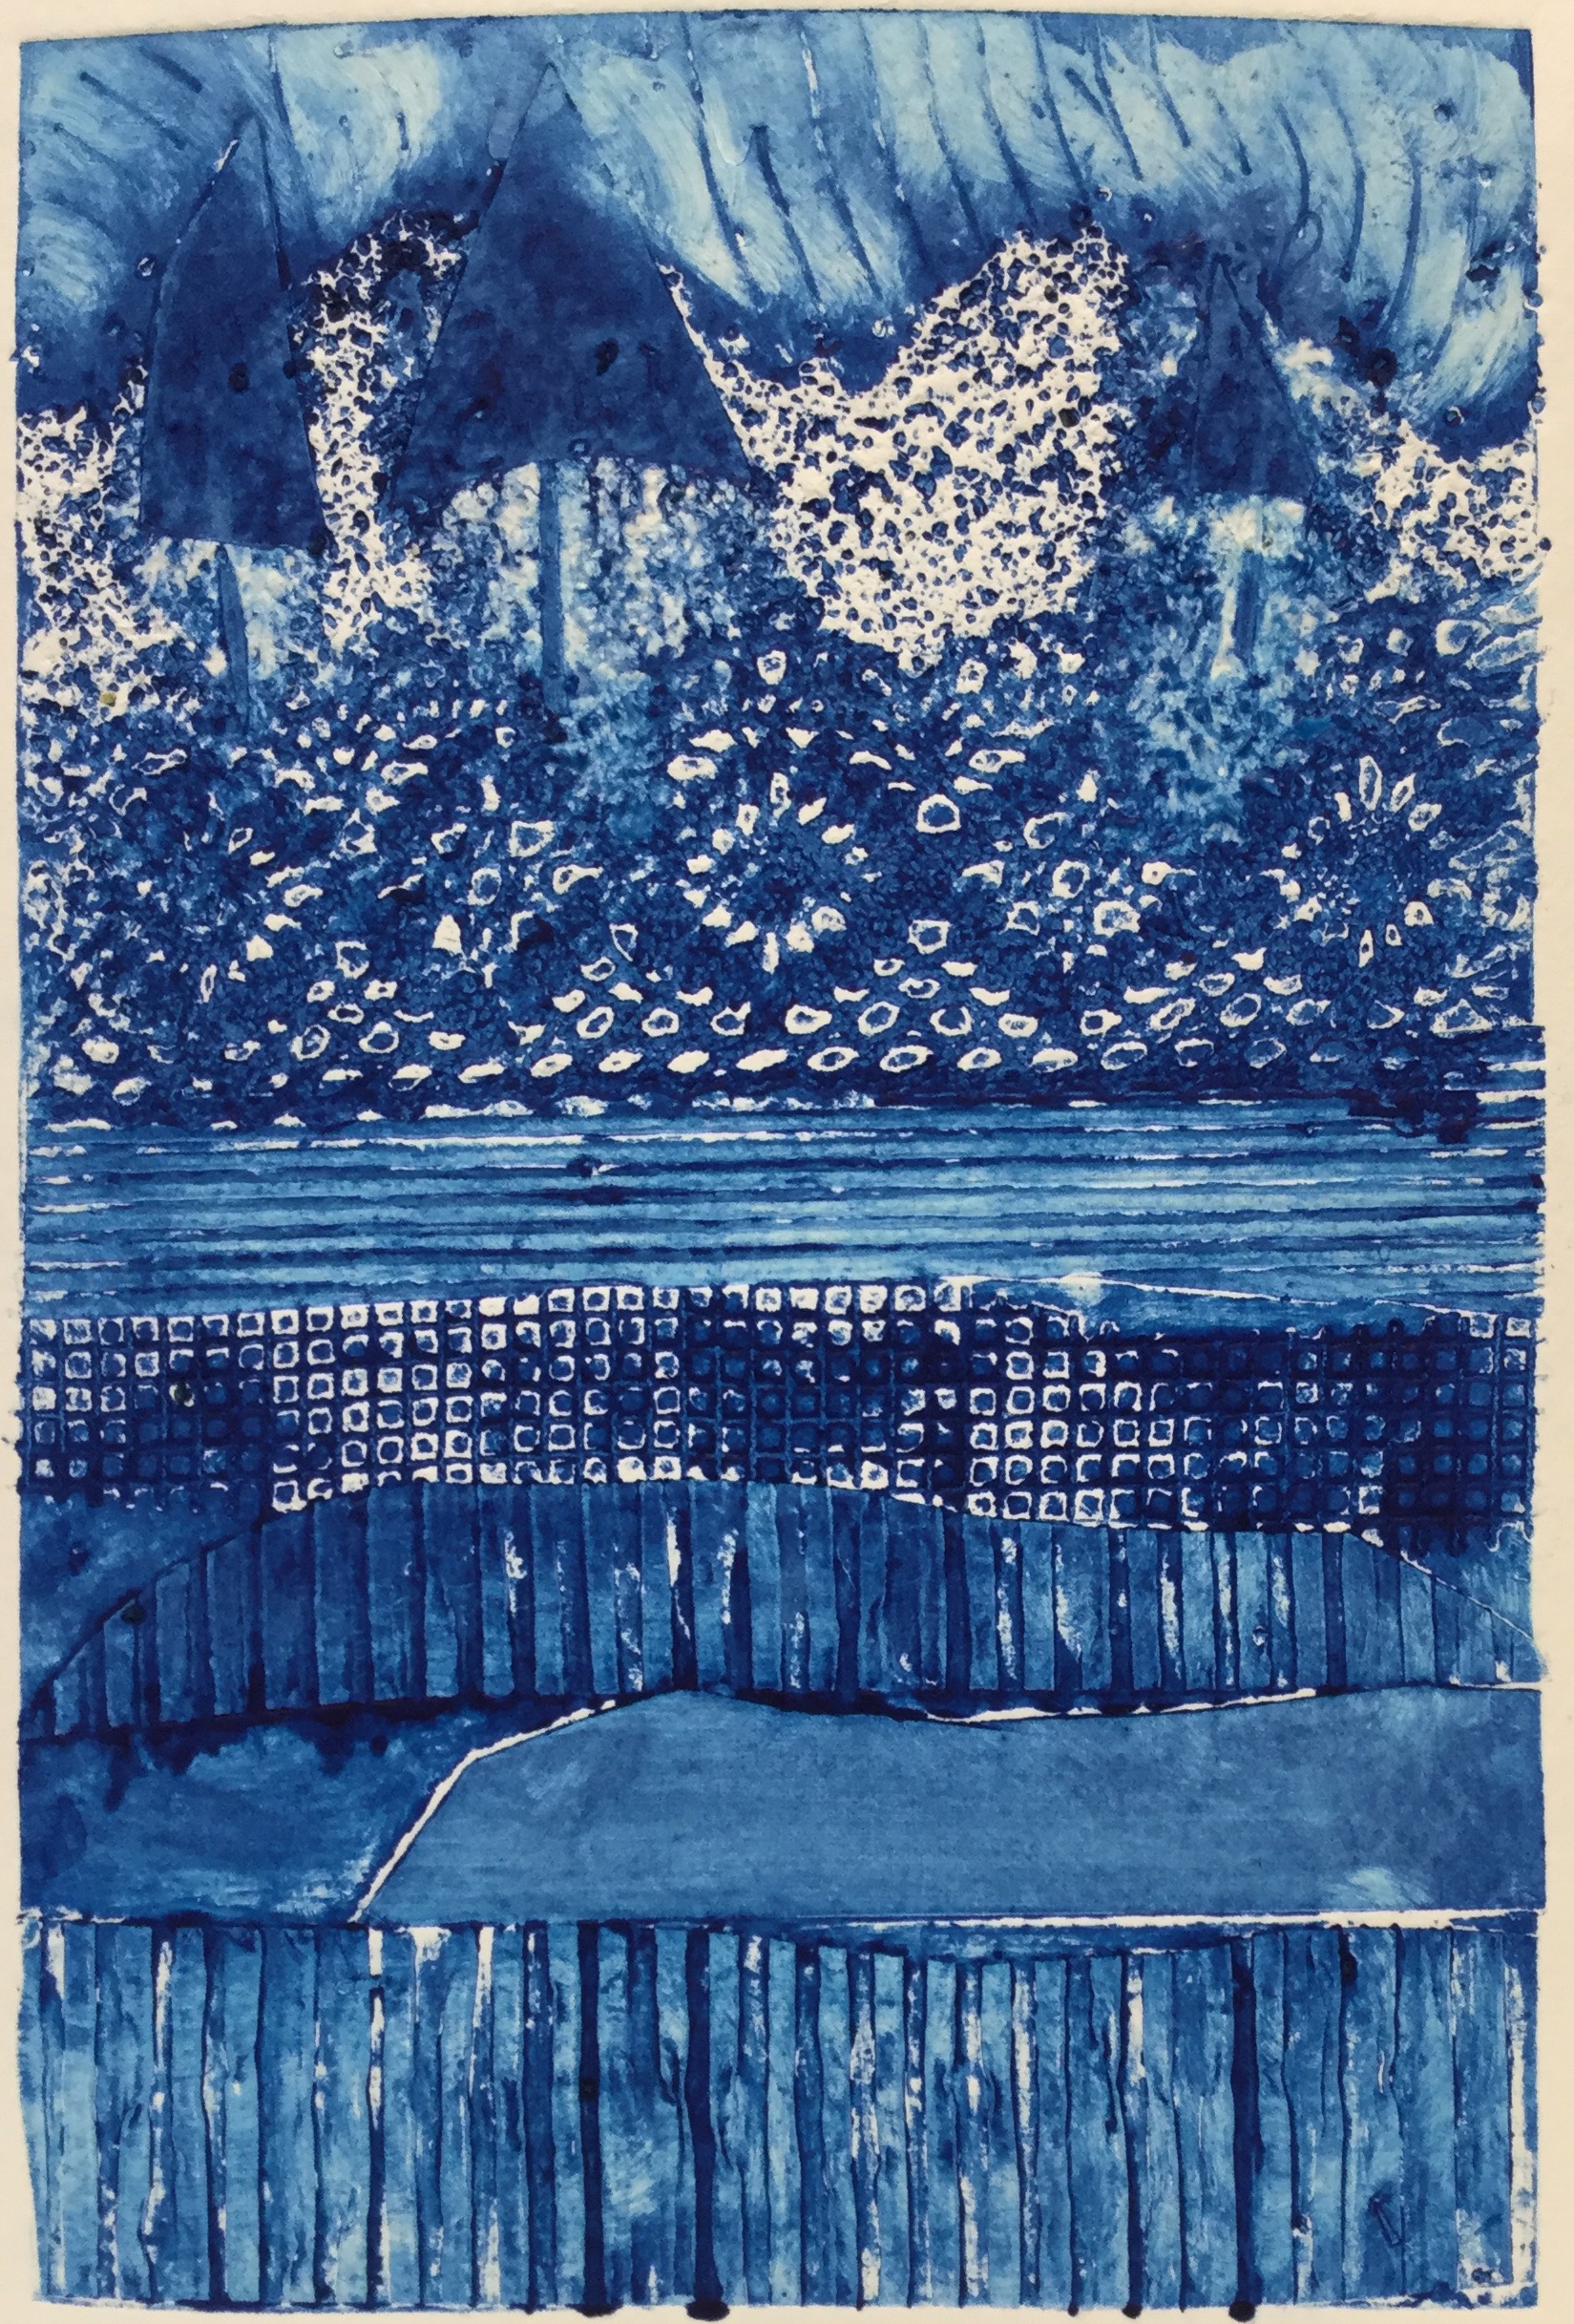
Monoprint “Blue Jay 2” by Maureen
We used really good quality cotton rag paper soaked for a few minutes in water, then pressed dry. Then we ran our printing plates through the small press with the paper on top.
Monoprint by Adia
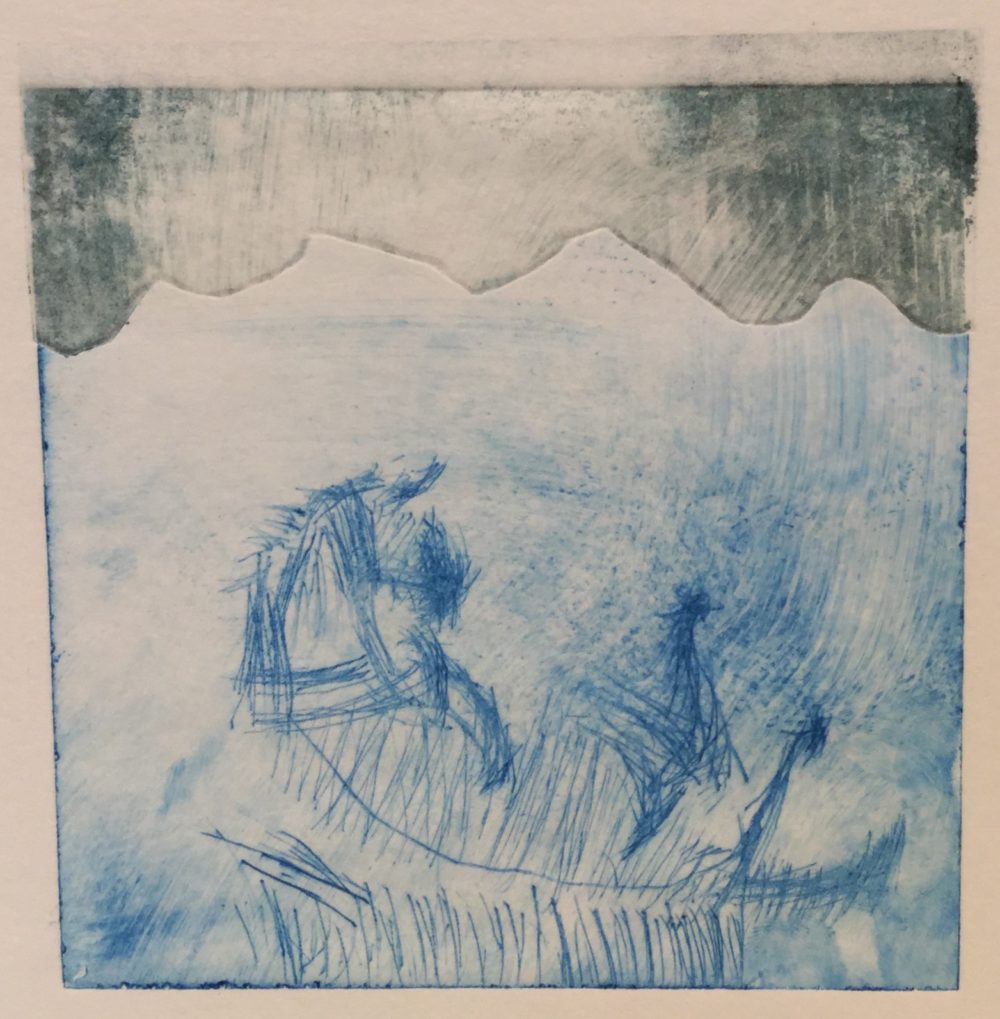
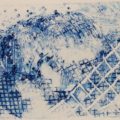
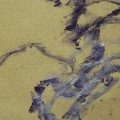
Here are some of the different drypoint monoprints we made. You can see that one etching plate is used to make many different designs. That’s why they are called mono prints.
Monoprint by Lily
Monoprint by Lily
Monoprint by Lily
Monoprint by Ema
Monoprint by Ema
Monoprint by Ema
Okay, so the next week we made two other kinds of printing plates.
No boring stuff in these kids creativity sessions!
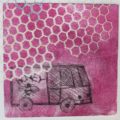
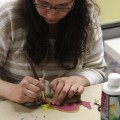
This time we didn’t scratch the designs into the plates. The first type of plate we made was a collagraph printing plate. You make these by gluing different things to a heavy cardboard surface to create textures. Then we coated the plates (objects and all) with a sealer and waited for them to be totally dry. The sealer keeps the ink from soaking into the cardboard and other objects we used to create out designs. Some kids used corrugated cardboard, stencils, grid fabric and paper cutouts to cover their cardboard almost totally with textures. Other kids left a lot of empty space on their cardboard plates and just made marks on them with ink and different tools such as their fingers, cotton swabs, brushes and rags.
Monoprint by Lily
Monoprint by Silas
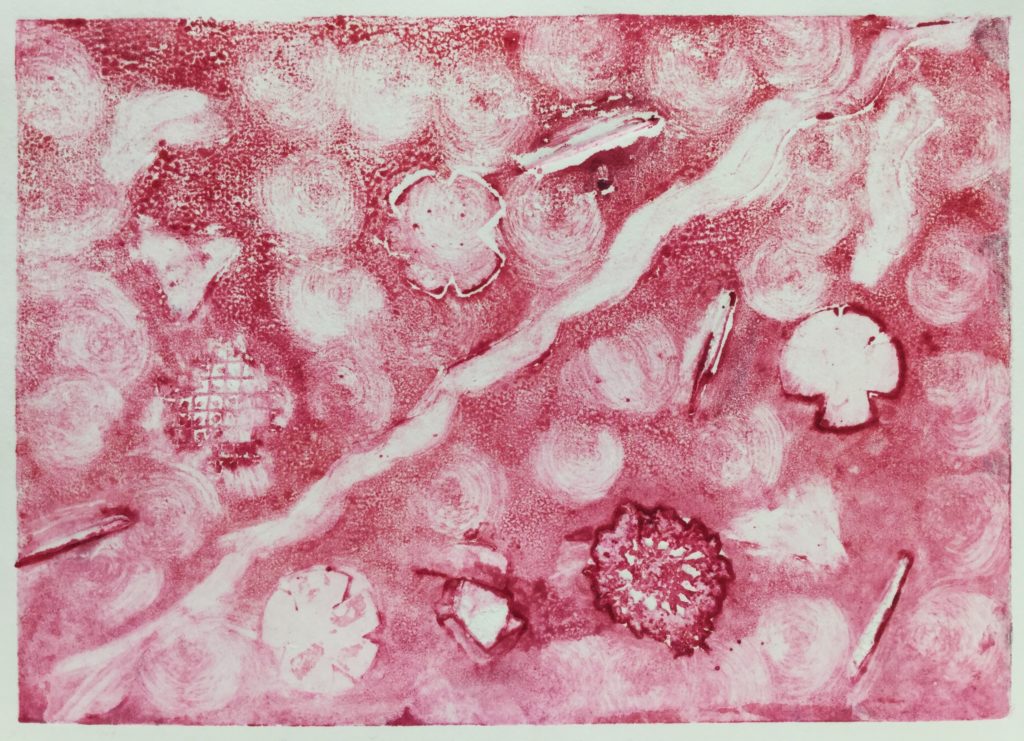
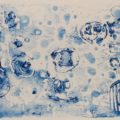
We tried using corn meal sprinkled onto area where we had painted glue. This worked pretty well to make a very different texture. In the blue monoprint (below) made by Jasmine, you can see the cornmeal in the sky. She wanted to show flower pollen blowing in the wind. In the black and white monoprint (above) by Silas, you can see very lightly sprinkled cornmeal made a cool texture near the top of his composition.
Monoprint by Jasmine
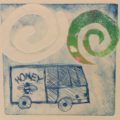
The other kind of plate we made the second week was plexiglass with hot wax applied to it by brushing and dripping. Then we carved designs into the wax with tools. The wax was easier to draw into than last week when we had to scratch with sharp tools into the hard plexiglass. We inked up the wax plates and ran them through the press with paper. Those came out kinda cool. Here are some examples of the waxed monoprints:
Monoprint “Flying Math,” by Adia
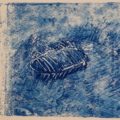
Monoprint “Crawdad” by Colton
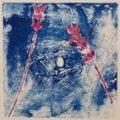
Monoprint “Flying Math II” by Adia
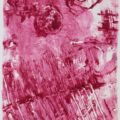
Monoprint in Red by Silas
Monoprint “Eye with Lavender” by Colton
Monoprint “Mustache” by Lily
Monoprint “Emoticons” by Jasmine
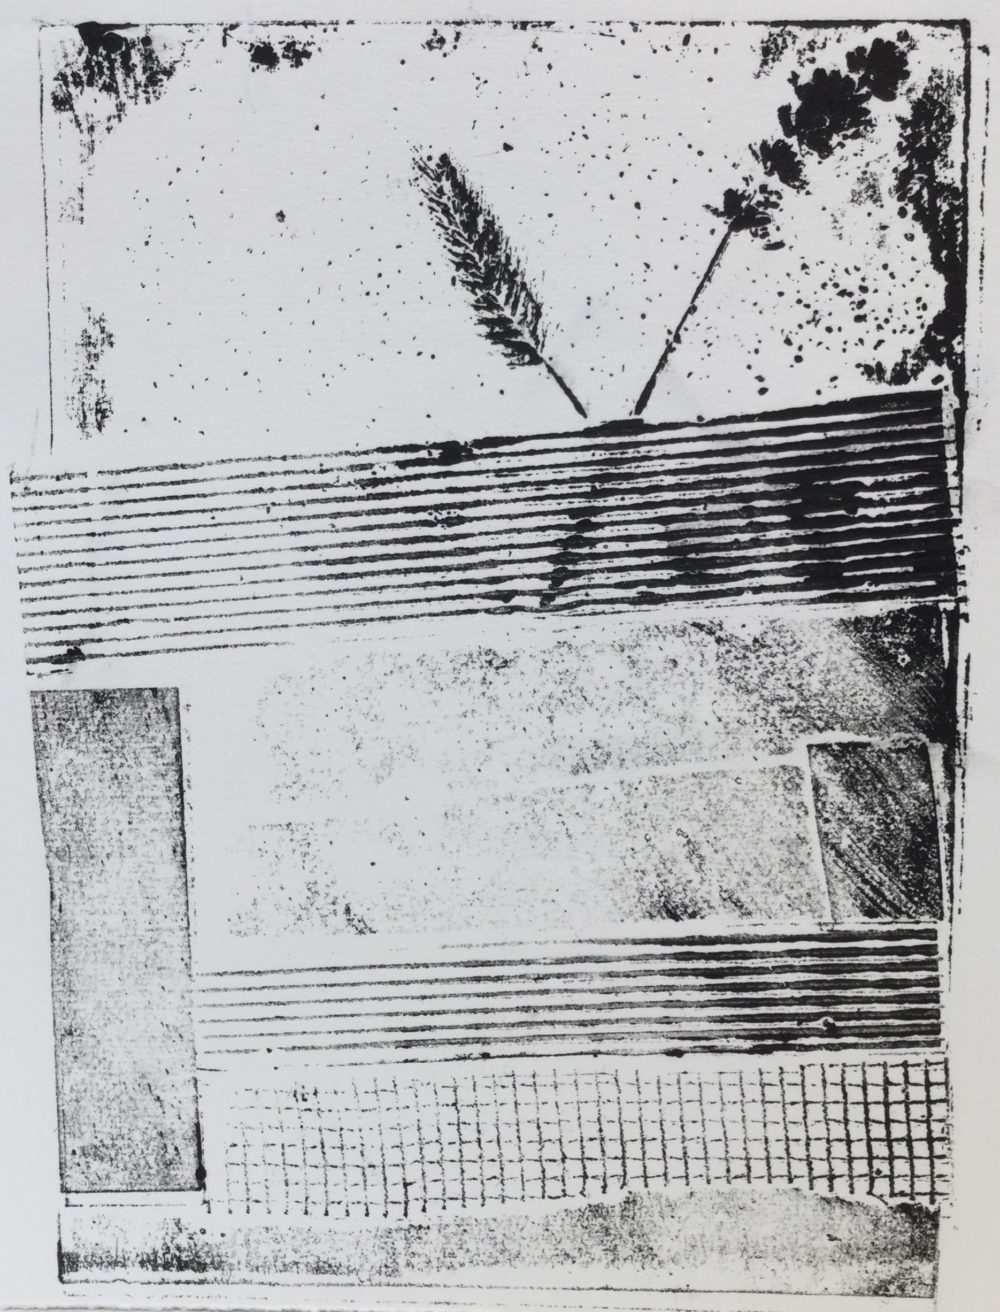
Monoprint demo
Monoprint “Eye” by Colton
We hope you enjoyed seeing the results of our hard work and fun play in Maureen’s art classes. Most of these prints will be framed and on display in October when we have our 2nd Annual Young Voices art exhibit at 1+1=1 Gallery in Helena. Watch for news about that show! We’re all excited about it.
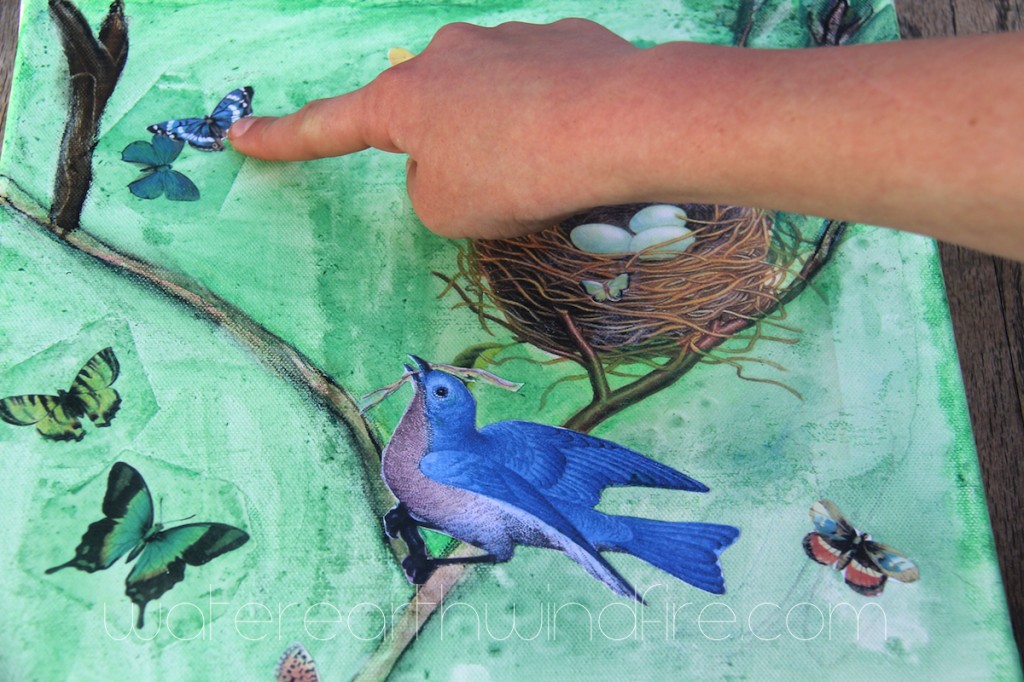
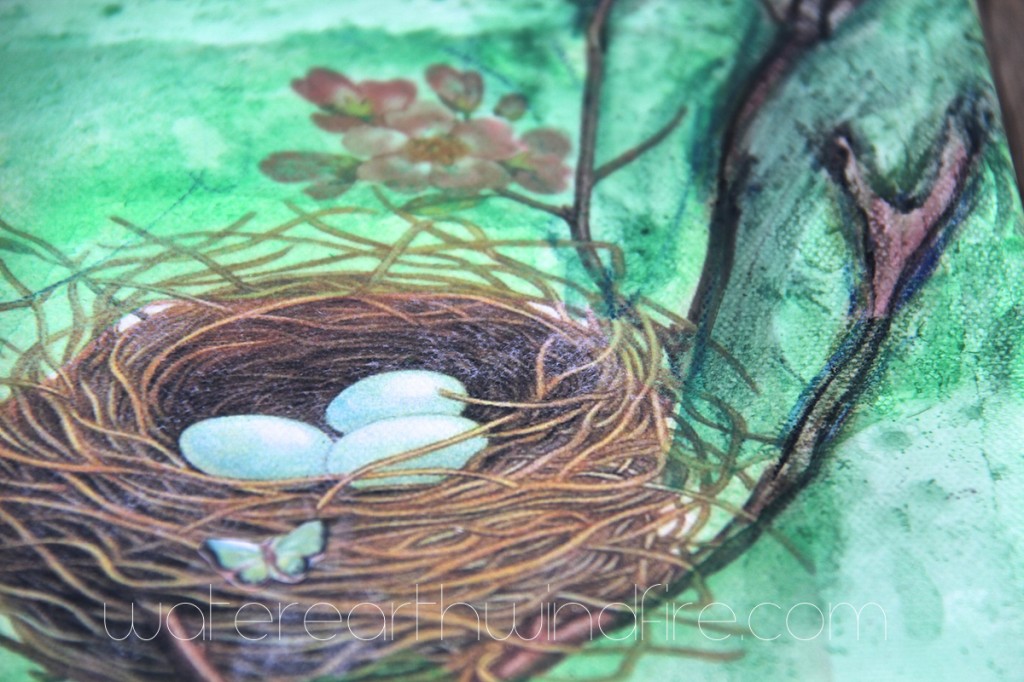
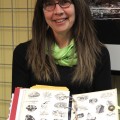
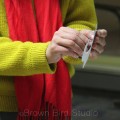
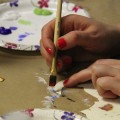
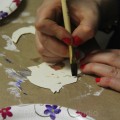
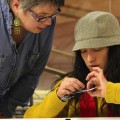
Ema Blue spends Wednesday afternoons with me at my studio. She is my unofficial “gallery assistant” and art student. She dusts Tim’s furniture, sweeps the sidewalk, takes Charlie for a walk, fetches me coffee from across the street, and makes lovely sidewalk chalk signs in front of the gallery. Ema is 11 years old.
Ema is meticulous, creative, precise, funny, cheerful, interested, respectful and persistent. I enjoy her company immensely and I truly look forward to Wednesdays.
For the last few weeks, Ema has worked steadily on a mixed-media artwork. Inspired by the image transfers some of my women friends and I made during one of our Girls Art Nights, Ema started with some image transfers onto a canvas, then used water-soluble colored pencils and collage to complete her piece. I’m always impressed when a young person can sustain interest in a project over a period of days or weeks, and she did on this piece. She finished this one yesterday.
I will write another post soon with my thoughts on the image transfer technique we used, and how to enhance the transfers with other media to create something lovely. Hope you enjoyed seeing Ema Blue’s artwork. Please let her know what you think/feel about her painting by leaving a comment below. Thank you!
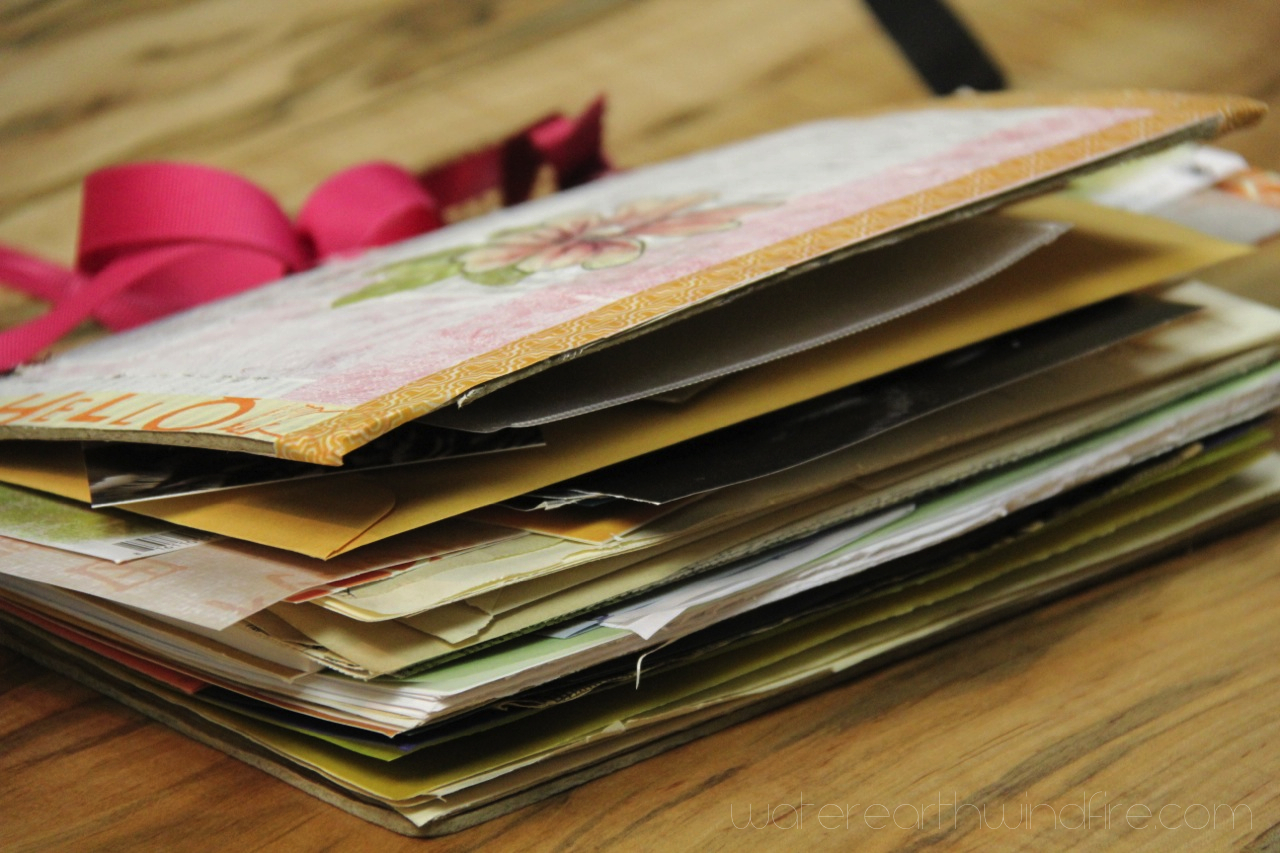
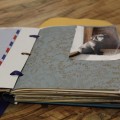
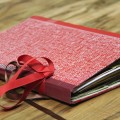
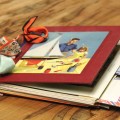
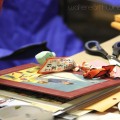
Smash. Smoosh. Squish. Mash. Moosh. Mush. Stuff … Oh, the things you can do with an old book!
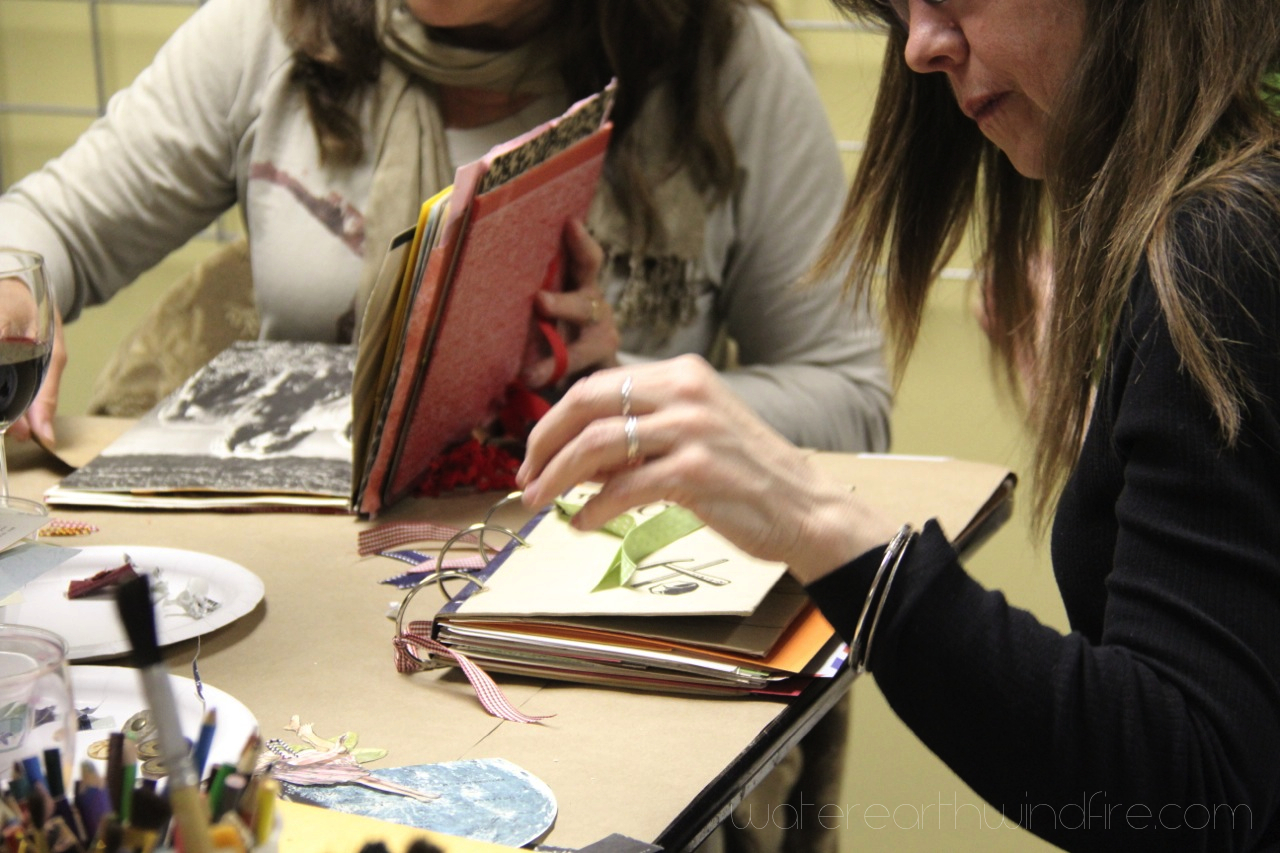
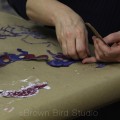
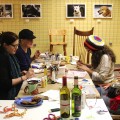
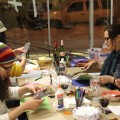
At our monthly Girls Art Night on March 27th, we altered vintage hardback books into Smoosh Books (my take on the official Smash Journals.) There were eleven of us mooshing, drilling, gluing, smooshing and stuffing away at 1+1=1 Gallery. We enjoyed tea, wine, and yummy finger foods. It was a great group of women friends — lots of comraderie and chemistry, laughter and concentration.
If you want to try a Smoosh Book yourself, and you live in Helena, let me know in the comments and maybe we can get together in a smaller group sometime soon to make more smoosh books. Otherwise there is a How-To towards the bottom of this post. 🙂
I have a few vintage books left (I’ve already cut the spines off.) And lots of stuff to stuff into them. I will bring the “ingredients” to our Girls Go gathering in October. What do you think of that idea, my sisters?
Maybe one of these will be a diary of your journey to health. Or a baby book. A collection of family recipes. A book of quotes or a “commonplace book.” A trip journal. A wedding planner, a place to record things your kids say … Whatever you use your smoosh book for, it will be wonderful once you smash it full of your stuff.
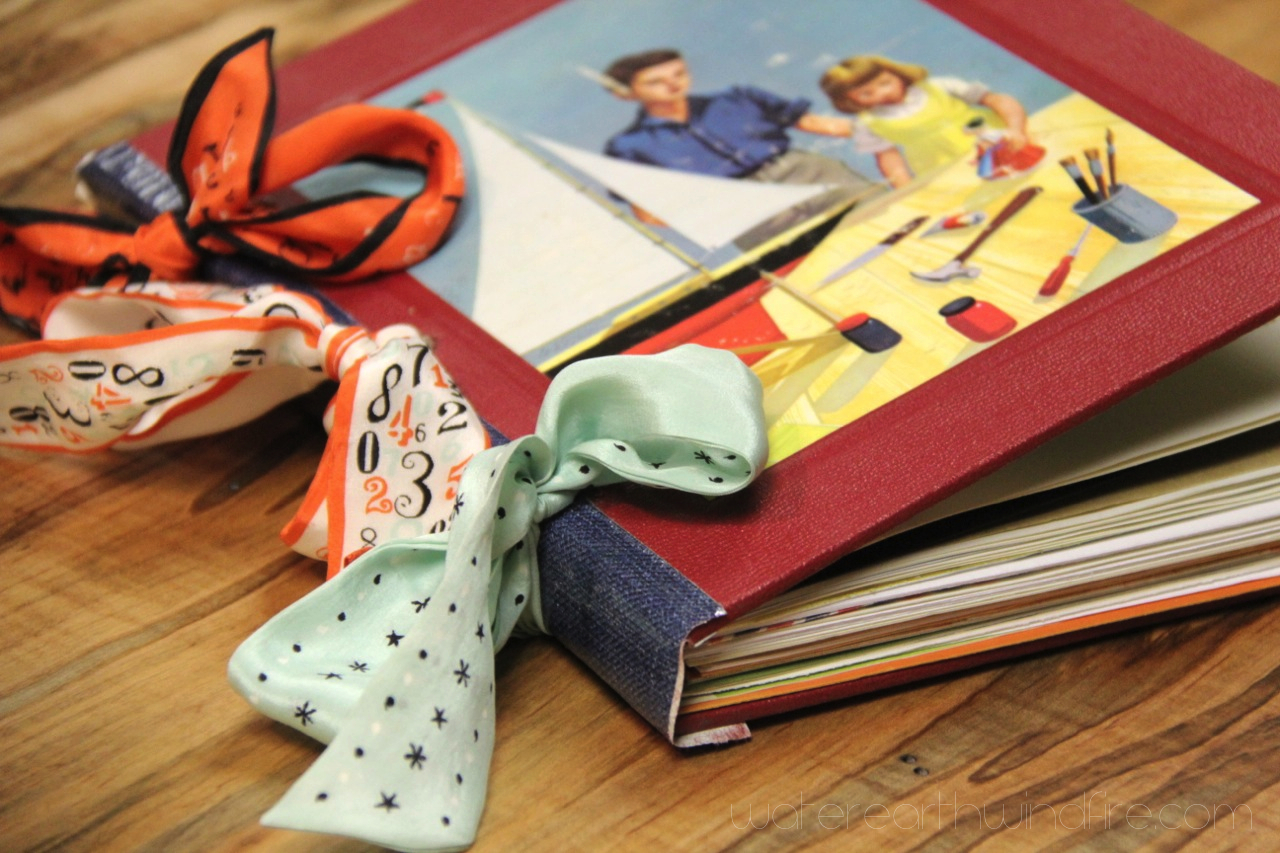
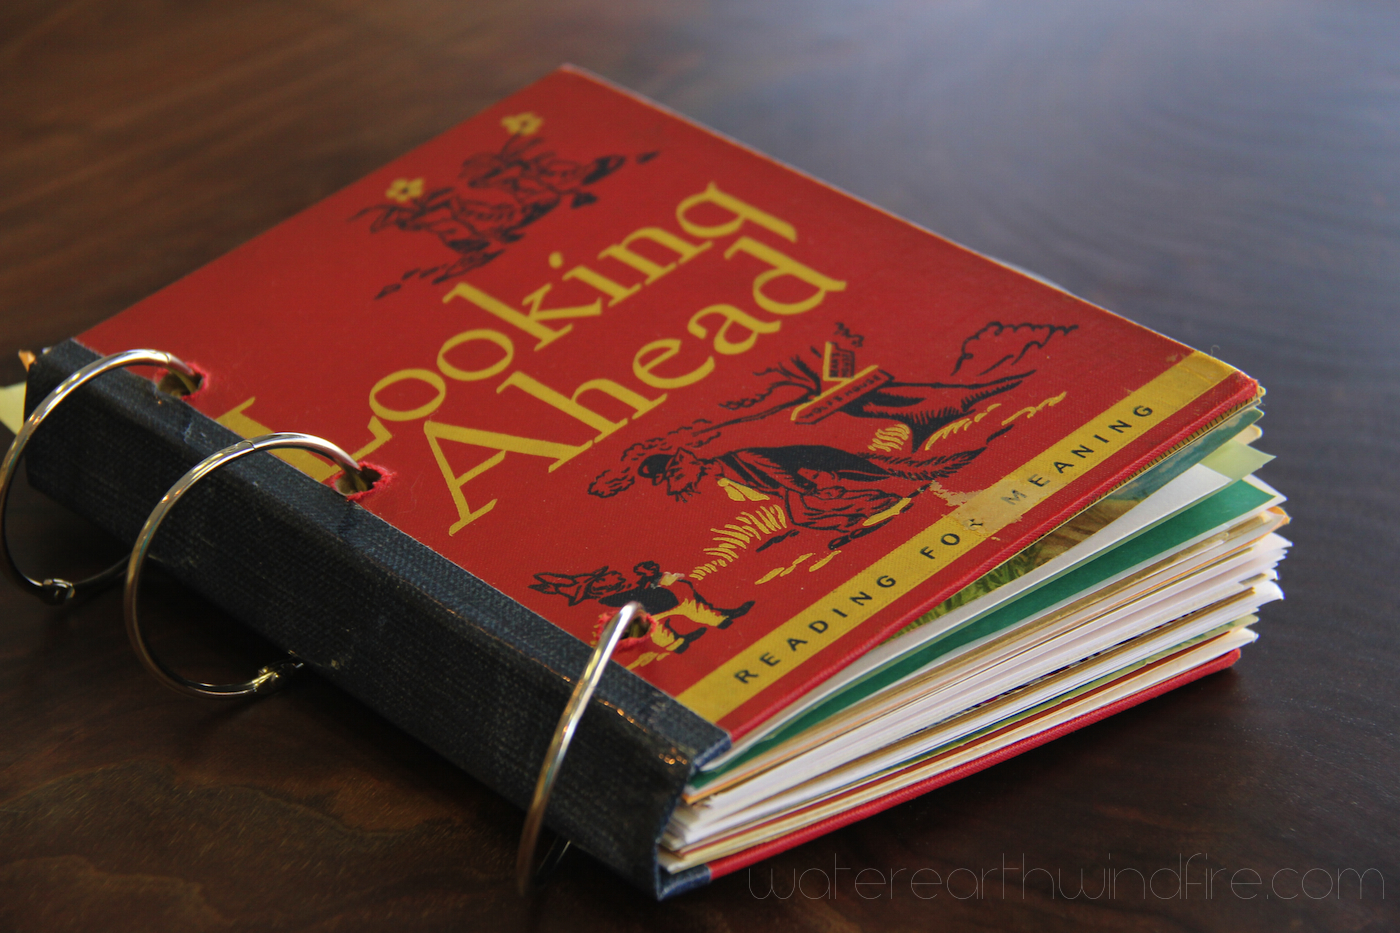
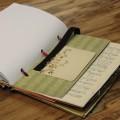
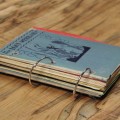
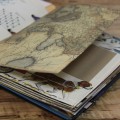
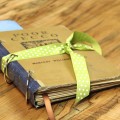
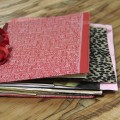
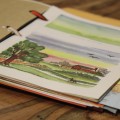
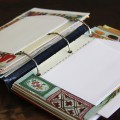
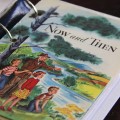
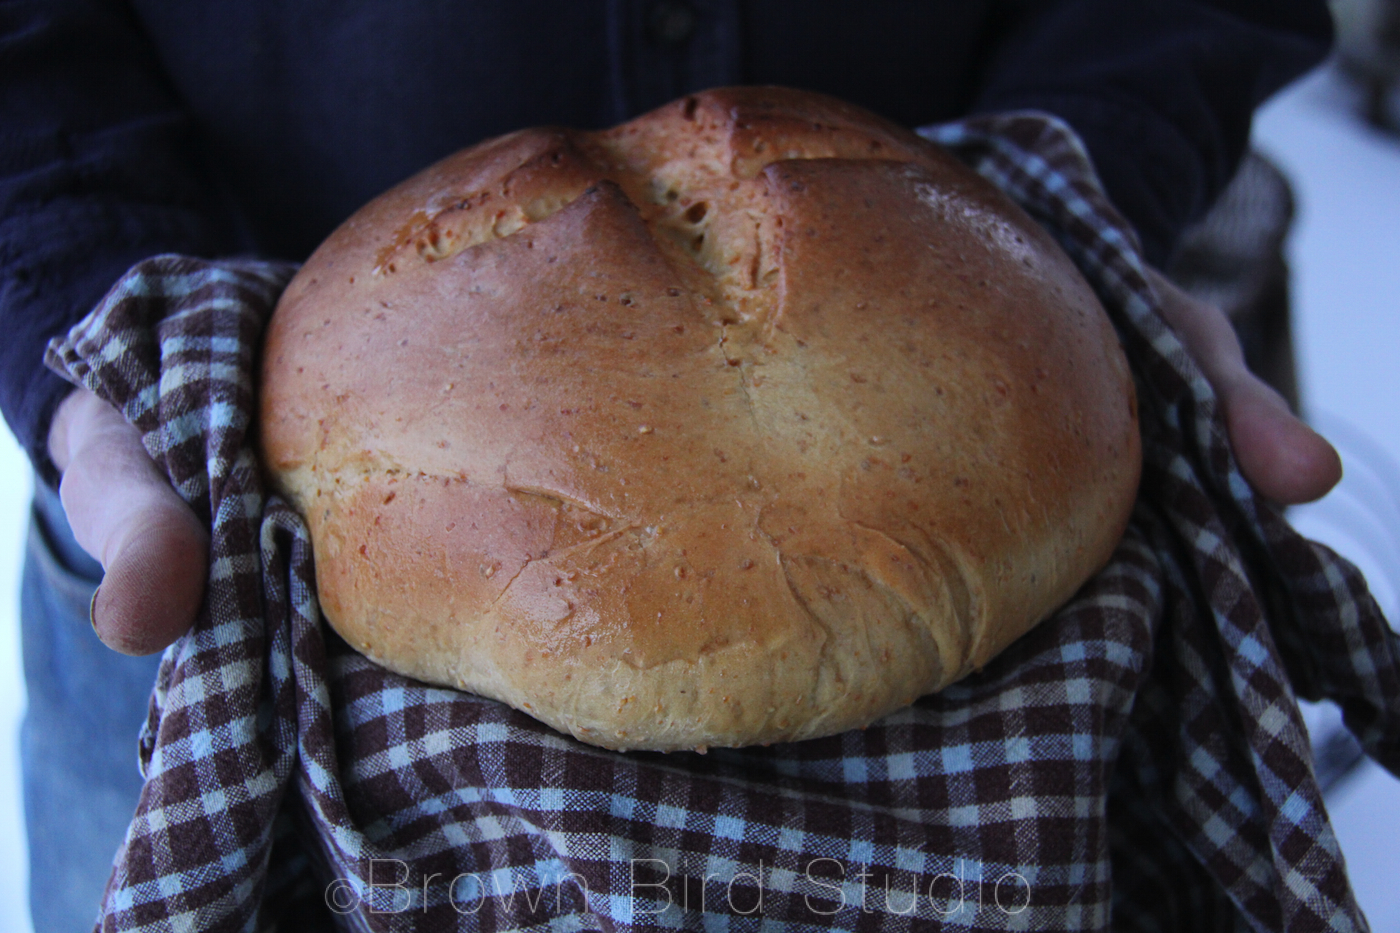
Here’s my mom’s Smoosh Book: I love that she picked the old children’s story collection, “Looking Ahead.” She is going to fill it with stories of her life. Cool!
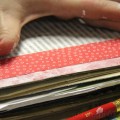
Your Smoosh Book doesn’t have to be perfect. Or finished. It’s a work in progress. This kind of “journal” or scrapbook is great if you’re like me and don’t have the time or personality to do elaborate scrapbooking. The way scrapbooking has changed, it’s the last thing I want to do … I remember when a scrapbook was an album of plain pages you glued things onto — like photos, birthday cards, autographs, paper dolls, ticket stubs, pressed corsages, leaves and flowers. Remember photo-corners? Or LePage’s glue with the red rubber tip? (I know. I know. I’m dating myself. Oh well.)
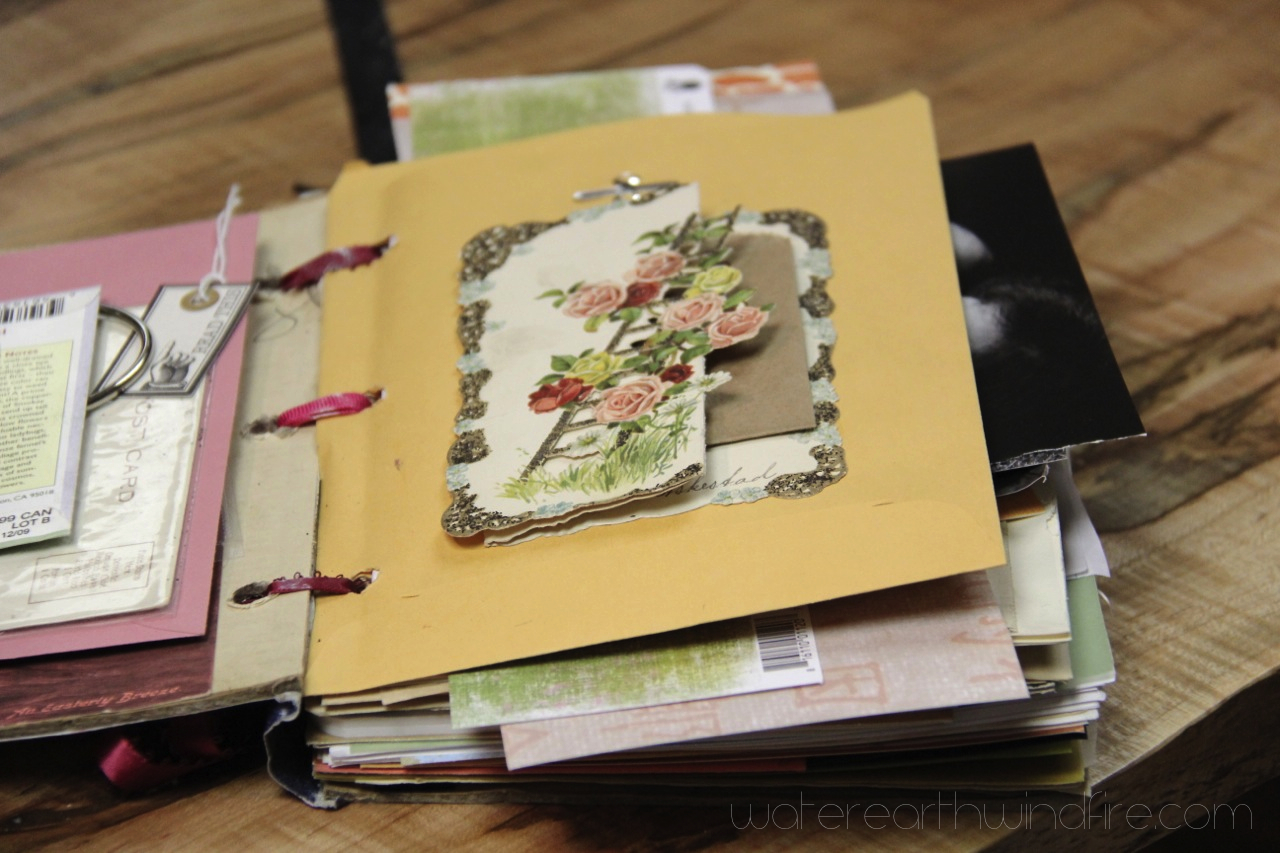
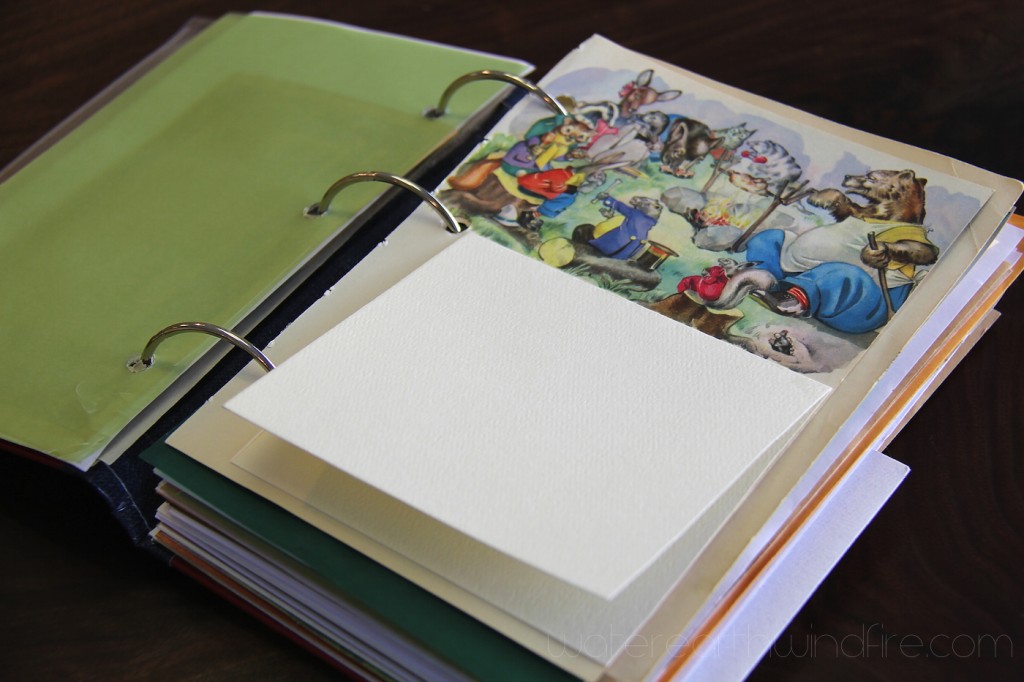
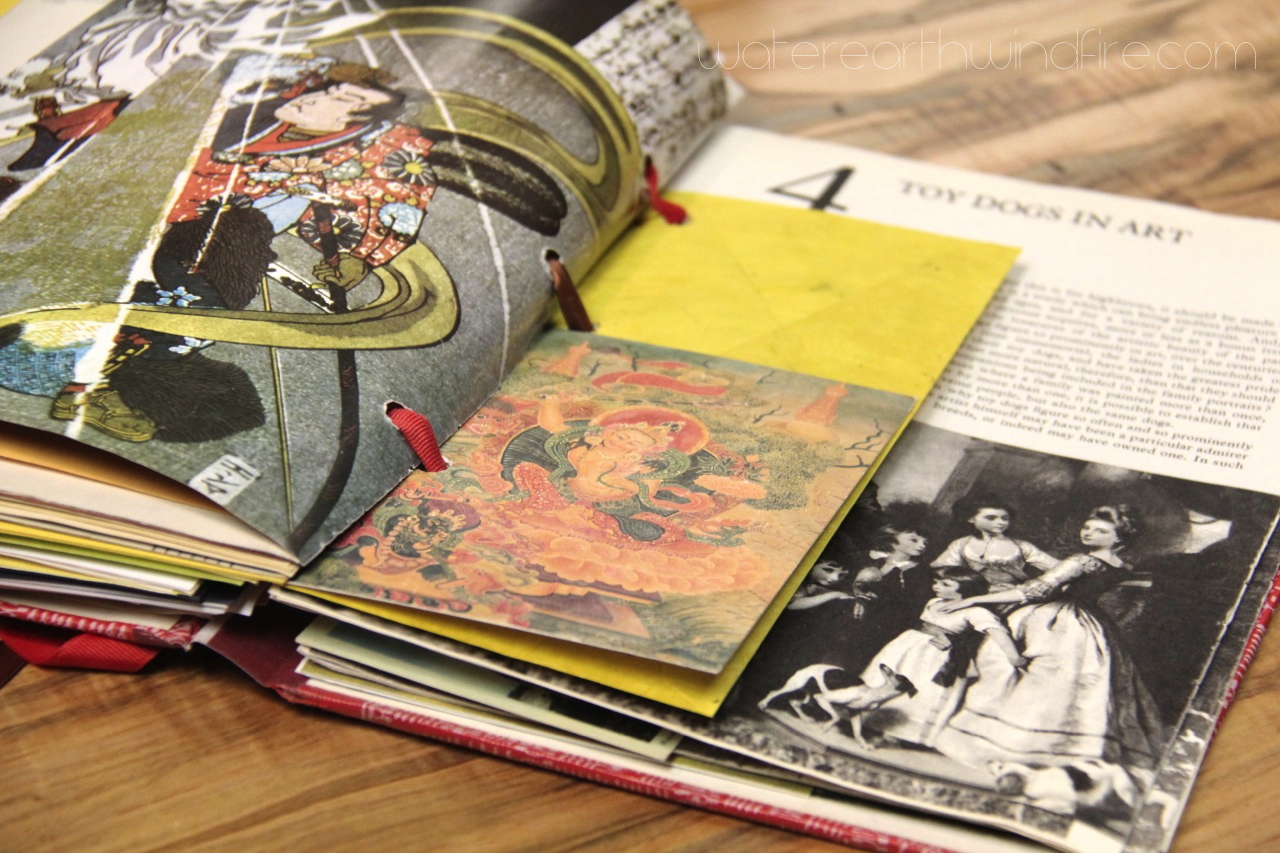
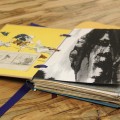
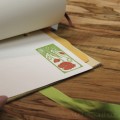
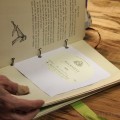
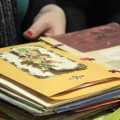
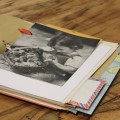
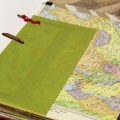
A Smoosh Book can be kinda funky and alotta fun. When you first make the book, you can sort through the old book’s pages and keep the ones you like, recycling the rest. Try incorporating comic book pages, other special papers, translucent papers, seed packets, tiny bags, cellophane bags, glassine envelopes, ribbons, stickers, cards, and any other kind of envelope or pocket.
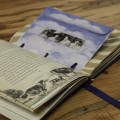
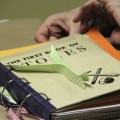
To use your Smoosh Book, add written passages, poetry, quotes … lists of stuff you’re doing/planning/wishing, recipes, pressed flowers and leaves, feathers, seeds, labels, photos, doodles, menus, tickets, found lists, anything you can think of.
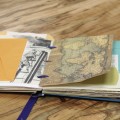
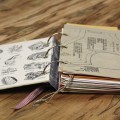
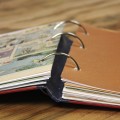
Use ribbons or binder rings to tie the book together so you can add pages as you find cool stuff (like envelopes.) Your book will grow as you use it. Eventually it becomes stuffed with stuff. And looks like it’s exploding and that’s totally okay. You can add bigger binder rings if it gets hard to turn the pages because you’re adding so much stuff.
Here’s what you need to make your own Smoosh Book:
Old hardback book from thrift store
band saw to cut off the spines
power sander to sand the edges where you cut
drill to drill holes through the entire book
clamp to hold the book covers and pages together while you drill
paper punch for miscellaneous papers — use one you can line up to match the holes you drilled
envelopes, extra blank papers, etc to fill the book
ring binders (preferably large) or ribbons, twine, leather cords, shoelaces
duct tape (for your new spine)
spray adhesive or dry-mount glue to attach pockets and envelopes that are not bound in to the book
washi tape, other tapes
white acrylic paint or gesso to paint over text where you want to be able to write
flat wide brushes, either bristle or foam, for painting
bits and pieces from the list below, or whatever you have around
Basic Instructions to Make Your Own Smoosh Book:
Cut off the spine of your hardback book with a band saw. Watch out for metal staples. If the spine has staples, just cut a little more off to avoid the metal.
Sand off the edges to make them nice and even.
Separate the pile of book pages from the front and back covers.
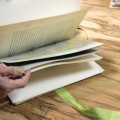
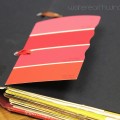
Make a new “spine” using duct tape attached to just the two covers. This will keep all the loose stuff inside your book.
Go through the pages of the book and pull out all the pages except the ones you want to keep. This will make your book much “thinner” at this point.
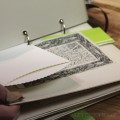
Decide what other papers you are going to add to your book. This can include large envelopes, flat bags, pockets, other types of papers …
Cut the extra papers to size and put them where you want them in the book.
Add the other papers such as envelopes where you want them. Don’t worry about everything lining up perfectly. It’s okay to have some things sticking out. These act like “tabs” later.
Clamp everything together on a work table, and using your power drill, drill 3 holes through the whole mess.
Put it all together with ribbons, ring binders or whatever you have decided to use to attach.
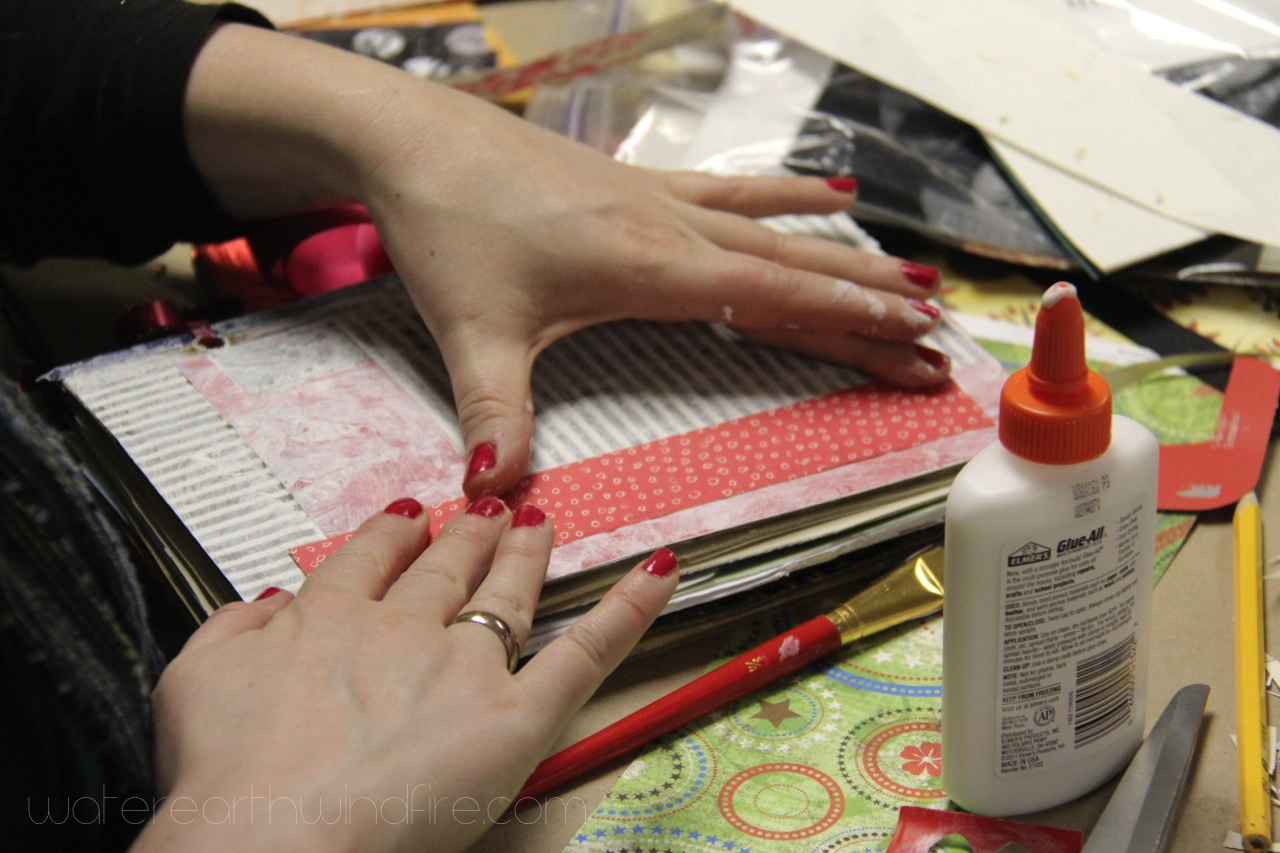
Now you’re ready to start gluing things into your Smoosh Book, then adding your words.
Above all else, have fun!
Use a band saw to cut off the spine of your hardback book
Below is a list of ideas and inspiration: things you might want to stuff in your Smoosh Book as it grows …
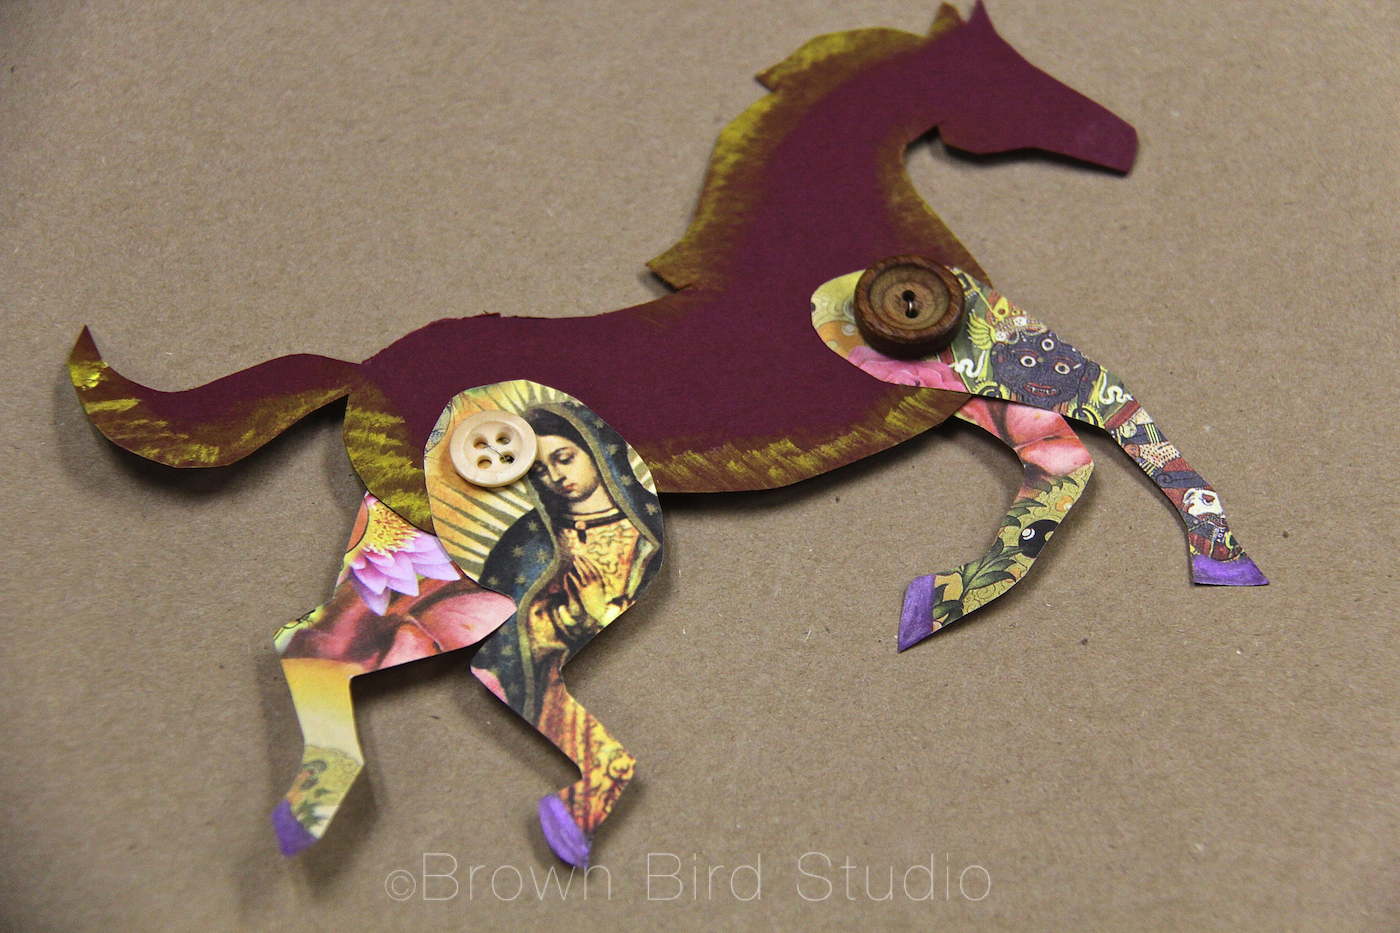
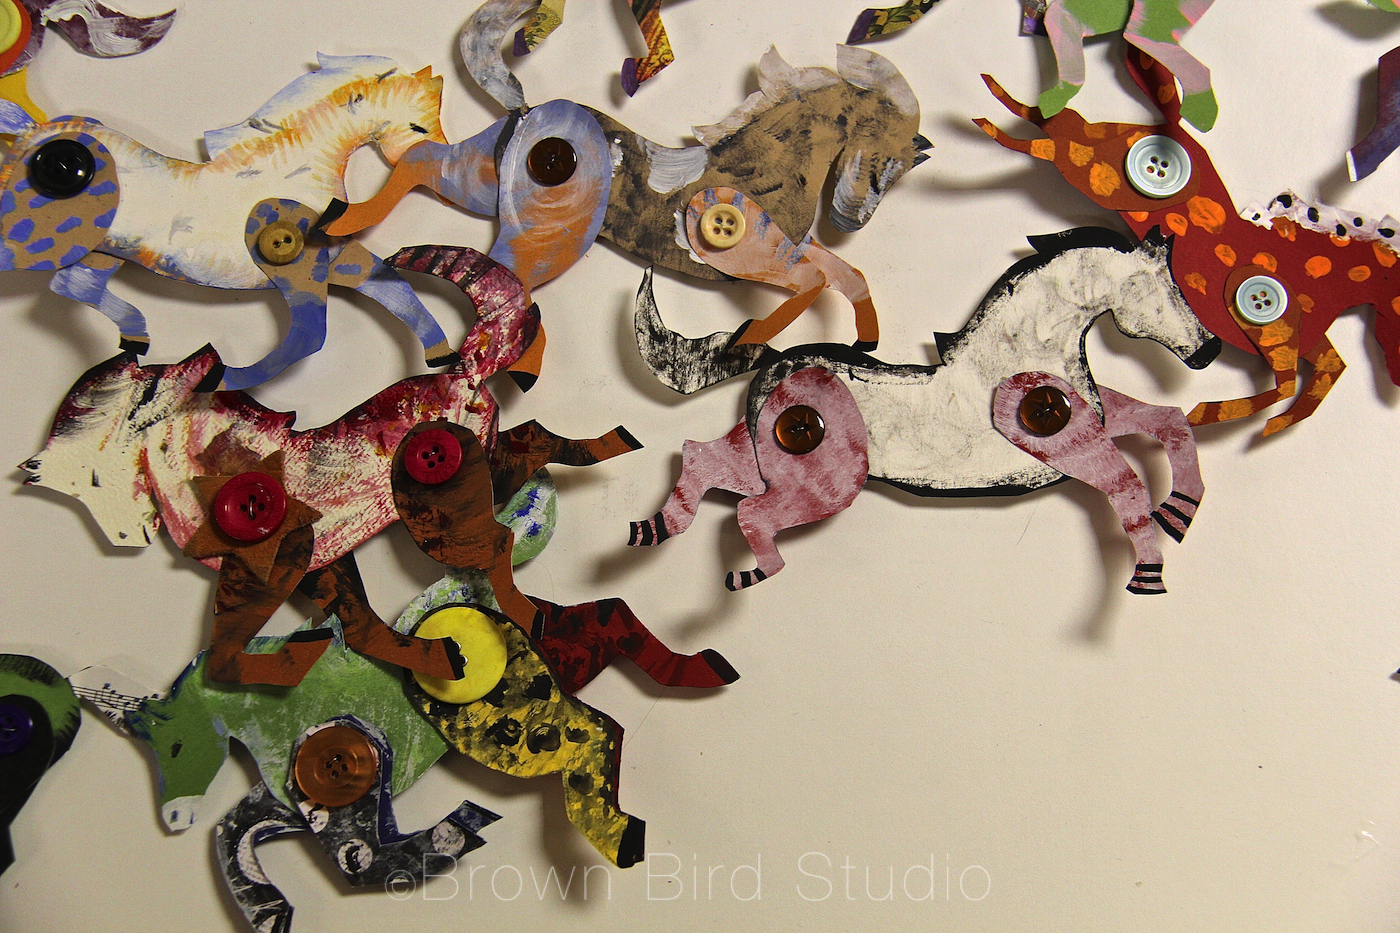
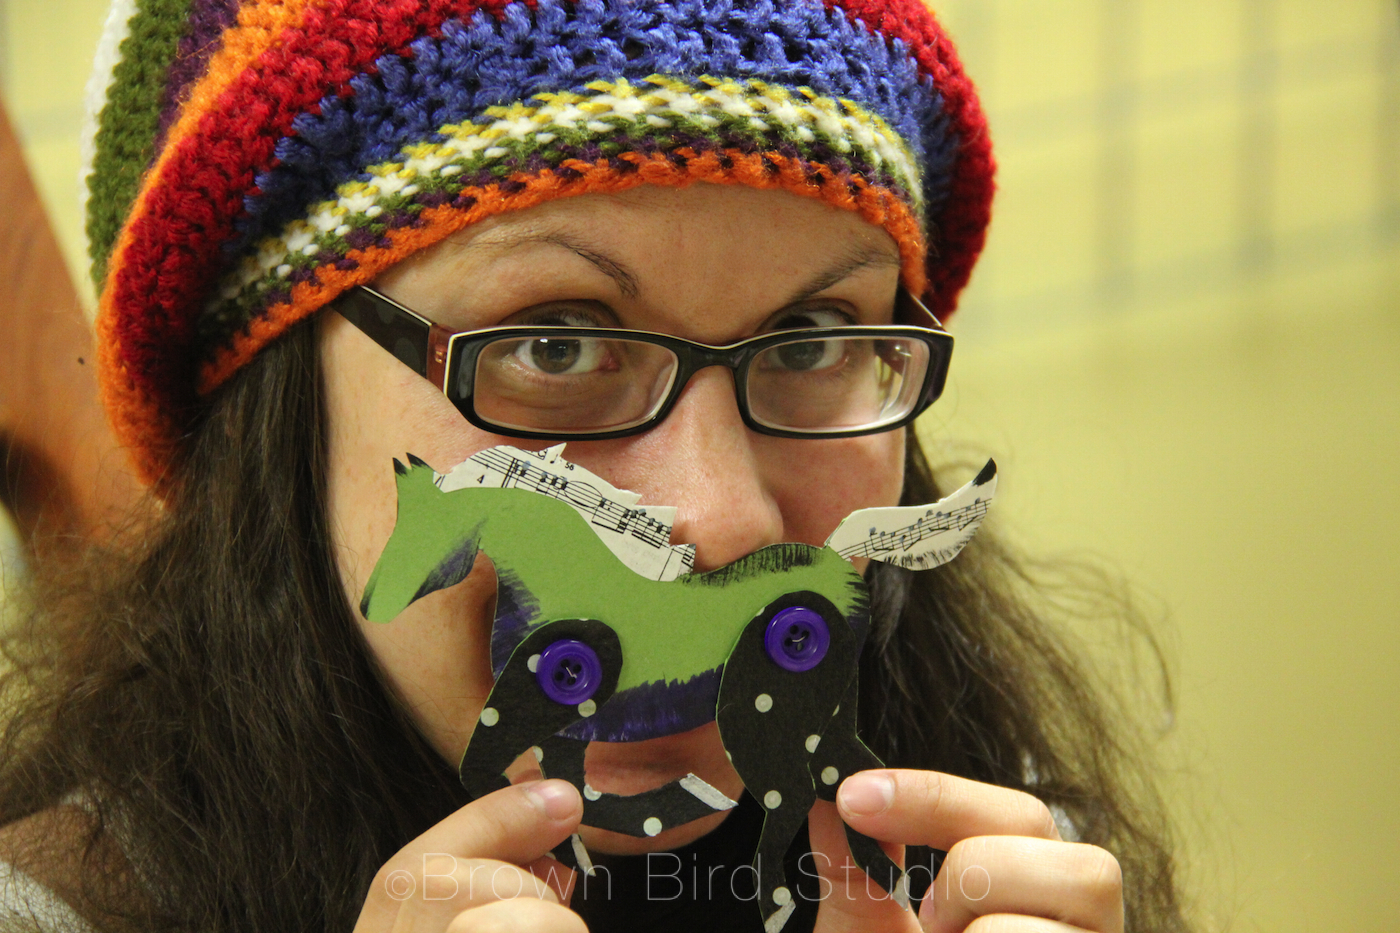
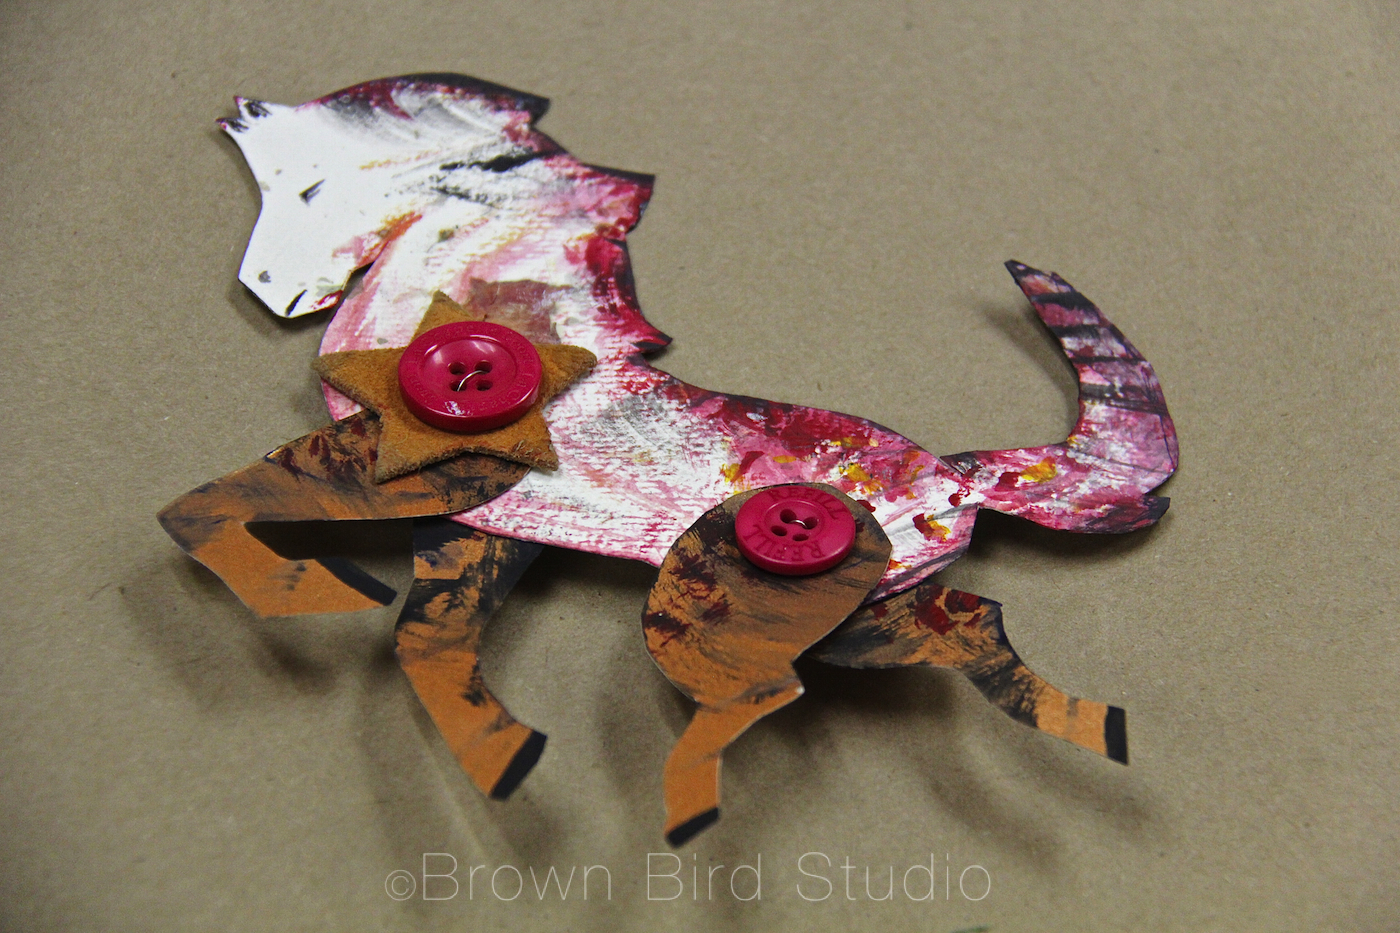
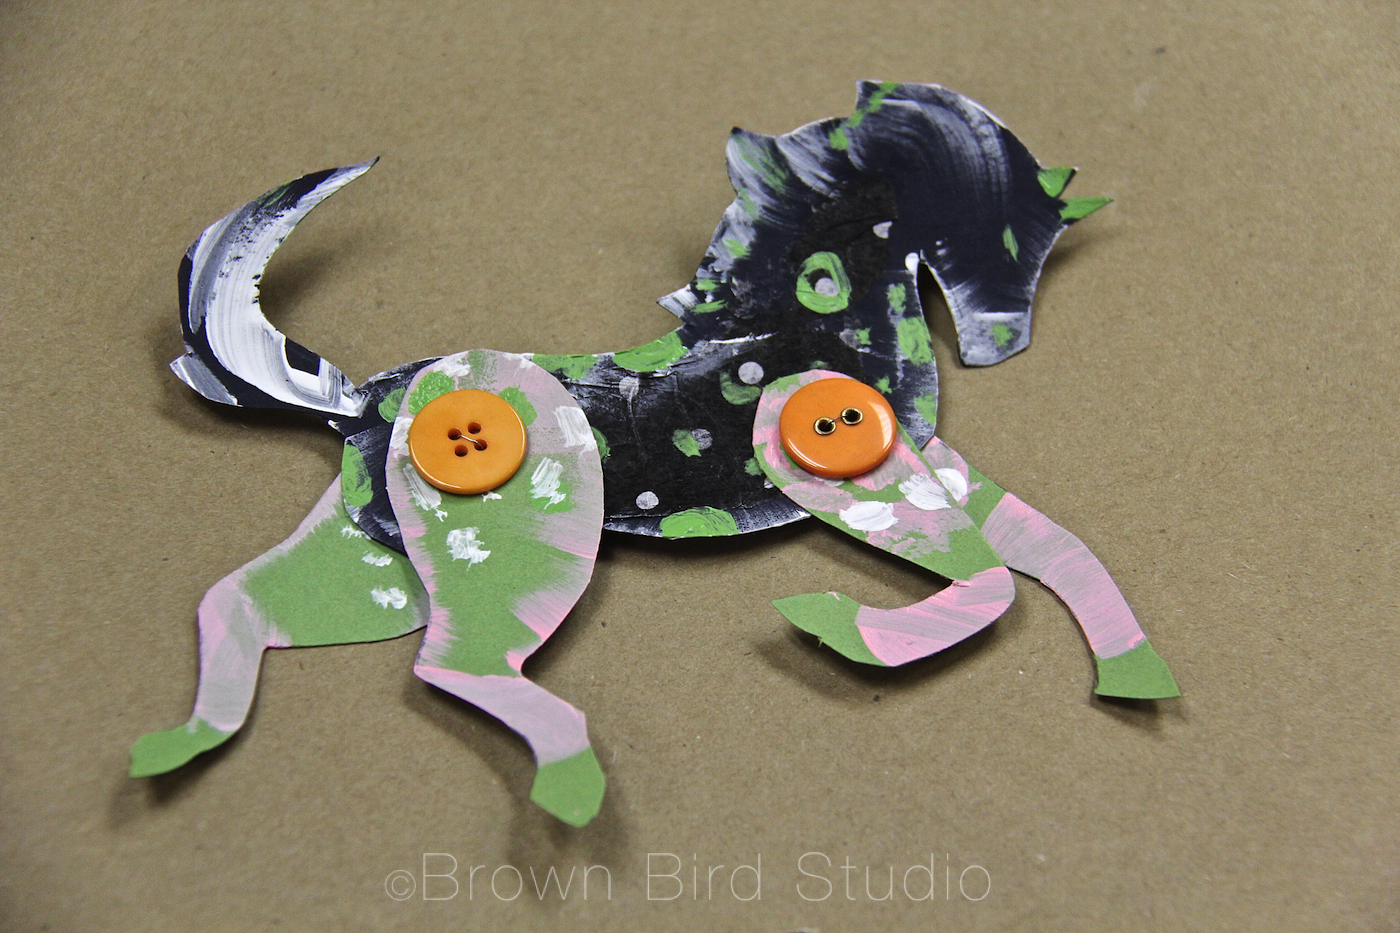
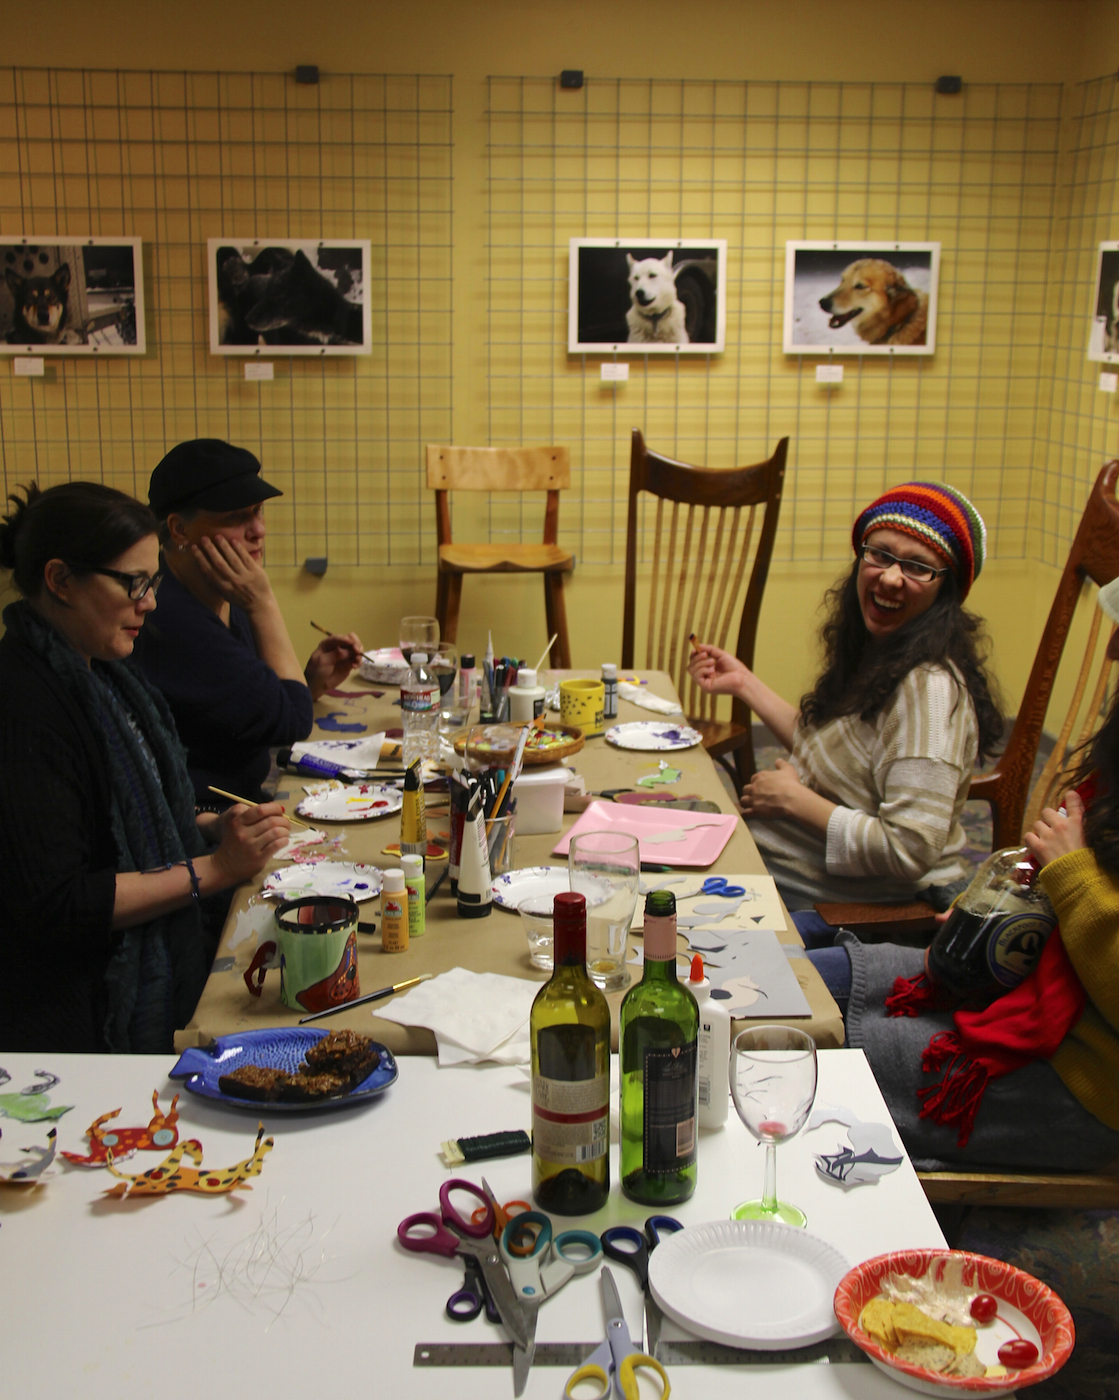
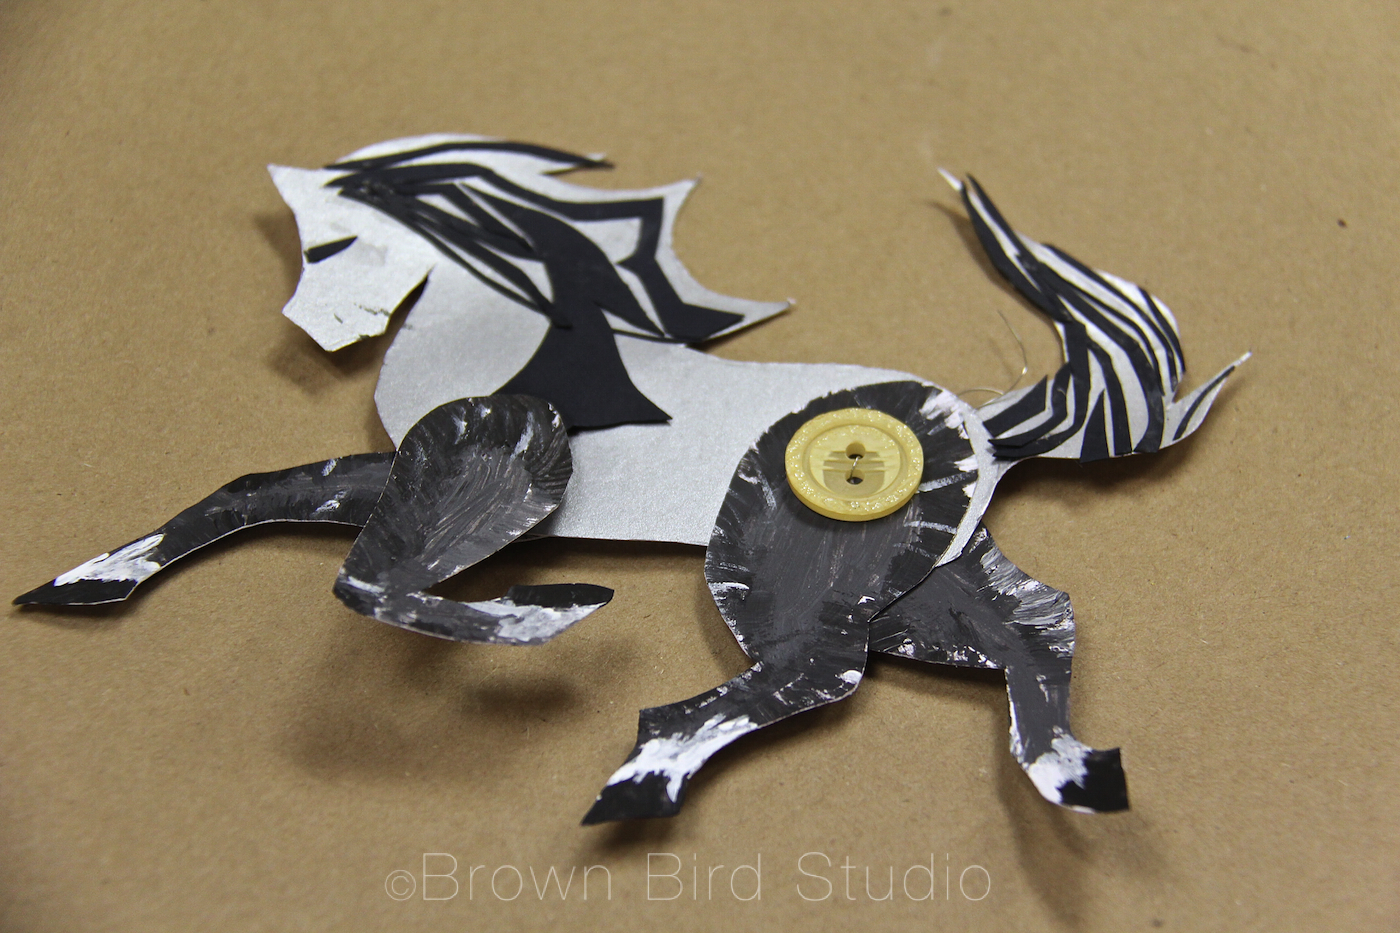
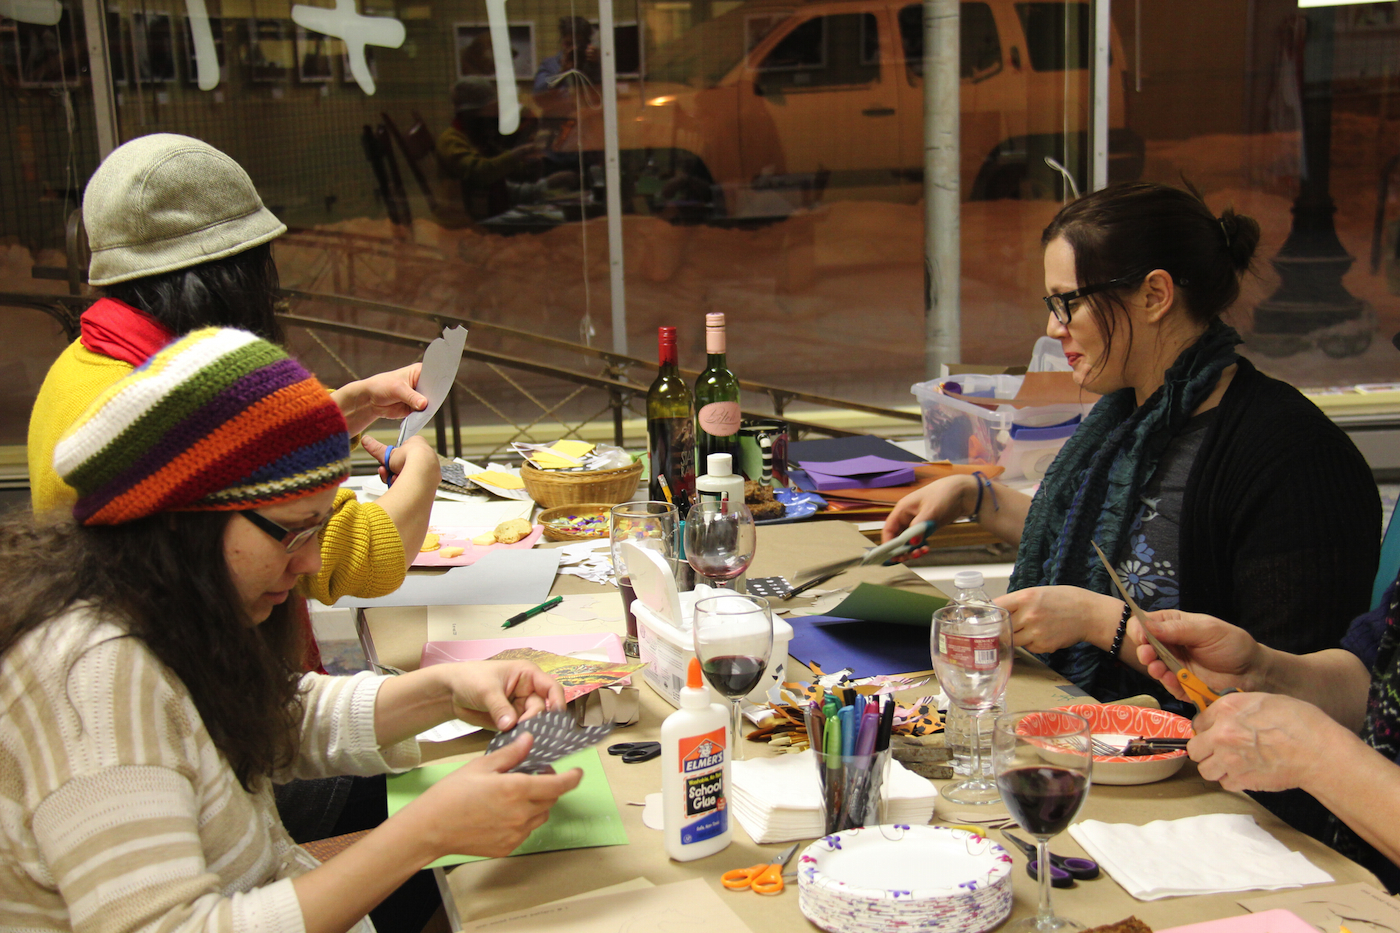
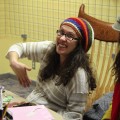
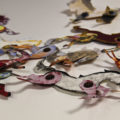
Last night at our first monthly Girls Art Night at 1+1=1 Gallery (Brown Bird Studio) we were inspired by Ann Wood’s creative exercise to make these absolutely delightful horses. We were a small group — just the perfect size, though as we continue to do these art-nights I hope other women will join us.
Shayna, Jaime, Cari and I gave some of our horses to Whitney, who is ready to give birth any day now. Her little boy will be born in the Year of the Horse. He will have a herd of wild horses to remind him of his naturally wild joy. With a mama like Whitney we know he’ll grow up snorting with laughter, jumping with glee and letting his wildness out into the world. (*See bottom of this post for some interesting predictions about this baby — and other babies born in this year of the horse.)
“Last night was like a symbolic circling of all the mares … lending the strength of those who have gone before, to the one ready to walk through that door that you never, ever can cross back through … the becoming of motherhood and the strength and grace of sisterhood … so special to me” — Jaime Terry
We made horses. We laughed. She contracted. We played. Relaxed. Listened to her talk about the baby, the baby’s name, the nest she is preparing. Talked about lack of sleep and future lack of sleep and hope for sleep. And about other things. And nothing at all.
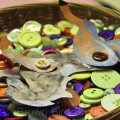
Our hands busy with scissors and paint and buttons. Good food. Good wine. Good company. It’s what women do. We nurture each other with food and listening and love and open arms. A circling of the mares.
We decided to do this every month. Something artsy. Something to connect us. To each other. To our souls. To the Earth.
Please join us at our next Girls Art Night with Brown Bird Studioon the last Thursday of each month.Like our gallery’s facebook page or sign up for updates from 1+1=1 Gallery, and we’ll remind you a few days in advance. Put Girls Art Night on your calendar for March 27th at 6:30 pm. 335 North Last Chance Gulch, Helena.
Our evening gatherings are all about being relaxed and nurturing our inner artistic souls.
Whether you consider yourself artsy or “crafty” or not, I promise you will have a good time. And don’t forget we’ll share food, music and laughter too. The cost is free or minimal, depending on the materials we use.
LINKS:
A perfect horoscope prediction for Whitney’s baby (knowing Whit …): People born in the year of the horse are said to be a bit like horses: animated, active and energetic – they love being in a crowd. They are quick to learn independence – foals can walk minutes after birth – and they have a straightforward and positive attitude towards life. They are known for their communication skills and are exceedingly witty. — from The Guardian (UK) “8 Things You Probably Didn’t Know about the Year of the Horse.”