Wreaths don’t own front doors. And house doors don’t own front door decorations, either. Why not put a bird house or a bird-i-a-box on your front door? My mother recently downsized to a two bedroom apartment in a retirement community, so she has an apartment door in a hallway rather than the outside door she used to have. She has always loved having a wreath or some other wonderful, hand made seasonal decoration on her front door to welcome family, friends and strangers.
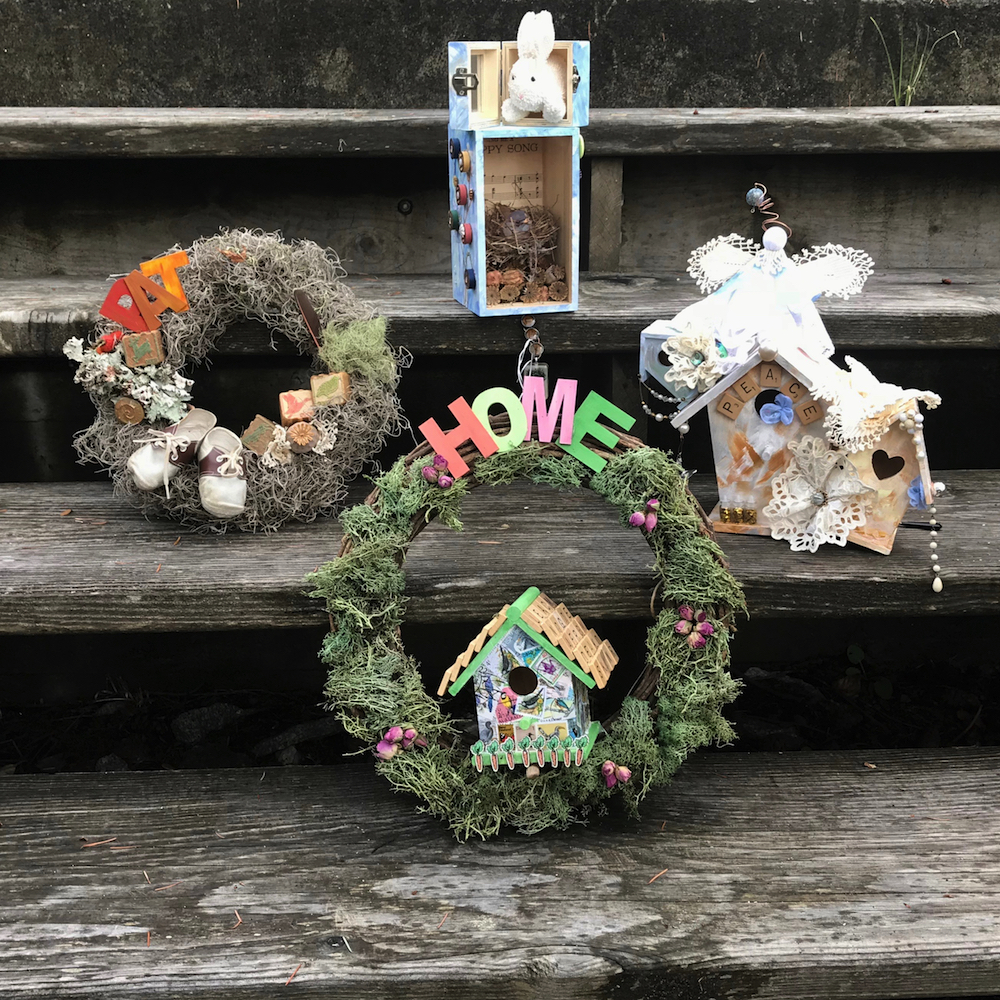
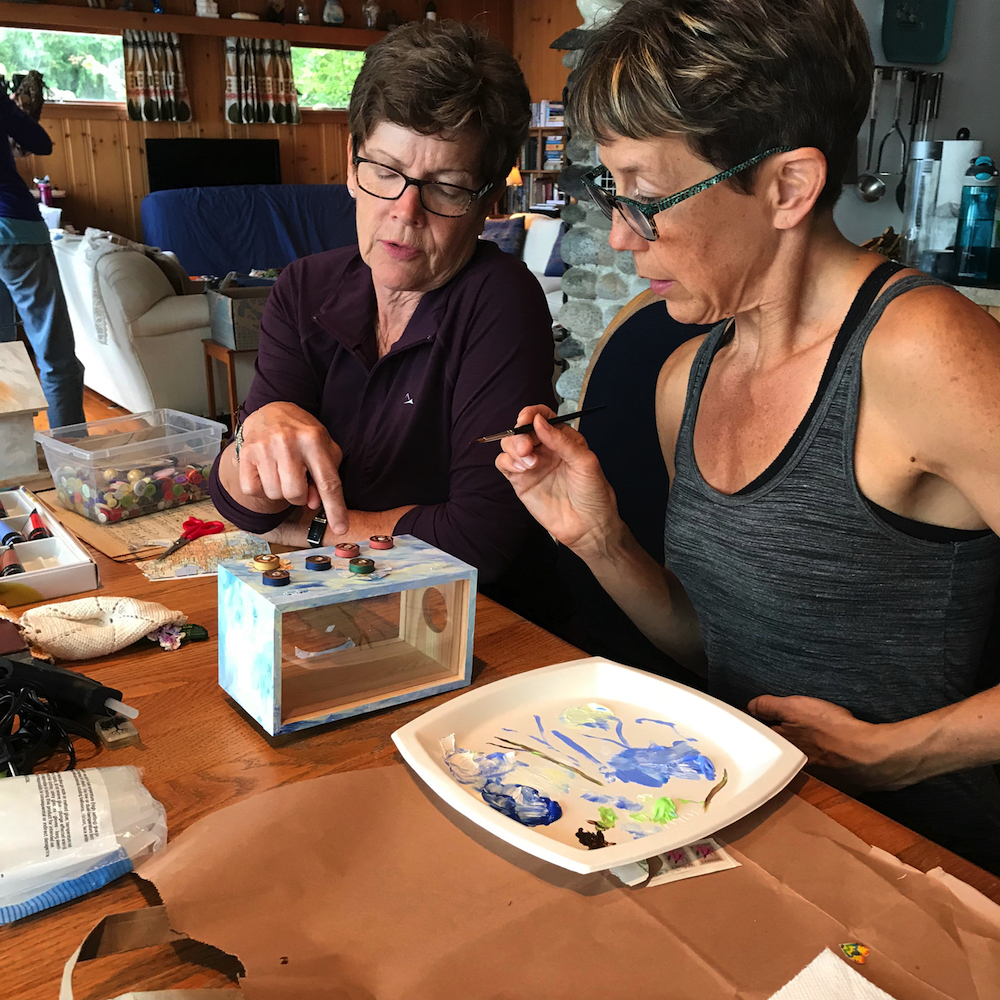
So … my sisters and I got together and made Mom four seasonal craftily-decorated yummies for her new apartment door. She loves birds, gardening, traveling and artsy things. So we all brought bits and pieces from our closets, junk drawers and craft rooms and collaborated on these wonderful pieces.
For spring, she has a little box with a glass-front box containing a bird nest and music … oh. plus a bunny-in-a-box on top. Of course!
Summer’s door decoration is a wreath with bird house covered with bird and flower stamps from around the world, 8 carrots for her 8 children, and roof tiles of scrabble bits. Rose buds, reindeer moss and the word, “Home” make it really welcoming.
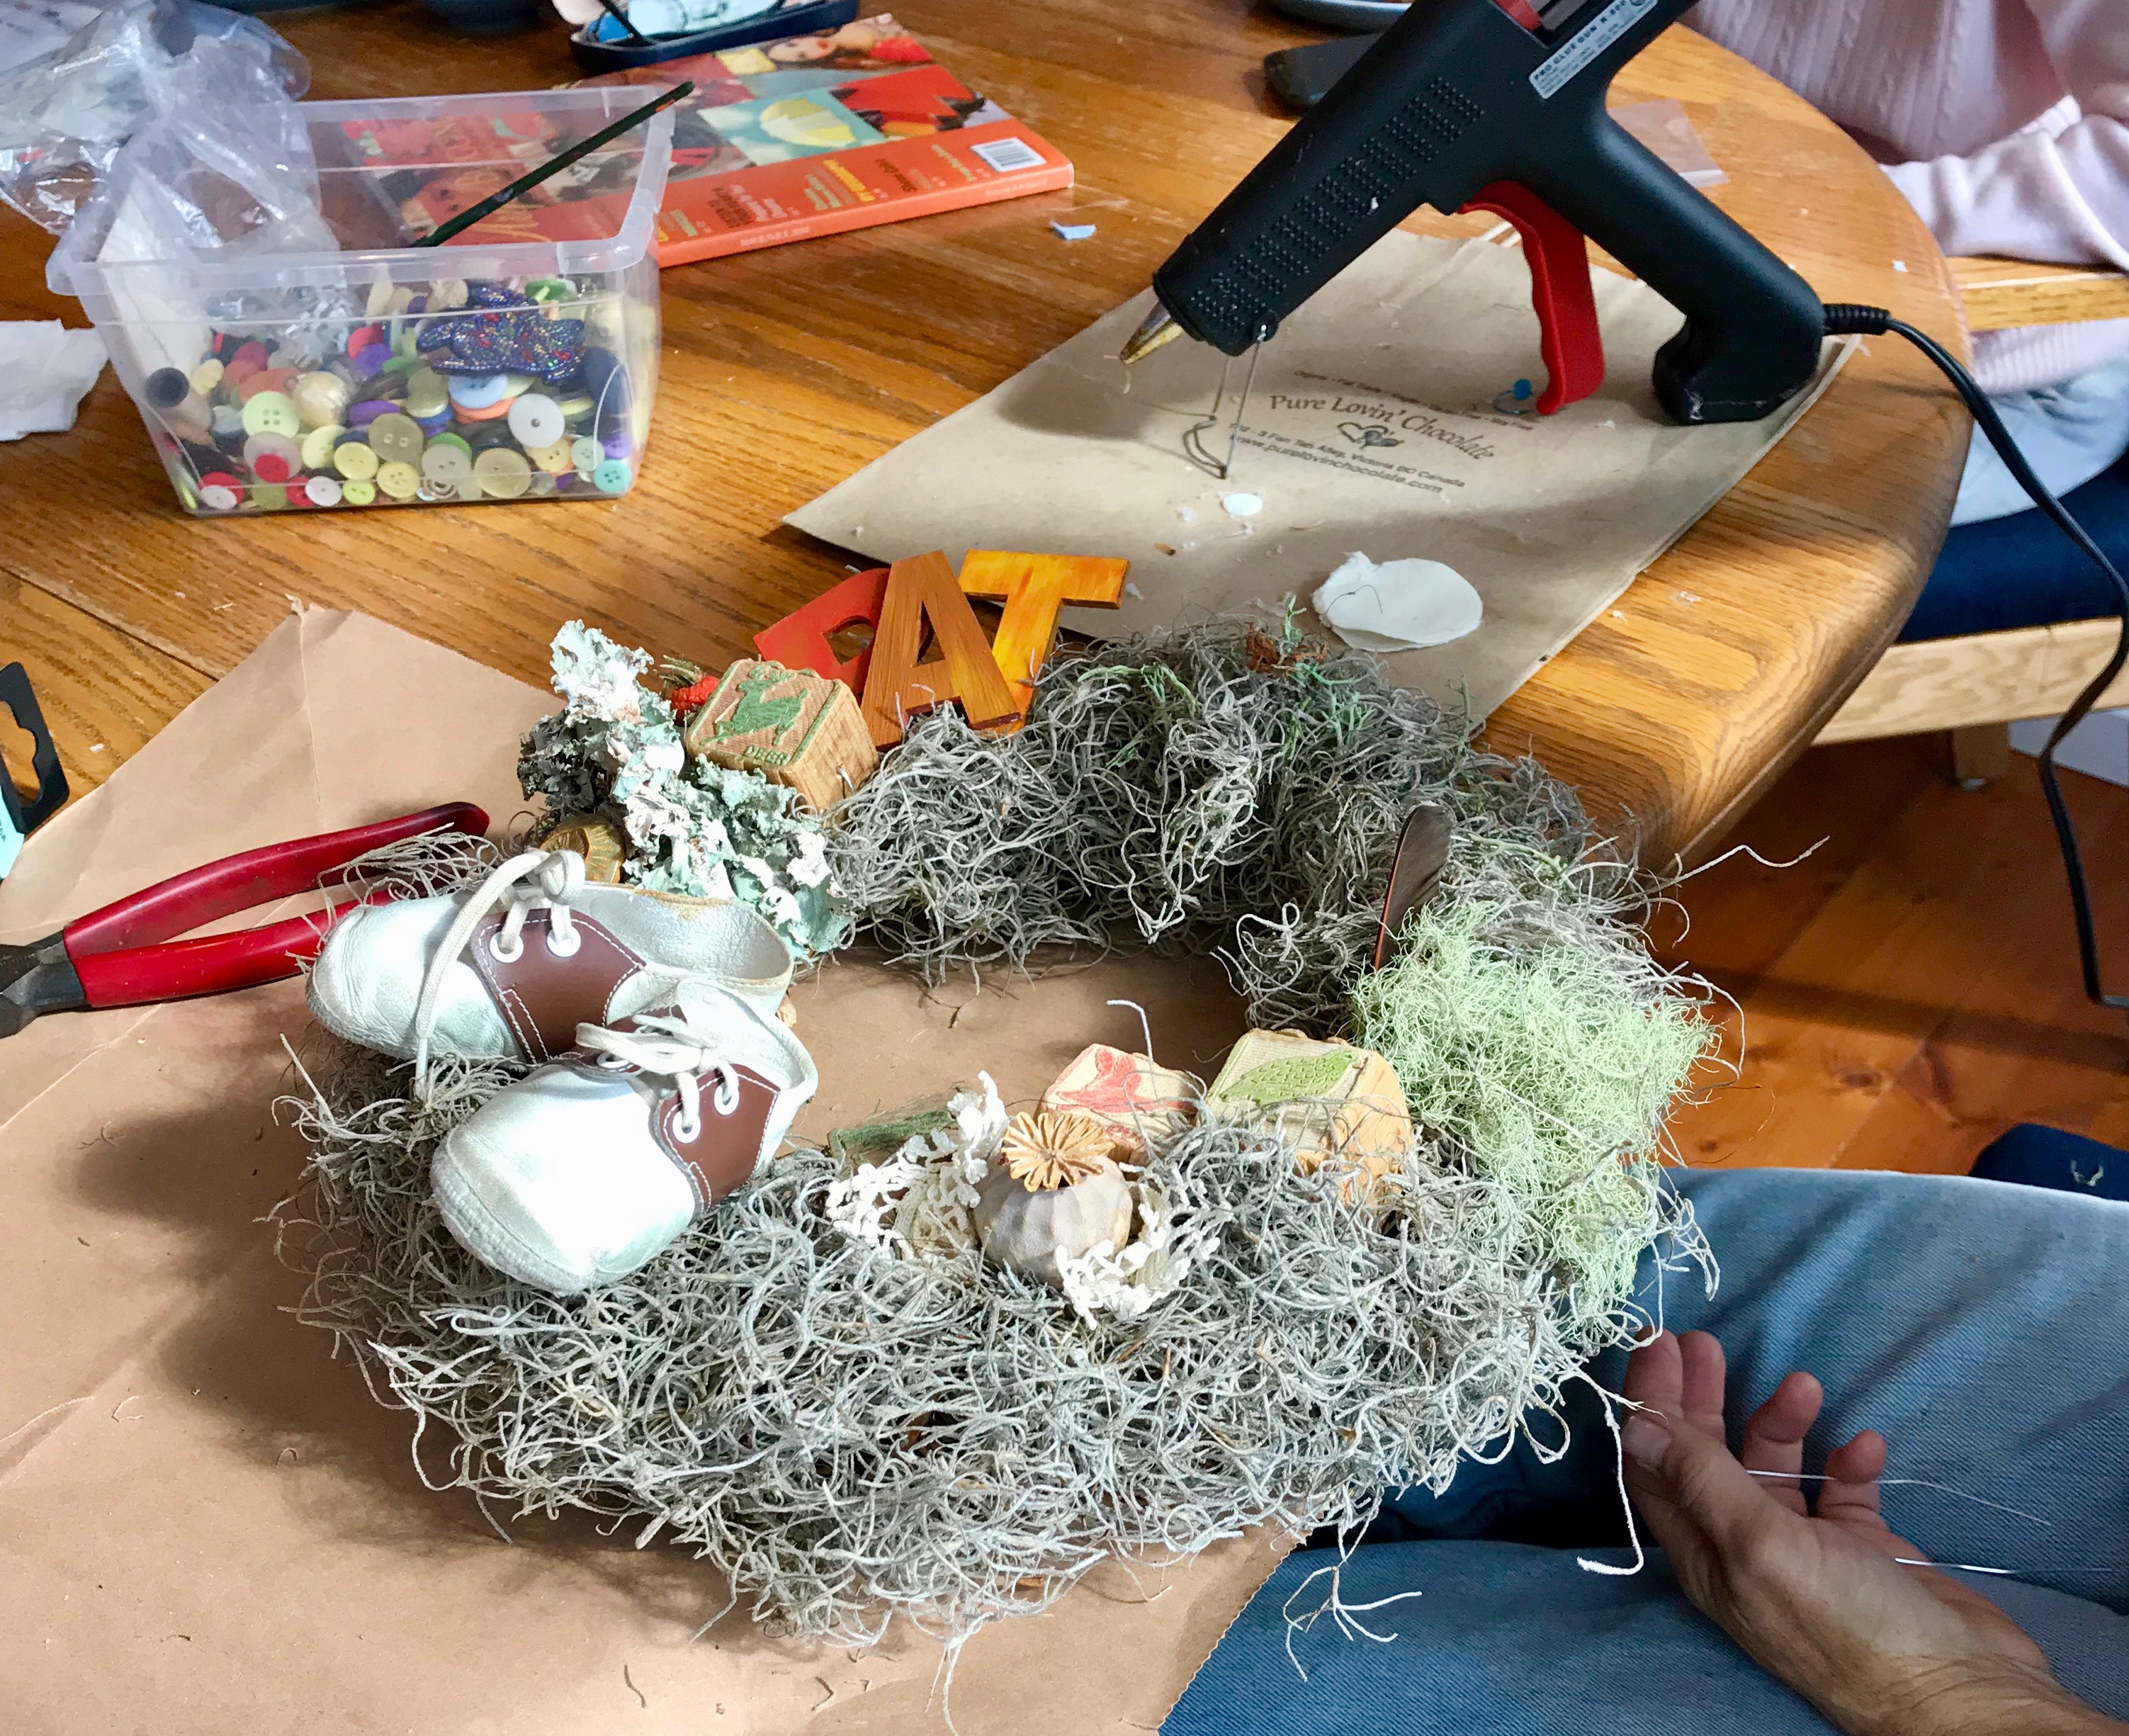
Fall is another wreath, this one with vintage alphabet blocks, tiny child’s shoes, lichens, mosses and feathers … and mom’s name, Pat, so everyone in her new community knows just who lives behind that door!
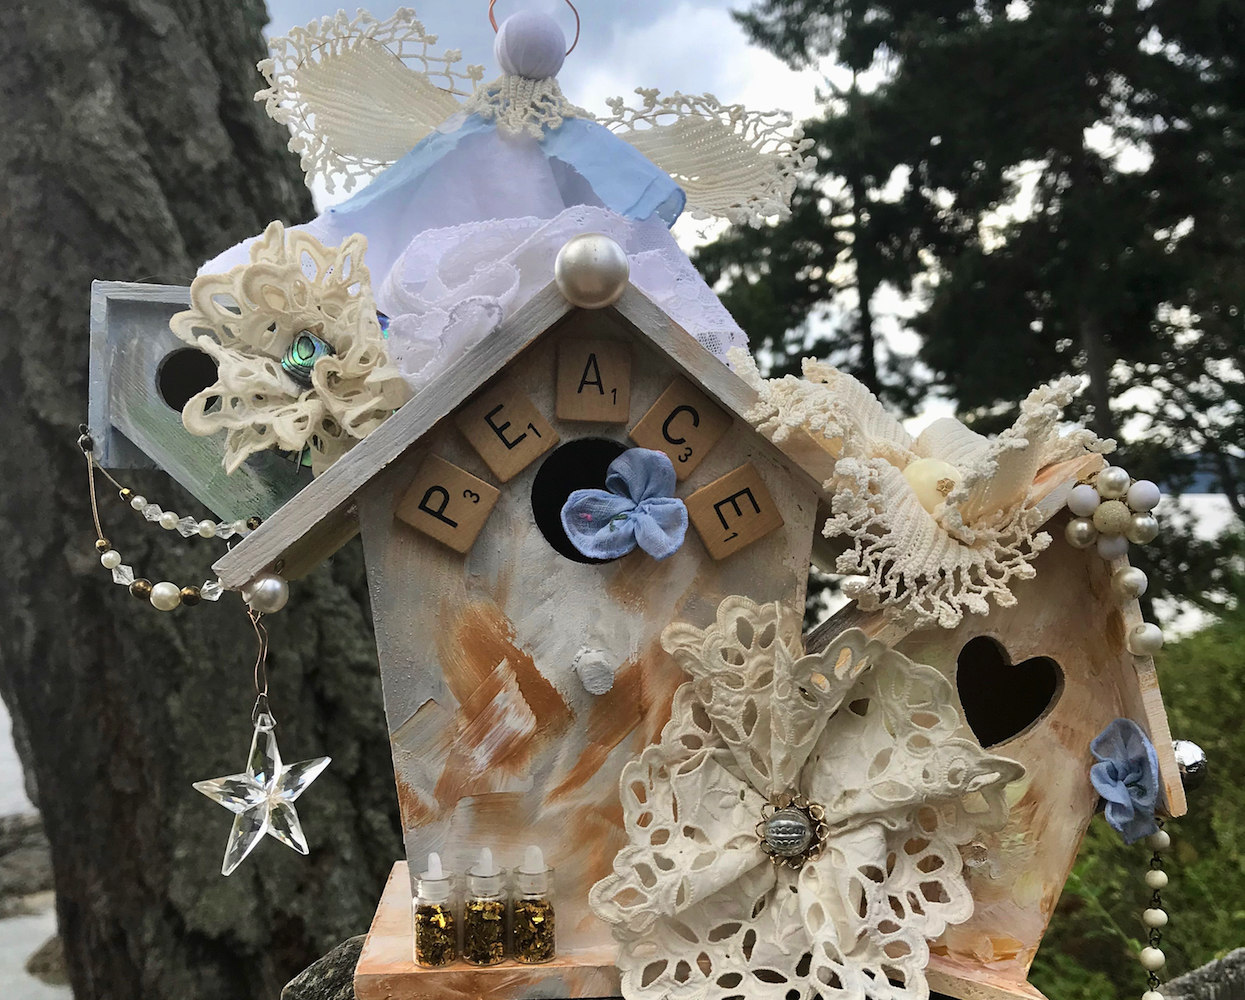
Lastly, her winter door decoration is a tilty-tiny-village of whimsical bird houses in a white, gold and silver theme. We used old hankies and lace to make flowers and an angel that sits on the roof. Dangly crystals and beads and the word, “Peace” complete this sweet “community” welcome.
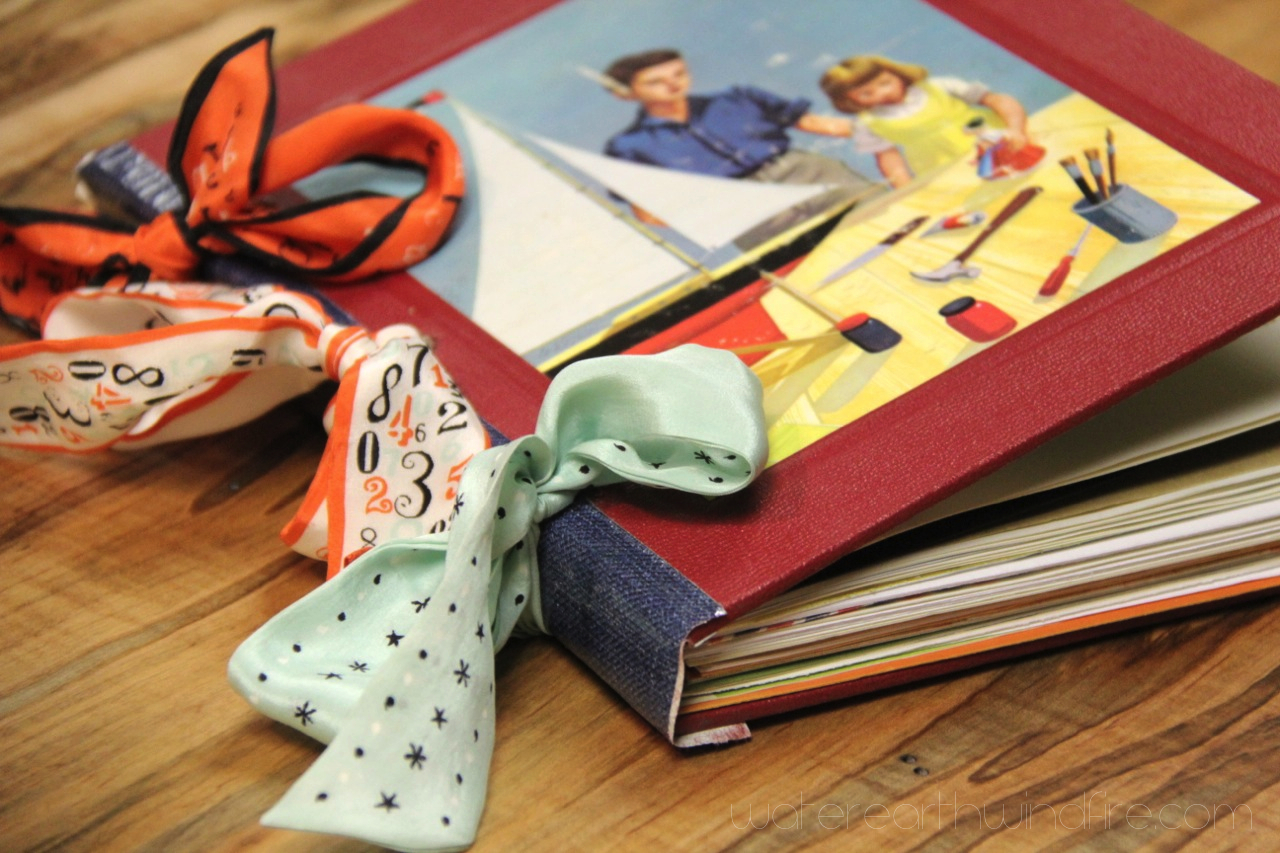
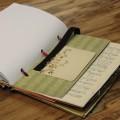
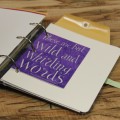
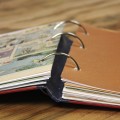
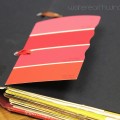
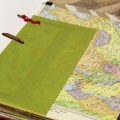
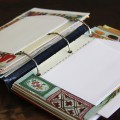
Smash. Smoosh. Squish. Mash. Moosh. Mush. Stuff … Oh, the things you can do with an old book!
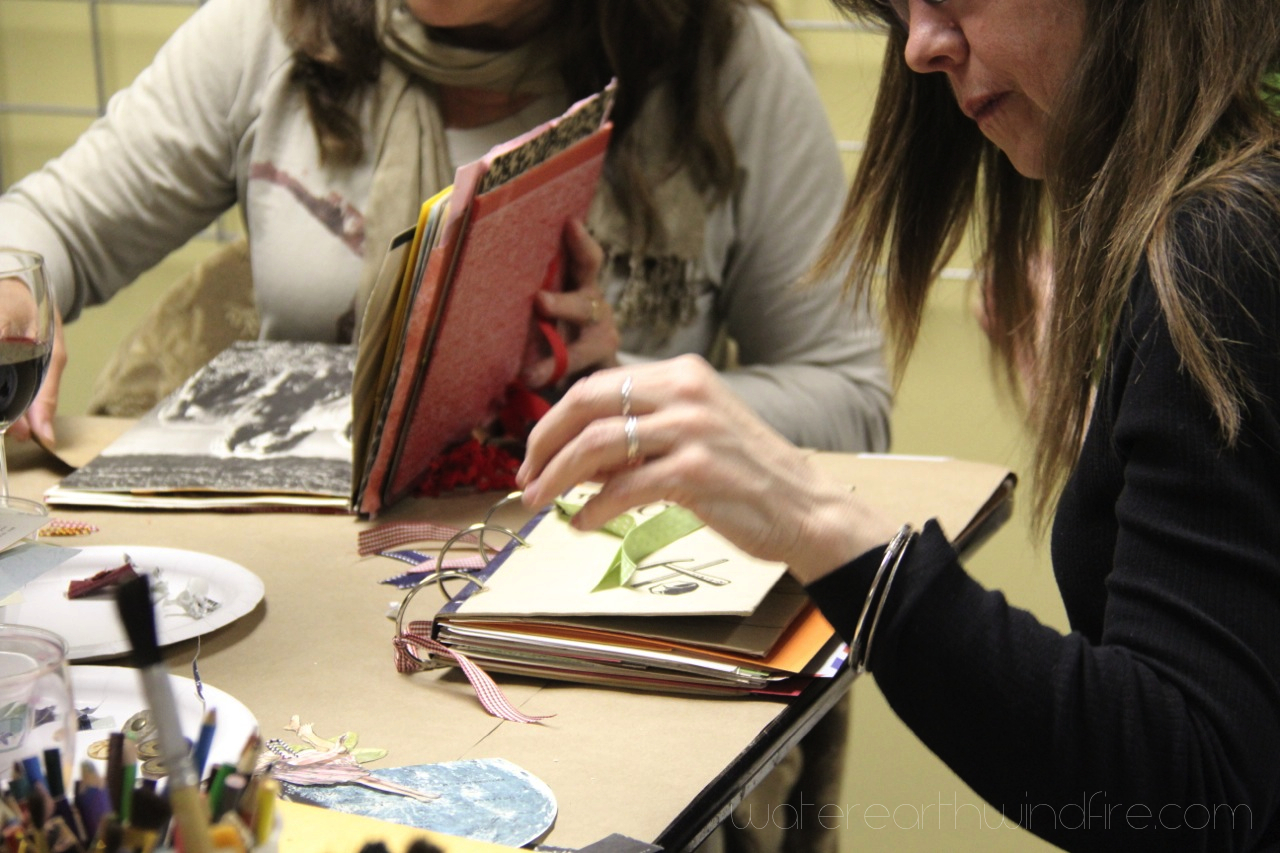
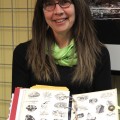
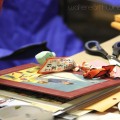
At our monthly Girls Art Night on March 27th, we altered vintage hardback books into Smoosh Books (my take on the official Smash Journals.) There were eleven of us mooshing, drilling, gluing, smooshing and stuffing away at 1+1=1 Gallery. We enjoyed tea, wine, and yummy finger foods. It was a great group of women friends — lots of comraderie and chemistry, laughter and concentration.
If you want to try a Smoosh Book yourself, and you live in Helena, let me know in the comments and maybe we can get together in a smaller group sometime soon to make more smoosh books. Otherwise there is a How-To towards the bottom of this post. 🙂
I have a few vintage books left (I’ve already cut the spines off.) And lots of stuff to stuff into them. I will bring the “ingredients” to our Girls Go gathering in October. What do you think of that idea, my sisters?
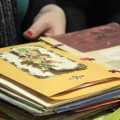
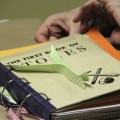
Maybe one of these will be a diary of your journey to health. Or a baby book. A collection of family recipes. A book of quotes or a “commonplace book.” A trip journal. A wedding planner, a place to record things your kids say … Whatever you use your smoosh book for, it will be wonderful once you smash it full of your stuff.
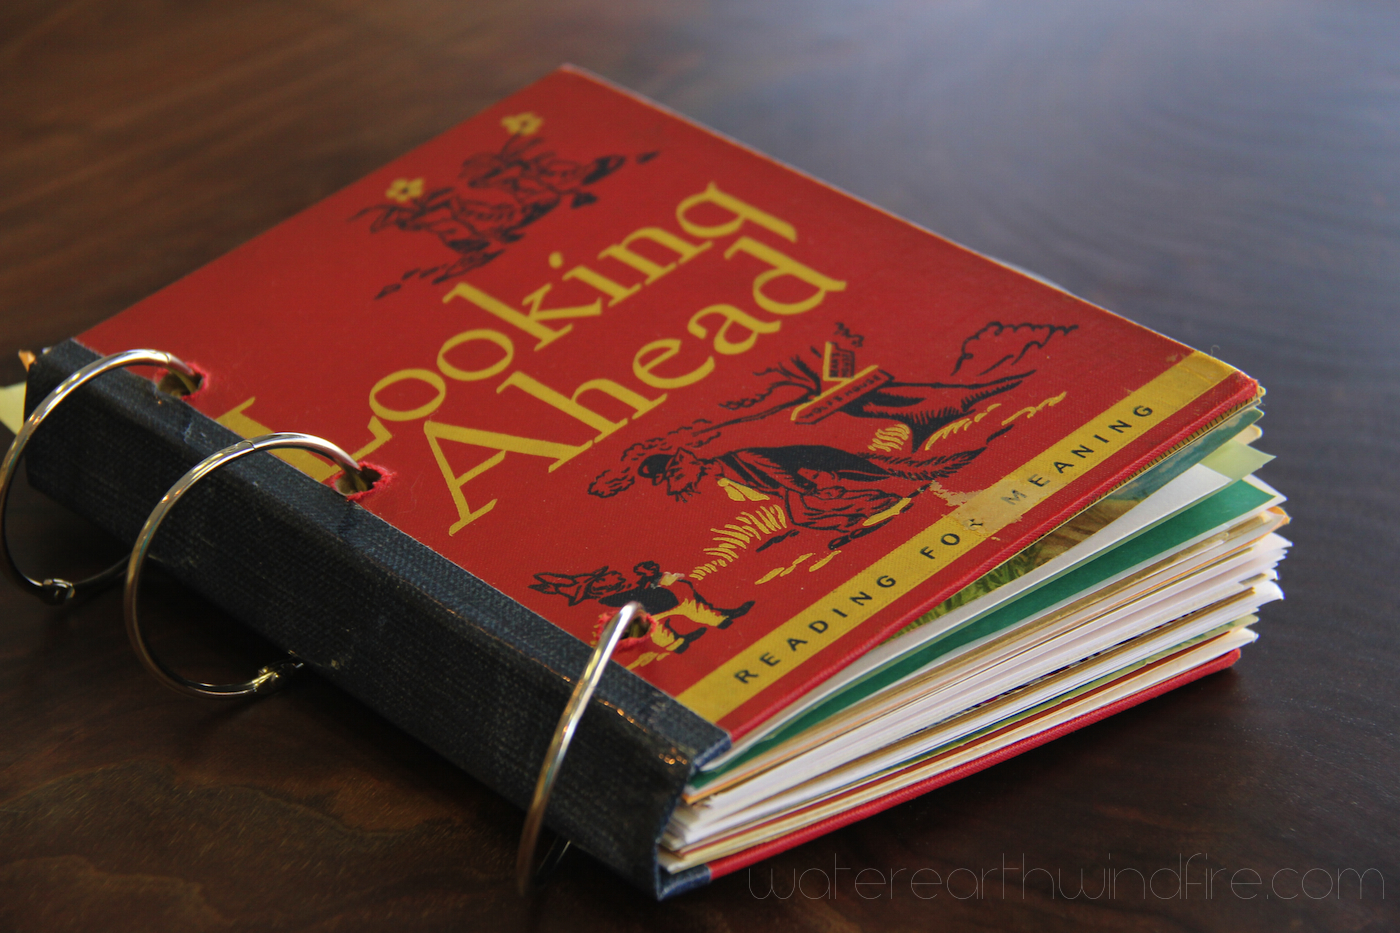
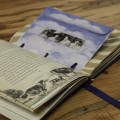
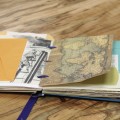
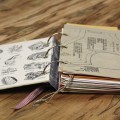
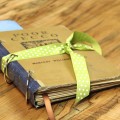
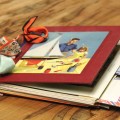
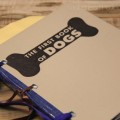
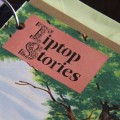
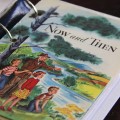
Here’s my mom’s Smoosh Book: I love that she picked the old children’s story collection, “Looking Ahead.” She is going to fill it with stories of her life. Cool!
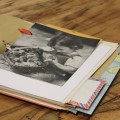
Your Smoosh Book doesn’t have to be perfect. Or finished. It’s a work in progress. This kind of “journal” or scrapbook is great if you’re like me and don’t have the time or personality to do elaborate scrapbooking. The way scrapbooking has changed, it’s the last thing I want to do … I remember when a scrapbook was an album of plain pages you glued things onto — like photos, birthday cards, autographs, paper dolls, ticket stubs, pressed corsages, leaves and flowers. Remember photo-corners? Or LePage’s glue with the red rubber tip? (I know. I know. I’m dating myself. Oh well.)
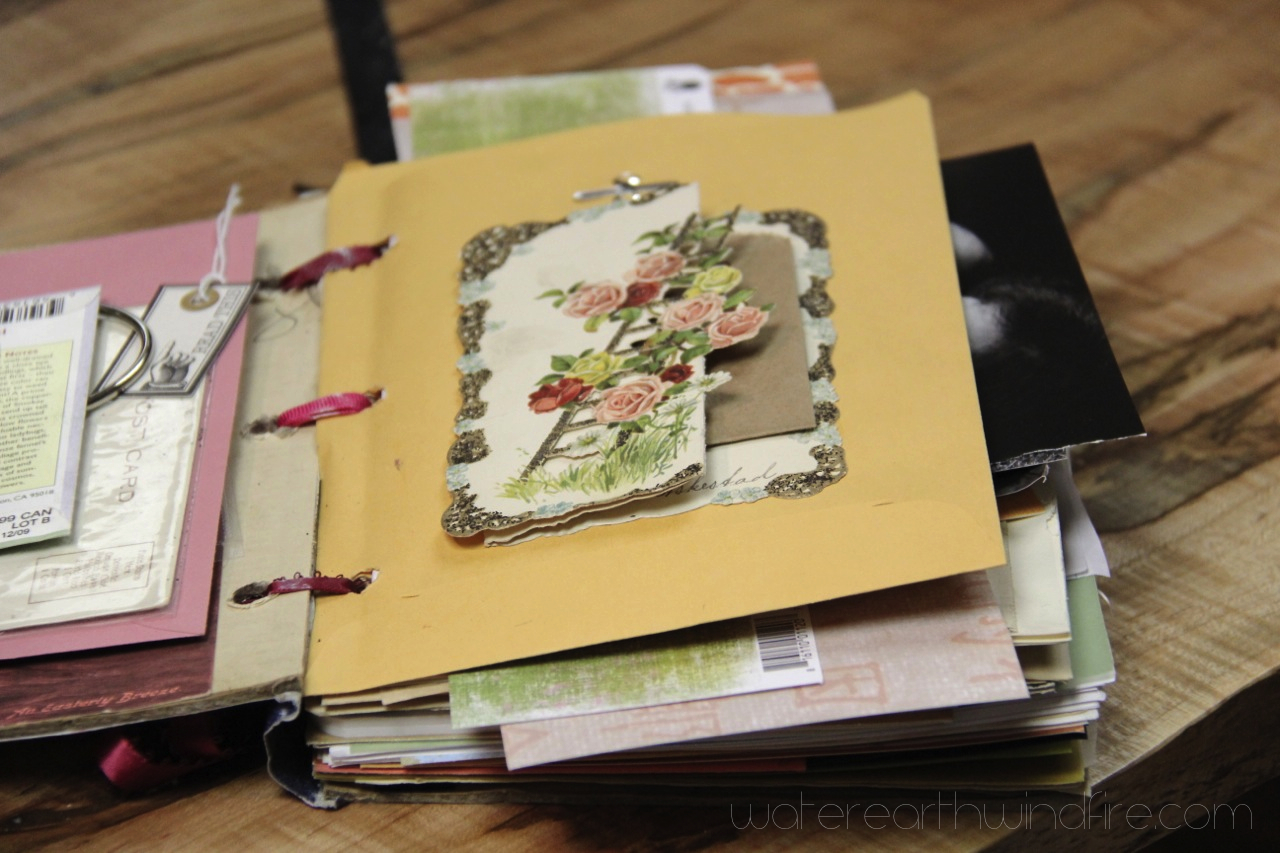
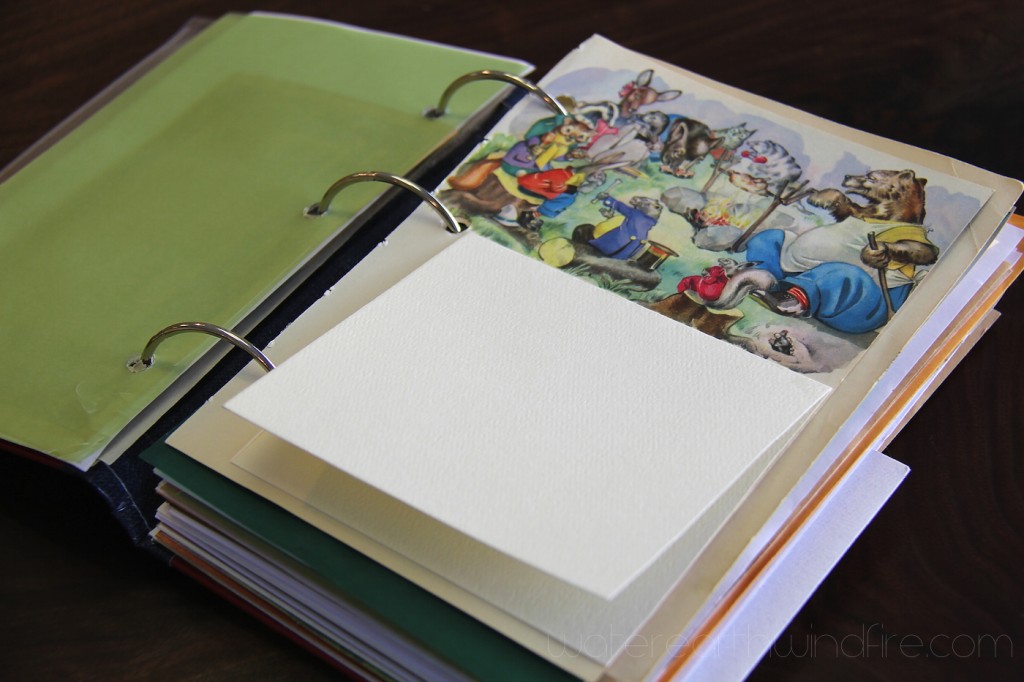
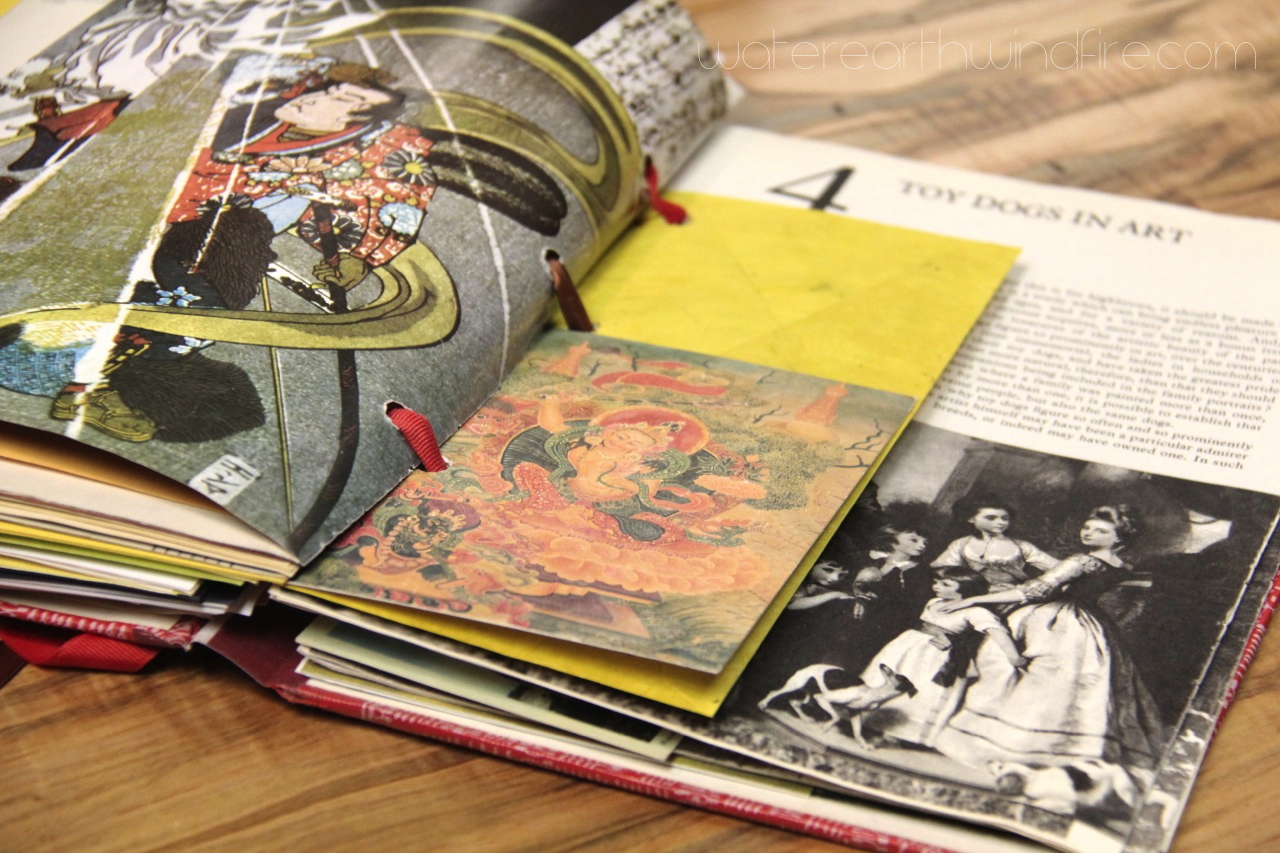
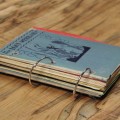
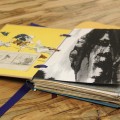
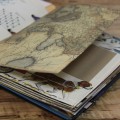
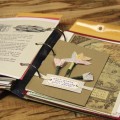
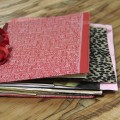
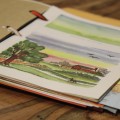
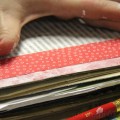
A Smoosh Book can be kinda funky and alotta fun. When you first make the book, you can sort through the old book’s pages and keep the ones you like, recycling the rest. Try incorporating comic book pages, other special papers, translucent papers, seed packets, tiny bags, cellophane bags, glassine envelopes, ribbons, stickers, cards, and any other kind of envelope or pocket.
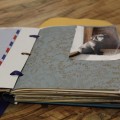
To use your Smoosh Book, add written passages, poetry, quotes … lists of stuff you’re doing/planning/wishing, recipes, pressed flowers and leaves, feathers, seeds, labels, photos, doodles, menus, tickets, found lists, anything you can think of.
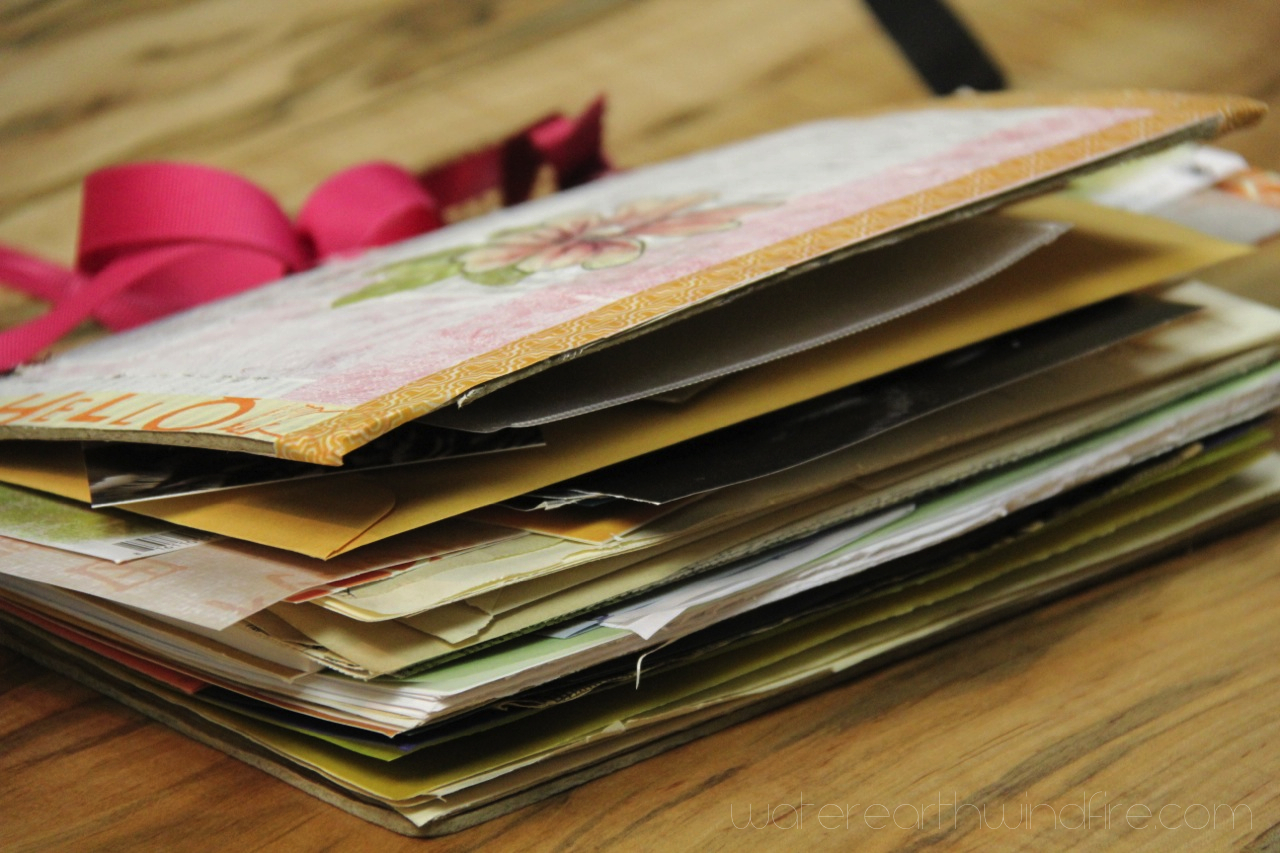
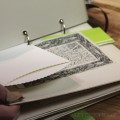
Use ribbons or binder rings to tie the book together so you can add pages as you find cool stuff (like envelopes.) Your book will grow as you use it. Eventually it becomes stuffed with stuff. And looks like it’s exploding and that’s totally okay. You can add bigger binder rings if it gets hard to turn the pages because you’re adding so much stuff.
Here’s what you need to make your own Smoosh Book:
Old hardback book from thrift store
band saw to cut off the spines
power sander to sand the edges where you cut
drill to drill holes through the entire book
clamp to hold the book covers and pages together while you drill
paper punch for miscellaneous papers — use one you can line up to match the holes you drilled
envelopes, extra blank papers, etc to fill the book
ring binders (preferably large) or ribbons, twine, leather cords, shoelaces
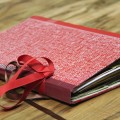
duct tape (for your new spine)
spray adhesive or dry-mount glue to attach pockets and envelopes that are not bound in to the book
washi tape, other tapes
white acrylic paint or gesso to paint over text where you want to be able to write
flat wide brushes, either bristle or foam, for painting
bits and pieces from the list below, or whatever you have around
Basic Instructions to Make Your Own Smoosh Book:
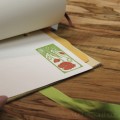
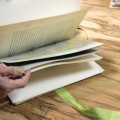
Cut off the spine of your hardback book with a band saw. Watch out for metal staples. If the spine has staples, just cut a little more off to avoid the metal.
Sand off the edges to make them nice and even.
Separate the pile of book pages from the front and back covers.
Make a new “spine” using duct tape attached to just the two covers. This will keep all the loose stuff inside your book.
Go through the pages of the book and pull out all the pages except the ones you want to keep. This will make your book much “thinner” at this point.
Decide what other papers you are going to add to your book. This can include large envelopes, flat bags, pockets, other types of papers …
Cut the extra papers to size and put them where you want them in the book.
Add the other papers such as envelopes where you want them. Don’t worry about everything lining up perfectly. It’s okay to have some things sticking out. These act like “tabs” later.
Clamp everything together on a work table, and using your power drill, drill 3 holes through the whole mess.
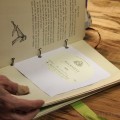
Put it all together with ribbons, ring binders or whatever you have decided to use to attach.
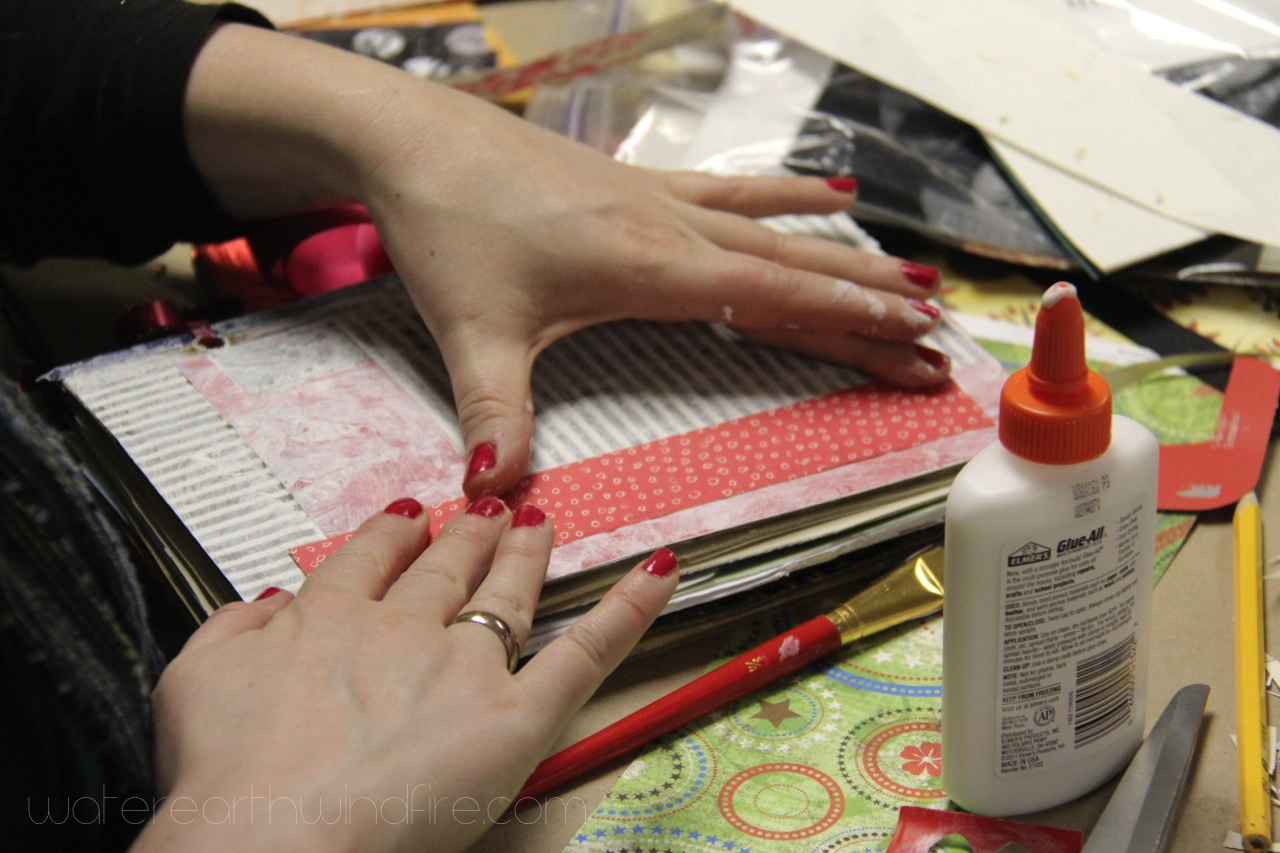
Now you’re ready to start gluing things into your Smoosh Book, then adding your words.
Above all else, have fun!
Use a band saw to cut off the spine of your hardback book
Below is a list of ideas and inspiration: things you might want to stuff in your Smoosh Book as it grows …
It’s Wednesday, the day Ema comes to assist me at 1+1=1 Gallery. Well, today was early release day from school, so I spent the afternoon with not one — but two — of my favorite young ladies, Ema and Adia. They are always up for an art project after we have our snack and catch up with each other: what’s new in school, what was the most fun you had so far today, what do you think about gardening together this summer, blah blah blah.
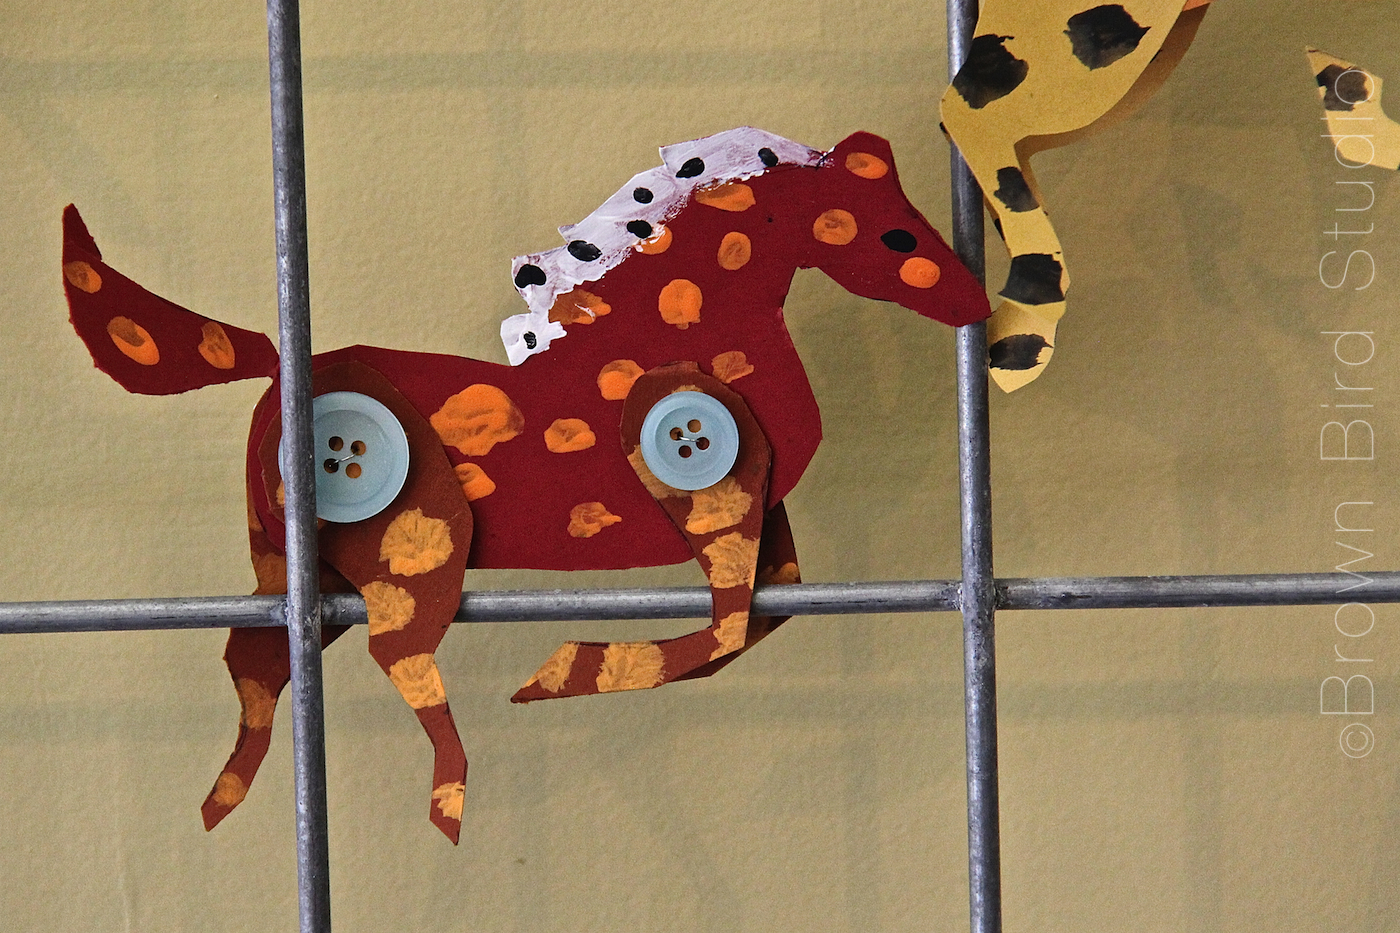
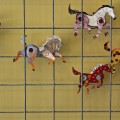
Today we made a small herd of wild horses patterned after Ann Wood’s beautiful stampede of horses. She provides a downloadable template for the horses, and a great tutorial so I’m not going to duplicate her wonderful instructions here. This awesome project took us about an hour and a half, including set-up and clean-up.
The horses are pretty easy, but not something I’d recommend for toddlers or really little ones (see adaptation ideas in list below.)
Ideas to Adapt this activity for younger children:
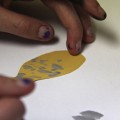
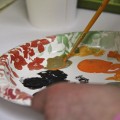
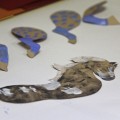
pre-cut the shapes and have the children paint them. Then an older child or adult may assemble the horses
use scrapbook papers that are already decorated. Cut the shapes and let children glue the legs on instead of having them be articulated legs
use bendable brads instead of buttons and wire
Cut the shapes out of colorful card stock and have younger children brush glue on and sprinkle glitter
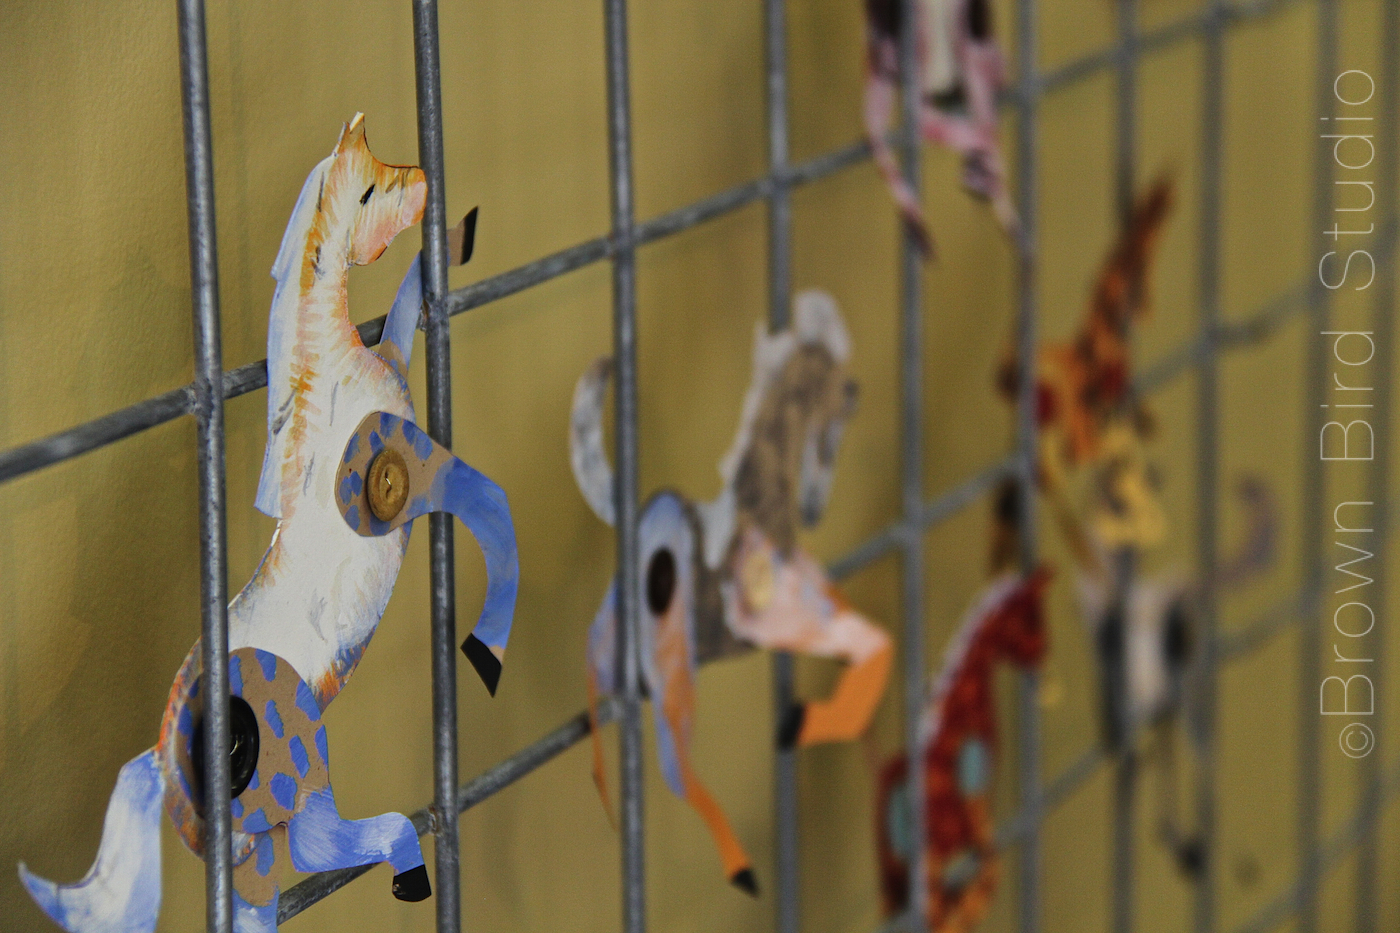
Ways to use/display the horses:
mount with tacky glue, double-sided tape or sticky-mounting-squares onto a foam core or poster board.
display directly on a wall using mounting putty.
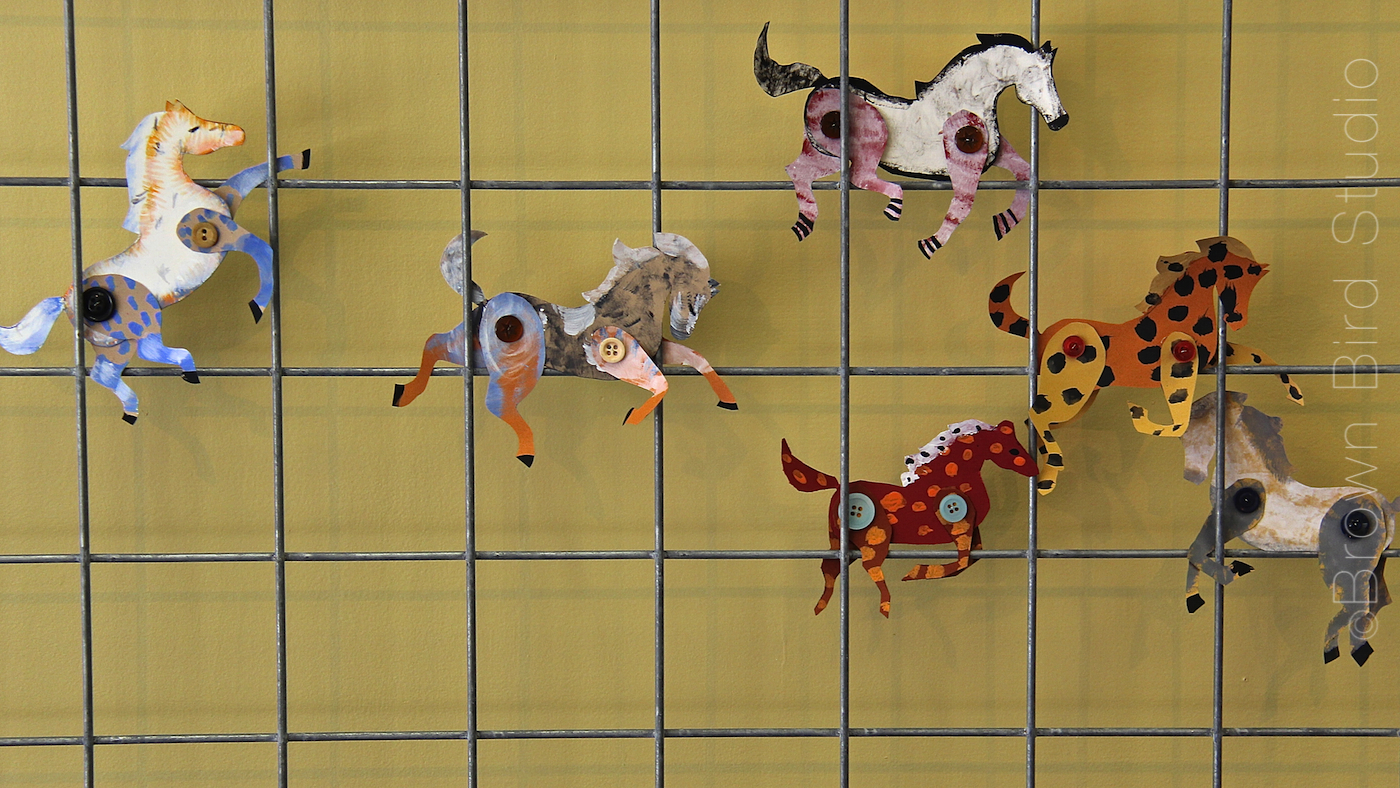
the horses don’t all have to be facing the same way.
arrange the horses on whatever background you are using, so they look energetic and dynamic
make a mobile of horses using fishing line to hang them.
use one horse, mounted with re-positionable double sticky tape, to make a greeting card. The receiver of the card can take the horse off to play with.
Ann Wood makes sweet creatures and botanical thingies of bits of yarn, fabric, wire, metal, sticks and found objects. They are so cute … she makes bride-and-groom cake toppers too. Go see!
The herd of horses idea was something I had saved on my Pinterest board for summer craft projects. We still have lots of ideas left on the board: “Ideas for Kids. Playing. Learning.”
Did I mention that I love, love love the little thingies Ann Wood makes?
Here are a few more photos of what the girls and I made today:
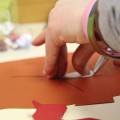
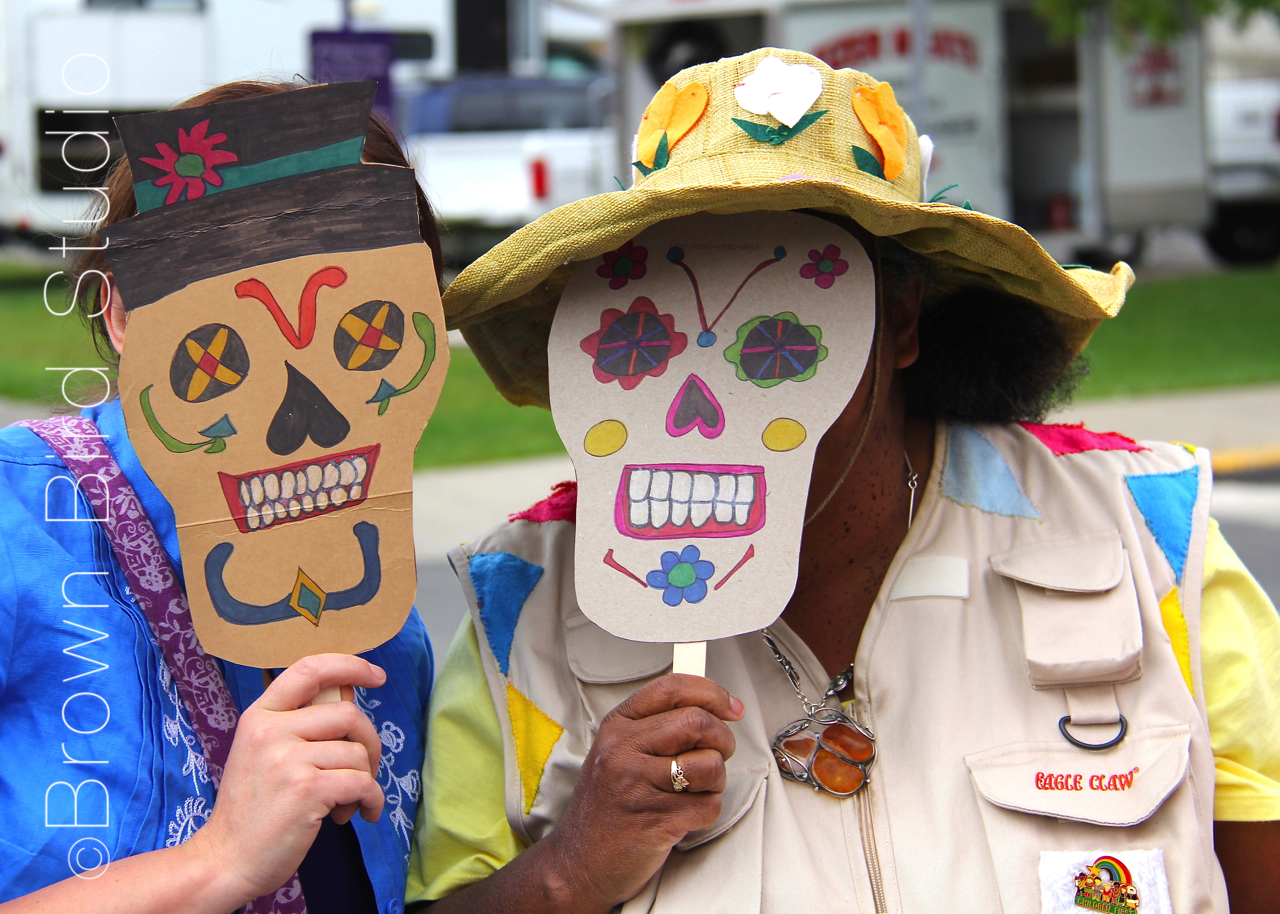
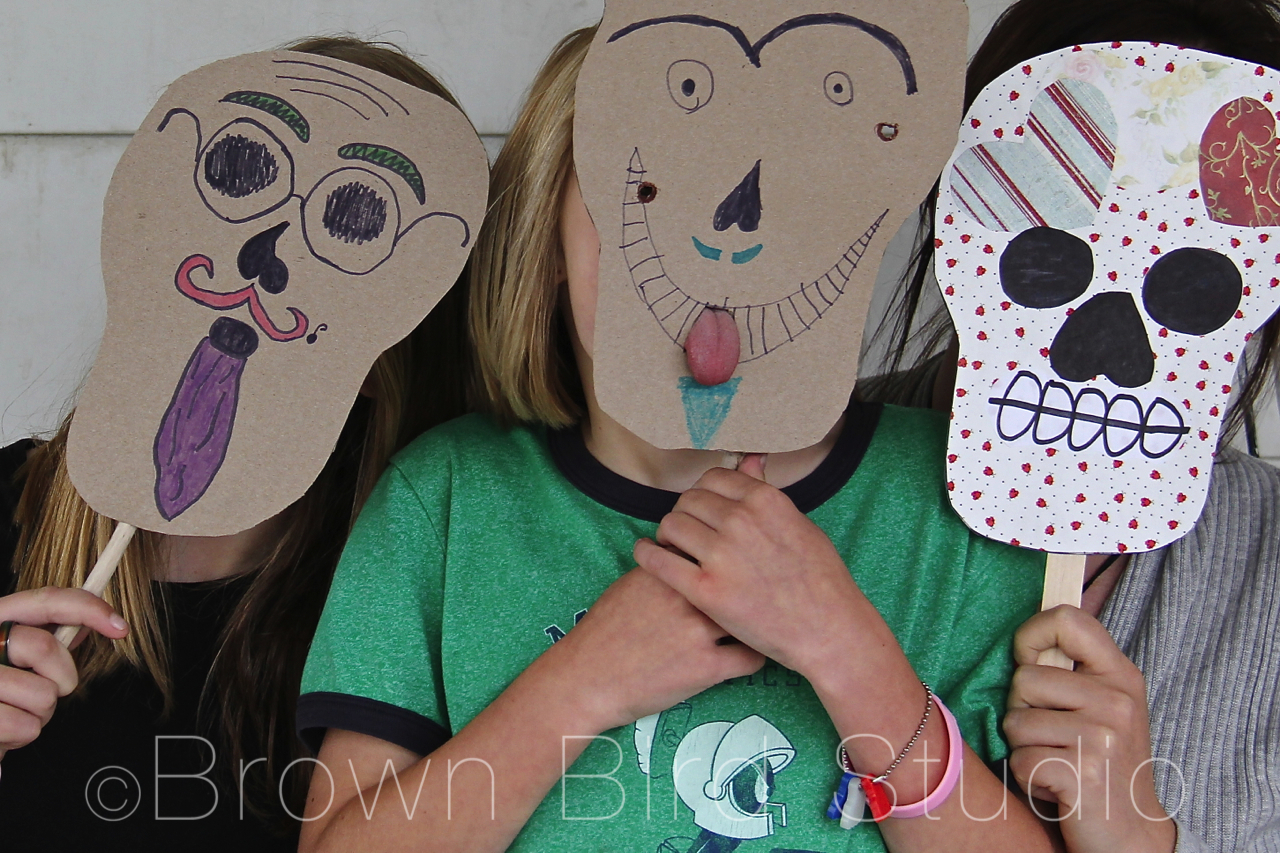
My friend, Jaime, and I bought these masks from Diane at the Helena Farmers Market last weekend. Here are Jaime and Diane posing with them. Ema and Adia wanted to make their own masks so we got out markers, scissors, clear packing tape, some driftwood sticks and a cereal box and they dived right in to making them without any instruction from me. They basically just copied Diane’s technique.
Here’s how:
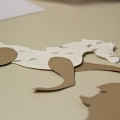
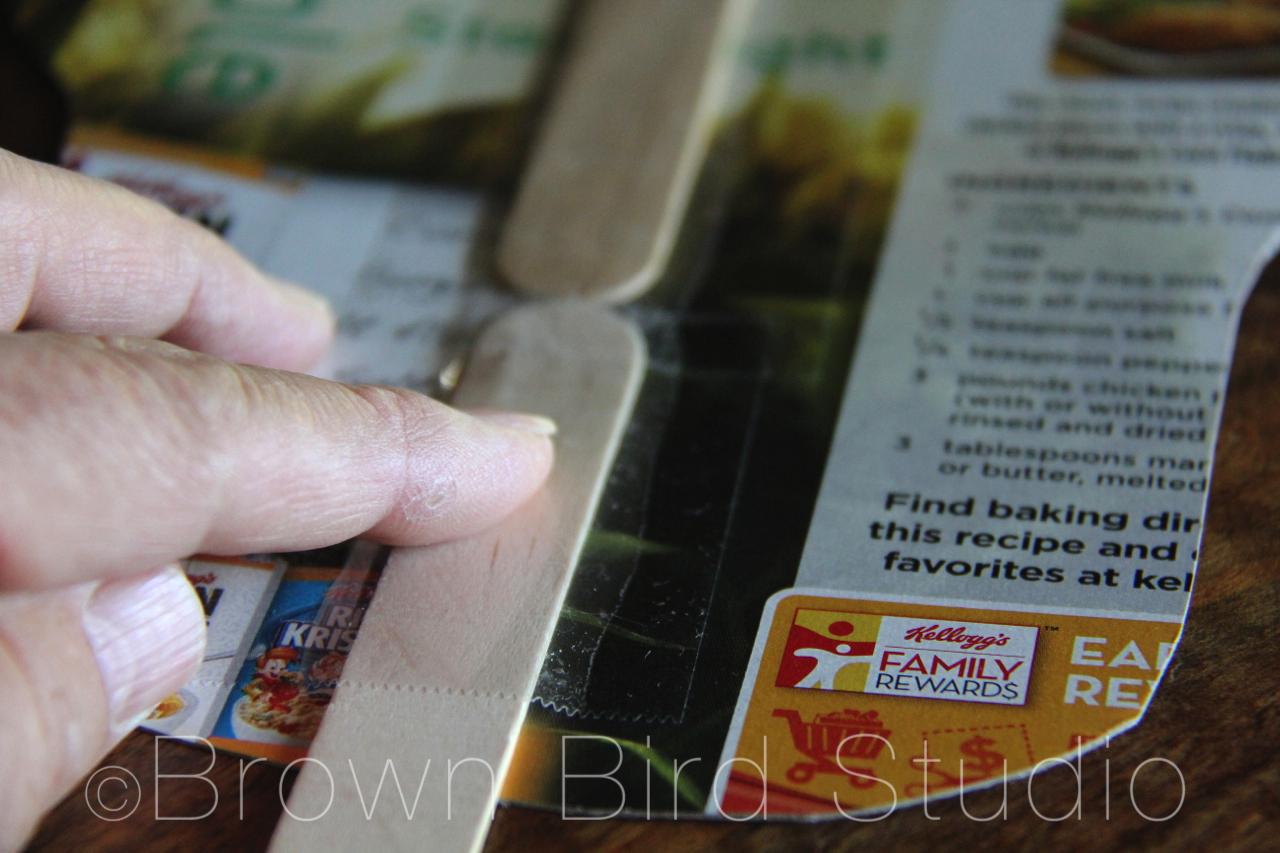
Cut open the cereal box. one box will make two masks
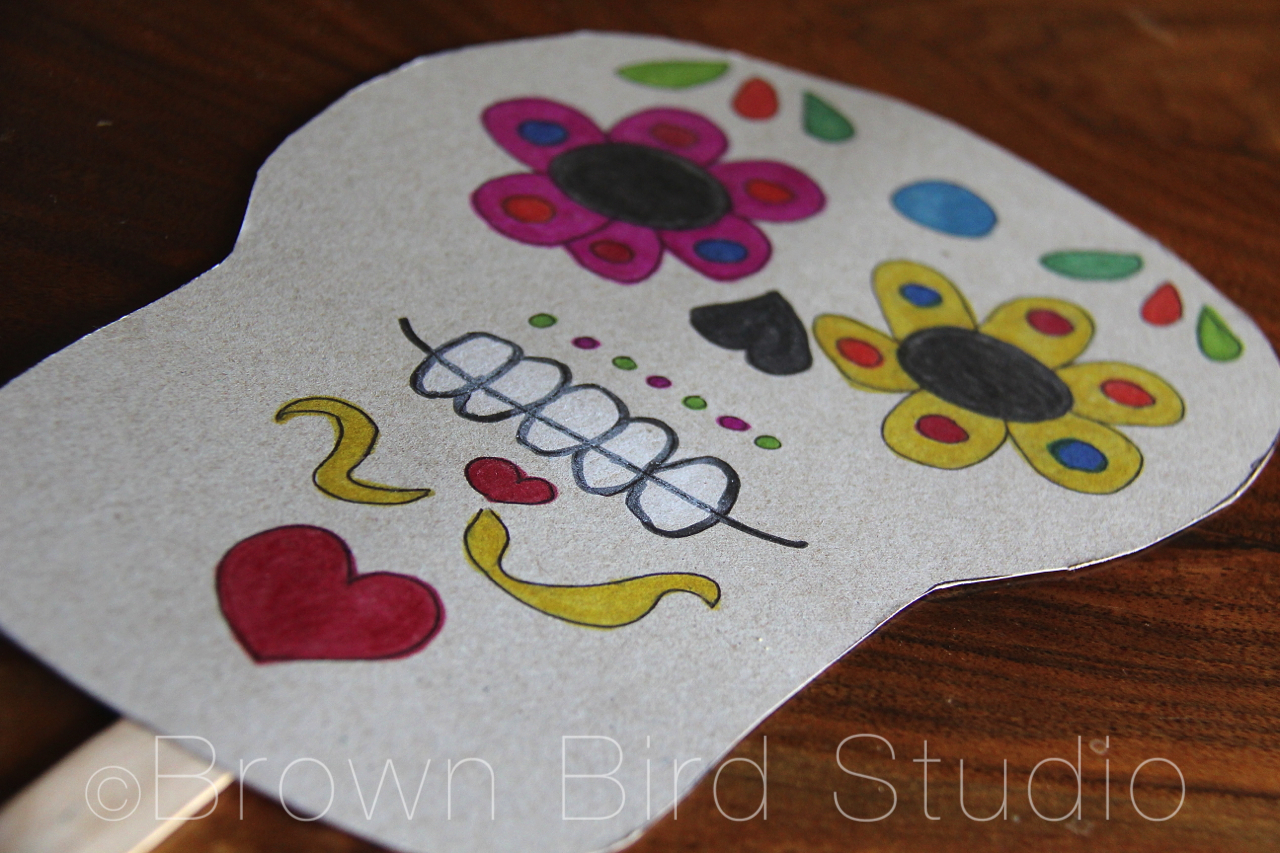
Cut a skull shape out of one side of the cereal box (you can use this template by saving the image and printing it out if you want to)
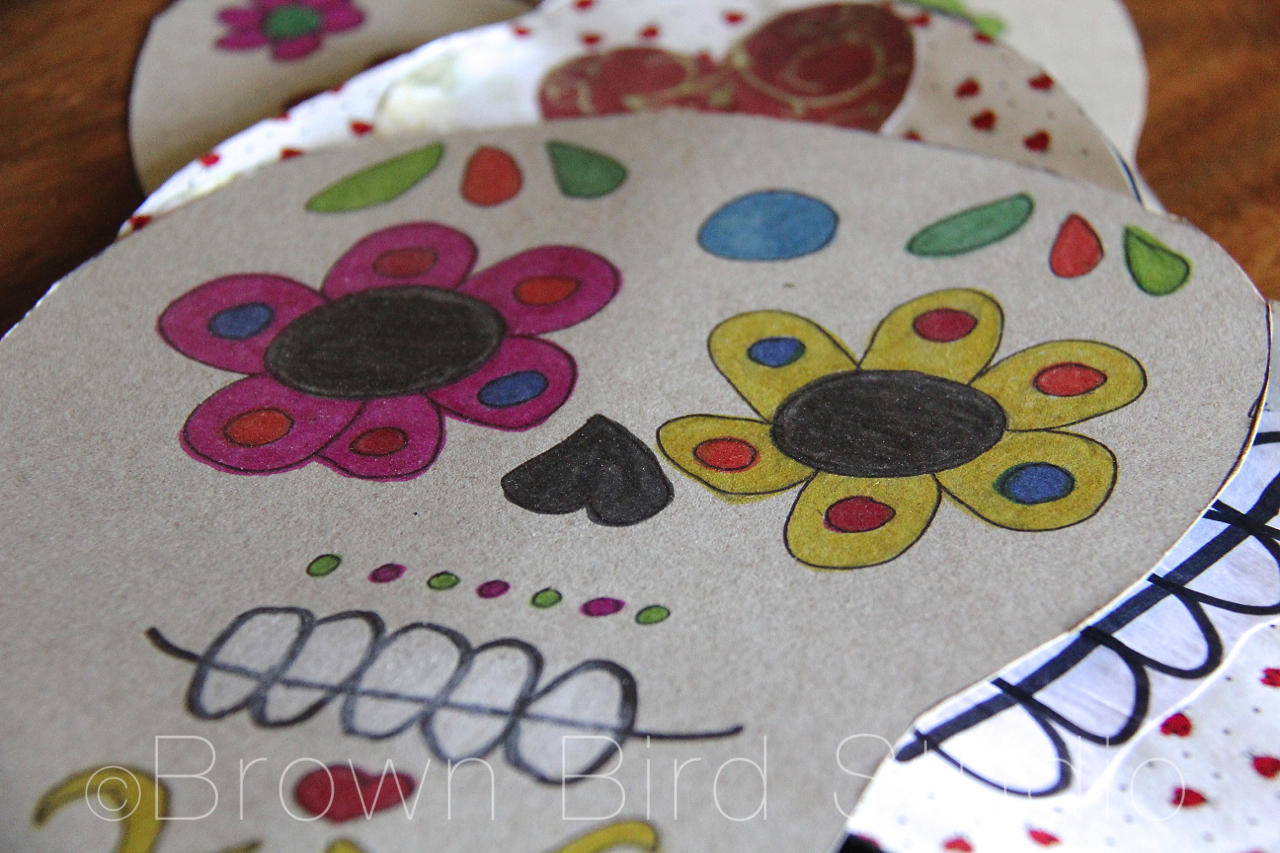
On the inside of the box, draw a skull face. Make it cool. Make it funny or cute. Whatever you like. The nose looks like a skull nose if you draw an upside down heart. Make the eyes big! Decorate the face with interesting features.
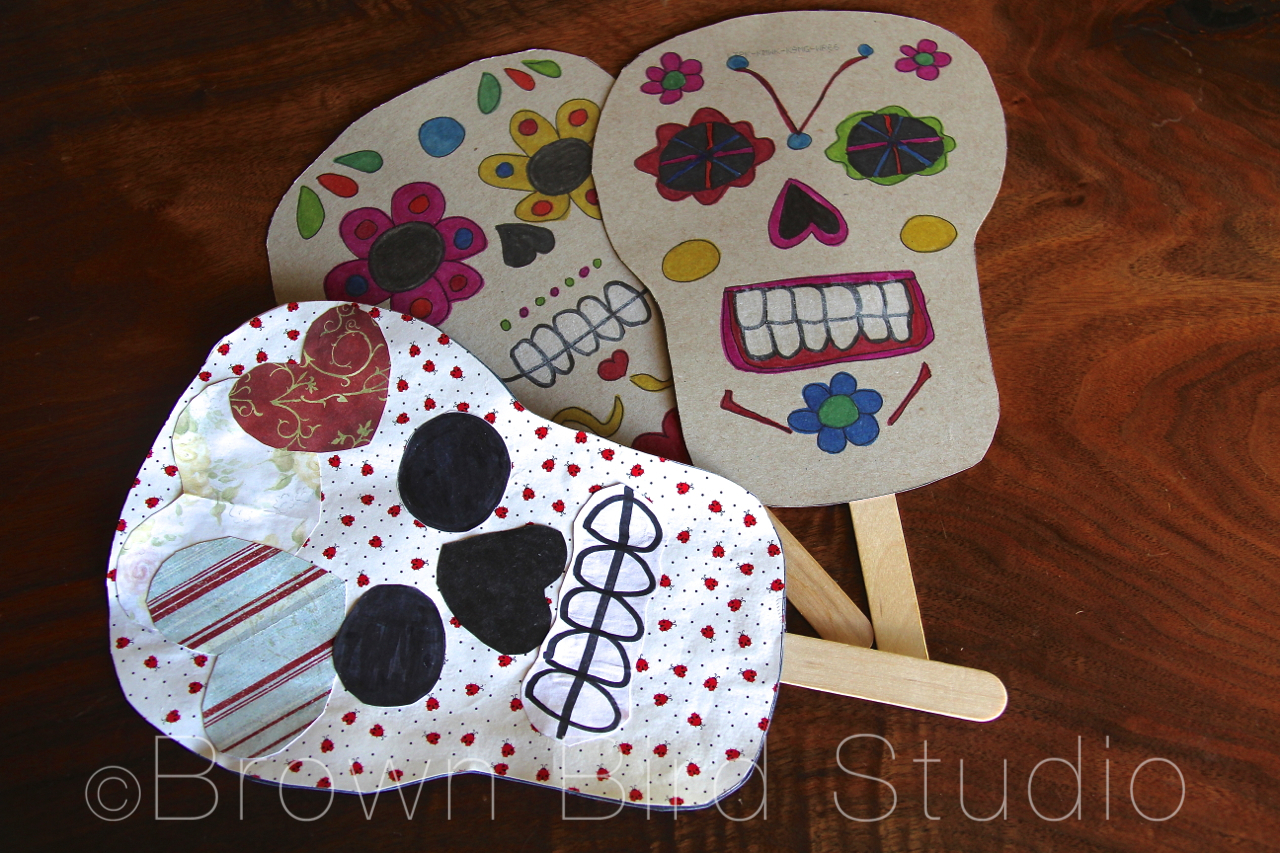
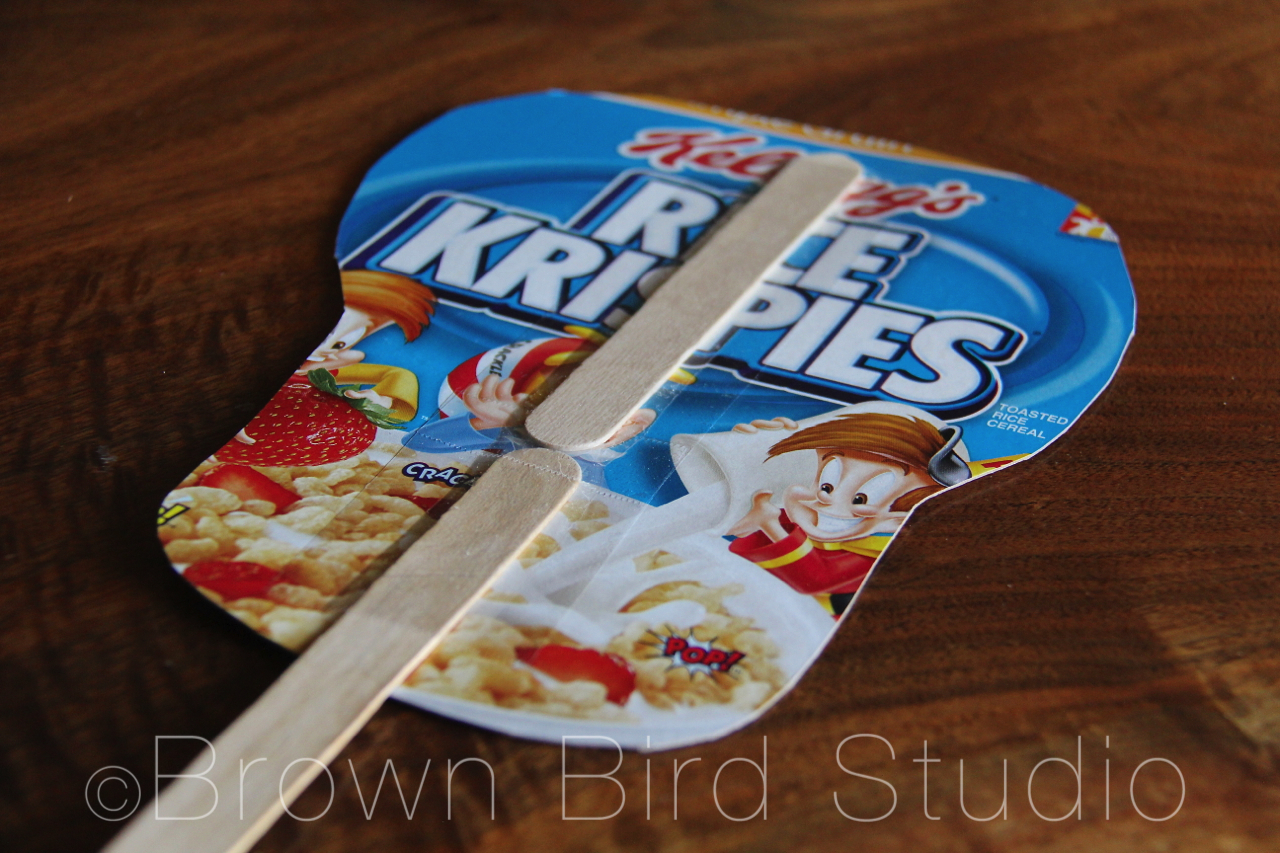
Flip it over and use packing tape to add a handle. The handle will also help stabilize the thin cardboard. We didn’t have tongue depressors, so we just used some sticks we had lying around from our summer projects. Diane uses tongue depressors.
Adia wanted to be able to stick her tongue out of the mask, so we cut a small hole in the mouth. We also cut a very tiny hole so she could see out when she’s holding the mask to her face.
Now go out and have fun with your masks.
Tim came home just in time to take some photos of us wearing our masks. Cool, eh?
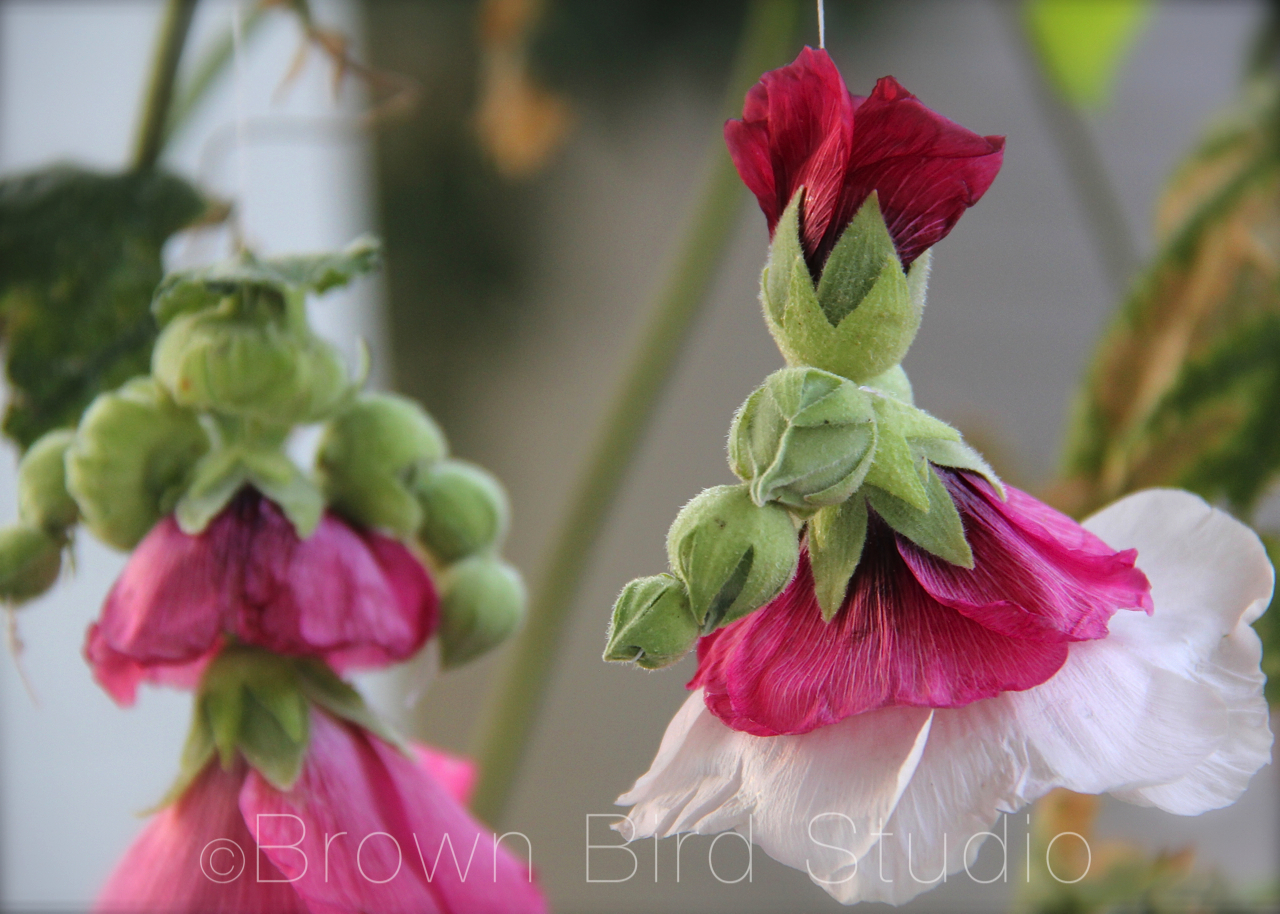
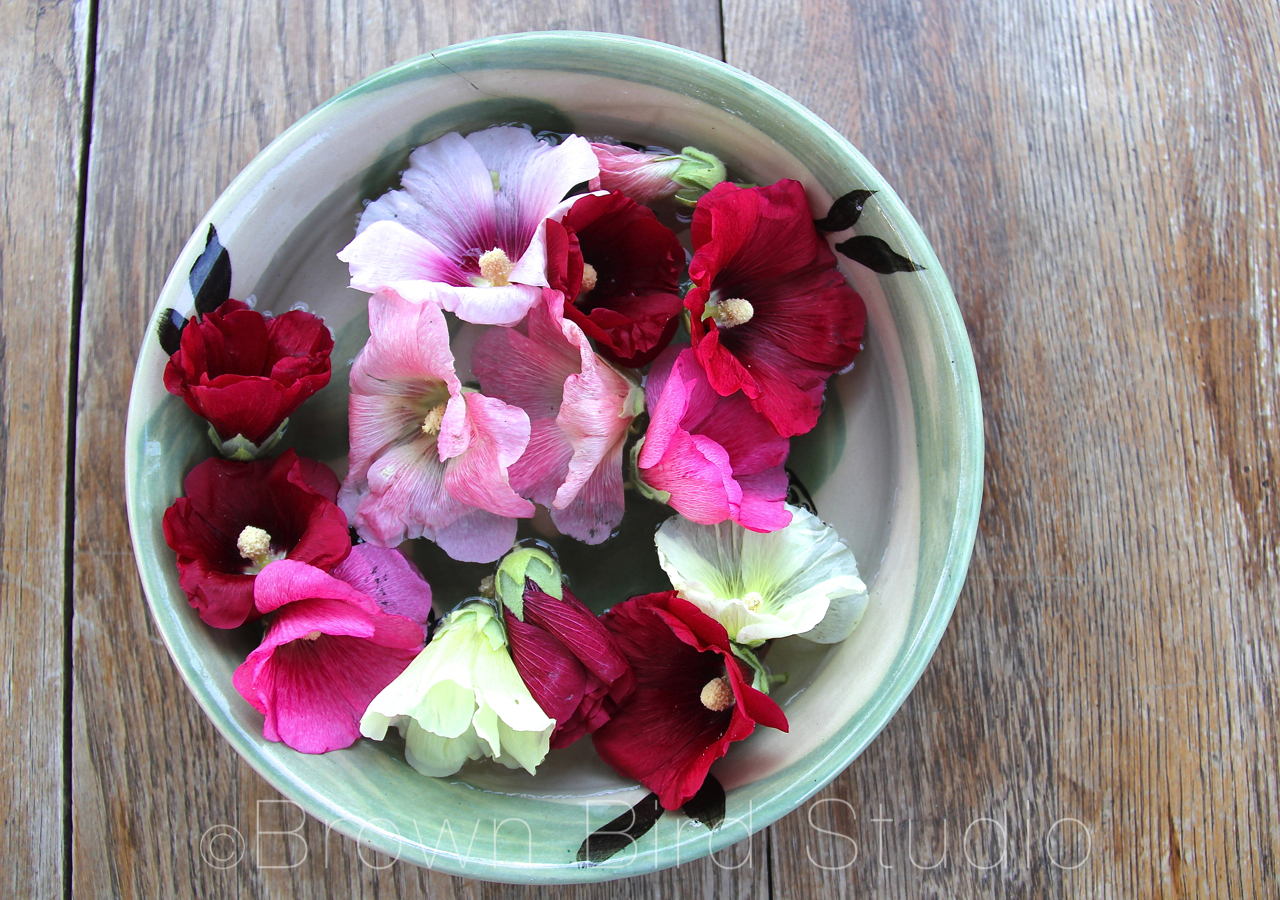
I remember making these dolls from hollyhock blossoms in late summer. They only last for a few hours, even less if you play with them. But they’re fun to make, and really do have lots of personality. Now is hollyhock time in Montana. Do you have hollyhocks where you live? If you do, then you’re in luck. Go find a few, get out a needle and thread and go for it.
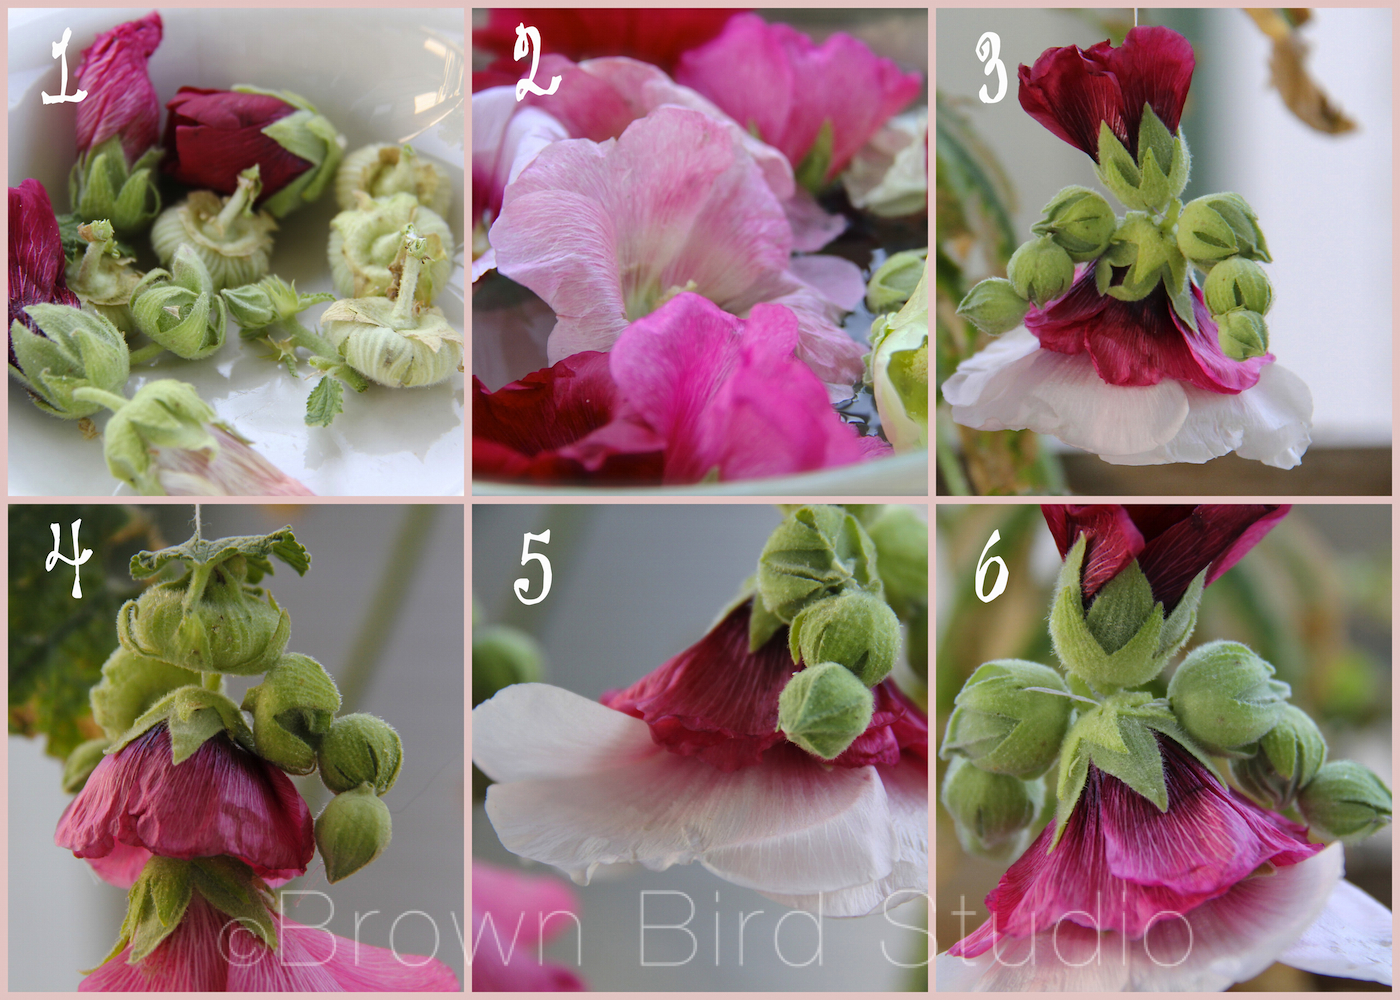
Pick some hollyhock blossoms. Remember to get different sizes of buds, and a few leaves (for hats.) Sort the buds by size, making sure you have at least 3 buds for each arm.
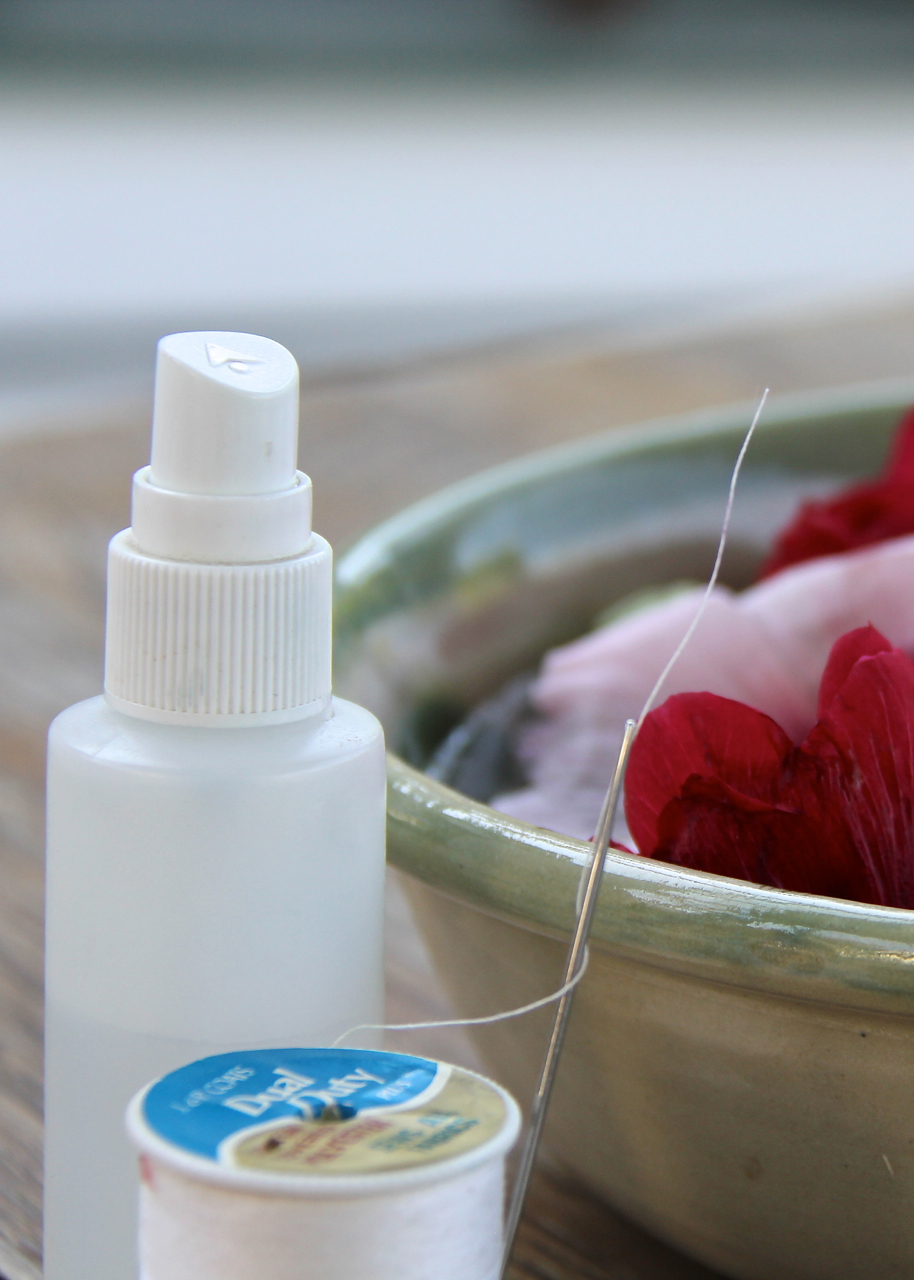
Keep blossoms fresh while you work, by placing them in a bowl of water. You can also mist them with water using a sprayer.
Remove the large, fuzzy stamen that sticks out of the center of each flower. Using a large needle and thread, stitch up through two or three large flowers, layering them to look like a skirt. You can make multi-color skirts with different colored flowers. Next make the head — you can use either a small blossom that hasn’t fully opened yet, or a large bud. Stitch from the bottom of the head through to the top.
You can add a leaf on top of the head for a hat.
Use 3 buds for each arm, a small, medium and large. I like to start at one hand, thread 3 buds together, then pierce the shoulder with the needle, and continue on the other side with 3 more buds for the opposite arm. (see photo 6)
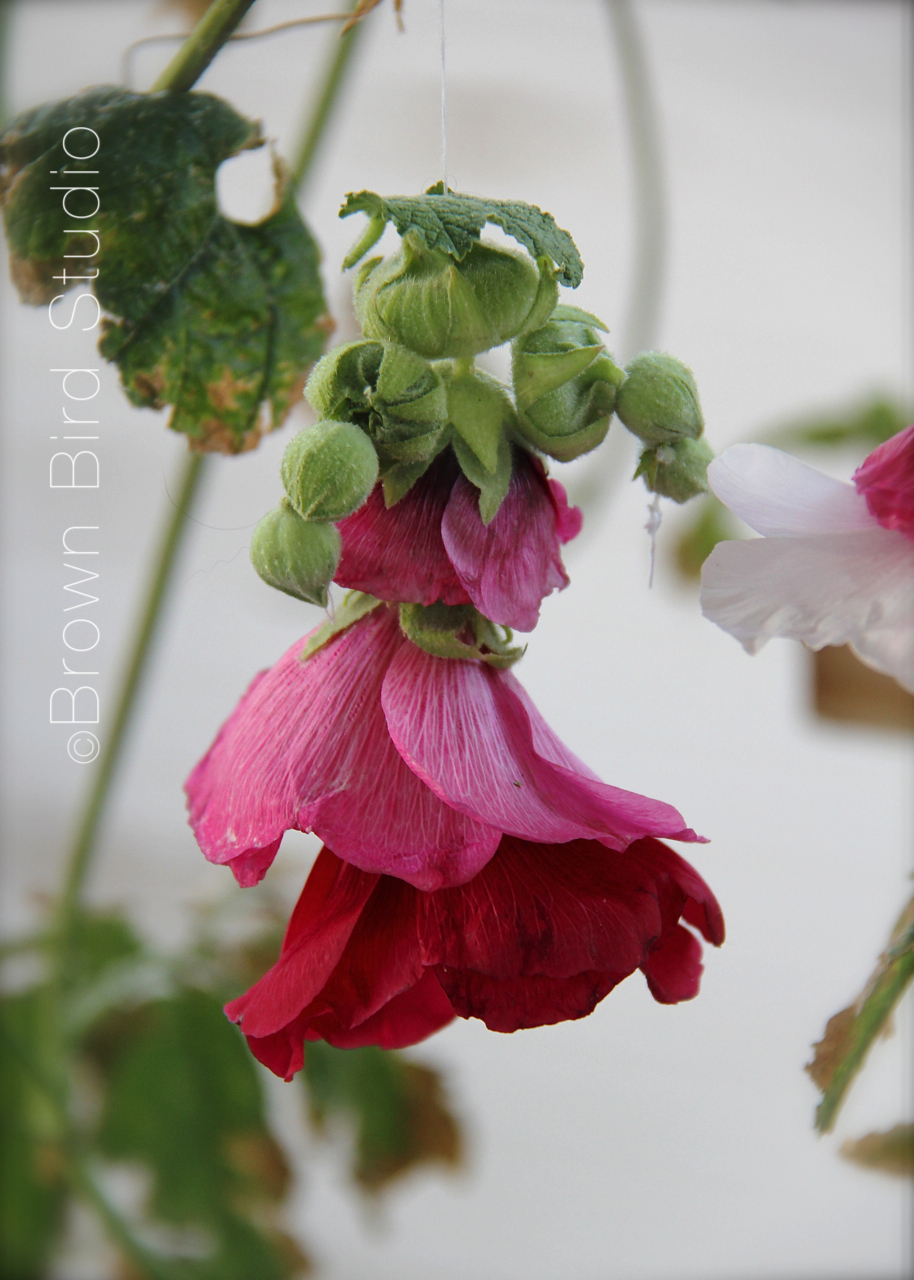
Your hollyhock doll will have personality and facial expressions if you use your imagination with her.
You can add legs if you want but I kinda like them without legs. The big skirts make the dolls look like Southern Belles at a Ball, or Ballerinas Dancing Across the Stage. If you want legs, do them the same as the arms.
Another way to make hollyhock dolls is to use long, stiff pine needles, or toothpicks instead of needle and thread. Using the thread allows the arms, legs, neck and waist of the doll to move and jiggle, and if you hang her she will dance in the breeze. Using pine needles or toothpicks gives you a stiffer doll that can be played with more easily. Here is a link to making hollyhock dolls with toothpicks.
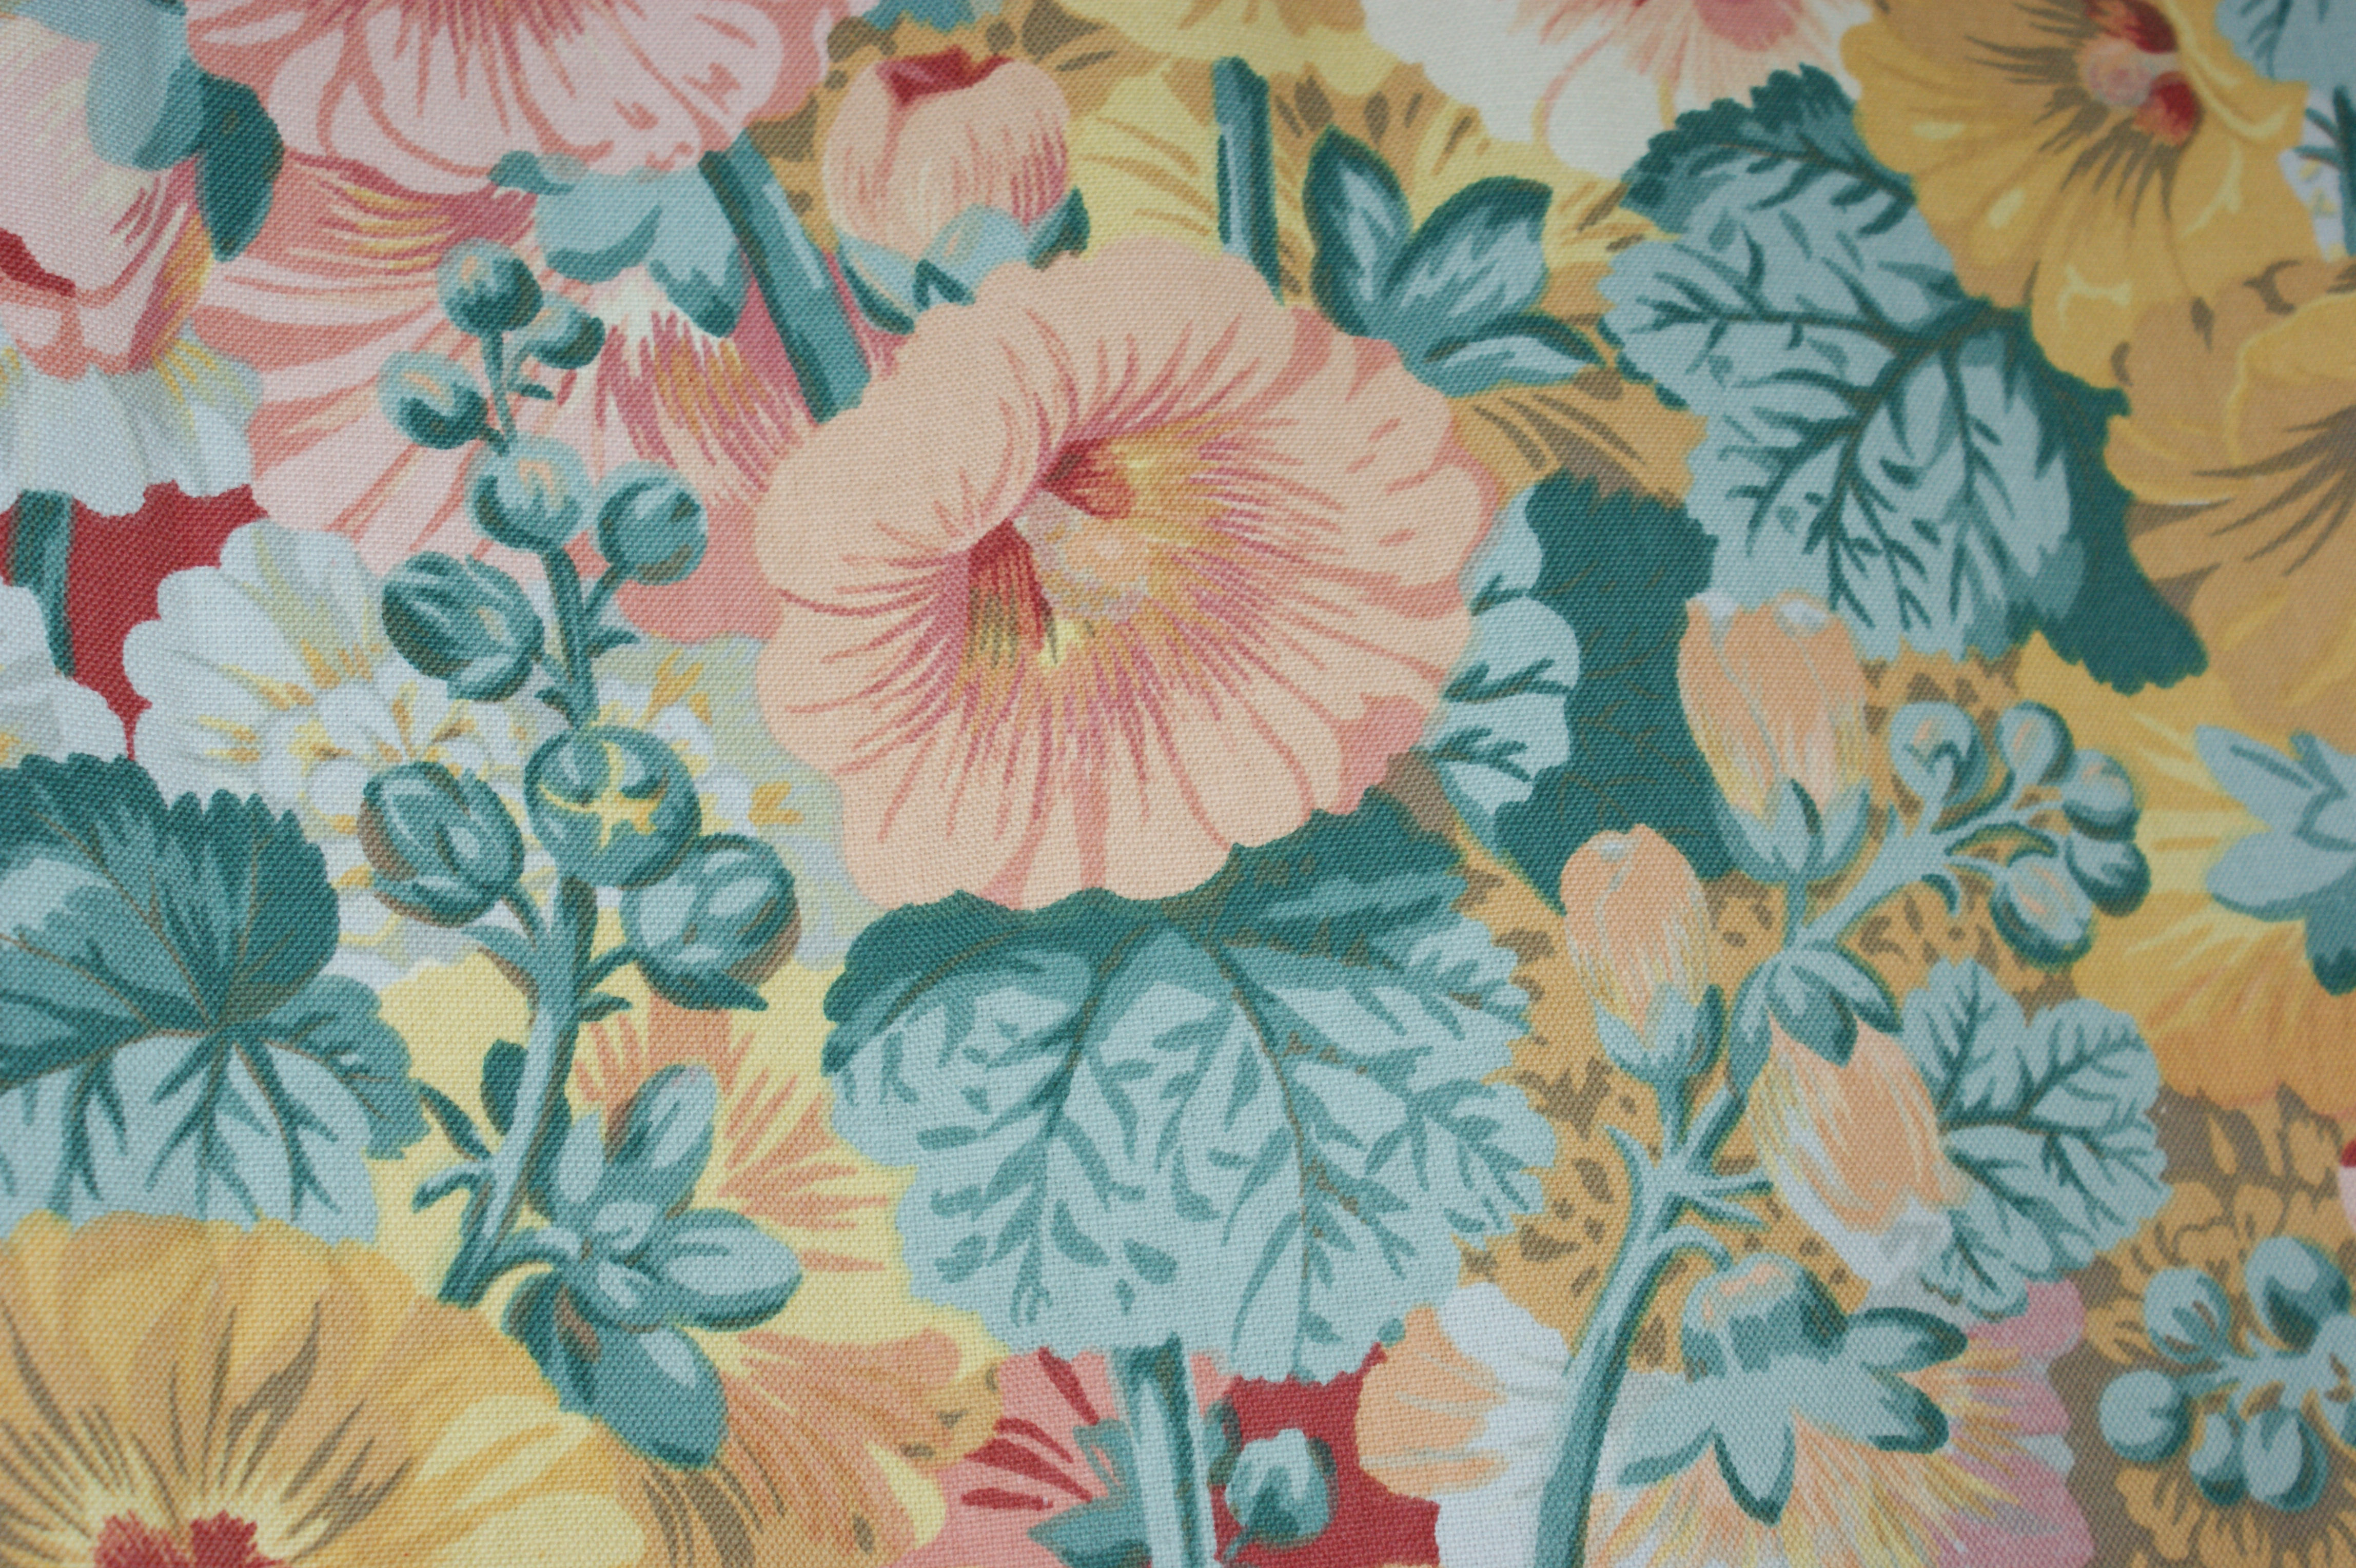
a lovely vintage textile print with hollyhocks
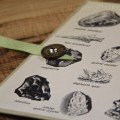
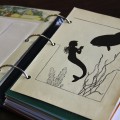
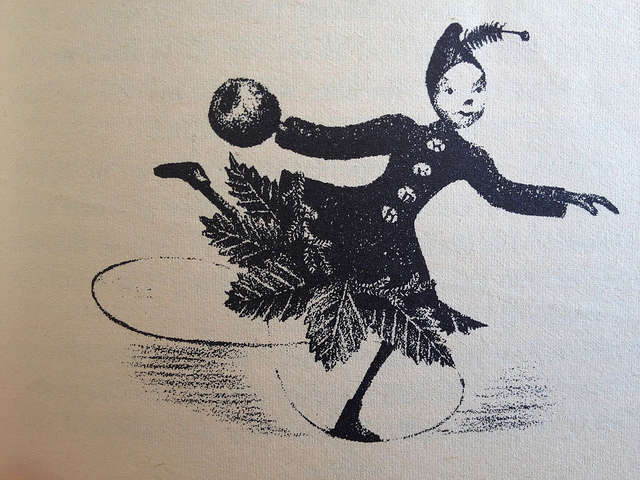
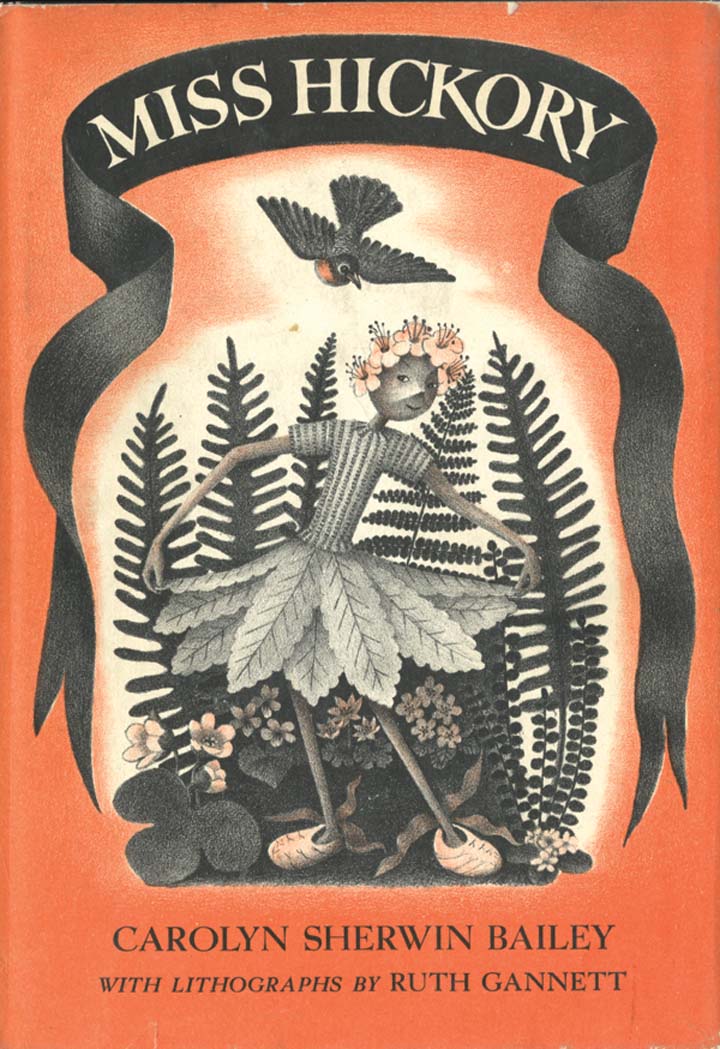
Miss Hickory is a children’s book that dates back to 1948. It is about a tiny doll made of apple twigs with a hickory nut head, so is a little similar to our hollyhock dolls, only longer lasting. The story follows her adventures through the four seasons. And eventually, the story ends with the little doll asleep on a branch of an apple tree and in the spring the apple tree blossoms all around her. Below are a couple of illustrations from the book and a link to a tutorial on how to make a Miss Hickory doll.
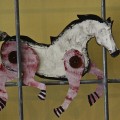
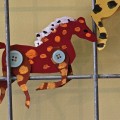
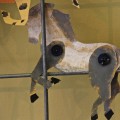
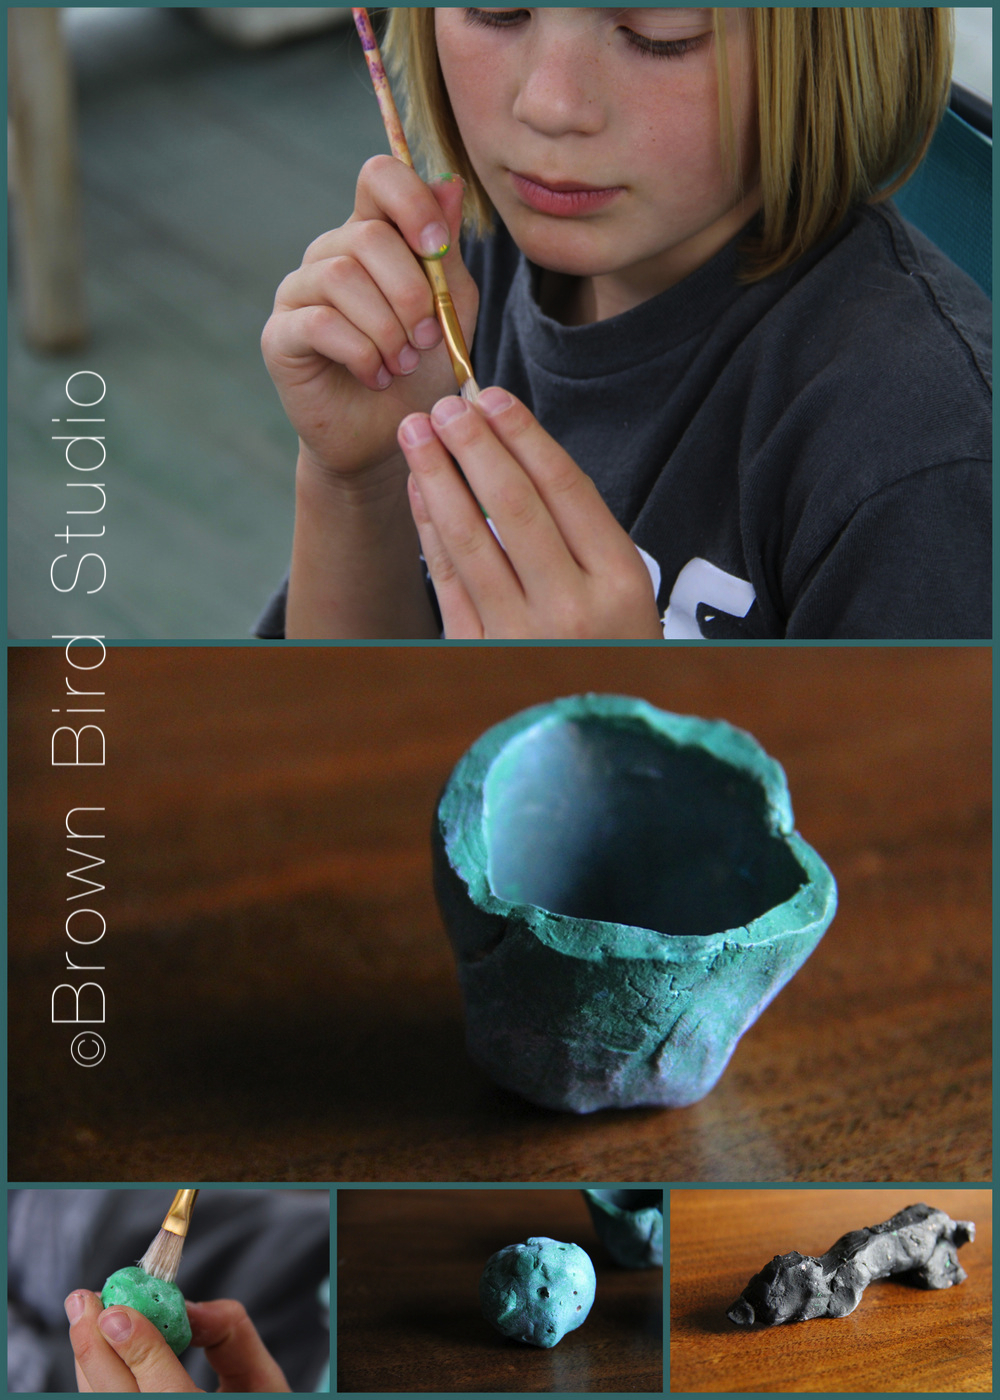
If you have access to a kiln, or a friend who does, get a chunk of clay and make some of these cute little critters with your kids. We painted them instead of glazing them this time. Next time we want to experiment with glazes. Ema and Adia have some tips on making and painting little clay objects, based on their own experiences with this project.
Thank you to Gene Hickman of the Helena Clay Arts Guild, for the clay, and teaching the girls some tricks of the trade.
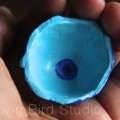
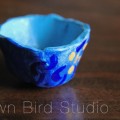
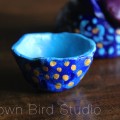
Adia describes her ceramic creations by saying, “I made a moon, a dog lying down, a bead and a bowl. The bowl is about as tall as a cat’s paw, and as big around as a cherry tomato. What I might put in it is a bouncy ball small enough to fit. For the moon, I chose green because I was thinking of blue cheese — the kind you eat — and I thought of green. So that’s what I painted it.”
Adia’s advice on this project:
First paint your clay thing one solid color, then let it dry. Then, you can paint other colors you want on top of that.
When you make the shapes, try not to make them too thick or they might explode in the kiln.
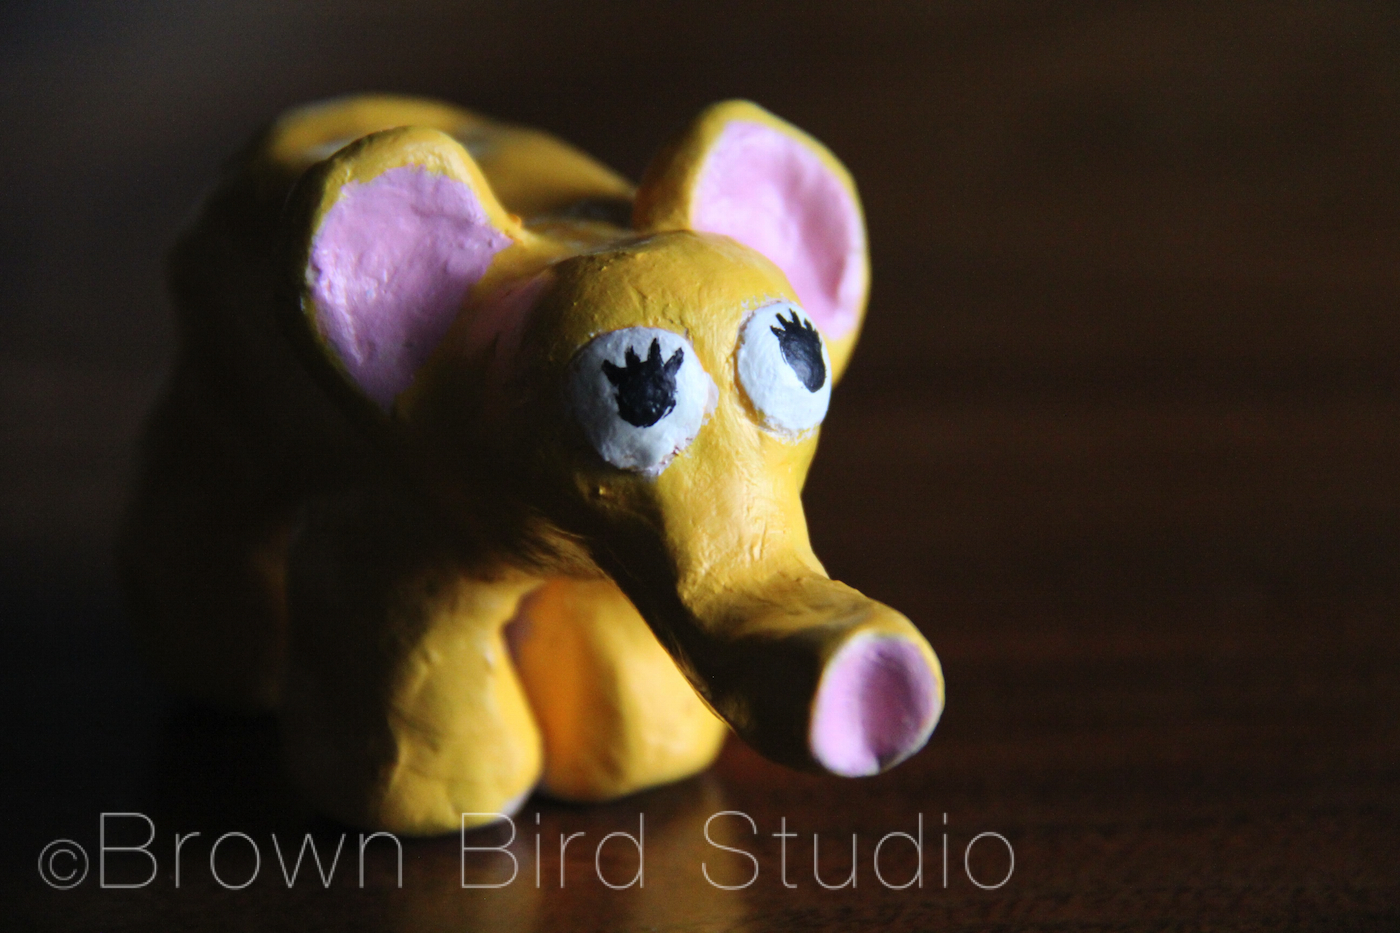
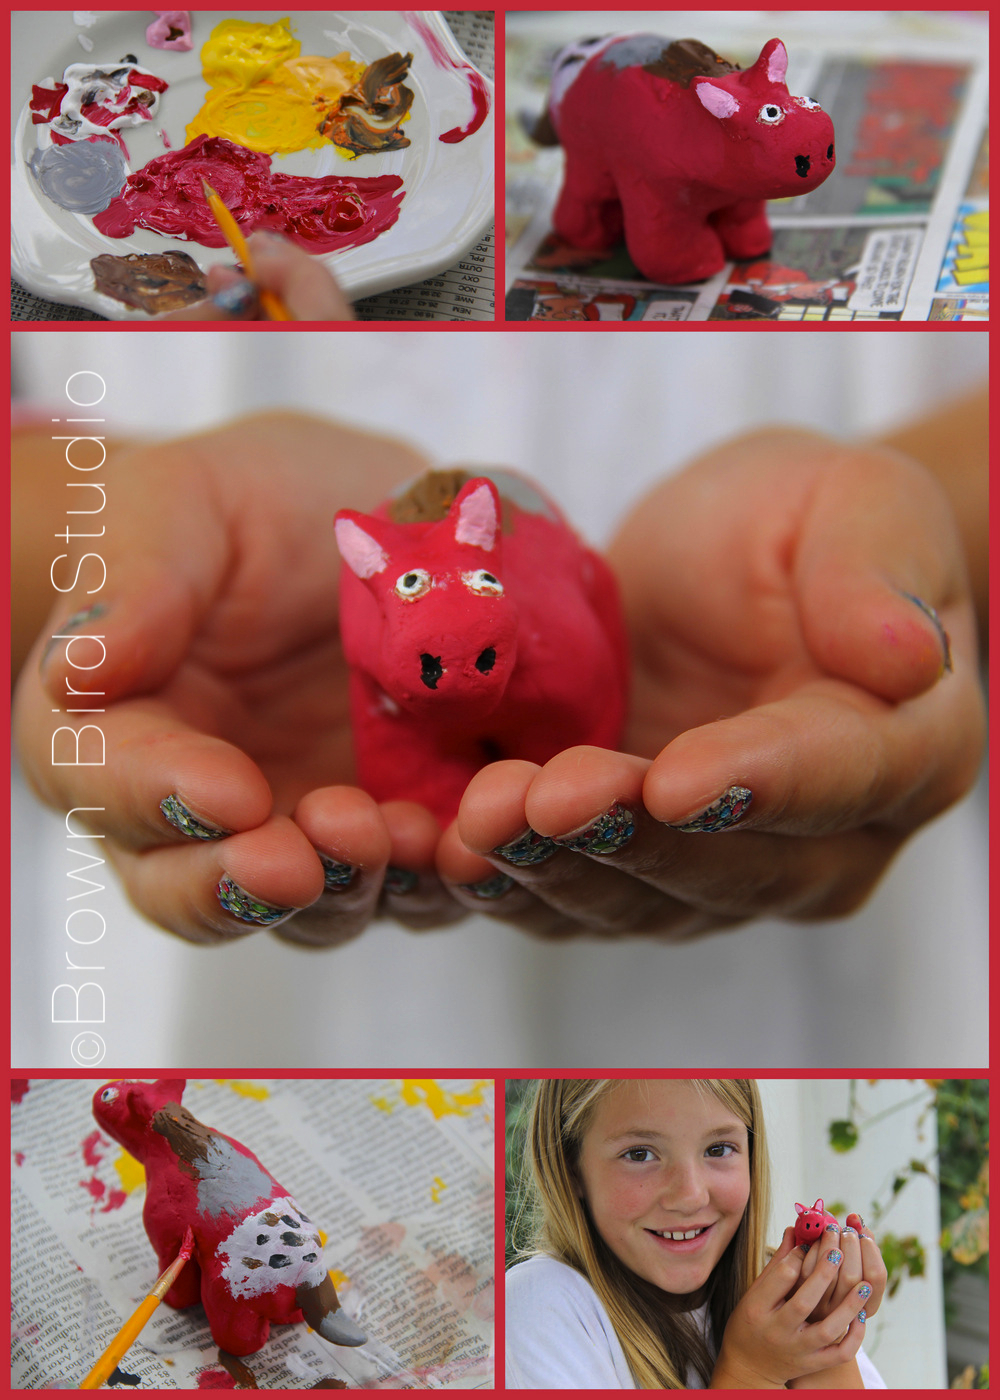
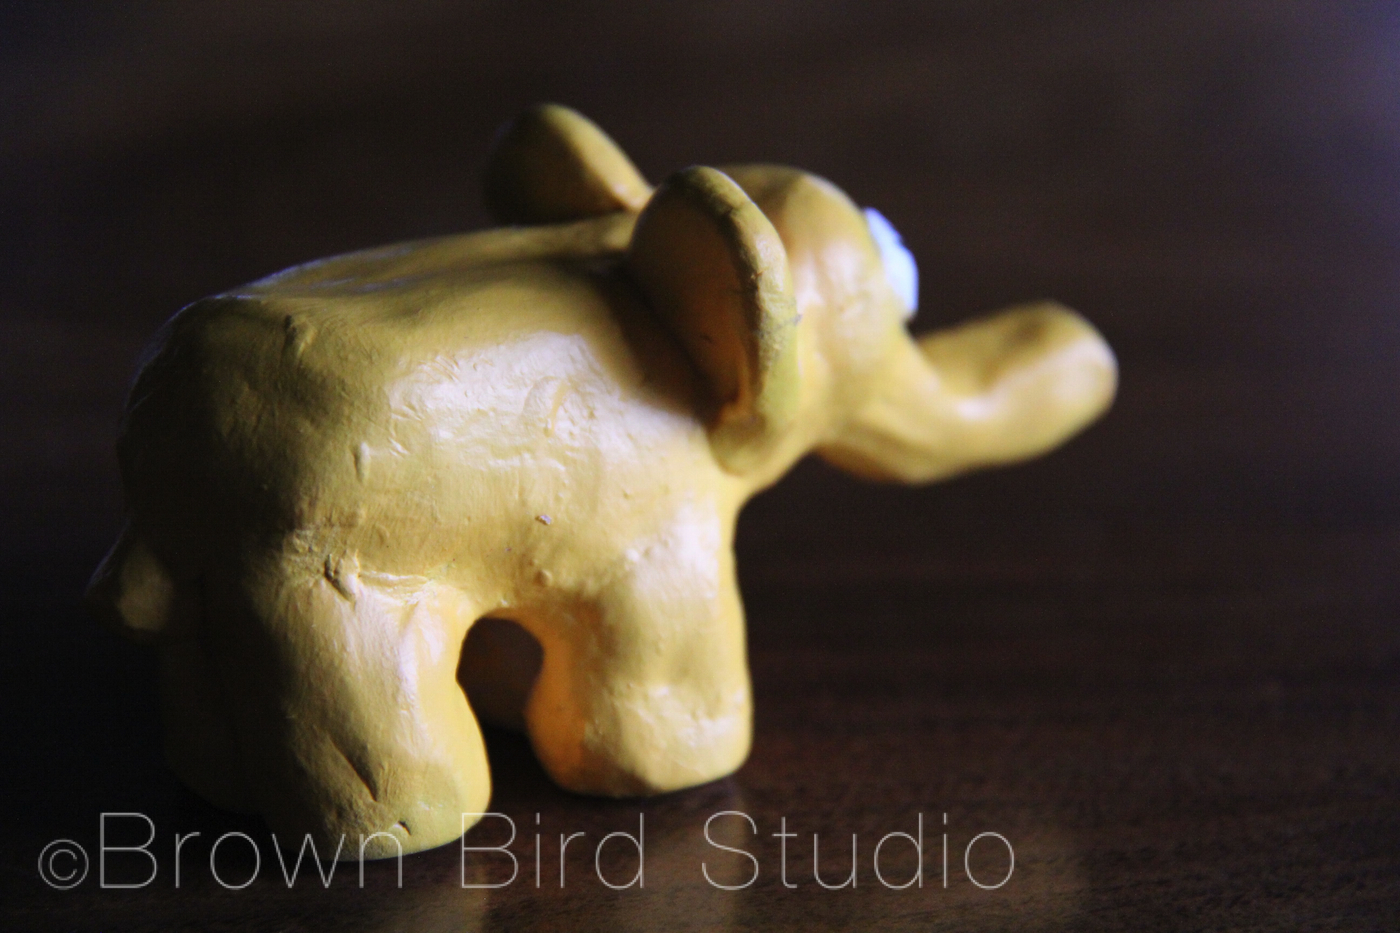
Ema explains, “I made a small horse and a little elephant. When I made the horse, I was thinking of my favorite horse that my grandmother owns. Her name is Rosebud. The design on the back of my horse is similar to Rosebud’s design. She is a red roan, so I painted her red.
When I made the elephant, I was thinking of my mom. I think elephants are her favorite animal. I painted it gold because gold makes me feel happy. It also has pink, black and white. I made a happy accident with the eyes. I accidentally drew a black line on the eye and the black line turned into an eyelash and then I made more. So now she looks cute. I gave the little elephant to my mom.
Ema’s tips on making ceramic critters:
Don’t make it too thin. It might crack.
If you want to paint more than one color, wait until the first color dries before you paint on top of it or the colors will mix and make a different color. If you painted yellow on top of blue when it is wet, it would make green and you might not like green. And if you painted a bunch of colors on top of another it would make brown and you might not like brown. And so on.
If you make your creature too thick, it might explode in the kiln! And that might not be good for other pottery in the kiln, but especially not good for yours.
Don’t try to make it perfect. It won’t be. But you may make some happy accidents and those are good accidents. How will you know if you have a happy accident? Say you were painting an elephant and you accidentally drew a black line on it’s back. It could turn into wrinkles. Or, say you were painting a bowl and you were painting it yellow and you accidentally got blue on it. You could make it a rainbow bowl. And so on. And that’s how you would know it’s a happy accident.
acrylic paints, markers or other tools to decorate the puppets **
hot glue, regular glue (like Elmer’s) ***
scissors
paint brushes if you decide to use paint
How to make the puppets:
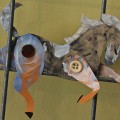
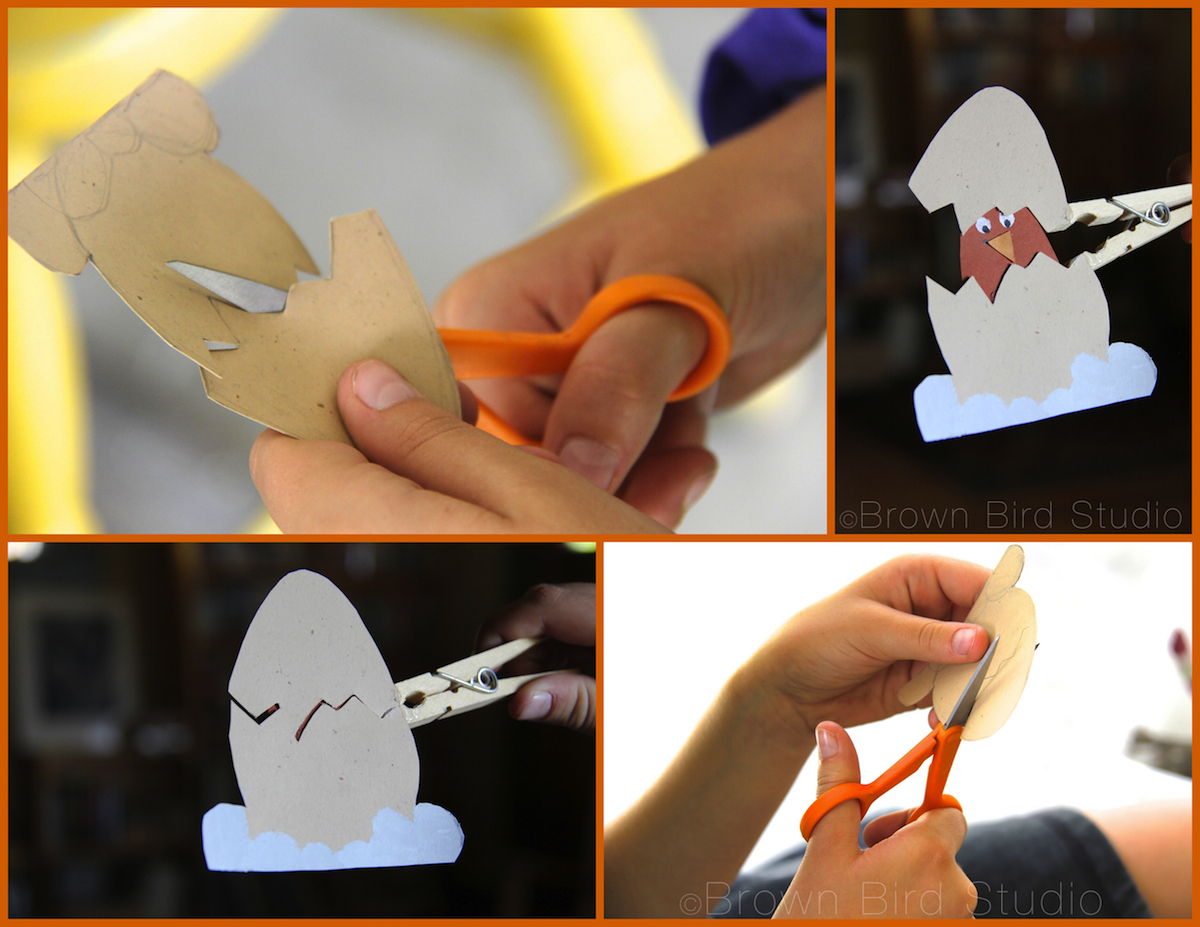
Decide what you want to make. We liked the idea of a mouth opening to reveal something inside. Ema also made an egg that “hatches.” You could choose to make a person whose mouth opens to show a word-bubble, or an envelope that opens to show a letter inside. We mostly got our ideas from this lovely Flickr user, Molas & Company, but I can think of lots more ideas… get creative!
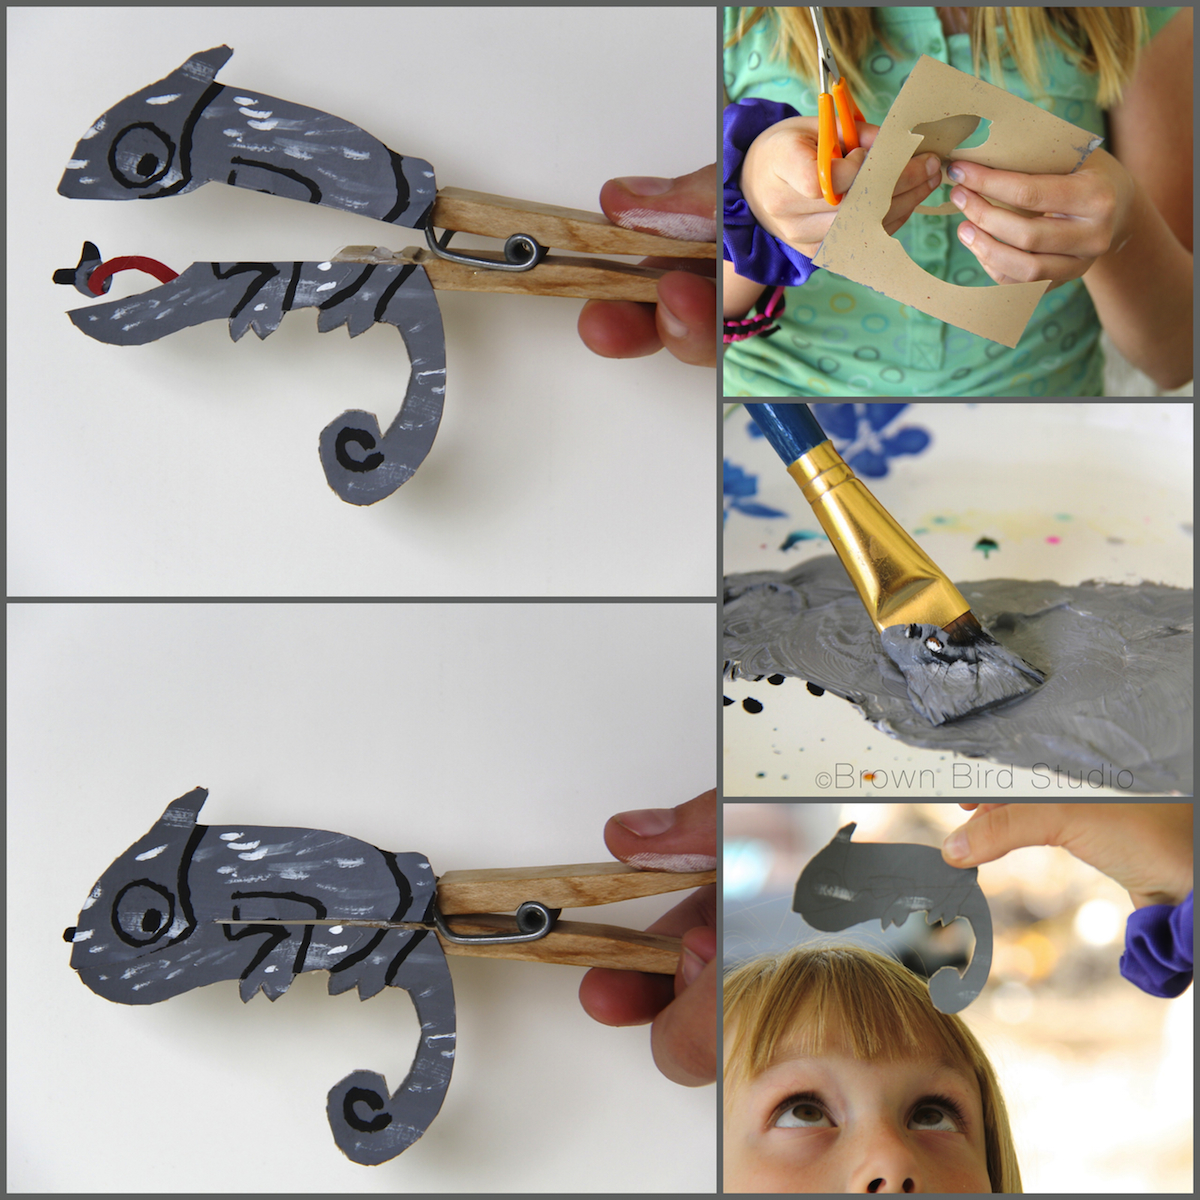
Draw your shapes on heavy weight paper and cut out.
Cut through the middle of the shape so you have two halves to glue to the two parts of the clothespin
Paint or otherwise decorate your puppet shape.
Make the inside piece and attach to the bottom of the puppet shape.
Figure out the best placement of the two halves, on your clothespin.
Hot glue the two halves of your puppet shape onto the bottom and top of the clothespin.
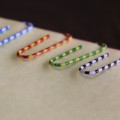
Have fun with your puppets:
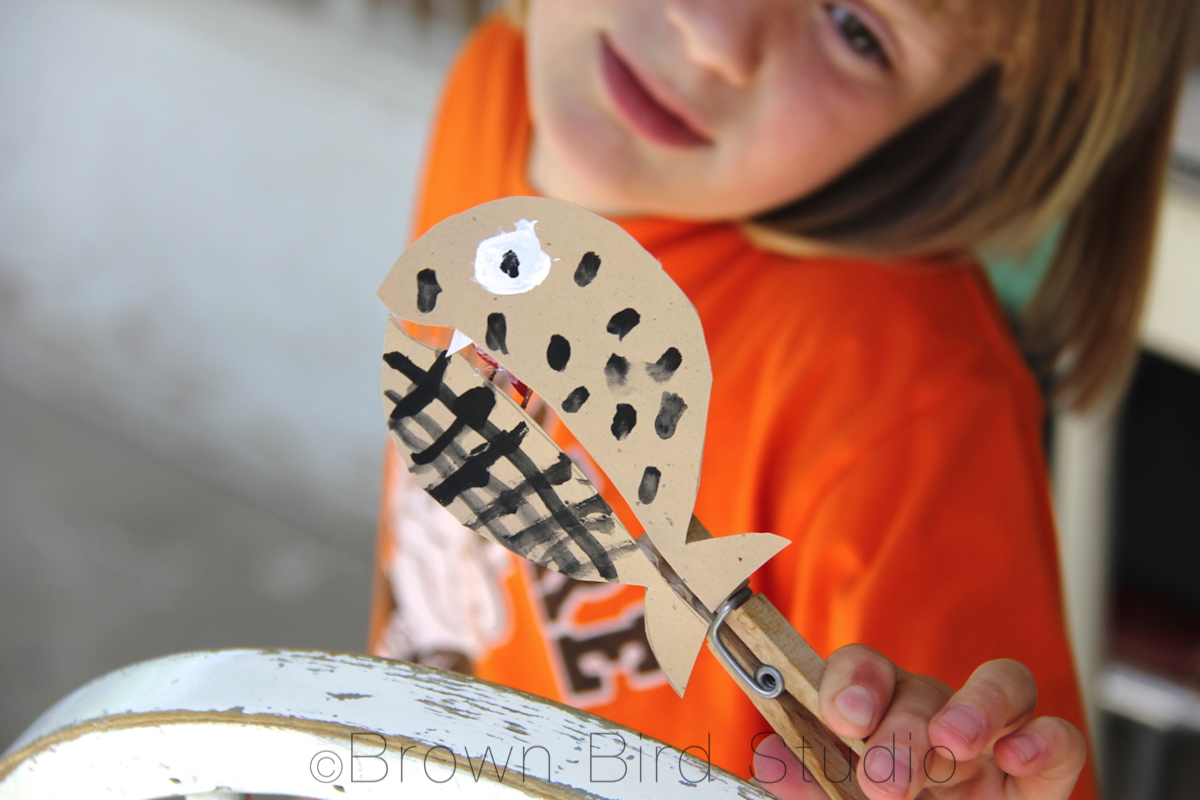
Headline: Very brave whale tries to eat prehistoric sea dinosaur even with mouth full of boat!
Adia played with her puppets while watching Fantasia, above. They are interacting with the movie. That’s what I call active-watching (and a brave puppet whale!)
Notes & Tips:
* One of the puppets we made using a lighter weight paper because Adia liked the color. The paper sort of curled, so I would suggest a heavier weight (cover stock is perfect) paper.
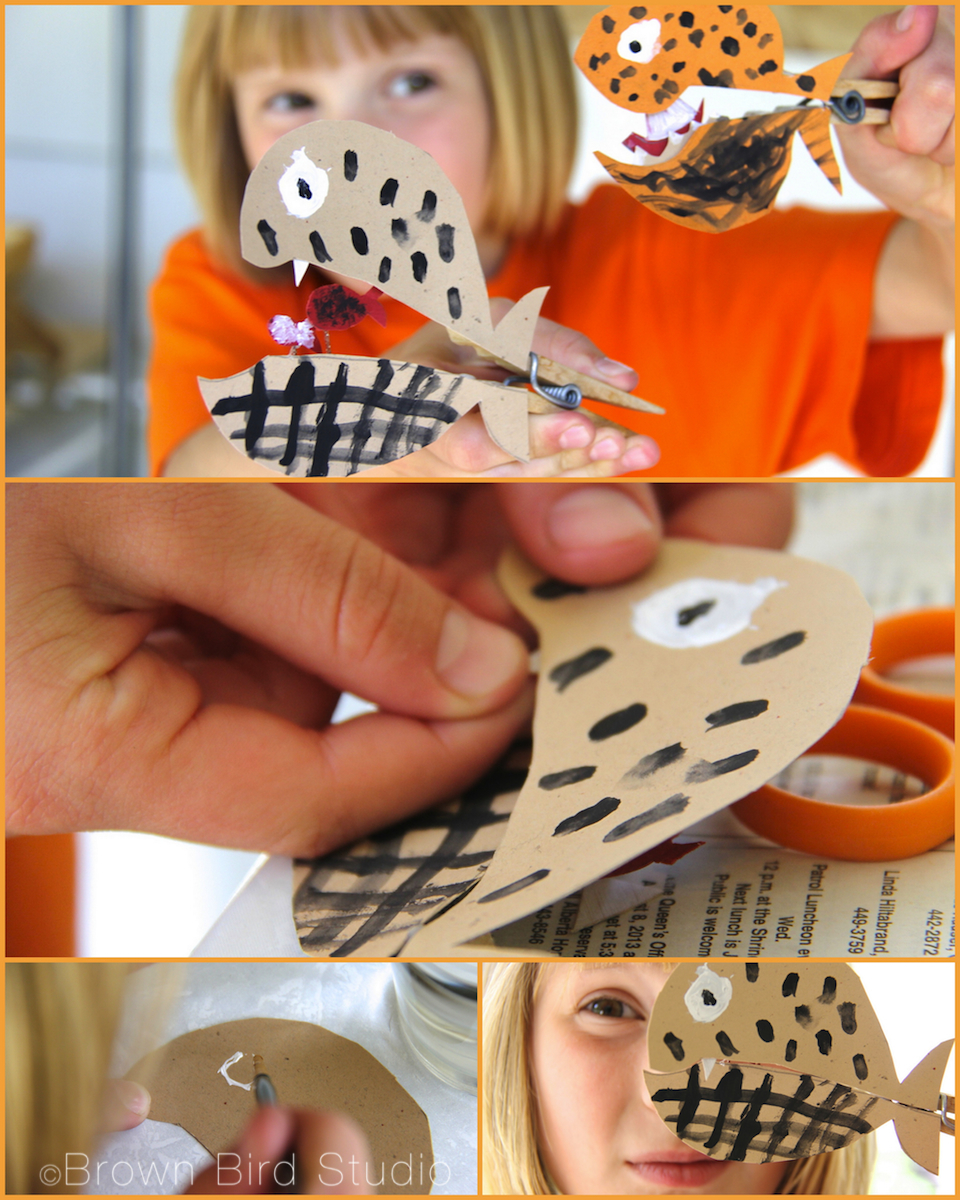
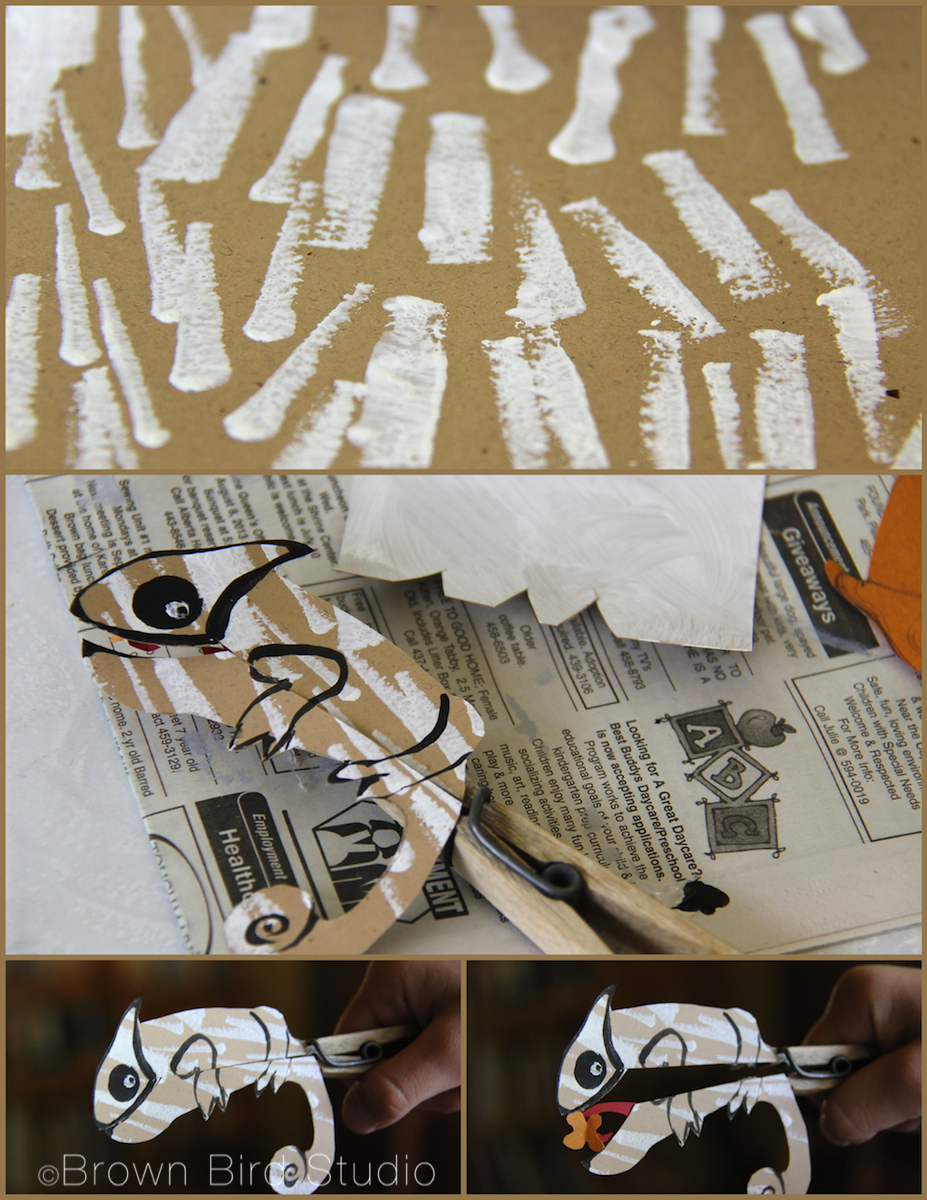
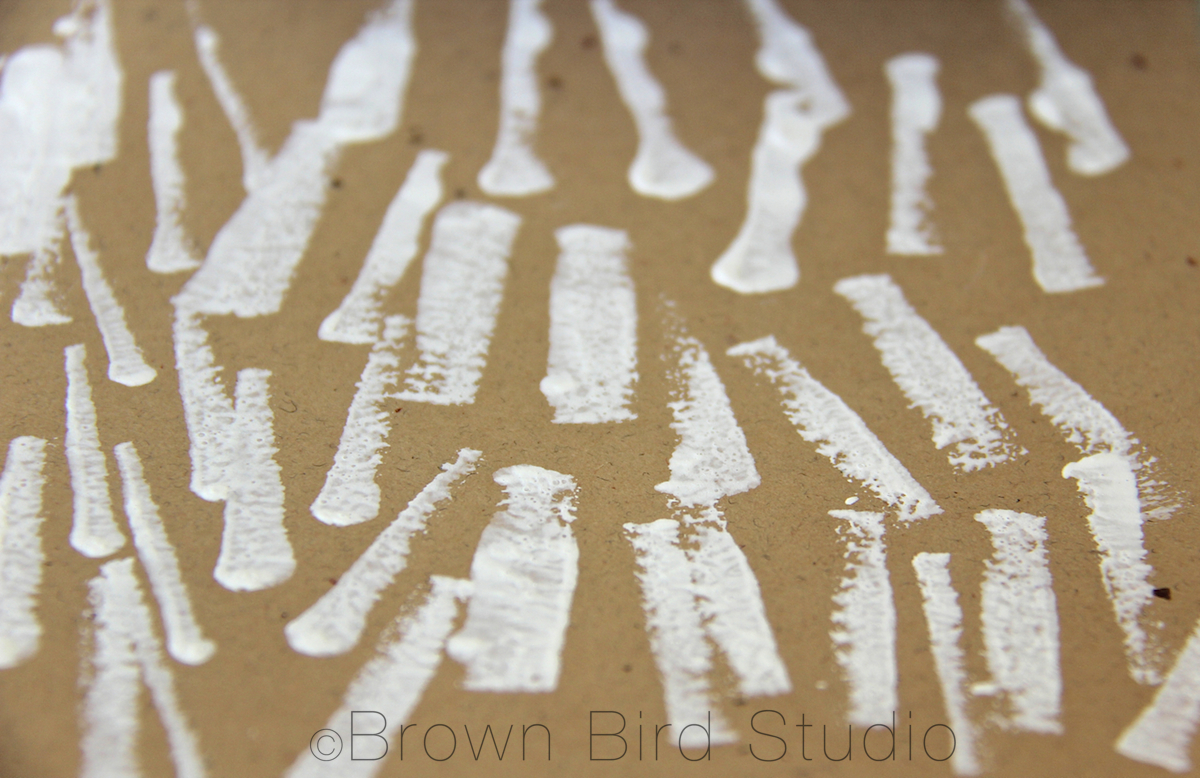
** We used acrylic paints and I limited the girls to just black and white (and gray mixed from the two colors.) Use brushes or any other tool you can think of, to apply the paint. The tan chameleon has a texture made by stamping white paint with the tip of a sponge brush (see photo below.) You could also use a pencil eraser to make polka dots. Get creative!
If you use a heavy weight paper, or light cardboard, you could decorate the puppets with glued on buttons, sequins, beads, felt, bits of fabric, ribbons, or pieces of magazine photos. Very young artists could use stickers.
*** We used Elmer’s glue to attach paper bits to the paper puppet shapes. Hot glue to attach the puppet shapes to the clothespin. Use whatever glue you think will work best with the stuff you’re applying to your puppets.
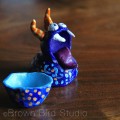
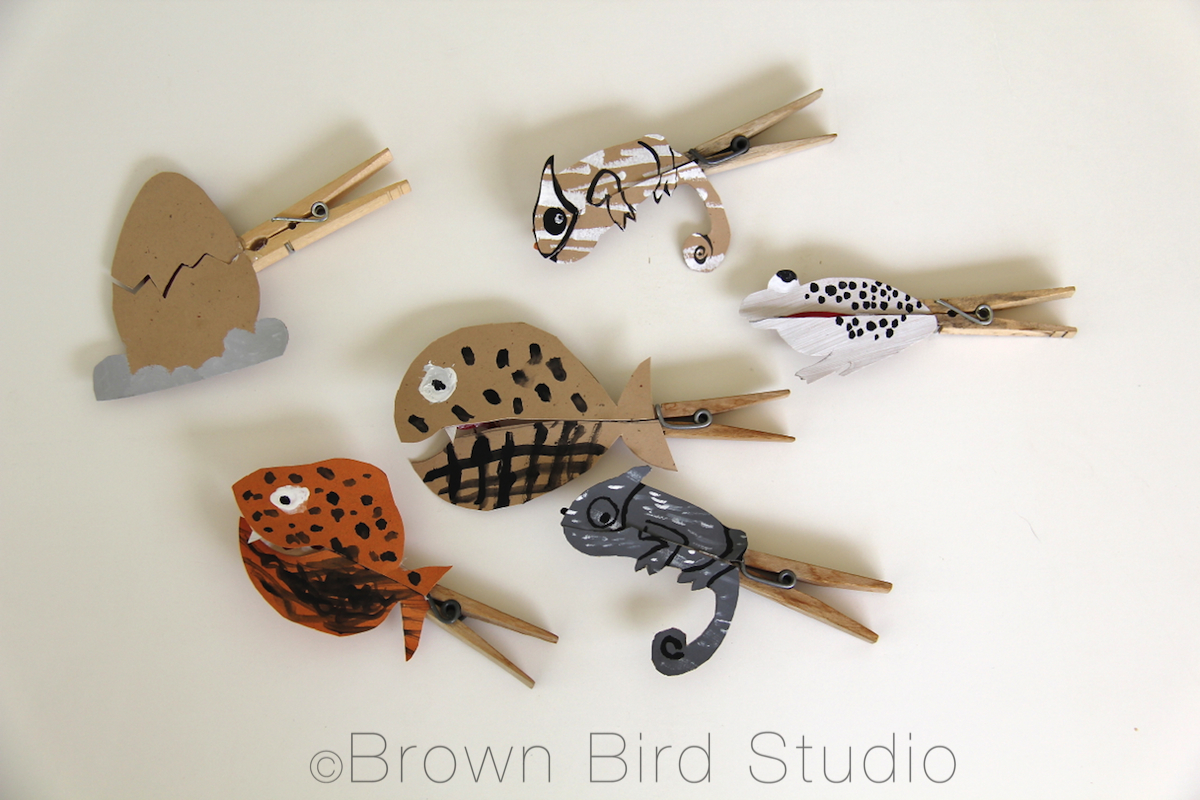
An egg that hatches, a whale swallowing a boat, a big fish eating two smaller fish, two chameleons eating flies and a frog eating a butterfly. Your imagination is the limit!
I made this texture by stamping the tip/edge of a sponge brush filled with white paint, on tan paper