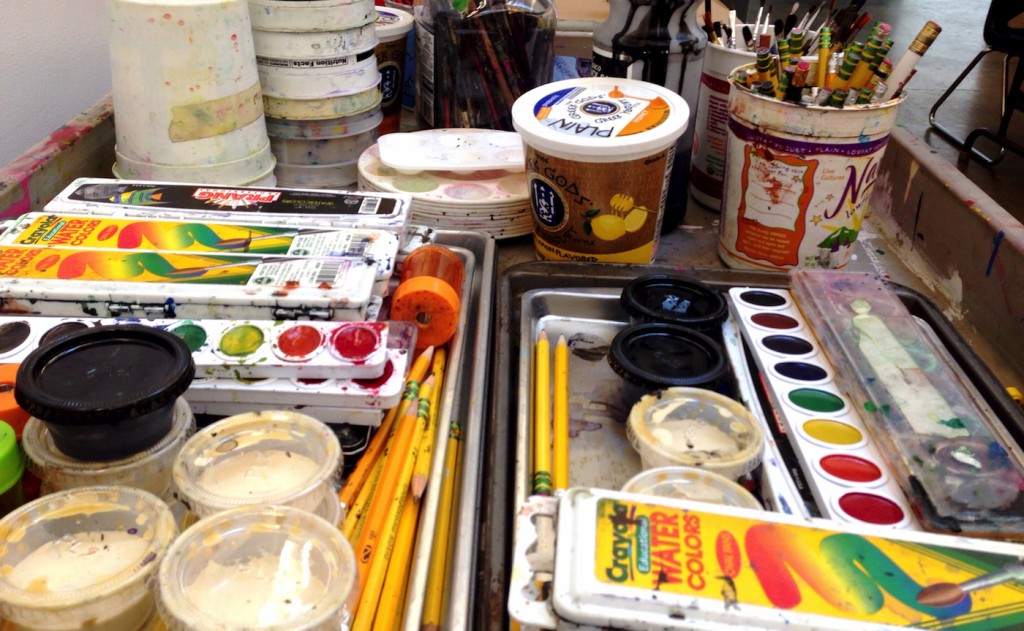
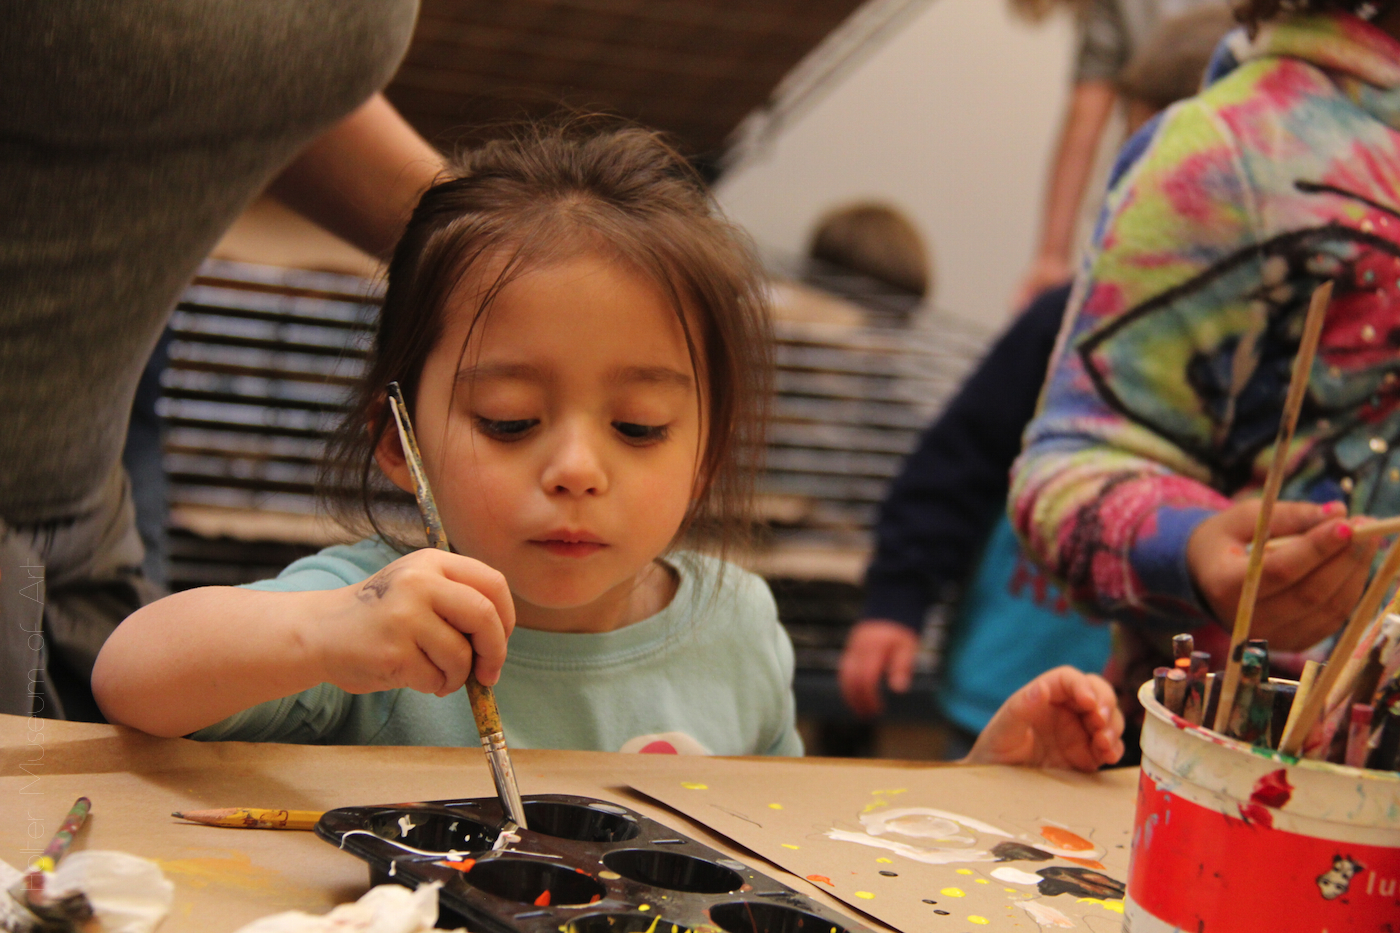
Our kids creativity seshes for the last couple of weeks were about making monoprints with some different techniques and a small tabletop press.
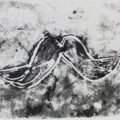
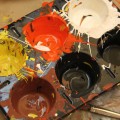
The first week, we made monoprint plates with drypoint etching on plexi. After learning how to ink the plates and wipe them (leaving the ink only in the scratched lines) we added other ink colors and made painterly marks in the ink layer.
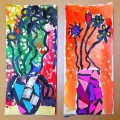
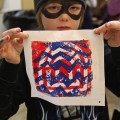
Monoprint by Ema
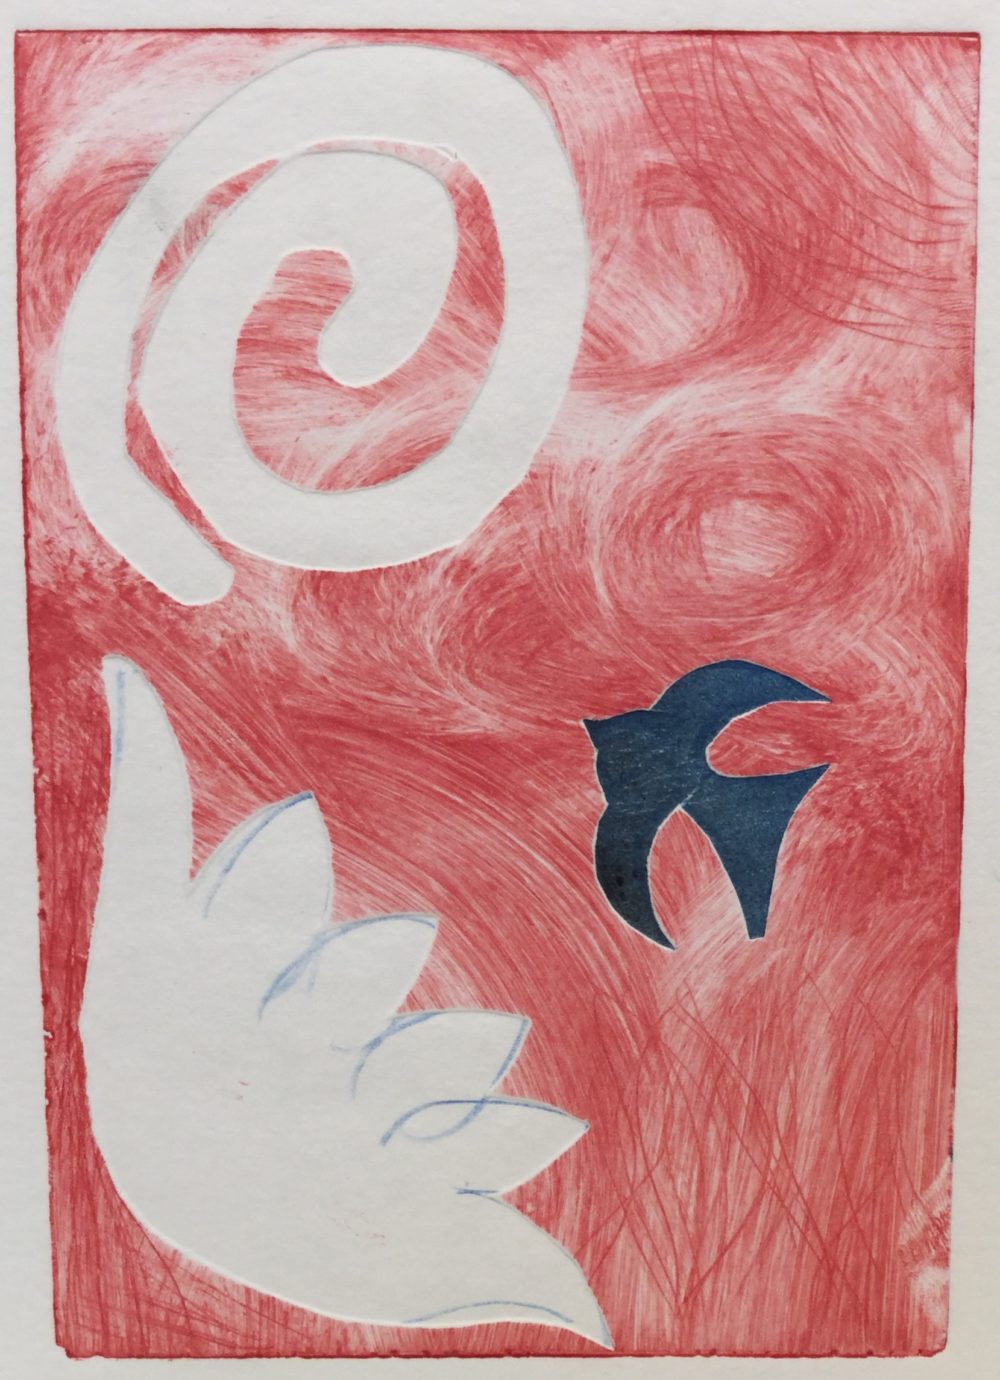
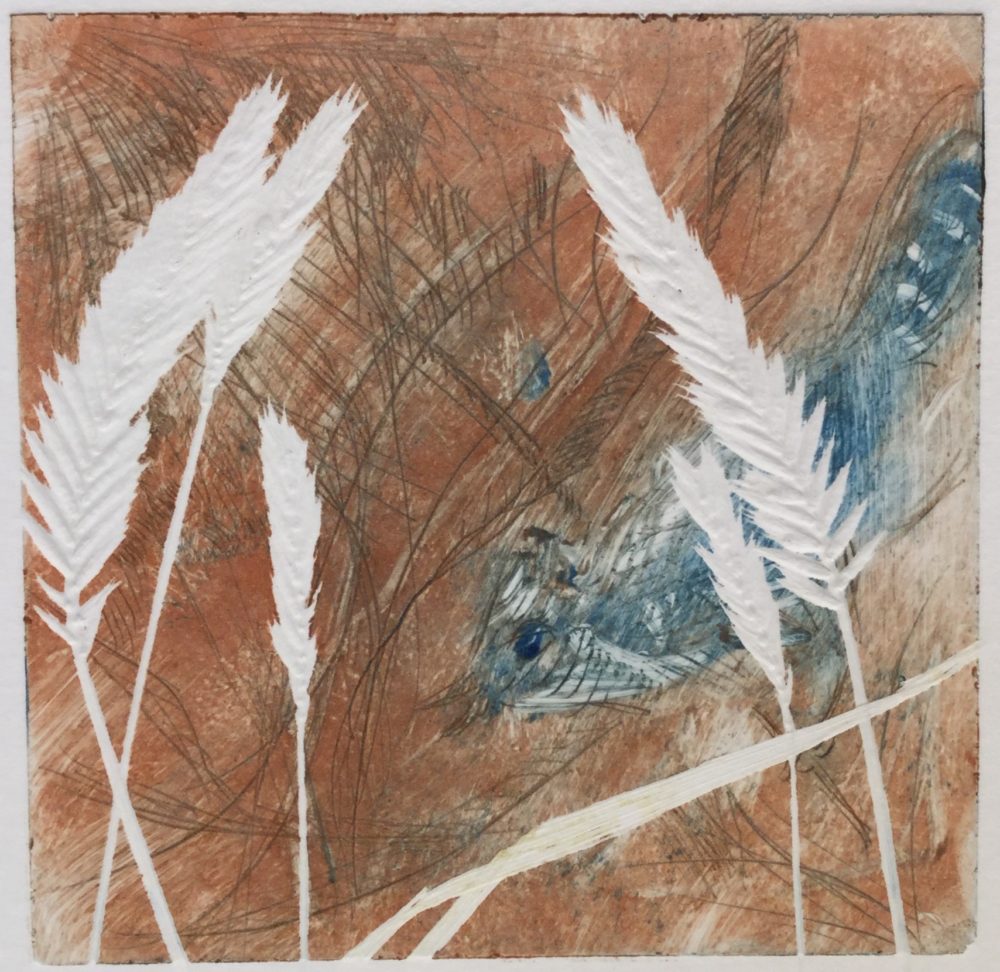
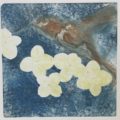
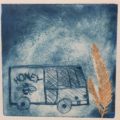
When the inked plates were ready, some of us added flat objects on top, like paper cutouts and pressed leaves or flowers to create collagraphs. The objects we put on top of the inked plates, left white areas on the monoprints (see the grasses on the print below.)
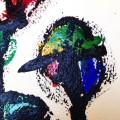
Monoprint “Blue Jay 2” by Maureen
We used really good quality cotton rag paper soaked for a few minutes in water, then pressed dry. Then we ran our printing plates through the small press with the paper on top.
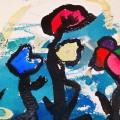
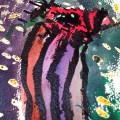
Monoprint by Adia
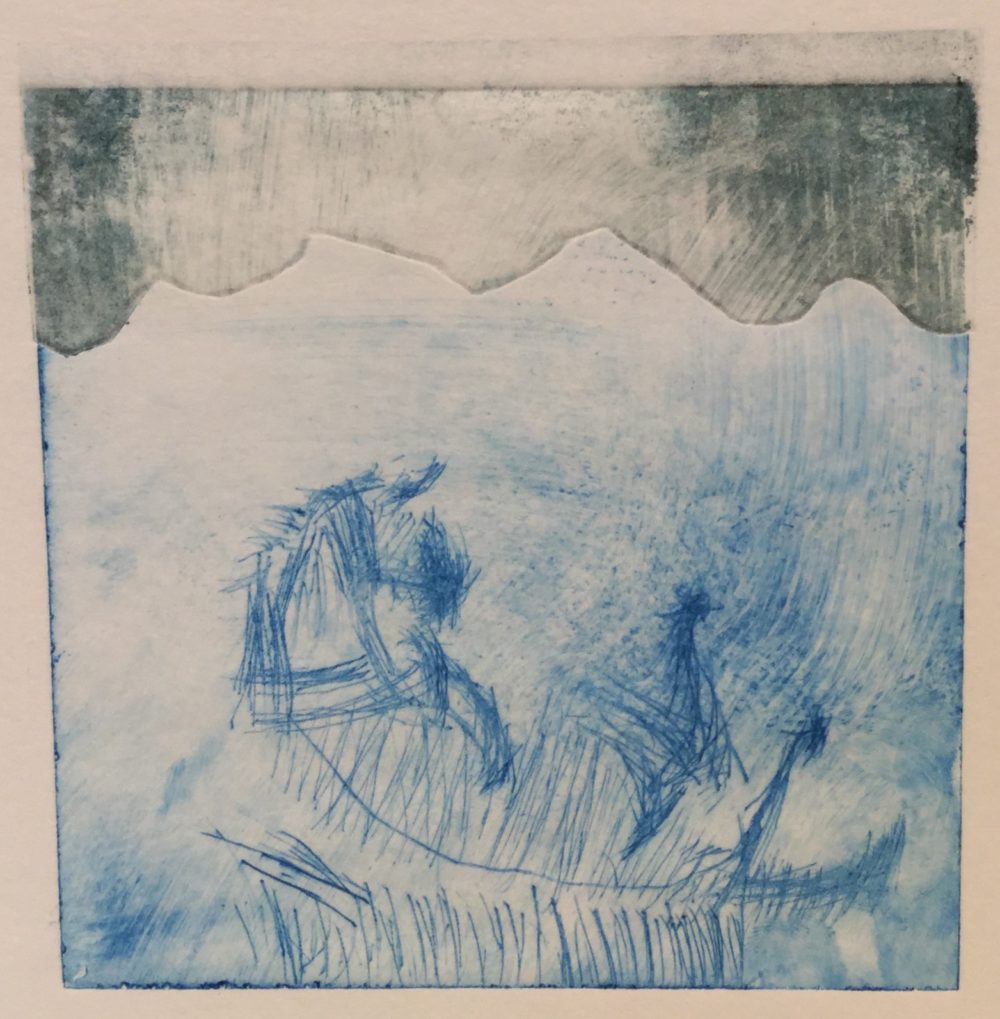
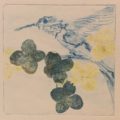
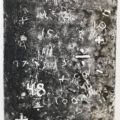
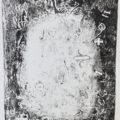
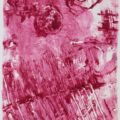
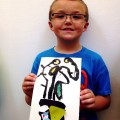
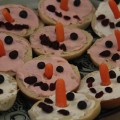
Here are some of the different drypoint monoprints we made. You can see that one etching plate is used to make many different designs. That’s why they are called mono prints.
Monoprint by Lily
Monoprint by Lily
Monoprint by Lily
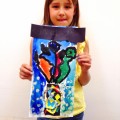
Monoprint by Ema
Monoprint by Ema
Monoprint by Ema
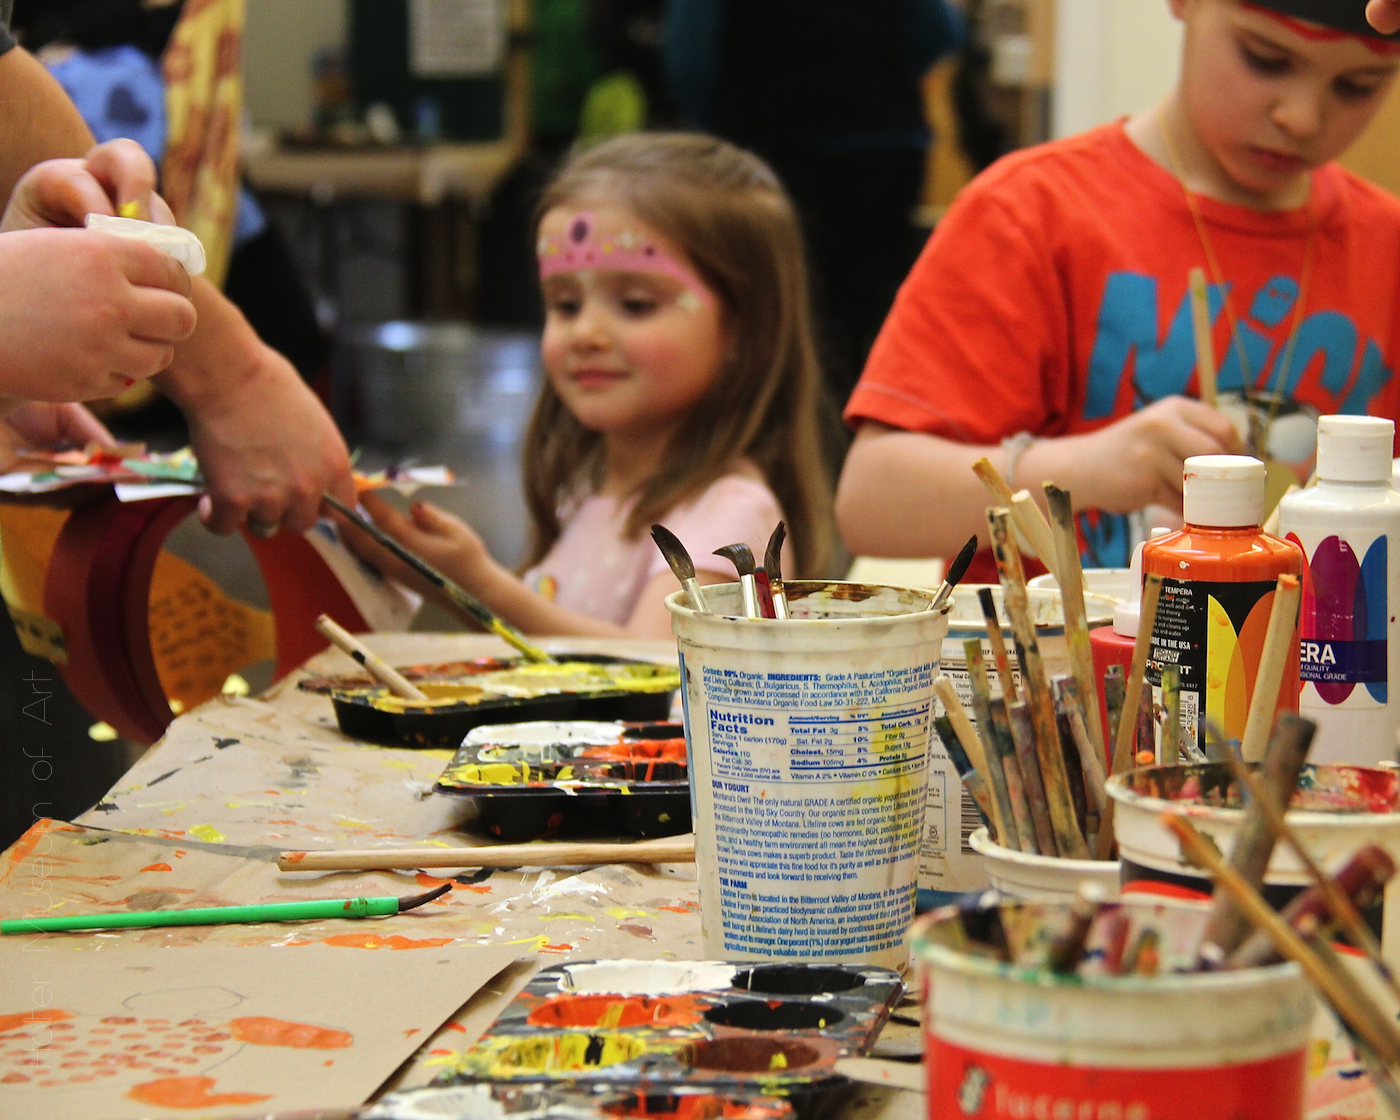
Okay, so the next week we made two other kinds of printing plates.
No boring stuff in these kids creativity sessions!
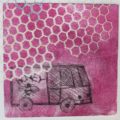
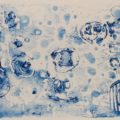
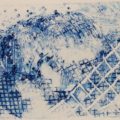
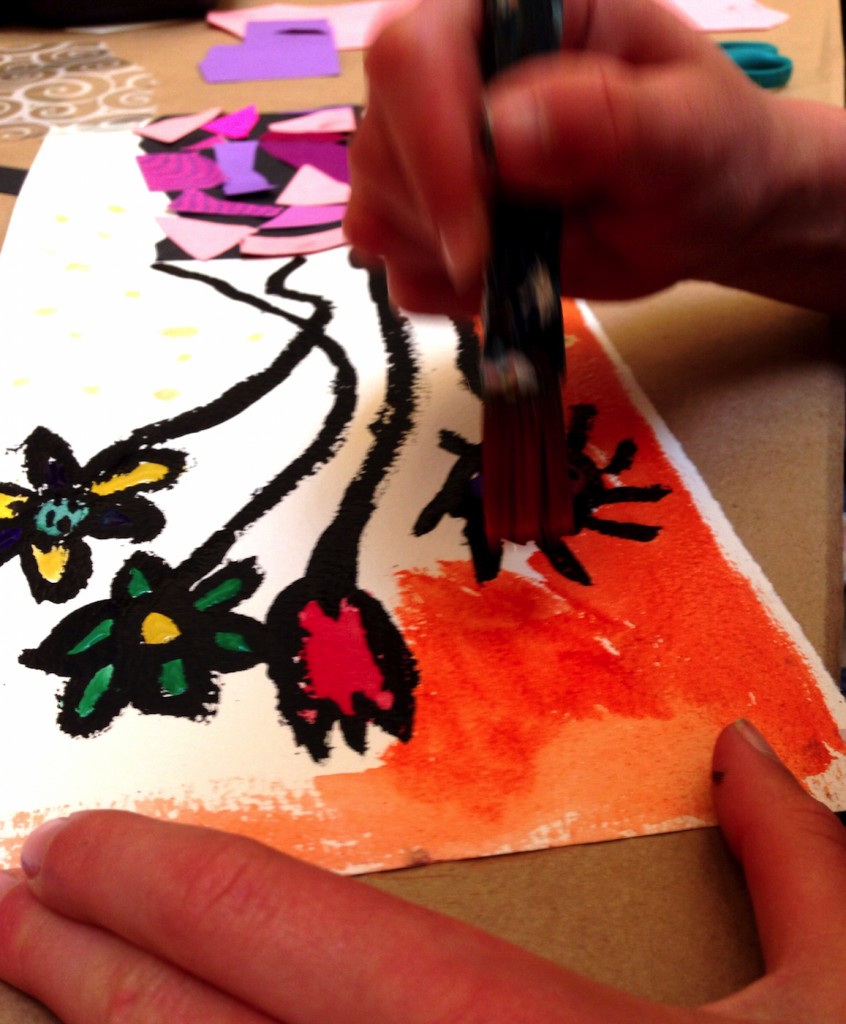
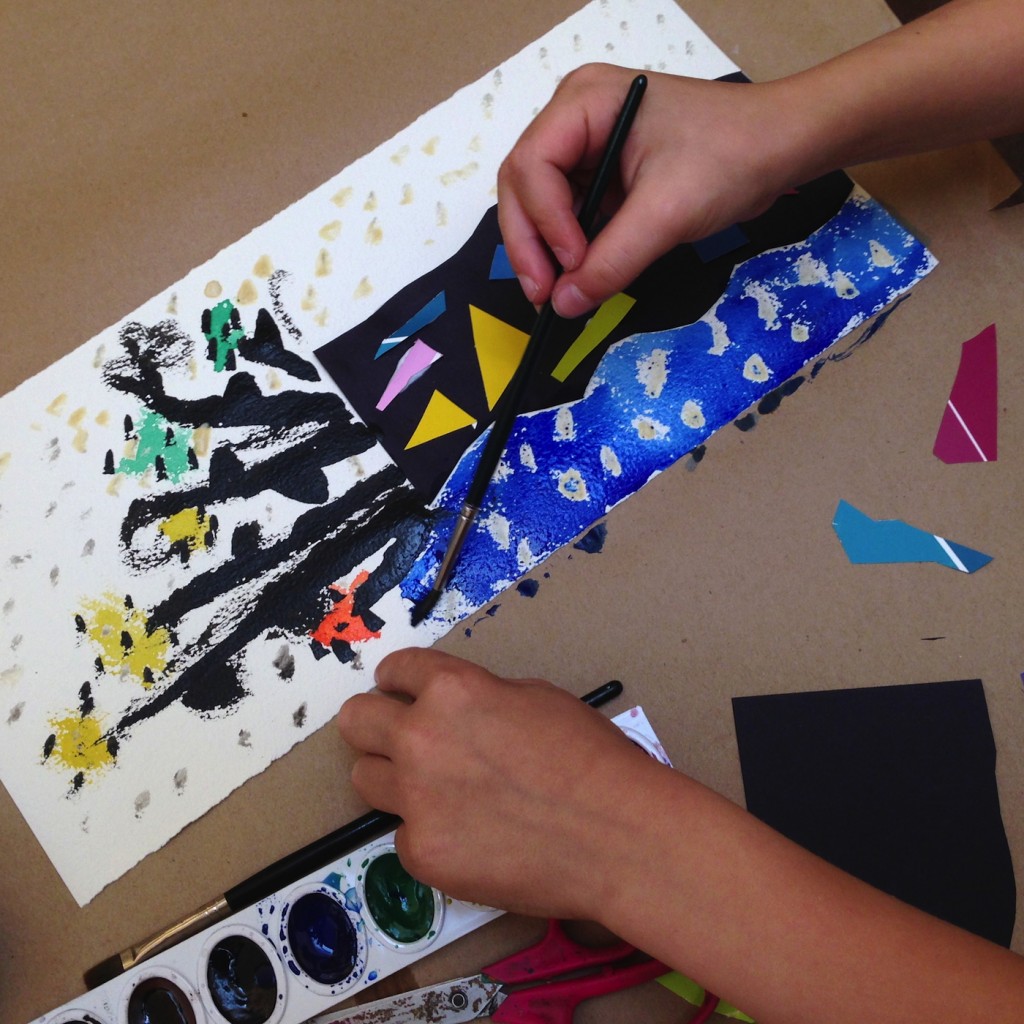
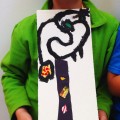
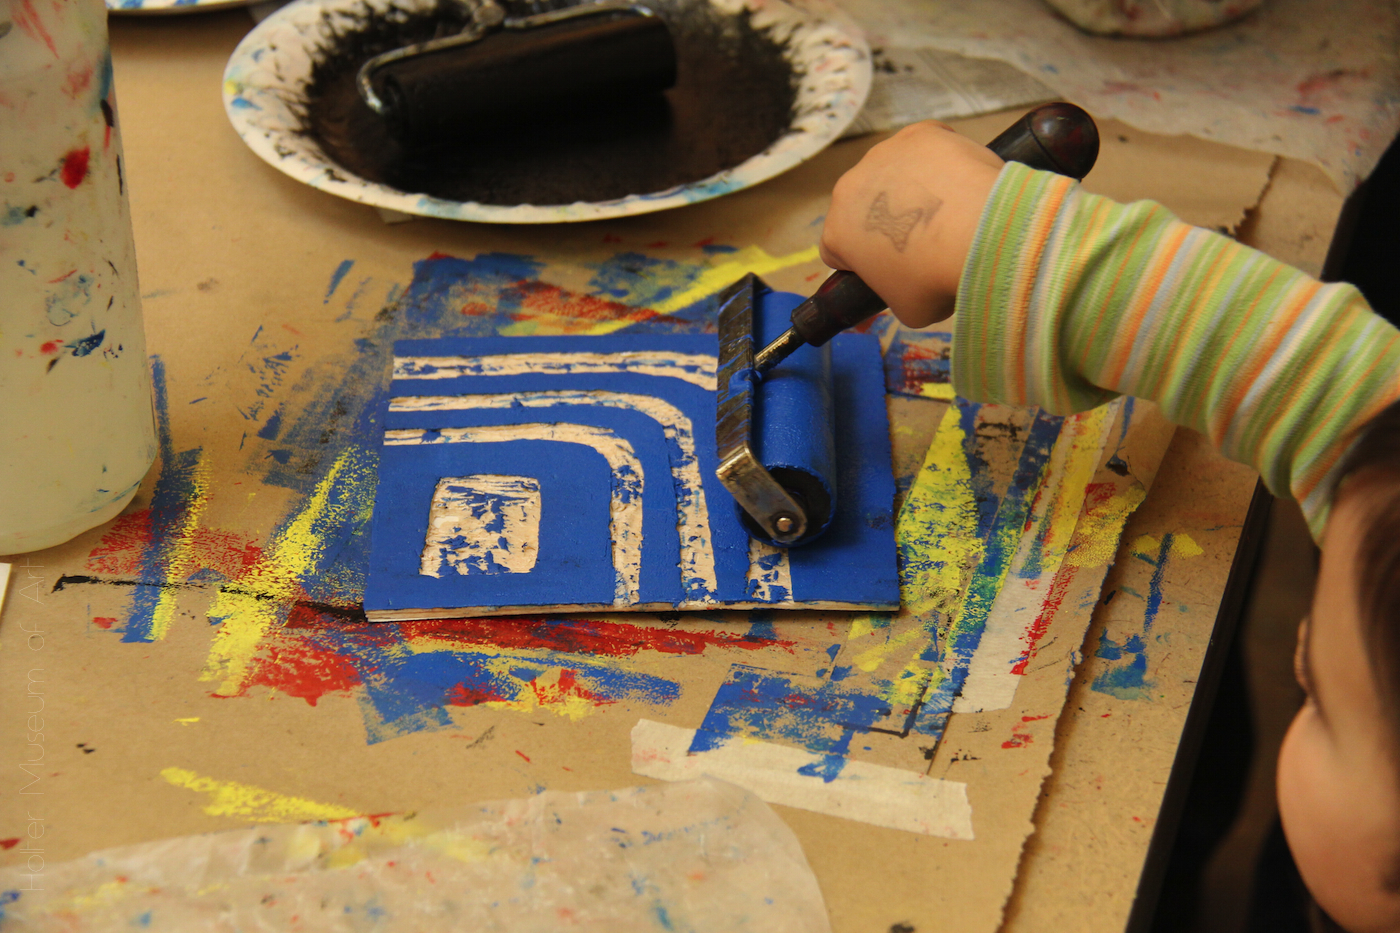
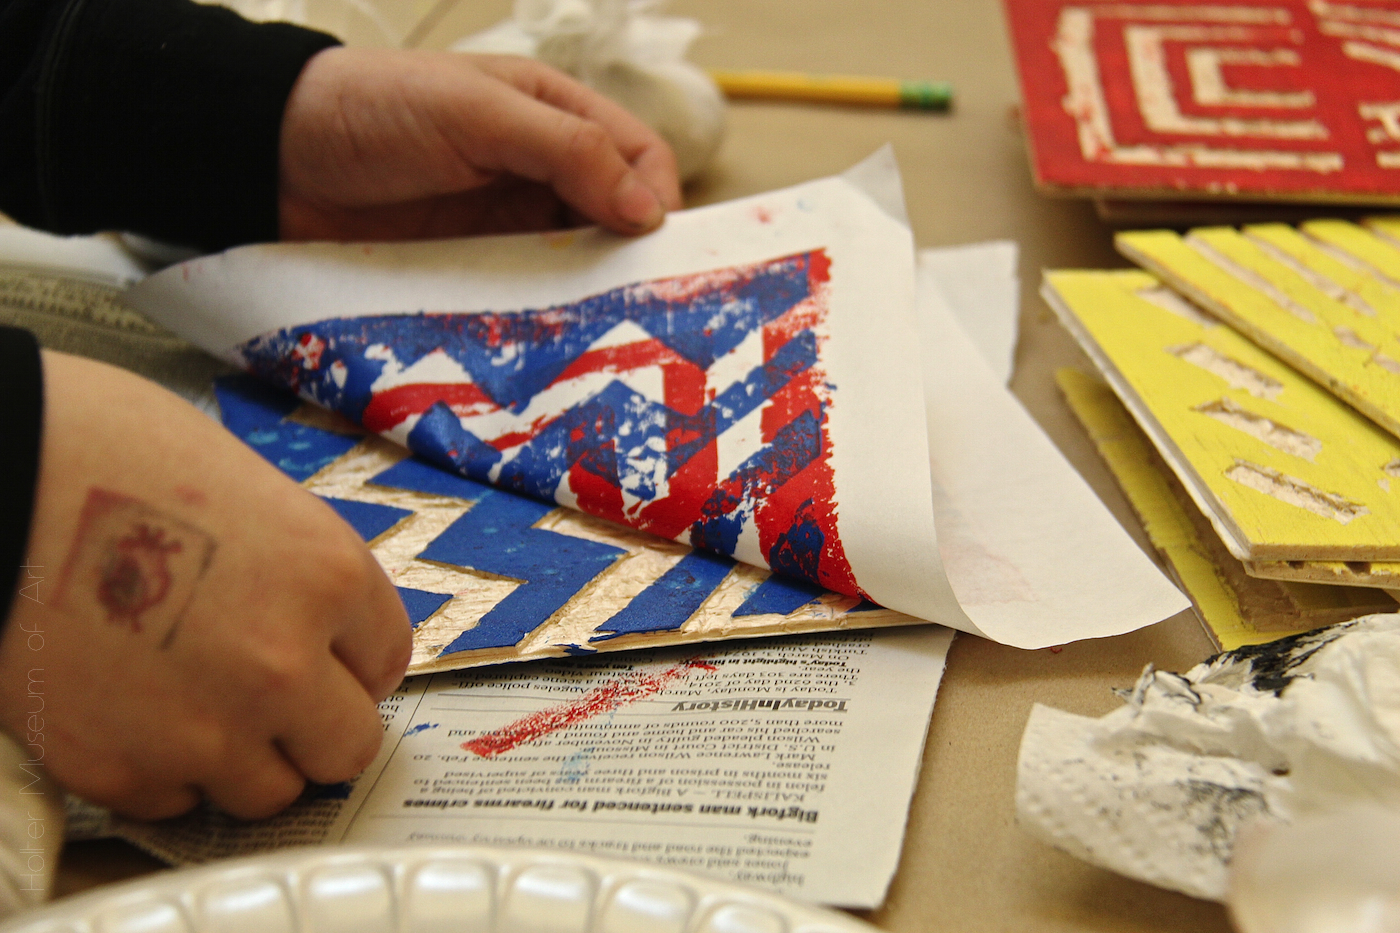
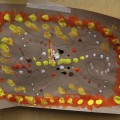
This time we didn’t scratch the designs into the plates. The first type of plate we made was a collagraph printing plate. You make these by gluing different things to a heavy cardboard surface to create textures. Then we coated the plates (objects and all) with a sealer and waited for them to be totally dry. The sealer keeps the ink from soaking into the cardboard and other objects we used to create out designs. Some kids used corrugated cardboard, stencils, grid fabric and paper cutouts to cover their cardboard almost totally with textures. Other kids left a lot of empty space on their cardboard plates and just made marks on them with ink and different tools such as their fingers, cotton swabs, brushes and rags.
Monoprint by LilyMonoprint by Silas
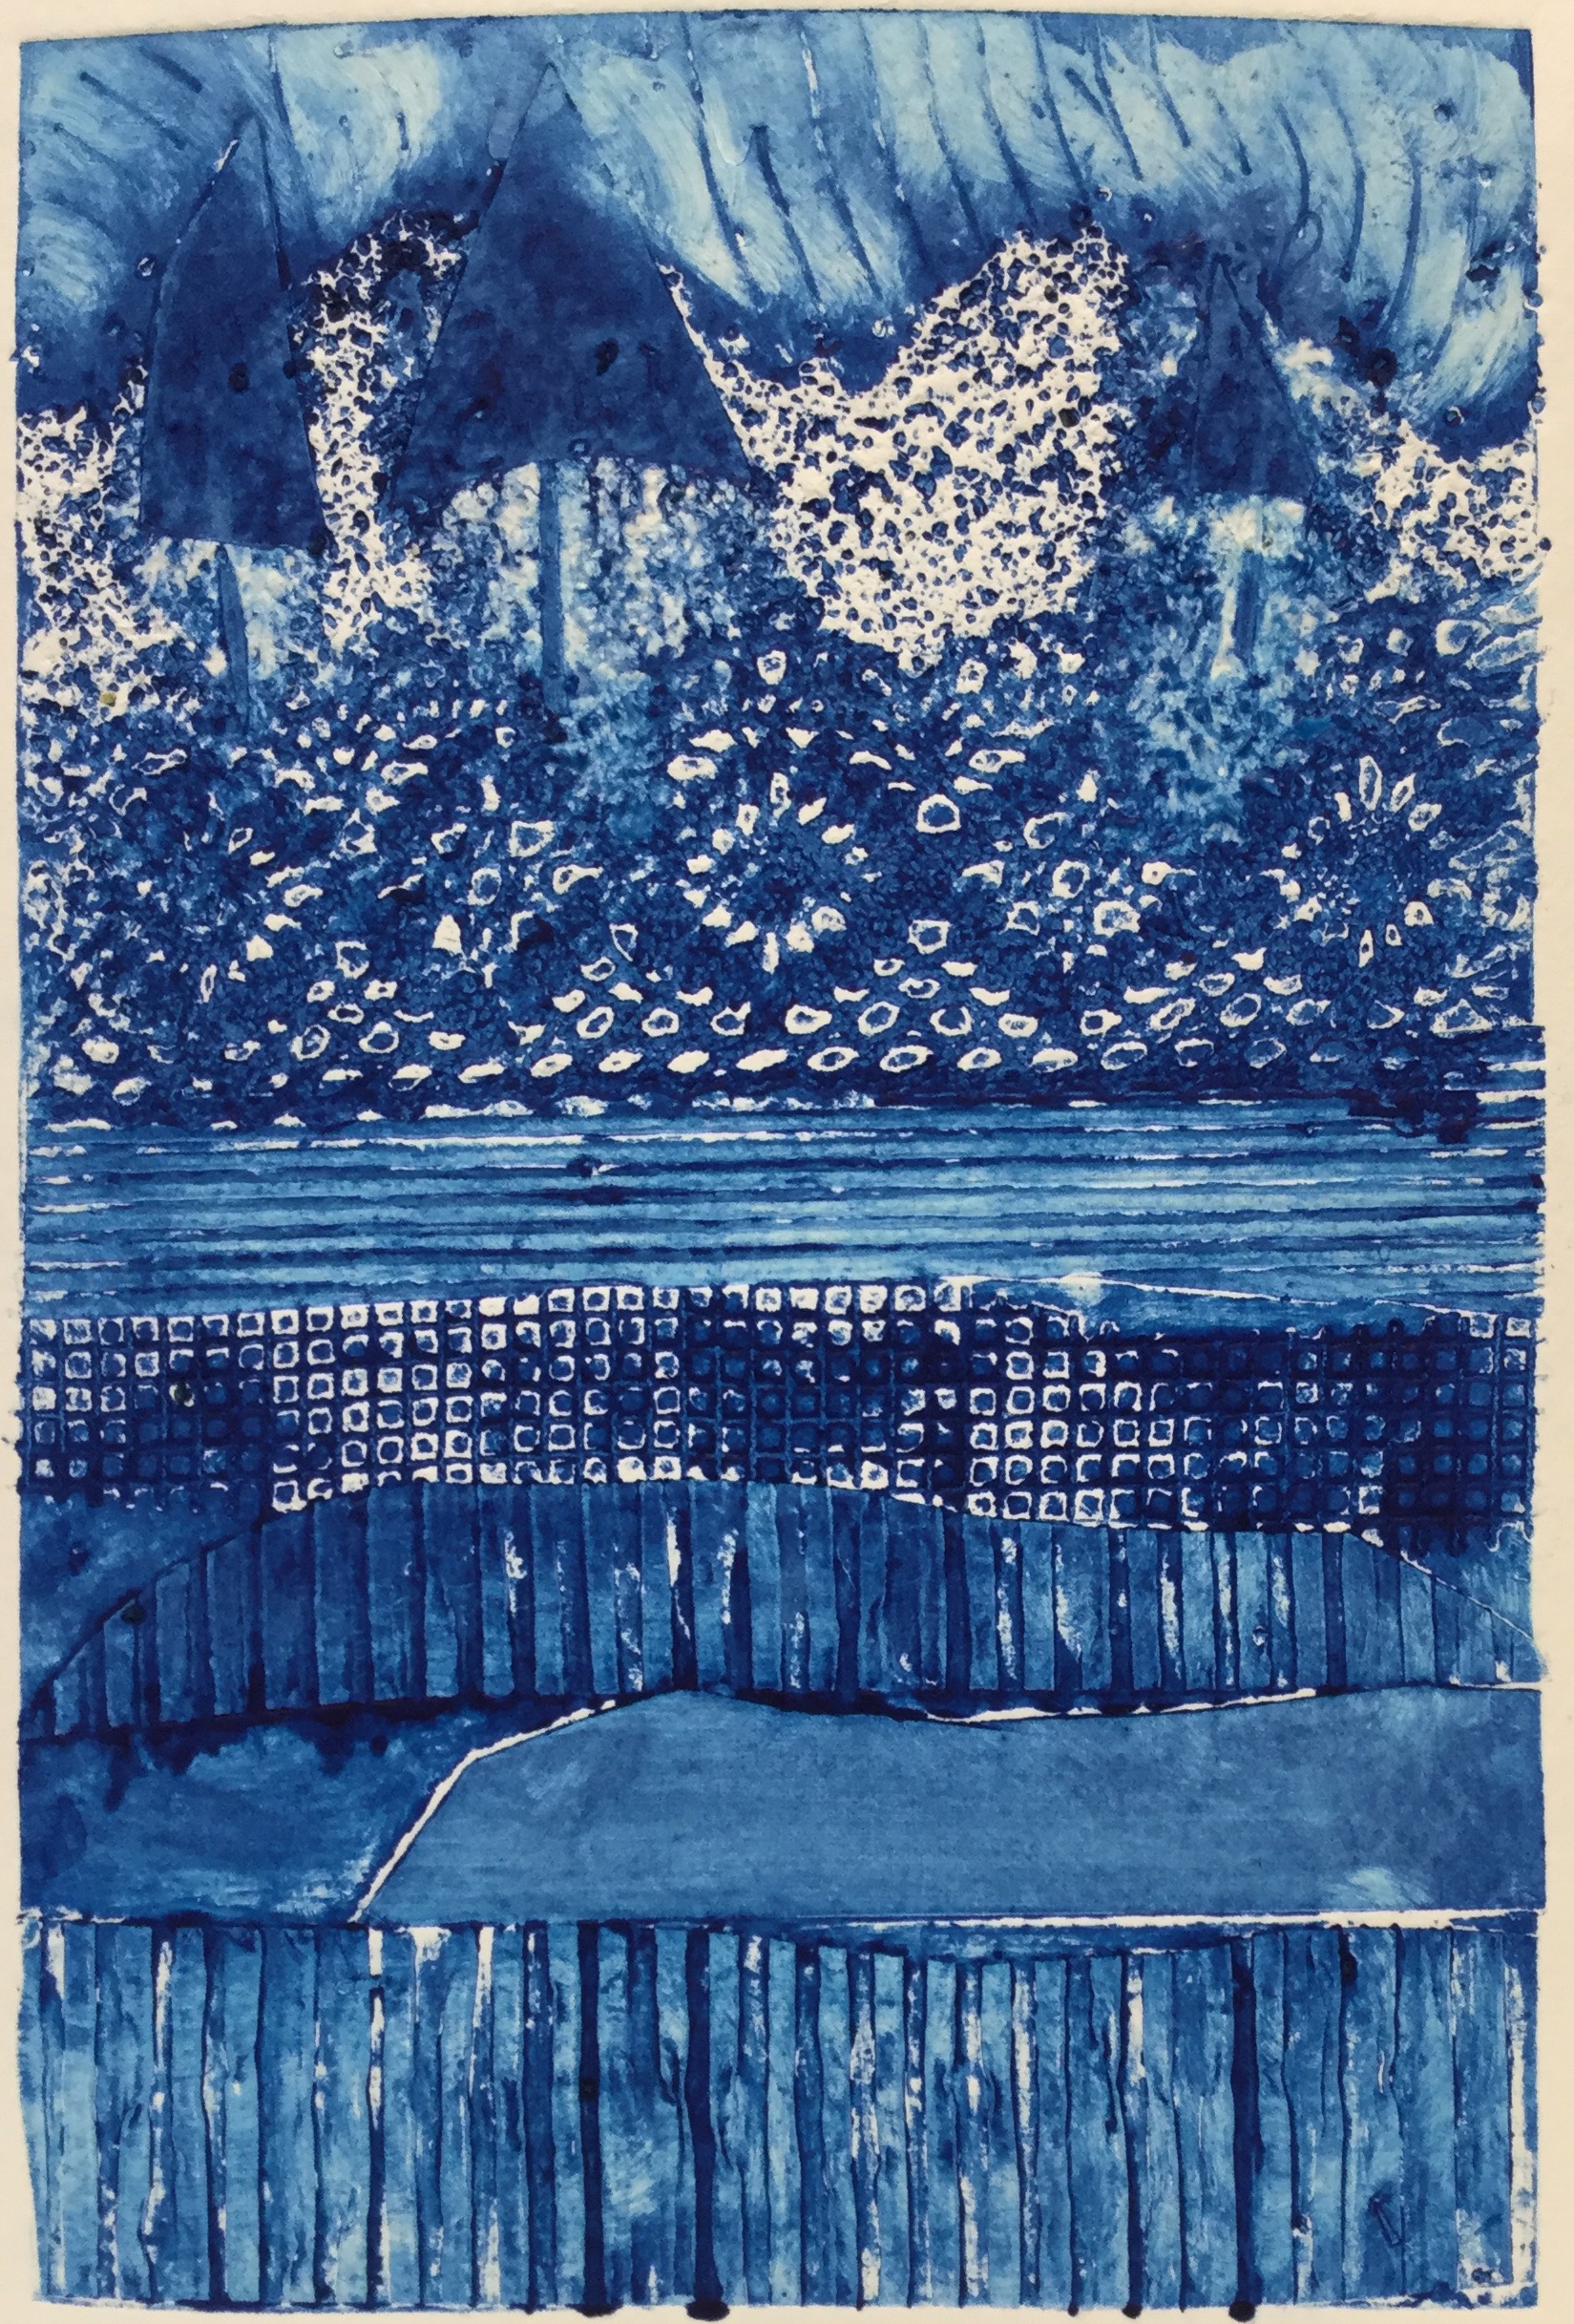
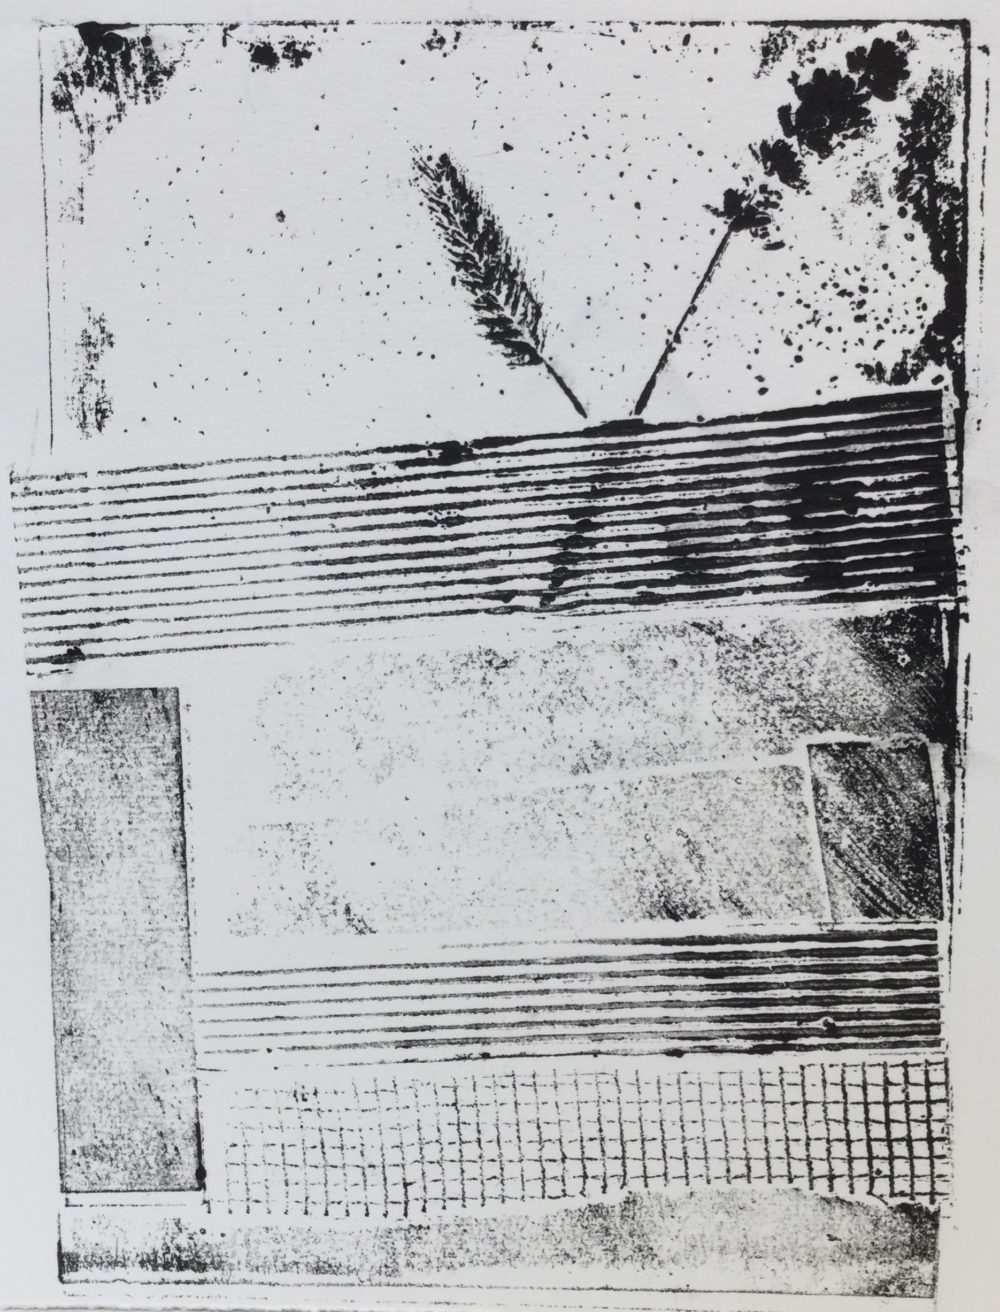
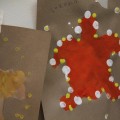
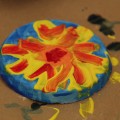
We tried using corn meal sprinkled onto area where we had painted glue. This worked pretty well to make a very different texture. In the blue monoprint (below) made by Jasmine, you can see the cornmeal in the sky. She wanted to show flower pollen blowing in the wind. In the black and white monoprint (above) by Silas, you can see very lightly sprinkled cornmeal made a cool texture near the top of his composition.
Monoprint by Jasmine
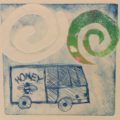
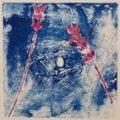
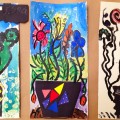
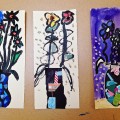
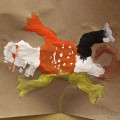
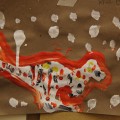
The other kind of plate we made the second week was plexiglass with hot wax applied to it by brushing and dripping. Then we carved designs into the wax with tools. The wax was easier to draw into than last week when we had to scratch with sharp tools into the hard plexiglass. We inked up the wax plates and ran them through the press with paper. Those came out kinda cool. Here are some examples of the waxed monoprints:
Monoprint “Flying Math,” by Adia
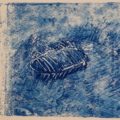
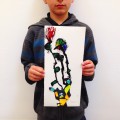
Monoprint “Crawdad” by Colton
Monoprint “Flying Math II” by Adia
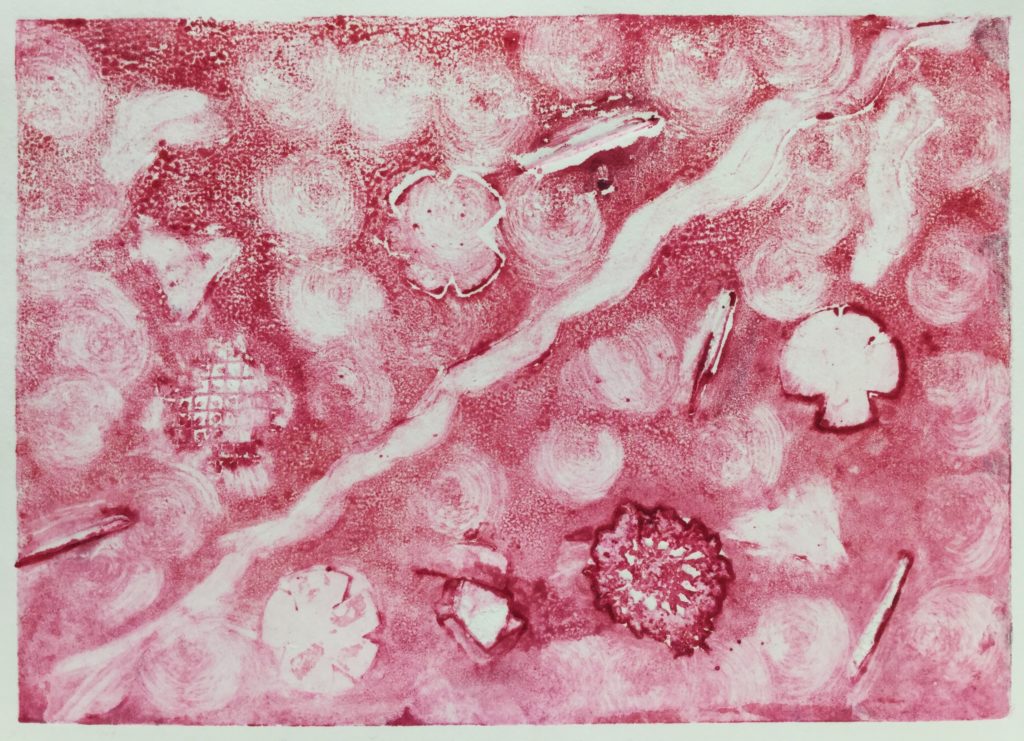
Monoprint in Red by Silas
Monoprint “Eye with Lavender” by Colton
Monoprint “Mustache” by Lily
Monoprint “Emoticons” by Jasmine
Monoprint demo
Monoprint “Eye” by Colton
We hope you enjoyed seeing the results of our hard work and fun play in Maureen’s art classes. Most of these prints will be framed and on display in October when we have our 2nd Annual Young Voices art exhibit at 1+1=1 Gallery in Helena. Watch for news about that show! We’re all excited about it.
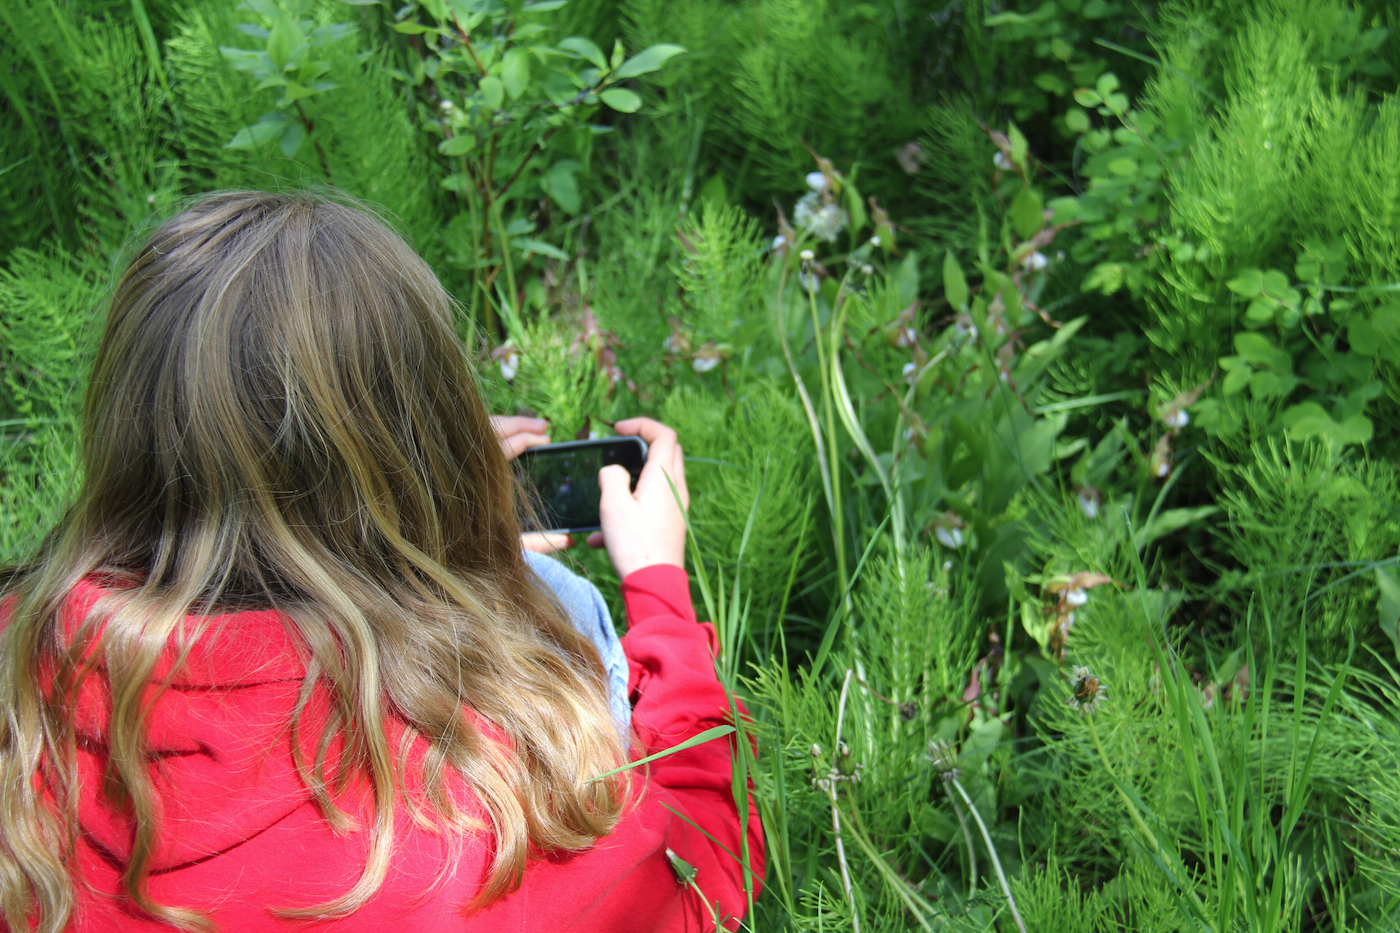
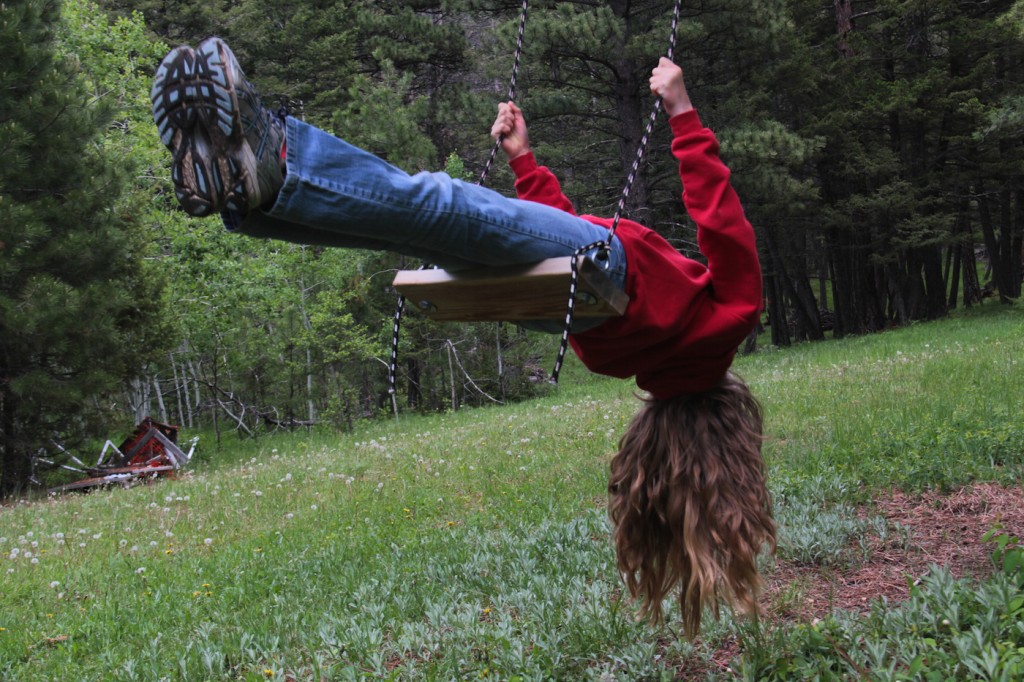
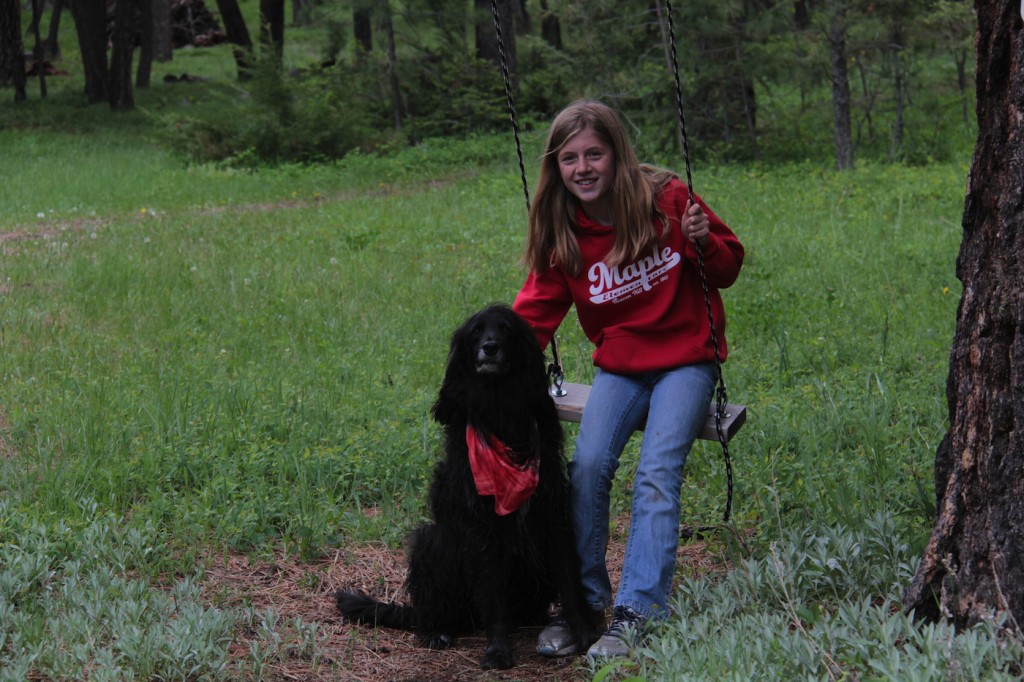
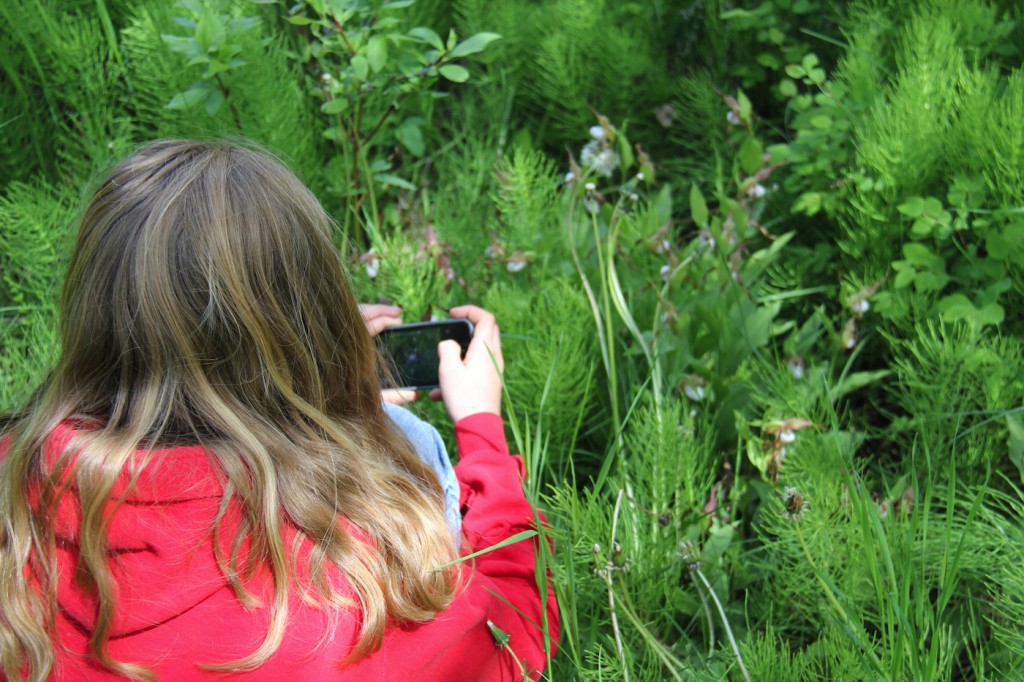
Last week, my young friend, Grace and I invented our own “art camp.” She stayed with me for four nights and we had 3 full days of creative fun. I sure hope we get to do this a couple more times this summer. Hanging out with young people fills my cup, especially when they are as enthusiastic about life and learning and creativity as Grace is. It was super cool that we got to do so many projects and have some adventures just the two of us. Actually, it was three of us — Charlie came along too.
I promised Grace I would teach her how to make a blog post, so I am going to leave the DIY tutorials until she comes back for our next art camp. In the meantime, here are some photos of some of the things we did and made:
I just want to teach art-love and nature-love to kids
I don’t want to get
a teaching certificate
I don’t want to go to art school
I don’t want to leave Helena
I just want to teach kids about
art … that they can make beautiful, powerful art
that changes people’s lives
I just want to teach kids about
nature … that they are part of what’s all around them and
help them truly feel that in their hearts
I just want to help them discover
that they have the soul of an artist and
the soul of a tree or a mountain
inside each of them
literally. that everything is inside and they are in everything.
That’s all.
Am I asking too much?
Kids are usually just so enthusiastic about whatever it is they are doing. Loud. Silly. Engaged. Adventurous. Brave. Profound. Empathic. Helpful. Wise.
And even when they seem like they are bummed and struggling, as one little girl did this morning … I can usually coax them out of their shell, even if I can’t always do that for my own self.
As with lots of things I commit to doing … sometimes just before it’s time I get the willies — aka known as “cold feet.” I’m just not in the mood. I think. Maybe I’m overthinking it. Because when I make myself go and do it, I usually have a blast. I get energized. I am in my element. I get in the zone, the flow. Of sharing my gifts. Of connecting with young hearts.
And, if I can help them be happy, rounded, confident, generous lovers of all of life, then I have done something good.
So … that’s what I want to do with the rest of my days.
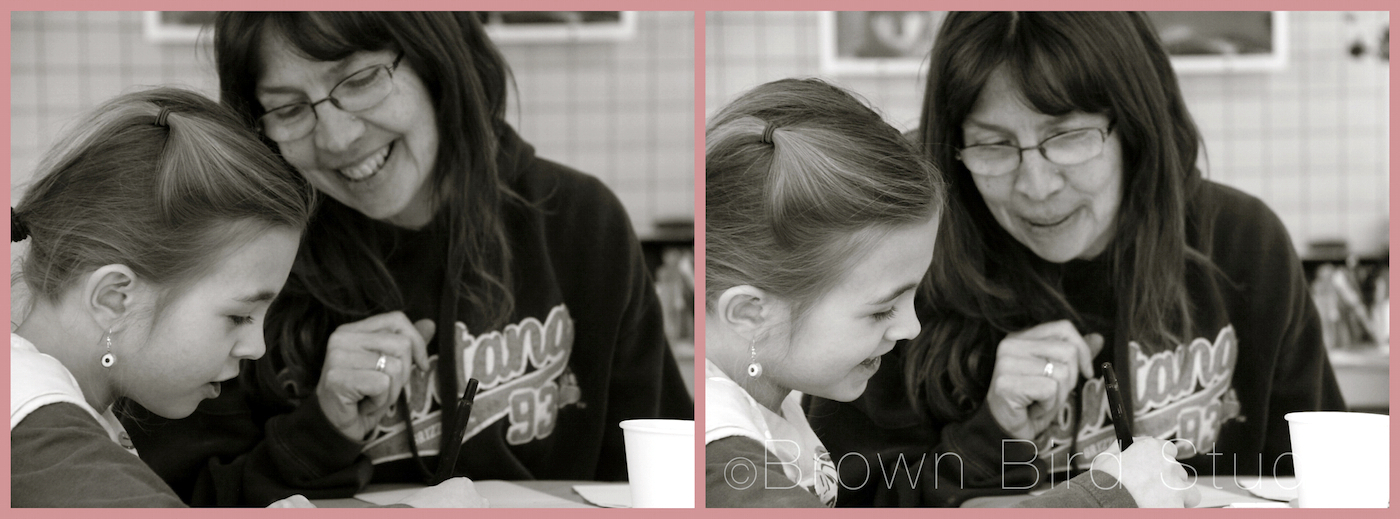
Ema Blue spends Wednesday afternoons with me at my studio. She is my unofficial “gallery assistant” and art student. She dusts Tim’s furniture, sweeps the sidewalk, takes Charlie for a walk, fetches me coffee from across the street, and makes lovely sidewalk chalk signs in front of the gallery. Ema is 11 years old.
Ema is meticulous, creative, precise, funny, cheerful, interested, respectful and persistent. I enjoy her company immensely and I truly look forward to Wednesdays.
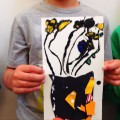
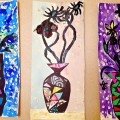
For the last few weeks, Ema has worked steadily on a mixed-media artwork. Inspired by the image transfers some of my women friends and I made during one of our Girls Art Nights, Ema started with some image transfers onto a canvas, then used water-soluble colored pencils and collage to complete her piece. I’m always impressed when a young person can sustain interest in a project over a period of days or weeks, and she did on this piece. She finished this one yesterday.
I will write another post soon with my thoughts on the image transfer technique we used, and how to enhance the transfers with other media to create something lovely. Hope you enjoyed seeing Ema Blue’s artwork. Please let her know what you think/feel about her painting by leaving a comment below. Thank you!
For most of human history, people chased things or were chased themselves. They turned dirt over and planted seeds and saplings. They took in Vitamin D from the sun, and learned to tell a crow from a raven (ravens are larger; crows have a more nasal call; so say the birders). And then, in less than a generation’s time, millions of people completely decoupled themselves from nature. — Timothy Egan, NYT
When I was a kid, our typical day after school was finishing our homework, doing a few chores, then running outside to play. When dinner was ready, Mom called us in, we did our after-dinner chores than ran back outside.
We had forts in the woods, and forts in the blackberry brambles. Played kickball, kick-the-can, many variations of tag and hide-and-seek with a whole tribe of neighborhood kids. We captured fireflies in jars, investigated ant hills, caught crawdads with plastic cups, chased dragonflies and hunted snapping turtles in the creek (we didn’t hurt them.) We picked wild strawberries, blackberries and plums.
We raised a wild raccoon, lots of polywogs, a few caterpillars, two snapping turtle babies, some squirrel babies and a baby robin. Dug in the dirt, made mud pies, launched ourselves into the creek on rope swings, climbed very tall trees and adventured in the storm sewers. I loved lying on the big hill hear the cow pasture and just watching clouds. I had a secret place under a spiraea bush where I would lie on a blanket to read. Outside.
What adventure! Totally unstructured. I remember at some point longing to attend a summer camp because some of my friends were going, but I never did. I also didn’t have music or art lessons, extracuricular sports or academic tutoring. We just played (well, we did chores too.)
Life is different for little kids now. It makes me sad to think of how disconnected children are these days, from the natural world.
According to Richard Louv who wrote Last Child in the Woods, “Boys and girls now live a denatured childhood. What little time they (children) spend outside is on designer playgrounds or fenced yards and is structured, safe and isolating. Such antiseptic spaces provide little opportunity for exploration, imagination or peaceful contemplation…
Louv recommends that we re-acquaint our children and ourselves with nature through hiking, fishing, bird-watching and disorganized, creative play. By doing so, he argues, we may lessen the frequency and severity of emotional and mental ailments and come to recognize the importance of preserving nature” — Jeanne Hamming
Another excerpt from the book, “Last Child in the Woods:”
As a boy, I was unaware that my woods were ecologically connected with any other forests. Nobody in the 1950s talked about acid rain or holes in the ozone layer or global warming. But I knew my woods and my fields; I knew every bend in the creek and dip in the beaten dirt paths. I wandered those woods even in my dreams. A kid today can likely tell you about the Amazon rain forest—but not about the last time he or she explored the woods in solitude, or lay in a field listening to the wind and watching the clouds move. — Richard Louv
What can we, as teachers, parents, grandparents, and friends of children do, to make sure kids connect with the natural world and reap the benefits of unstructured outdoor, nature-based playtime? Well, take some action. Any action. Here are 10 things:
Here is an awesome list of resources and ideas, right here. Start with that.
Or … start by just getting outside. Anywhere outside. With your kids. It doesn’t have to be in a wild place. Be random. Be playful. Let your kids lead the way. Explore. Be curious. Be refreshed.
Splash in the rain.
Go out at night with your baby in your arms.
Take a nap with your child on a blanket in the shade.
Grow some of your own food with your kids.
Push for more nature-based education in schools.
Help create green spaces in your urban community.
Explore your city so you know where the natural places are.
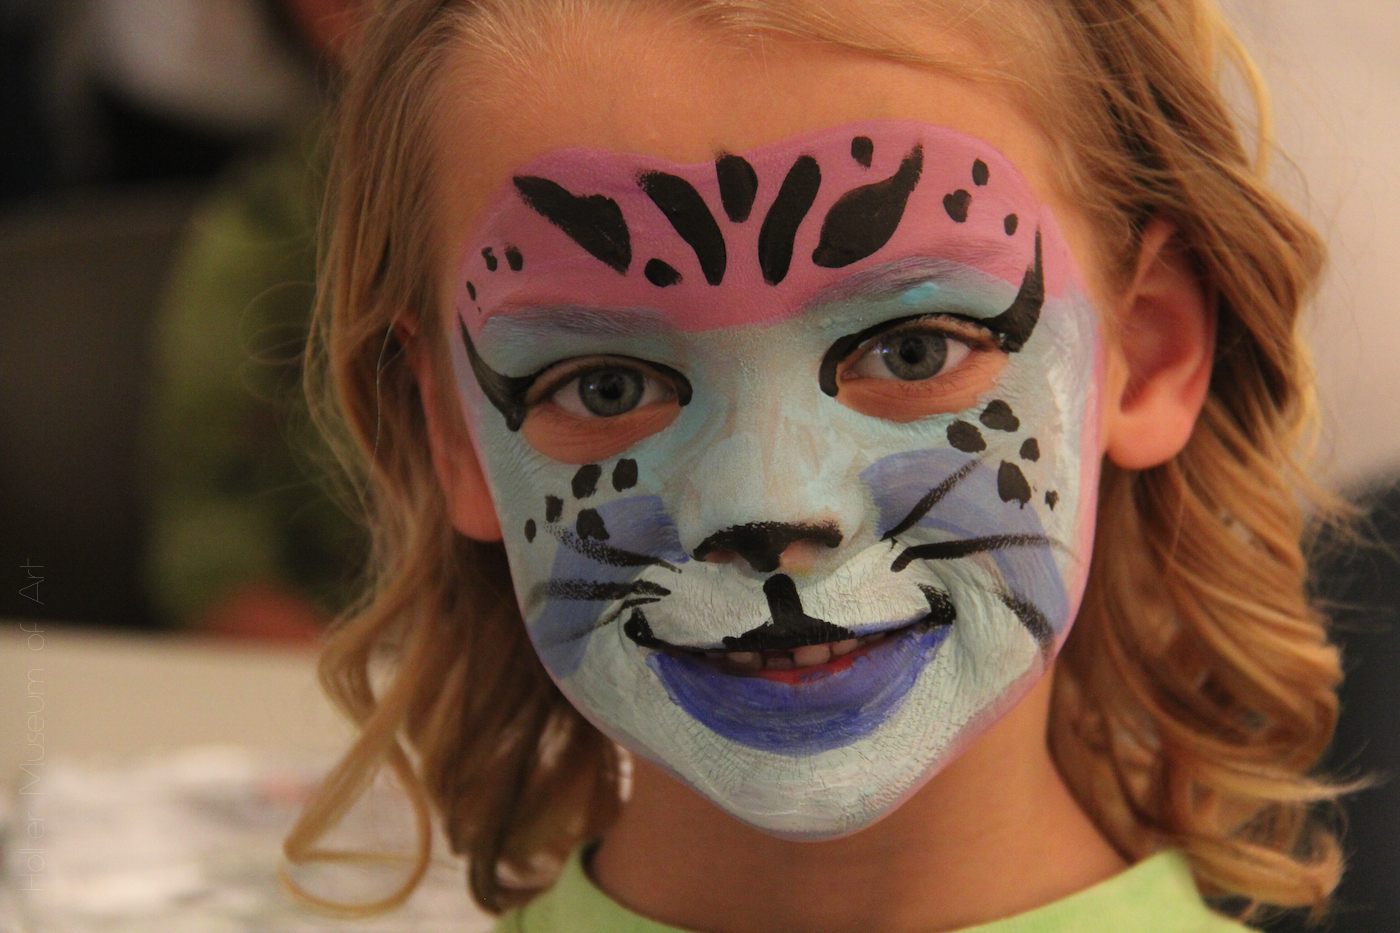
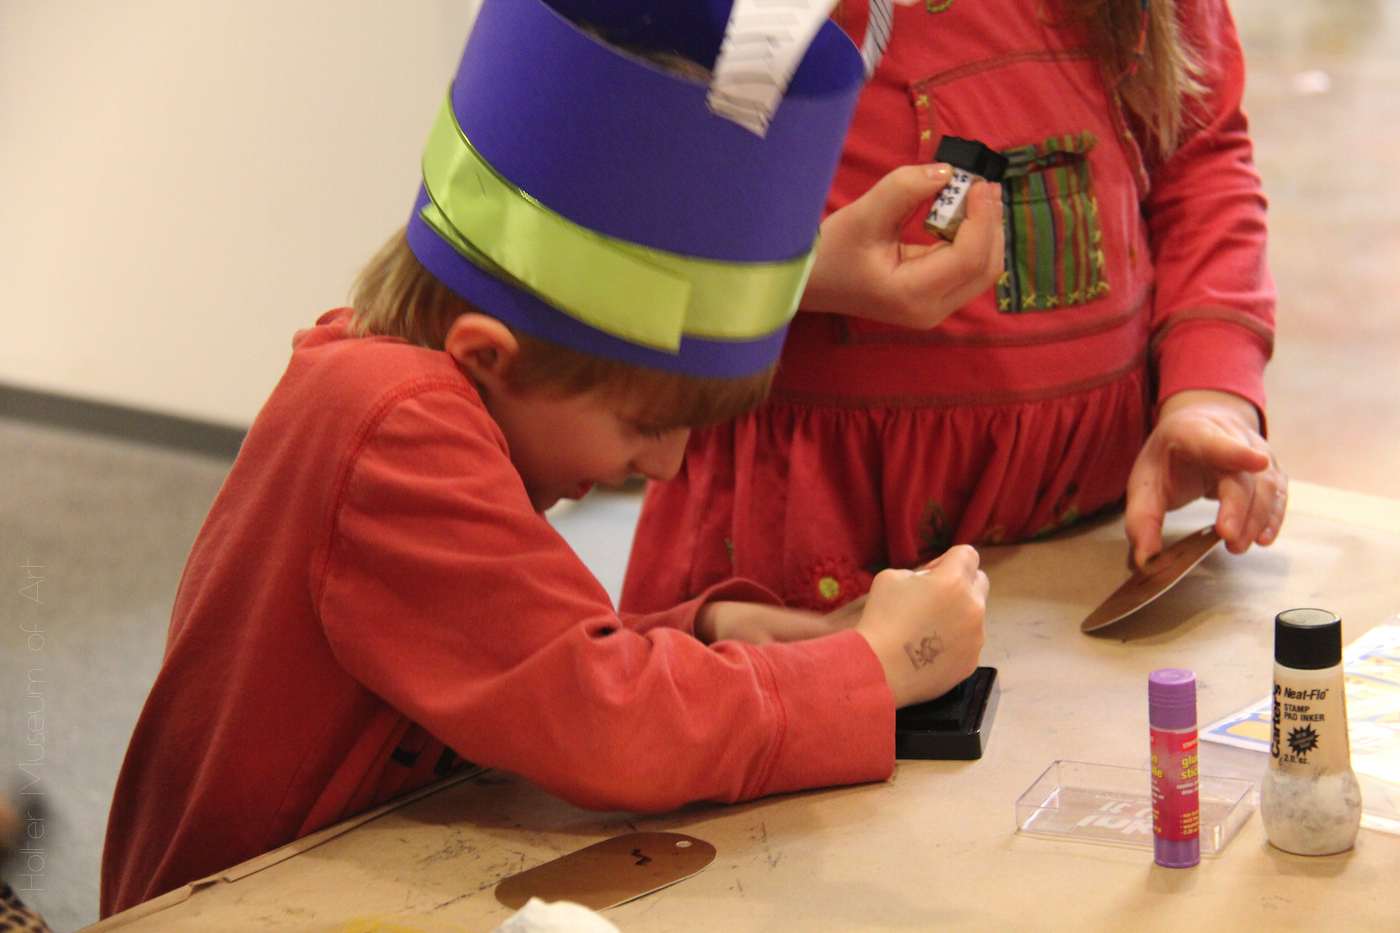
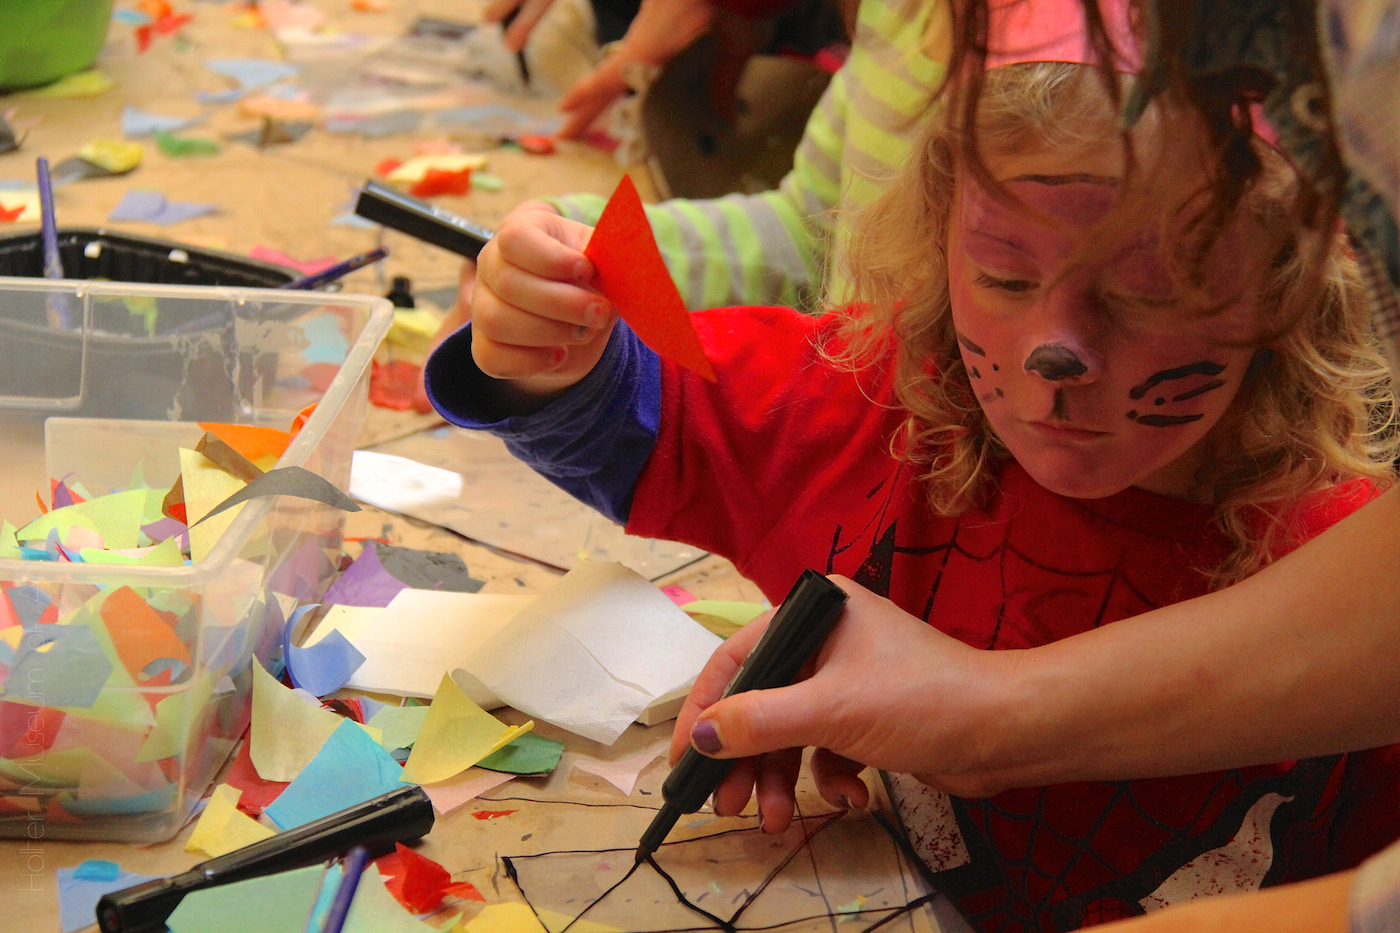
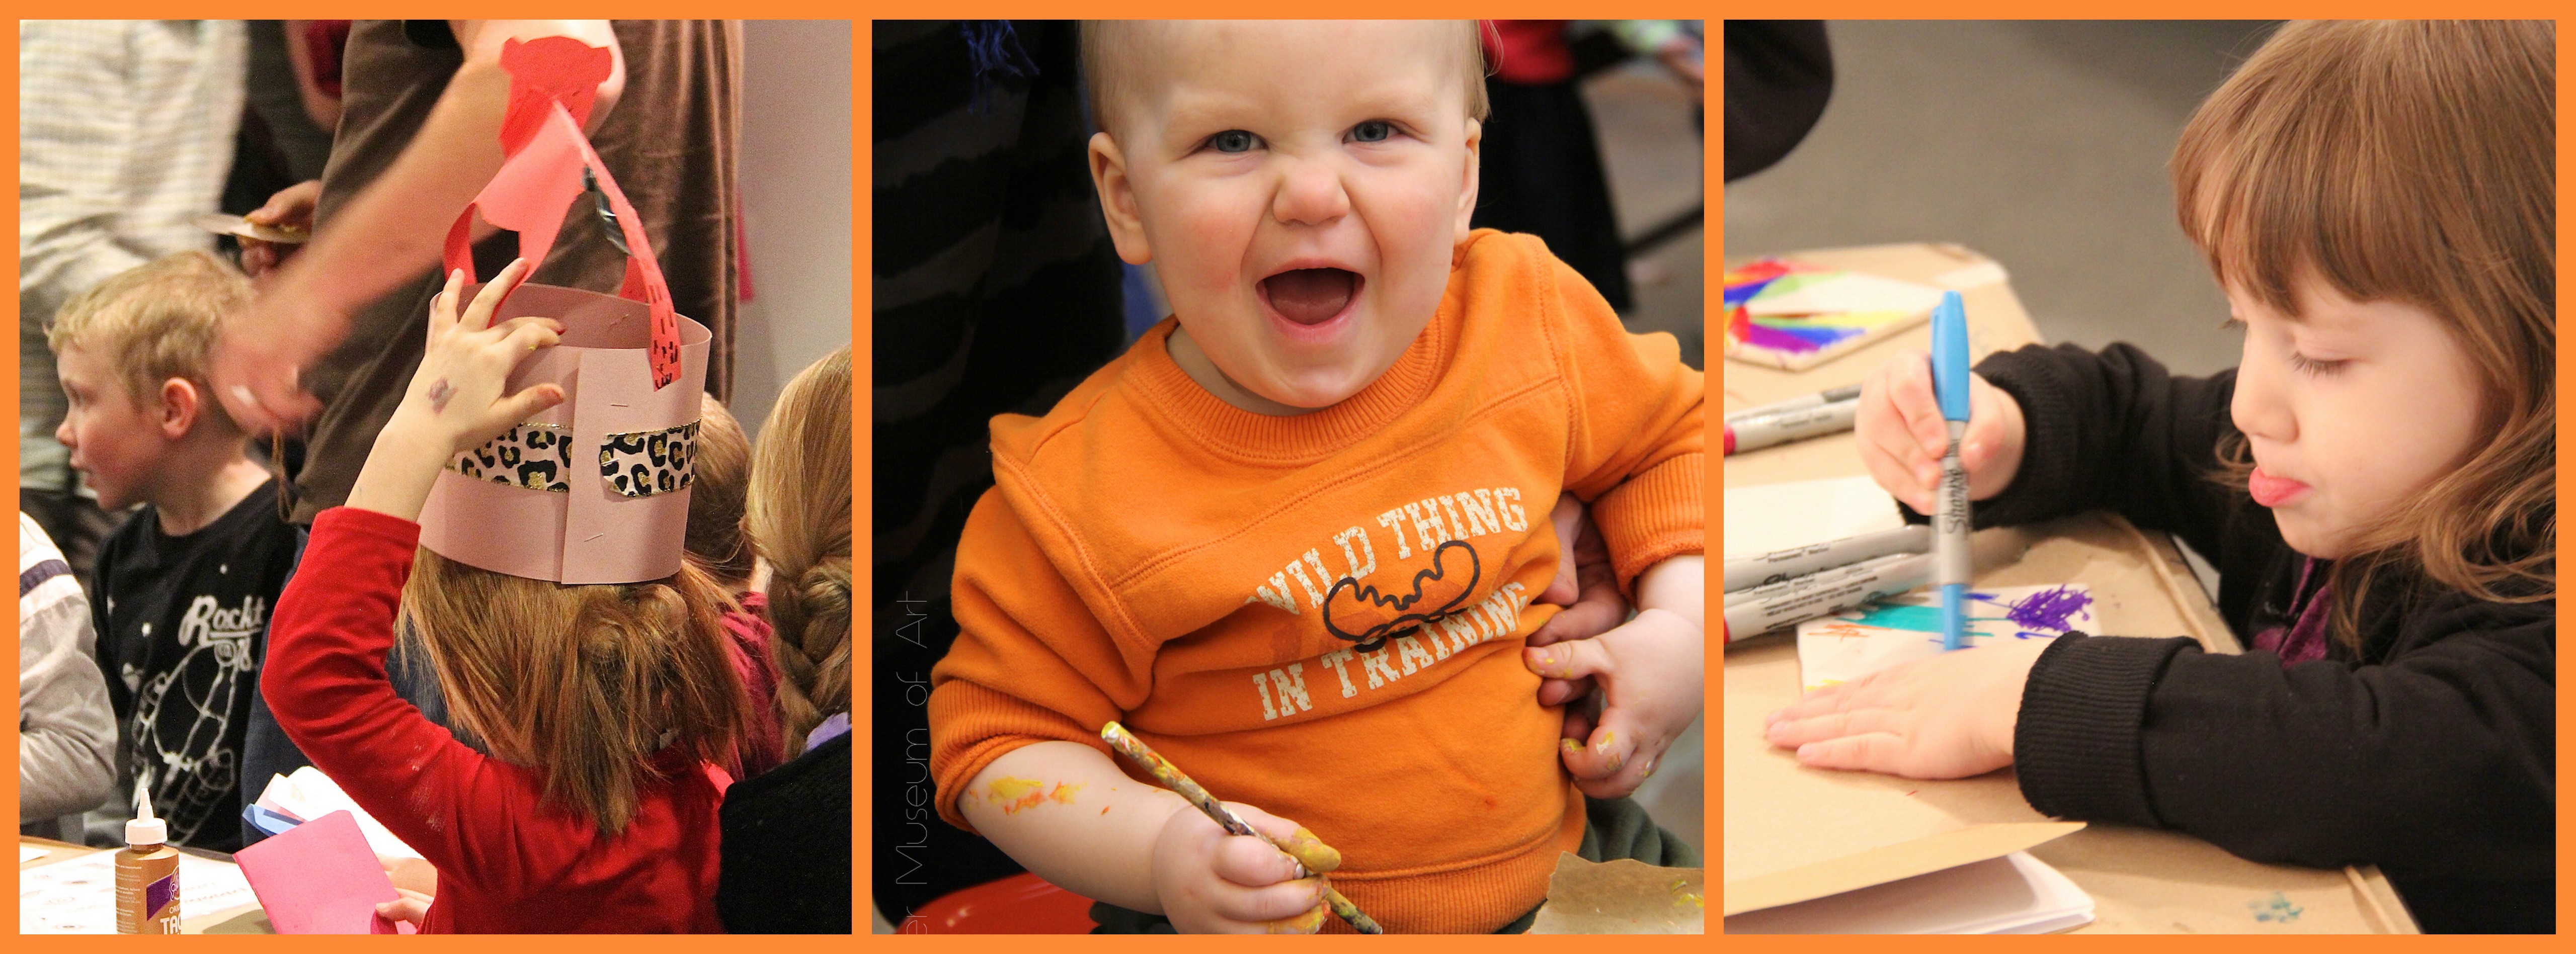
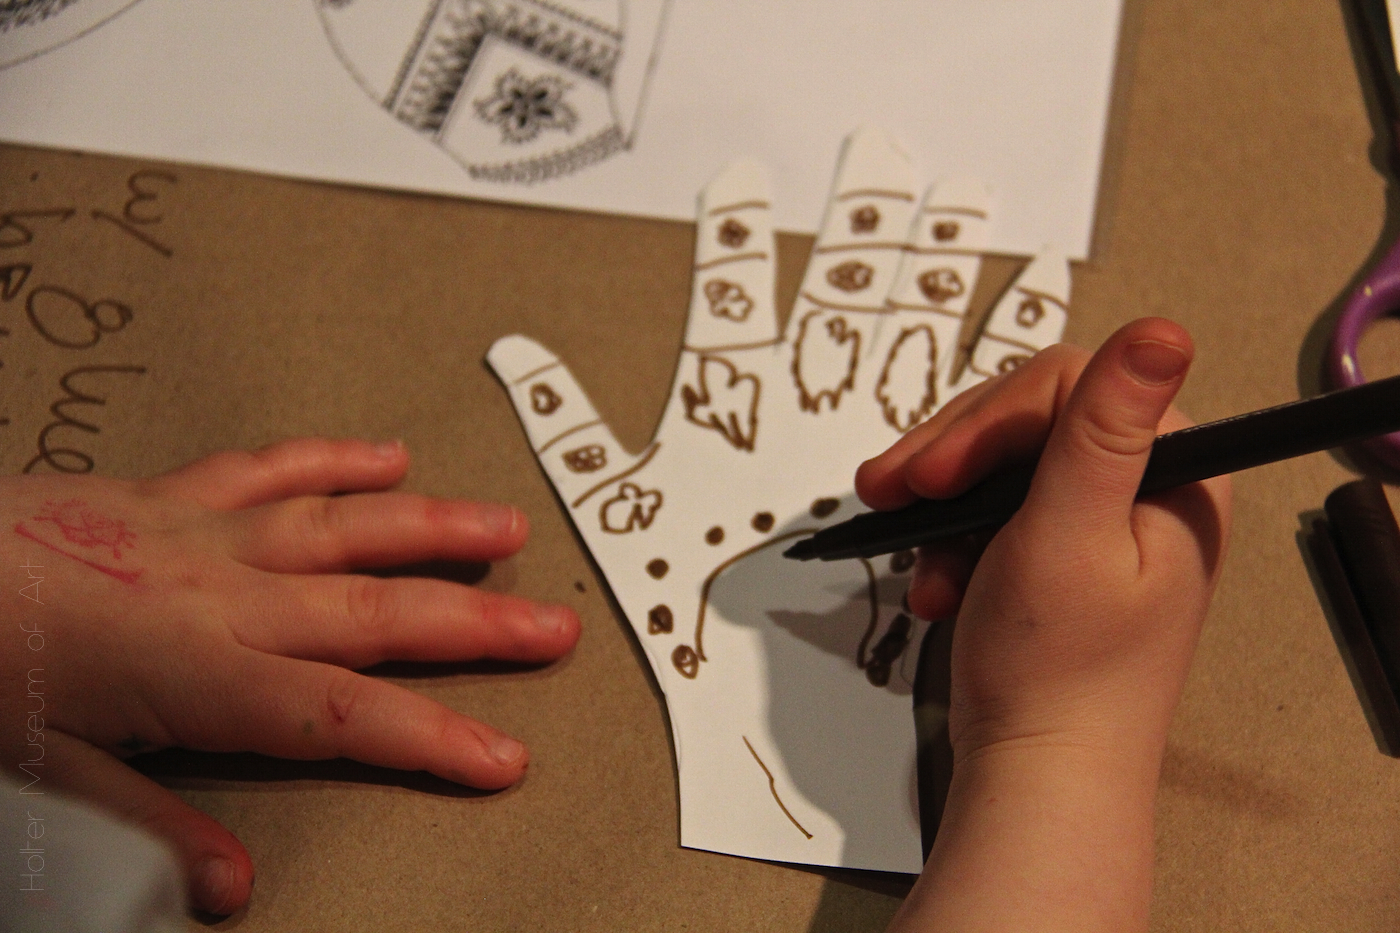
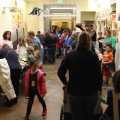
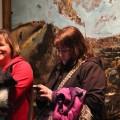
A circle of hands is how it felt for me, as I helped with KidWorks! alongside the volunteers, my fellow docents and staff of the Holter Museum of Art. We needed everyone to make it work.
Last Saturday, the Holter Museum of Art held KidWorks! — it’s 23rd annual arts festival for kids. What a blast!! I had an amazing opportunity to help put on this fun event and boy was it alot of work. Yet, when we opened the doors of the museum at 10:00 am, just like Connie, Judy, Sondra and Hannah told me, the festival took care of itself. A gigantic bulldozer of little kids and and their significant adults moved through the museum playing, delighting, learning, appreciating, thoroughly enjoying themselves and getting a messy education in the wonderment of art.
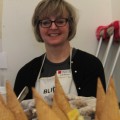
For me — as a docent — it was incredibly fun (I hardly stopped smiling except when I was concentrating,) extremely exhausting (the tables were set to little kid height and my back hurt like hell at the end of the day) but so, so fulfilling to share my enthusiasm about art with this many kids and their peeps.
I absolutely loved witnessing the diversity of approaches. Every child, has a unique way of seeing the world and expressing what they see! As docents, we have to Let Go of Results and Outcomes. Allow Mess. Delight in Oops. Multi-task-yet-Focus. Smile. Laugh. Make Eye Contact. Then. Clean. Up.
Well … it seems at the Holter, “docent” is a fancy word for a volunteer who:
works really hard
has lots of fun with peers and with the public
stays longer than expected to clean up the mess
knows how to laugh and goof
loves to share his/her passion for the arts
gets training to use Visual Thinking Strategy in educational museum tours
has a lot of energy (enough to keep up with kids of all ages!)
has an awesome opportunity to guide kids, teens and adults in appreciating art through tours and hands-on activities
can think on her/his feet, improvising when necessary
doesn’t mind getting down and messy
knows that every individual’s experience and ideas are valid
helps organize and put on the biggest and best kids’ arts festival anywhere around
then watches the magic happen as our doors open to over 800 participants
that’s alot to pack into one 6-letter word!
The Holter docents I have the privilege to work with, are a diverse group: outgoing, intelligent, friendly and helpful to new members of the team. We are all willing to learn from our mistakes and educate ourselves continuously so we are the best “art guides” the Holter could possibly have. It helps that we have some docents who are great leaders — super organized and experienced. It also helps that the educational staff (Sondra, Aubrey and Hannah) are so enthusiastic about their jobs. I have about half of the skills I need, to be an amazing docent. I’m working on the rest. But boy, was it fun, fun fun to help make KidWorks! happen.
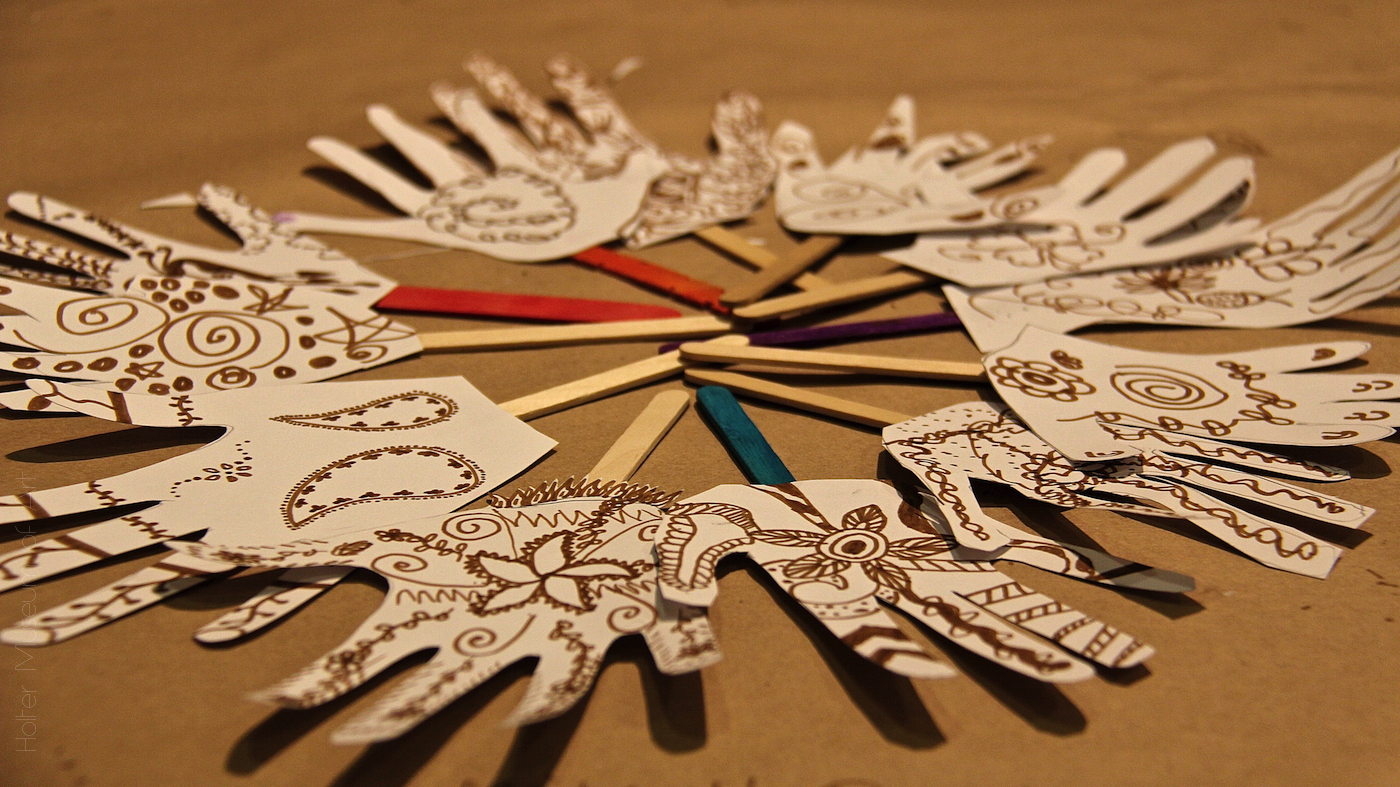
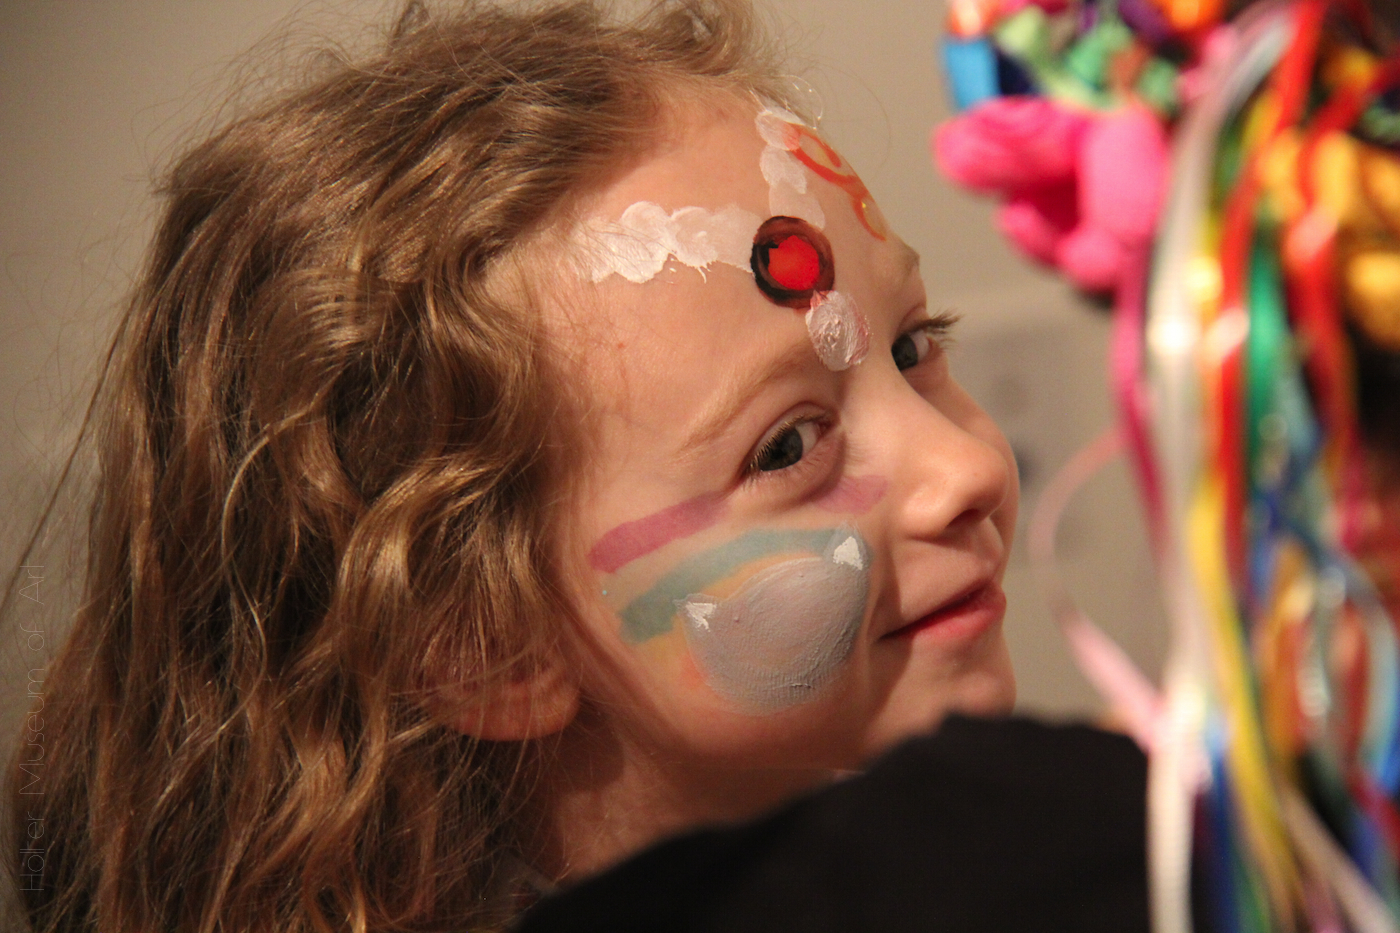
Sorry about the photo-intensive post today. I just couldn’t resist! There were so many sweet moments and precious connections made during KidWorks! that I can’t resist posting these. Below is a gallery with a few more images from the festival.
If you attended KidWorks, or volunteered at the festival, won’t you write a short (or long) comment to say how you experienced it? Thank you!
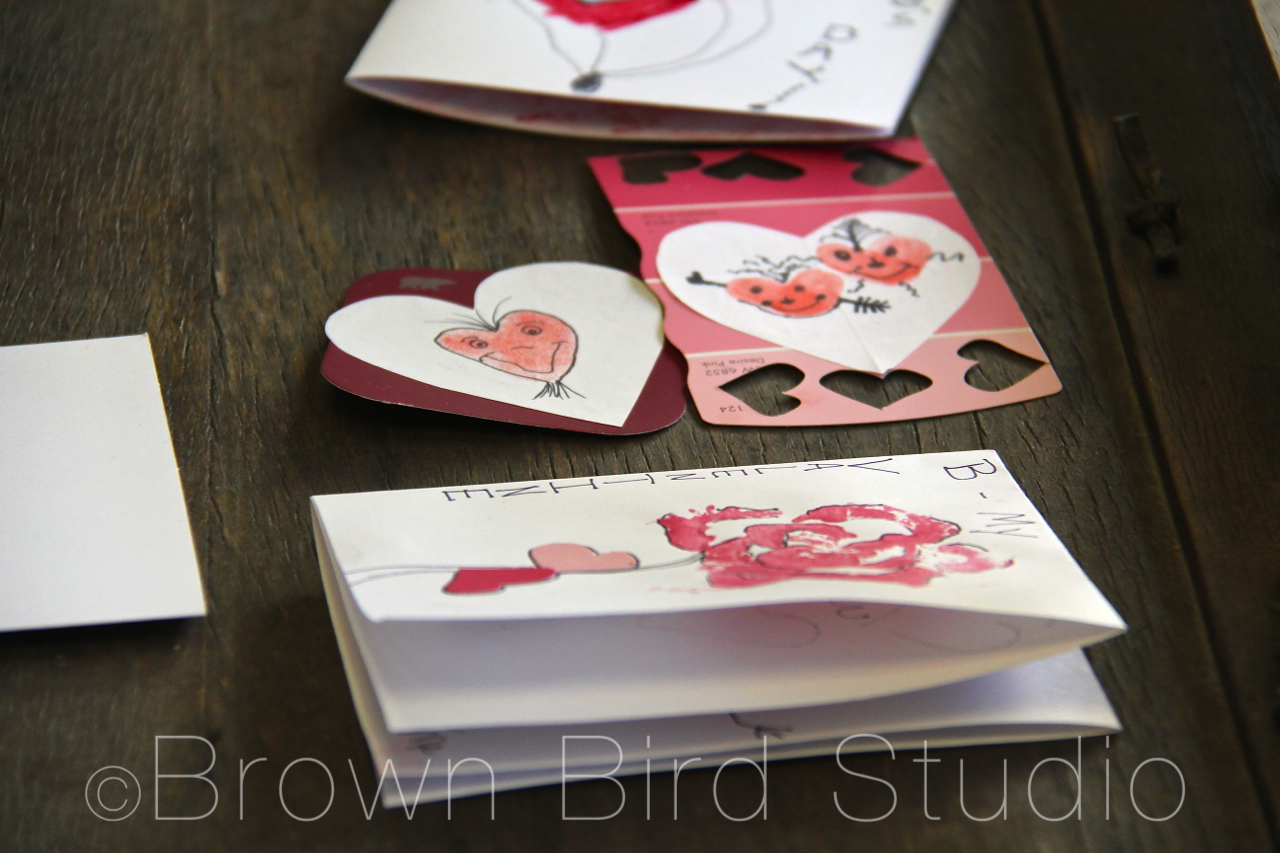
Cootie Catchers (aka salt cellars or fortune tellers) are perfect for a unique Valentine card that becomes a game. The basic shape is an origami fold. Make these with inexpensive copy paper in different colors. To make a cootie catcher into a Valentine gift, instead of writing “fortunes” on the inside, write little love notes or positive messages like the ones you find on Valentine candy hearts. Examples: “Be Mine” … “Call Me Later” “I-Luv-U” “Kiss Me” and “Hugs!” and “Sweetheart.”
Cootie catchers are easy to make and can be adapted for any age from 3 up. For toddlers, you might want to fold the shapes for them, letting them decorate the paper. They can tell you what they want you to write on the inside. This is a fun way to remind your little ones of all the positive messages you give them every day.
For older kids, try suggesting they use rubber stamps for the numbers or letters on the outside of the folded shapes. Or they can think of Valentine-related symbols such as a bumble bee (bee-mine) a heart, a flower or pair of lips to use instead of the traditional numbers on the outside flaps.
Remind kids to stay positive, and keep a great sense of humor. Your kids may surprise you with the fun sayings they come up with for their cootie catchers.
One of the kids came up with a cool idea: on the inside flaps she wrote things like, “Hug the person to your right” and “Your Valentine is on your left.” A perfect party cootie catcher!
HERE’S WHAT YOU NEED:
pink or white printer paper
rubber stamps and stamp pads (optional)
scissors (to make letter-size paper into squares)
markers, colored pencils
HOW TO DO IT:
Instead of trying to formulate instructions that make sense, I am sending you to momsminivan.com because she has not only complete instructions, but detailed photos and a video on folding. Check it out here. And here’s how to play cootie catchers:
Practice opening and closing the cootie catcher. Open it first with your forefinger and thumb on each hand together. Then open it with your two forefingers together and your two thumbs together.
With the Cootie Catcher closed, have someone choose a number or symbol from the four outside flaps. Open the Cootie Catcher once for each letter in the symbol (eg if they choose a heart, spell out h-e-a-r-t) or count the number they picked. Leave it open at the end so they can see four numbers or symbols inside.
Next, have them choose one of the four inside flaps they can see, and close-and-open the Cootie Catcher that many times, again ending with it open.
Last, they should choose one of the four flaps they now see, and you lift up that flap to show their love note or personal message.
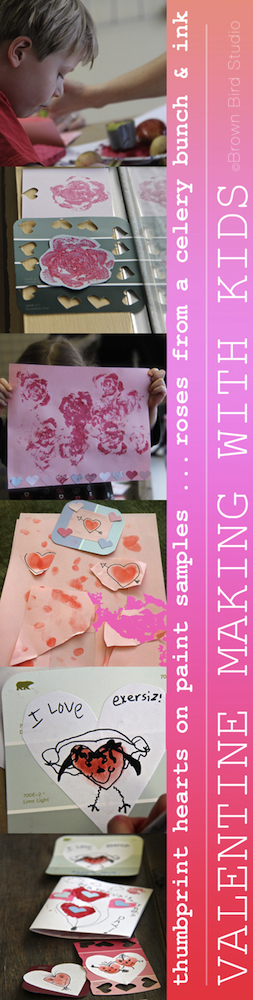
Make Valentine-y Prints Using Fruit and Vegetables
All you need for Valentine printmaking is some fruits and veggies and a few other things you probably have around your house. Think about handing your Valentine a bunch of flowers you made yourself!
HERE’S WHAT YOU NEED:
pink or white printer paper
vegetables such as a bunch of celery, apples, brussels sprouts, carrot, potato and lemon
cheap sponges
a printmaking roller
little plates to put the sponges on
red, pink and black stamp pads
very sharp knife and a cutting board
HOW TO DO IT:
Place a moistened sponge on a small paper plate. Squeeze a little red tempura or acrylic paint onto the sponge and spread it evenly with the roller. Cut the celery bunch about 3 or 4 inches from the root end, leaving the stalks all together. (Save the stalks you cut off of the root end.) Holding the celery bunch together tightly, press it onto the sponge and get some paint on the ends. Next, stamp it on your paper. Don’t squish it around or you will smear your design. Lift it up and Voila! There is a beautiful “rose!” Make a bouquet of roses.
Cut a brussel sprout in half horizontally. Make a clean cut! Now, press it onto a red stamp pad (paint is too much for a brussel sprout print) and get it good and red. Next, stamp it onto your paper and lift it straight up. You will have a miniature rose. Make a big bouquet of mini roses!
Use the stalks of celery you cut off of the celery bunch, to make little squiggle designs. Use your stamp-ink-pad for these. Play around and see what you can make with these.
Cut an apple in half vertically to make a heart shape. Try cutting an apple in half horizontally for a circular shape with a perfect star in the middle. Use the paint-soaked sponge for the apple prints.
Cut a lemon in half and dry it well on paper towels. Use your ink-stamp-pad to ink up the lemon and press, press, press.
Cut a potato in half and using a sharp knife, carve the flat side into a heart shape or any other simple shape. Use this as a stamp, with either the stamp pads or in paint-soaked sponge.
Compost the veggies and fruits after you finish.
Delight in each other
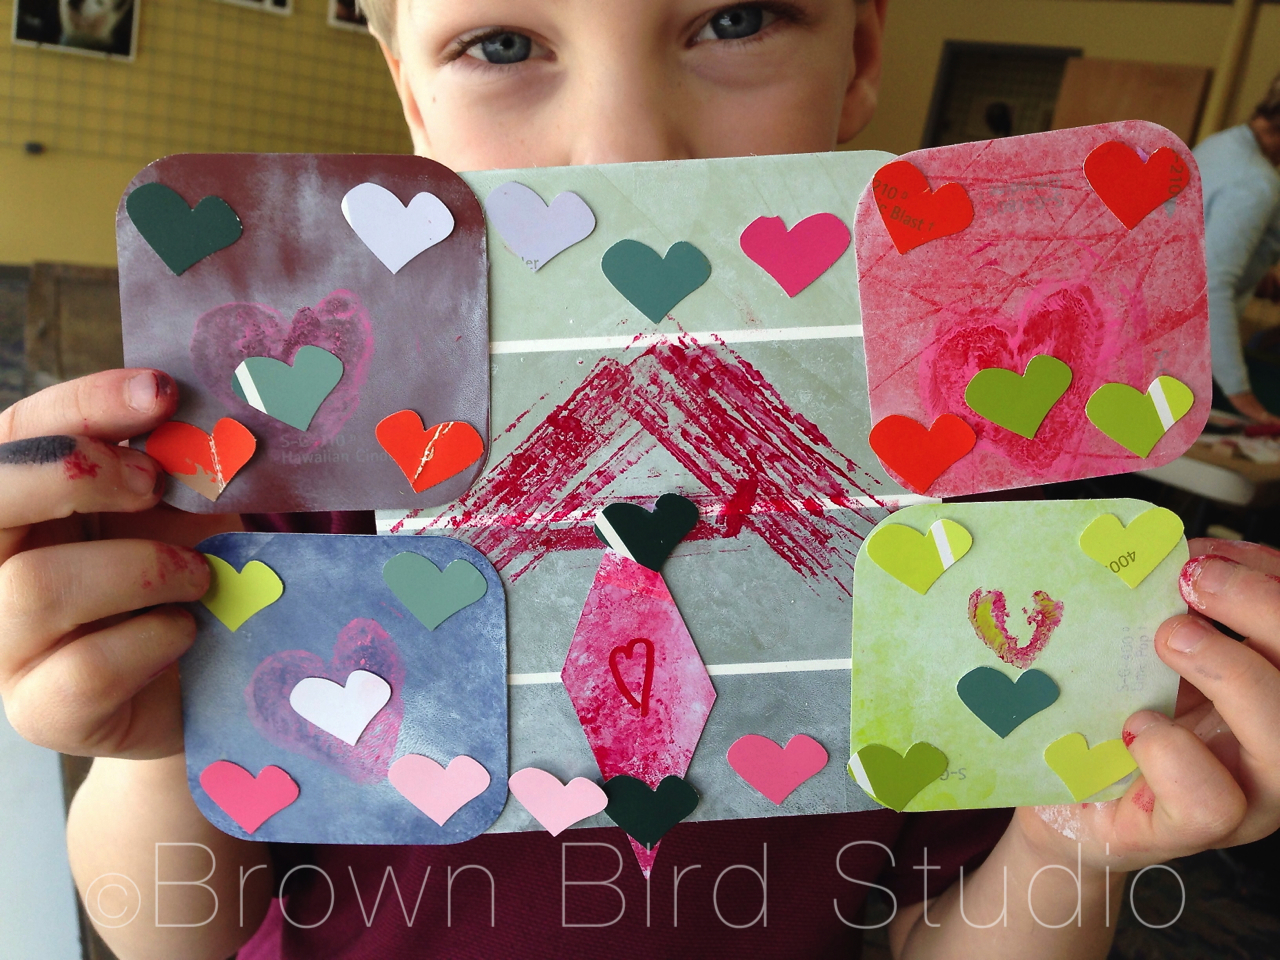
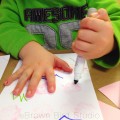
Thumb Print Hearts Make Cute Valentine Cards
What is easy, simple, and uses something you have on you ALL the time? Hearts made with your very own thumbs. Big grownup thumbs or tiny toddler thumbs make super cute Valentines. This is a popular card making activity with the littlest ones. (I used washable red ink stamp pads for obvious reasons. heh)
Sarah and Bailey were almost all thumbs
HERE’S WHAT YOU NEED:
thumbs
white or pink printer paper
washable red stamp pad
paint samples
glue sticks
scissors
markers, colored pencils, fine-tip permanent pen
heart shaped paper punch (totally optional)
HOW TO DO IT:
Press your thumb onto a red stamp pad and get it good and inky.
Make two thumb impressions, at slight angles to form the shape of a heart. Play around with your own ideas.
After the thumb prints dry (takes a minute) draw on them with markers, colored pencils or sharpies.
Cut the hearts out and glue onto paint samples from the paint store.
We also used a heart punch to embellish these cards.
Just Draw!
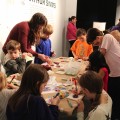
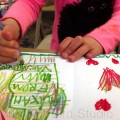
Some of the kids who came to this workshop decided just to draw their Valentine’s cards — and I just say there were some really cool cards being made at that table! They used the markers and printer paper we had to exercise their creativity. Three-year old twins and their sister made these:
Multi-layered loveliness
The rubber stamps might have inspired this three-year-old
Meticulous and Focused
And Then There Was Aidan — He Went All Out(side-the-box)
I love, love, love how this happens! Aidan made a cootie catcher, but the thing that really caught his imagination was the idea of printing and getting messy with paints. I had three planned valentine techniques and Aidan made such a beautiful — creative — Valentine using the materials and tools I had available but his very own multi-layered techniques. If he had given me his Valentine I would have proudly framed it and hung it in the gallery. Check it out below. Can you tell how Aidan made his valentine? (I’ll give you a hint about one little part of his design … below the picture)
Aidan proudly shows his amazing Valentine creation!
(hint: Aidan used the outside of the celery stalk, lengthwise, to make the cross-hatched pattern in the middle. The rest of his techniques you’ll have to figure out yourselves.)
Lily really got into punching and cutting the paper samples!
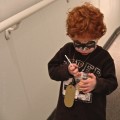
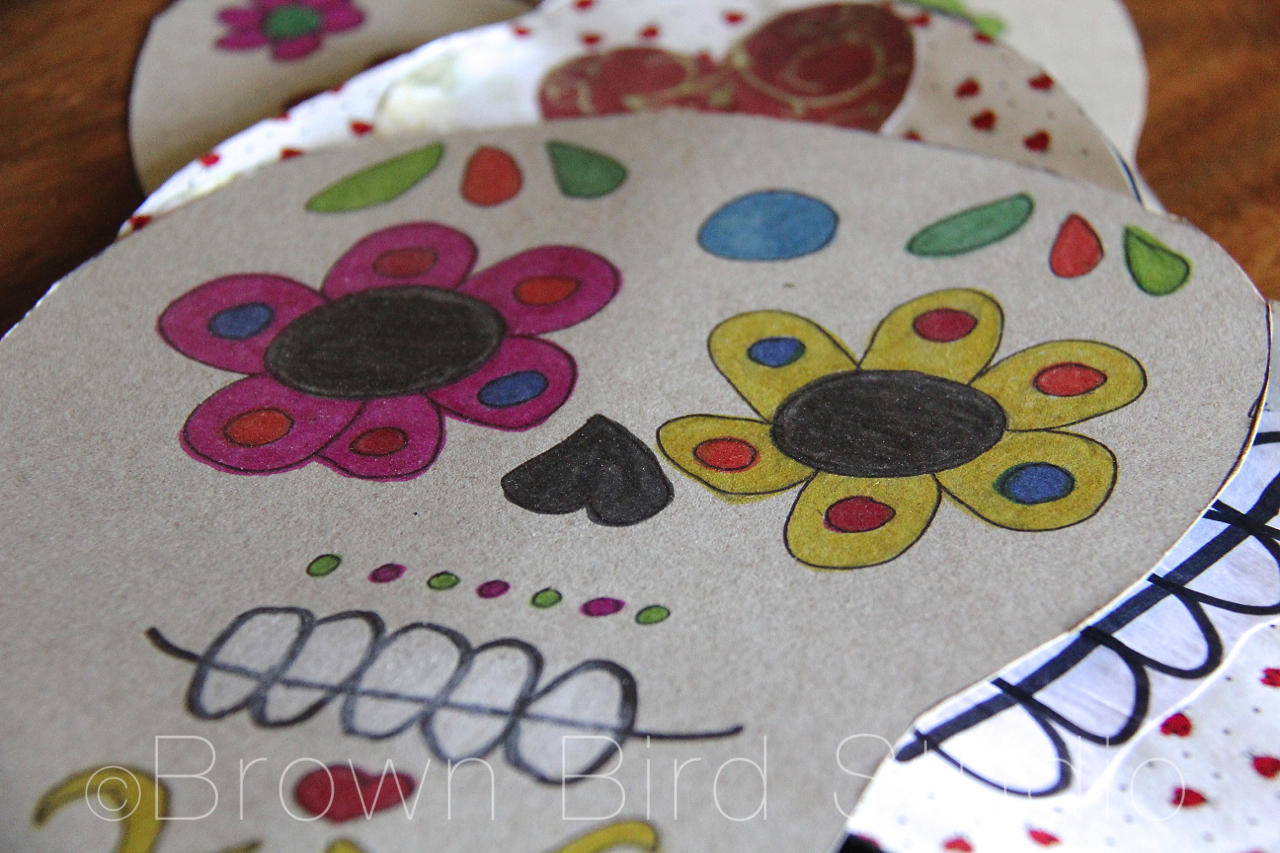
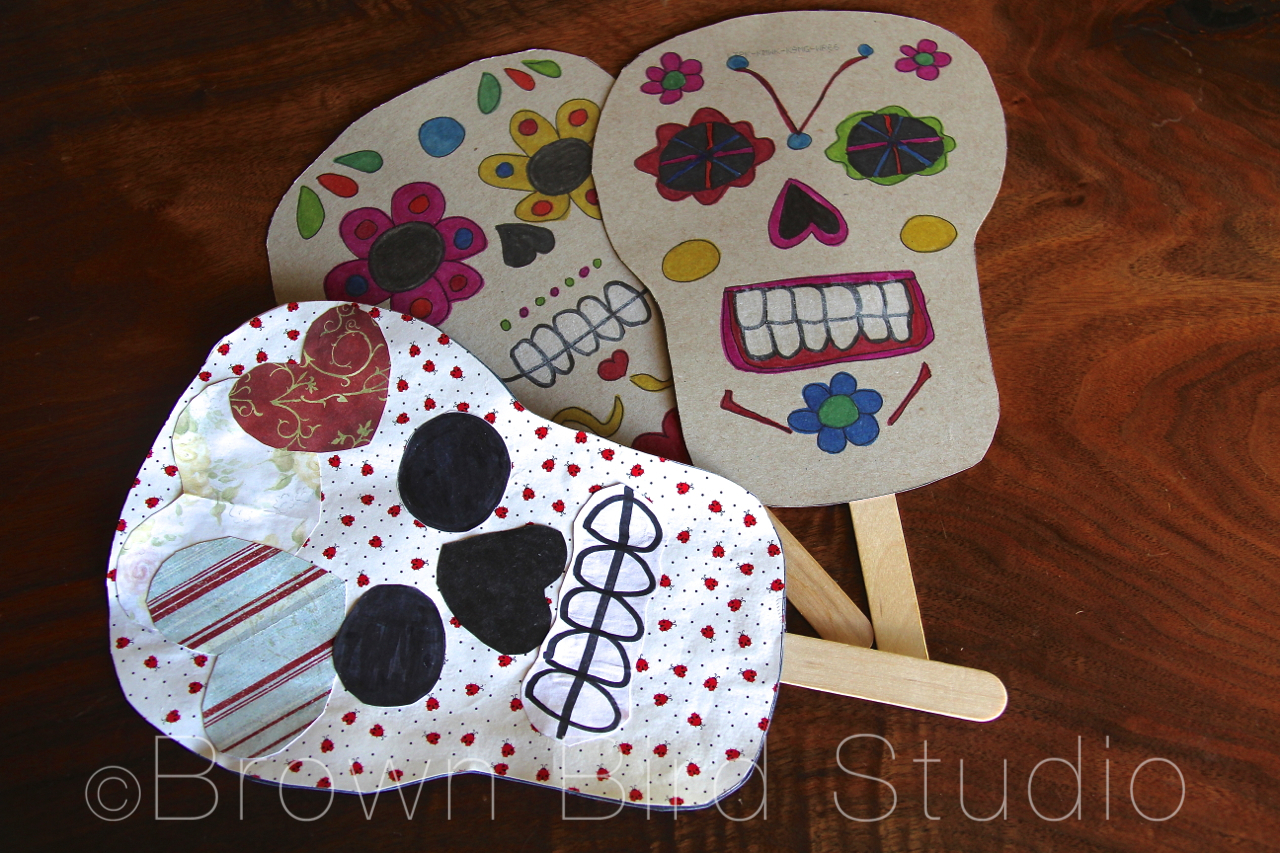
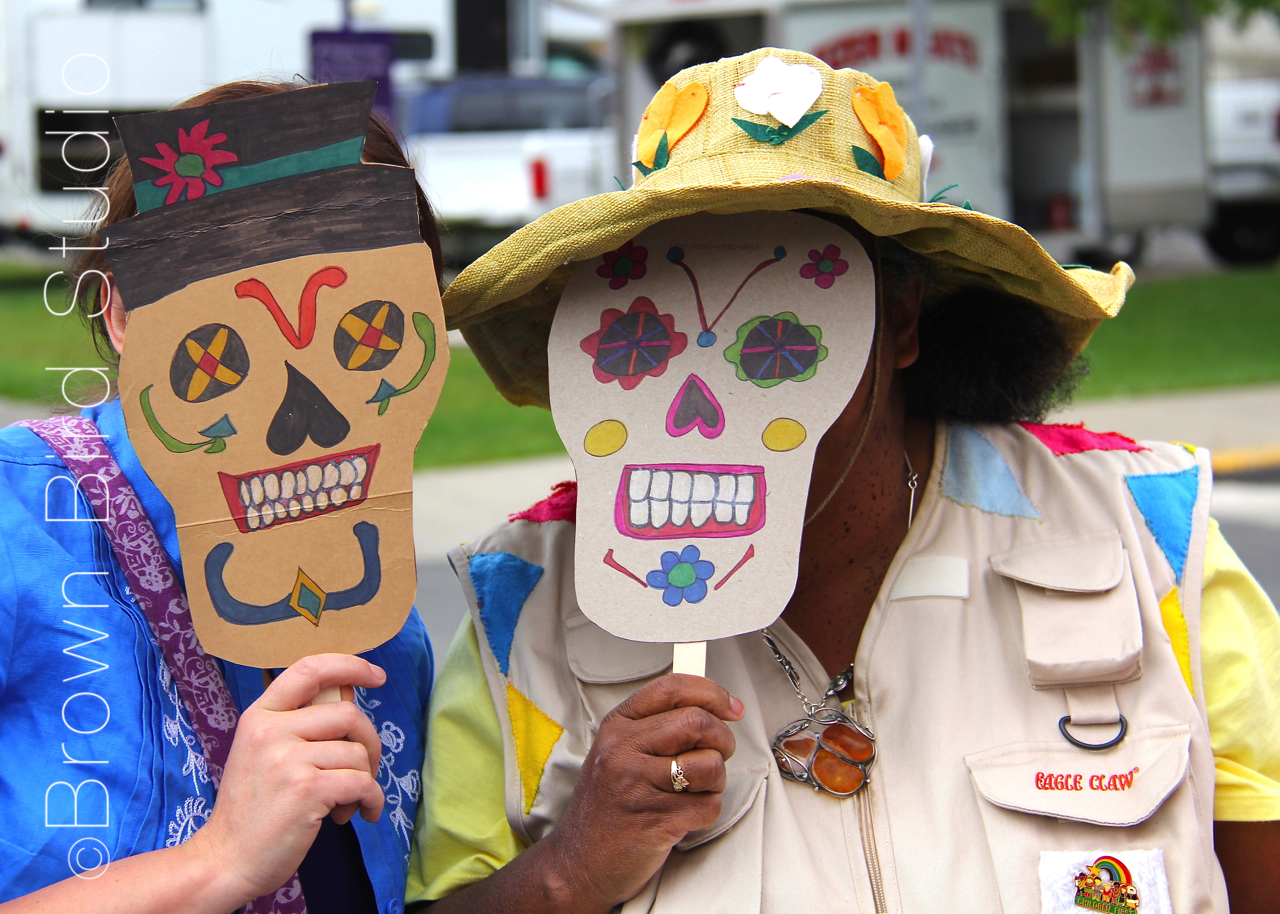
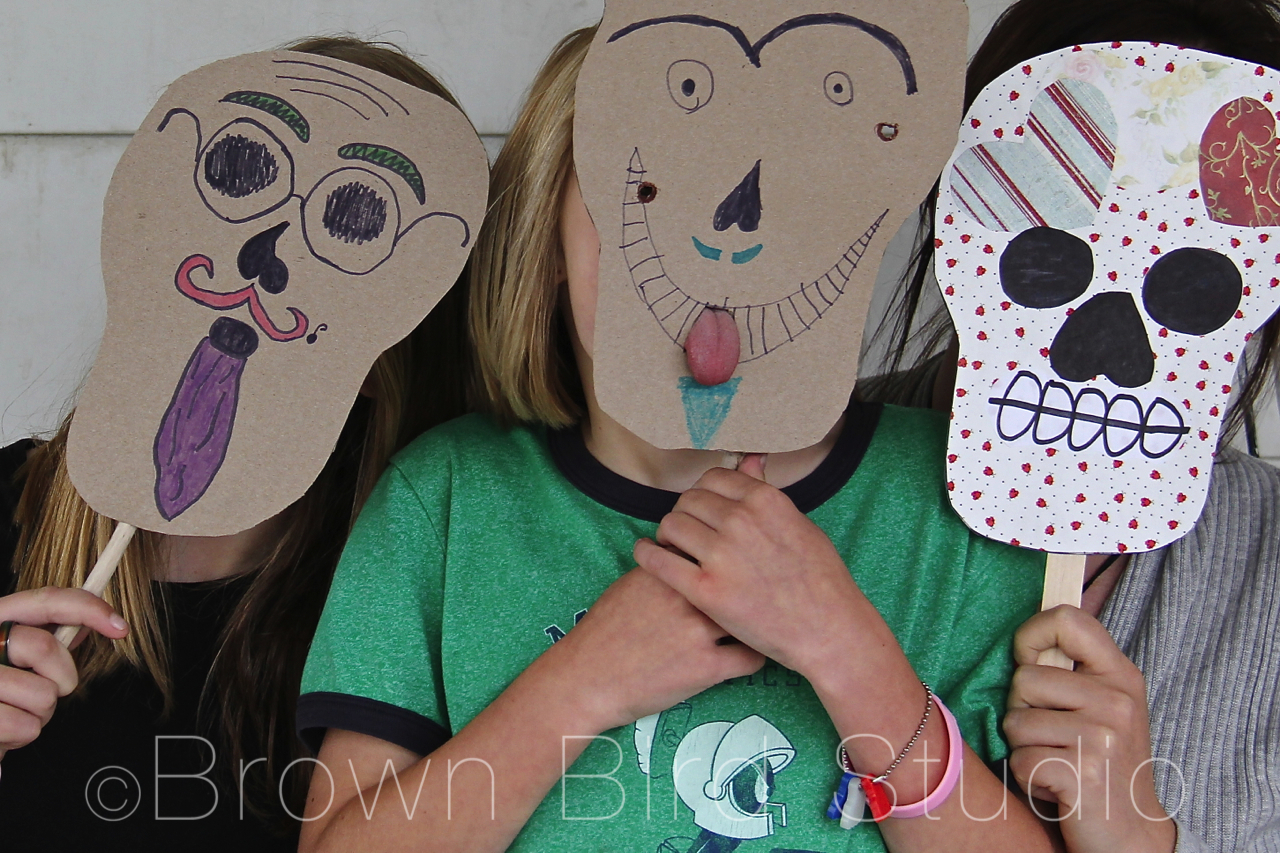
My friend, Jaime, and I bought these masks from Diane at the Helena Farmers Market last weekend. Here are Jaime and Diane posing with them. Ema and Adia wanted to make their own masks so we got out markers, scissors, clear packing tape, some driftwood sticks and a cereal box and they dived right in to making them without any instruction from me. They basically just copied Diane’s technique.
Here’s how:
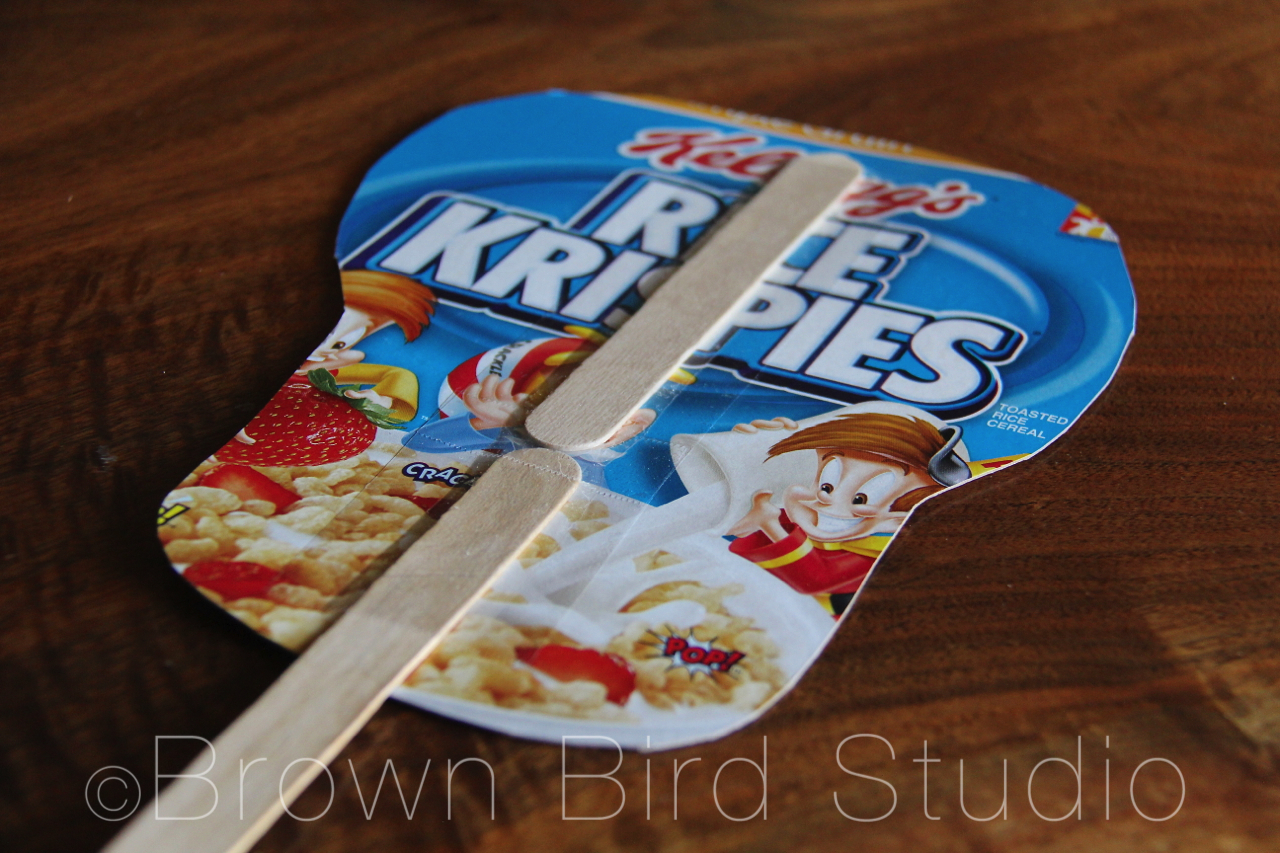
Cut open the cereal box. one box will make two masks
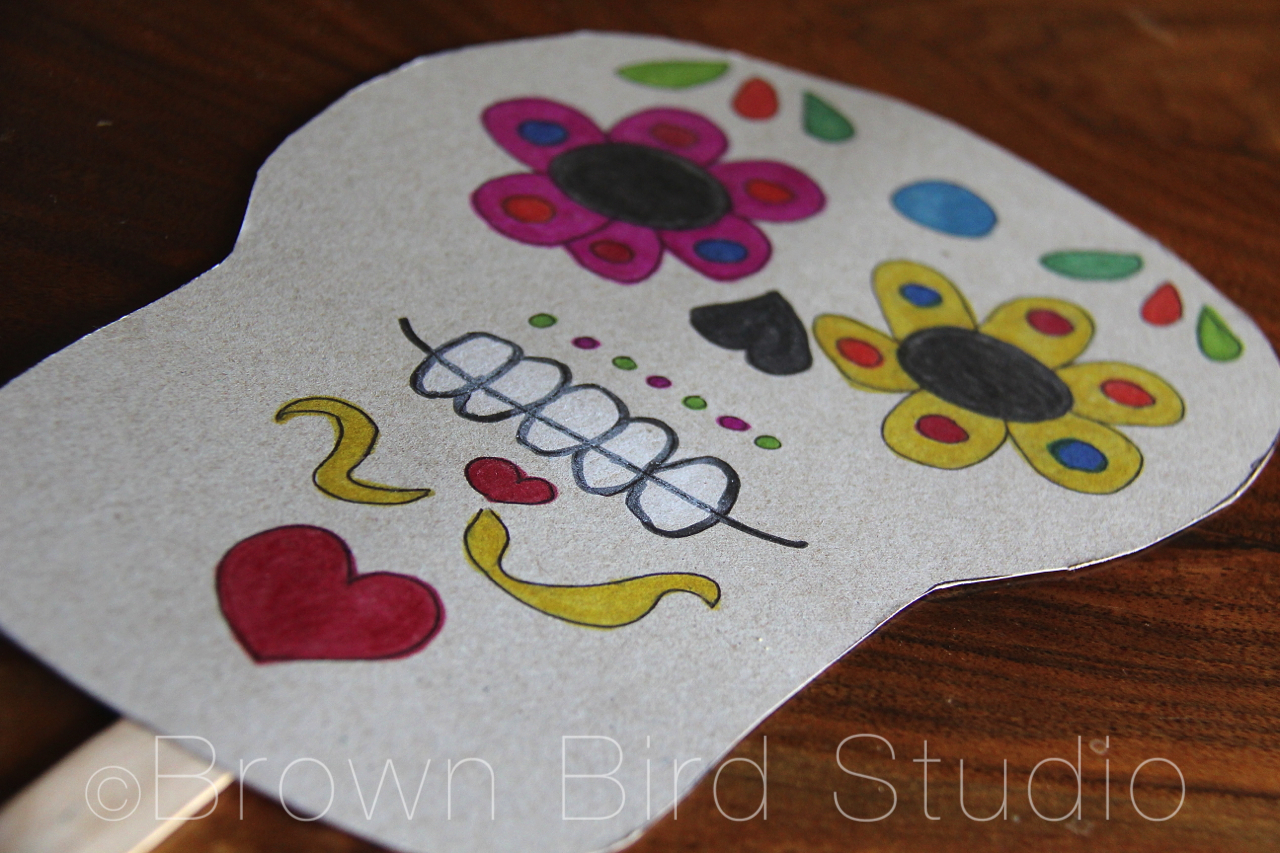
Cut a skull shape out of one side of the cereal box (you can use this template by saving the image and printing it out if you want to)
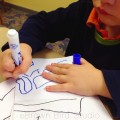
On the inside of the box, draw a skull face. Make it cool. Make it funny or cute. Whatever you like. The nose looks like a skull nose if you draw an upside down heart. Make the eyes big! Decorate the face with interesting features.
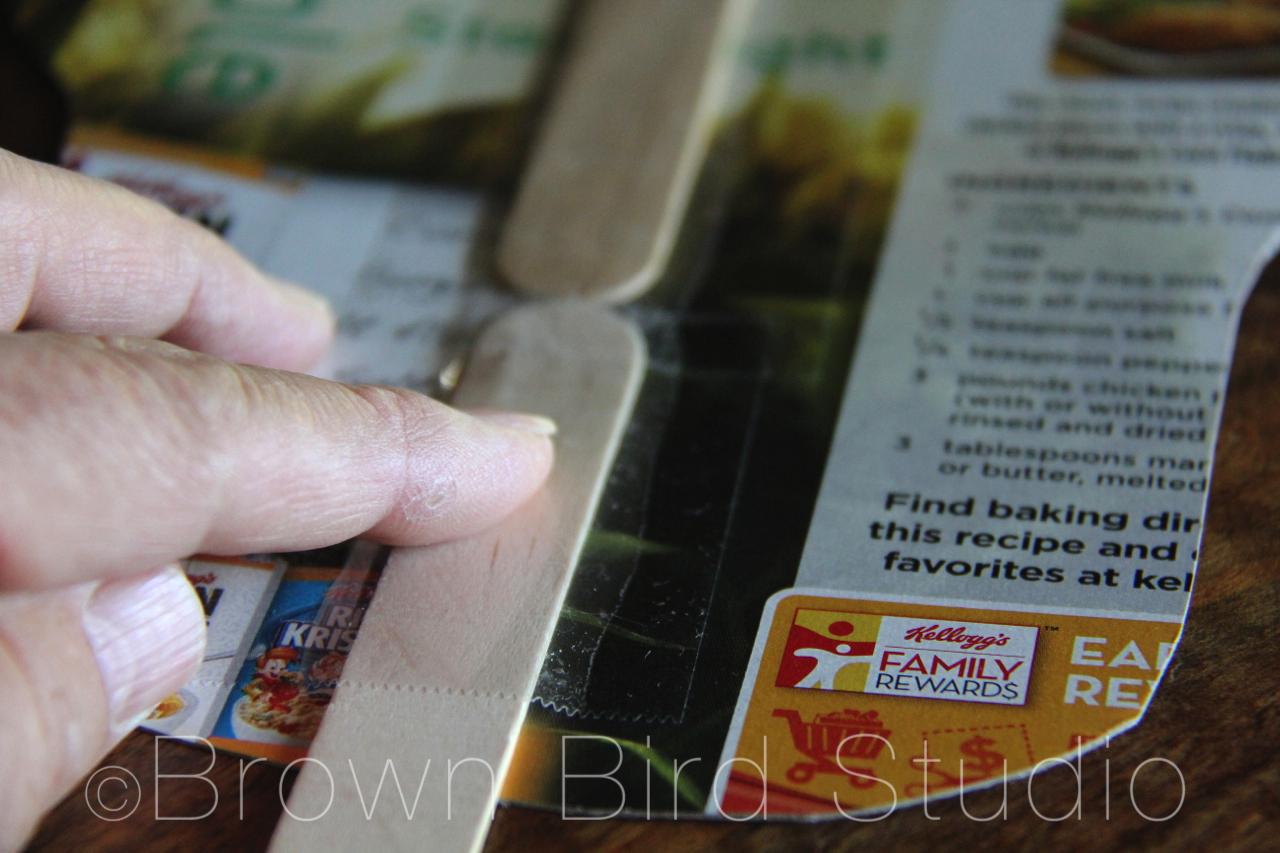
Flip it over and use packing tape to add a handle. The handle will also help stabilize the thin cardboard. We didn’t have tongue depressors, so we just used some sticks we had lying around from our summer projects. Diane uses tongue depressors.
Adia wanted to be able to stick her tongue out of the mask, so we cut a small hole in the mouth. We also cut a very tiny hole so she could see out when she’s holding the mask to her face.
Now go out and have fun with your masks.
Tim came home just in time to take some photos of us wearing our masks. Cool, eh?