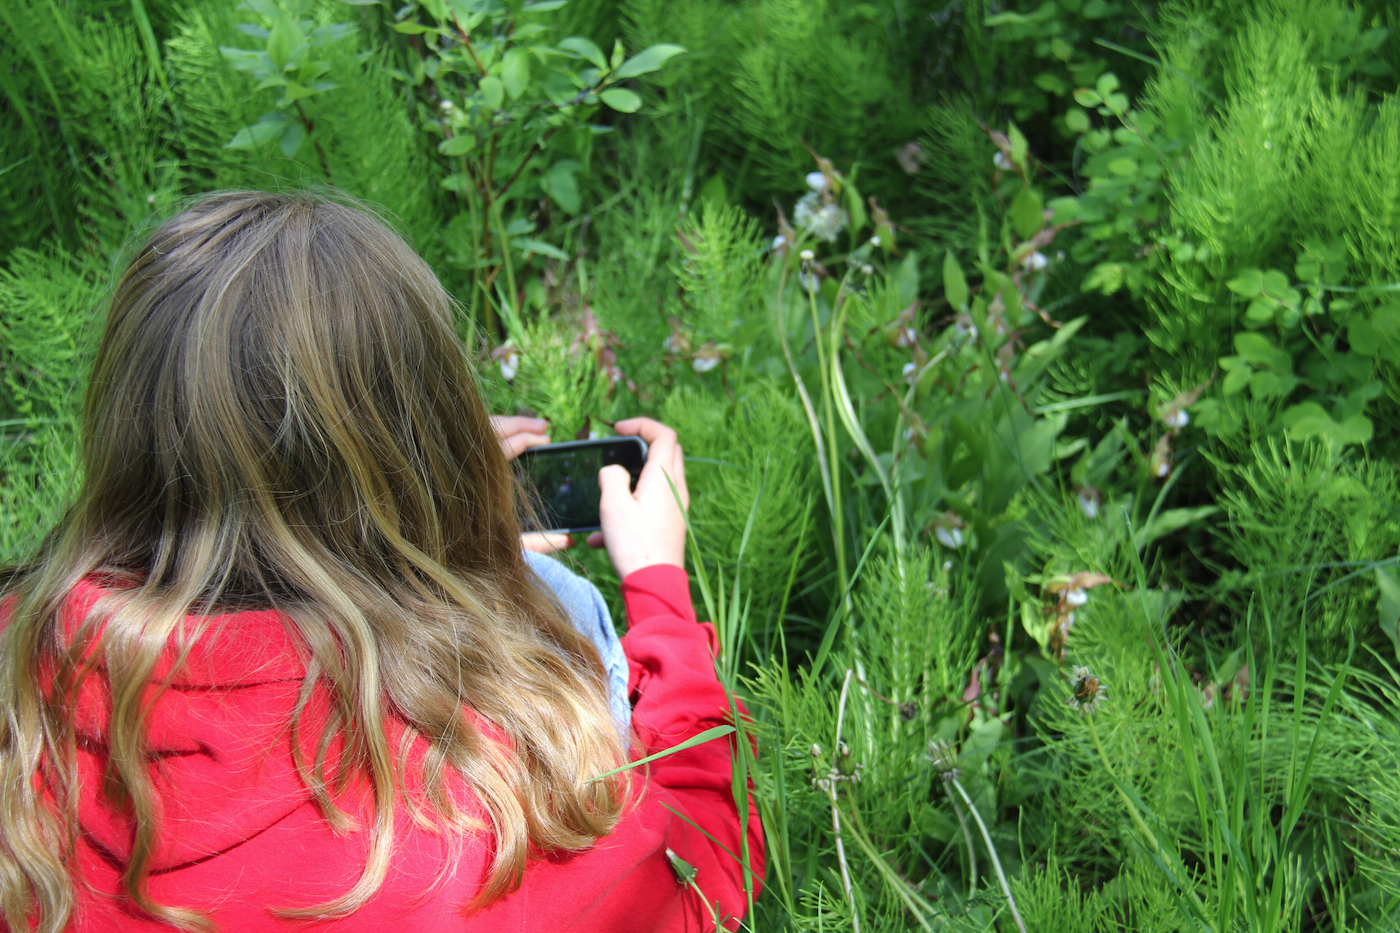
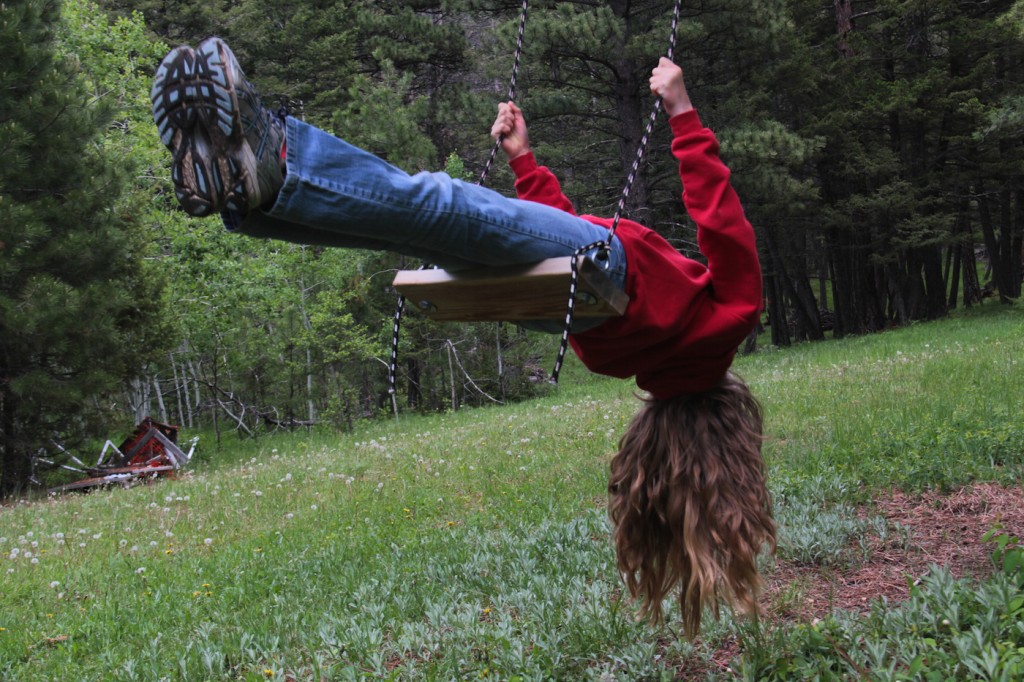
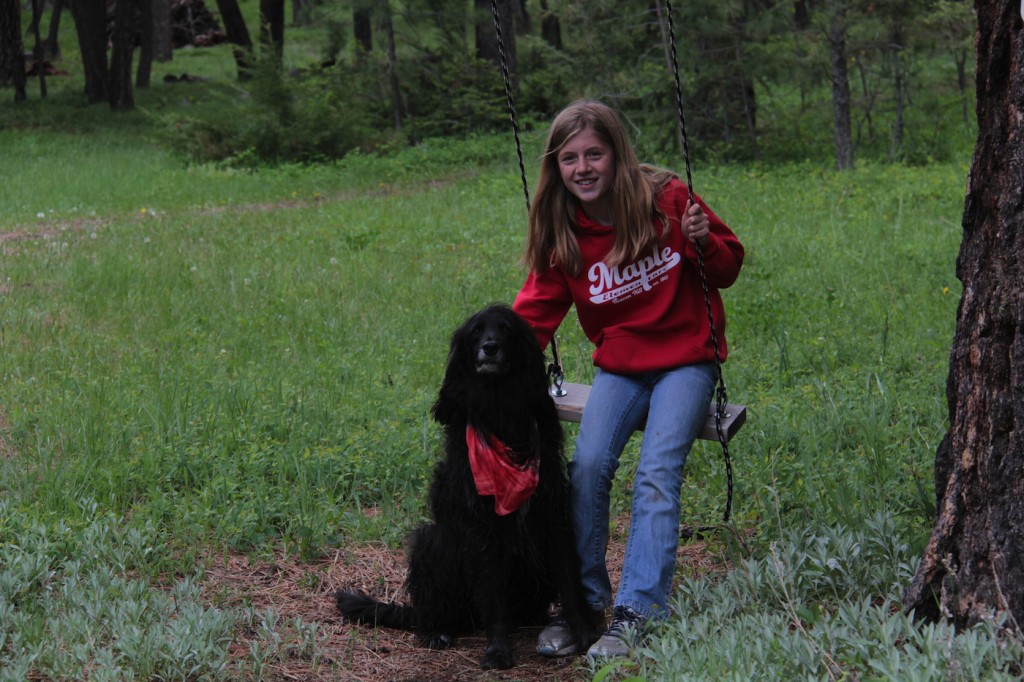
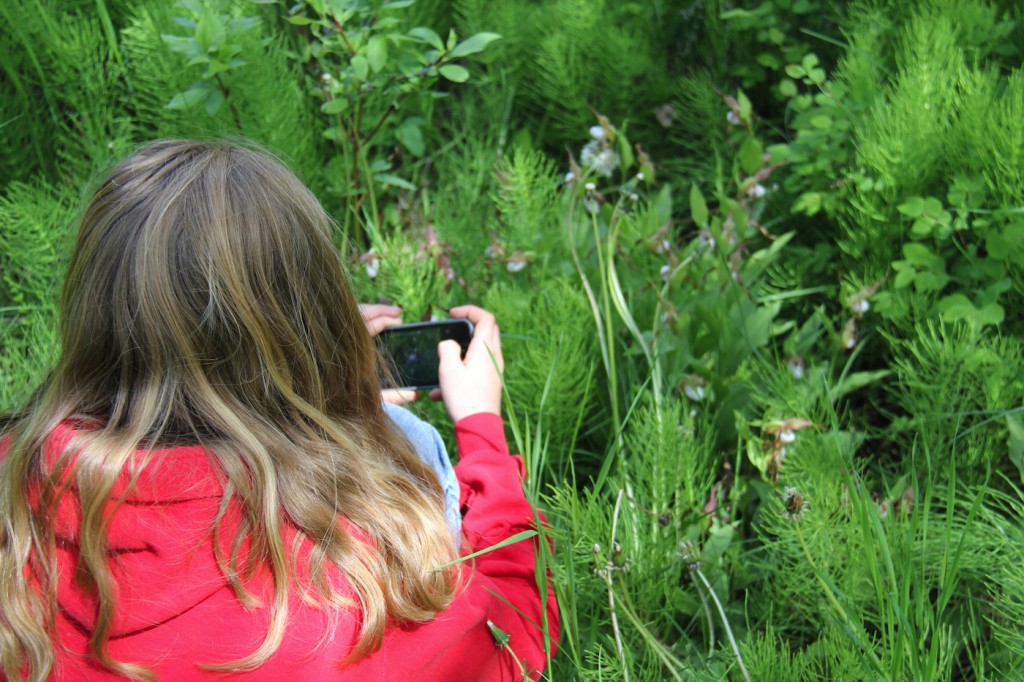
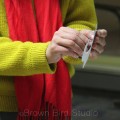
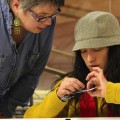
Last week, my young friend, Grace and I invented our own “art camp.” She stayed with me for four nights and we had 3 full days of creative fun. I sure hope we get to do this a couple more times this summer. Hanging out with young people fills my cup, especially when they are as enthusiastic about life and learning and creativity as Grace is. It was super cool that we got to do so many projects and have some adventures just the two of us. Actually, it was three of us — Charlie came along too.
I promised Grace I would teach her how to make a blog post, so I am going to leave the DIY tutorials until she comes back for our next art camp. In the meantime, here are some photos of some of the things we did and made:
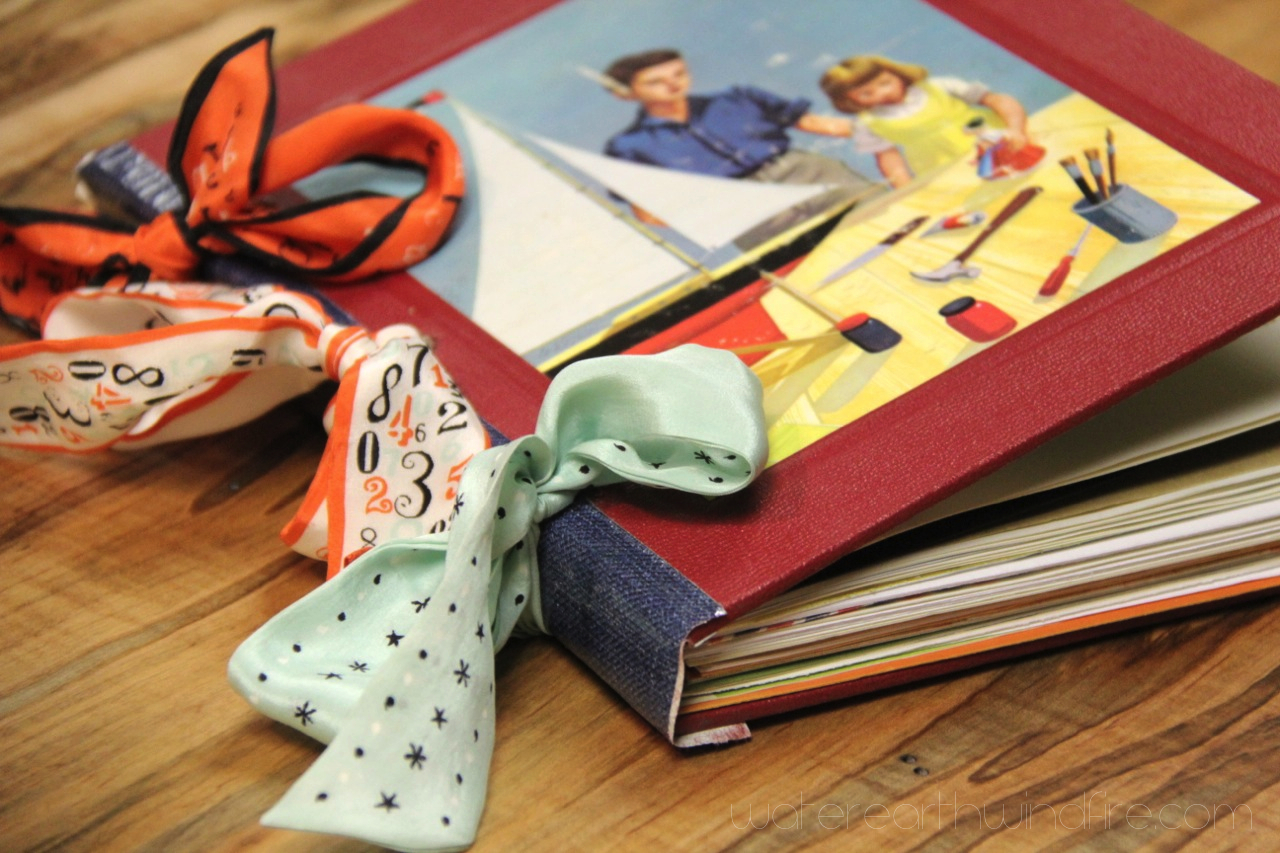
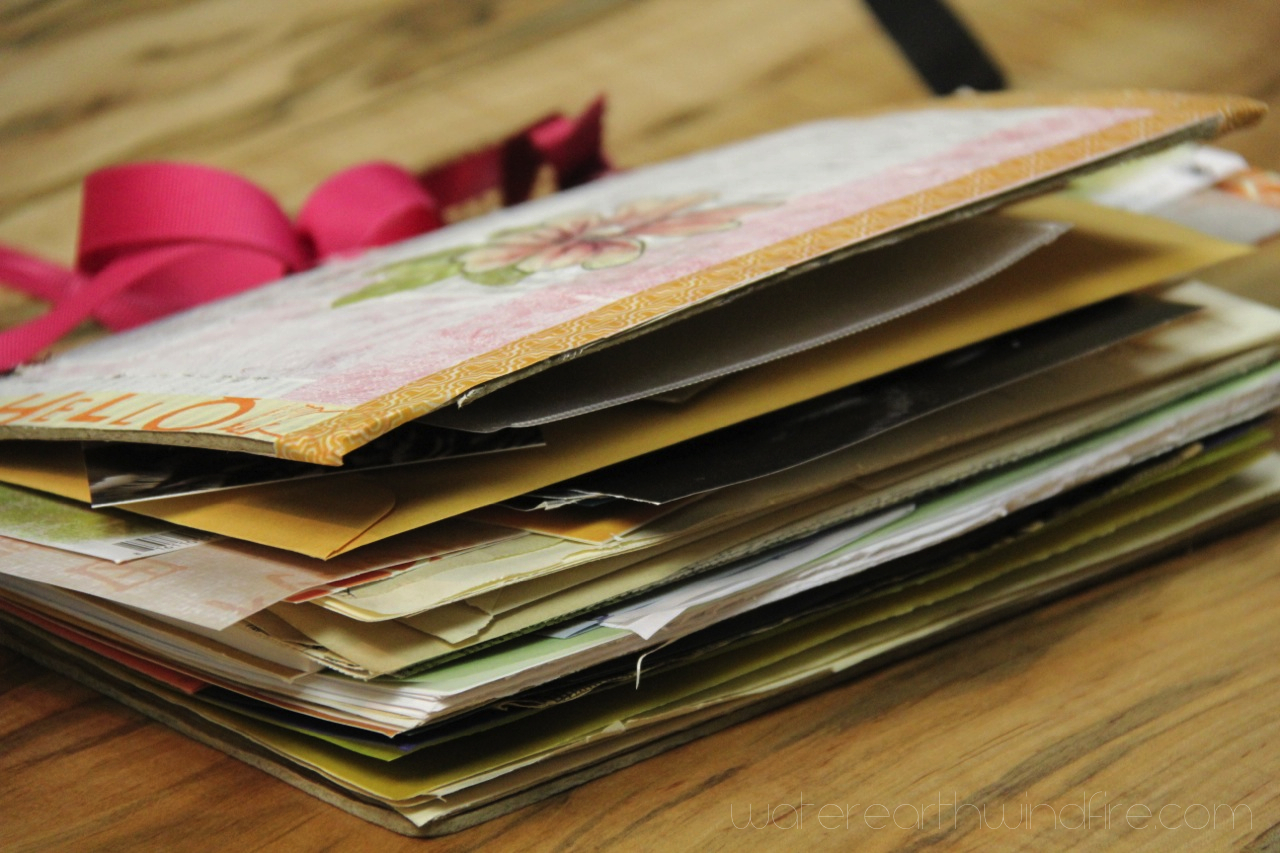
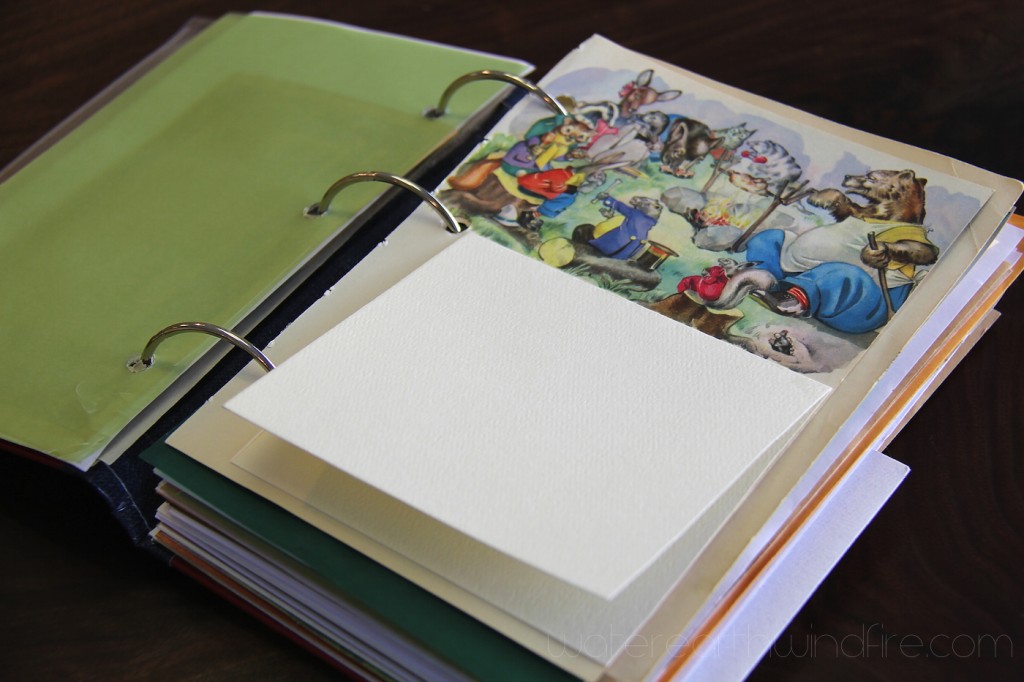
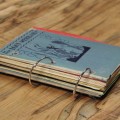
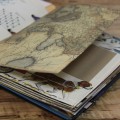
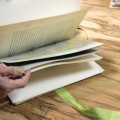
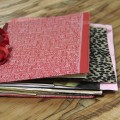
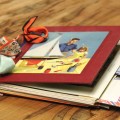
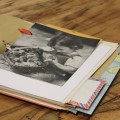
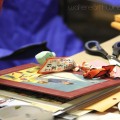
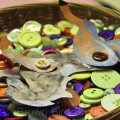
Smash. Smoosh. Squish. Mash. Moosh. Mush. Stuff … Oh, the things you can do with an old book!
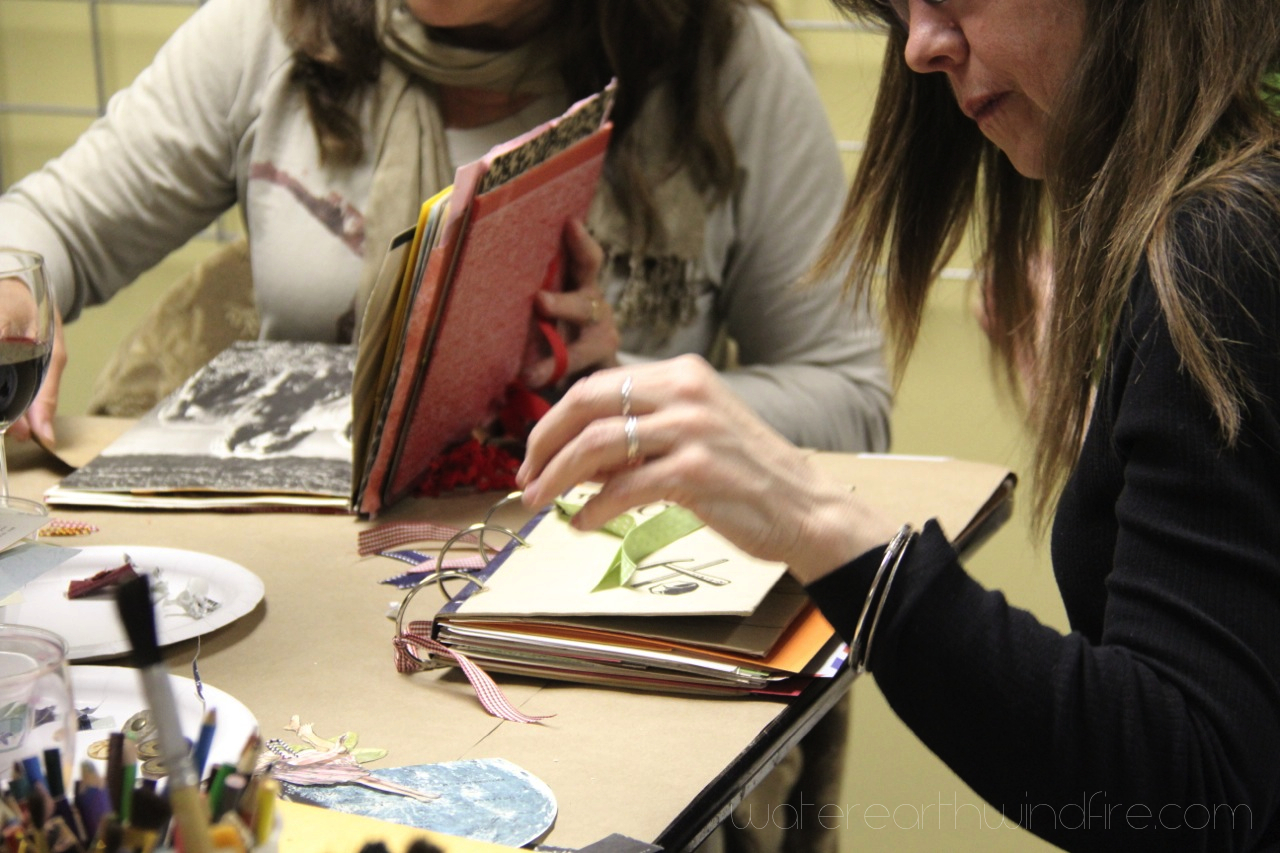
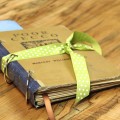
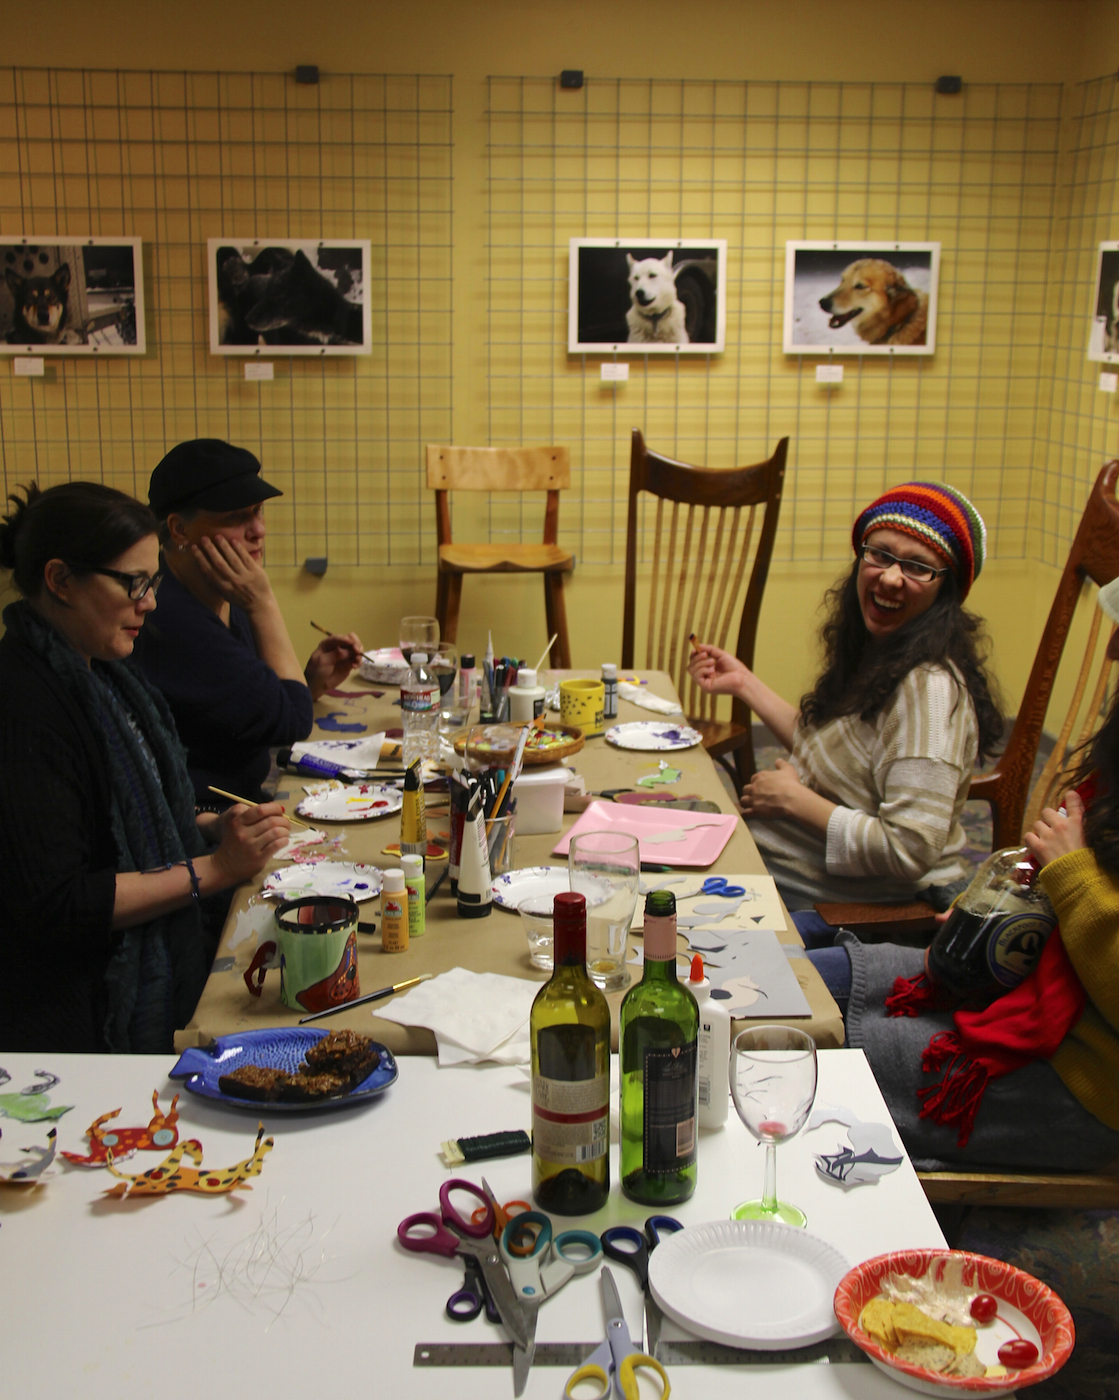
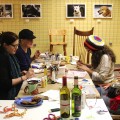
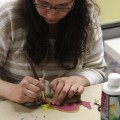
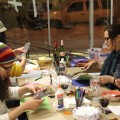
At our monthly Girls Art Night on March 27th, we altered vintage hardback books into Smoosh Books (my take on the official Smash Journals.) There were eleven of us mooshing, drilling, gluing, smooshing and stuffing away at 1+1=1 Gallery. We enjoyed tea, wine, and yummy finger foods. It was a great group of women friends — lots of comraderie and chemistry, laughter and concentration.
If you want to try a Smoosh Book yourself, and you live in Helena, let me know in the comments and maybe we can get together in a smaller group sometime soon to make more smoosh books. Otherwise there is a How-To towards the bottom of this post. 🙂
I have a few vintage books left (I’ve already cut the spines off.) And lots of stuff to stuff into them. I will bring the “ingredients” to our Girls Go gathering in October. What do you think of that idea, my sisters?
Maybe one of these will be a diary of your journey to health. Or a baby book. A collection of family recipes. A book of quotes or a “commonplace book.” A trip journal. A wedding planner, a place to record things your kids say … Whatever you use your smoosh book for, it will be wonderful once you smash it full of your stuff.
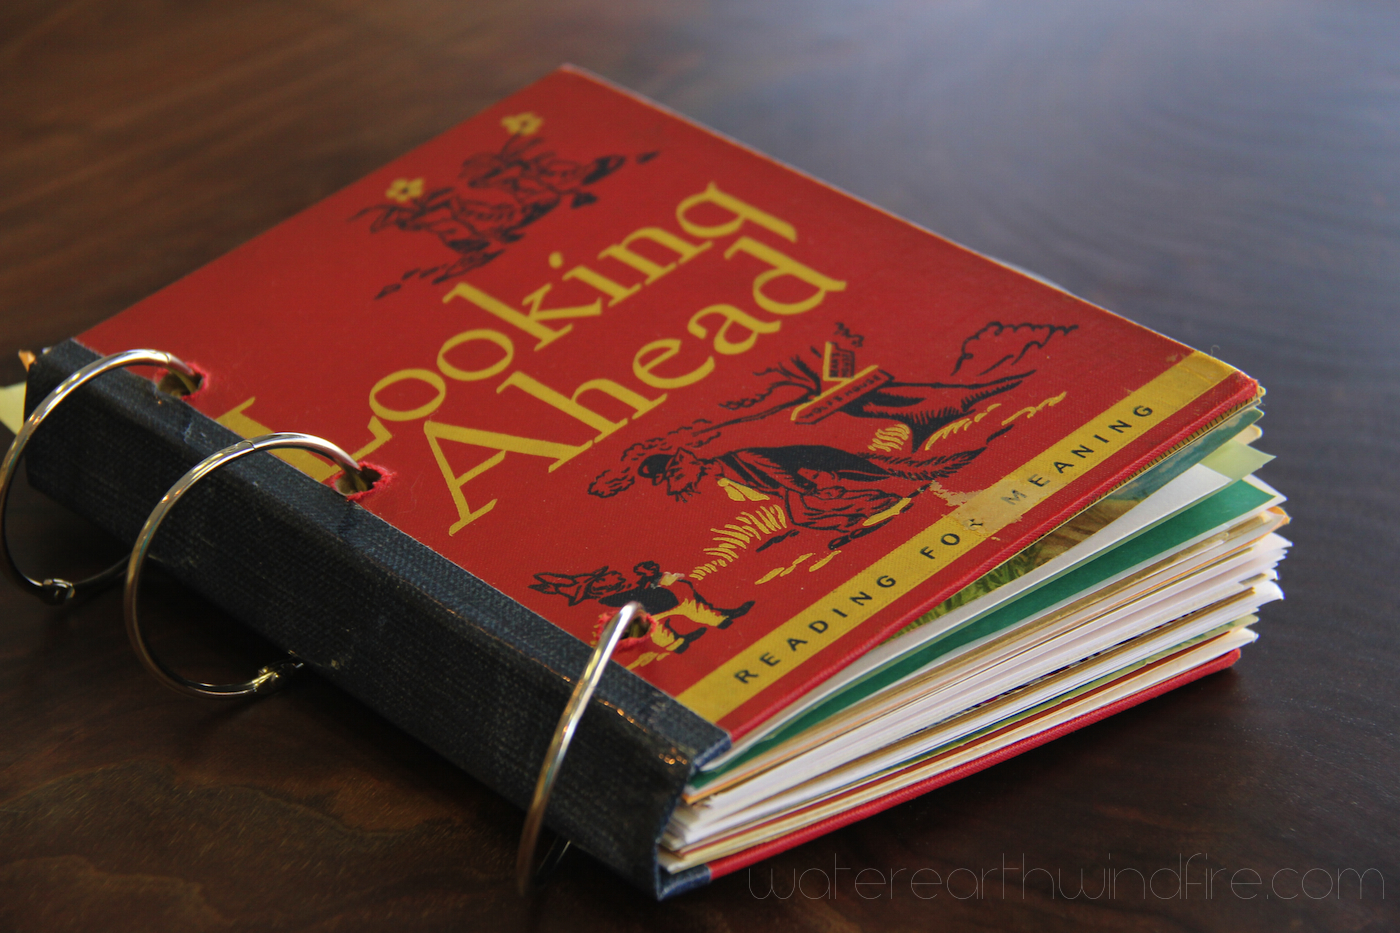
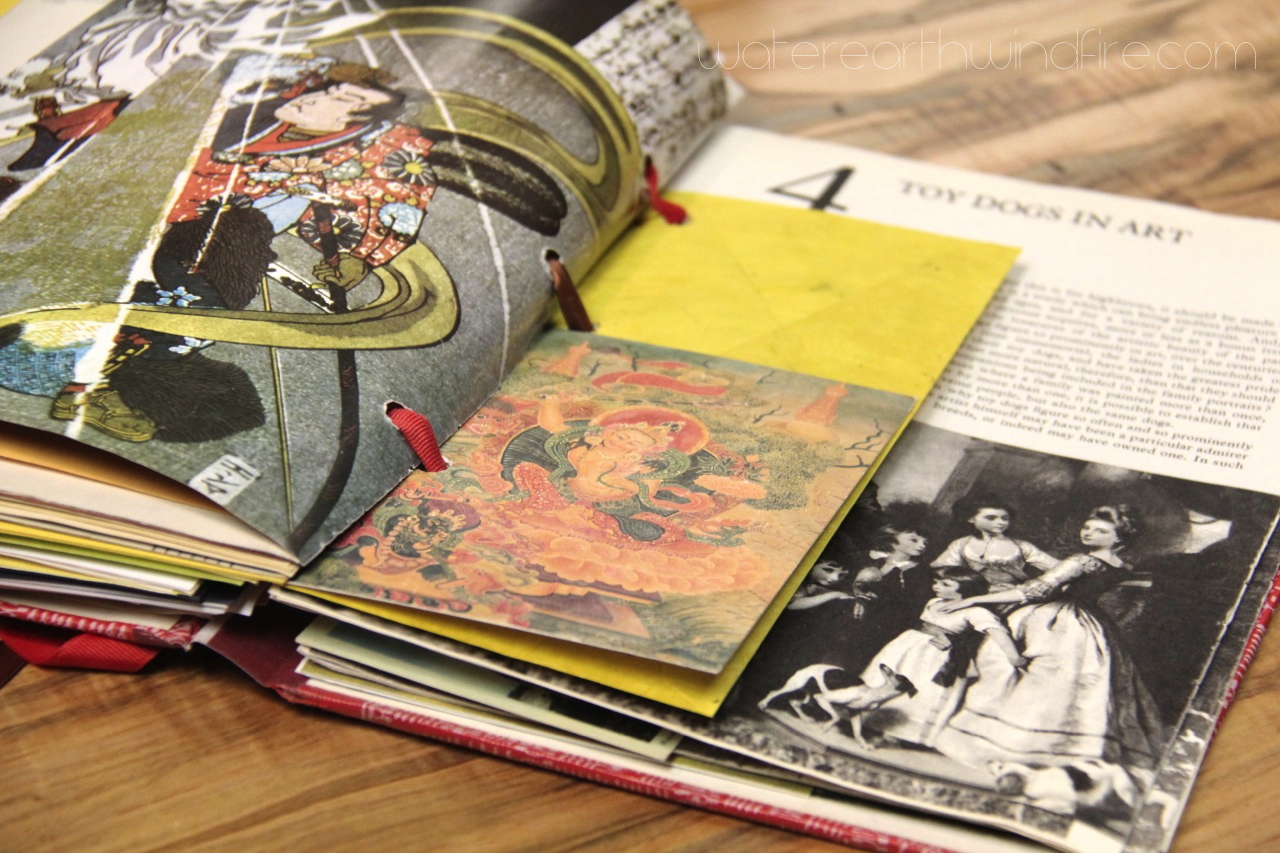
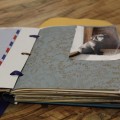
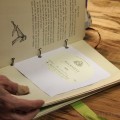
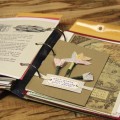
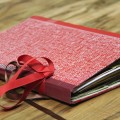
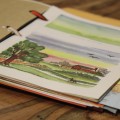
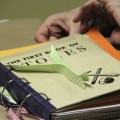
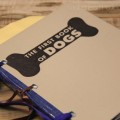
Here’s my mom’s Smoosh Book: I love that she picked the old children’s story collection, “Looking Ahead.” She is going to fill it with stories of her life. Cool!
Your Smoosh Book doesn’t have to be perfect. Or finished. It’s a work in progress. This kind of “journal” or scrapbook is great if you’re like me and don’t have the time or personality to do elaborate scrapbooking. The way scrapbooking has changed, it’s the last thing I want to do … I remember when a scrapbook was an album of plain pages you glued things onto — like photos, birthday cards, autographs, paper dolls, ticket stubs, pressed corsages, leaves and flowers. Remember photo-corners? Or LePage’s glue with the red rubber tip? (I know. I know. I’m dating myself. Oh well.)
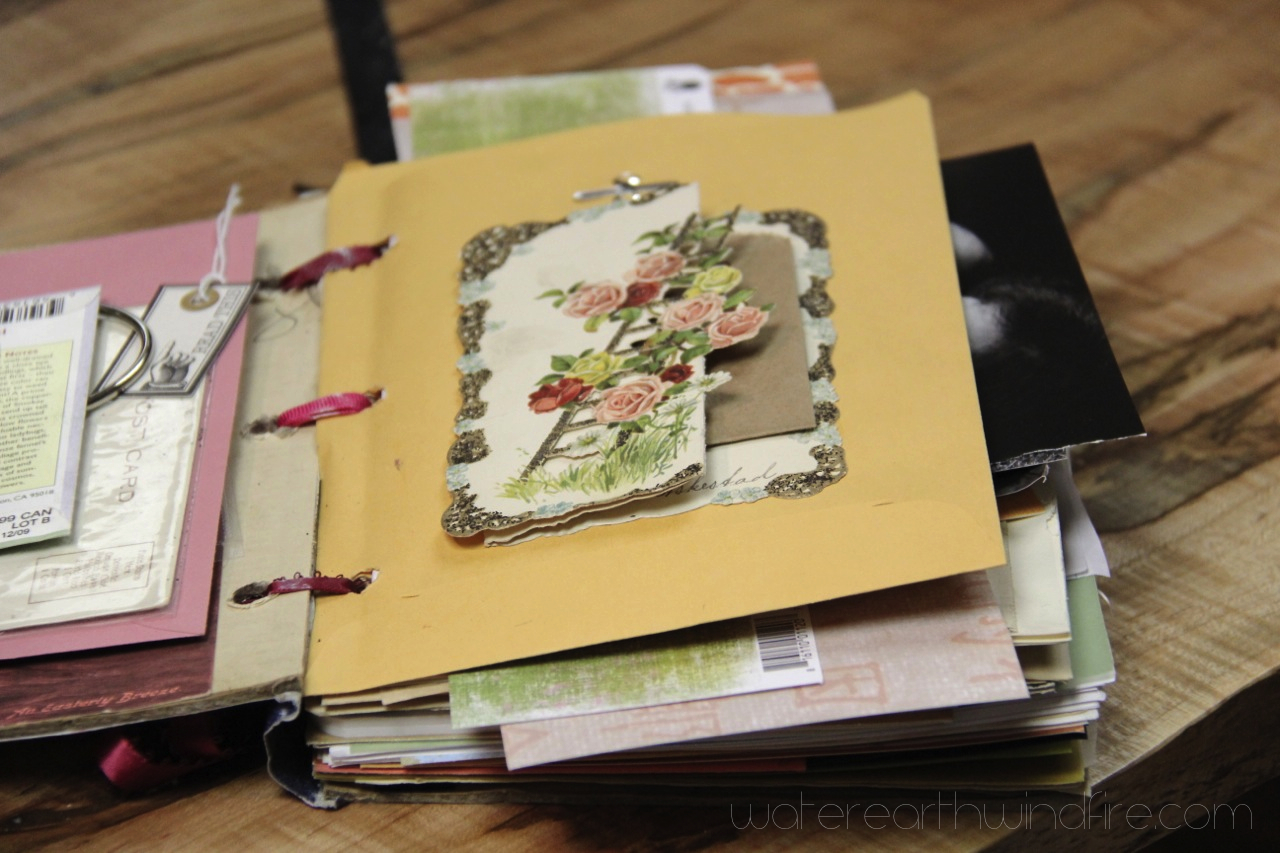
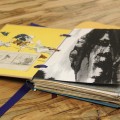
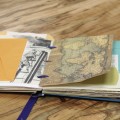
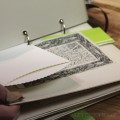
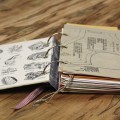
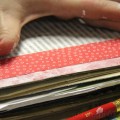
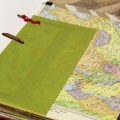
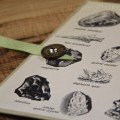
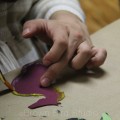
A Smoosh Book can be kinda funky and alotta fun. When you first make the book, you can sort through the old book’s pages and keep the ones you like, recycling the rest. Try incorporating comic book pages, other special papers, translucent papers, seed packets, tiny bags, cellophane bags, glassine envelopes, ribbons, stickers, cards, and any other kind of envelope or pocket.
To use your Smoosh Book, add written passages, poetry, quotes … lists of stuff you’re doing/planning/wishing, recipes, pressed flowers and leaves, feathers, seeds, labels, photos, doodles, menus, tickets, found lists, anything you can think of.
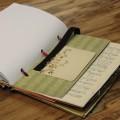
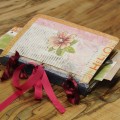
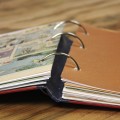
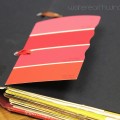
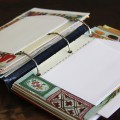
Use ribbons or binder rings to tie the book together so you can add pages as you find cool stuff (like envelopes.) Your book will grow as you use it. Eventually it becomes stuffed with stuff. And looks like it’s exploding and that’s totally okay. You can add bigger binder rings if it gets hard to turn the pages because you’re adding so much stuff.
Here’s what you need to make your own Smoosh Book:
Old hardback book from thrift store
band saw to cut off the spines
power sander to sand the edges where you cut
drill to drill holes through the entire book
clamp to hold the book covers and pages together while you drill
paper punch for miscellaneous papers — use one you can line up to match the holes you drilled
envelopes, extra blank papers, etc to fill the book
ring binders (preferably large) or ribbons, twine, leather cords, shoelaces
duct tape (for your new spine)
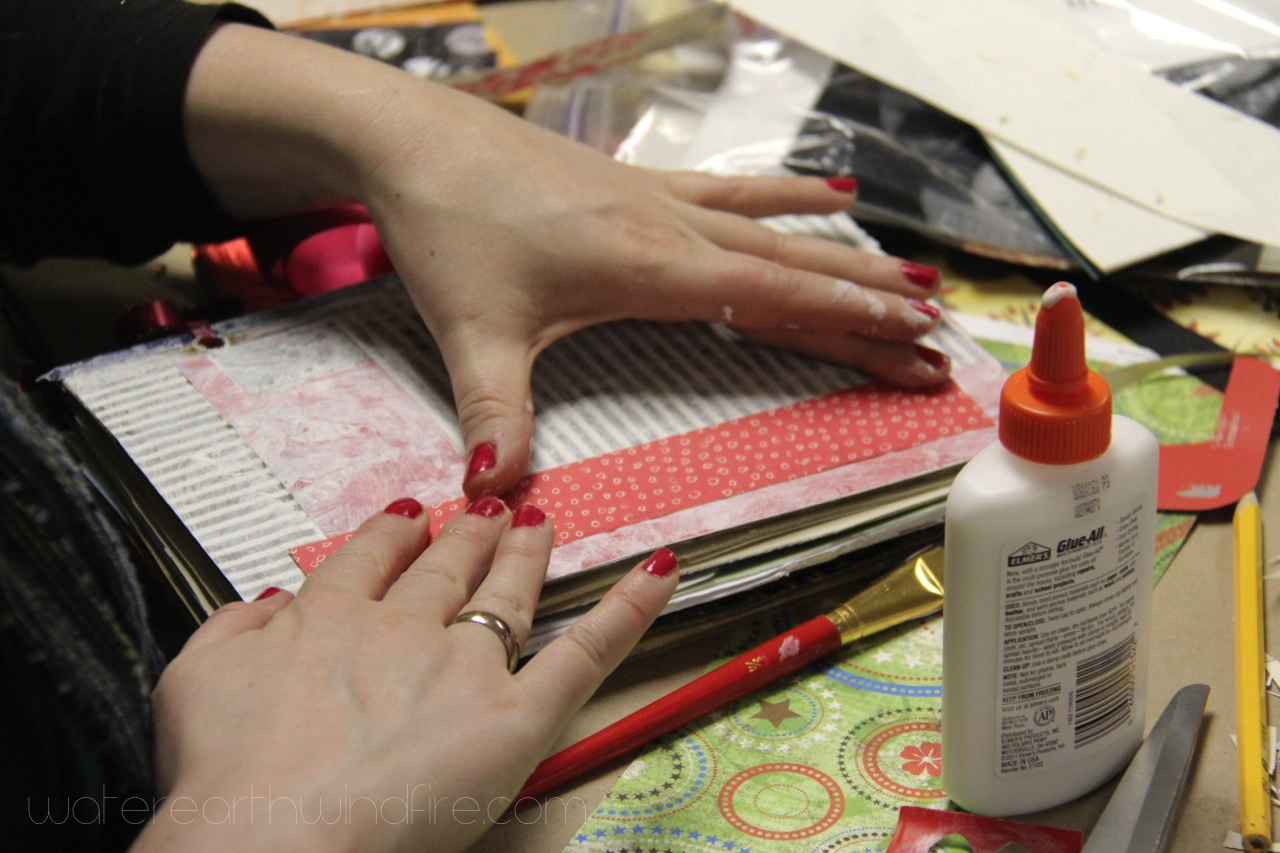
spray adhesive or dry-mount glue to attach pockets and envelopes that are not bound in to the book
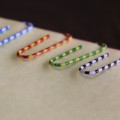
washi tape, other tapes
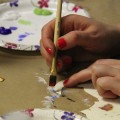
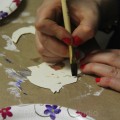
white acrylic paint or gesso to paint over text where you want to be able to write
flat wide brushes, either bristle or foam, for painting
bits and pieces from the list below, or whatever you have around
Basic Instructions to Make Your Own Smoosh Book:
Cut off the spine of your hardback book with a band saw. Watch out for metal staples. If the spine has staples, just cut a little more off to avoid the metal.
Sand off the edges to make them nice and even.
Separate the pile of book pages from the front and back covers.
Make a new “spine” using duct tape attached to just the two covers. This will keep all the loose stuff inside your book.
Go through the pages of the book and pull out all the pages except the ones you want to keep. This will make your book much “thinner” at this point.
Decide what other papers you are going to add to your book. This can include large envelopes, flat bags, pockets, other types of papers …
Cut the extra papers to size and put them where you want them in the book.
Add the other papers such as envelopes where you want them. Don’t worry about everything lining up perfectly. It’s okay to have some things sticking out. These act like “tabs” later.
Clamp everything together on a work table, and using your power drill, drill 3 holes through the whole mess.
Put it all together with ribbons, ring binders or whatever you have decided to use to attach.
Now you’re ready to start gluing things into your Smoosh Book, then adding your words.
Above all else, have fun!
Use a band saw to cut off the spine of your hardback book
Below is a list of ideas and inspiration: things you might want to stuff in your Smoosh Book as it grows …
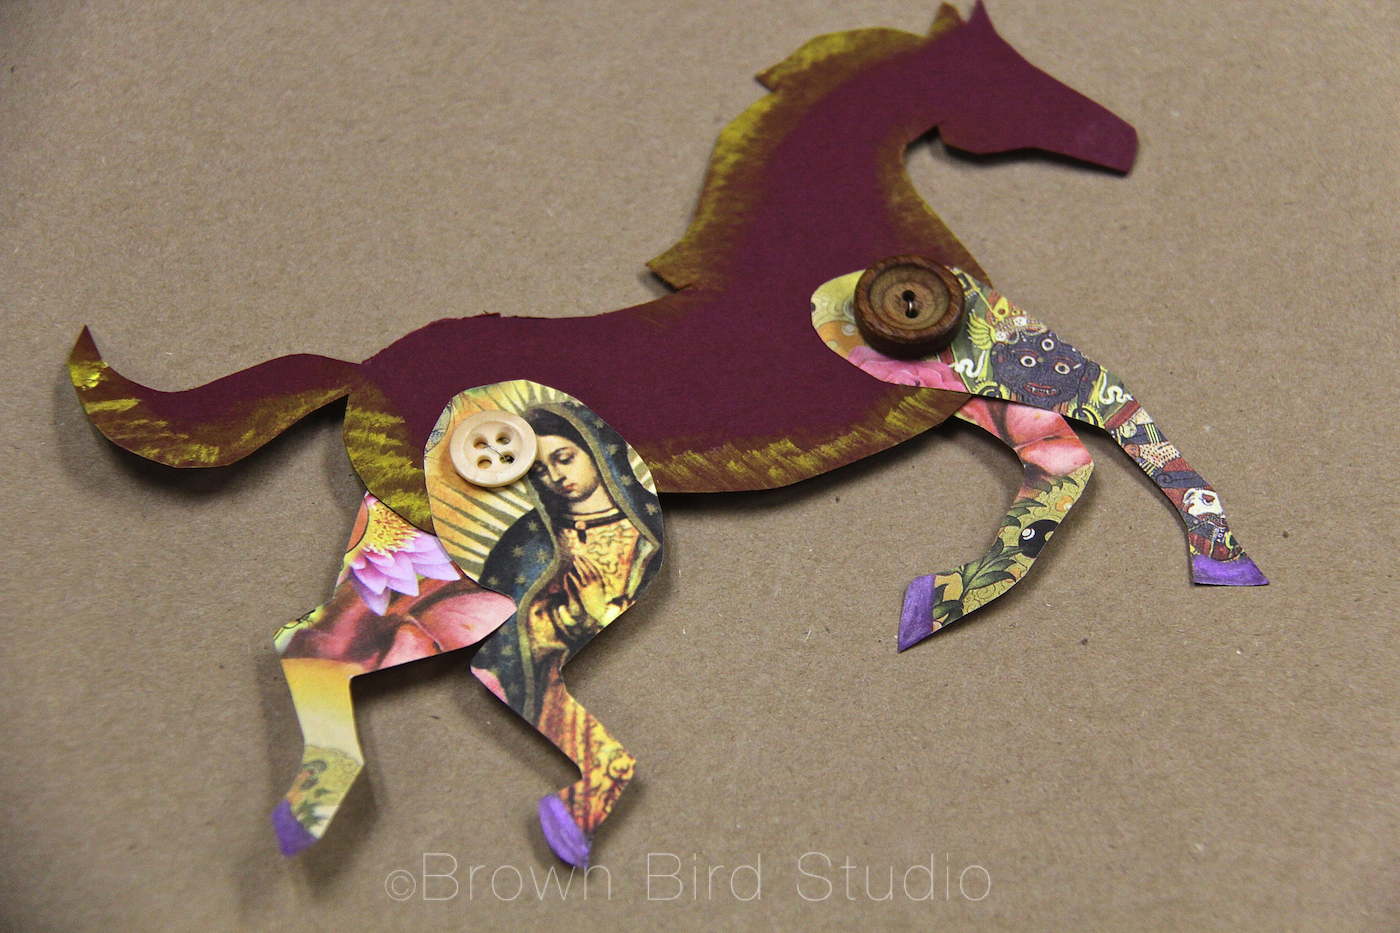
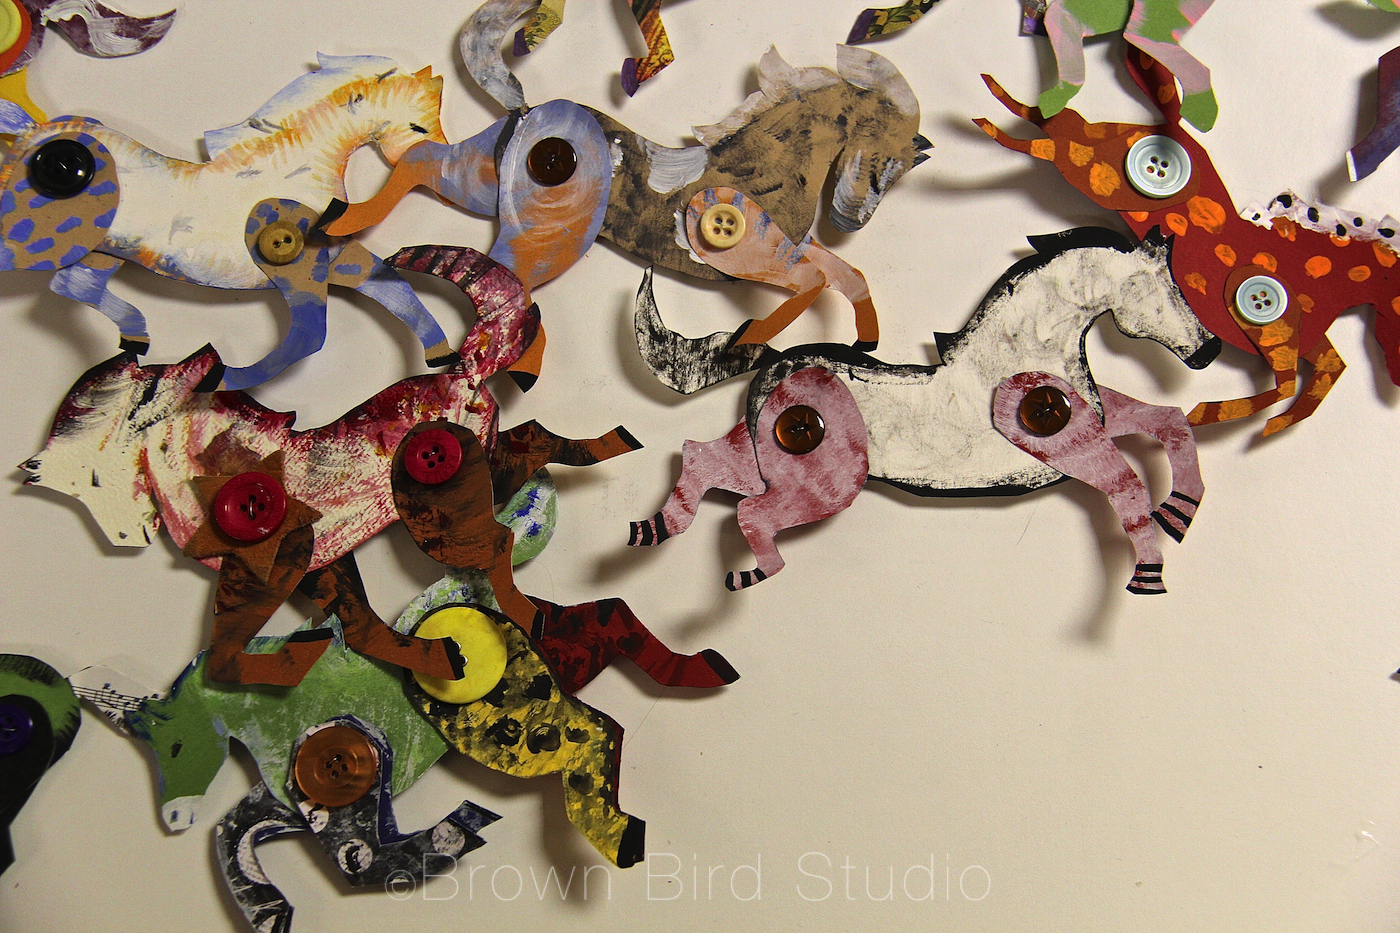
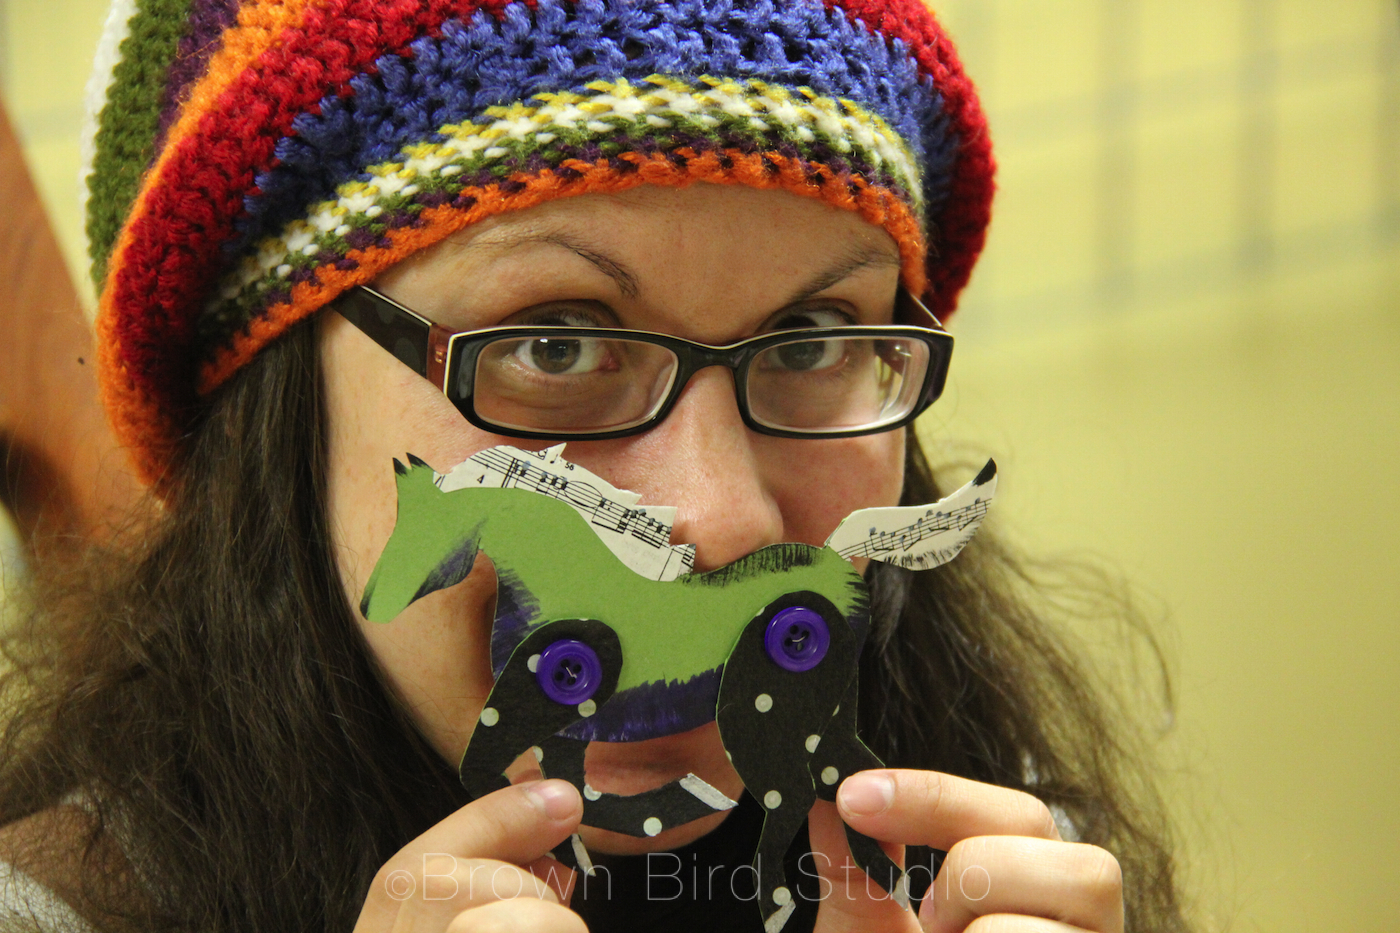
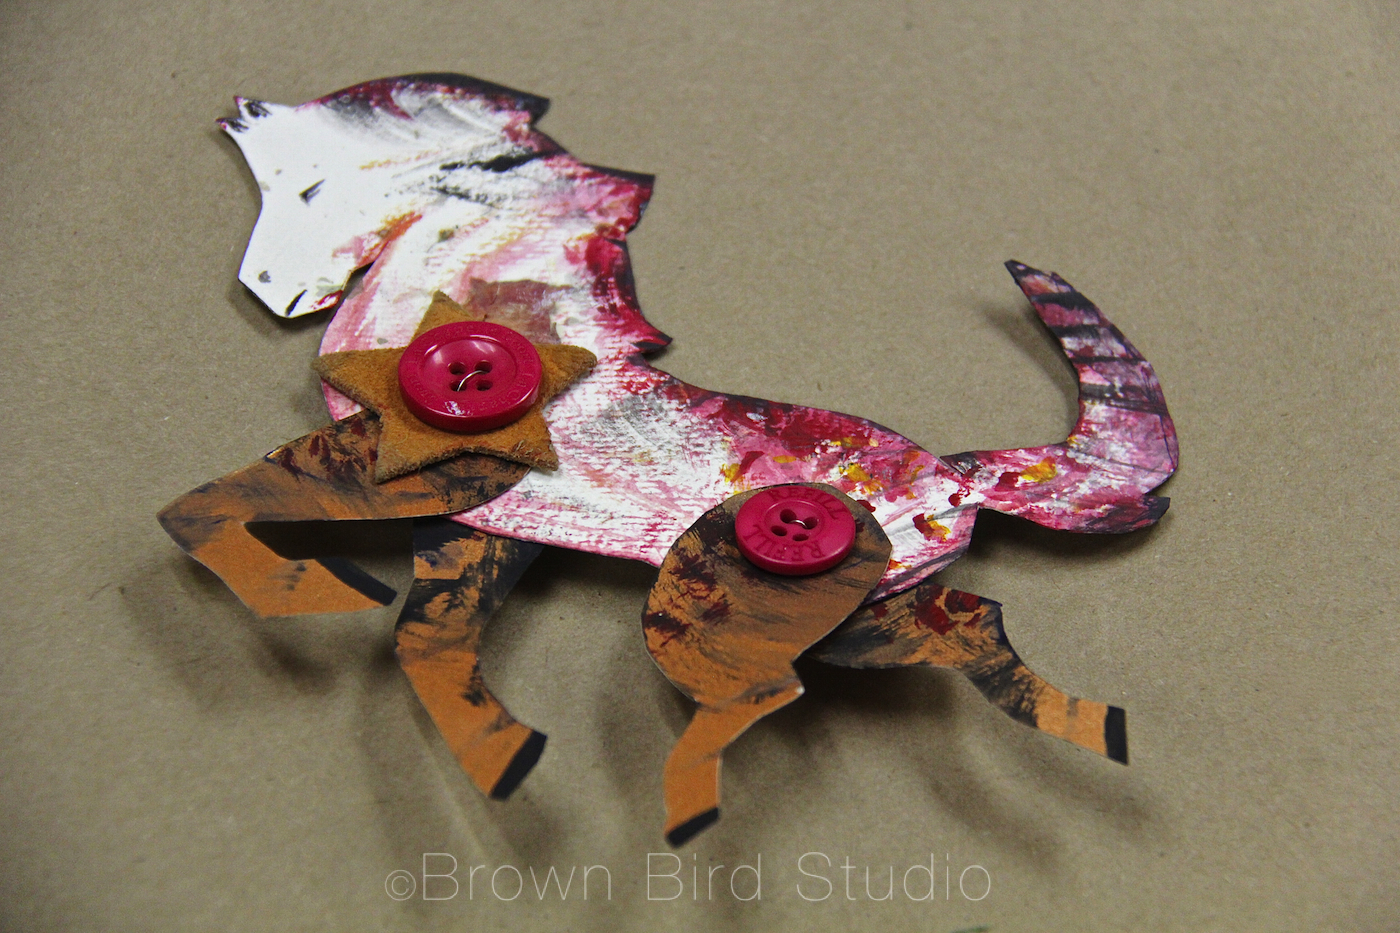
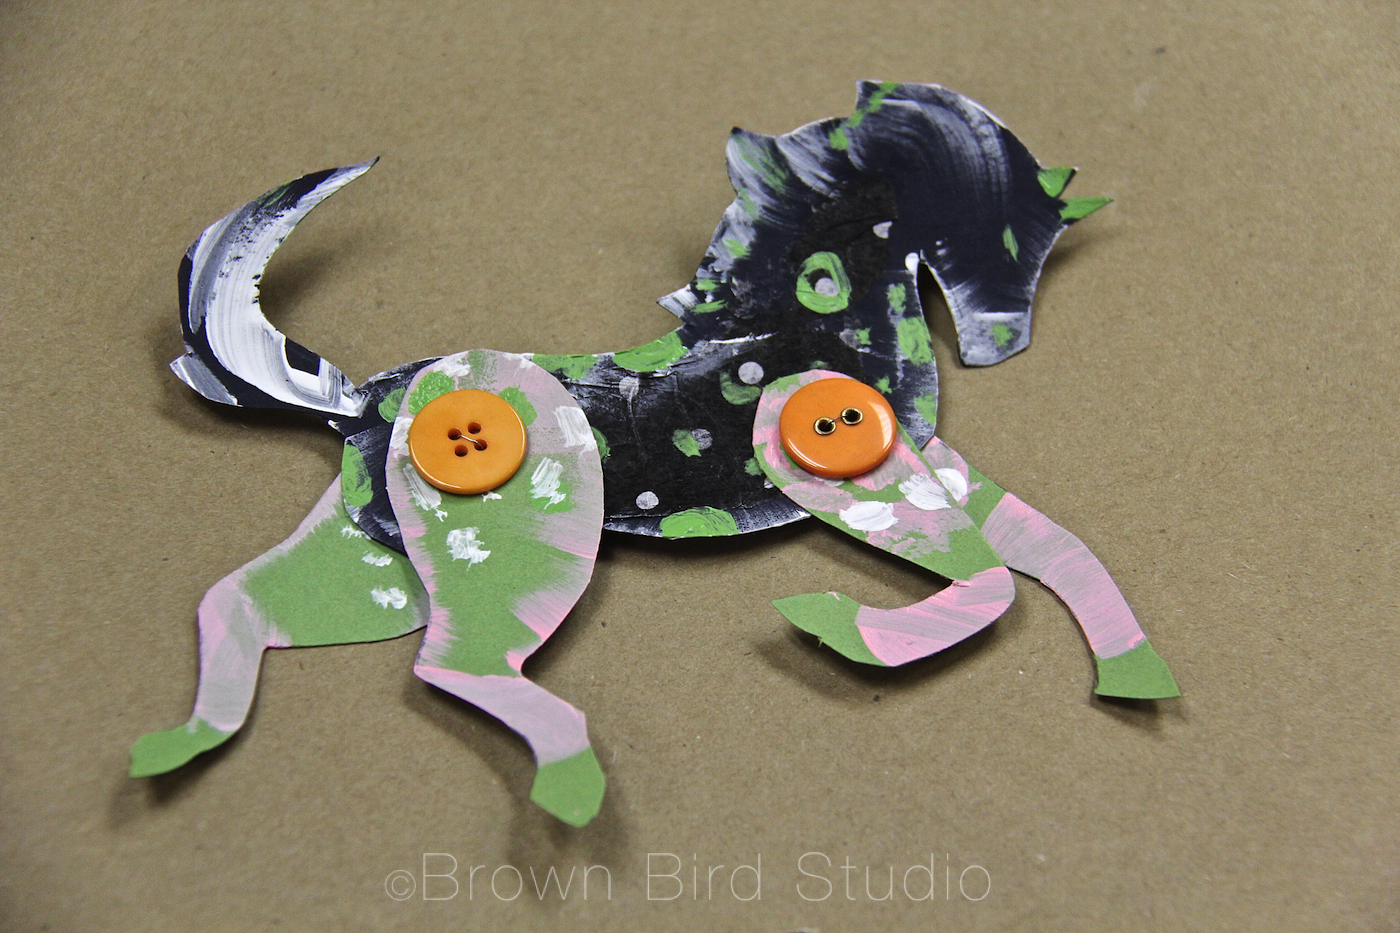
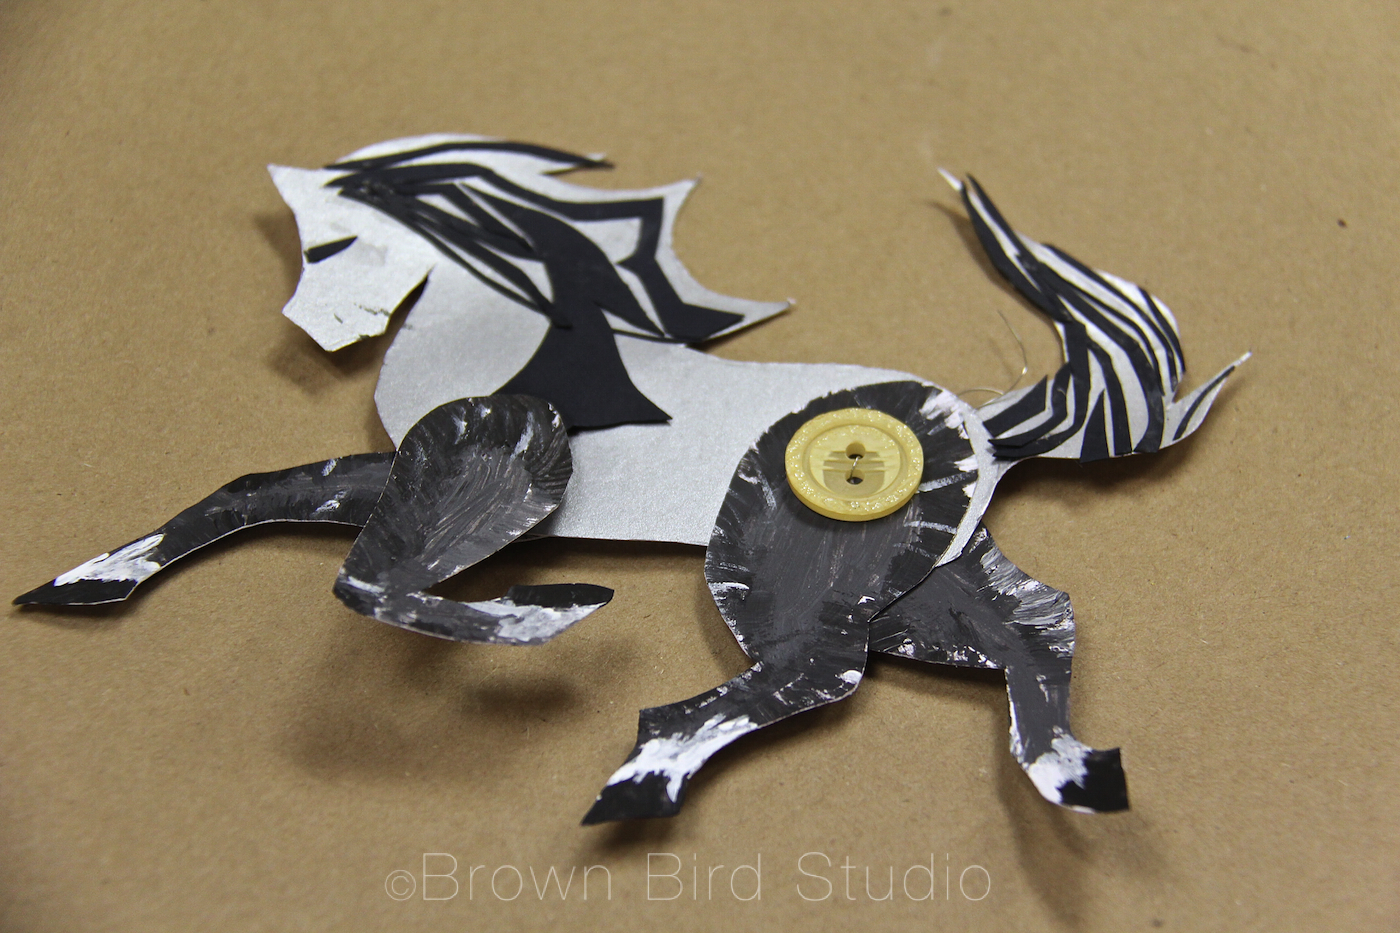
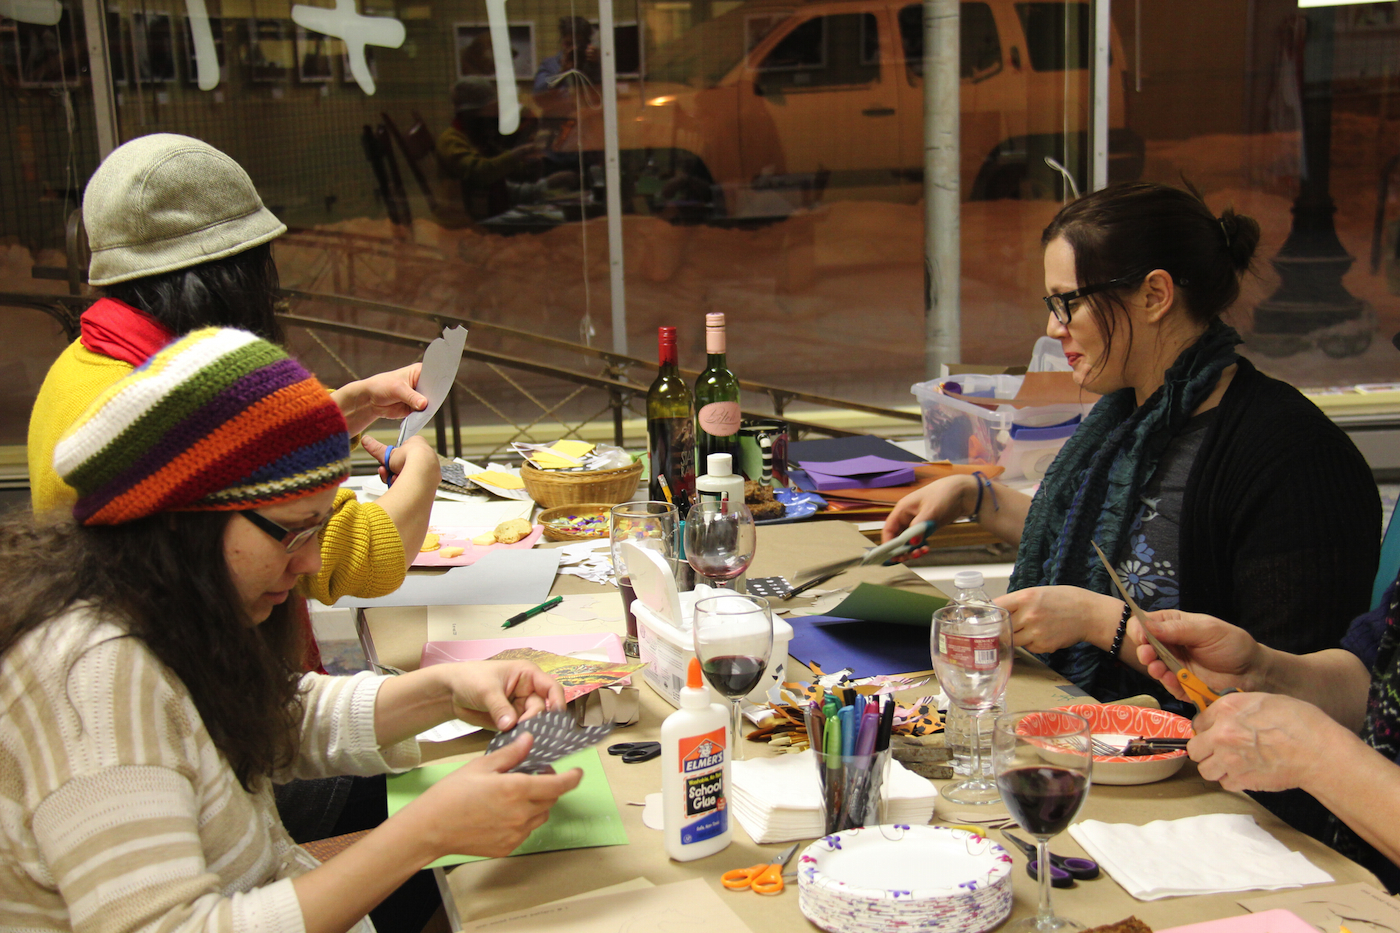
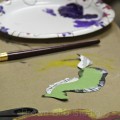
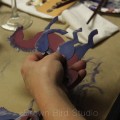
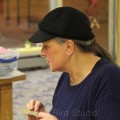
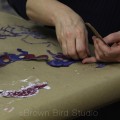
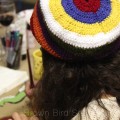
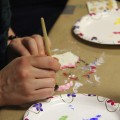
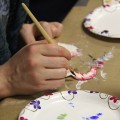
Last night at our first monthly Girls Art Night at 1+1=1 Gallery (Brown Bird Studio) we were inspired by Ann Wood’s creative exercise to make these absolutely delightful horses. We were a small group — just the perfect size, though as we continue to do these art-nights I hope other women will join us.
Shayna, Jaime, Cari and I gave some of our horses to Whitney, who is ready to give birth any day now. Her little boy will be born in the Year of the Horse. He will have a herd of wild horses to remind him of his naturally wild joy. With a mama like Whitney we know he’ll grow up snorting with laughter, jumping with glee and letting his wildness out into the world. (*See bottom of this post for some interesting predictions about this baby — and other babies born in this year of the horse.)
“Last night was like a symbolic circling of all the mares … lending the strength of those who have gone before, to the one ready to walk through that door that you never, ever can cross back through … the becoming of motherhood and the strength and grace of sisterhood … so special to me” — Jaime Terry
We made horses. We laughed. She contracted. We played. Relaxed. Listened to her talk about the baby, the baby’s name, the nest she is preparing. Talked about lack of sleep and future lack of sleep and hope for sleep. And about other things. And nothing at all.
Our hands busy with scissors and paint and buttons. Good food. Good wine. Good company. It’s what women do. We nurture each other with food and listening and love and open arms. A circling of the mares.
We decided to do this every month. Something artsy. Something to connect us. To each other. To our souls. To the Earth.
Please join us at our next Girls Art Night with Brown Bird Studioon the last Thursday of each month.Like our gallery’s facebook page or sign up for updates from 1+1=1 Gallery, and we’ll remind you a few days in advance. Put Girls Art Night on your calendar for March 27th at 6:30 pm. 335 North Last Chance Gulch, Helena.
Our evening gatherings are all about being relaxed and nurturing our inner artistic souls.
Whether you consider yourself artsy or “crafty” or not, I promise you will have a good time. And don’t forget we’ll share food, music and laughter too. The cost is free or minimal, depending on the materials we use.
LINKS:
A perfect horoscope prediction for Whitney’s baby (knowing Whit …): People born in the year of the horse are said to be a bit like horses: animated, active and energetic – they love being in a crowd. They are quick to learn independence – foals can walk minutes after birth – and they have a straightforward and positive attitude towards life. They are known for their communication skills and are exceedingly witty. — from The Guardian (UK) “8 Things You Probably Didn’t Know about the Year of the Horse.”
Cootie Catchers (aka salt cellars or fortune tellers) are perfect for a unique Valentine card that becomes a game. The basic shape is an origami fold. Make these with inexpensive copy paper in different colors. To make a cootie catcher into a Valentine gift, instead of writing “fortunes” on the inside, write little love notes or positive messages like the ones you find on Valentine candy hearts. Examples: “Be Mine” … “Call Me Later” “I-Luv-U” “Kiss Me” and “Hugs!” and “Sweetheart.”
Cootie catchers are easy to make and can be adapted for any age from 3 up. For toddlers, you might want to fold the shapes for them, letting them decorate the paper. They can tell you what they want you to write on the inside. This is a fun way to remind your little ones of all the positive messages you give them every day.
For older kids, try suggesting they use rubber stamps for the numbers or letters on the outside of the folded shapes. Or they can think of Valentine-related symbols such as a bumble bee (bee-mine) a heart, a flower or pair of lips to use instead of the traditional numbers on the outside flaps.
Remind kids to stay positive, and keep a great sense of humor. Your kids may surprise you with the fun sayings they come up with for their cootie catchers.
One of the kids came up with a cool idea: on the inside flaps she wrote things like, “Hug the person to your right” and “Your Valentine is on your left.” A perfect party cootie catcher!
HERE’S WHAT YOU NEED:
pink or white printer paper
rubber stamps and stamp pads (optional)
scissors (to make letter-size paper into squares)
markers, colored pencils
HOW TO DO IT:
Instead of trying to formulate instructions that make sense, I am sending you to momsminivan.com because she has not only complete instructions, but detailed photos and a video on folding. Check it out here. And here’s how to play cootie catchers:
Practice opening and closing the cootie catcher. Open it first with your forefinger and thumb on each hand together. Then open it with your two forefingers together and your two thumbs together.
With the Cootie Catcher closed, have someone choose a number or symbol from the four outside flaps. Open the Cootie Catcher once for each letter in the symbol (eg if they choose a heart, spell out h-e-a-r-t) or count the number they picked. Leave it open at the end so they can see four numbers or symbols inside.
Next, have them choose one of the four inside flaps they can see, and close-and-open the Cootie Catcher that many times, again ending with it open.
Last, they should choose one of the four flaps they now see, and you lift up that flap to show their love note or personal message.
Make Valentine-y Prints Using Fruit and Vegetables
All you need for Valentine printmaking is some fruits and veggies and a few other things you probably have around your house. Think about handing your Valentine a bunch of flowers you made yourself!
HERE’S WHAT YOU NEED:
pink or white printer paper
vegetables such as a bunch of celery, apples, brussels sprouts, carrot, potato and lemon
cheap sponges
a printmaking roller
little plates to put the sponges on
red, pink and black stamp pads
very sharp knife and a cutting board
HOW TO DO IT:
Place a moistened sponge on a small paper plate. Squeeze a little red tempura or acrylic paint onto the sponge and spread it evenly with the roller. Cut the celery bunch about 3 or 4 inches from the root end, leaving the stalks all together. (Save the stalks you cut off of the root end.) Holding the celery bunch together tightly, press it onto the sponge and get some paint on the ends. Next, stamp it on your paper. Don’t squish it around or you will smear your design. Lift it up and Voila! There is a beautiful “rose!” Make a bouquet of roses.
Cut a brussel sprout in half horizontally. Make a clean cut! Now, press it onto a red stamp pad (paint is too much for a brussel sprout print) and get it good and red. Next, stamp it onto your paper and lift it straight up. You will have a miniature rose. Make a big bouquet of mini roses!
Use the stalks of celery you cut off of the celery bunch, to make little squiggle designs. Use your stamp-ink-pad for these. Play around and see what you can make with these.
Cut an apple in half vertically to make a heart shape. Try cutting an apple in half horizontally for a circular shape with a perfect star in the middle. Use the paint-soaked sponge for the apple prints.
Cut a lemon in half and dry it well on paper towels. Use your ink-stamp-pad to ink up the lemon and press, press, press.
Cut a potato in half and using a sharp knife, carve the flat side into a heart shape or any other simple shape. Use this as a stamp, with either the stamp pads or in paint-soaked sponge.
Compost the veggies and fruits after you finish.
Delight in each other
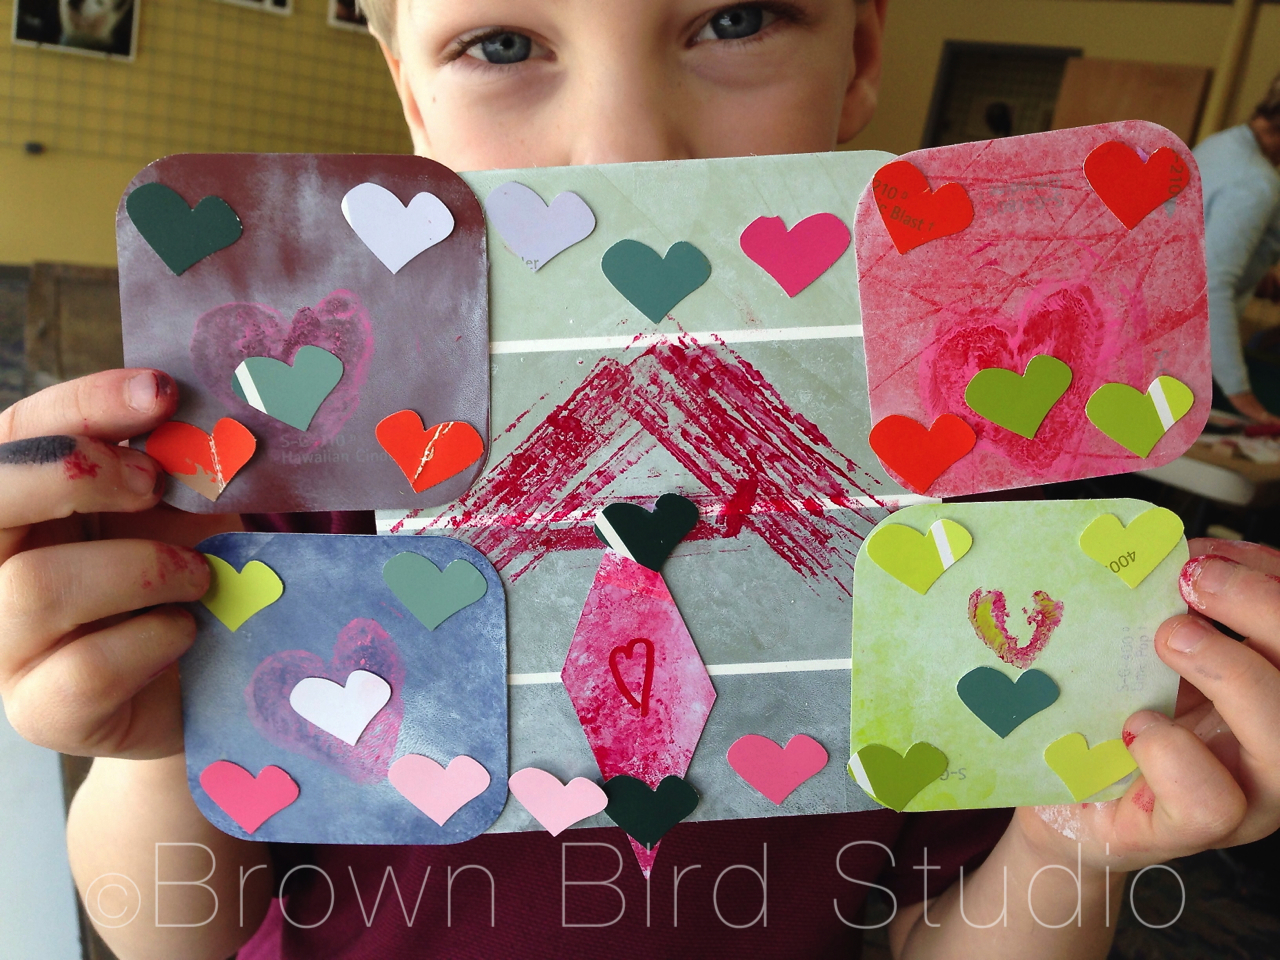
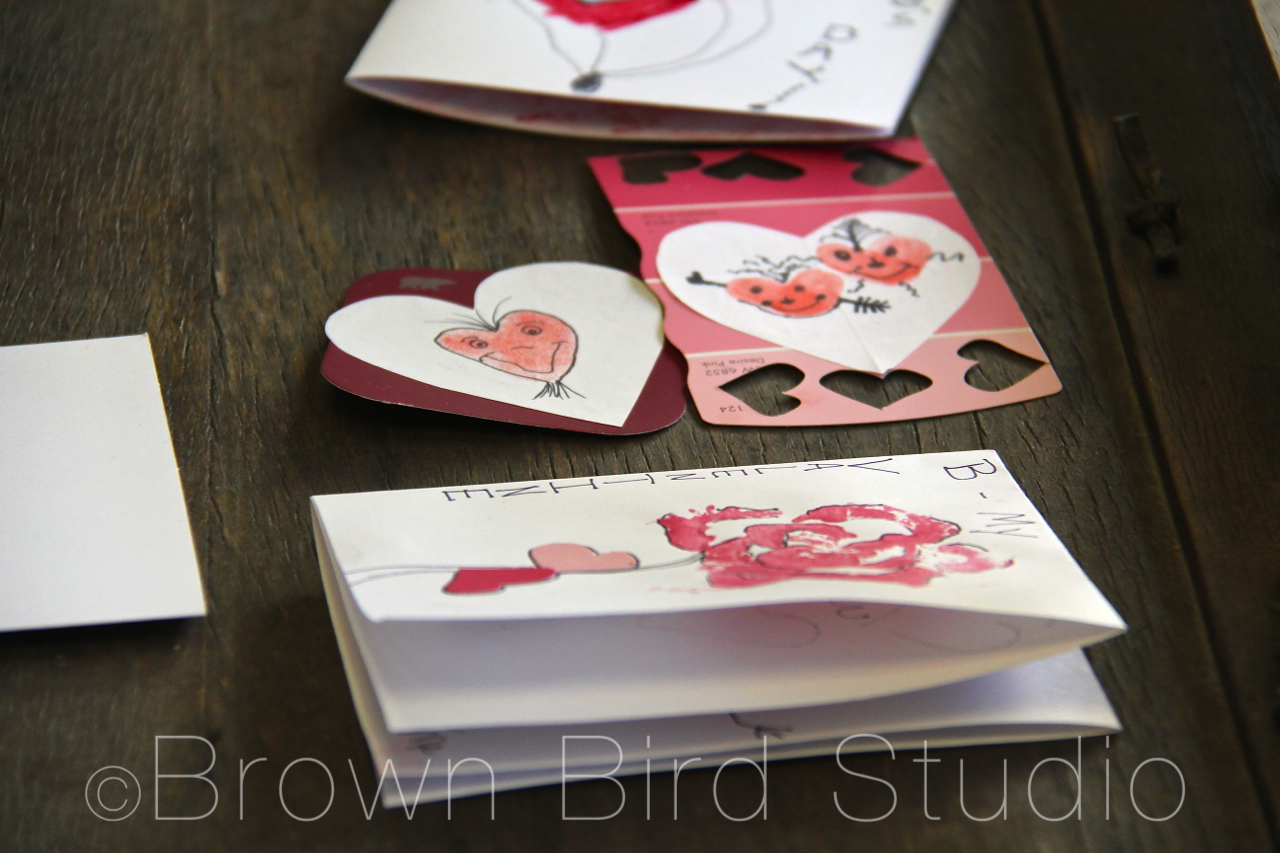
Thumb Print Hearts Make Cute Valentine Cards
What is easy, simple, and uses something you have on you ALL the time? Hearts made with your very own thumbs. Big grownup thumbs or tiny toddler thumbs make super cute Valentines. This is a popular card making activity with the littlest ones. (I used washable red ink stamp pads for obvious reasons. heh)
Sarah and Bailey were almost all thumbs
HERE’S WHAT YOU NEED:
thumbs
white or pink printer paper
washable red stamp pad
paint samples
glue sticks
scissors
markers, colored pencils, fine-tip permanent pen
heart shaped paper punch (totally optional)
HOW TO DO IT:
Press your thumb onto a red stamp pad and get it good and inky.
Make two thumb impressions, at slight angles to form the shape of a heart. Play around with your own ideas.
After the thumb prints dry (takes a minute) draw on them with markers, colored pencils or sharpies.
Cut the hearts out and glue onto paint samples from the paint store.
We also used a heart punch to embellish these cards.
Just Draw!
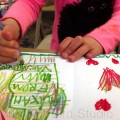
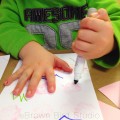
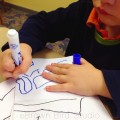
Some of the kids who came to this workshop decided just to draw their Valentine’s cards — and I just say there were some really cool cards being made at that table! They used the markers and printer paper we had to exercise their creativity. Three-year old twins and their sister made these:
Multi-layered loveliness
The rubber stamps might have inspired this three-year-old
Meticulous and Focused
And Then There Was Aidan — He Went All Out(side-the-box)
I love, love, love how this happens! Aidan made a cootie catcher, but the thing that really caught his imagination was the idea of printing and getting messy with paints. I had three planned valentine techniques and Aidan made such a beautiful — creative — Valentine using the materials and tools I had available but his very own multi-layered techniques. If he had given me his Valentine I would have proudly framed it and hung it in the gallery. Check it out below. Can you tell how Aidan made his valentine? (I’ll give you a hint about one little part of his design … below the picture)
Aidan proudly shows his amazing Valentine creation!
(hint: Aidan used the outside of the celery stalk, lengthwise, to make the cross-hatched pattern in the middle. The rest of his techniques you’ll have to figure out yourselves.)
Lily really got into punching and cutting the paper samples!
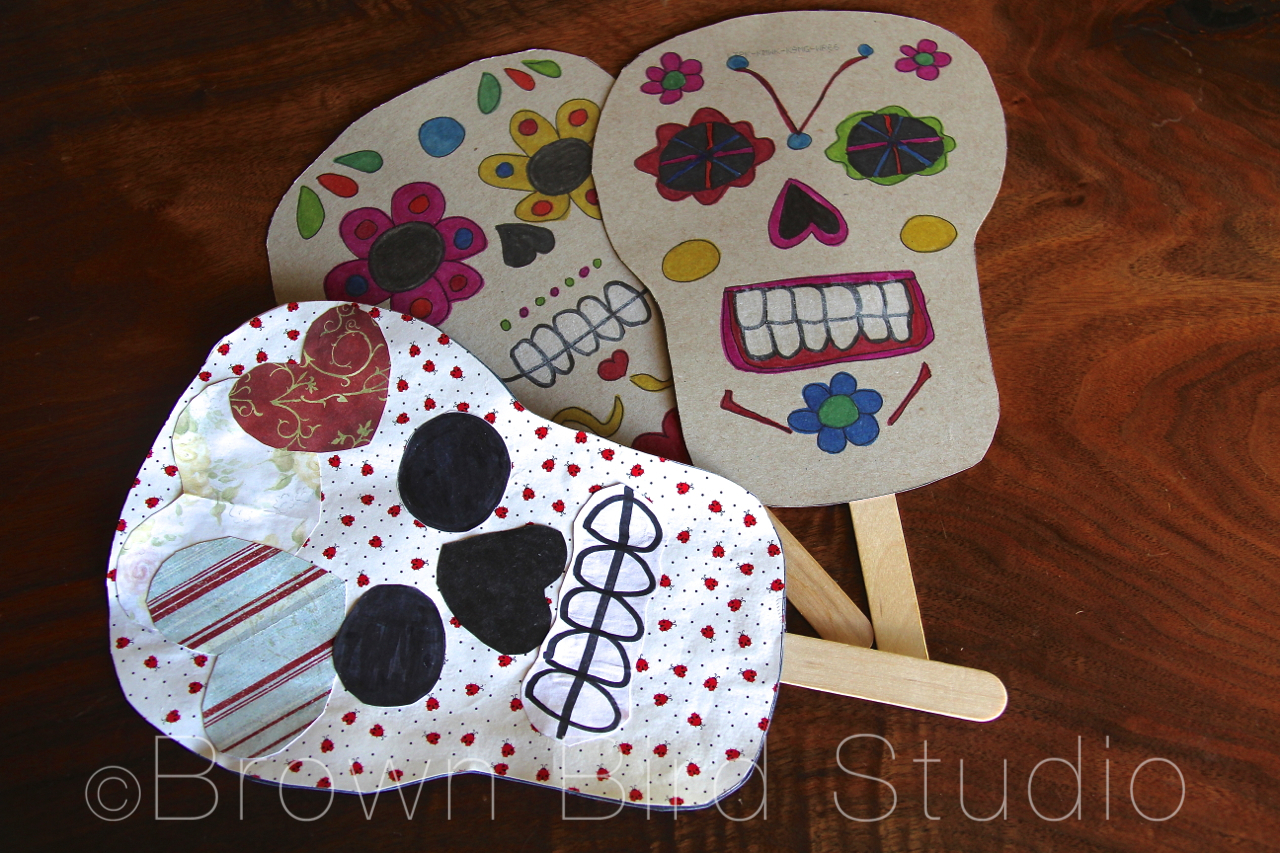
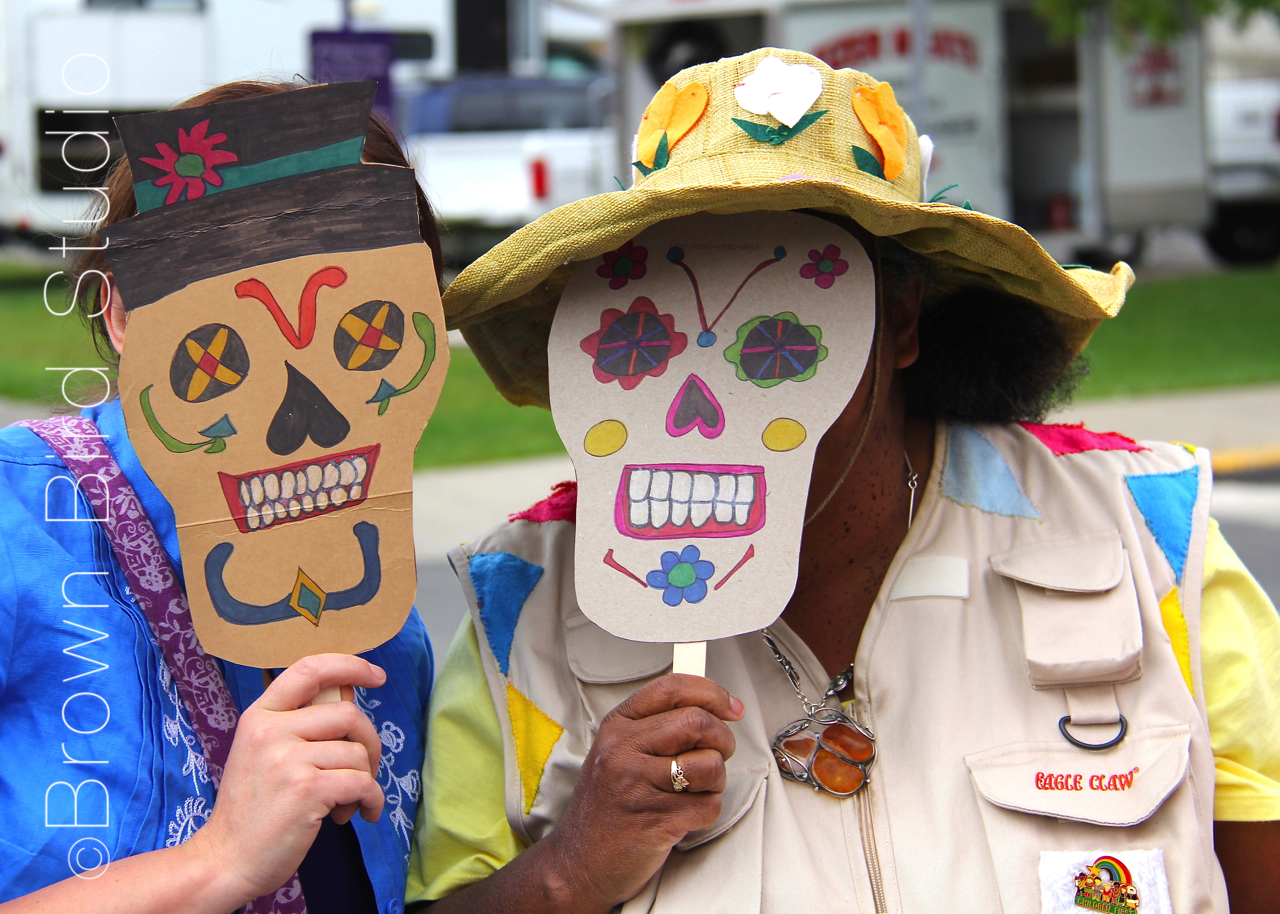
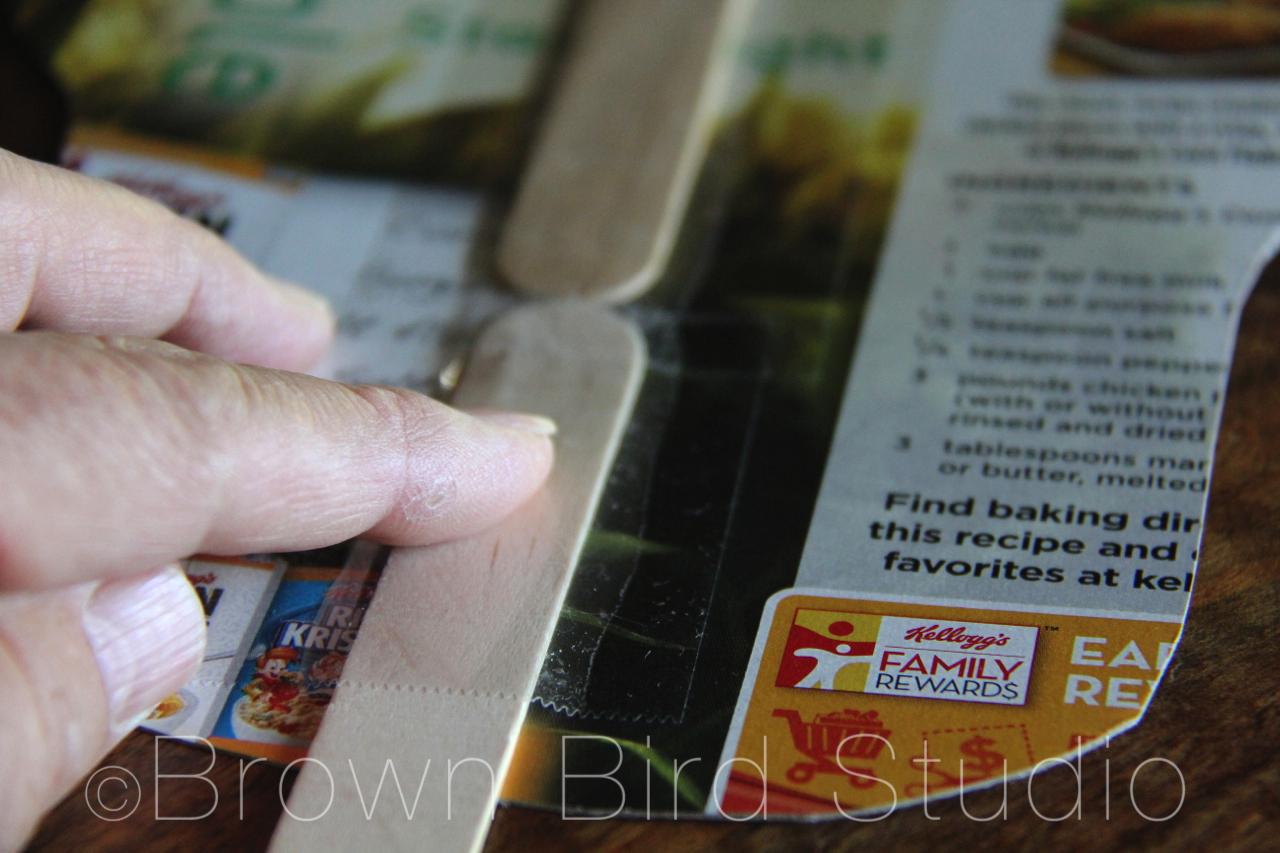
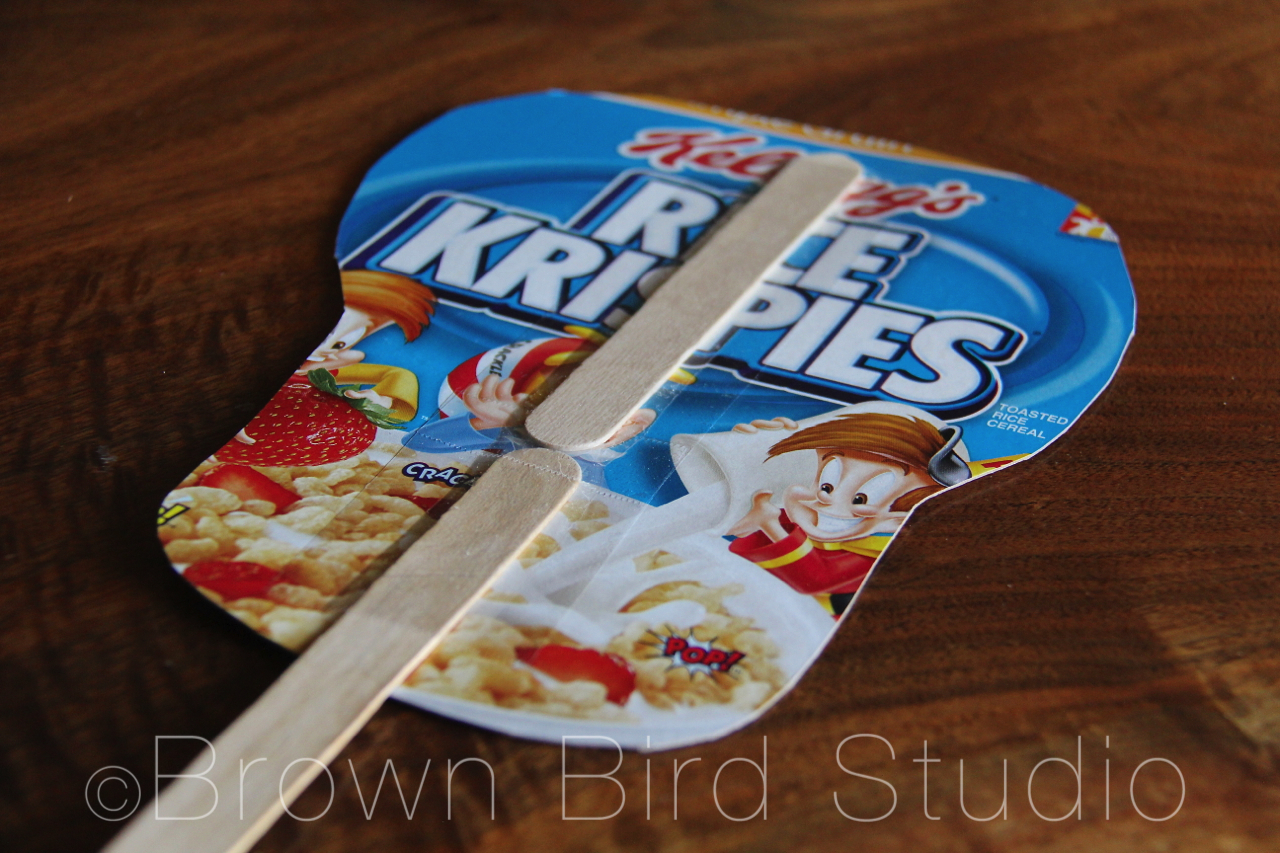
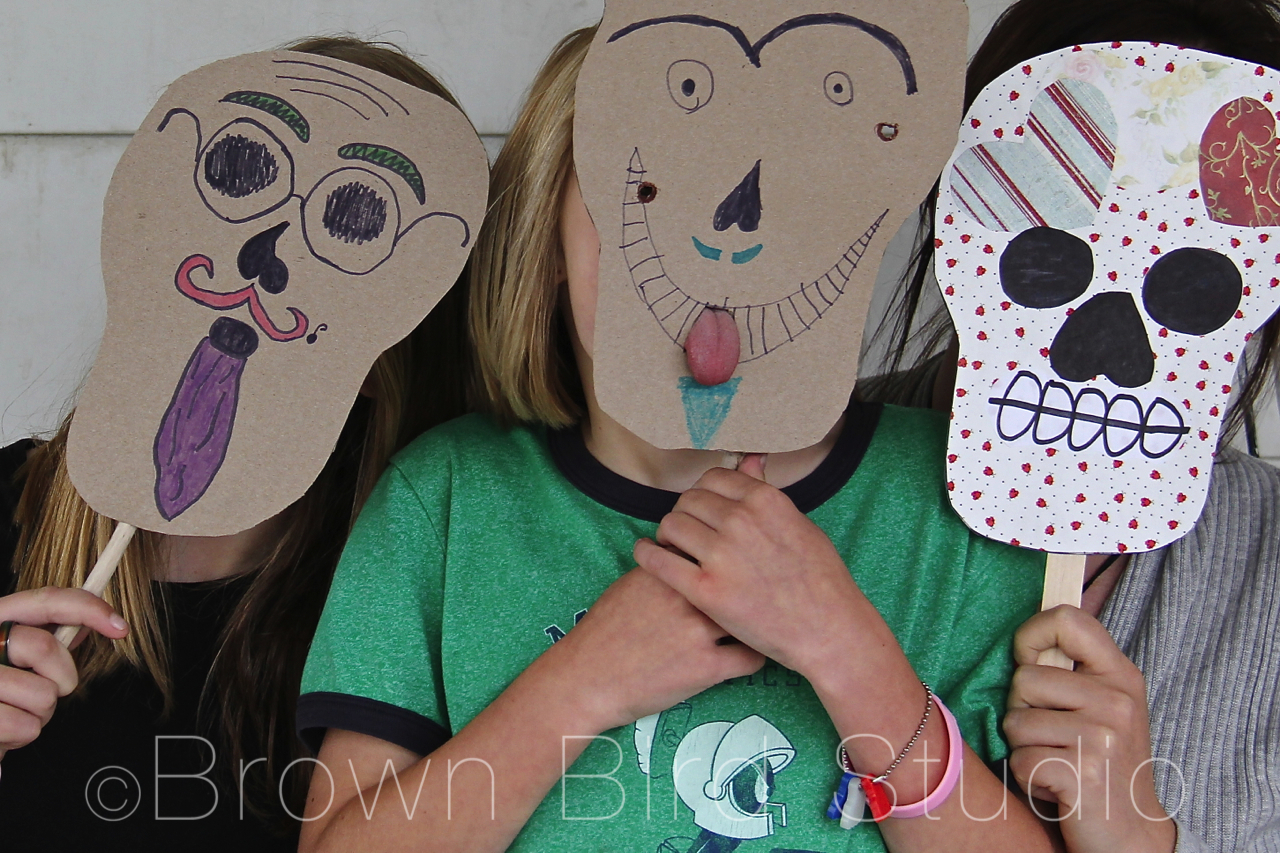
My friend, Jaime, and I bought these masks from Diane at the Helena Farmers Market last weekend. Here are Jaime and Diane posing with them. Ema and Adia wanted to make their own masks so we got out markers, scissors, clear packing tape, some driftwood sticks and a cereal box and they dived right in to making them without any instruction from me. They basically just copied Diane’s technique.
Here’s how:
Cut open the cereal box. one box will make two masks
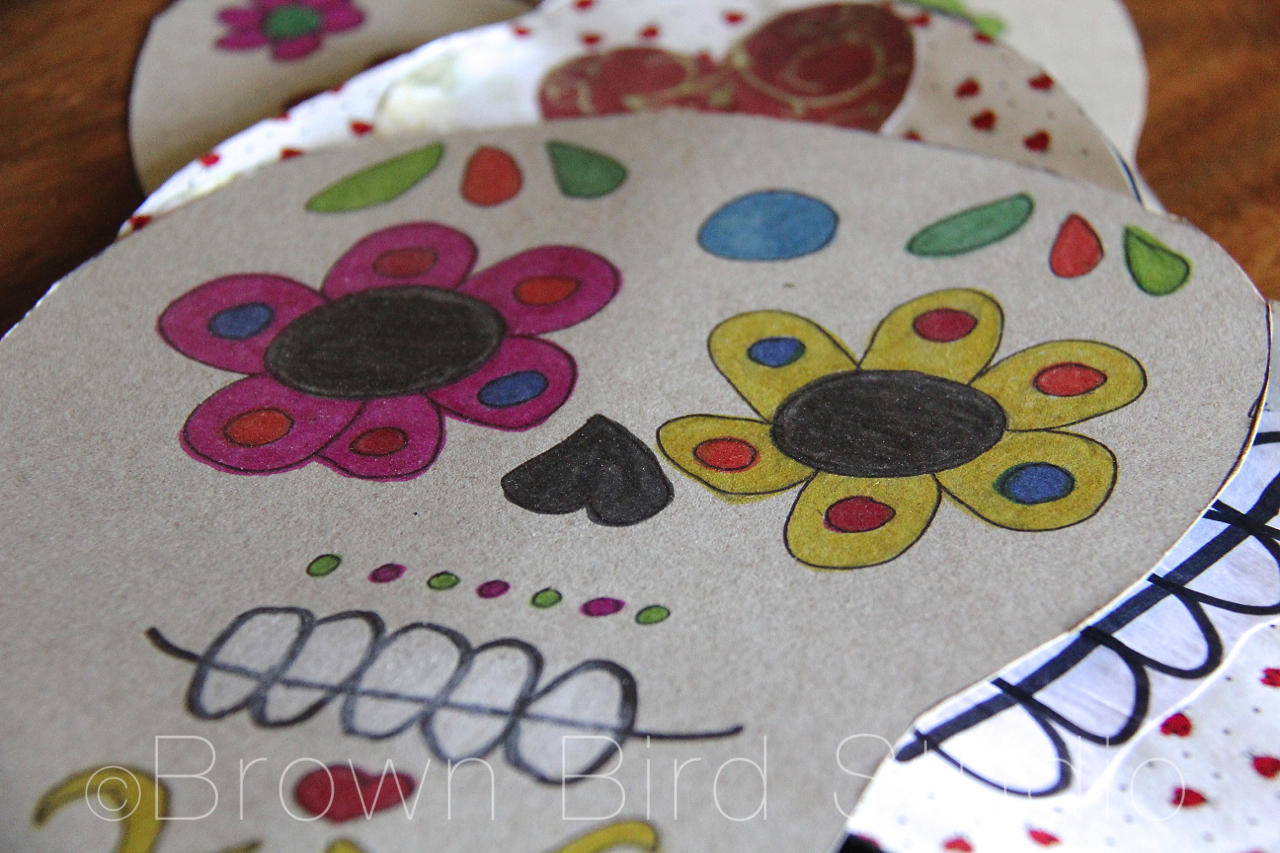
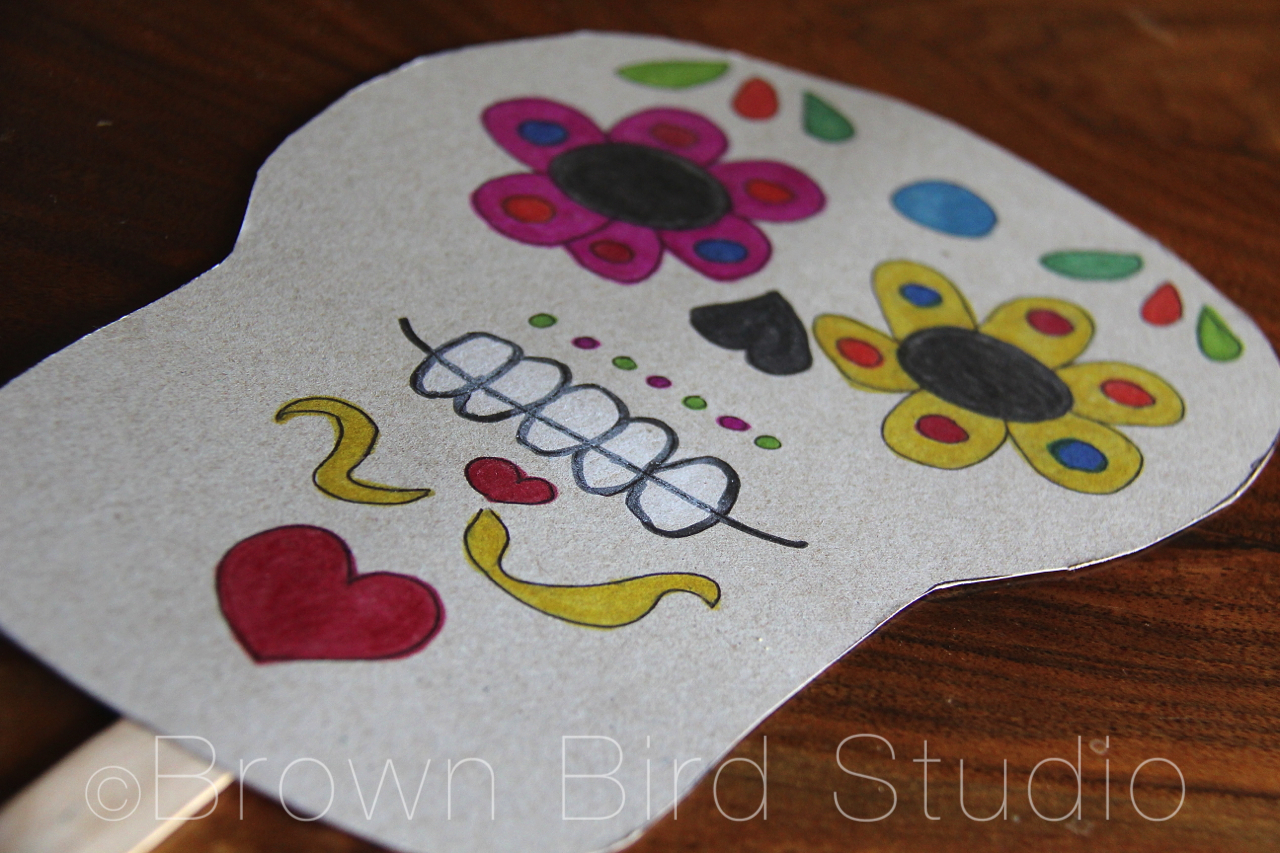
Cut a skull shape out of one side of the cereal box (you can use this template by saving the image and printing it out if you want to)
On the inside of the box, draw a skull face. Make it cool. Make it funny or cute. Whatever you like. The nose looks like a skull nose if you draw an upside down heart. Make the eyes big! Decorate the face with interesting features.
Flip it over and use packing tape to add a handle. The handle will also help stabilize the thin cardboard. We didn’t have tongue depressors, so we just used some sticks we had lying around from our summer projects. Diane uses tongue depressors.
Adia wanted to be able to stick her tongue out of the mask, so we cut a small hole in the mouth. We also cut a very tiny hole so she could see out when she’s holding the mask to her face.
Now go out and have fun with your masks.
Tim came home just in time to take some photos of us wearing our masks. Cool, eh?
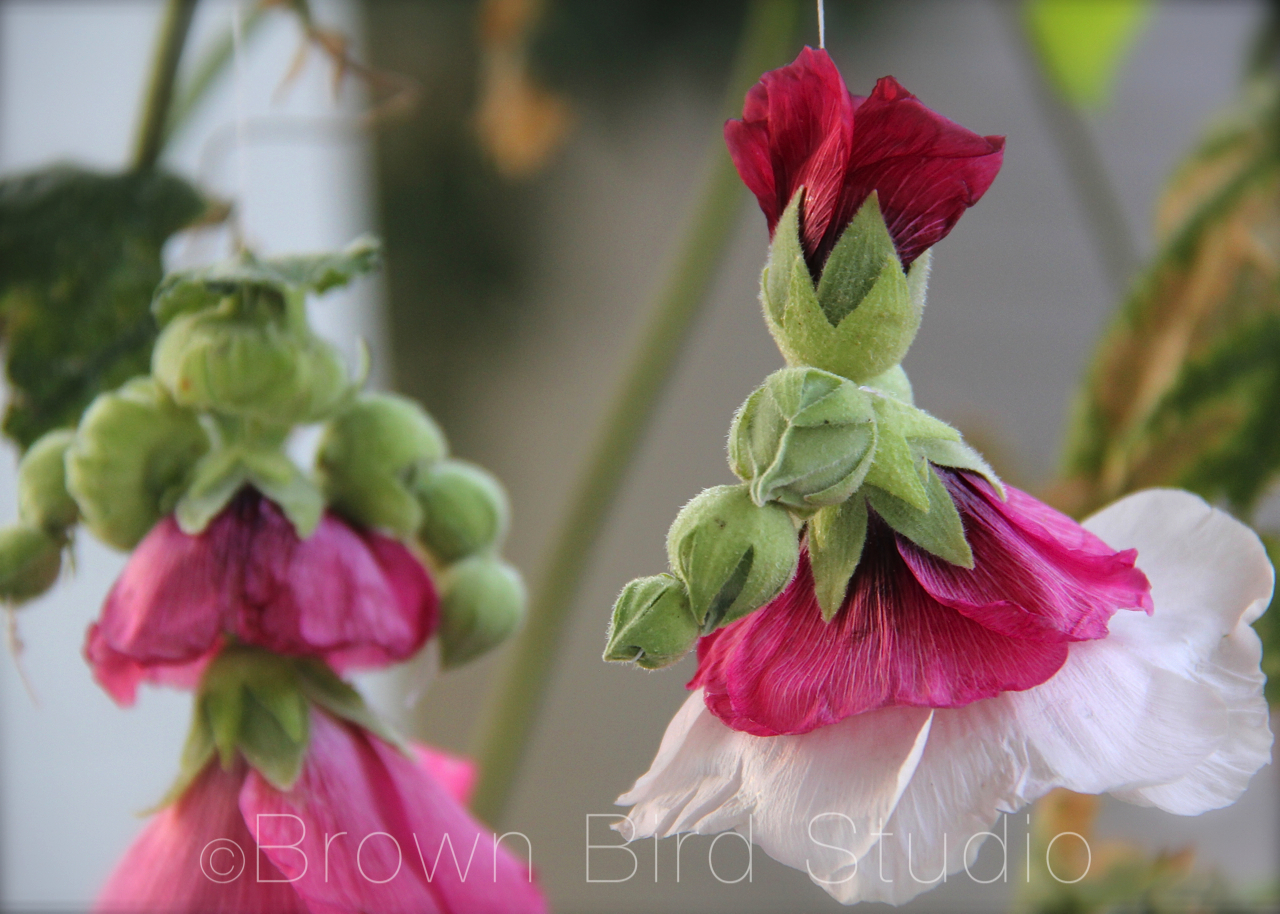
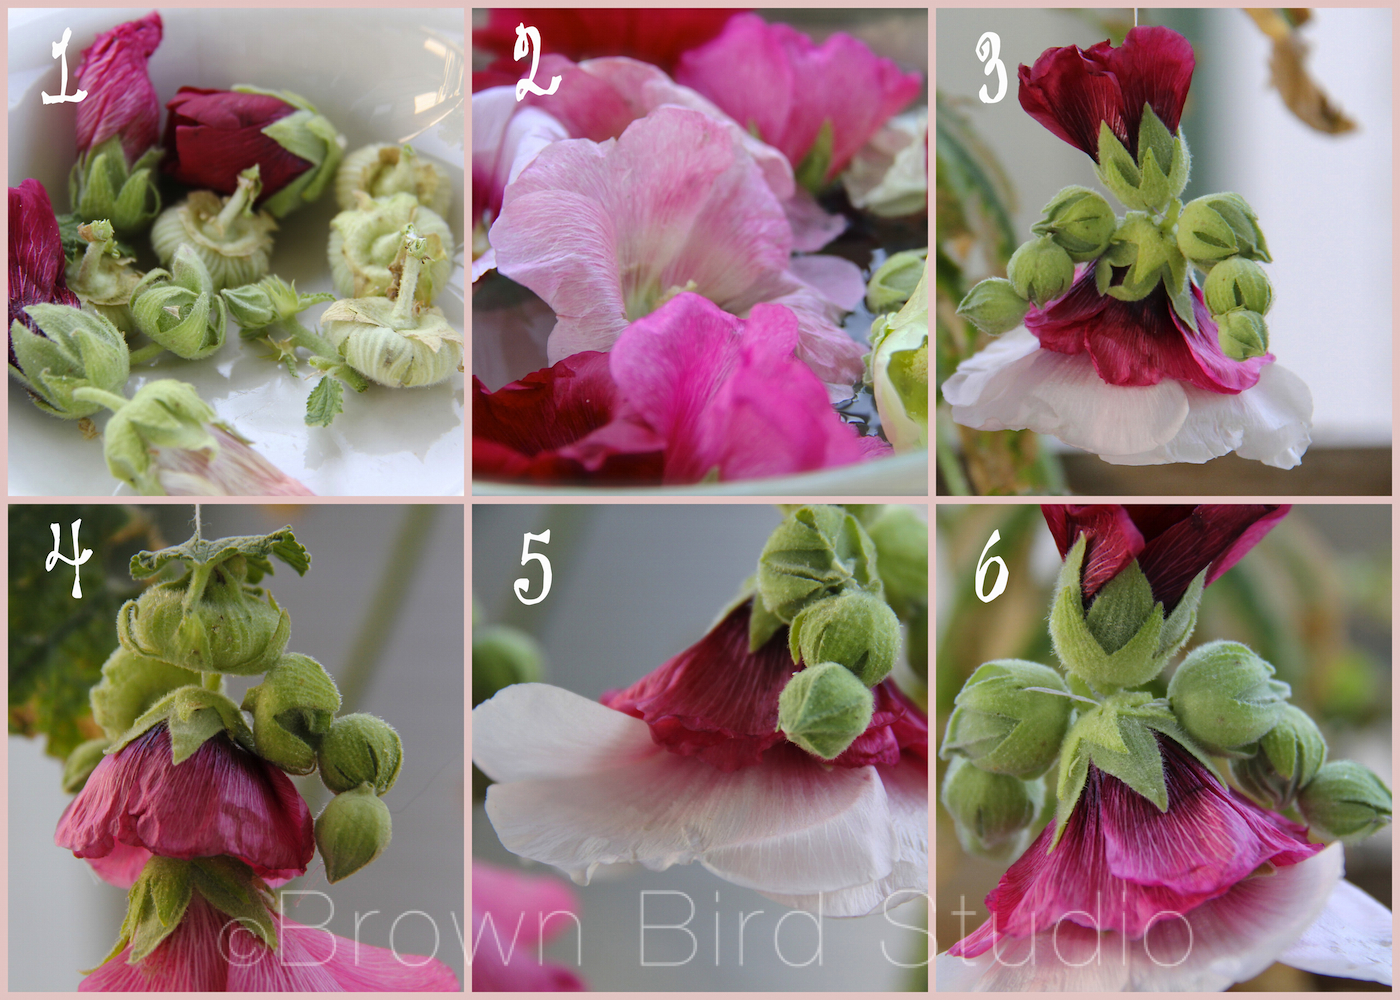
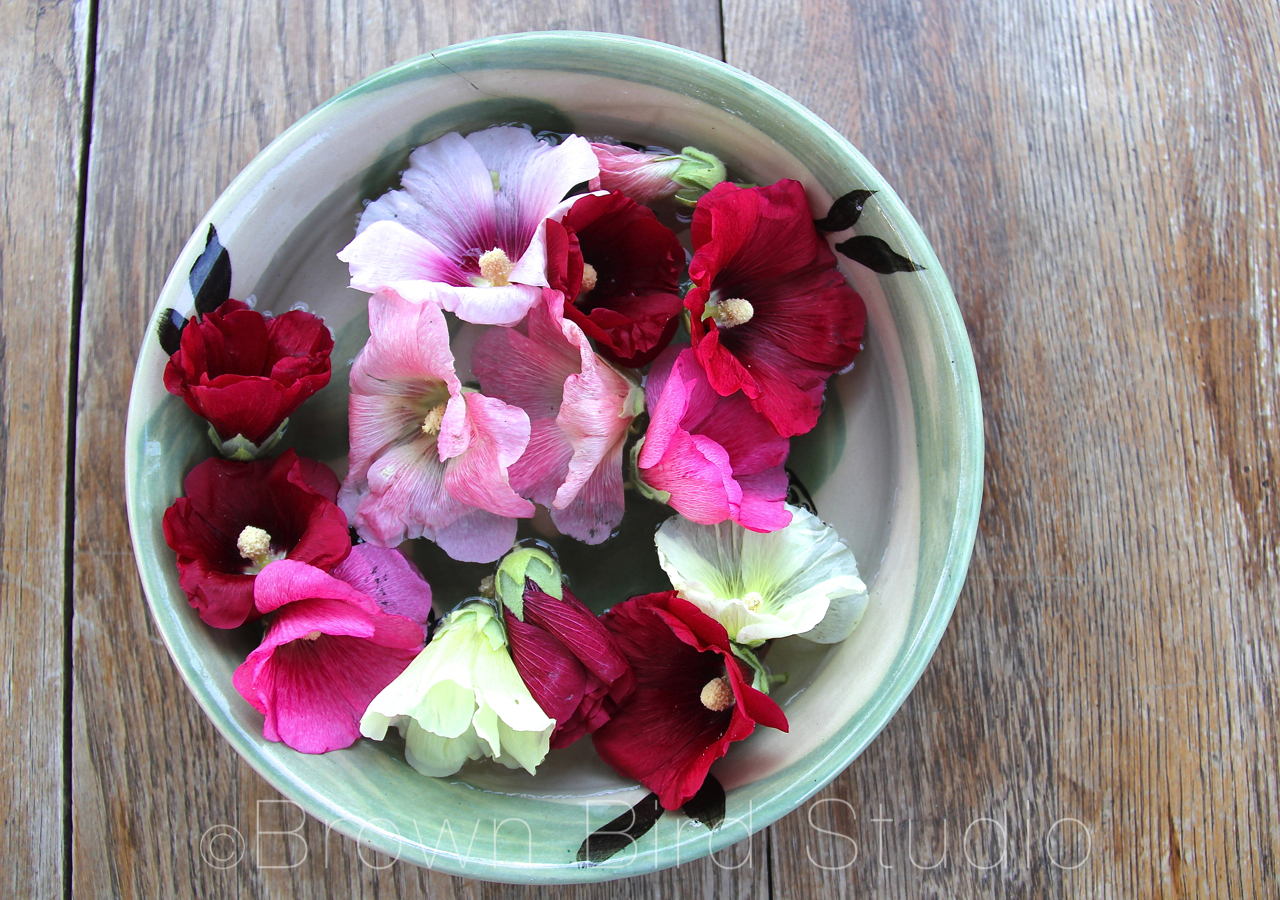
I remember making these dolls from hollyhock blossoms in late summer. They only last for a few hours, even less if you play with them. But they’re fun to make, and really do have lots of personality. Now is hollyhock time in Montana. Do you have hollyhocks where you live? If you do, then you’re in luck. Go find a few, get out a needle and thread and go for it.
Pick some hollyhock blossoms. Remember to get different sizes of buds, and a few leaves (for hats.) Sort the buds by size, making sure you have at least 3 buds for each arm.
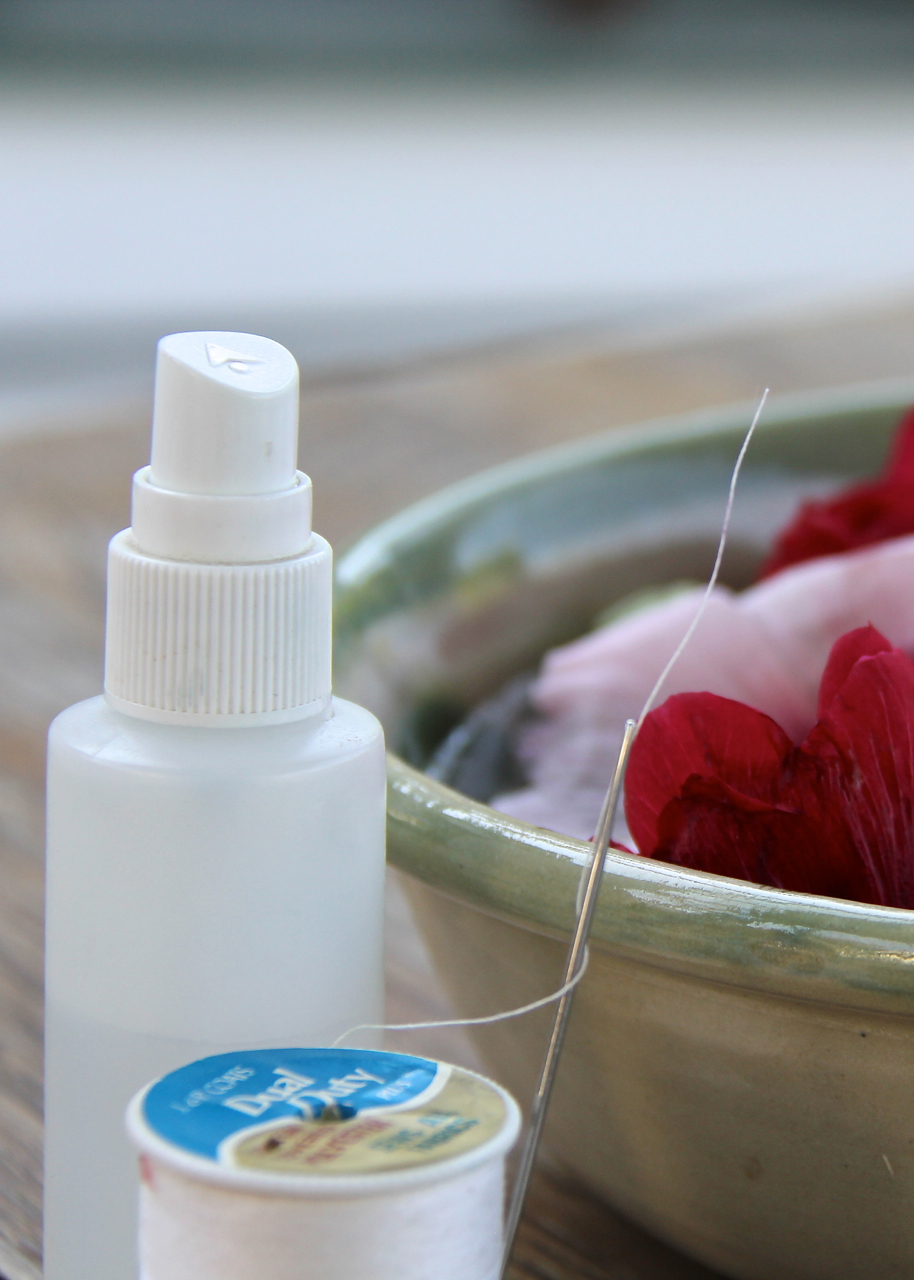
Keep blossoms fresh while you work, by placing them in a bowl of water. You can also mist them with water using a sprayer.
Remove the large, fuzzy stamen that sticks out of the center of each flower. Using a large needle and thread, stitch up through two or three large flowers, layering them to look like a skirt. You can make multi-color skirts with different colored flowers. Next make the head — you can use either a small blossom that hasn’t fully opened yet, or a large bud. Stitch from the bottom of the head through to the top.
You can add a leaf on top of the head for a hat.
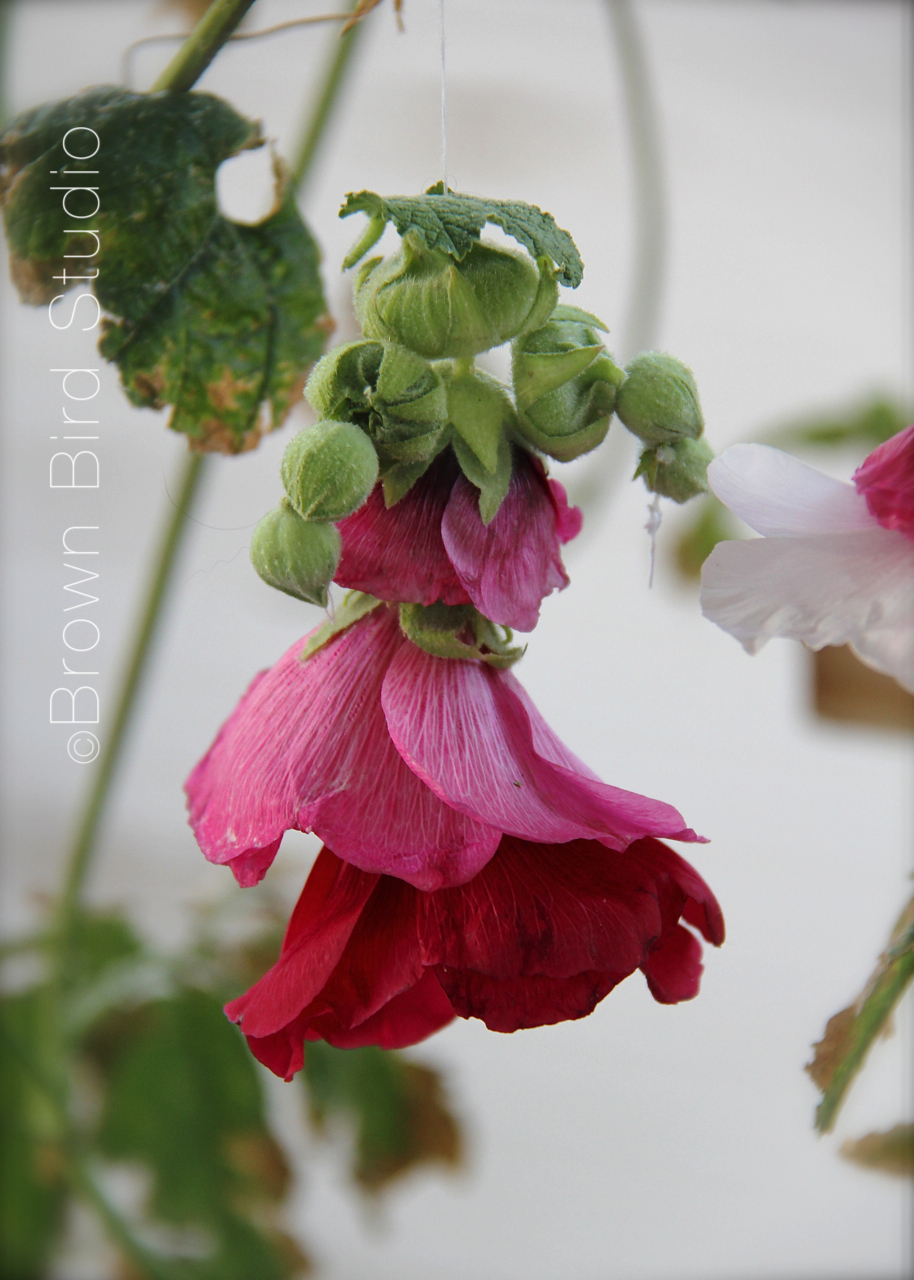
Use 3 buds for each arm, a small, medium and large. I like to start at one hand, thread 3 buds together, then pierce the shoulder with the needle, and continue on the other side with 3 more buds for the opposite arm. (see photo 6)
Your hollyhock doll will have personality and facial expressions if you use your imagination with her.
You can add legs if you want but I kinda like them without legs. The big skirts make the dolls look like Southern Belles at a Ball, or Ballerinas Dancing Across the Stage. If you want legs, do them the same as the arms.
Another way to make hollyhock dolls is to use long, stiff pine needles, or toothpicks instead of needle and thread. Using the thread allows the arms, legs, neck and waist of the doll to move and jiggle, and if you hang her she will dance in the breeze. Using pine needles or toothpicks gives you a stiffer doll that can be played with more easily. Here is a link to making hollyhock dolls with toothpicks.
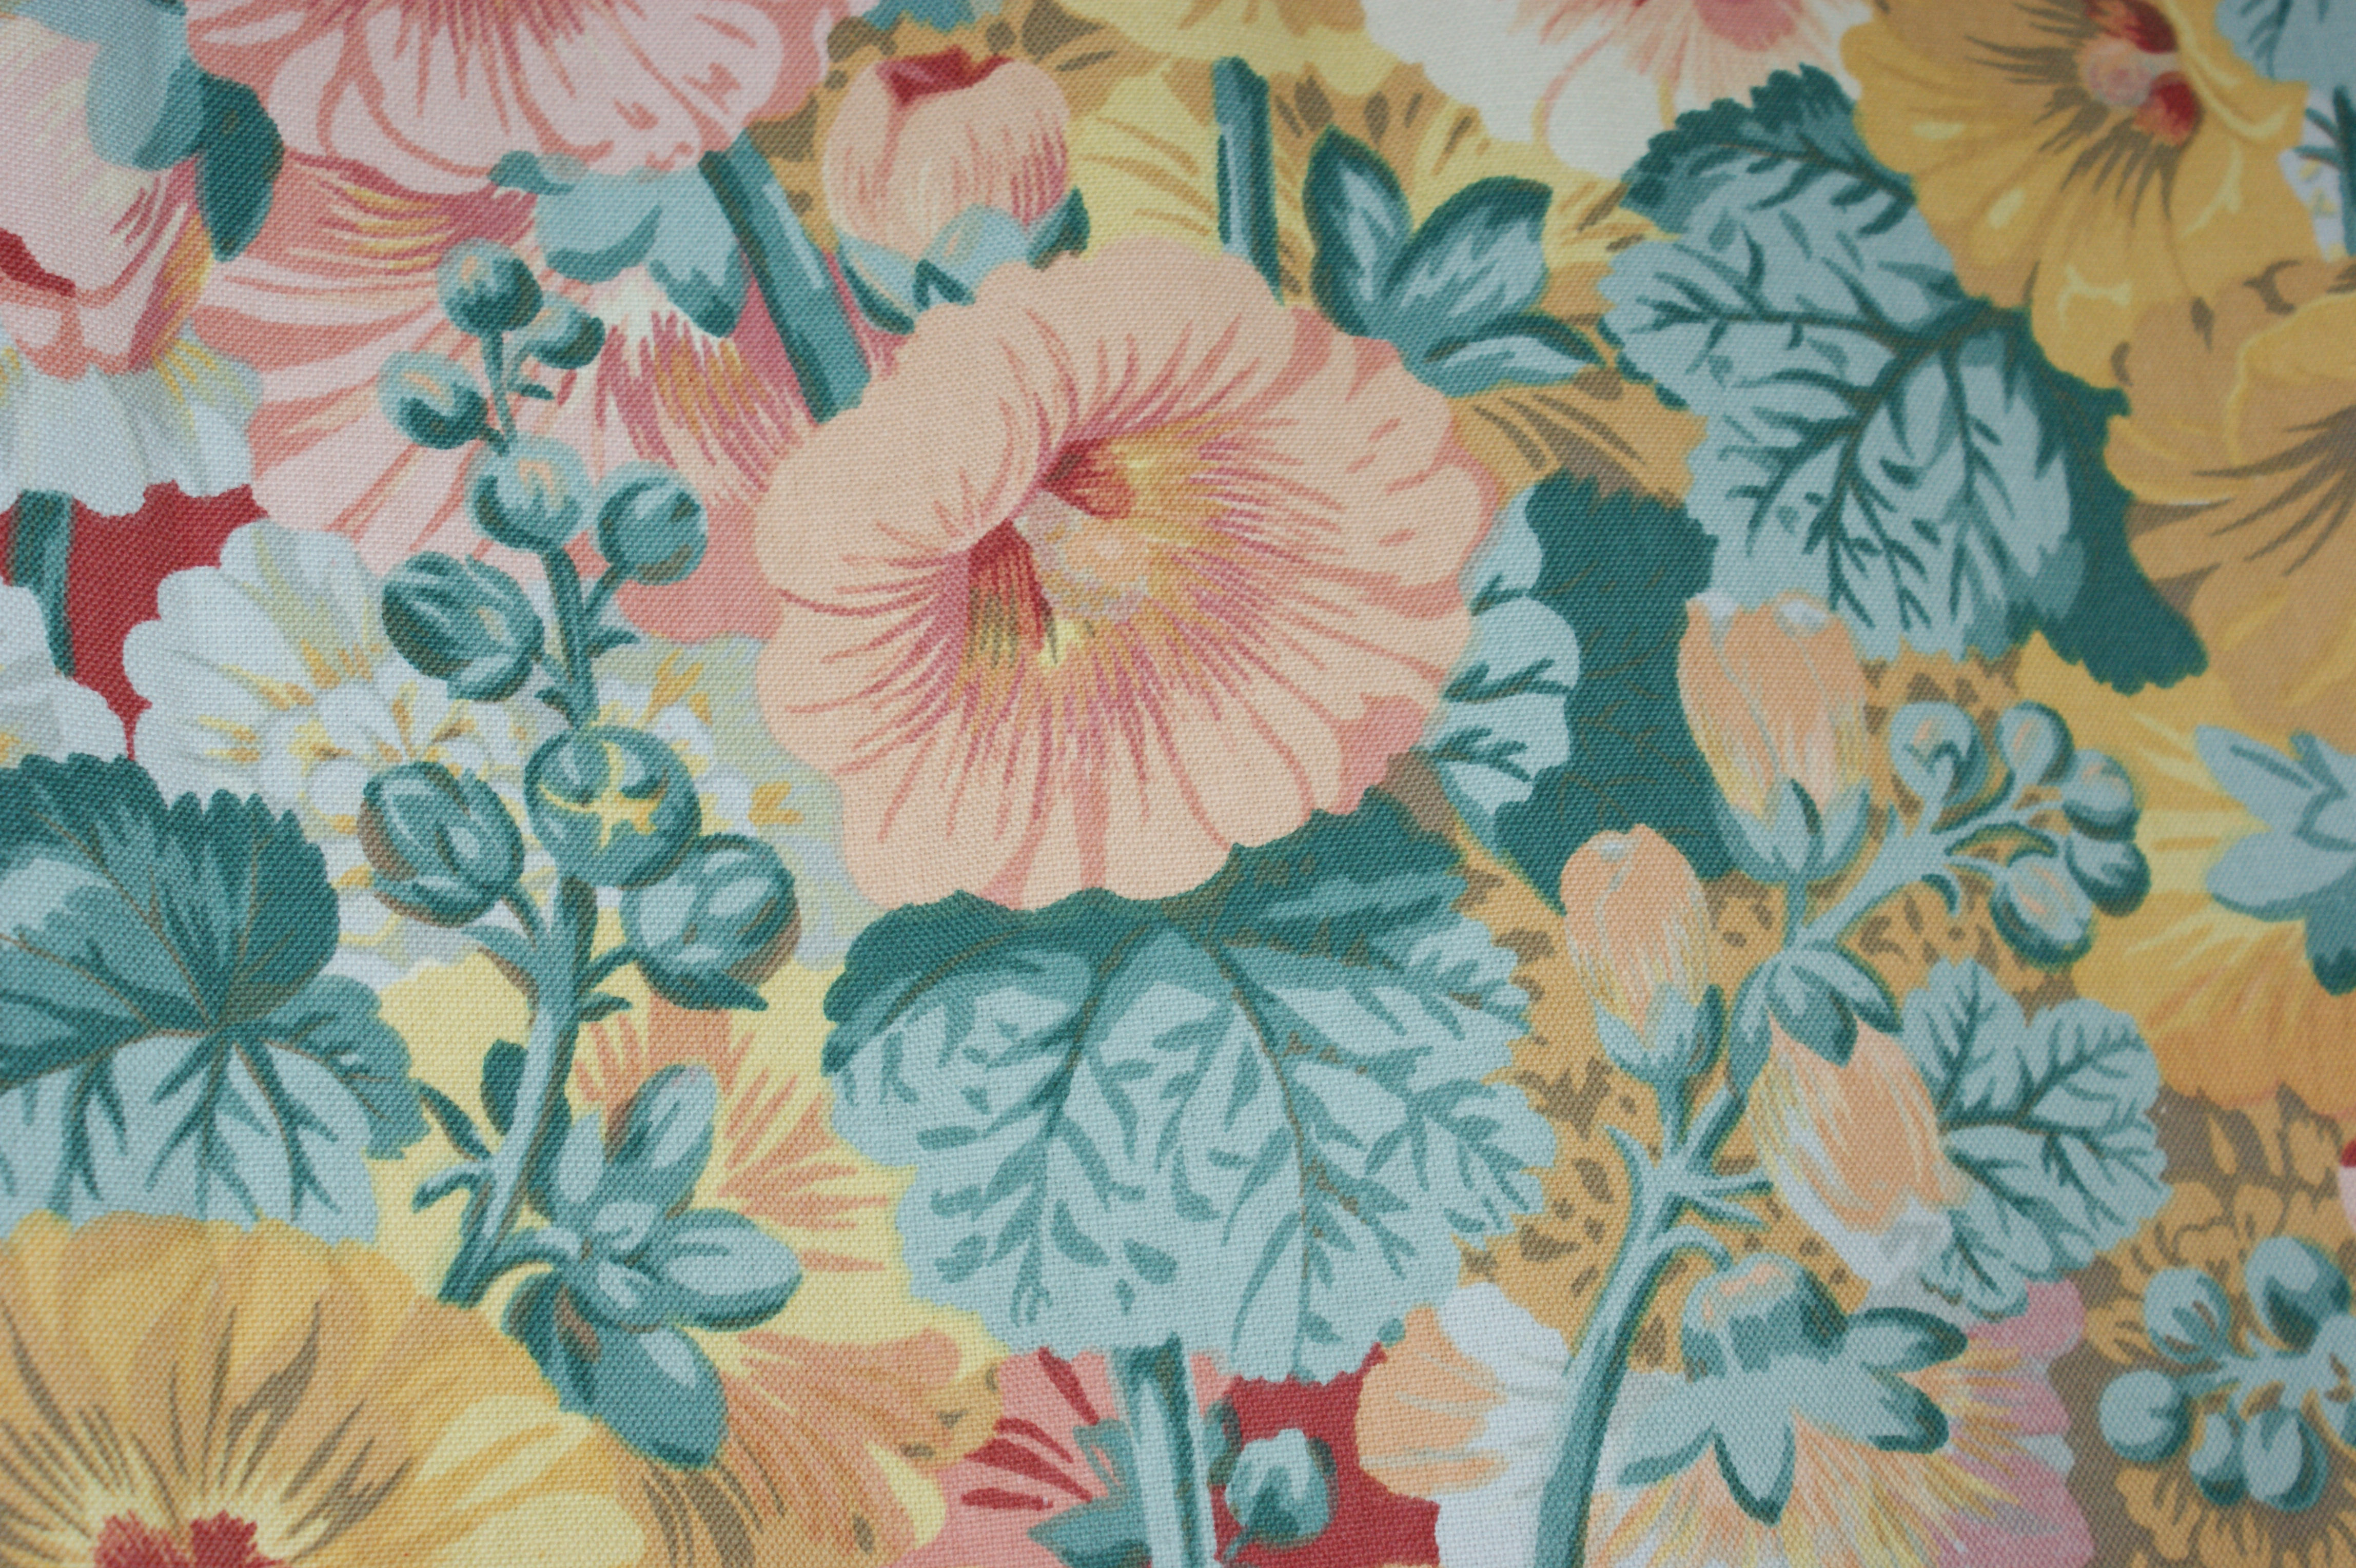
a lovely vintage textile print with hollyhocks
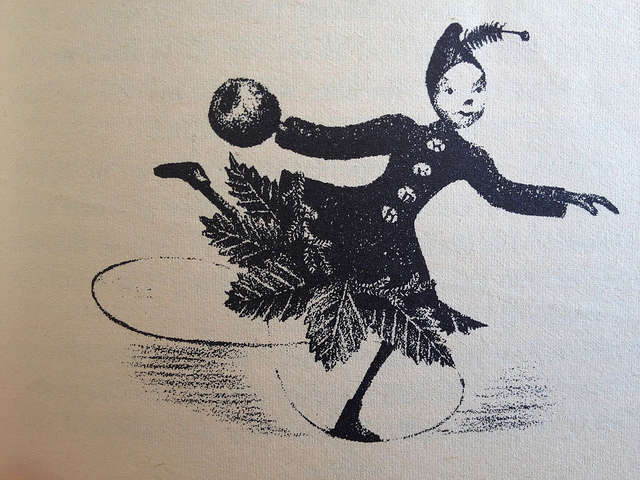
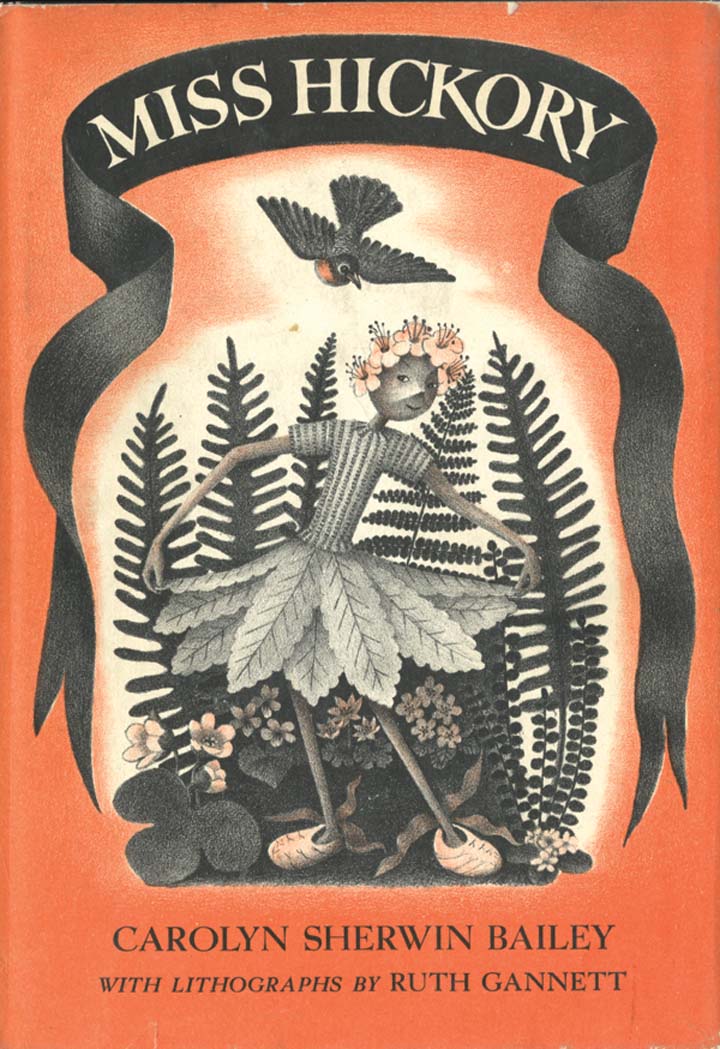
Miss Hickory is a children’s book that dates back to 1948. It is about a tiny doll made of apple twigs with a hickory nut head, so is a little similar to our hollyhock dolls, only longer lasting. The story follows her adventures through the four seasons. And eventually, the story ends with the little doll asleep on a branch of an apple tree and in the spring the apple tree blossoms all around her. Below are a couple of illustrations from the book and a link to a tutorial on how to make a Miss Hickory doll.
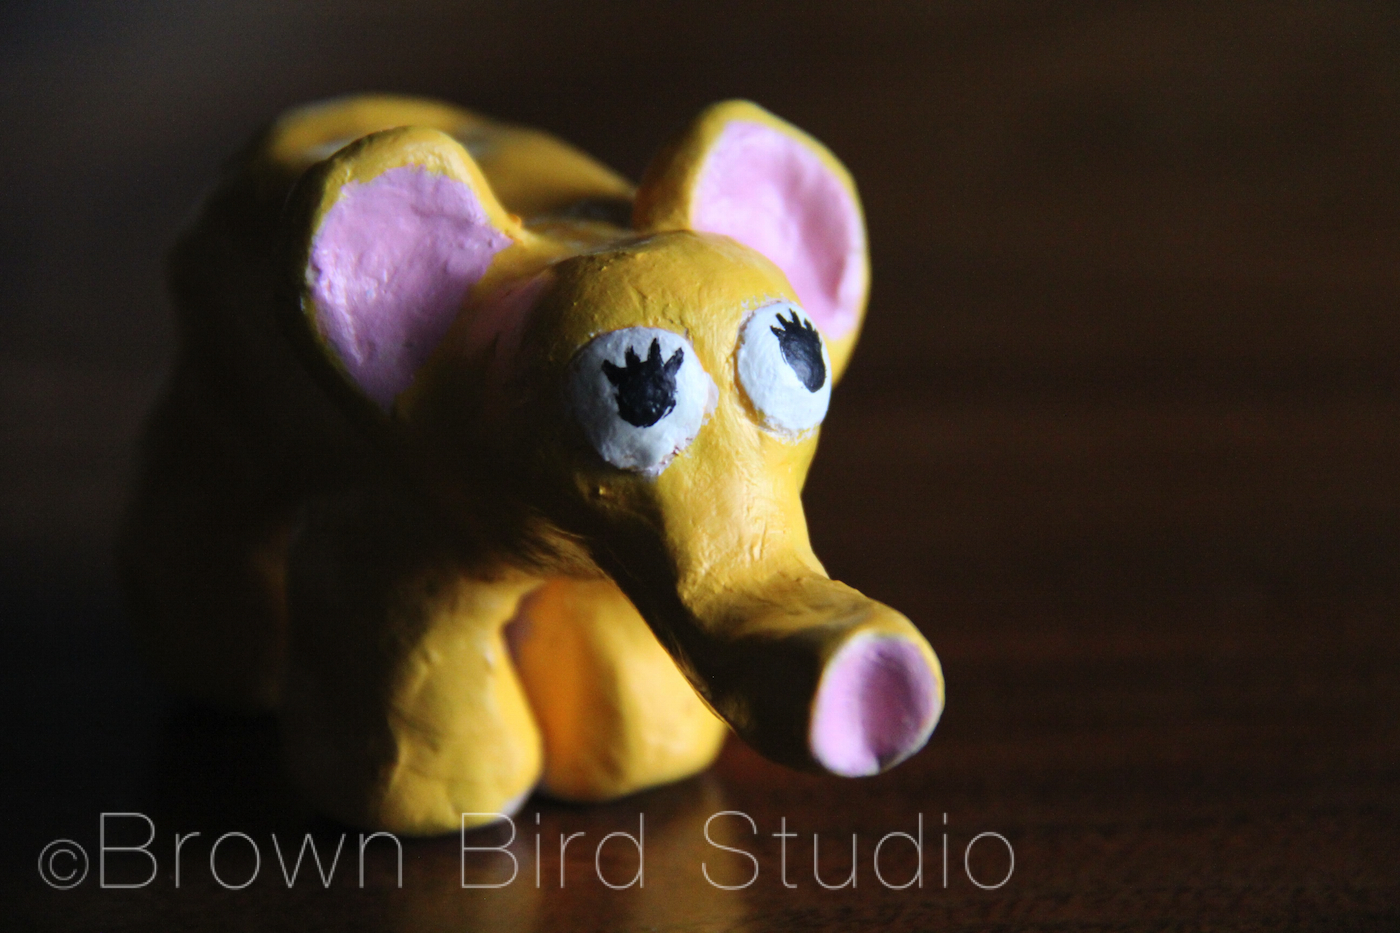
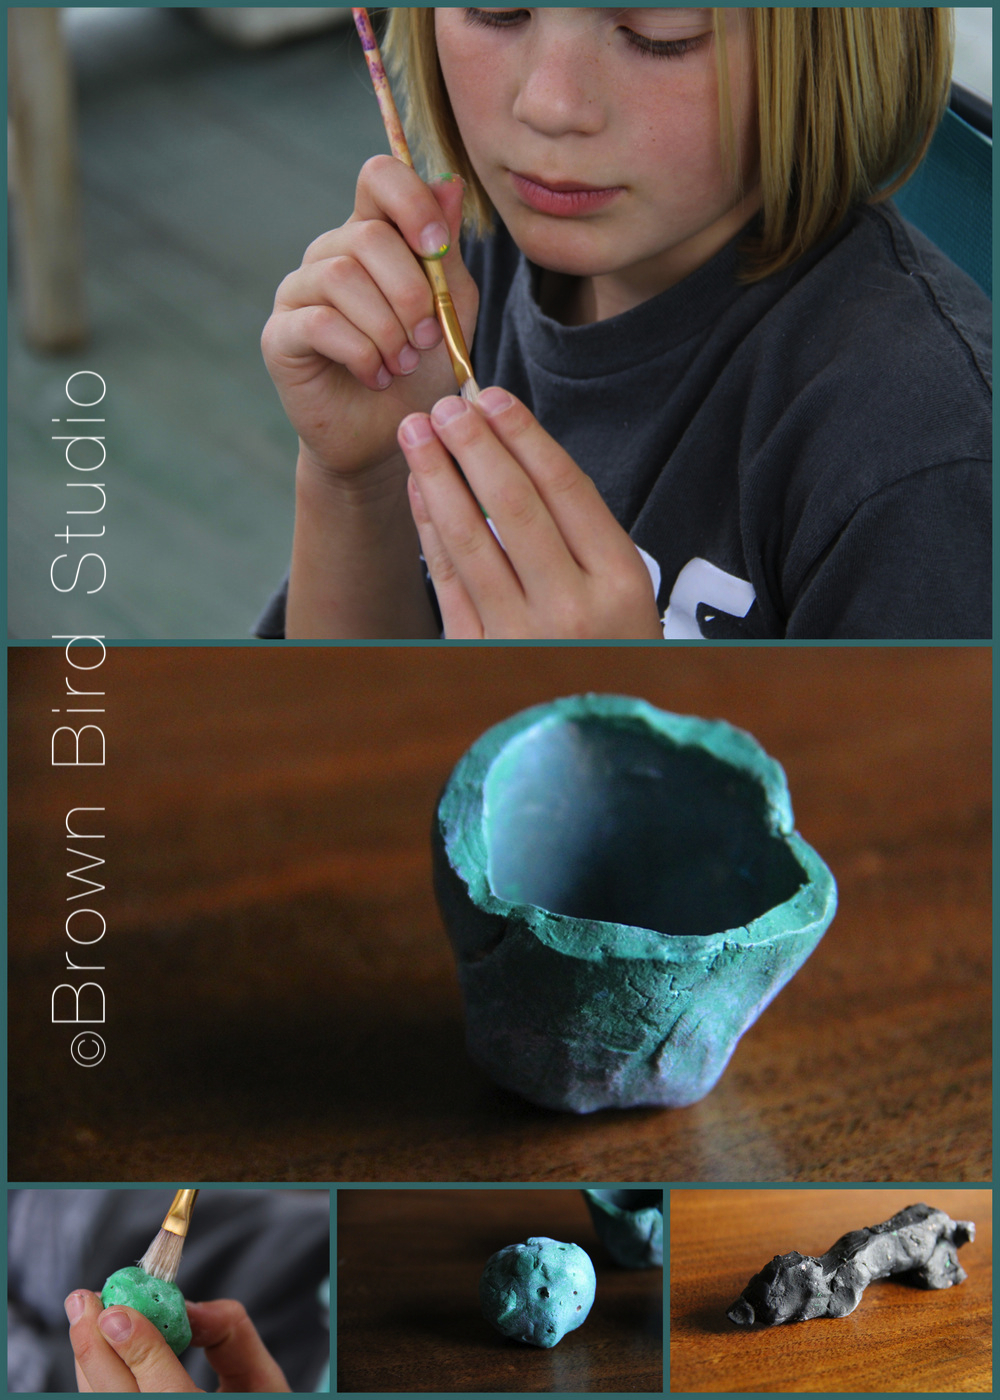
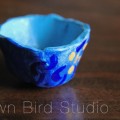
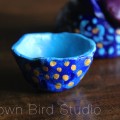
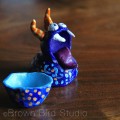
If you have access to a kiln, or a friend who does, get a chunk of clay and make some of these cute little critters with your kids. We painted them instead of glazing them this time. Next time we want to experiment with glazes. Ema and Adia have some tips on making and painting little clay objects, based on their own experiences with this project.
Thank you to Gene Hickman of the Helena Clay Arts Guild, for the clay, and teaching the girls some tricks of the trade.
Adia describes her ceramic creations by saying, “I made a moon, a dog lying down, a bead and a bowl. The bowl is about as tall as a cat’s paw, and as big around as a cherry tomato. What I might put in it is a bouncy ball small enough to fit. For the moon, I chose green because I was thinking of blue cheese — the kind you eat — and I thought of green. So that’s what I painted it.”
Adia’s advice on this project:
First paint your clay thing one solid color, then let it dry. Then, you can paint other colors you want on top of that.
When you make the shapes, try not to make them too thick or they might explode in the kiln.
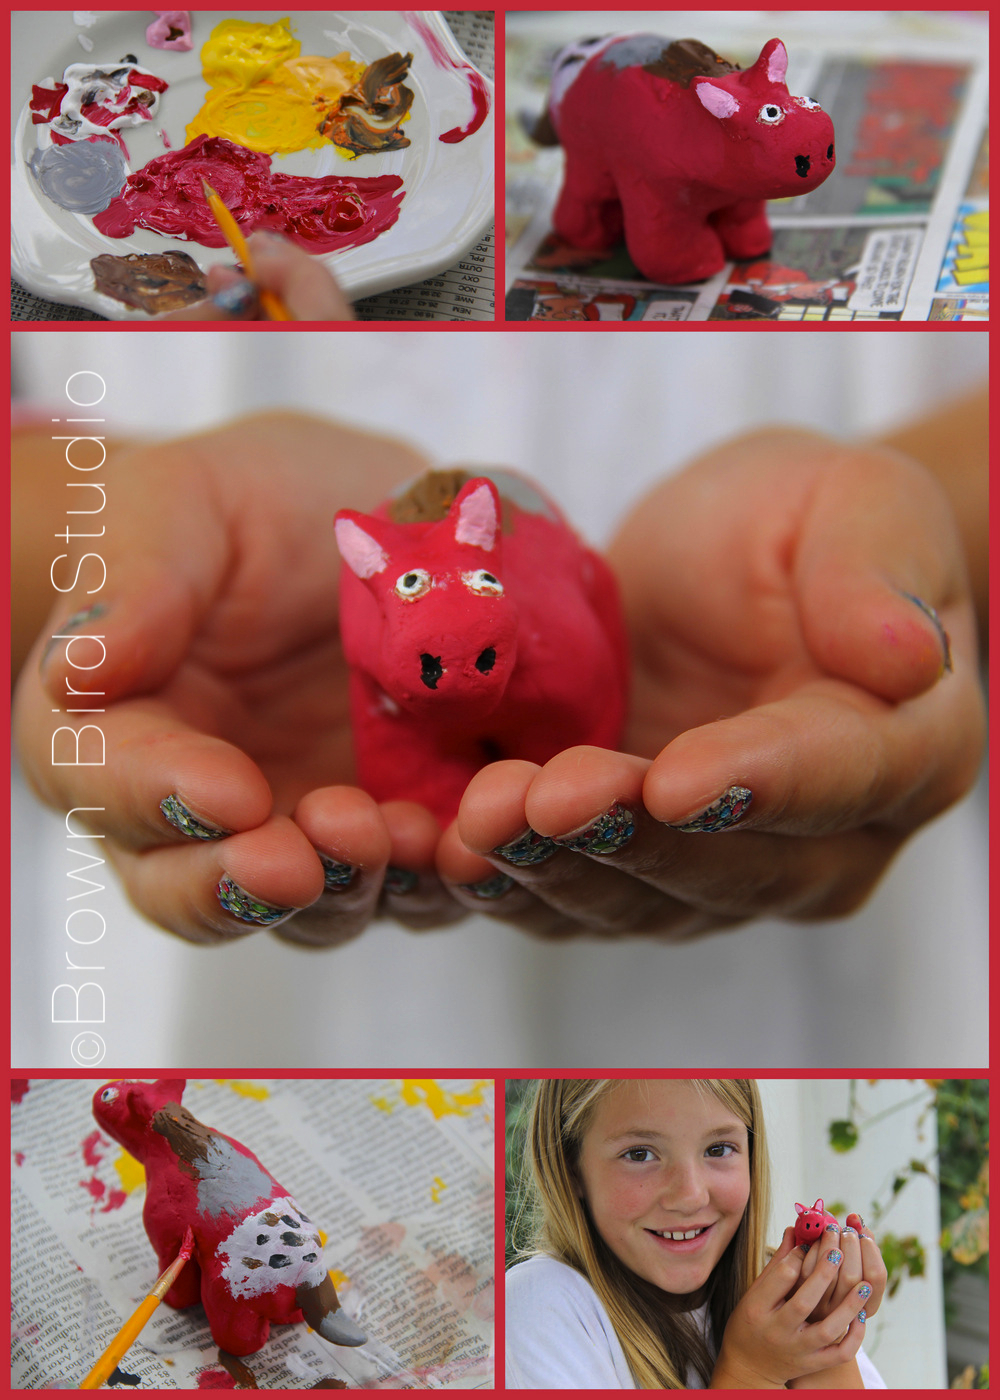
Ema explains, “I made a small horse and a little elephant. When I made the horse, I was thinking of my favorite horse that my grandmother owns. Her name is Rosebud. The design on the back of my horse is similar to Rosebud’s design. She is a red roan, so I painted her red.
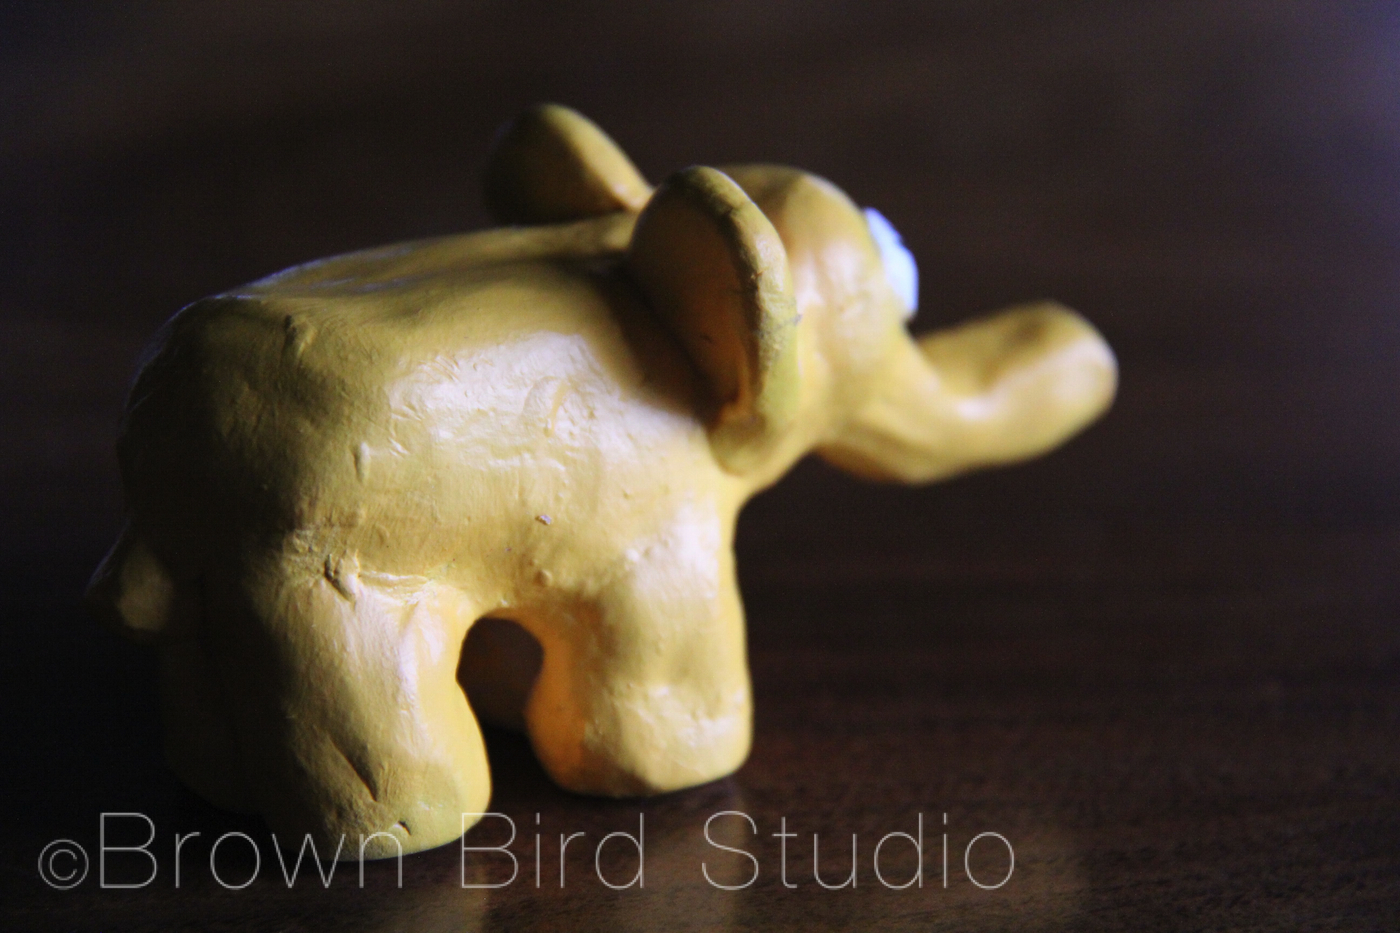
When I made the elephant, I was thinking of my mom. I think elephants are her favorite animal. I painted it gold because gold makes me feel happy. It also has pink, black and white. I made a happy accident with the eyes. I accidentally drew a black line on the eye and the black line turned into an eyelash and then I made more. So now she looks cute. I gave the little elephant to my mom.
Ema’s tips on making ceramic critters:
Don’t make it too thin. It might crack.
If you want to paint more than one color, wait until the first color dries before you paint on top of it or the colors will mix and make a different color. If you painted yellow on top of blue when it is wet, it would make green and you might not like green. And if you painted a bunch of colors on top of another it would make brown and you might not like brown. And so on.
If you make your creature too thick, it might explode in the kiln! And that might not be good for other pottery in the kiln, but especially not good for yours.
Don’t try to make it perfect. It won’t be. But you may make some happy accidents and those are good accidents. How will you know if you have a happy accident? Say you were painting an elephant and you accidentally drew a black line on it’s back. It could turn into wrinkles. Or, say you were painting a bowl and you were painting it yellow and you accidentally got blue on it. You could make it a rainbow bowl. And so on. And that’s how you would know it’s a happy accident.