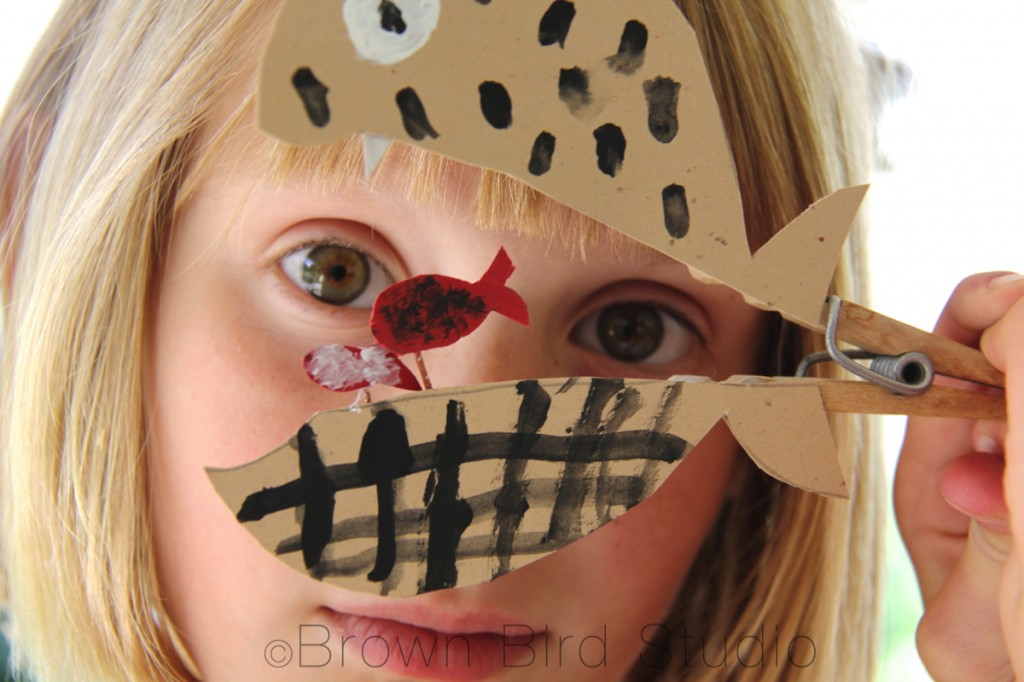
 We had an idea on our Summer Fun Pinterest board both girls wanted to make, so here’s what we did:
Clothespin Puppets
What you need:
- clothespins (the kind you pinch to open)
- heavy weight paper or lightweight cardboard *
- acrylic paints, markers or other tools to decorate the puppets **
- hot glue, regular glue (like Elmer’s) ***
- scissors
- paint brushes if you decide to use paint
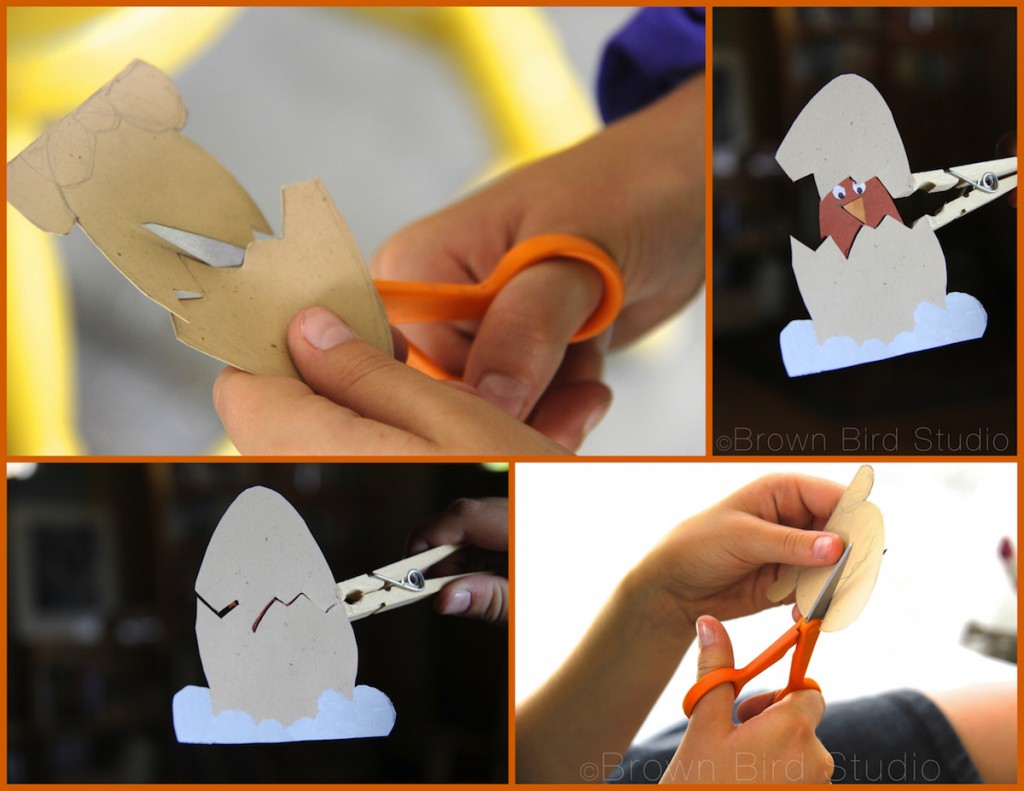
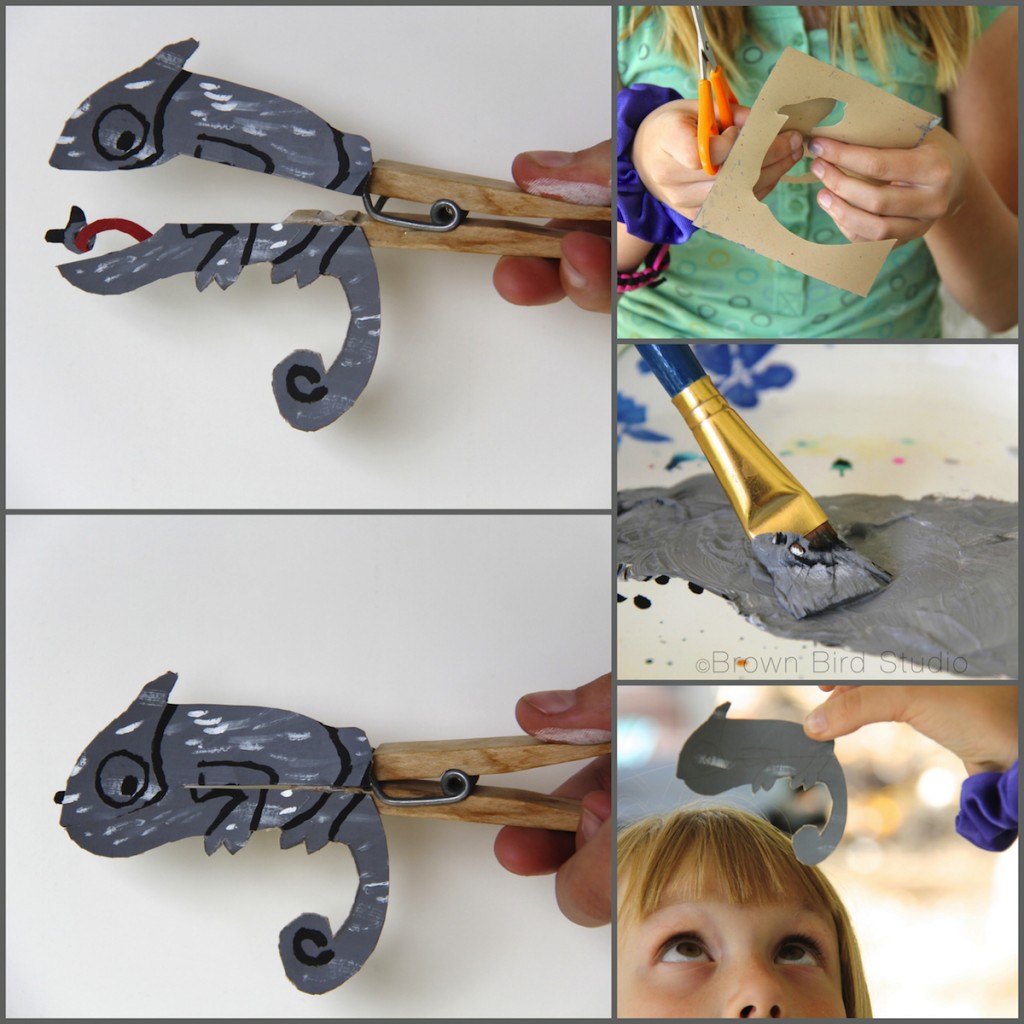
- Decide what you want to make. We liked the idea of a mouth opening to reveal something inside. Ema also made an egg that “hatches.” You could choose to make a person whose mouth opens to show a word-bubble, or an envelope that opens to show a letter inside. We mostly got our ideas from this lovely Flickr user, Molas & Company, but I can think of lots more ideas… get creative!
- Draw your shapes on heavy weight paper and cut out.
- Cut through the middle of the shape so you have two halves to glue to the two parts of the clothespin
- Paint or otherwise decorate your puppet shape.
- Make the inside piece and attach to the bottom of the puppet shape.
- Figure out the best placement of the two halves, on your clothespin.
- Hot glue the two halves of your puppet shape onto the bottom and top of the clothespin.
Have fun with your puppets:
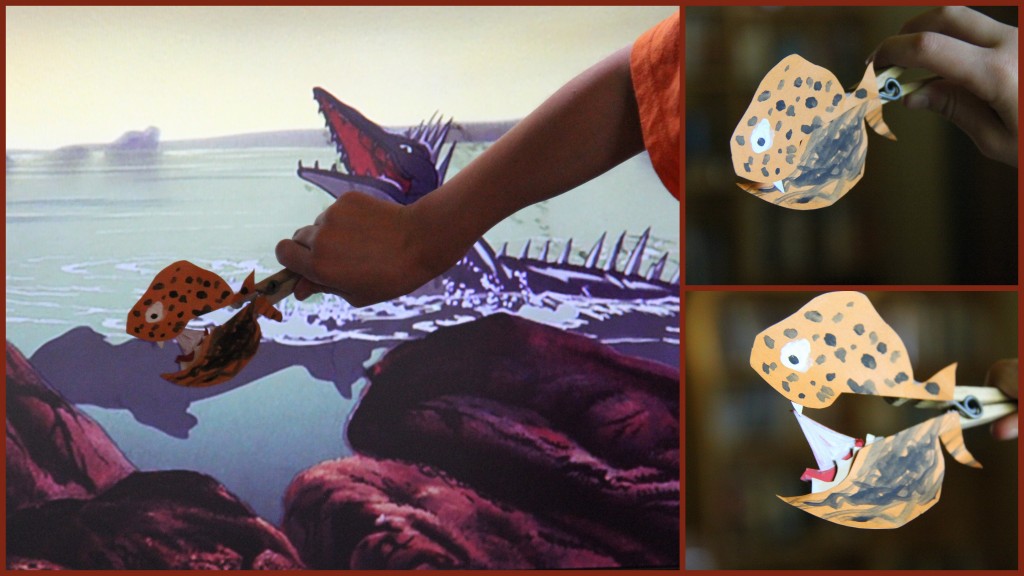
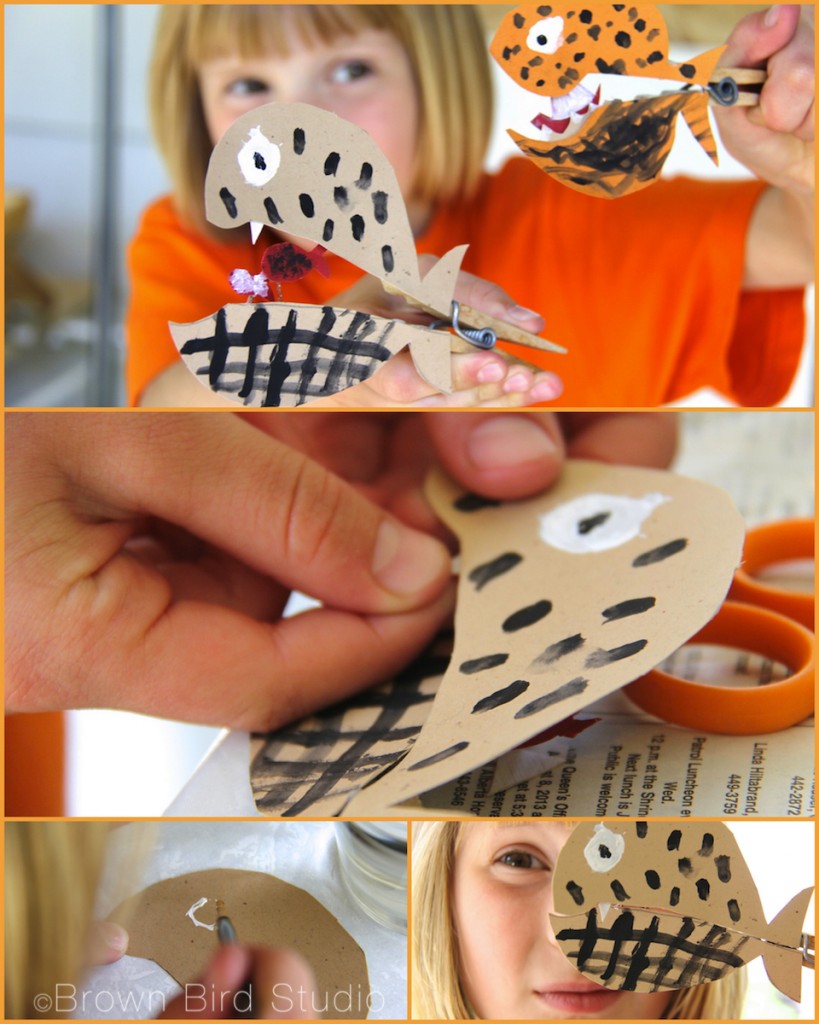
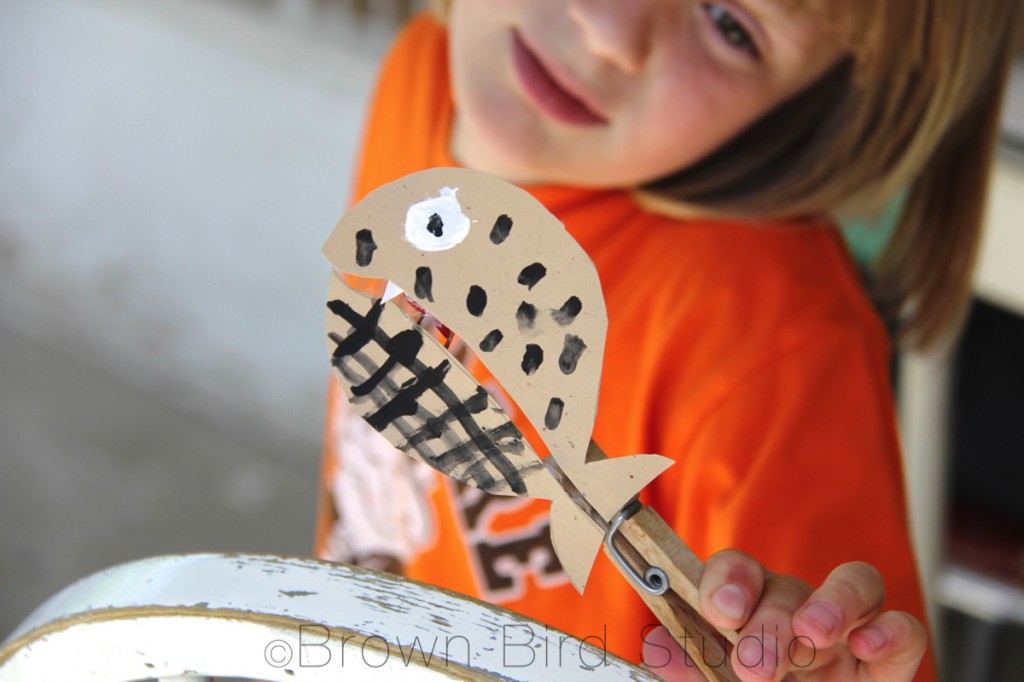
Adia played with her puppets while watching Fantasia, above. They are interacting with the movie. That’s what I call active-watching (and a brave puppet whale!)
* One of the puppets we made using a lighter weight paper because Adia liked the color. The paper sort of curled, so I would suggest a heavier weight (cover stock is perfect) paper.
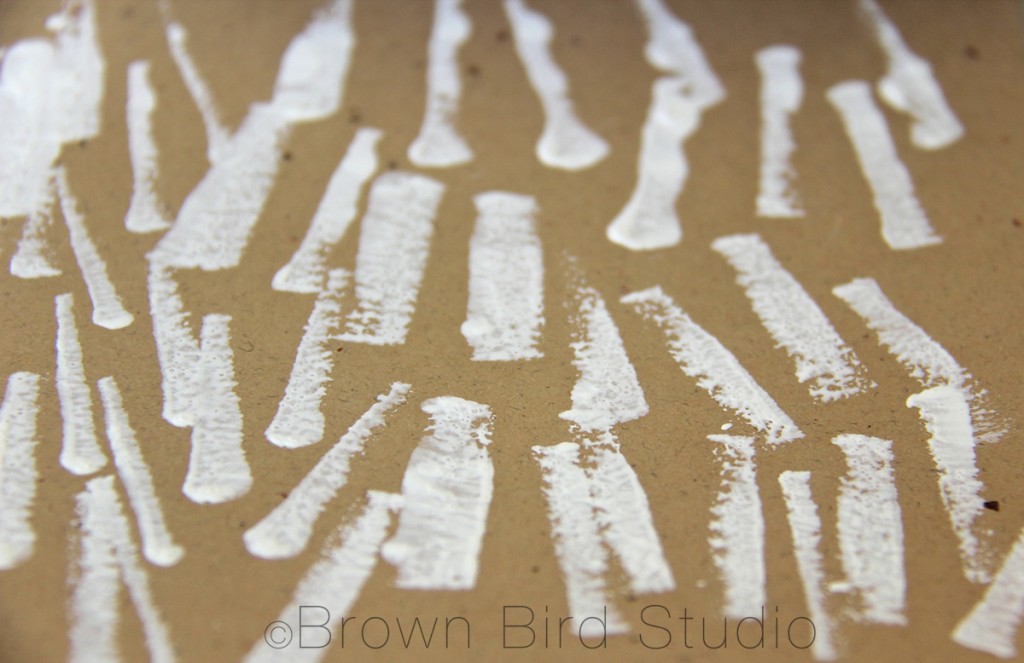
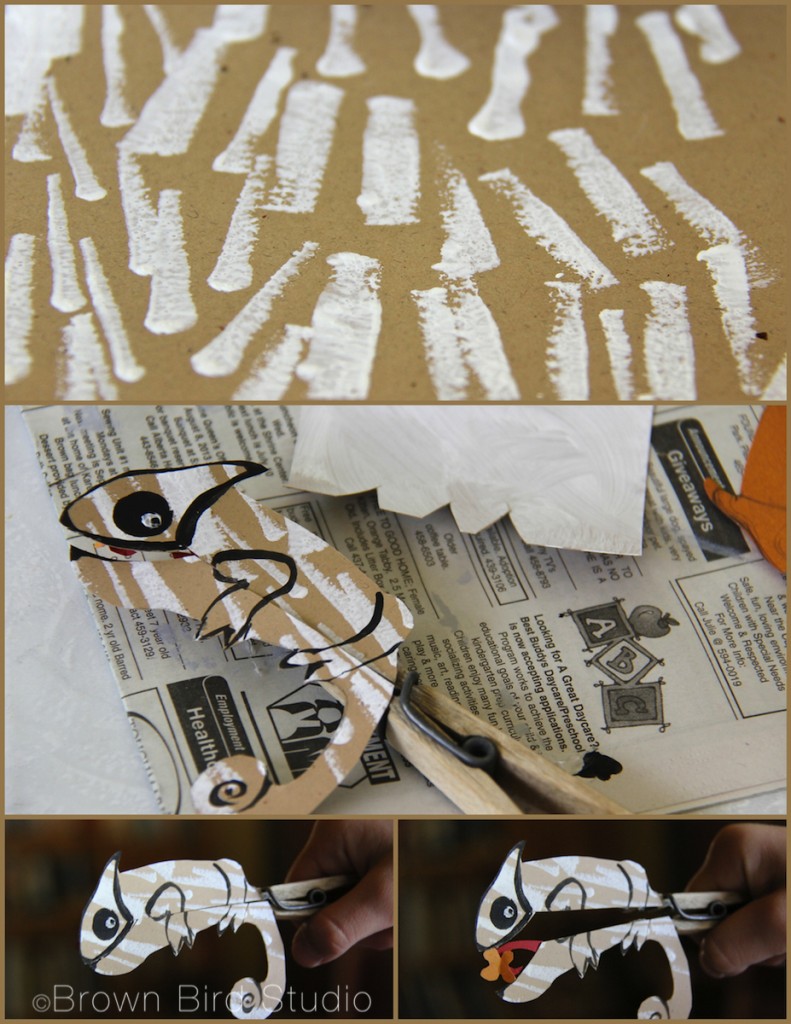
** We used acrylic paints and I limited the girls to just black and white (and gray mixed from the two colors.) Use brushes or any other tool you can think of, to apply the paint. The tan chameleon has a texture made by stamping white paint with the tip of a sponge brush (see photo below.) You could also use a pencil eraser to make polka dots. Get creative!
If you use a heavy weight paper, or light cardboard, you could decorate the puppets with glued on buttons, sequins, beads, felt, bits of fabric, ribbons, or pieces of magazine photos. Very young artists could use stickers.
*** We used Elmer’s glue to attach paper bits to the paper puppet shapes. Hot glue to attach the puppet shapes to the clothespin. Use whatever glue you think will work best with the stuff you’re applying to your puppets.
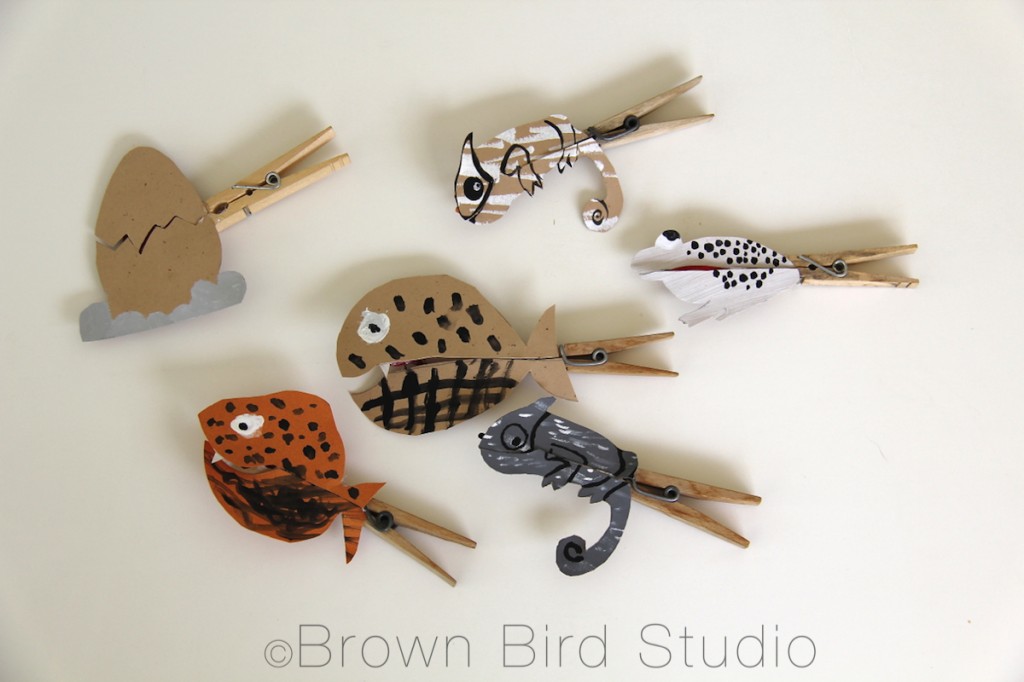
Links for Clothespin Puppets:
- Cute instruction sheet for clothespin puppets (scroll to the second image on the page)
- Fun alligator clothespin puppet
- Hatching Birds How-To
- Clothespins Galore! (or Clothes Pegs, as some say) I never knew there were so many different types of clothespins!
- Clothes Peg Dolls and other clothes peg crafts
- Super Simple Clothespin Person Puppet
- Sweet Clothespin Heart Puppet Valentine

That is so cool Maureen! Ema and Adia are doing such a great job of all the projects they are doing with you. I love them all!
Oh, my niece (7) is coming for 2 nights 3 days. This is a wonderful idea!
Meg, I really hope you try this idea with your niece. She is the perfect age for it! 🙂