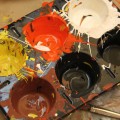
Our kids creativity seshes for the last couple of weeks were about making monoprints with some different techniques and a small tabletop press.
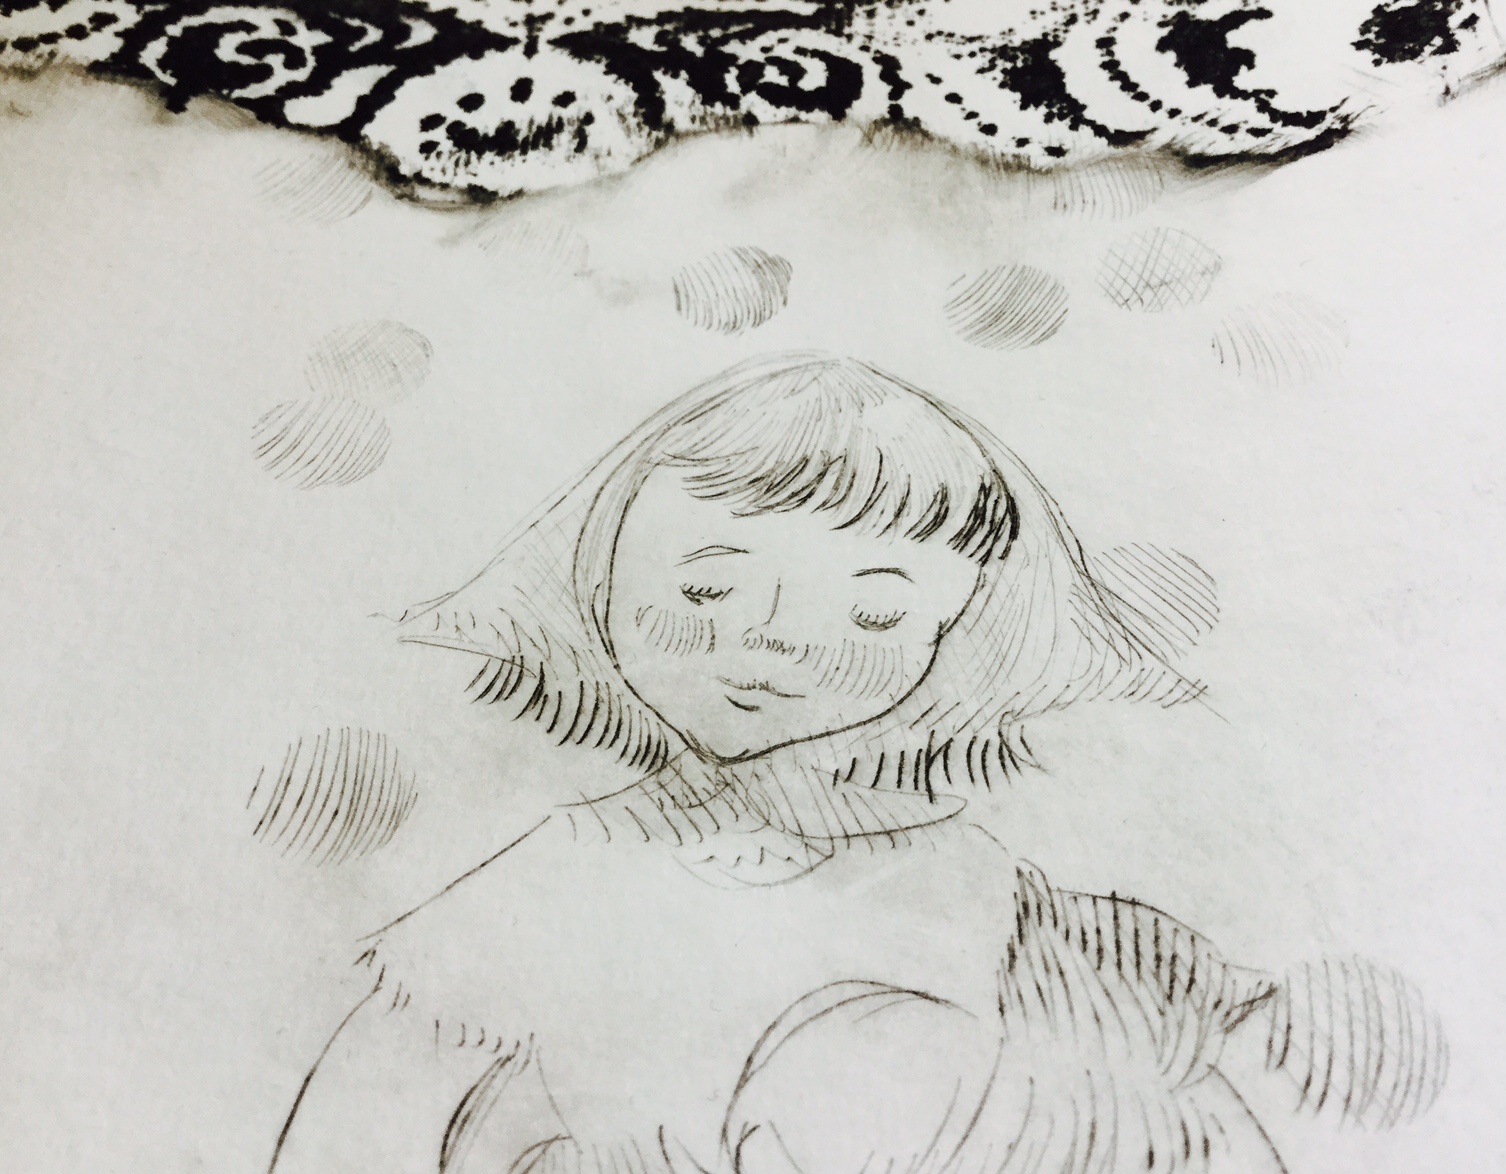
The first week, we made monoprint plates with drypoint etching on plexi. After learning how to ink the plates and wipe them (leaving the ink only in the scratched lines) we added other ink colors and made painterly marks in the ink layer.
Monoprint by Ema
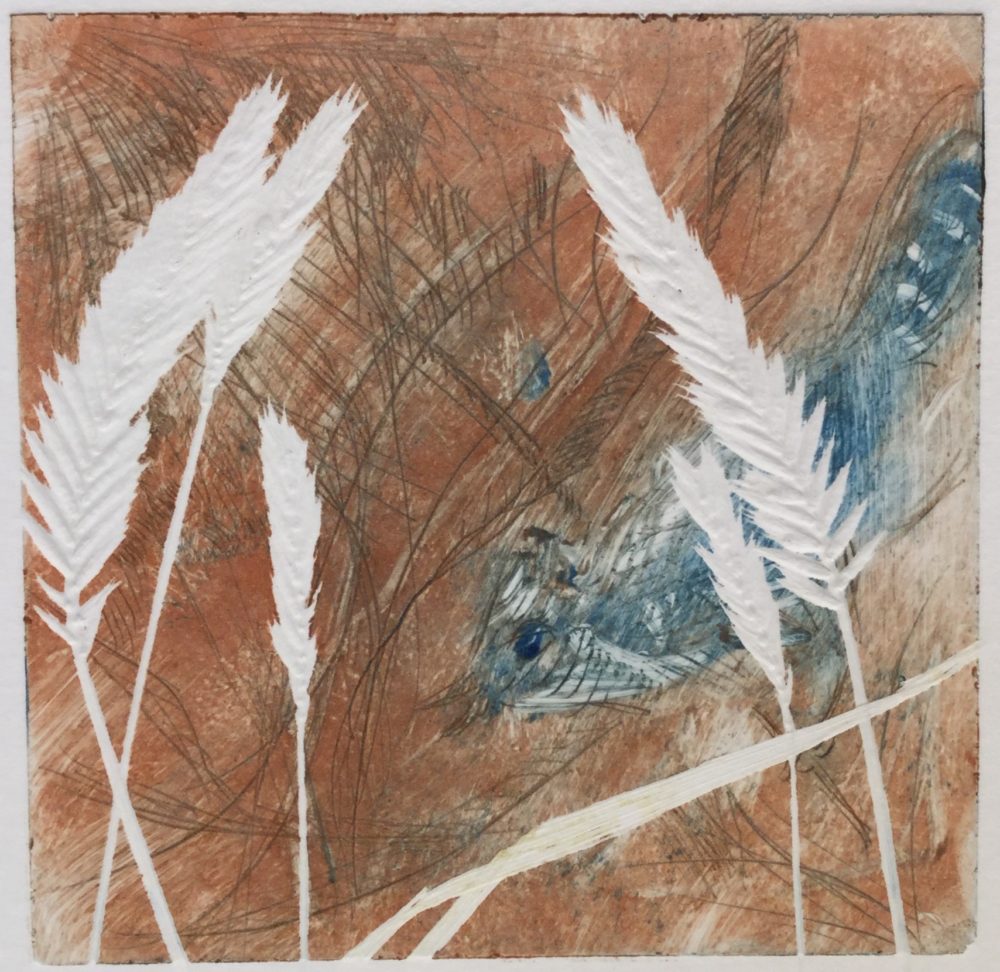
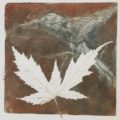
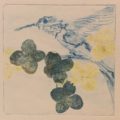
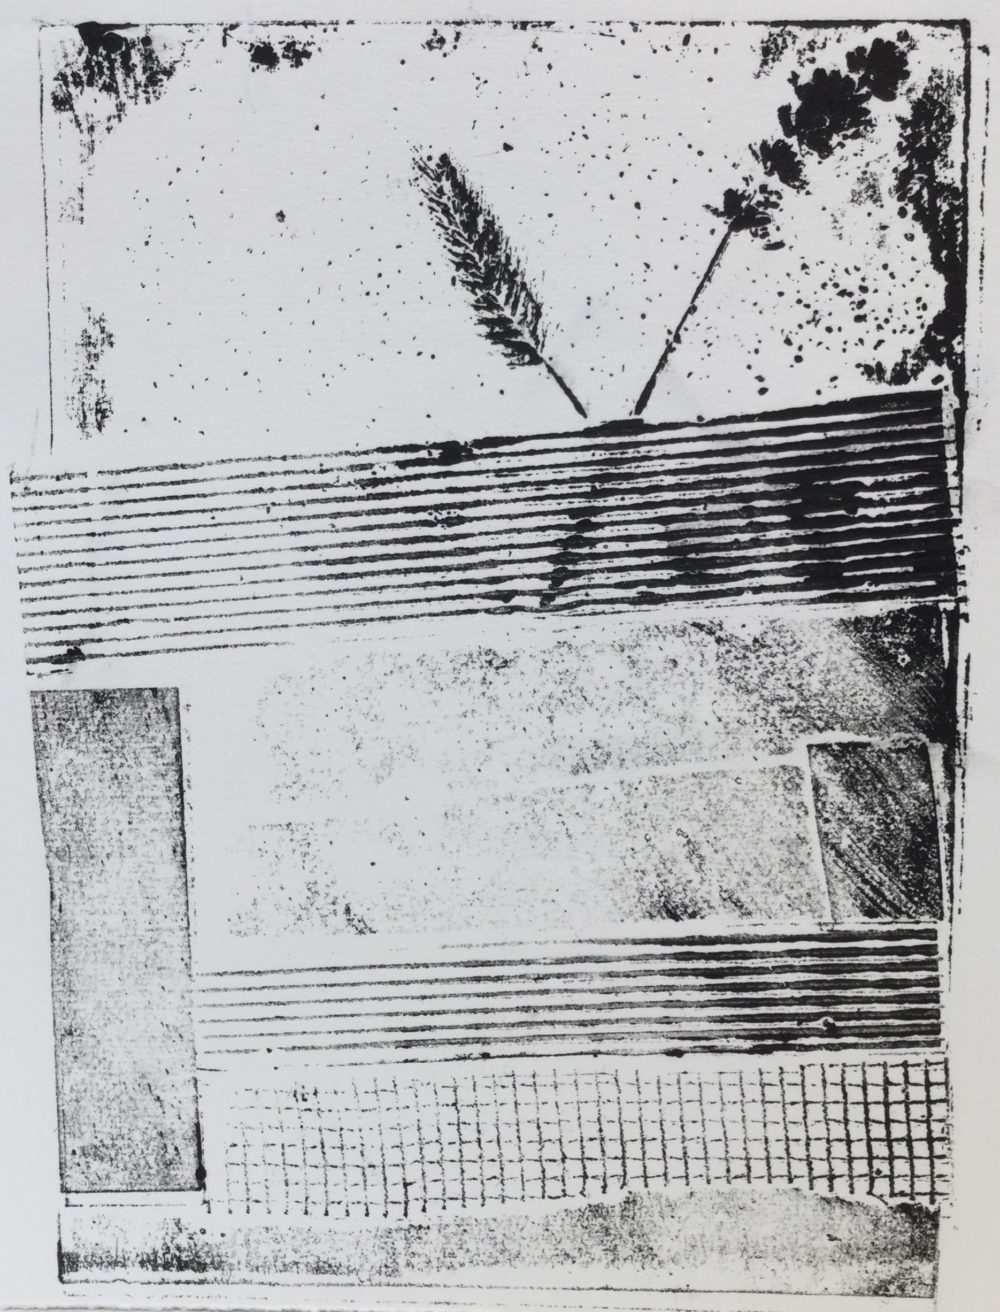
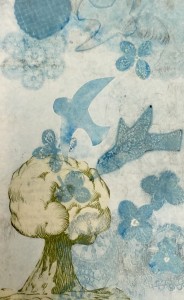
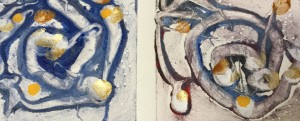
When the inked plates were ready, some of us added flat objects on top, like paper cutouts and pressed leaves or flowers to create collagraphs. The objects we put on top of the inked plates, left white areas on the monoprints (see the grasses on the print below.)
Monoprint “Blue Jay 2” by Maureen
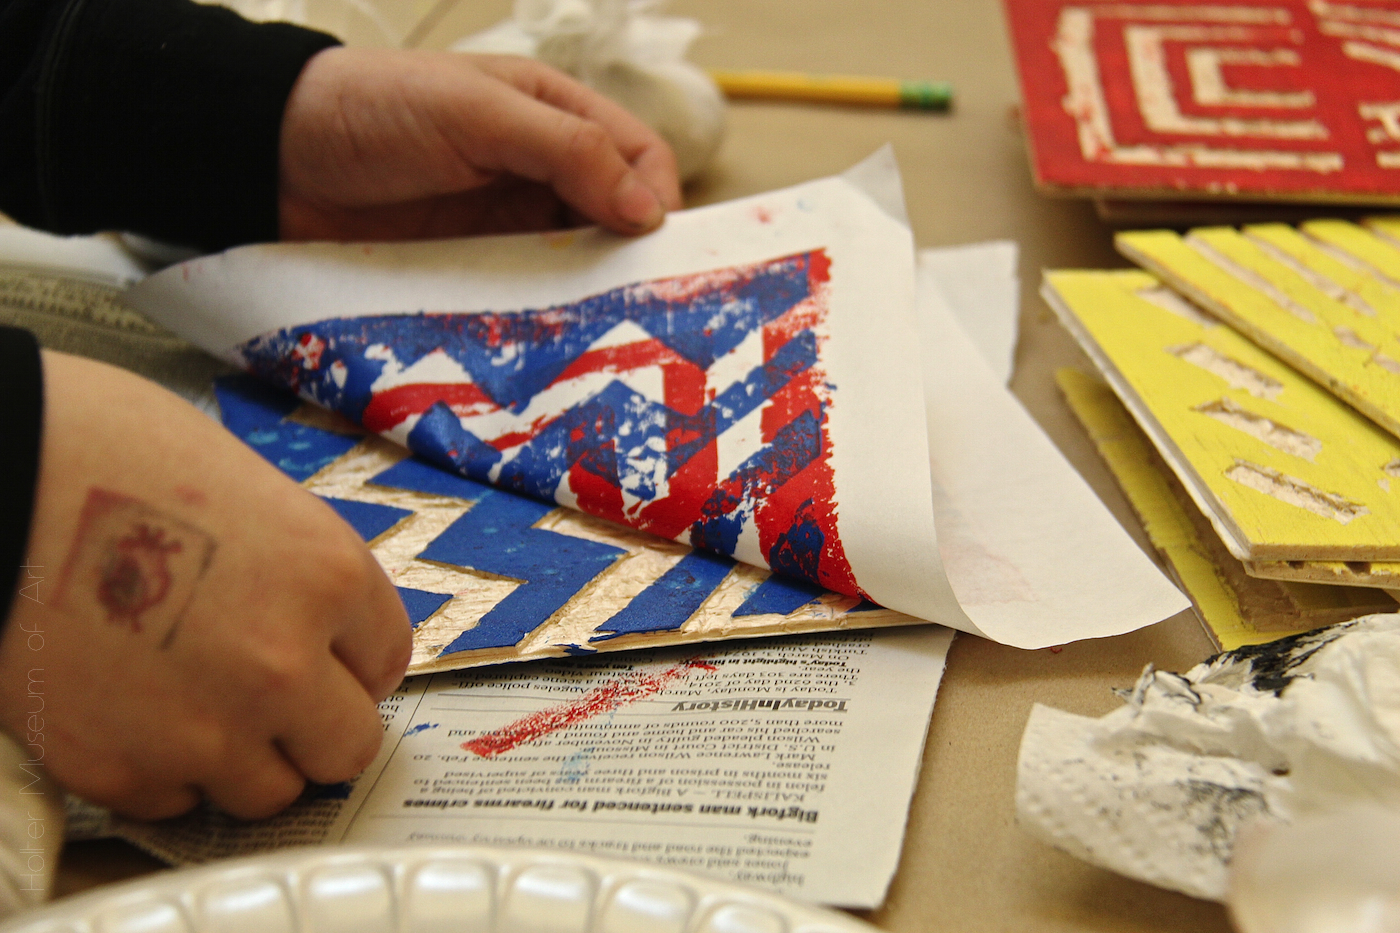
We used really good quality cotton rag paper soaked for a few minutes in water, then pressed dry. Then we ran our printing plates through the small press with the paper on top.
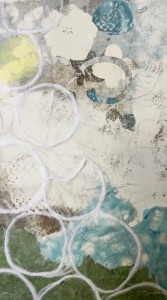
Monoprint by Adia
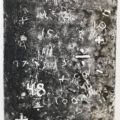
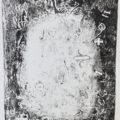
Here are some of the different drypoint monoprints we made. You can see that one etching plate is used to make many different designs. That’s why they are called mono prints.
Monoprint by Lily
Monoprint by Lily
Monoprint by Lily
Monoprint by Ema
Monoprint by Ema
Monoprint by Ema
Okay, so the next week we made two other kinds of printing plates.
No boring stuff in these kids creativity sessions!
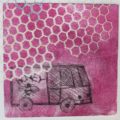
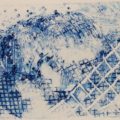
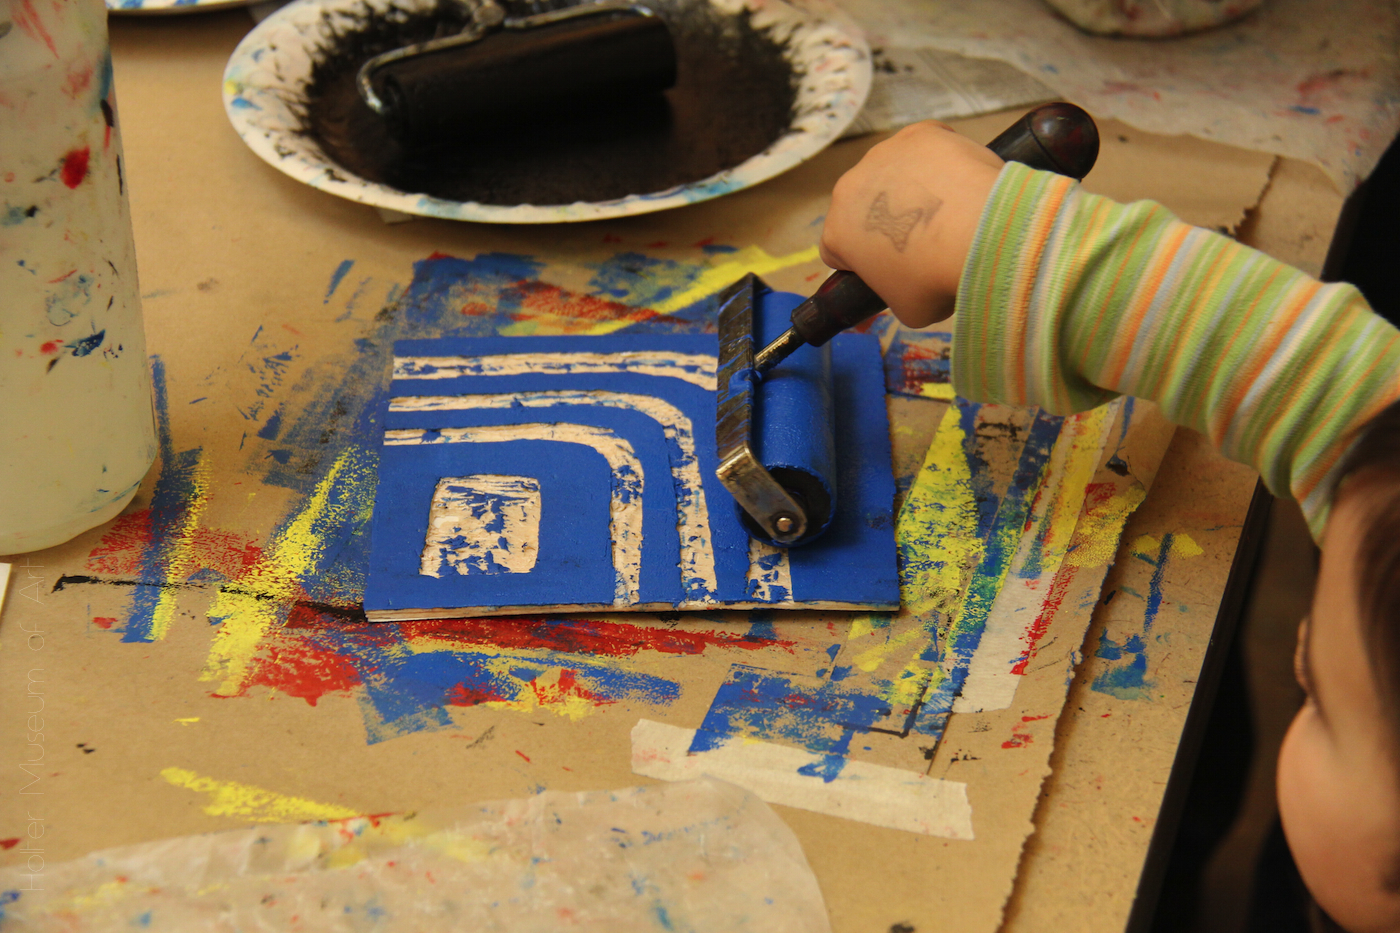
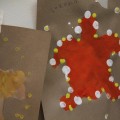
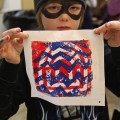
This time we didn’t scratch the designs into the plates. The first type of plate we made was a collagraph printing plate. You make these by gluing different things to a heavy cardboard surface to create textures. Then we coated the plates (objects and all) with a sealer and waited for them to be totally dry. The sealer keeps the ink from soaking into the cardboard and other objects we used to create out designs. Some kids used corrugated cardboard, stencils, grid fabric and paper cutouts to cover their cardboard almost totally with textures. Other kids left a lot of empty space on their cardboard plates and just made marks on them with ink and different tools such as their fingers, cotton swabs, brushes and rags.
Monoprint by LilyMonoprint by Silas
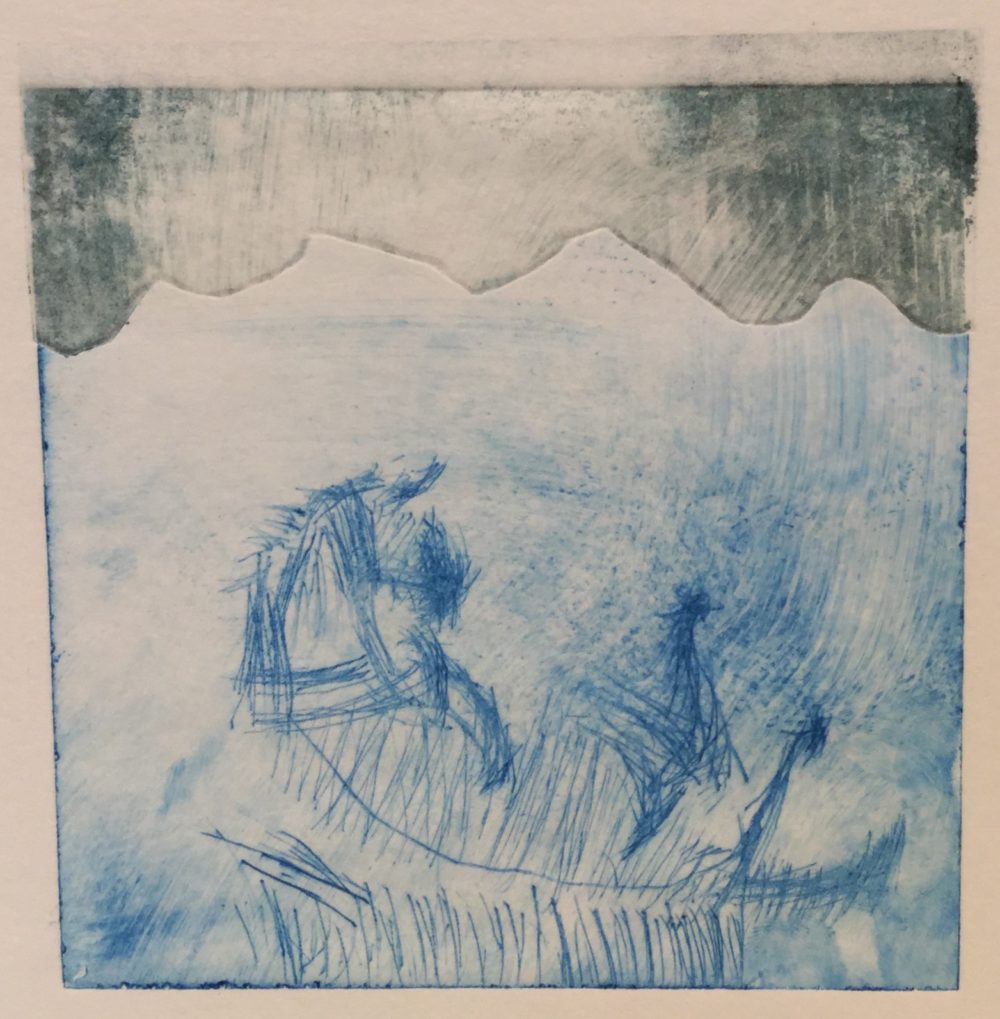
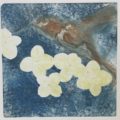
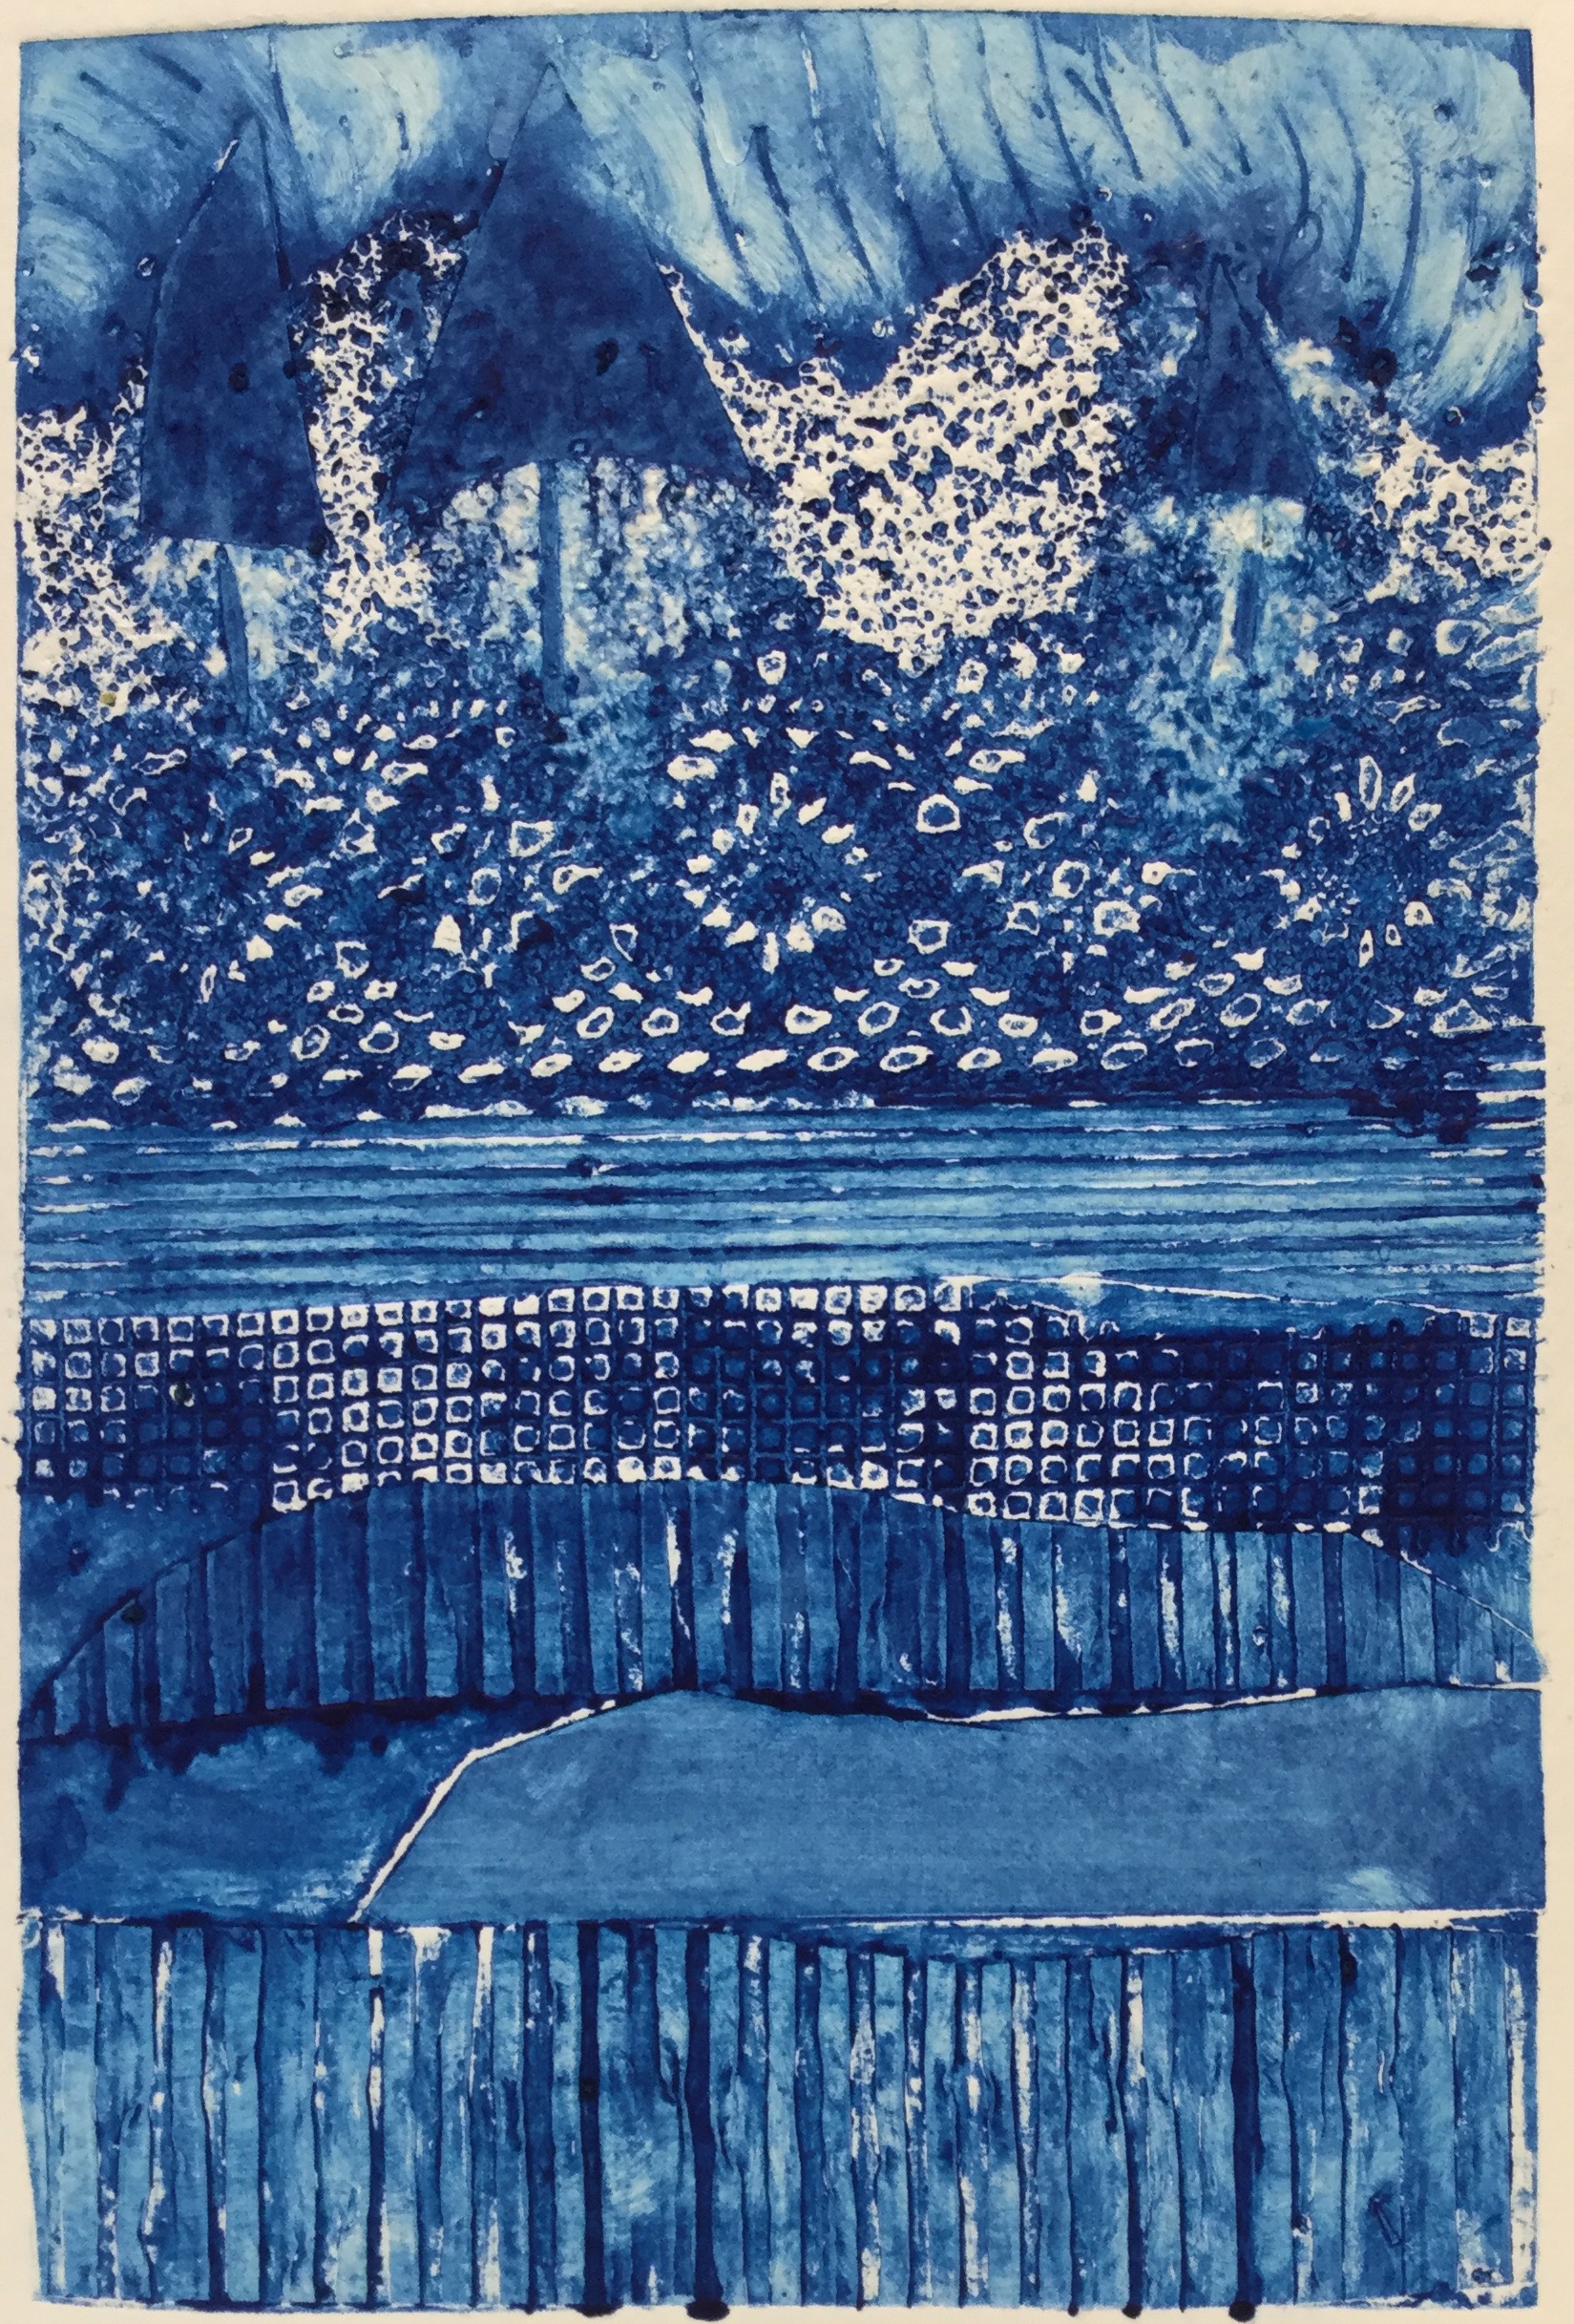
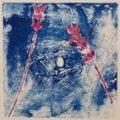
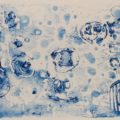
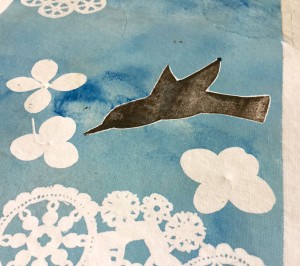
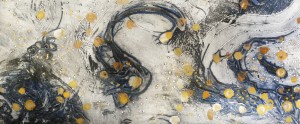
We tried using corn meal sprinkled onto area where we had painted glue. This worked pretty well to make a very different texture. In the blue monoprint (below) made by Jasmine, you can see the cornmeal in the sky. She wanted to show flower pollen blowing in the wind. In the black and white monoprint (above) by Silas, you can see very lightly sprinkled cornmeal made a cool texture near the top of his composition.
Monoprint by Jasmine
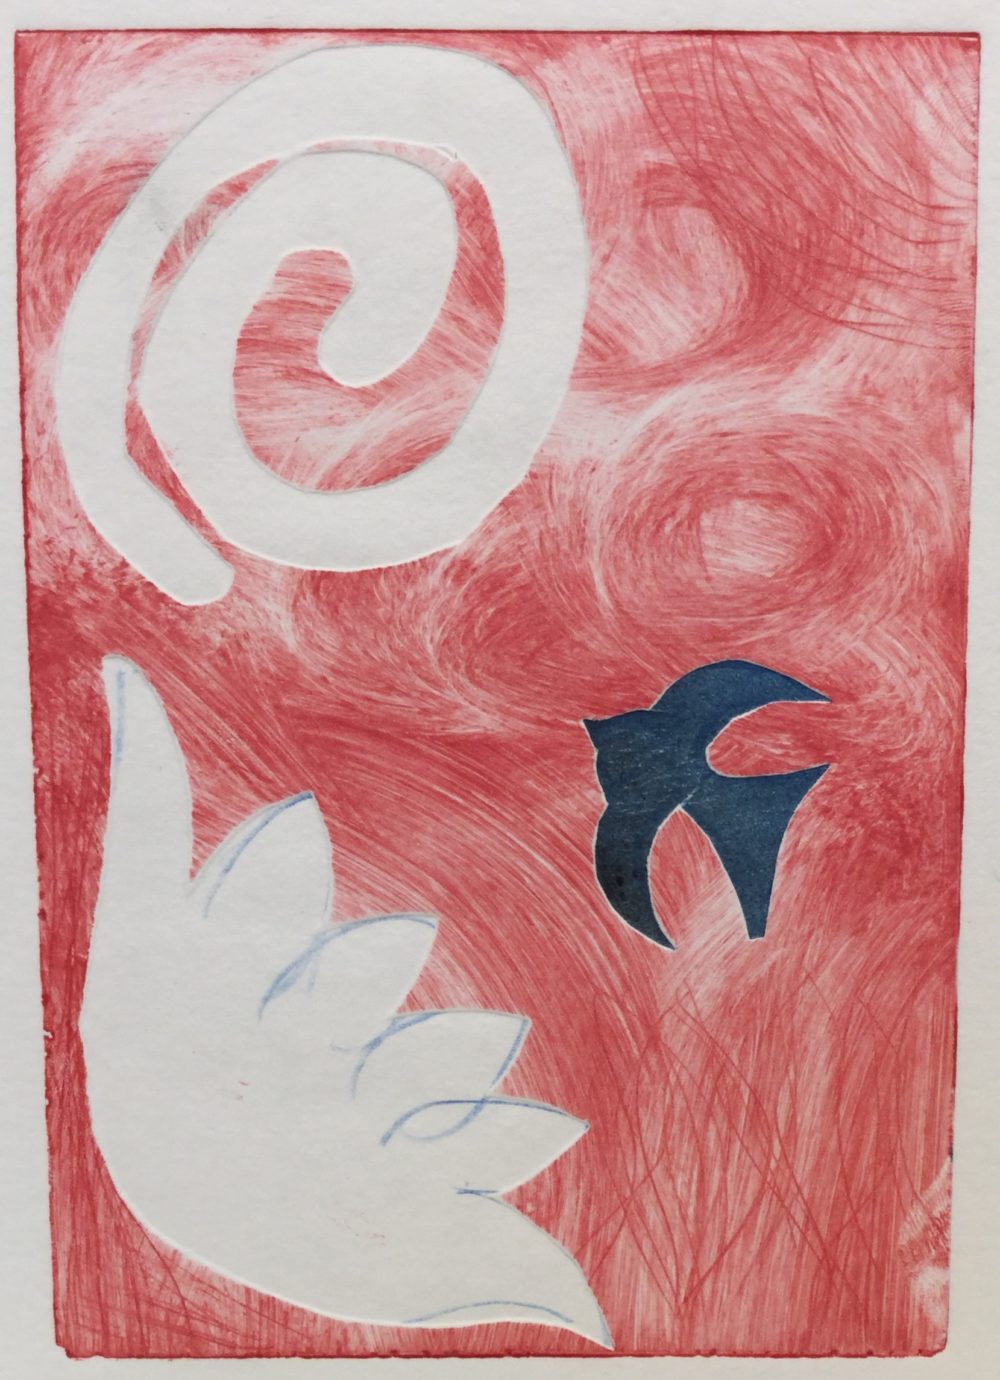
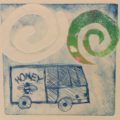
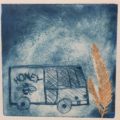
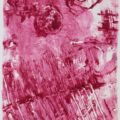
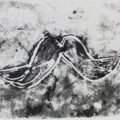
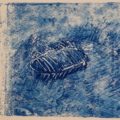
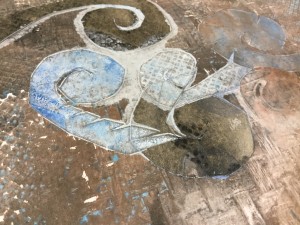
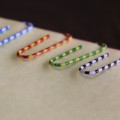
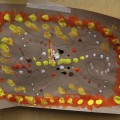
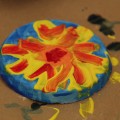
The other kind of plate we made the second week was plexiglass with hot wax applied to it by brushing and dripping. Then we carved designs into the wax with tools. The wax was easier to draw into than last week when we had to scratch with sharp tools into the hard plexiglass. We inked up the wax plates and ran them through the press with paper. Those came out kinda cool. Here are some examples of the waxed monoprints:
Monoprint “Flying Math,” by Adia
Monoprint “Crawdad” by Colton
Monoprint “Flying Math II” by Adia
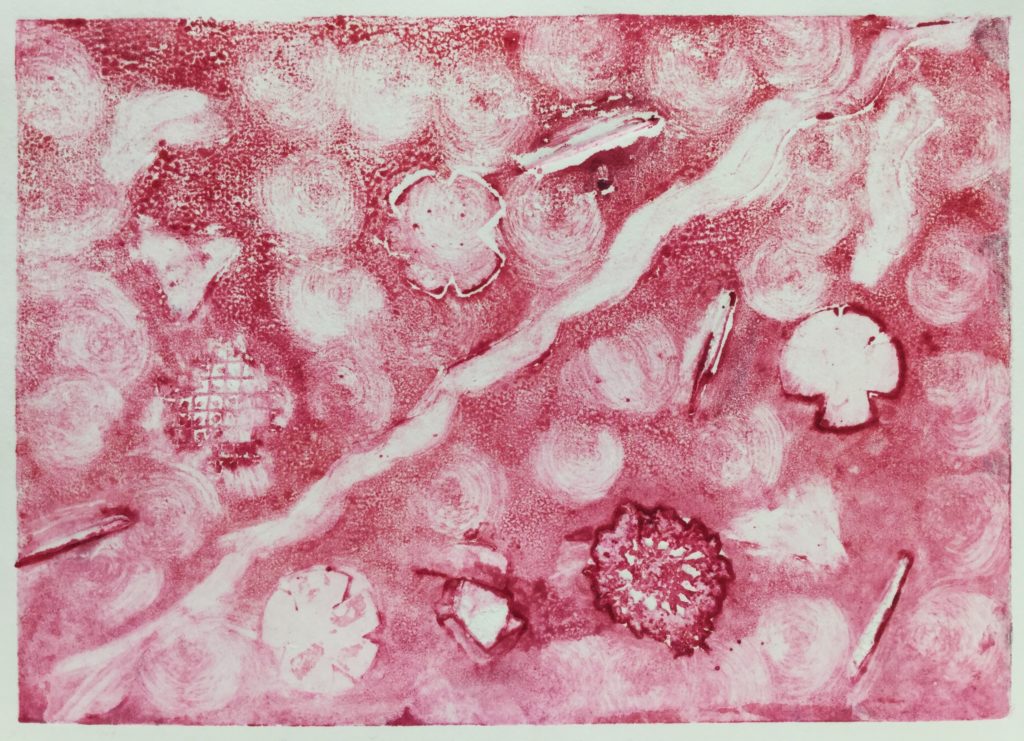
Monoprint in Red by Silas
Monoprint “Eye with Lavender” by Colton
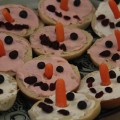
Monoprint “Mustache” by Lily
Monoprint “Emoticons” by Jasmine
Monoprint demo
Monoprint “Eye” by Colton
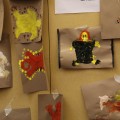
We hope you enjoyed seeing the results of our hard work and fun play in Maureen’s art classes. Most of these prints will be framed and on display in October when we have our 2nd Annual Young Voices art exhibit at 1+1=1 Gallery in Helena. Watch for news about that show! We’re all excited about it.
Every time I begin working on a new series, I have mixed feelings. Being held by what I’ve already started mixed with being impelled by what I want to do next. Melancholy mixed with excitement. Curiosity mixed with worry. Delight mixed with feeling vulnerable. Do you ever feel that way when you start something new?
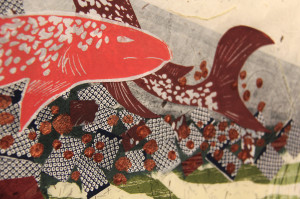
I haven’t yet exhausted my last series (The Mother Tree work) but I’m ready to keep growing and moving forward. I think to myself “I’ll go back to the Mother Tree or the Salmon Forest or the Ecology of the Unconscious.” Will I? Probably not — right now I’m exploring a new(ish) medium for me. My current mixed media pieces have a new look — still mine, but I think better. I love experimenting with materials, exploring different ways of putting marks on a surface, and new ways to express what wants to come out of me.
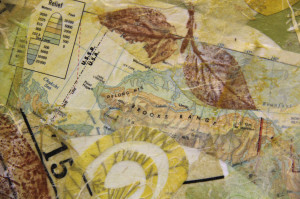
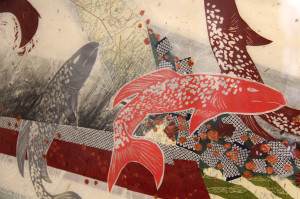
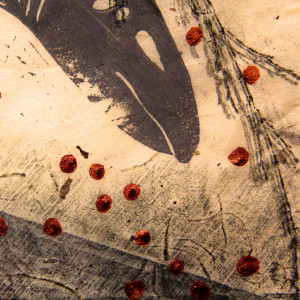
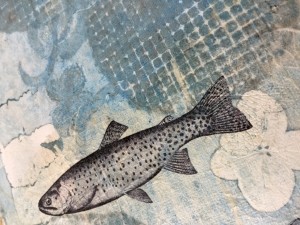
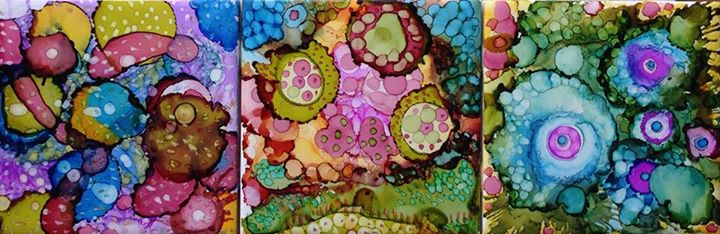
So, one of the questions I ask myself as I embark on a new series is, how does this have anything to do with the work I recently completed? Where is the thread of continuity between those other series and this one? I’ve been playing with printmaking for several years (in the big picture, that’s not long at all) and have barely started incorporating collagraphs, monoprints and relief printing into my mixed media paintings. Here are a couple of pieces that have some of my prints as part of the composition:
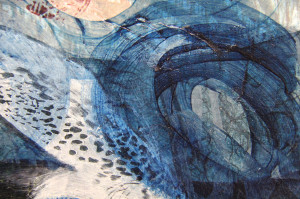
Right now, I’m playing with a small tabletop press (wishing it were alot larger.) I’m trying out techniques that are new to me, but fit my style and objectives perfectly. Chine colle´ is a way to use some of the paper scraps — prints, studies, watercolors, paintings and collage papers I’ve saved. I’m using the old textbooks and readers that have become familiar in my artwork, incorporating childhood motifs along with fish, birds and the occasional nuclear bomb or tree. My personal vocabulary of marks and shapes continues in my new pieces — spirals, circles, spheres, peculiar cross hatching, jabs, roots, geometric shapes and voluptuous strokes. And of course, I’m always passionate about Nature and that’s prominent in my new work: leaves, branches, grasses and other botanical images; water, waves, currents, raindrops; and animals both large and microscopic.
I’m curious to see where I go. That’s a great motivator. I’ll post more when I get something I like enough to say, “This is what I’m doing for the next show.” In the meantime, it’s just a direction.
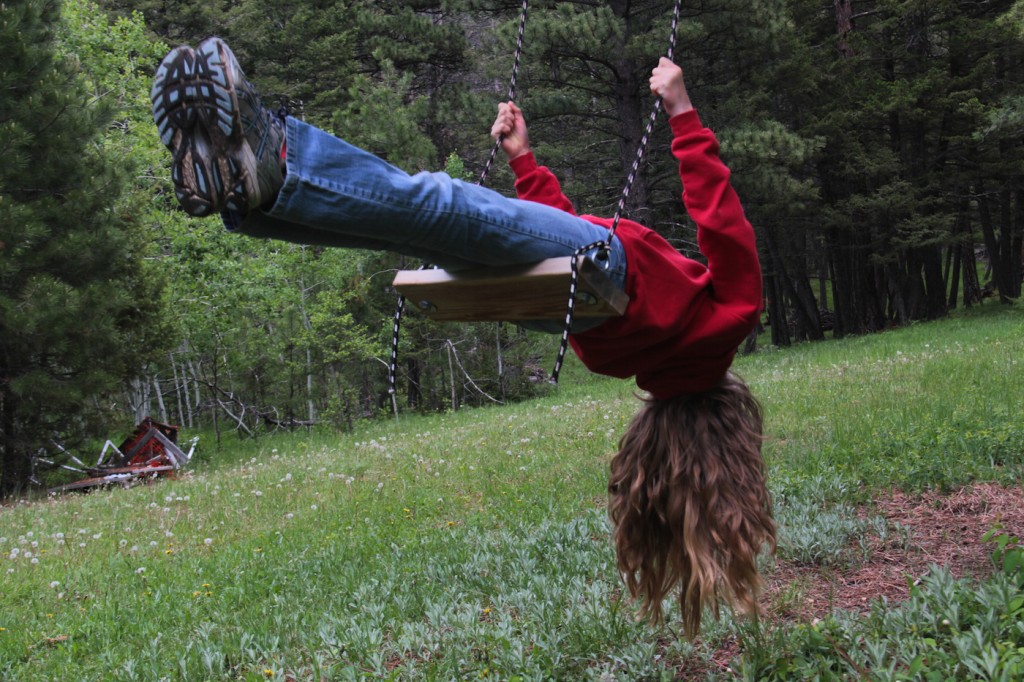
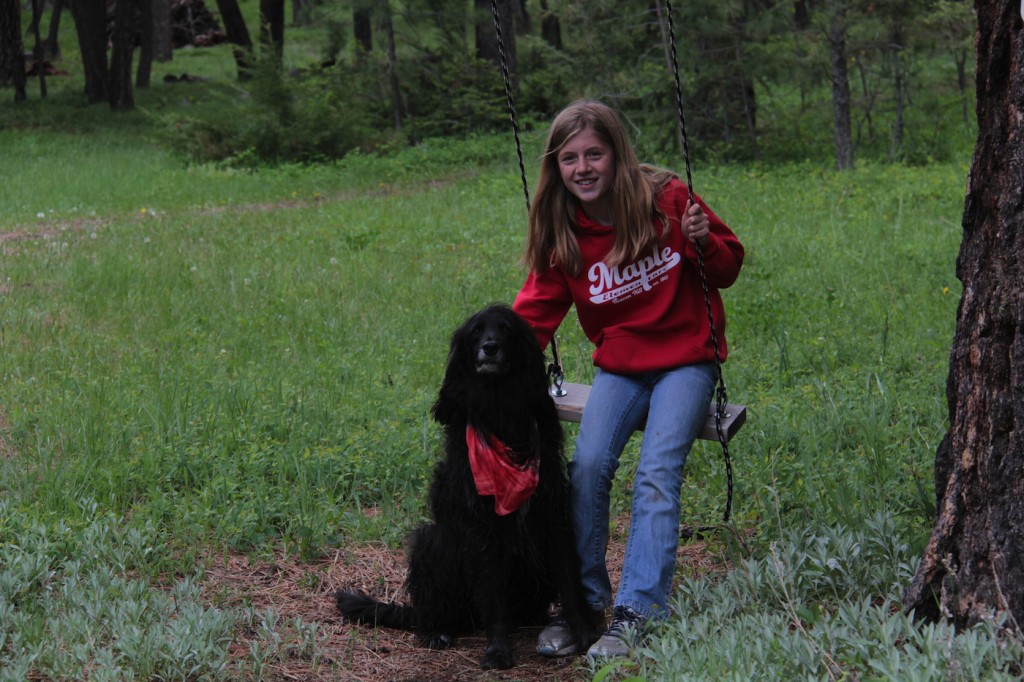
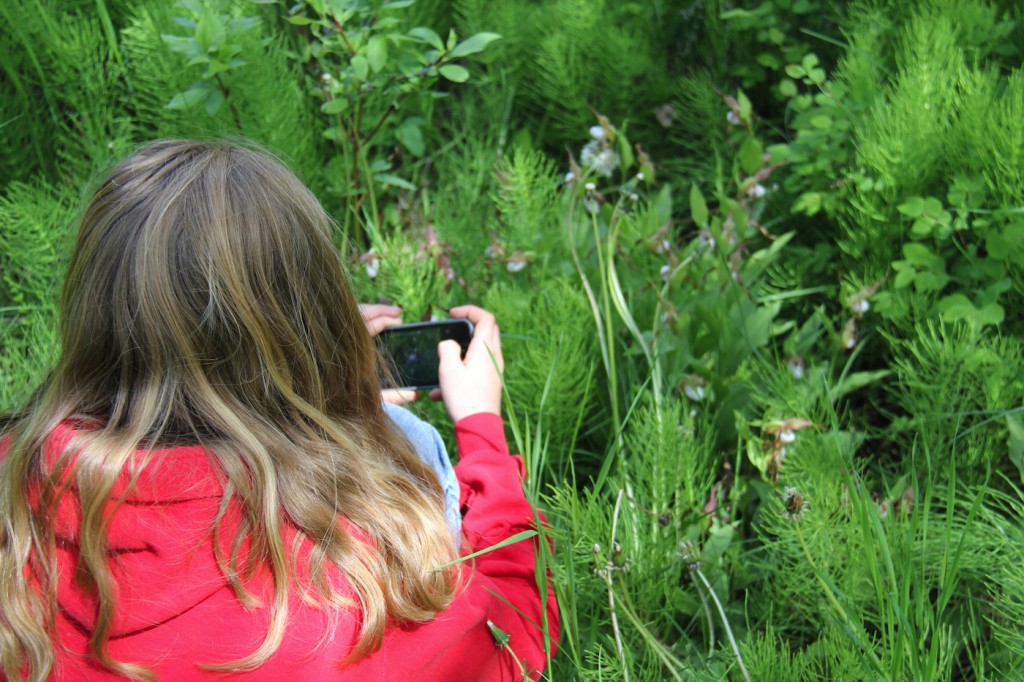
Last week, my young friend, Grace and I invented our own “art camp.” She stayed with me for four nights and we had 3 full days of creative fun. I sure hope we get to do this a couple more times this summer. Hanging out with young people fills my cup, especially when they are as enthusiastic about life and learning and creativity as Grace is. It was super cool that we got to do so many projects and have some adventures just the two of us. Actually, it was three of us — Charlie came along too.
I promised Grace I would teach her how to make a blog post, so I am going to leave the DIY tutorials until she comes back for our next art camp. In the meantime, here are some photos of some of the things we did and made:
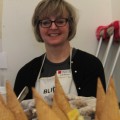
Ema Blue spends Wednesday afternoons with me at my studio. She is my unofficial “gallery assistant” and art student. She dusts Tim’s furniture, sweeps the sidewalk, takes Charlie for a walk, fetches me coffee from across the street, and makes lovely sidewalk chalk signs in front of the gallery. Ema is 11 years old.
Ema is meticulous, creative, precise, funny, cheerful, interested, respectful and persistent. I enjoy her company immensely and I truly look forward to Wednesdays.
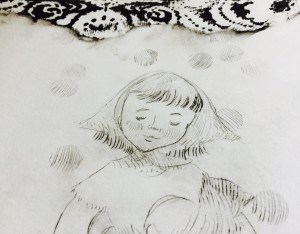
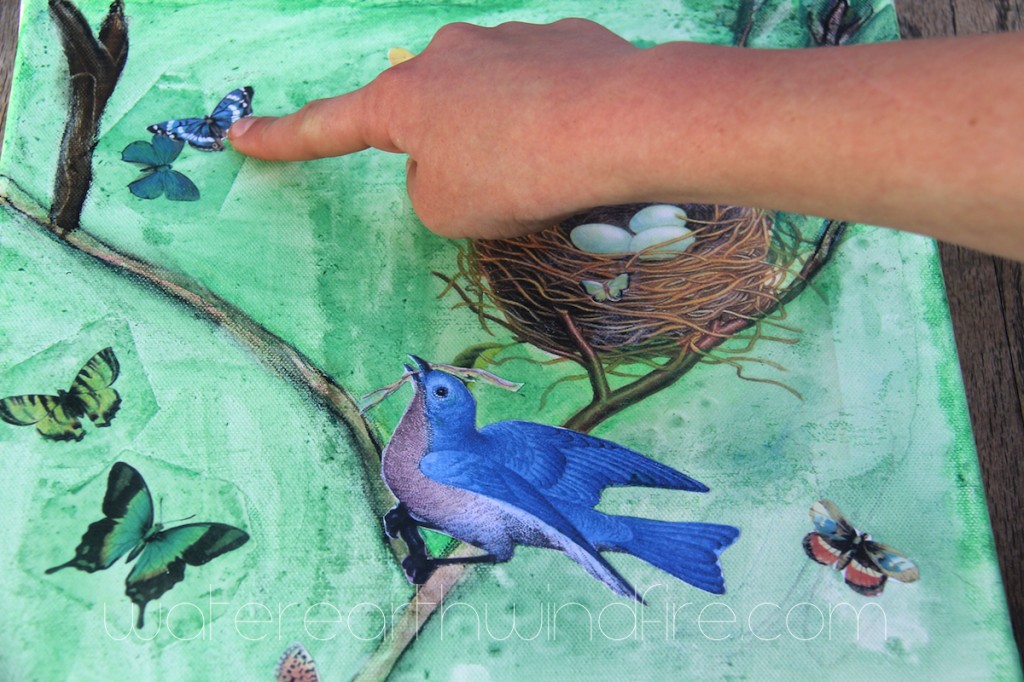
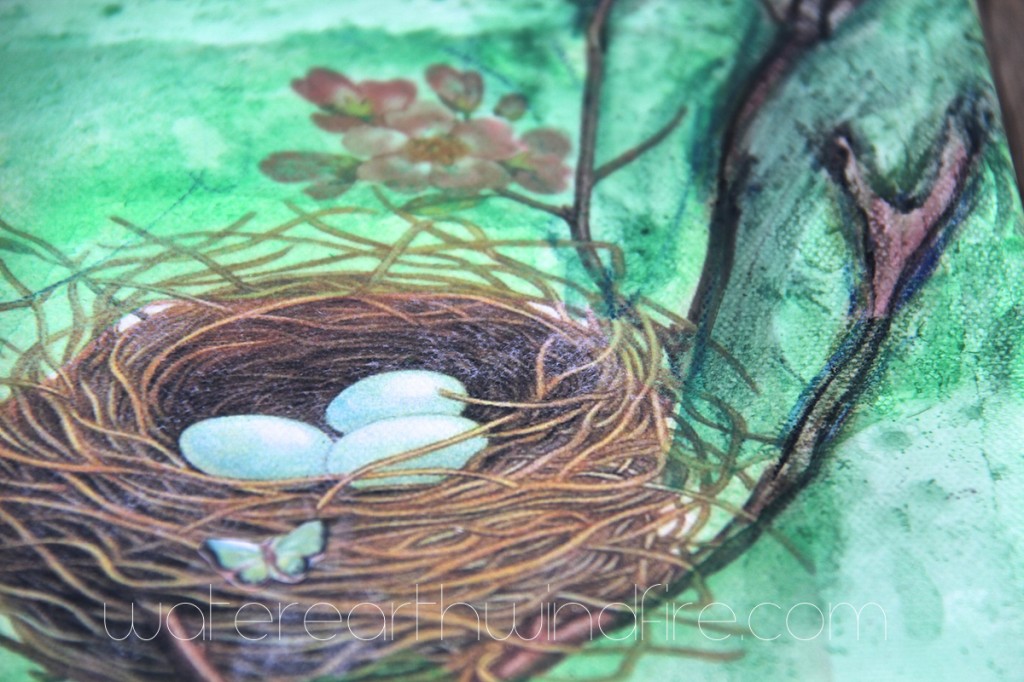
For the last few weeks, Ema has worked steadily on a mixed-media artwork. Inspired by the image transfers some of my women friends and I made during one of our Girls Art Nights, Ema started with some image transfers onto a canvas, then used water-soluble colored pencils and collage to complete her piece. I’m always impressed when a young person can sustain interest in a project over a period of days or weeks, and she did on this piece. She finished this one yesterday.
I will write another post soon with my thoughts on the image transfer technique we used, and how to enhance the transfers with other media to create something lovely. Hope you enjoyed seeing Ema Blue’s artwork. Please let her know what you think/feel about her painting by leaving a comment below. Thank you!
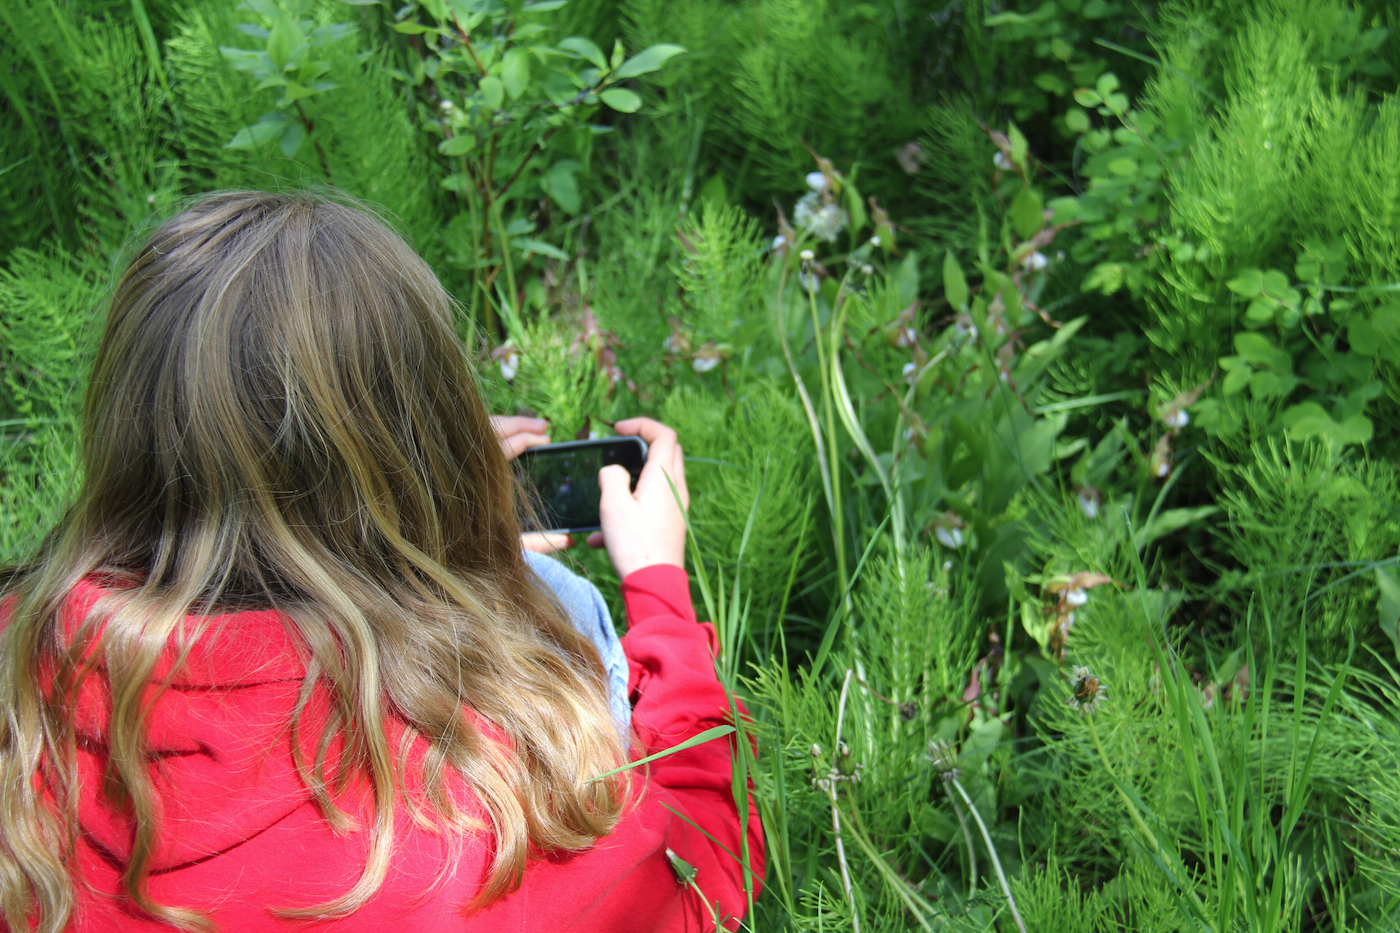
For most of human history, people chased things or were chased themselves. They turned dirt over and planted seeds and saplings. They took in Vitamin D from the sun, and learned to tell a crow from a raven (ravens are larger; crows have a more nasal call; so say the birders). And then, in less than a generation’s time, millions of people completely decoupled themselves from nature. — Timothy Egan, NYT
When I was a kid, our typical day after school was finishing our homework, doing a few chores, then running outside to play. When dinner was ready, Mom called us in, we did our after-dinner chores than ran back outside.
We had forts in the woods, and forts in the blackberry brambles. Played kickball, kick-the-can, many variations of tag and hide-and-seek with a whole tribe of neighborhood kids. We captured fireflies in jars, investigated ant hills, caught crawdads with plastic cups, chased dragonflies and hunted snapping turtles in the creek (we didn’t hurt them.) We picked wild strawberries, blackberries and plums.
We raised a wild raccoon, lots of polywogs, a few caterpillars, two snapping turtle babies, some squirrel babies and a baby robin. Dug in the dirt, made mud pies, launched ourselves into the creek on rope swings, climbed very tall trees and adventured in the storm sewers. I loved lying on the big hill hear the cow pasture and just watching clouds. I had a secret place under a spiraea bush where I would lie on a blanket to read. Outside.
What adventure! Totally unstructured. I remember at some point longing to attend a summer camp because some of my friends were going, but I never did. I also didn’t have music or art lessons, extracuricular sports or academic tutoring. We just played (well, we did chores too.)
Life is different for little kids now. It makes me sad to think of how disconnected children are these days, from the natural world.
According to Richard Louv who wrote Last Child in the Woods, “Boys and girls now live a denatured childhood. What little time they (children) spend outside is on designer playgrounds or fenced yards and is structured, safe and isolating. Such antiseptic spaces provide little opportunity for exploration, imagination or peaceful contemplation…
Louv recommends that we re-acquaint our children and ourselves with nature through hiking, fishing, bird-watching and disorganized, creative play. By doing so, he argues, we may lessen the frequency and severity of emotional and mental ailments and come to recognize the importance of preserving nature” — Jeanne Hamming
Another excerpt from the book, “Last Child in the Woods:”
As a boy, I was unaware that my woods were ecologically connected with any other forests. Nobody in the 1950s talked about acid rain or holes in the ozone layer or global warming. But I knew my woods and my fields; I knew every bend in the creek and dip in the beaten dirt paths. I wandered those woods even in my dreams. A kid today can likely tell you about the Amazon rain forest—but not about the last time he or she explored the woods in solitude, or lay in a field listening to the wind and watching the clouds move. — Richard Louv
What can we, as teachers, parents, grandparents, and friends of children do, to make sure kids connect with the natural world and reap the benefits of unstructured outdoor, nature-based playtime? Well, take some action. Any action. Here are 10 things:
Here is an awesome list of resources and ideas, right here. Start with that.
Or … start by just getting outside. Anywhere outside. With your kids. It doesn’t have to be in a wild place. Be random. Be playful. Let your kids lead the way. Explore. Be curious. Be refreshed.
Splash in the rain.
Go out at night with your baby in your arms.
Take a nap with your child on a blanket in the shade.
Grow some of your own food with your kids.
Push for more nature-based education in schools.
Help create green spaces in your urban community.
Explore your city so you know where the natural places are.
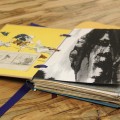
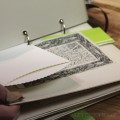
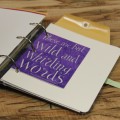
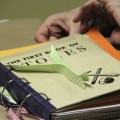
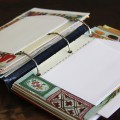
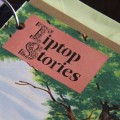
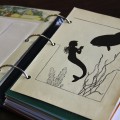
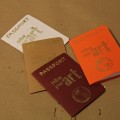
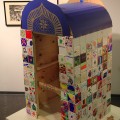
Smash. Smoosh. Squish. Mash. Moosh. Mush. Stuff … Oh, the things you can do with an old book!
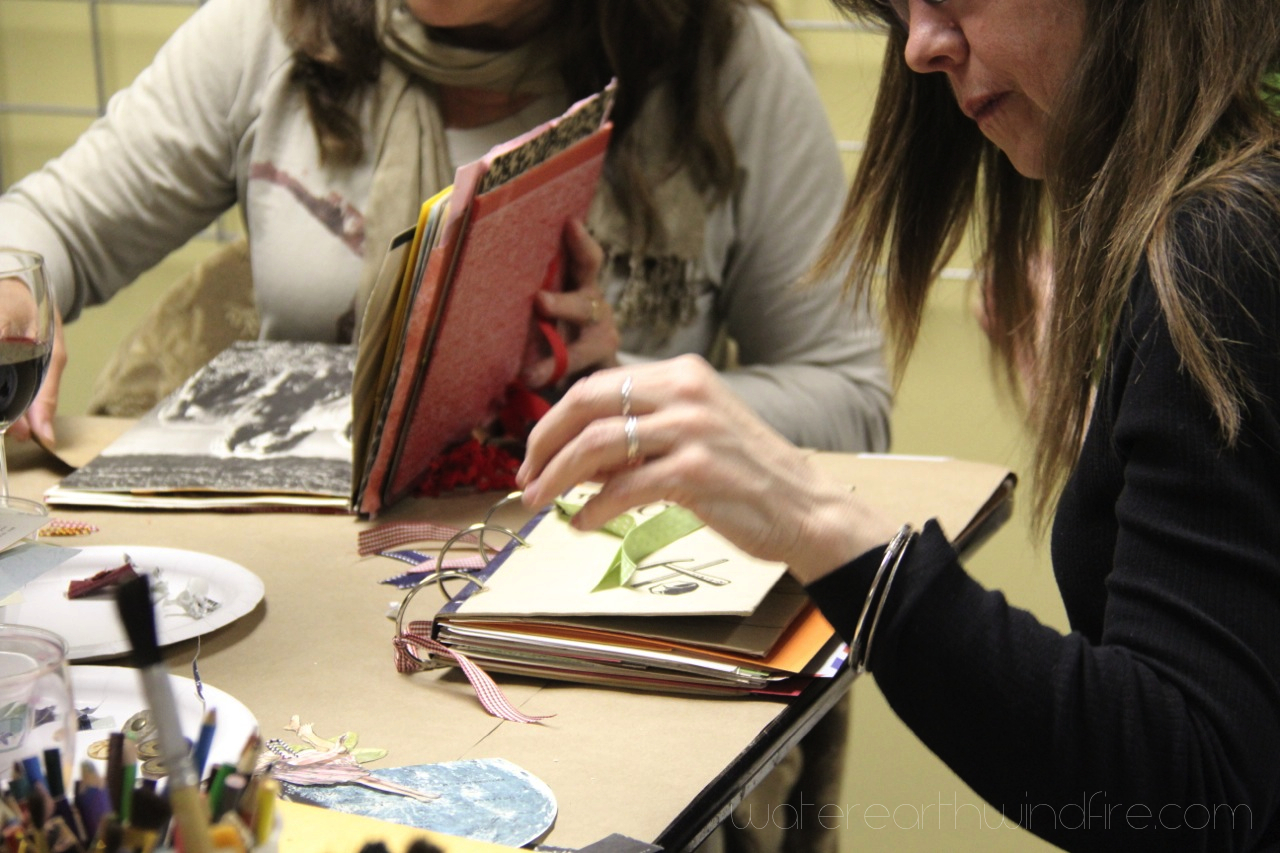
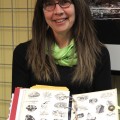
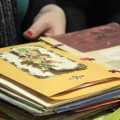
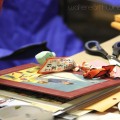
At our monthly Girls Art Night on March 27th, we altered vintage hardback books into Smoosh Books (my take on the official Smash Journals.) There were eleven of us mooshing, drilling, gluing, smooshing and stuffing away at 1+1=1 Gallery. We enjoyed tea, wine, and yummy finger foods. It was a great group of women friends — lots of comraderie and chemistry, laughter and concentration.
If you want to try a Smoosh Book yourself, and you live in Helena, let me know in the comments and maybe we can get together in a smaller group sometime soon to make more smoosh books. Otherwise there is a How-To towards the bottom of this post. 🙂
I have a few vintage books left (I’ve already cut the spines off.) And lots of stuff to stuff into them. I will bring the “ingredients” to our Girls Go gathering in October. What do you think of that idea, my sisters?
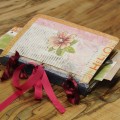
Maybe one of these will be a diary of your journey to health. Or a baby book. A collection of family recipes. A book of quotes or a “commonplace book.” A trip journal. A wedding planner, a place to record things your kids say … Whatever you use your smoosh book for, it will be wonderful once you smash it full of your stuff.
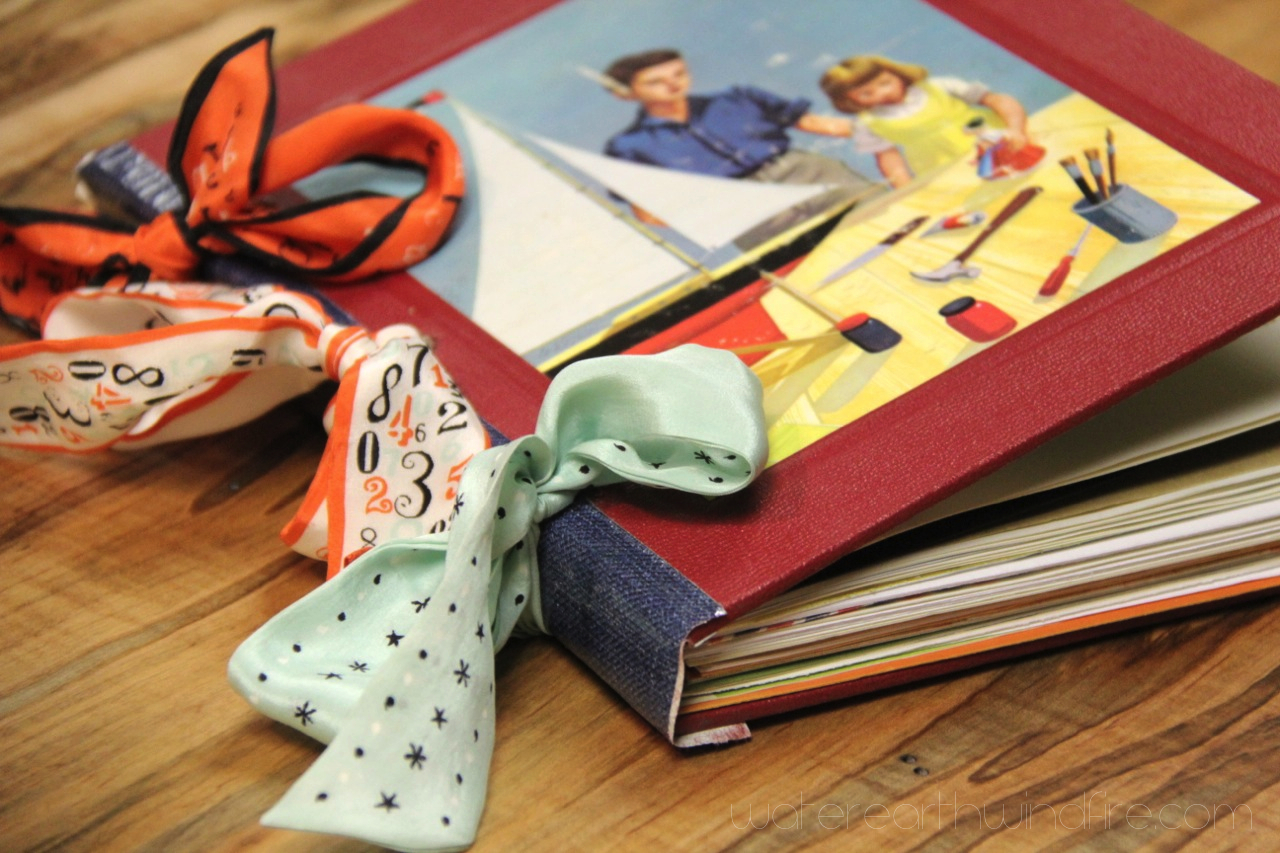
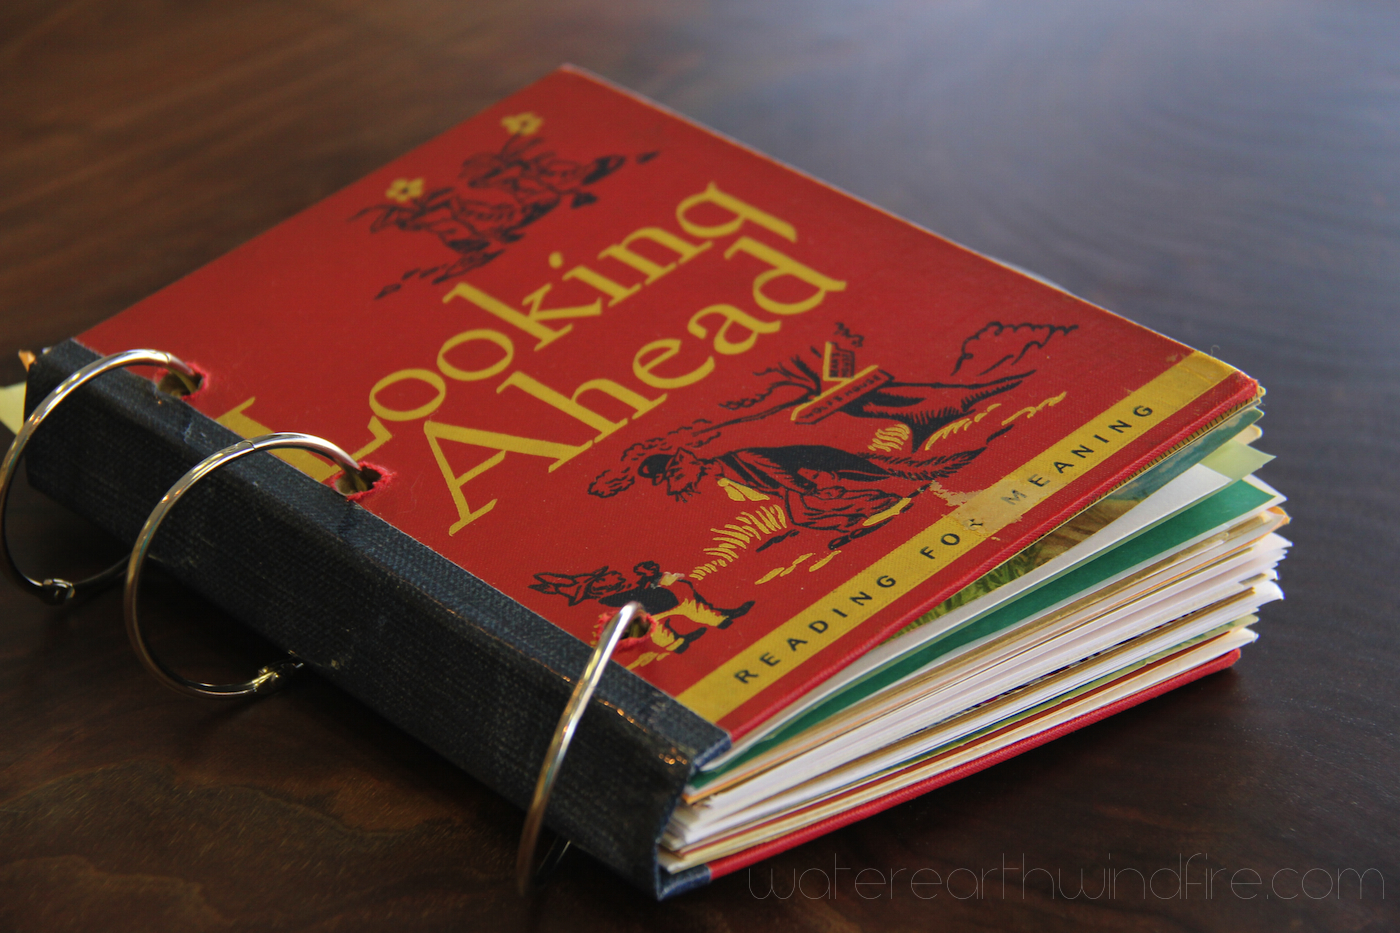
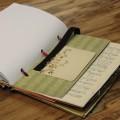
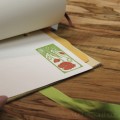
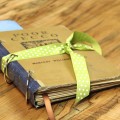
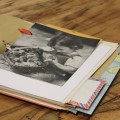
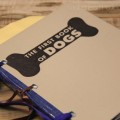
Here’s my mom’s Smoosh Book: I love that she picked the old children’s story collection, “Looking Ahead.” She is going to fill it with stories of her life. Cool!
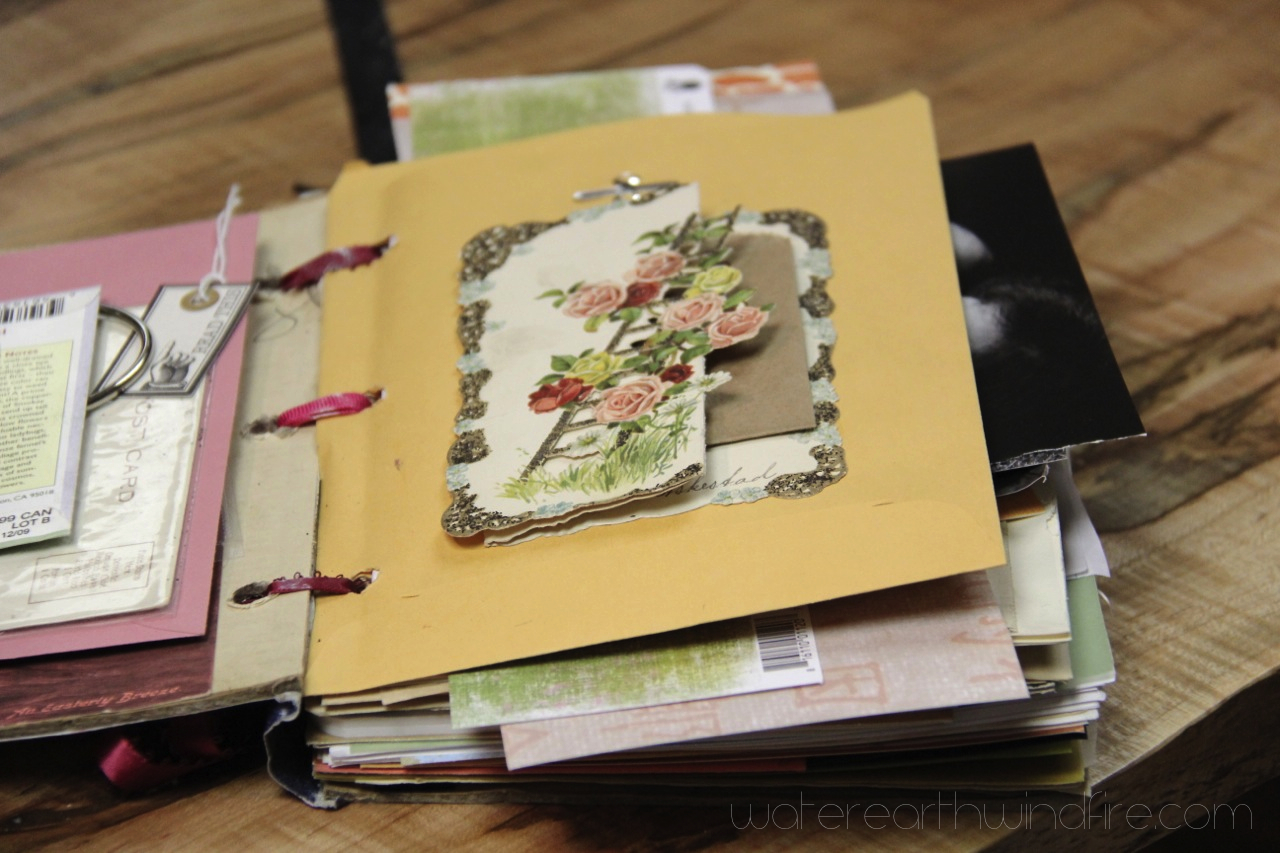
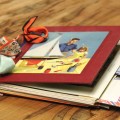
Your Smoosh Book doesn’t have to be perfect. Or finished. It’s a work in progress. This kind of “journal” or scrapbook is great if you’re like me and don’t have the time or personality to do elaborate scrapbooking. The way scrapbooking has changed, it’s the last thing I want to do … I remember when a scrapbook was an album of plain pages you glued things onto — like photos, birthday cards, autographs, paper dolls, ticket stubs, pressed corsages, leaves and flowers. Remember photo-corners? Or LePage’s glue with the red rubber tip? (I know. I know. I’m dating myself. Oh well.)
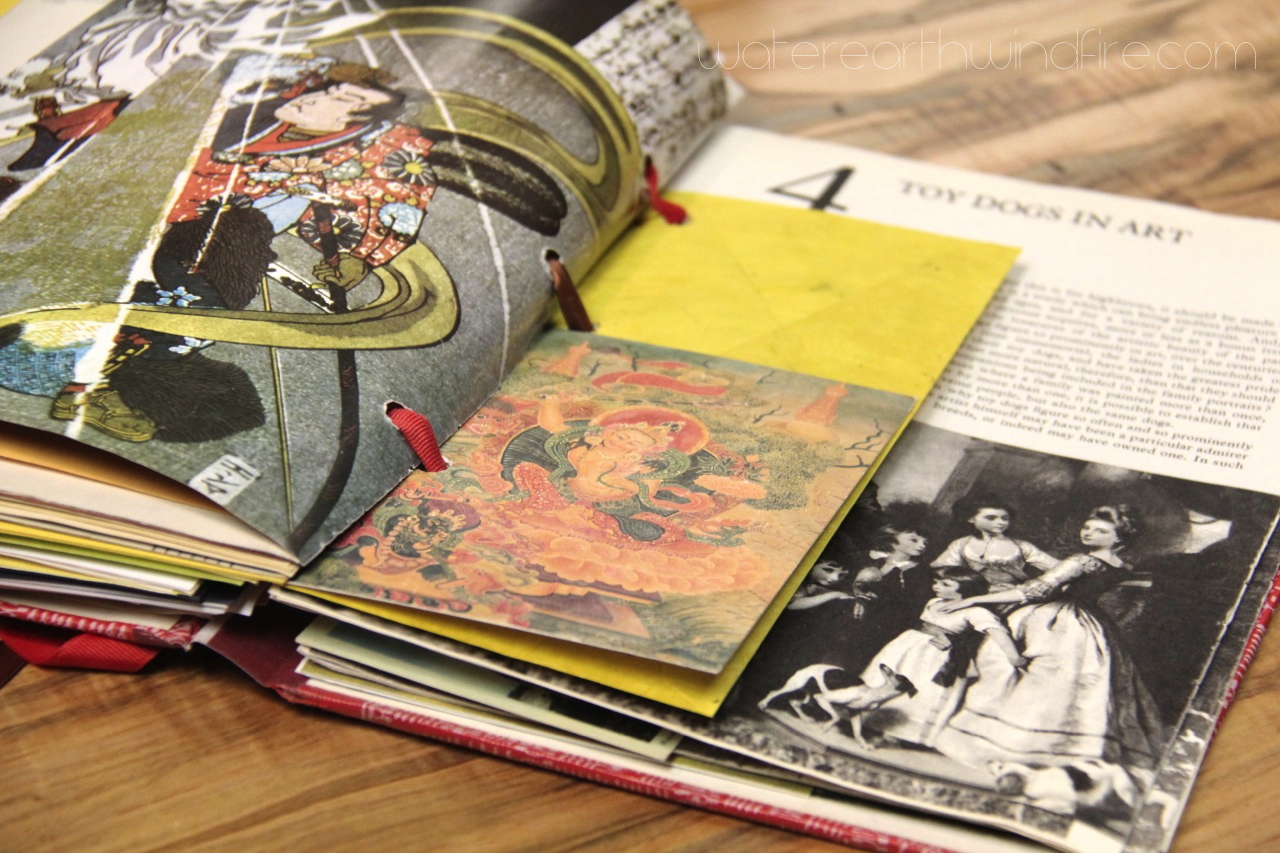
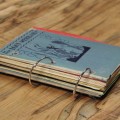
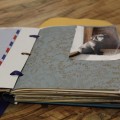
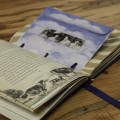
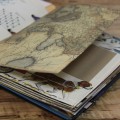
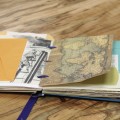
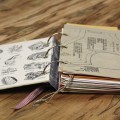
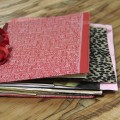
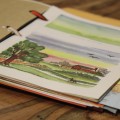
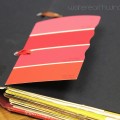
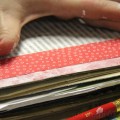
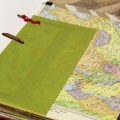
A Smoosh Book can be kinda funky and alotta fun. When you first make the book, you can sort through the old book’s pages and keep the ones you like, recycling the rest. Try incorporating comic book pages, other special papers, translucent papers, seed packets, tiny bags, cellophane bags, glassine envelopes, ribbons, stickers, cards, and any other kind of envelope or pocket.
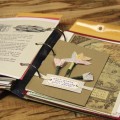
To use your Smoosh Book, add written passages, poetry, quotes … lists of stuff you’re doing/planning/wishing, recipes, pressed flowers and leaves, feathers, seeds, labels, photos, doodles, menus, tickets, found lists, anything you can think of.
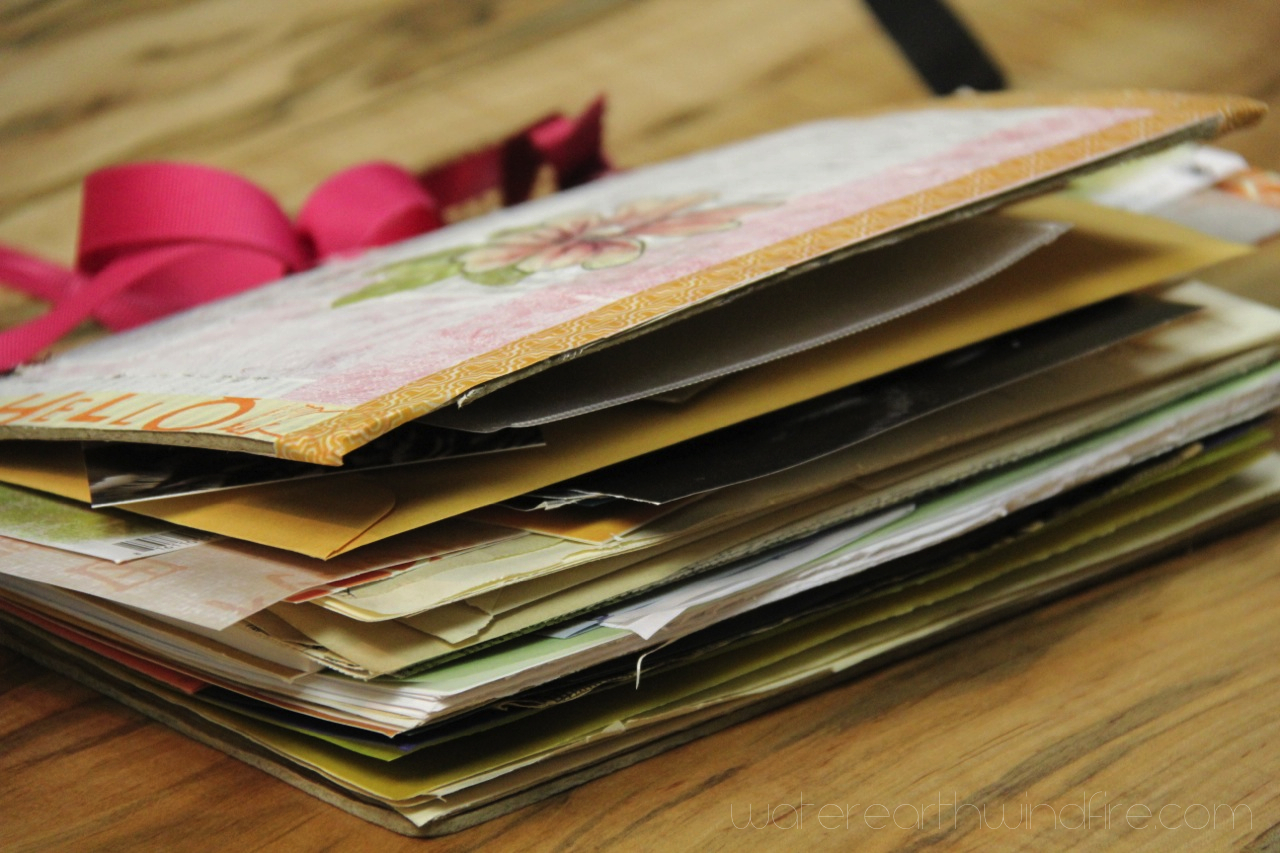
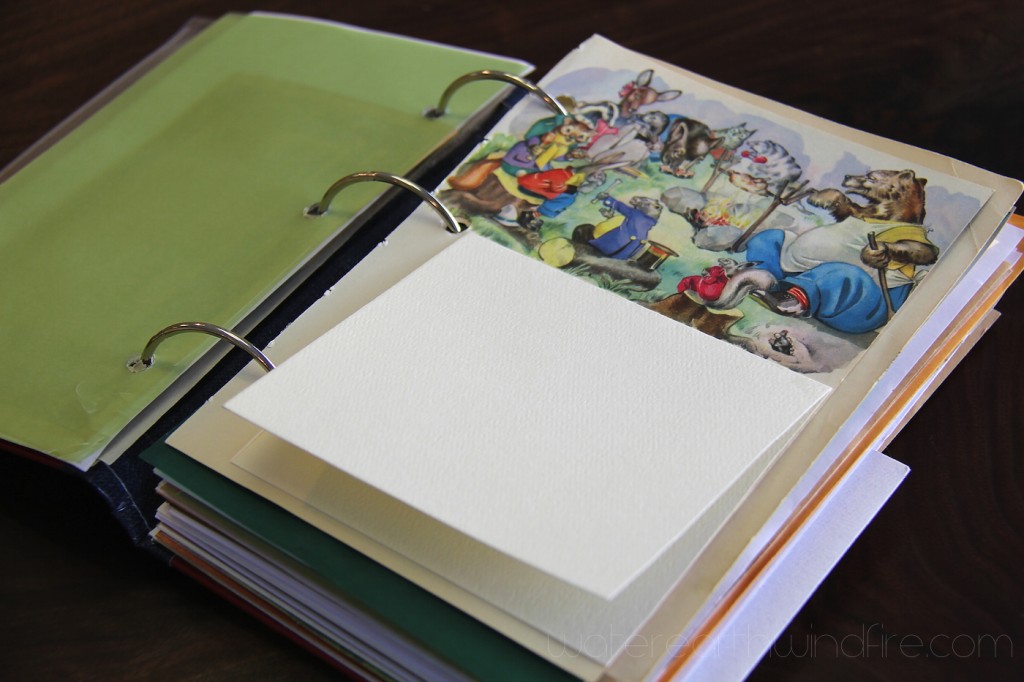
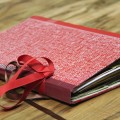
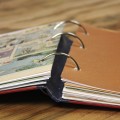
Use ribbons or binder rings to tie the book together so you can add pages as you find cool stuff (like envelopes.) Your book will grow as you use it. Eventually it becomes stuffed with stuff. And looks like it’s exploding and that’s totally okay. You can add bigger binder rings if it gets hard to turn the pages because you’re adding so much stuff.
Here’s what you need to make your own Smoosh Book:
Old hardback book from thrift store
band saw to cut off the spines
power sander to sand the edges where you cut
drill to drill holes through the entire book
clamp to hold the book covers and pages together while you drill
paper punch for miscellaneous papers — use one you can line up to match the holes you drilled
envelopes, extra blank papers, etc to fill the book
ring binders (preferably large) or ribbons, twine, leather cords, shoelaces
duct tape (for your new spine)
spray adhesive or dry-mount glue to attach pockets and envelopes that are not bound in to the book
washi tape, other tapes
white acrylic paint or gesso to paint over text where you want to be able to write
flat wide brushes, either bristle or foam, for painting
bits and pieces from the list below, or whatever you have around
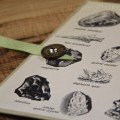
Basic Instructions to Make Your Own Smoosh Book:
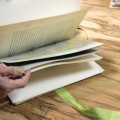
Cut off the spine of your hardback book with a band saw. Watch out for metal staples. If the spine has staples, just cut a little more off to avoid the metal.
Sand off the edges to make them nice and even.
Separate the pile of book pages from the front and back covers.
Make a new “spine” using duct tape attached to just the two covers. This will keep all the loose stuff inside your book.
Go through the pages of the book and pull out all the pages except the ones you want to keep. This will make your book much “thinner” at this point.
Decide what other papers you are going to add to your book. This can include large envelopes, flat bags, pockets, other types of papers …
Cut the extra papers to size and put them where you want them in the book.
Add the other papers such as envelopes where you want them. Don’t worry about everything lining up perfectly. It’s okay to have some things sticking out. These act like “tabs” later.
Clamp everything together on a work table, and using your power drill, drill 3 holes through the whole mess.
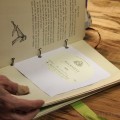
Put it all together with ribbons, ring binders or whatever you have decided to use to attach.
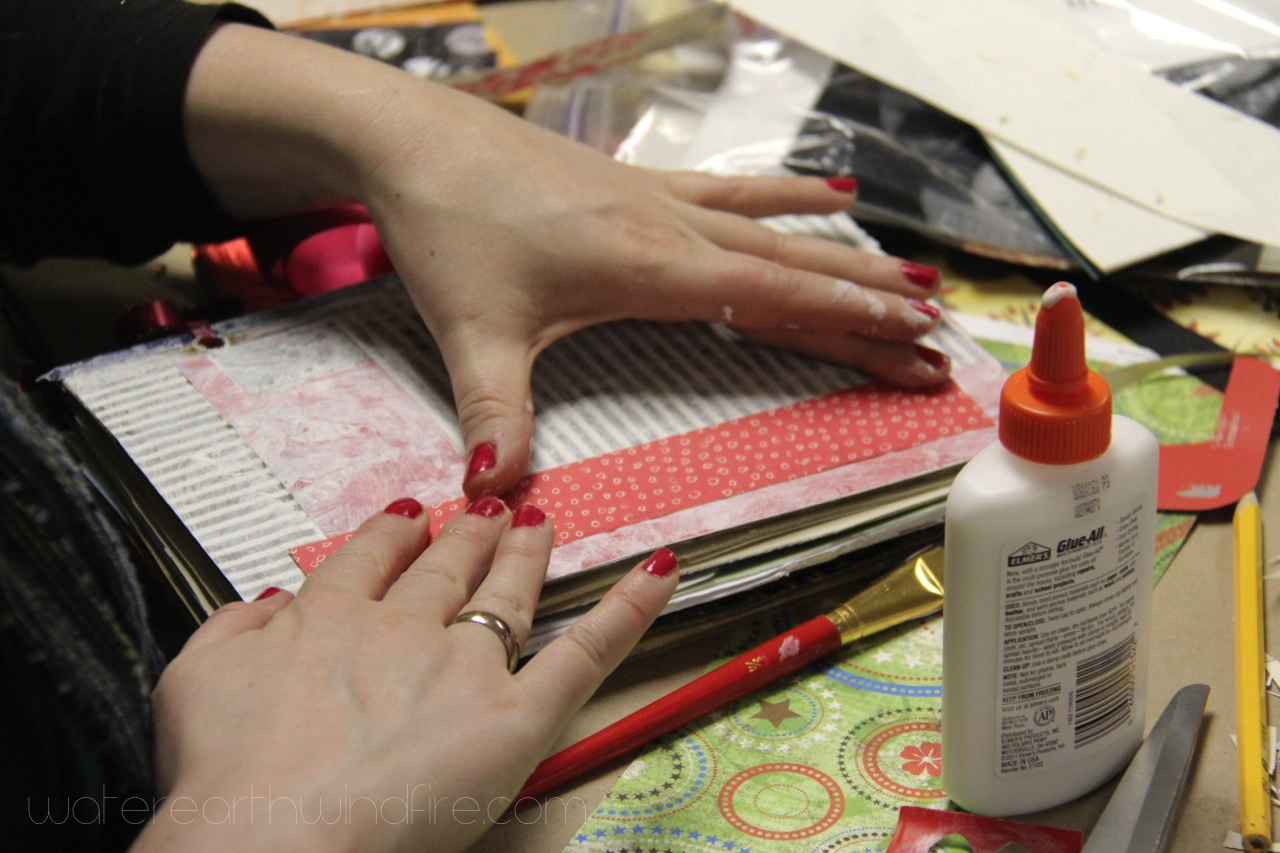
Now you’re ready to start gluing things into your Smoosh Book, then adding your words.
Above all else, have fun!
Use a band saw to cut off the spine of your hardback book
Below is a list of ideas and inspiration: things you might want to stuff in your Smoosh Book as it grows …
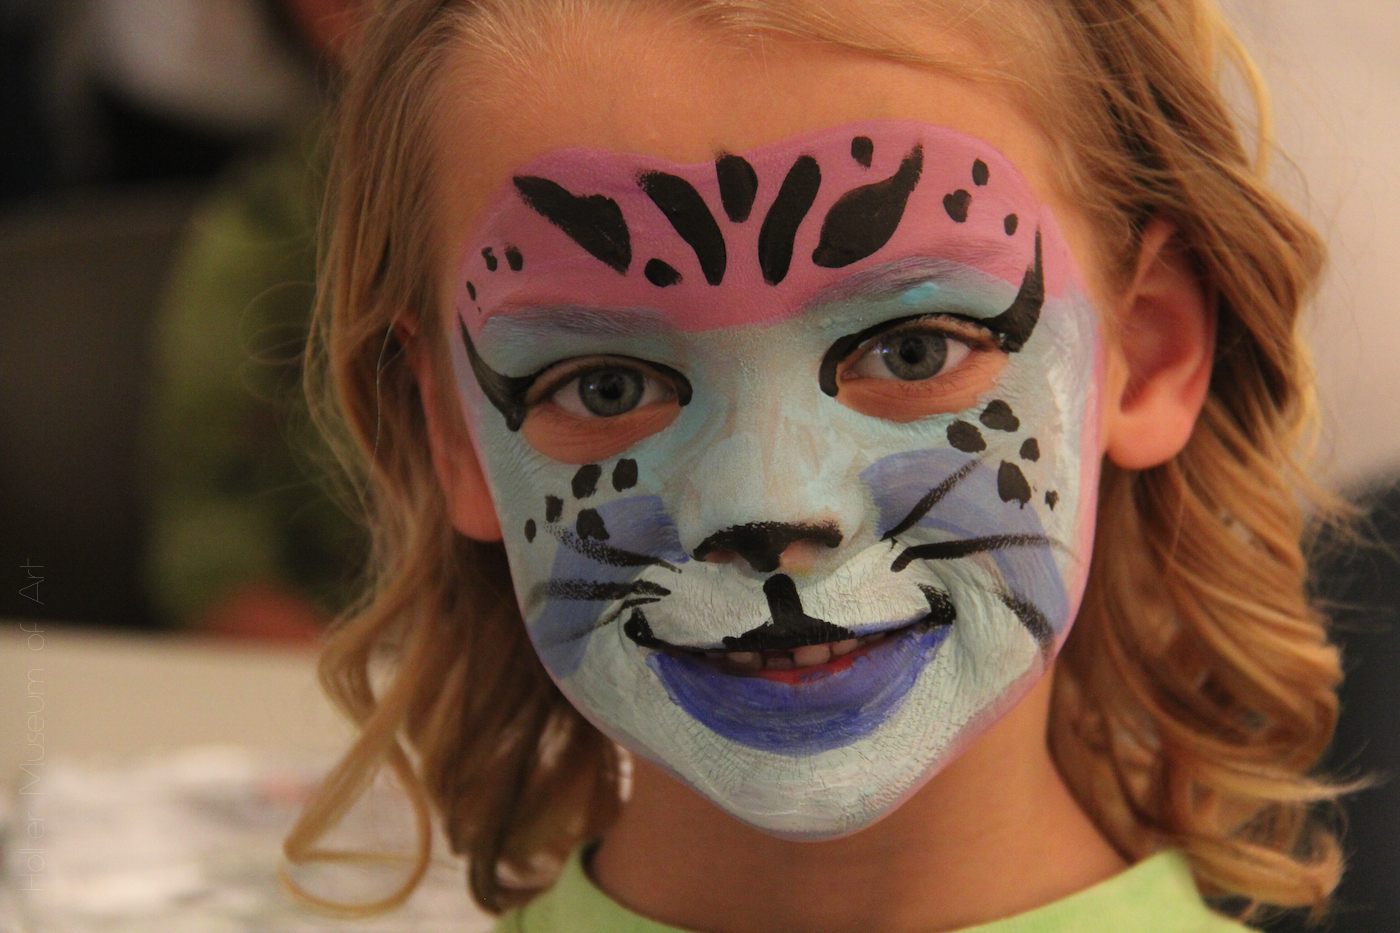
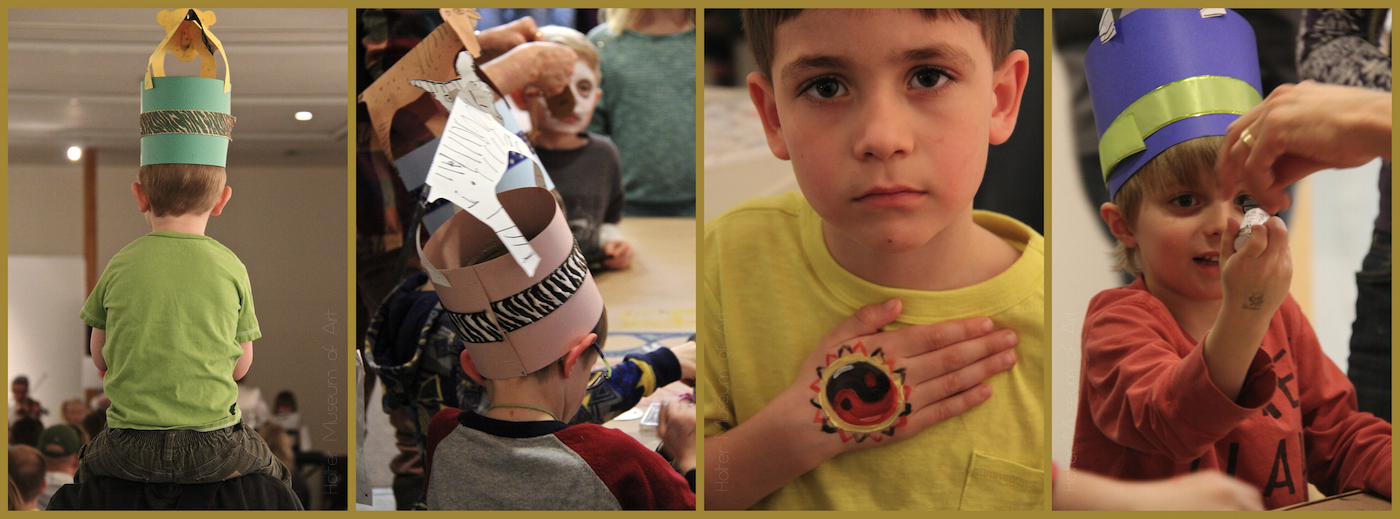
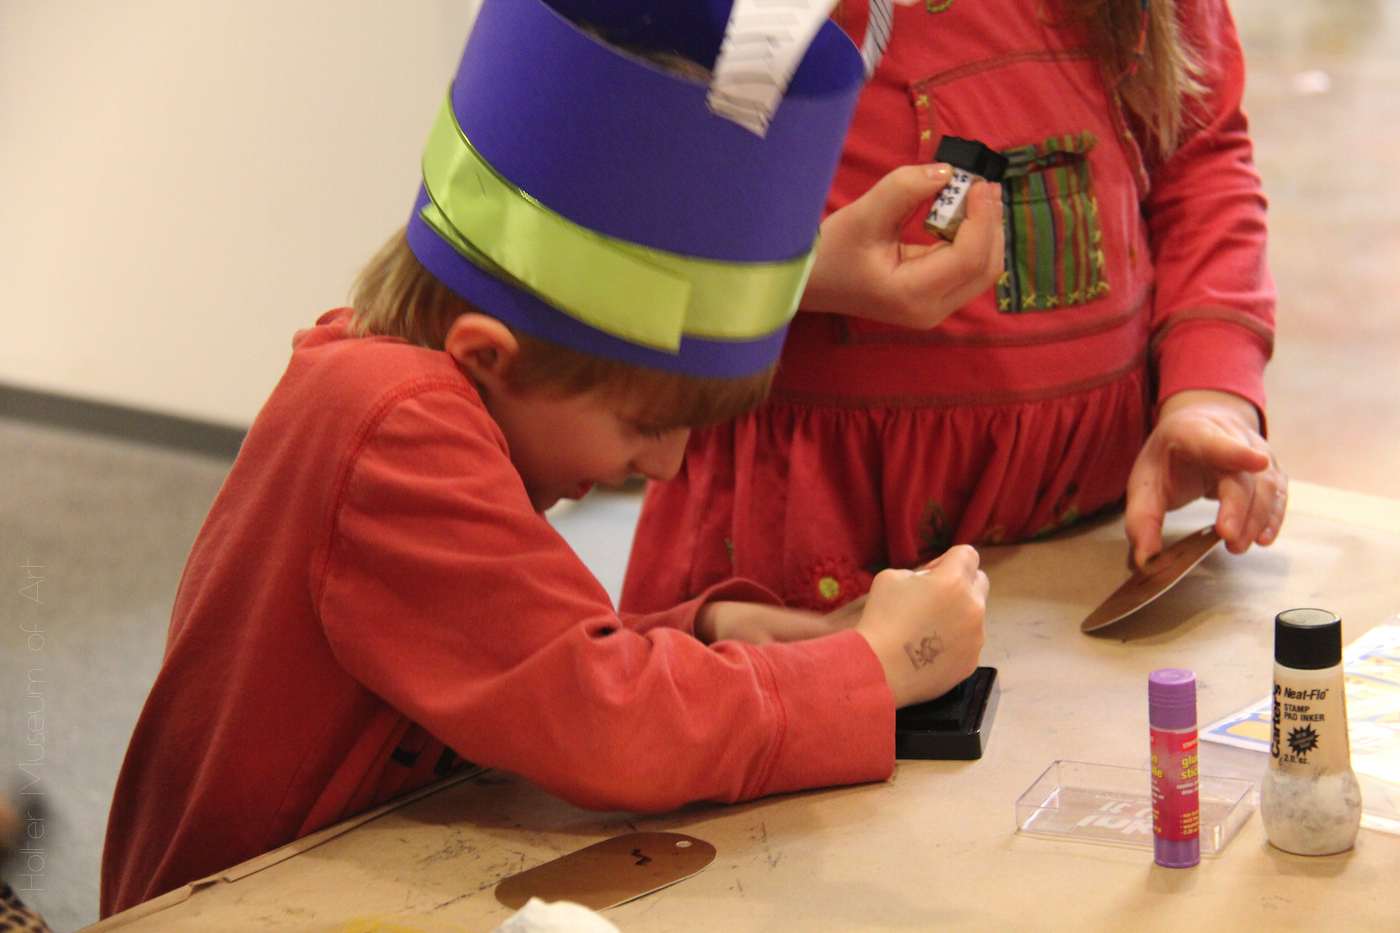
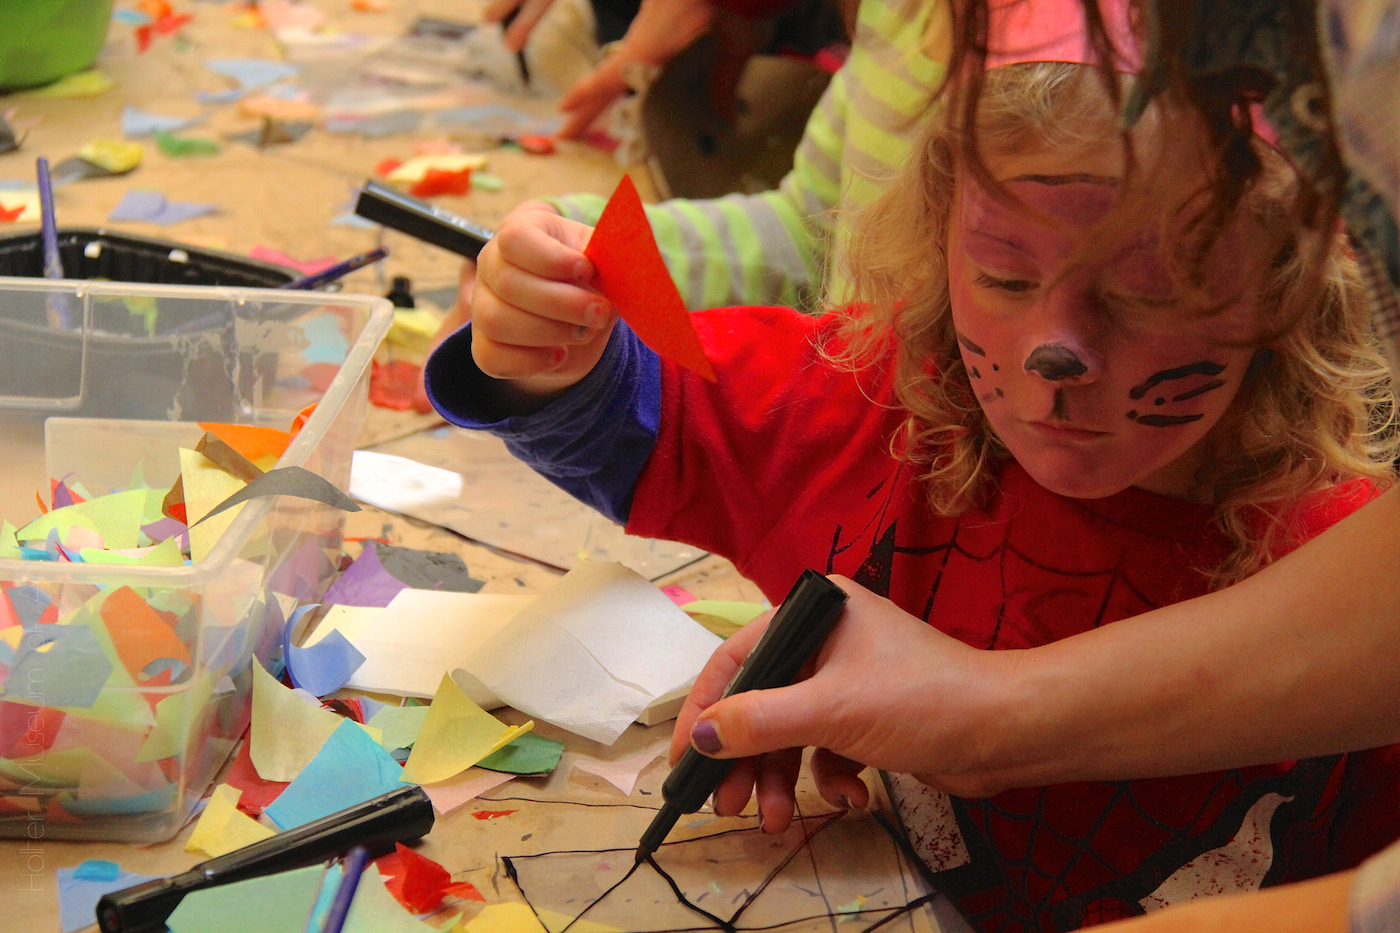
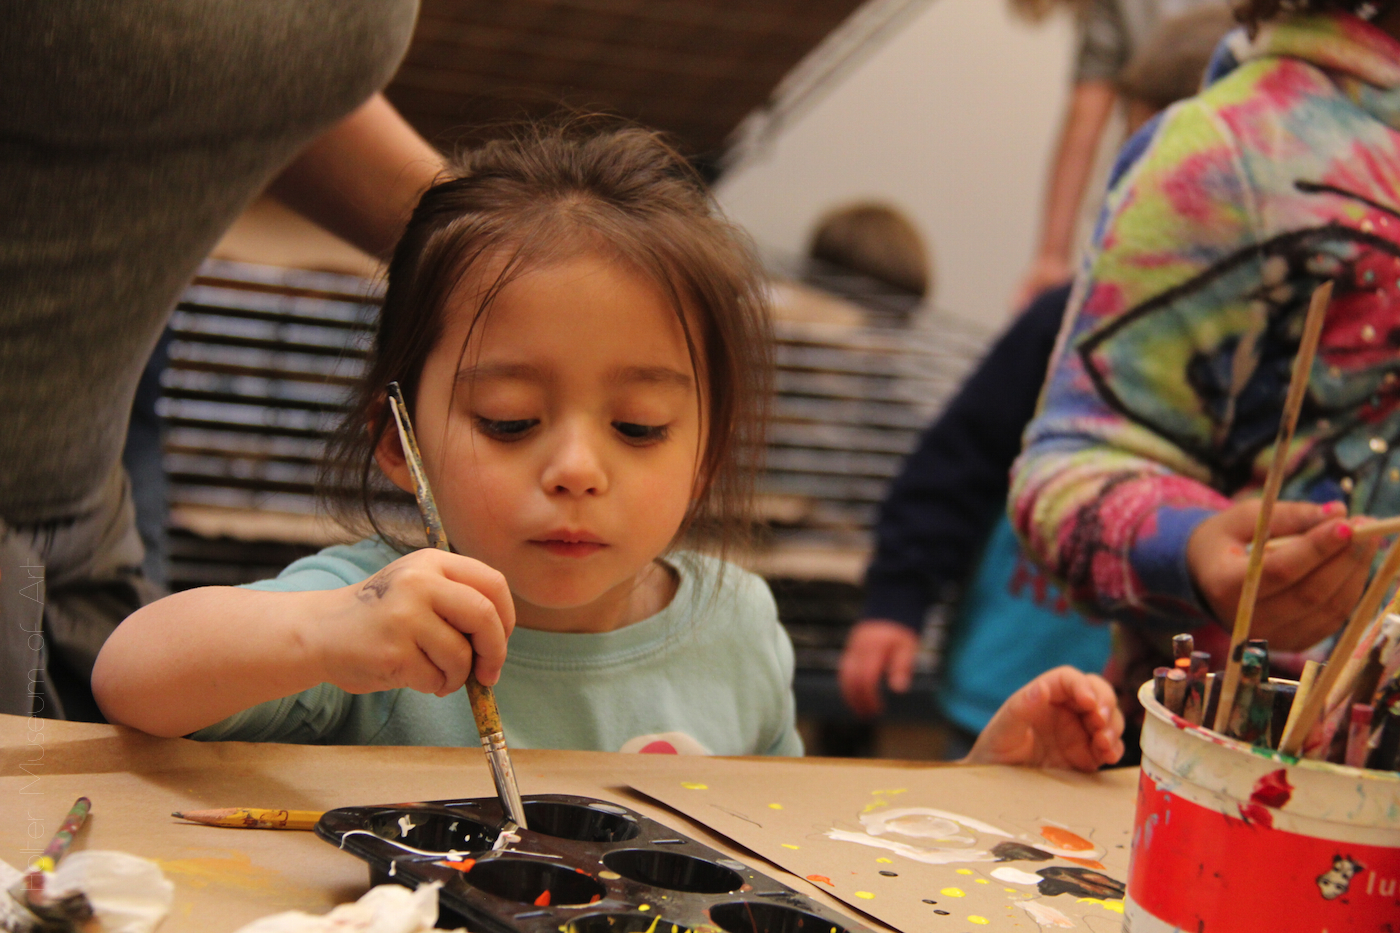
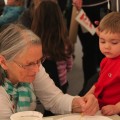
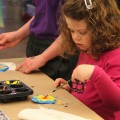
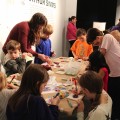
A circle of hands is how it felt for me, as I helped with KidWorks! alongside the volunteers, my fellow docents and staff of the Holter Museum of Art. We needed everyone to make it work.
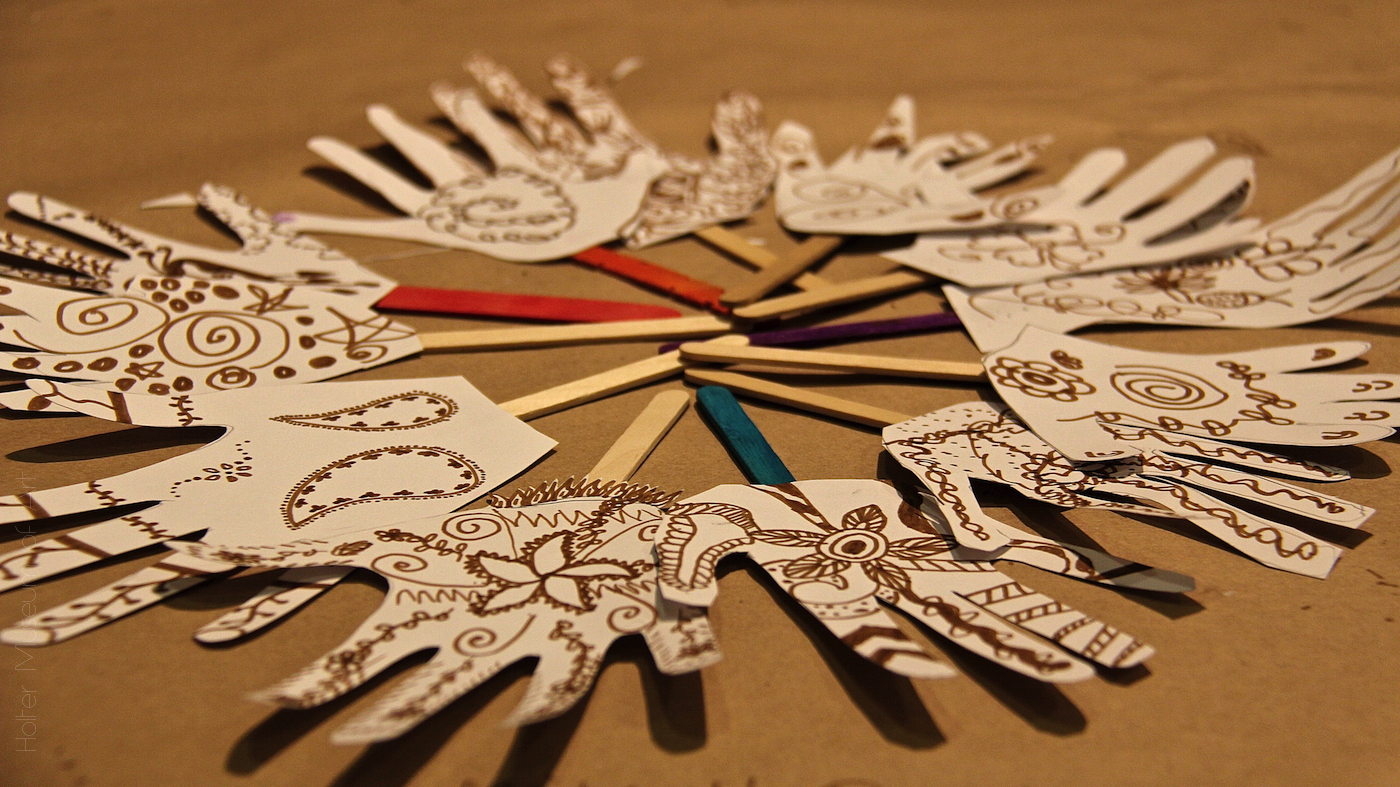
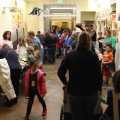
Last Saturday, the Holter Museum of Art held KidWorks! — it’s 23rd annual arts festival for kids. What a blast!! I had an amazing opportunity to help put on this fun event and boy was it alot of work. Yet, when we opened the doors of the museum at 10:00 am, just like Connie, Judy, Sondra and Hannah told me, the festival took care of itself. A gigantic bulldozer of little kids and and their significant adults moved through the museum playing, delighting, learning, appreciating, thoroughly enjoying themselves and getting a messy education in the wonderment of art.
For me — as a docent — it was incredibly fun (I hardly stopped smiling except when I was concentrating,) extremely exhausting (the tables were set to little kid height and my back hurt like hell at the end of the day) but so, so fulfilling to share my enthusiasm about art with this many kids and their peeps.
I absolutely loved witnessing the diversity of approaches. Every child, has a unique way of seeing the world and expressing what they see! As docents, we have to Let Go of Results and Outcomes. Allow Mess. Delight in Oops. Multi-task-yet-Focus. Smile. Laugh. Make Eye Contact. Then. Clean. Up.
Well … it seems at the Holter, “docent” is a fancy word for a volunteer who:
works really hard
has lots of fun with peers and with the public
stays longer than expected to clean up the mess
knows how to laugh and goof
loves to share his/her passion for the arts
gets training to use Visual Thinking Strategy in educational museum tours
has a lot of energy (enough to keep up with kids of all ages!)
has an awesome opportunity to guide kids, teens and adults in appreciating art through tours and hands-on activities
can think on her/his feet, improvising when necessary
doesn’t mind getting down and messy
knows that every individual’s experience and ideas are valid
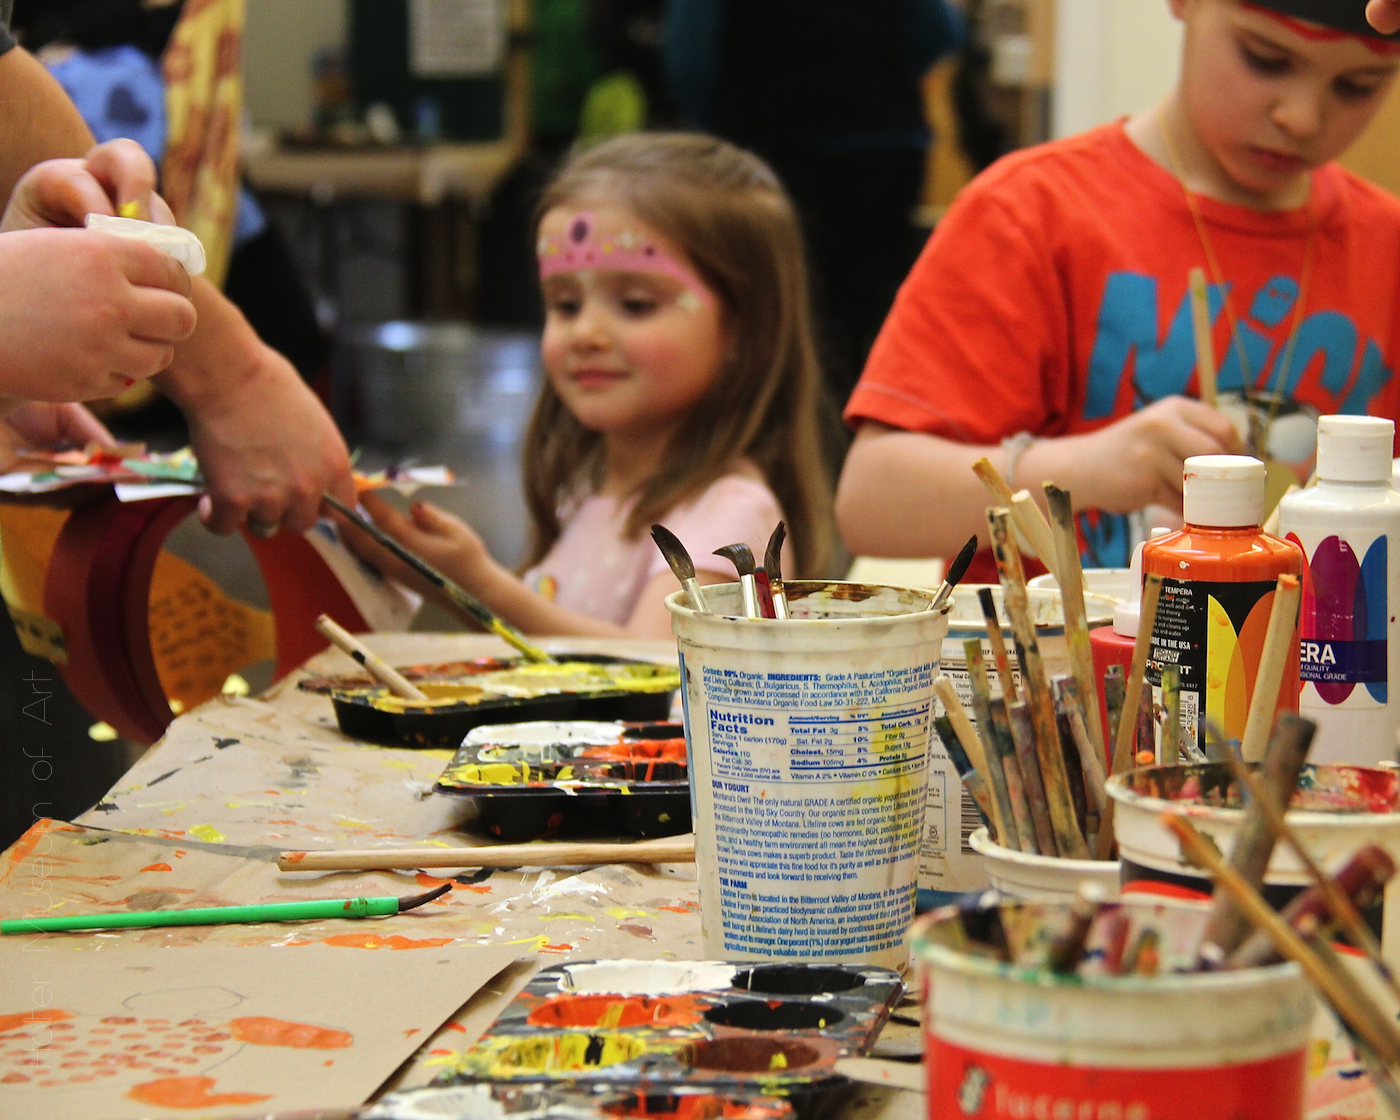
helps organize and put on the biggest and best kids’ arts festival anywhere around
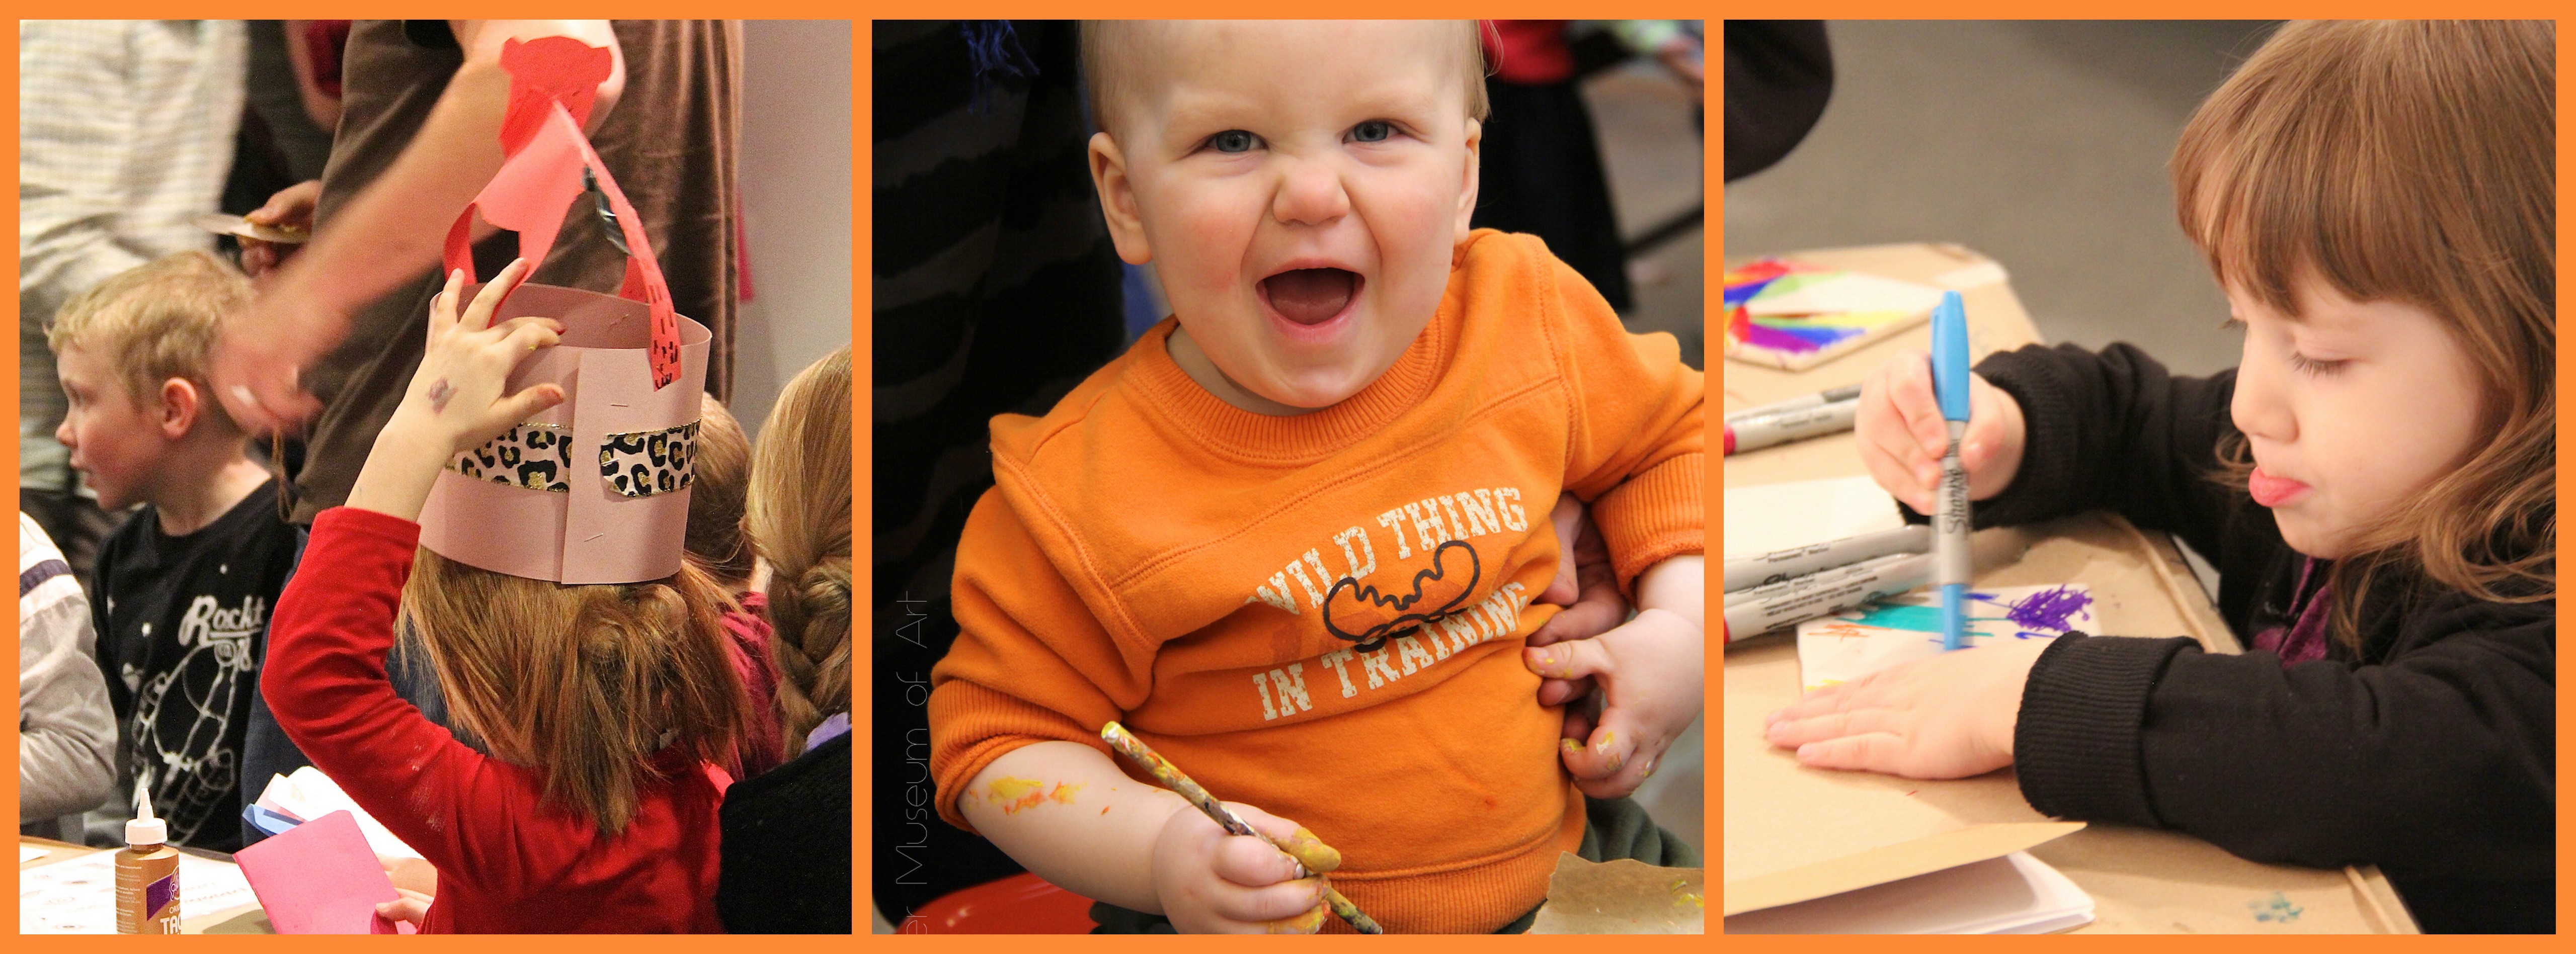
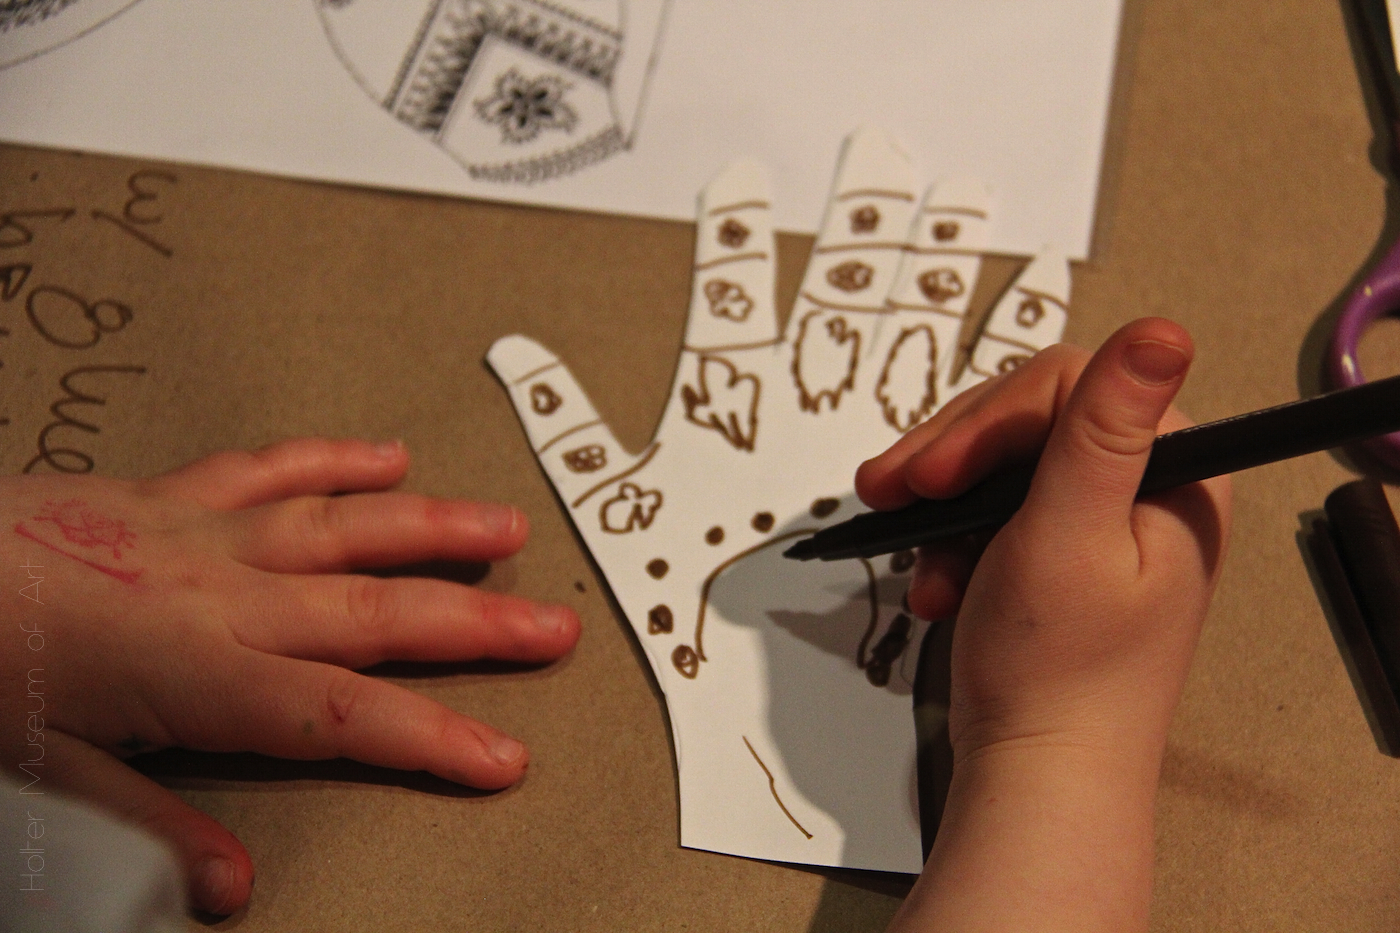
then watches the magic happen as our doors open to over 800 participants
that’s alot to pack into one 6-letter word!
The Holter docents I have the privilege to work with, are a diverse group: outgoing, intelligent, friendly and helpful to new members of the team. We are all willing to learn from our mistakes and educate ourselves continuously so we are the best “art guides” the Holter could possibly have. It helps that we have some docents who are great leaders — super organized and experienced. It also helps that the educational staff (Sondra, Aubrey and Hannah) are so enthusiastic about their jobs. I have about half of the skills I need, to be an amazing docent. I’m working on the rest. But boy, was it fun, fun fun to help make KidWorks! happen.
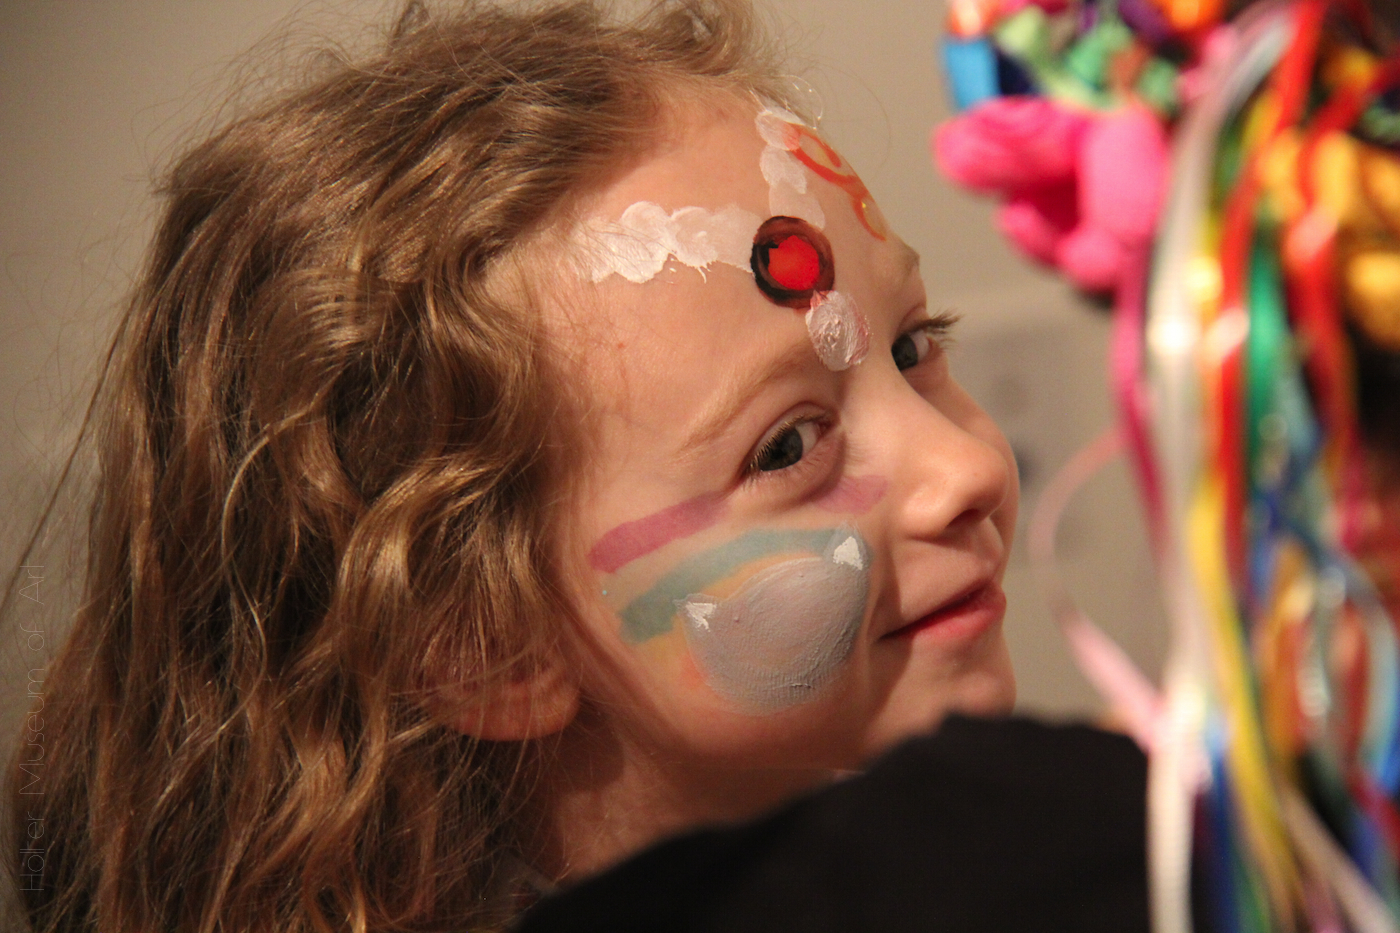
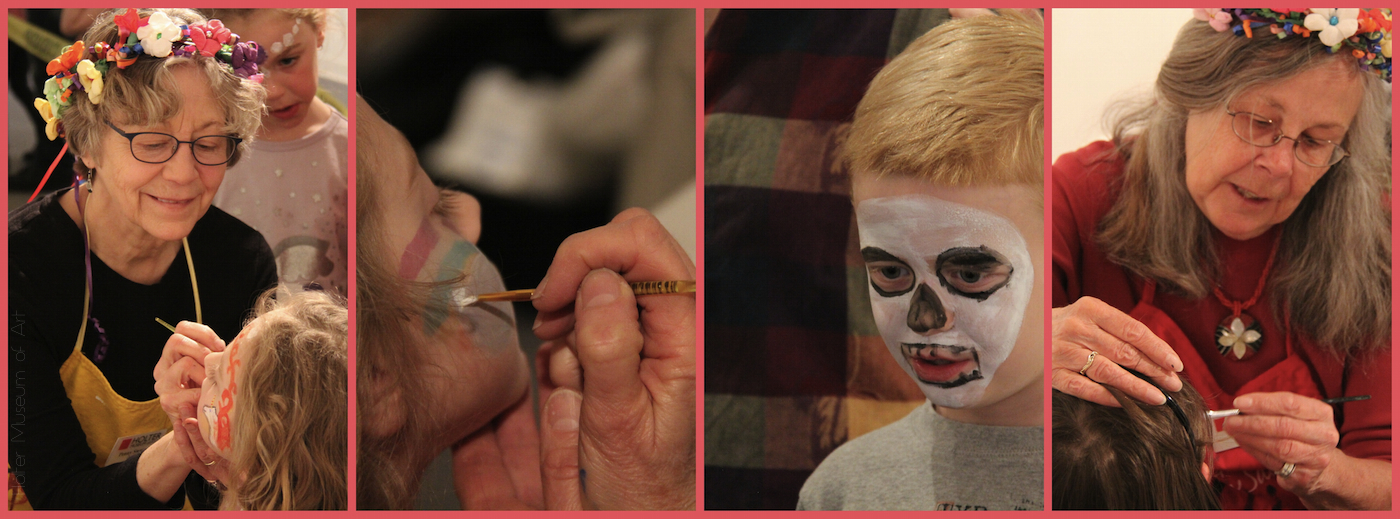
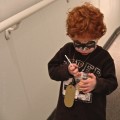
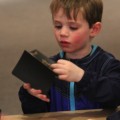
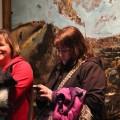
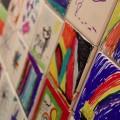
Sorry about the photo-intensive post today. I just couldn’t resist! There were so many sweet moments and precious connections made during KidWorks! that I can’t resist posting these. Below is a gallery with a few more images from the festival.
If you attended KidWorks, or volunteered at the festival, won’t you write a short (or long) comment to say how you experienced it? Thank you!