Kid’s Art: Painted Stick Sculptures
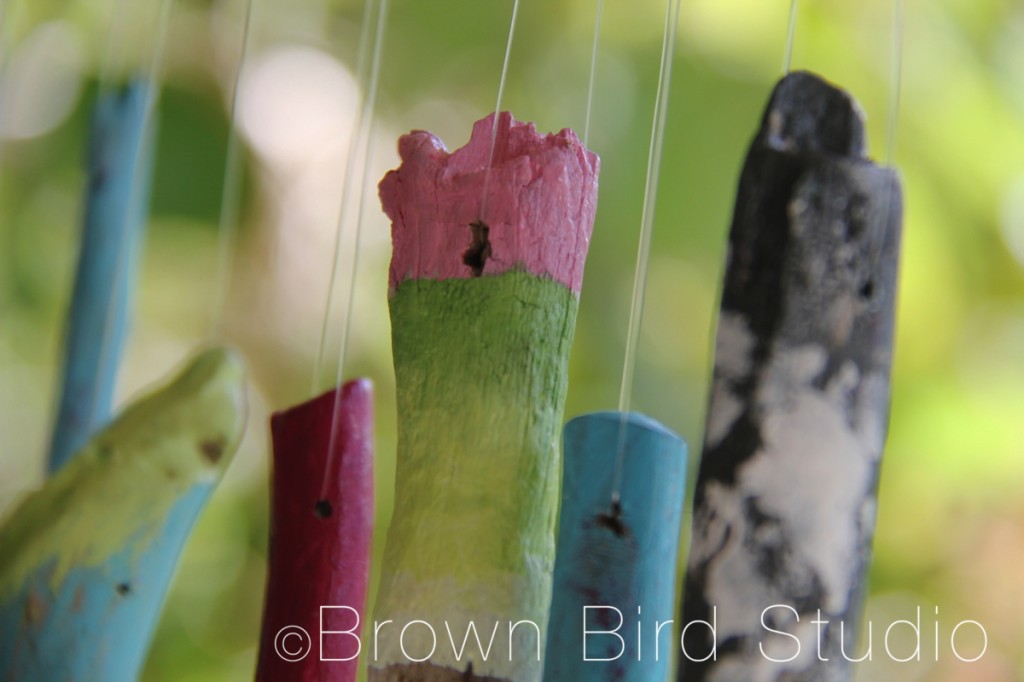
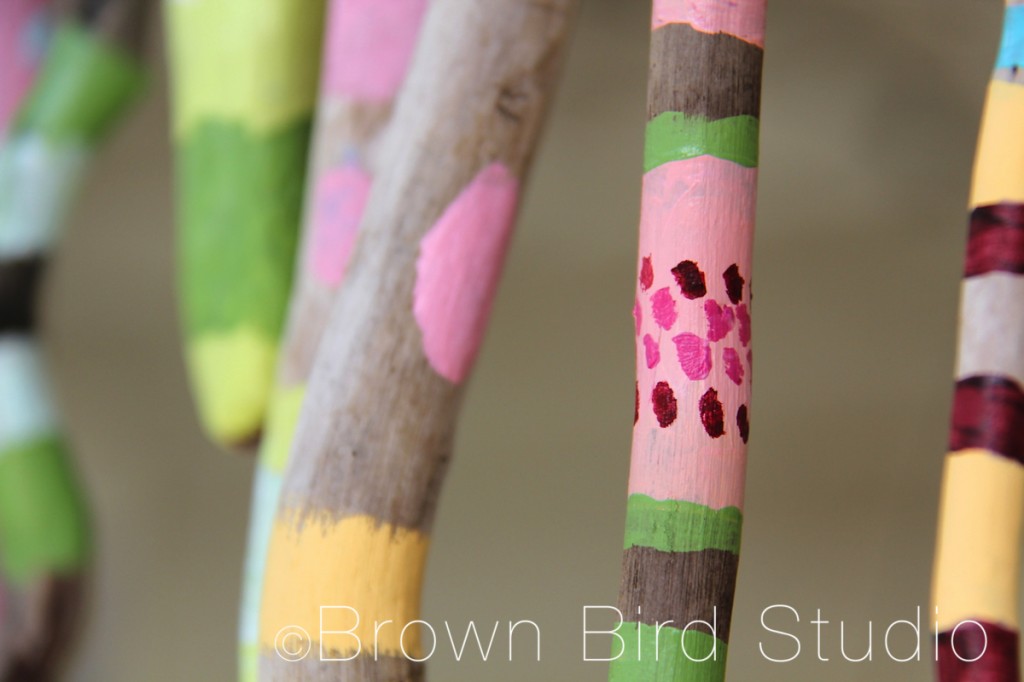
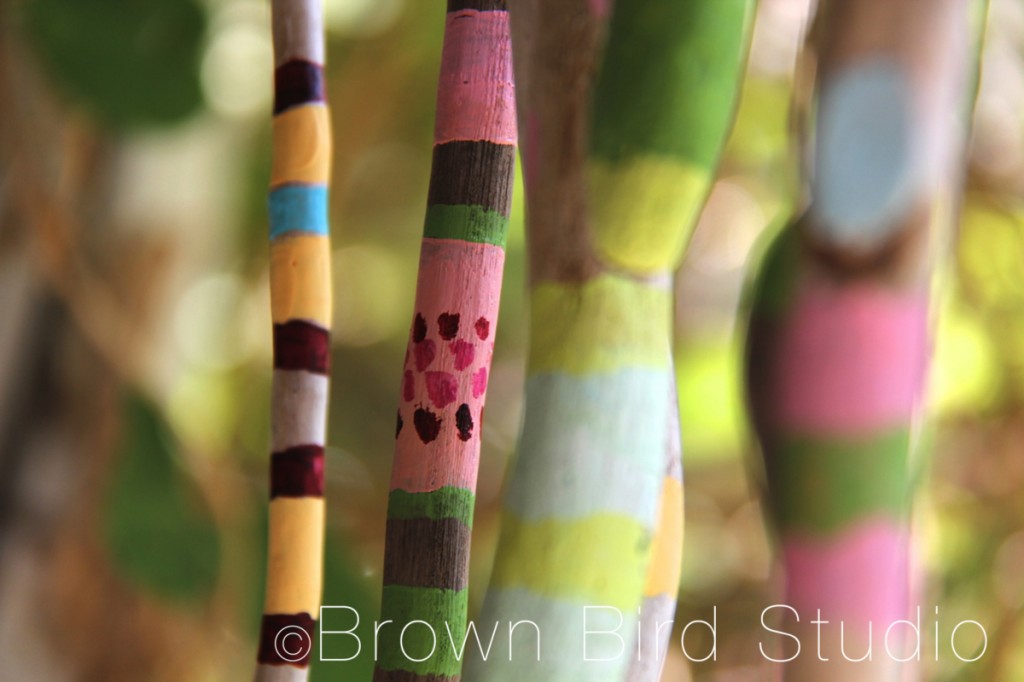 Woohoo! We finished our stick sculptures! Ema and Adia assembled the painted driftwood sticks into two mobile-like or wind-chime-like thingies … we even tried blowing on them (like a breeze) and they do kind of clack together to make a gentle comforting sound. I really love these art pieces. So much I’m going to make one myself, for our porch.
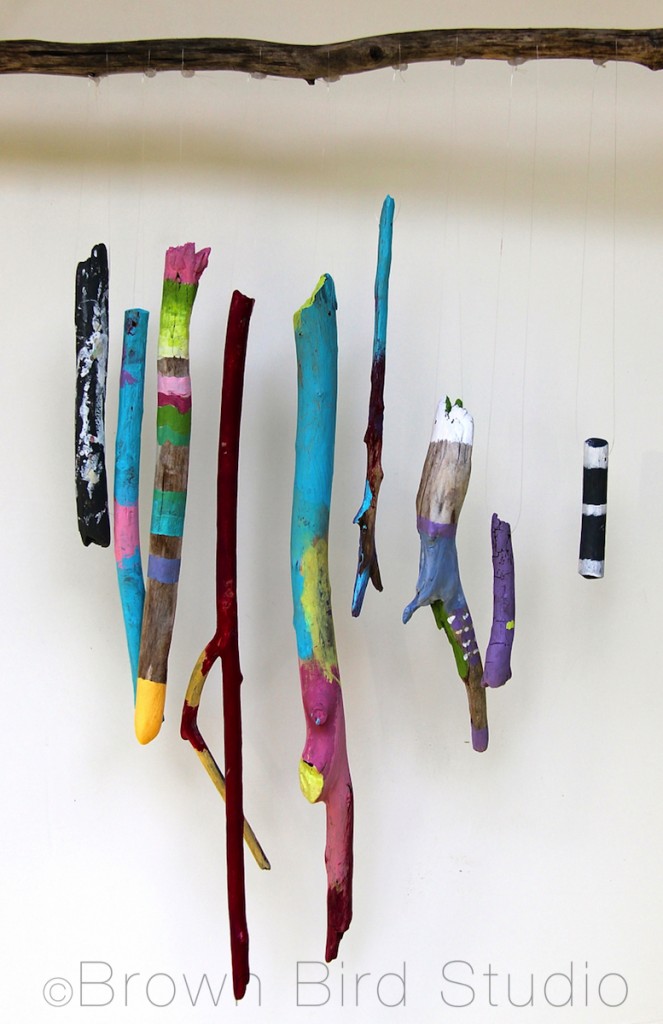
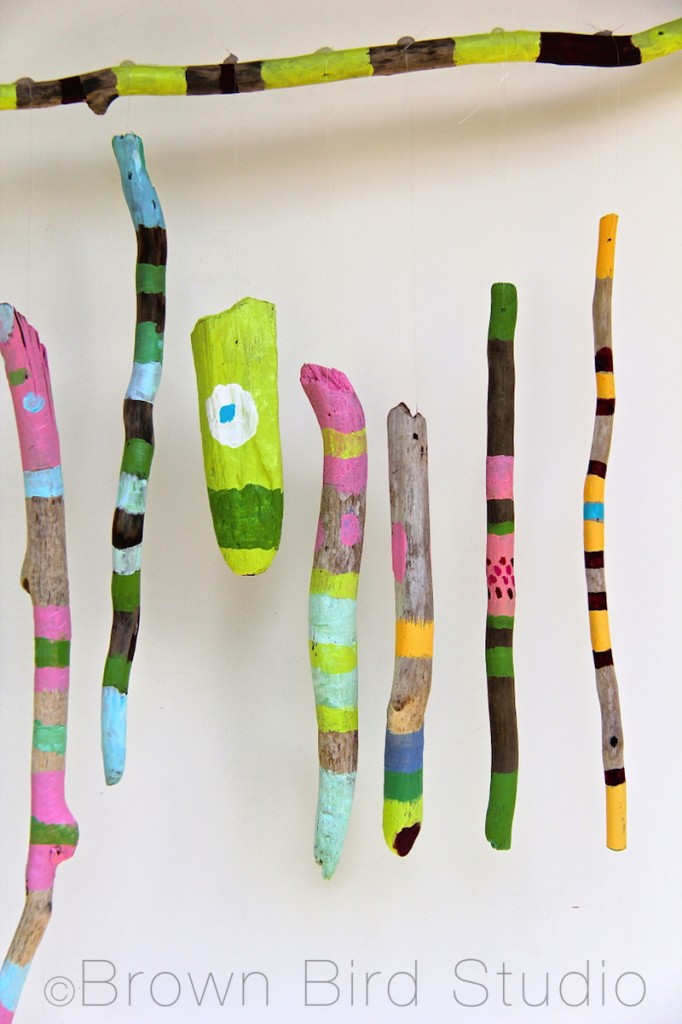 Supplies and Tools Needed for This Project:
- driftwood sticks, preferably already smoothed out
- 1 longer driftwood stick for the horizontal piece
- acrylic paints
- brushes in various sizes
- drill and tiny drill bit (bit size depends on size of your sticks. We used a 1/16 inch bit)
- clear fishing line (mono-filament)
- hot glue
- enthusiasm and perseverance
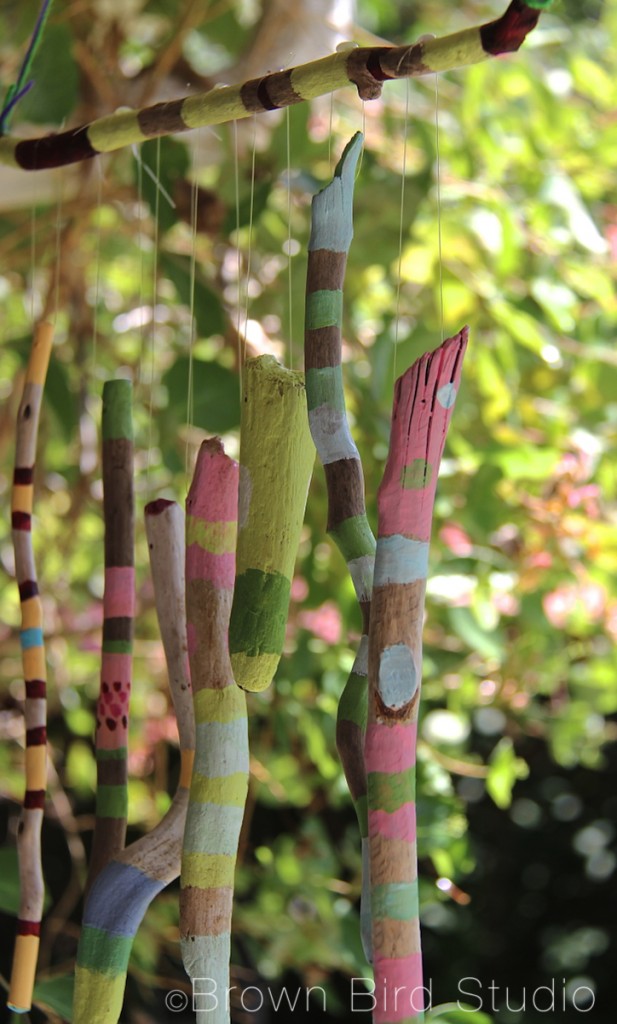 Not exactly instructions, but you can see us painting and drilling the stick in this post
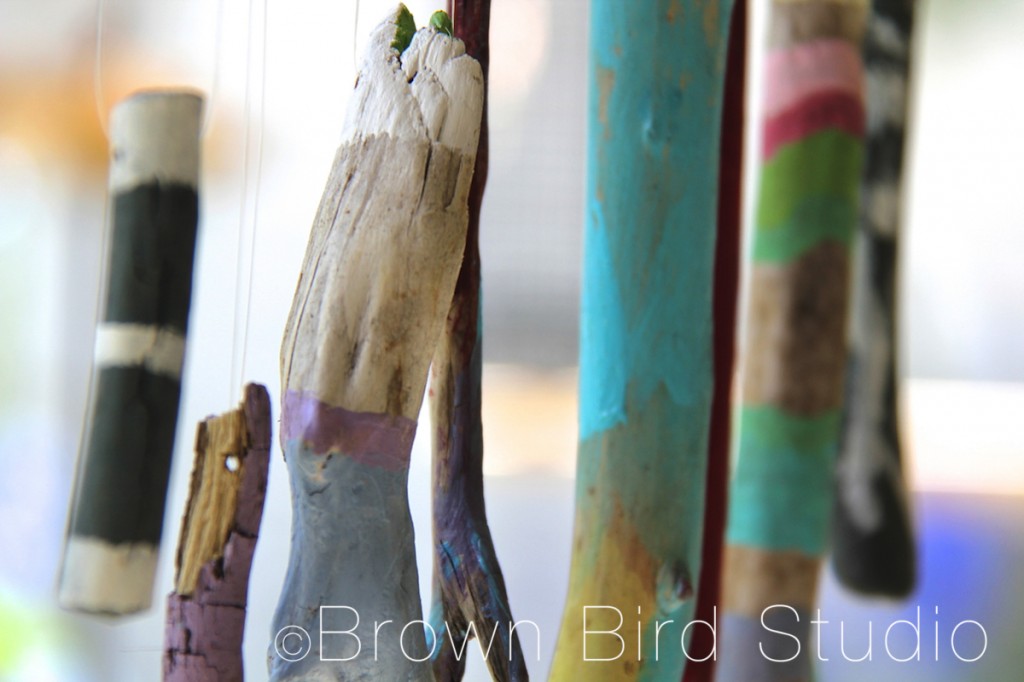 A few tips we discovered as we made these painted stick sculptures:
- limit the paint colors to get harmonious results
- drill the holes after you paint, or be ready to poke them again with something like a t-head straight pin.
- The hot glue dabs on the horizontal stick could be considered unsightly. I don’t mind them. It was the easiest way we could think to make sure the sticks didn’t all slide together and get tangled.
- You can make just about any kind of assembly with these painted sticks. They don’t have to become a hanging sculpture. I am going to try some other ideas on my own, such as making little cities or crowds of painted sticks. Fun!
- It might be kinda cool to also drill holes in the bottom of the sticks, then attach some things that would tinkle together, making more sound in the wind: a true wind chime. You could use old keys, flattened-tin-can-cutouts, seashells …
Have lots of fun making something like these with your kids or students! I hope you will comment, give feedback, tell the rest of us what worked and what didn’t, and maybe even post some photos and put a link in the comments. Thanks for looking and reading. — Maureen, Ema and Adia
