Cootie Catchers aka Fortune Tellers Just for Fun
Learning to Observe Nature with kids
July Garden Variations and Color Combinations
How to make Chalkboard Signs from Old Kitchen Bits
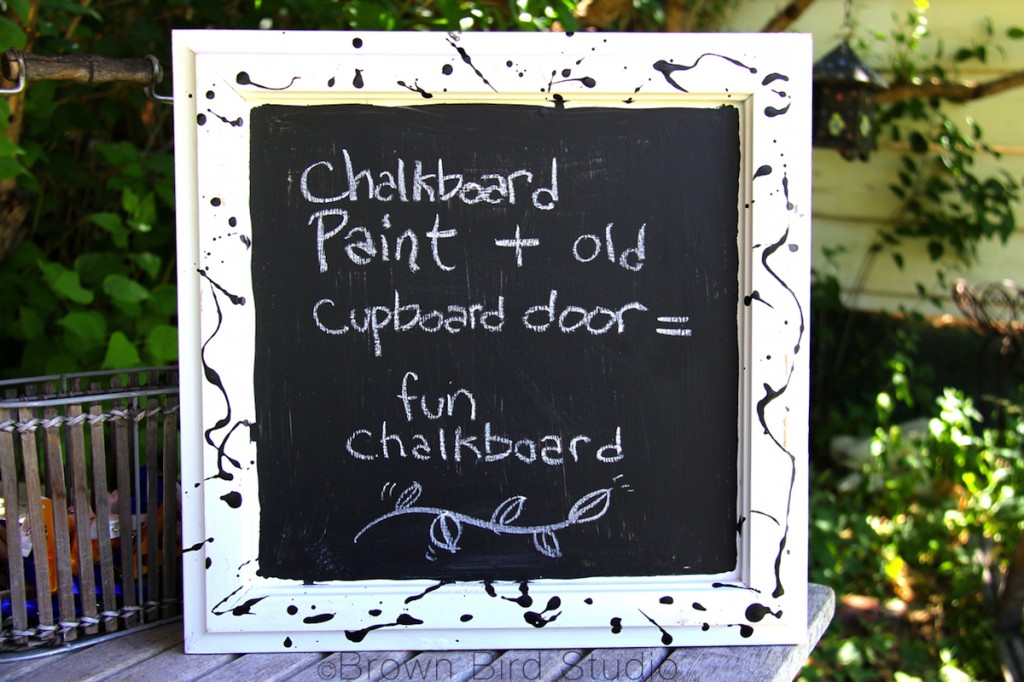 Our local Habitat for Humanity has a depot for sourcing used building materials, called ReStore. I love to stop in regularly to see what they have that I might up-cycle into something useful, even though we are not building or remodeling right now.
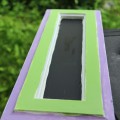
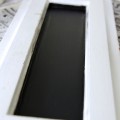
Last week I went to ReStore specifically to find something I could turn into small chalkboard signs with Ema and Adia and I scored! I found some old white frame and flat panel kitchen cupboard parts that already had that slight shabby-chic look that’s so popular now. I already had a can of chalkboard paint, though if I didn’t I would be writing now about making our own chalkboard paint.
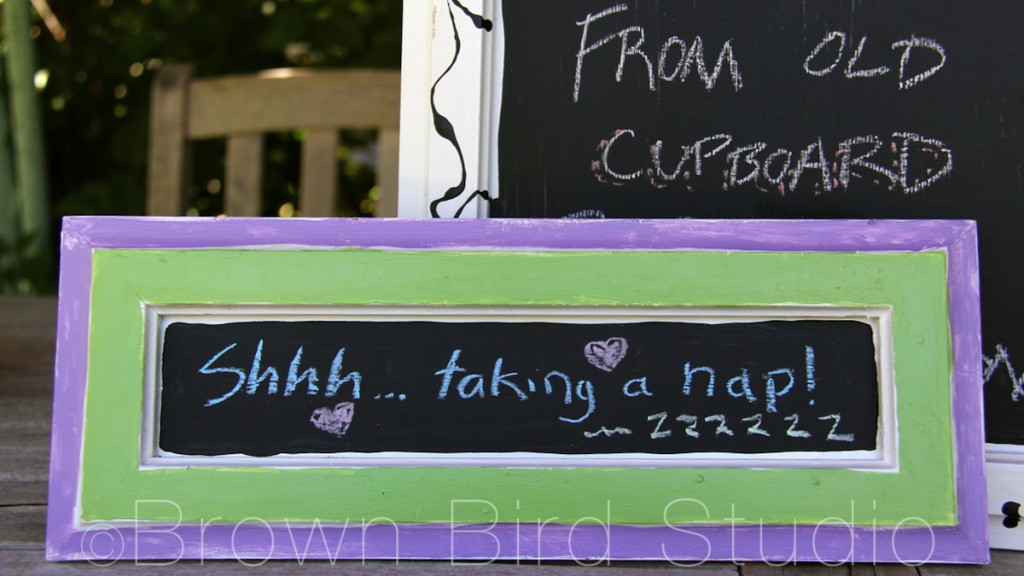
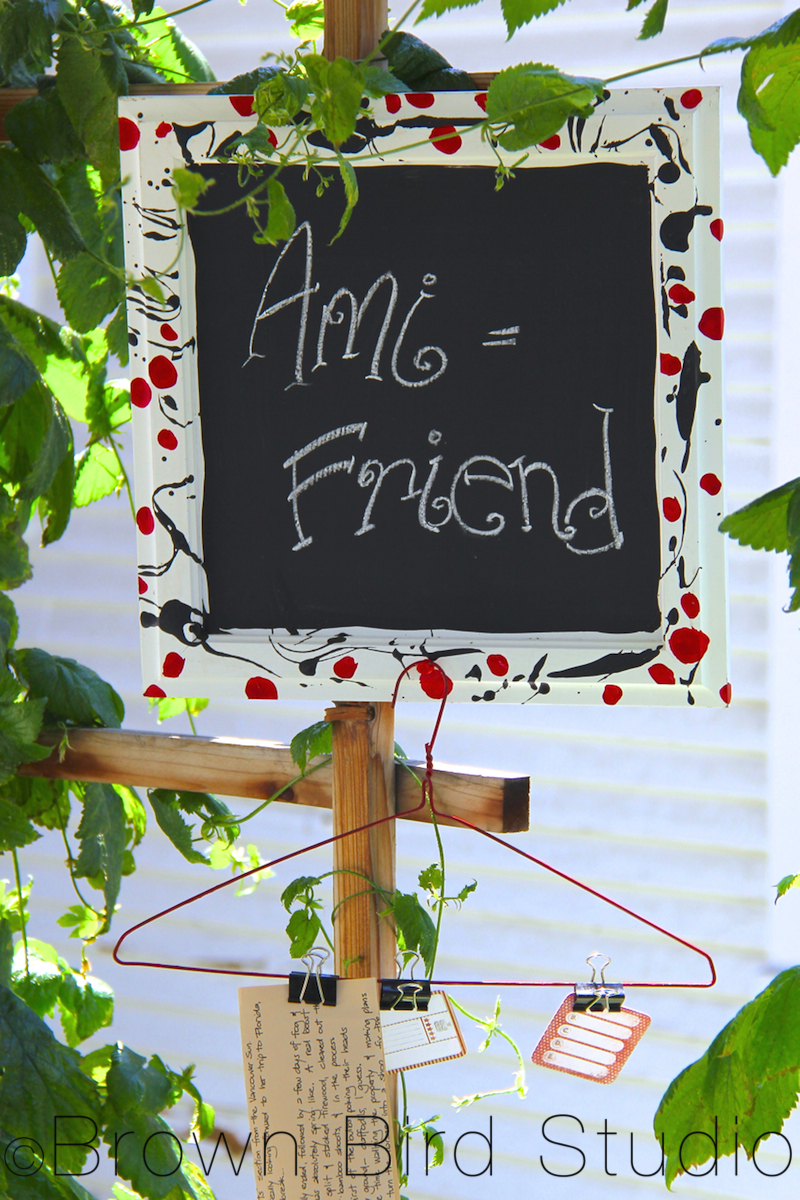
The girls painted two drawer fronts to use as signs on their bedroom door. We also made one for my kitchen, and another for Jaime’s office.
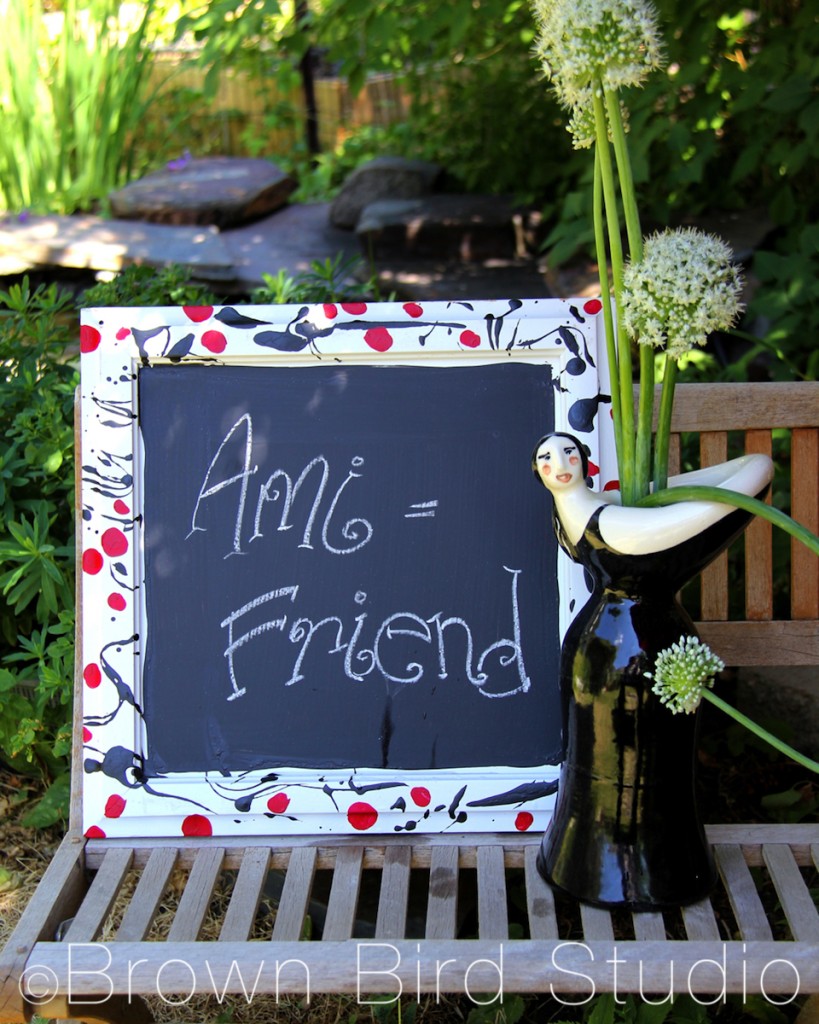
Here is how we made our chalkboard signs:
Supplies Needed:
- Something to use for the board. We used drawer-fronts and cupboard doors. You could also use an old mirror, or any flat piece of wood or substrate that will take the chalk paint.
- Chalkboard paint (You can make your own if you want. I found directions here.)
- Acrylic paint if you want to add decorative designs to the frames
- Modge Podge (matte or gloss) to seal the decorative paint (don’t use Modge-Podge on the chalk paint, though!)
- Sponge brushes or a good quality flat bristle brush for painting the chalk paint
- Smaller brushes for the decorative design
- Metal hanger or brads, for the back of the board
- A ribbon, to hang between the brads if you choose
Instructions:
- Lightly sand the surface of whatever you are using for your chalkboard, so your paint will adhere
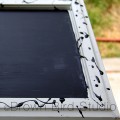
- Use acrylic paint to make decorative designs around the frame of the cupboard door or drawer front. Use brushes appropriate to acrylic paints and the size of your frame and strokes.
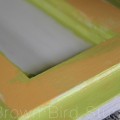
- Use a sponge brush or flat-bristle brush to apply the chalkboard paint — we didn’t worry about getting the edges perfectly even because we wanted a shabby-chic effect. Also, I like the way the brush strokes and imperfections show on the chalkboard part of our signs.
- Let dry. Seal with a layer of Modge Podge and again, let dry.
- Add brads, metal picture hangers, or good tacks on the back of the frame. Add picture wire, string or a lovely ribbon to hang your sign by.
- Enjoy changing the message on your sign whenever you feel like it!
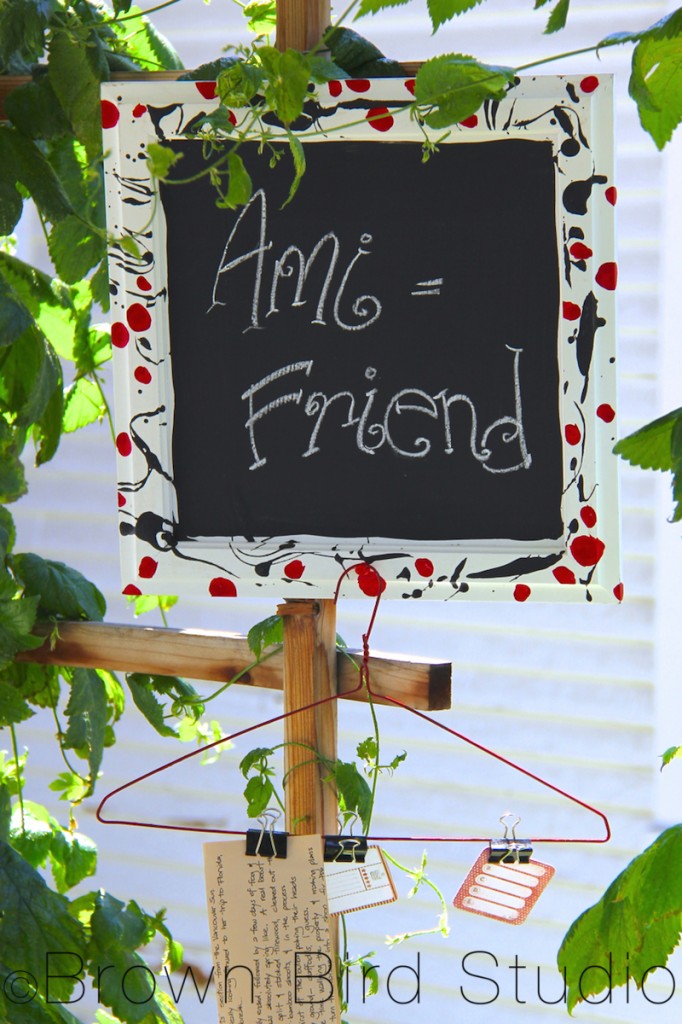
Additions we made to Jaime’s sign: we added a red painted wire clothes hanger and some clips so Jaime can hang notes, photos, whatever. Like it?
Links and Other Chalkboard Ideas:
- Comparison of homemade chalkboard paints — author also has some good ideas on using chalk paint on salvaged furniture
- Fun diy magnetic chalkboard idea. Making this next!
- Paint chalkboard risers on steps and write poetry
- Pinterest board with tons of chalkboard ideas (just a side note: I really appreciate it when people include the ORIGINAL source with their pins on Pinterest. On the other hand, it irks me greatly when people steal others’ photos by downloading, then pinning to their own Pinterest boards without giving credit where credit is due. Just sayin’)
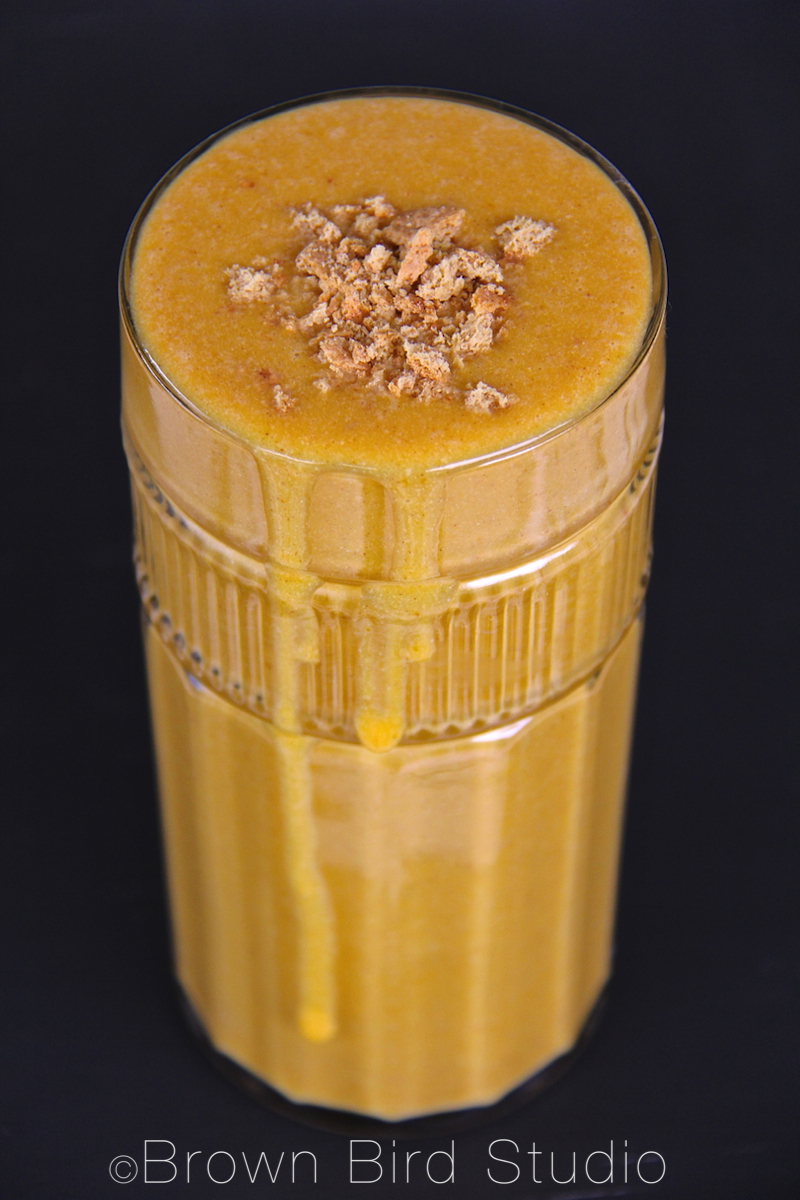
Saturday Smoothies: Pumpkin Pie Perfection
Art from Nature: Inspiration and Links
Nature is inside art as its content, not outside as its model.
–Northrop Frye
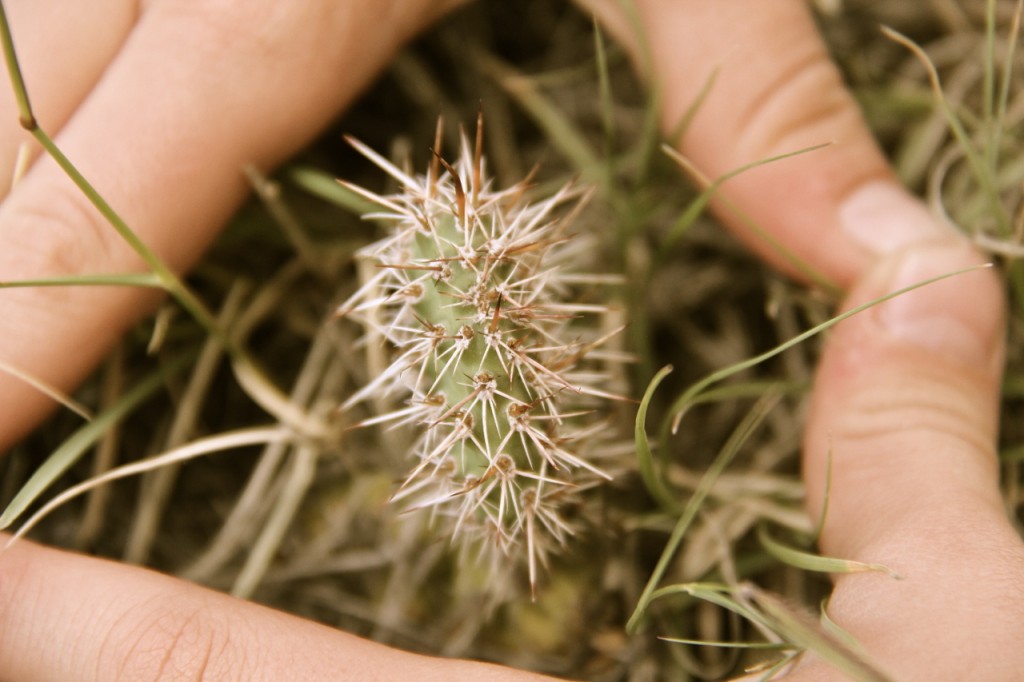
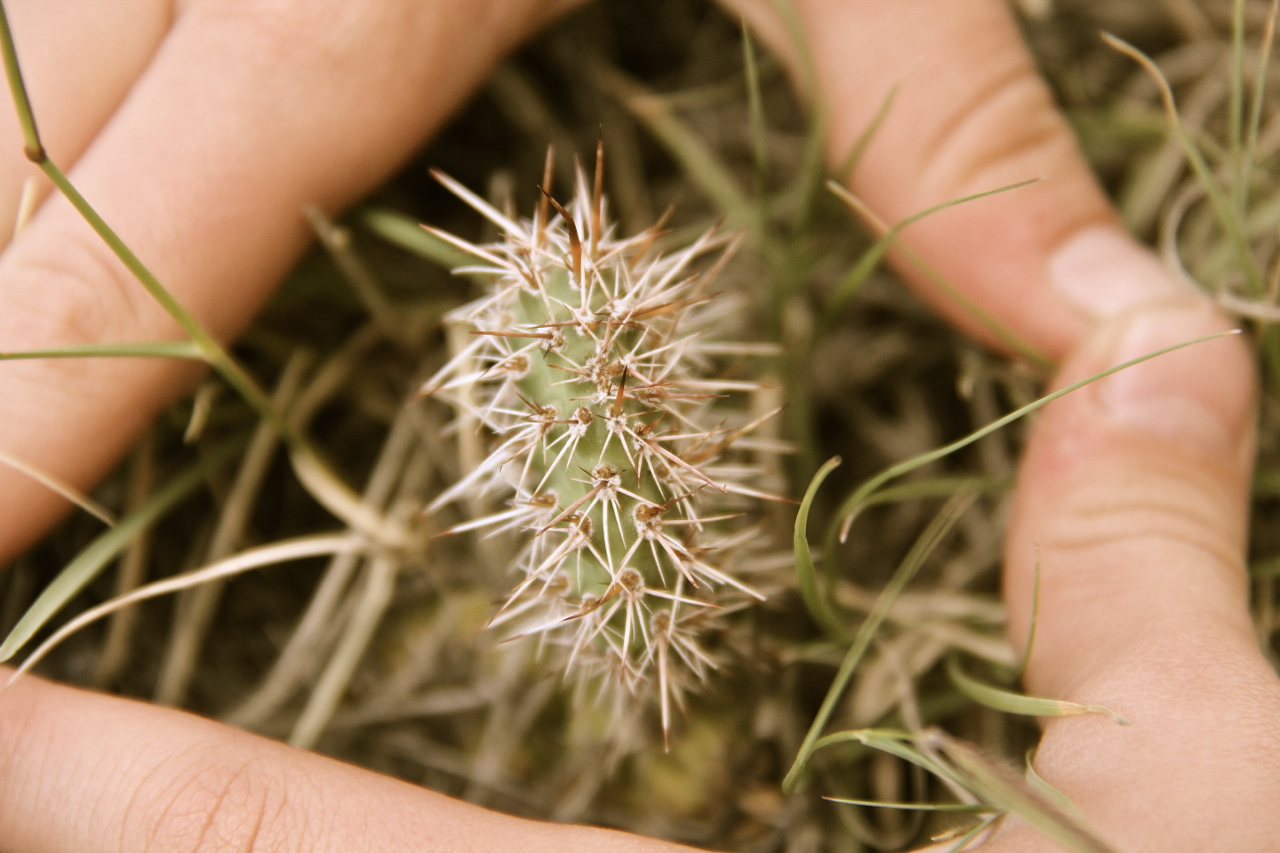
Nature is the source and content of most of my artistic and creative work and it’s right outside our home. In Helena, it literally takes just a couple of minutes to get from “town” out into a more natural environment. But even right in town, all I have to do is get down on my hands and knees with my eyes, my camera, my sketchbook, my sense of wonder… to find something inspiring and worth using in my artwork. Not only am I inspired to draw/paint/photography and write when I take in Nature’s sweetness — I also know when I look closely and pay attention, that I am part of Nature. Try it! It feels so good.
I also love discovering other artists whose inspirations are obviously directly from nature. Danish ceramic artist, Lotte Glob fits that category. I came across her work during the winter of 2006 and since then she has built an incredible home and studio on her land. It’s really one of the coolest houses I’ve ever seen.
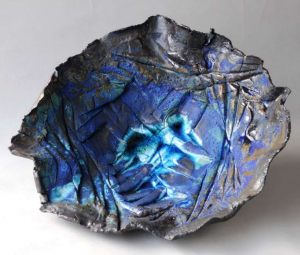
Glob’s ceramic vessels make me swoon! Her work is intimately inspired by natural forms she finds, especially around the “Ultimate Rock Garden,” as she calls her studio and home on the shore of Loch Eriboll in Scotland.
Glob has a beautiful online portfolio exhibiting her ceramic sculptures, books, fountains, tiles and bowls. These are incredibly beautiful pieces — if you are at all attracted to artwork based on natural colors, shapes and textures, check out her portfolio.

Some Links to Art from Nature
- Lotte Glob website
- Lotte Glob Recent Ceramic Work (including her awesome bowls)
- Lotte Glob’s Award-Winning Home and Studio designed by Gökay Deveci
- Cues from Nature, a letter from Robert Genn of The Painter’s Keys
- Lotte Glob’s Sculpture Croft (the land where she lives and works, transformed with scattered artworks)
- Archie Bray Foundation for Ceramic Arts (where you can wander the grounds to find art in the tall grasses and between the old structures)
- Ernst Haeckel, a 19th century zoologist and amazing artist.
- Photographer, Karl Blossfeldt
- A set of my own photos and artwork titled, Threads of Continuity. If you see anything you would like to buy as an archival-quality print, please email me: maureenshaughnessy@gmail.com. I would love to have a piece of mine hanging in your home.
3 Ways to Have Fun in One Summer Day
- Attend the Exploration Works/Holter Science of Art Day Camp. Then have french fries and other unmentionable deliciousness.
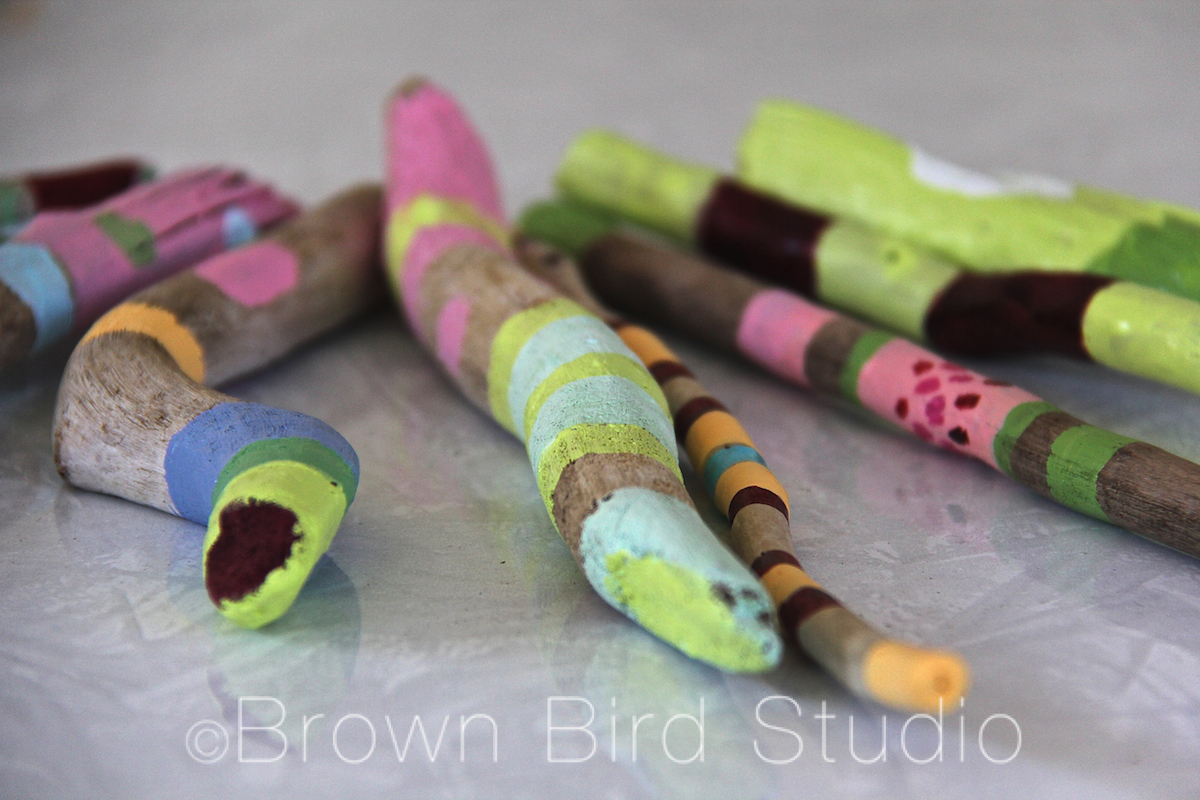
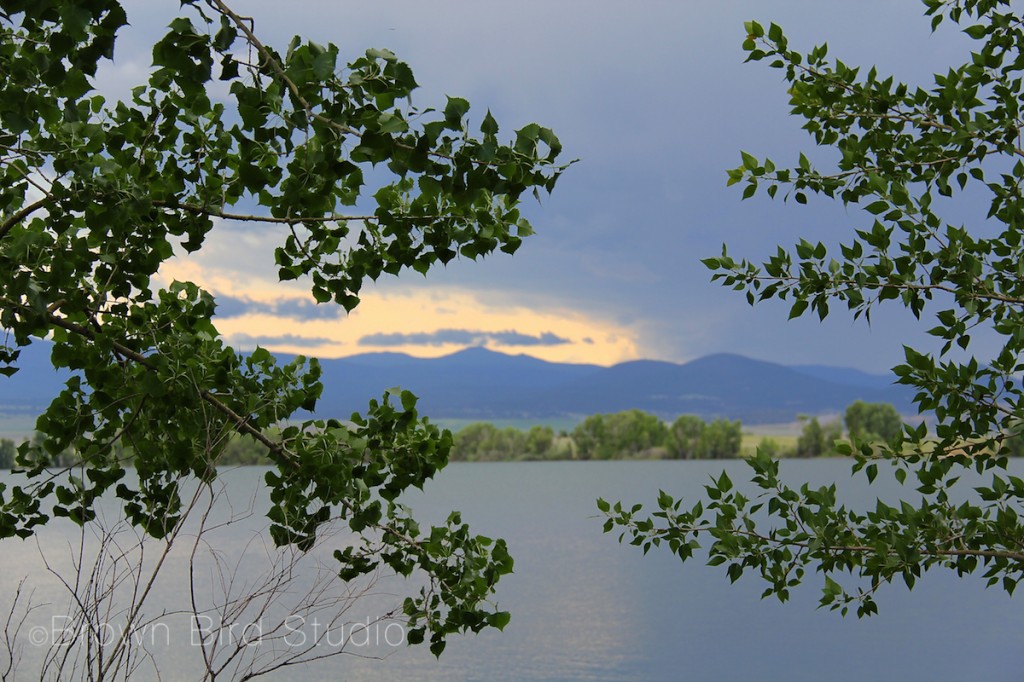
- Head out to Lake Helena Reservoir to collect driftwood sticks of a certain size and smoothness. Take Charlie along for sweetness and chuckles.
- Paint your sticks while eating dried seaweed on the porch, all the while enjoying an afternoon thunderstorm.
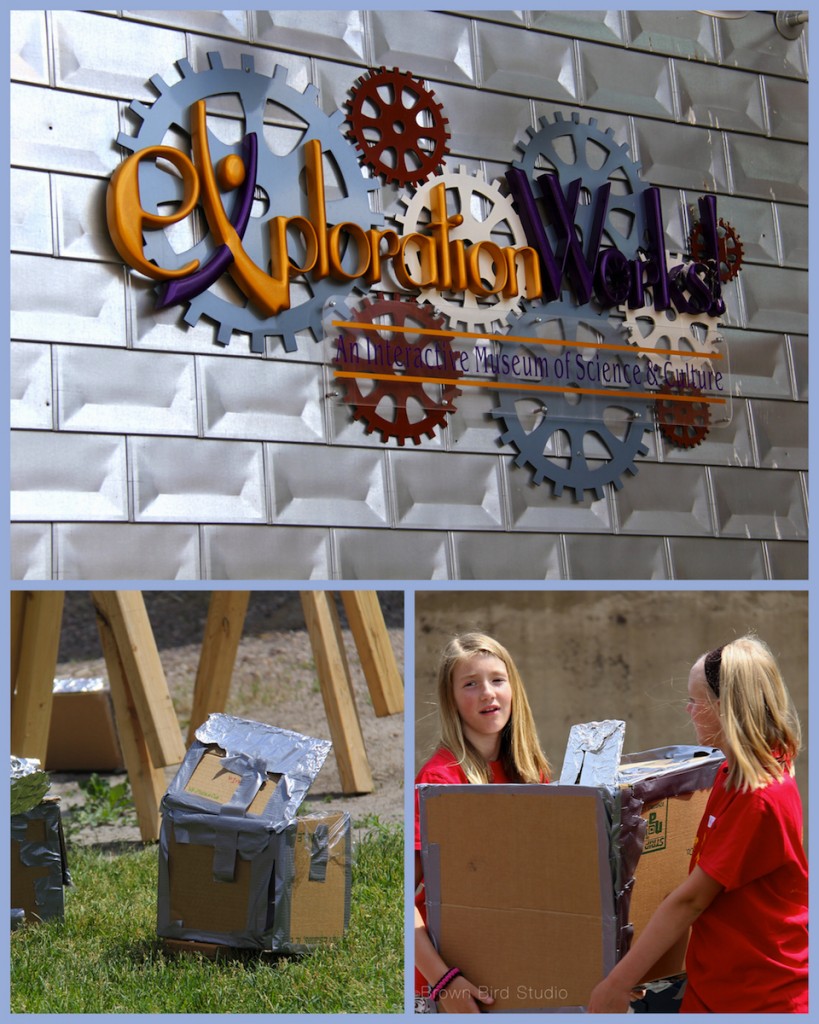
It has been 10 days since Ema and Adia and I spent the day together making art, playing with Charlie and doin other summer kid stuff. I actually missed them. And I think maybe they might have missed playing with me too. When I picked them up at the Exploration Works Science Museum at noon, they both gave Charlie and me big hugs and smiles.
So … we went to a fast food place for lunch (it shall remain unnamed — grin) just to do something totally unexpected and different. The girls liked it. (I remembered why I don’t eat there.)
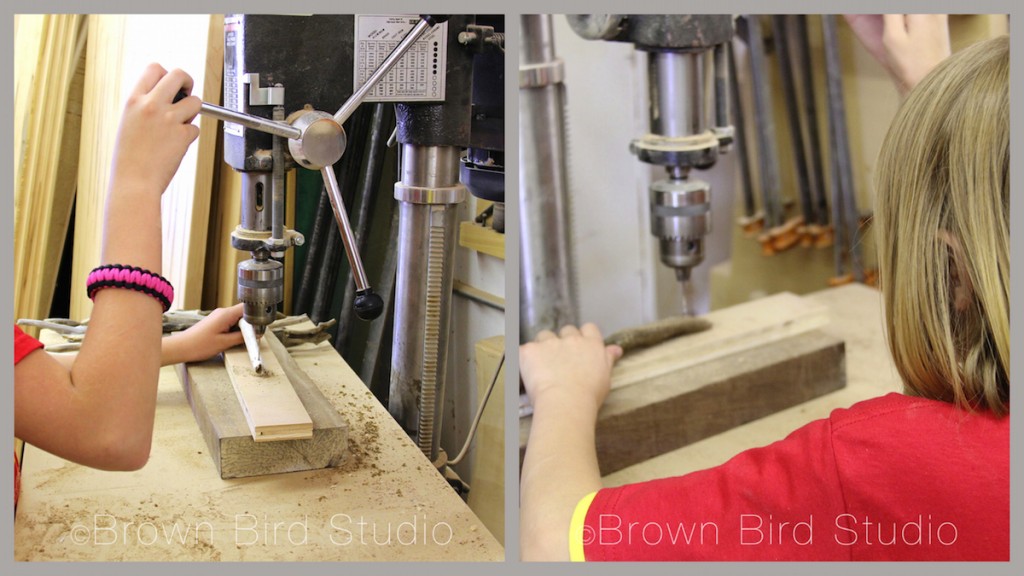
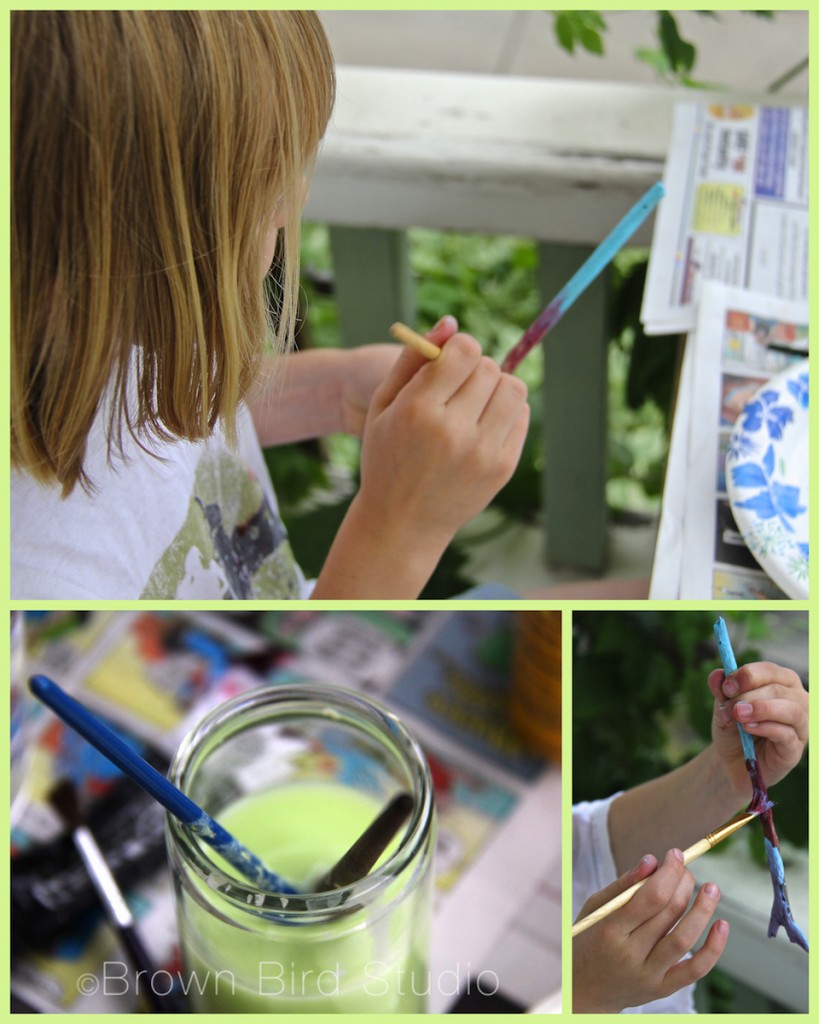

Thunder and a sweet summer rain kept us company while we painted our sticks. It’s my favorite kind of weather — a warm thunderstorm when you’re nice n’ dry on the porch so you can feel the hairs rising on your skin but you don’t get drenching wet. Welp, that was fun! And definitely something 8 to 10 year olds can handle.
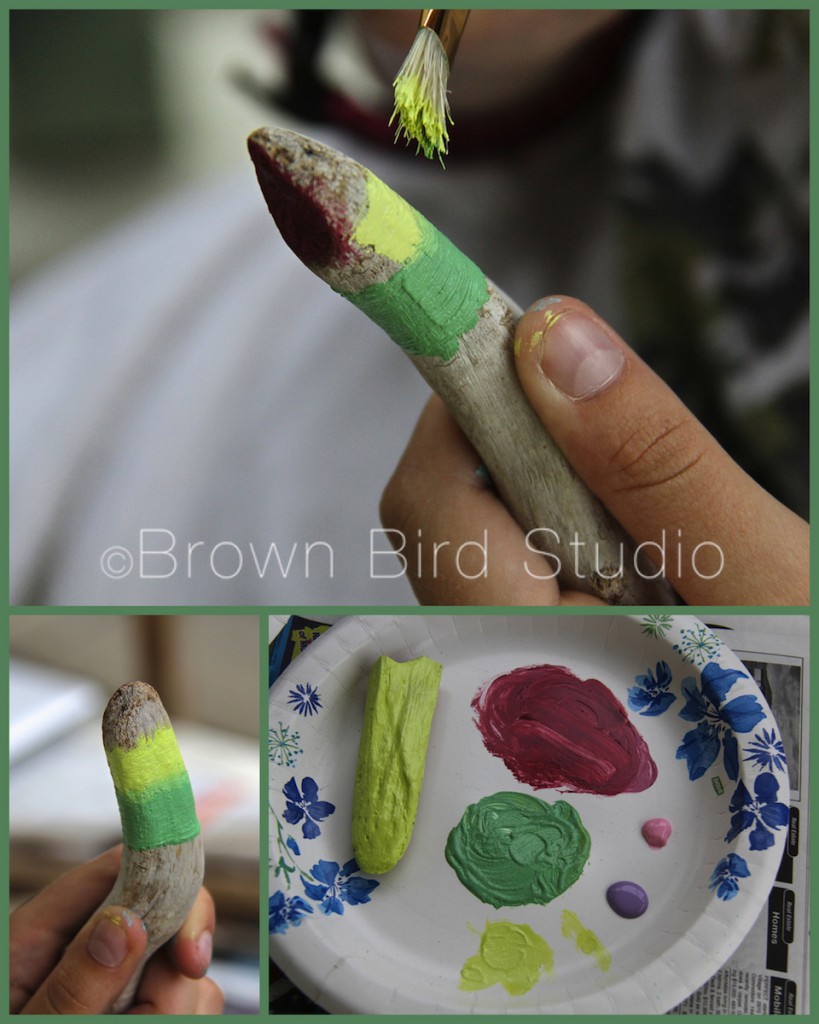
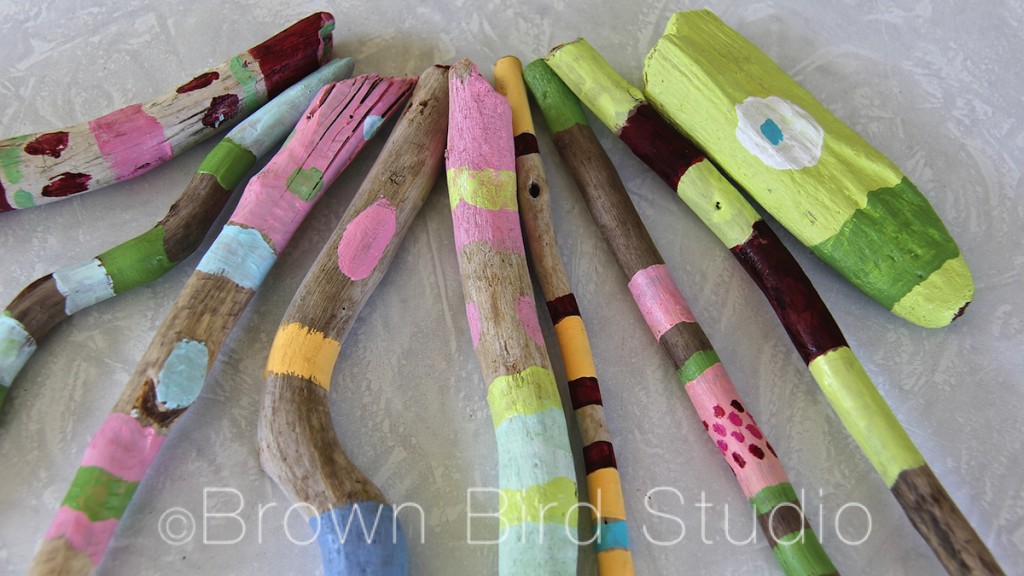
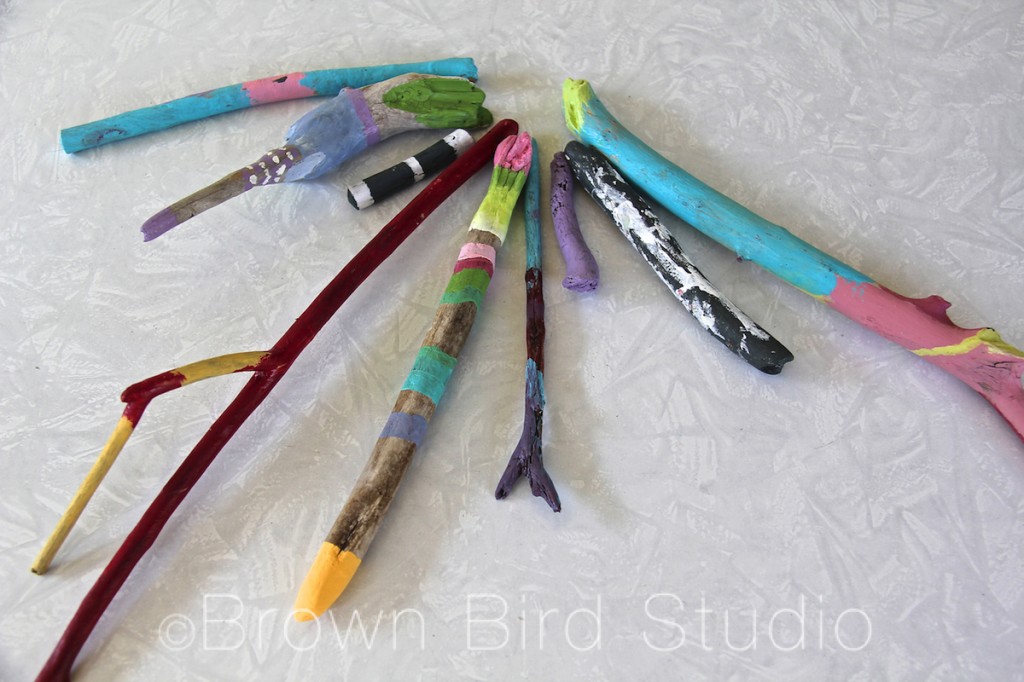
Tomorrow it’s time to turn in our Chalk It Up Helena applications. We will have a cooking lesson (Pepperoni Pizza Puffs) and try to finish our stick projects. We’ll show you the finished results next time, okay?
