Kid’s Art: Root Creatures

crane creature made from a painted root

bird made from root and paint
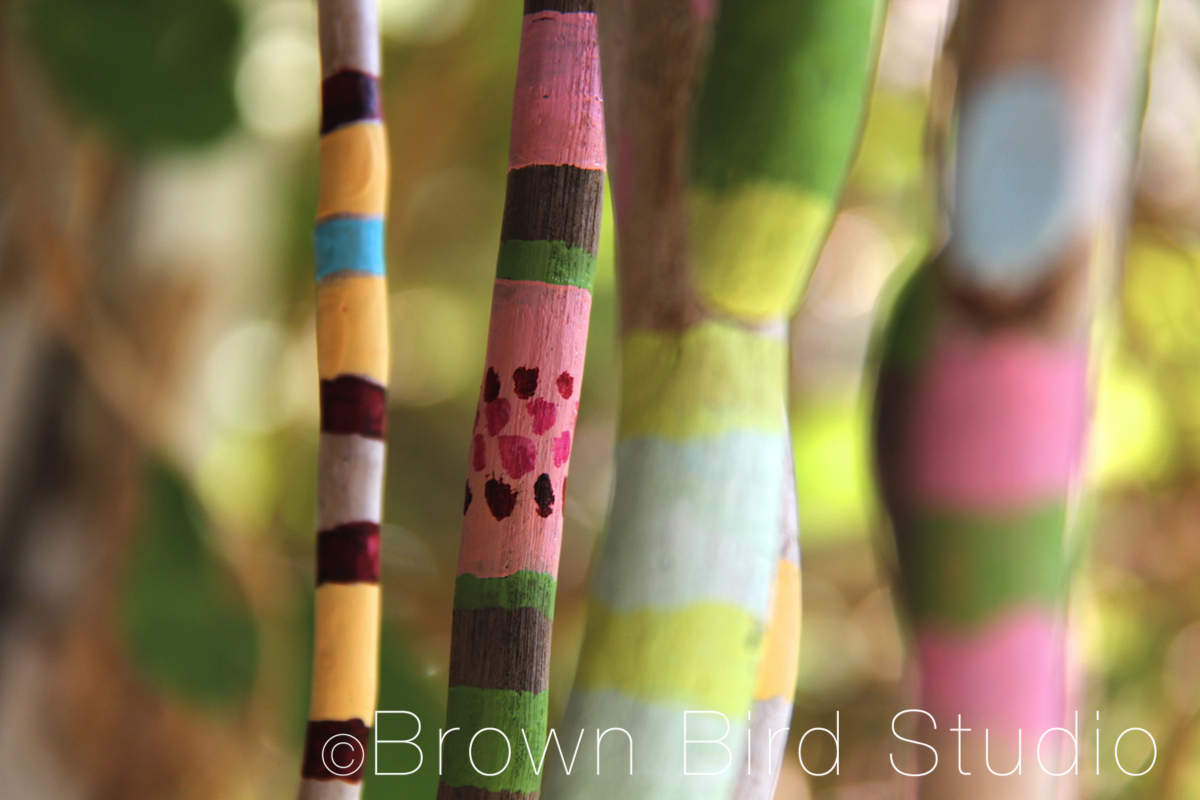
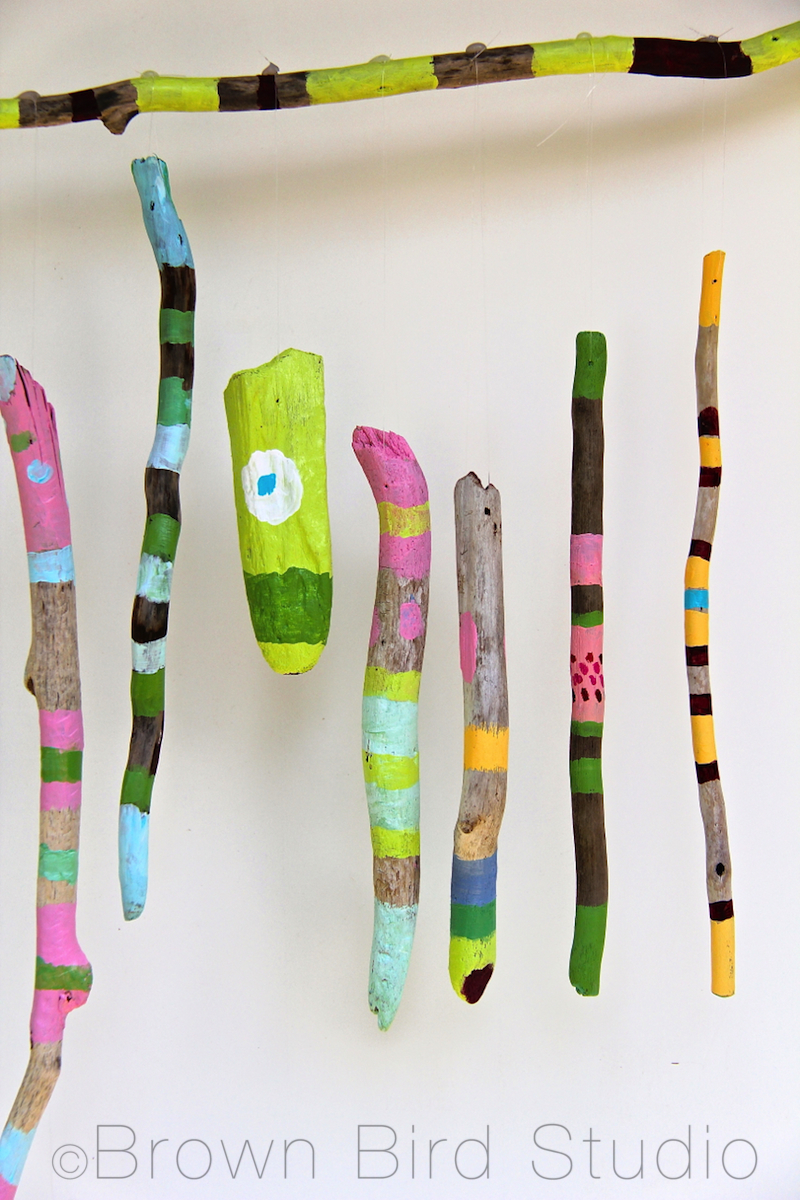
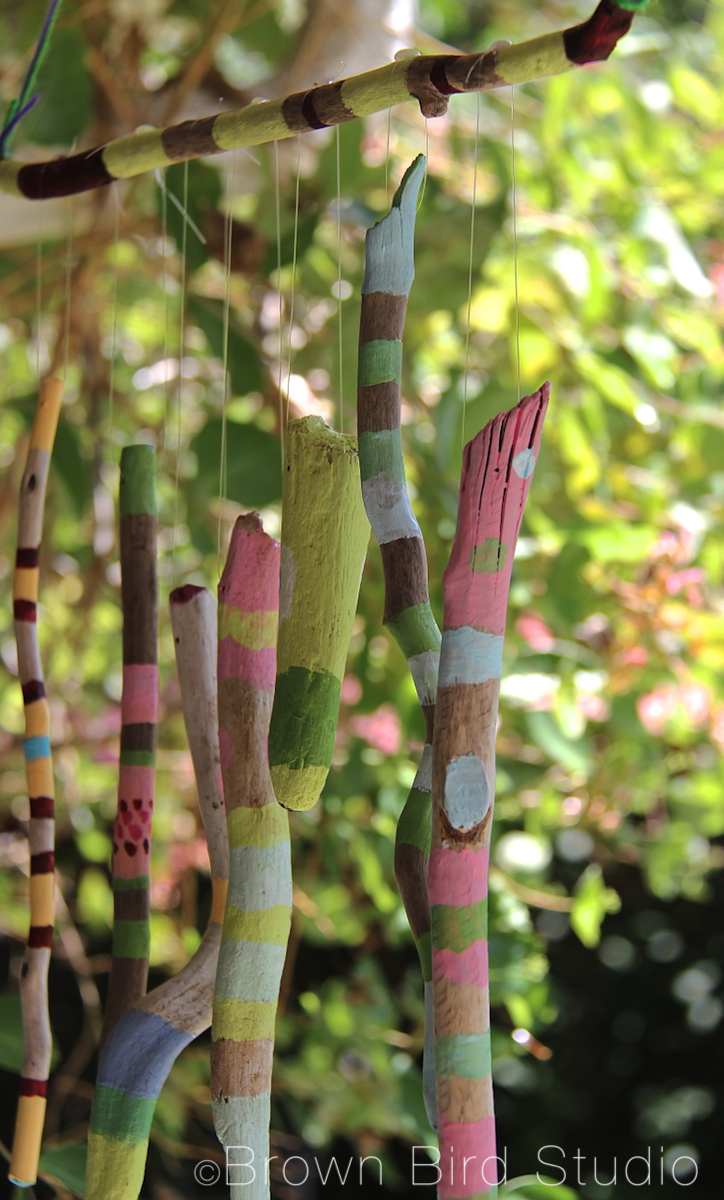
Ema, Adia and I made some really cool creatures using roots we found on the lakeshore. We picked them up because we thought each of these looked at least vaguely critter-like. Today we painted several of the roots to try to bring out the little features in the wood that looked like something or another. How do you like them now?

Root Creatures
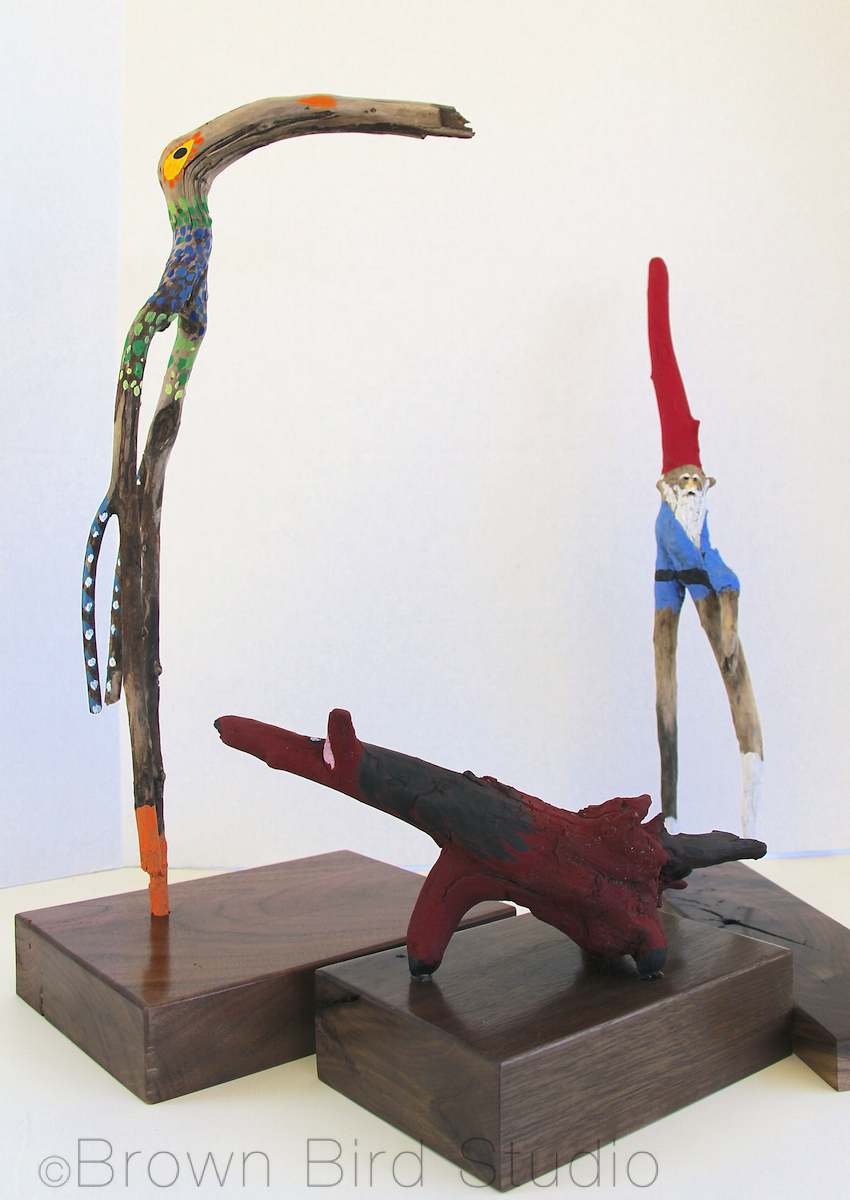
We have a horse, a gnome, an elephant-deer-bird, and another bird — a long-legged crane.

The following tutorial was written by Ema and Adia:

Have you ever wanted to make an imaginary creatures? Well here’s how. All you need is a few sticks and some paint. You can make whatever you can imagine when you look at the sticks.

You will need:

  • sticks, driftwood or roots
  • hot glue*
  • acrylic paint**
  • brushes
  • something to use for bases for the creatures that will stand up*** …. or
  • tiny eye hooks and some monofilament for creatures that will fly (hang)

EmasHorseCollage-imp

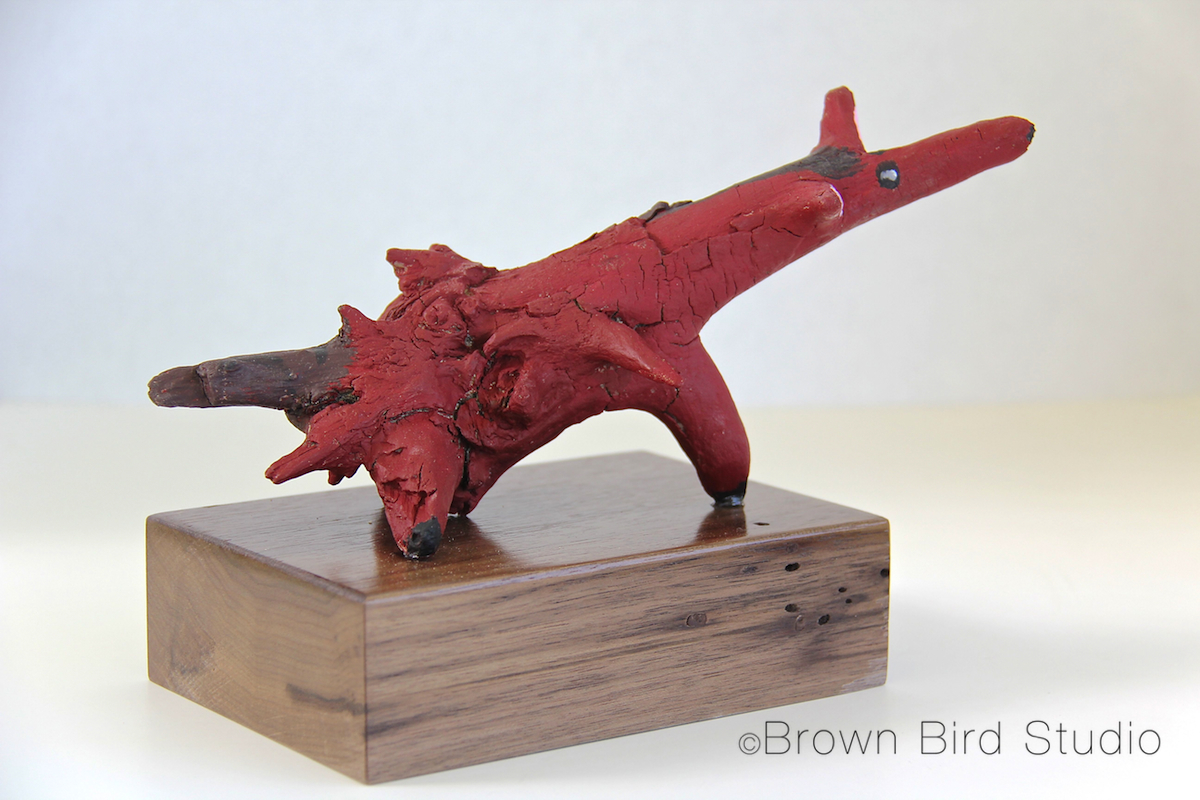
I got a funky root and I kept turning it and turning it and looking at it from different angles and then I saw that it looked like a horse. So I painted it to look like a red roan horse, specifically my favorite horse, Rosebud, who lives at my Grandma’s house in Anaconda. I glued mine onto the base instead of drilling a hole because it stands up by itself.  — Ema, age 10

Gnome by Adia, age 8

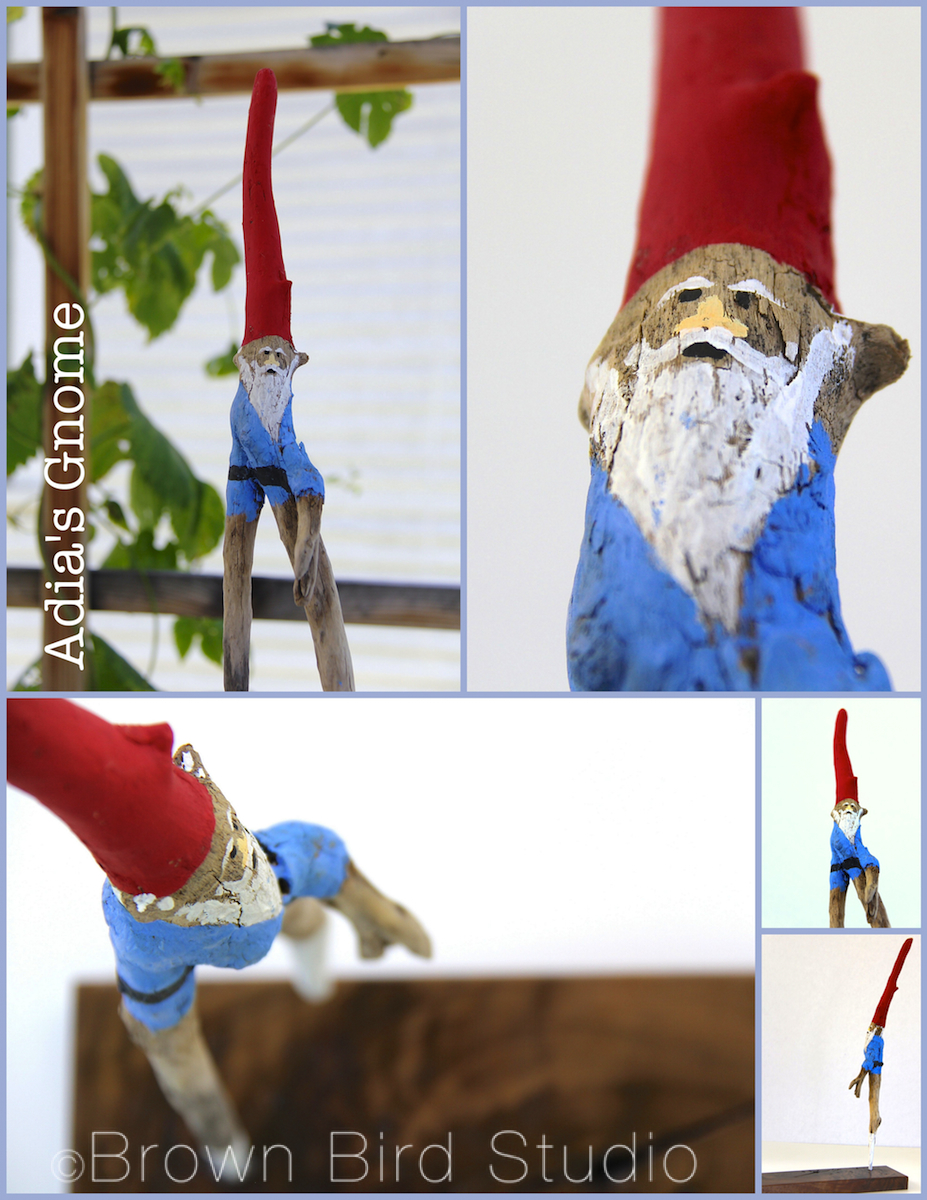
I made a gnome. A gnome is a little person with a beard. Santa Claus is a gnome. My gnome has a really tall red hat and is walking across the log that is my base. One leg is shorter than the other because he is walking. He also has a really long white beard and tall white boots. I drilled a hole in the base and glued my gnome’s longest leg into the hole. He looks like Santa. — Adia, age 8

MaureensCrane-imp

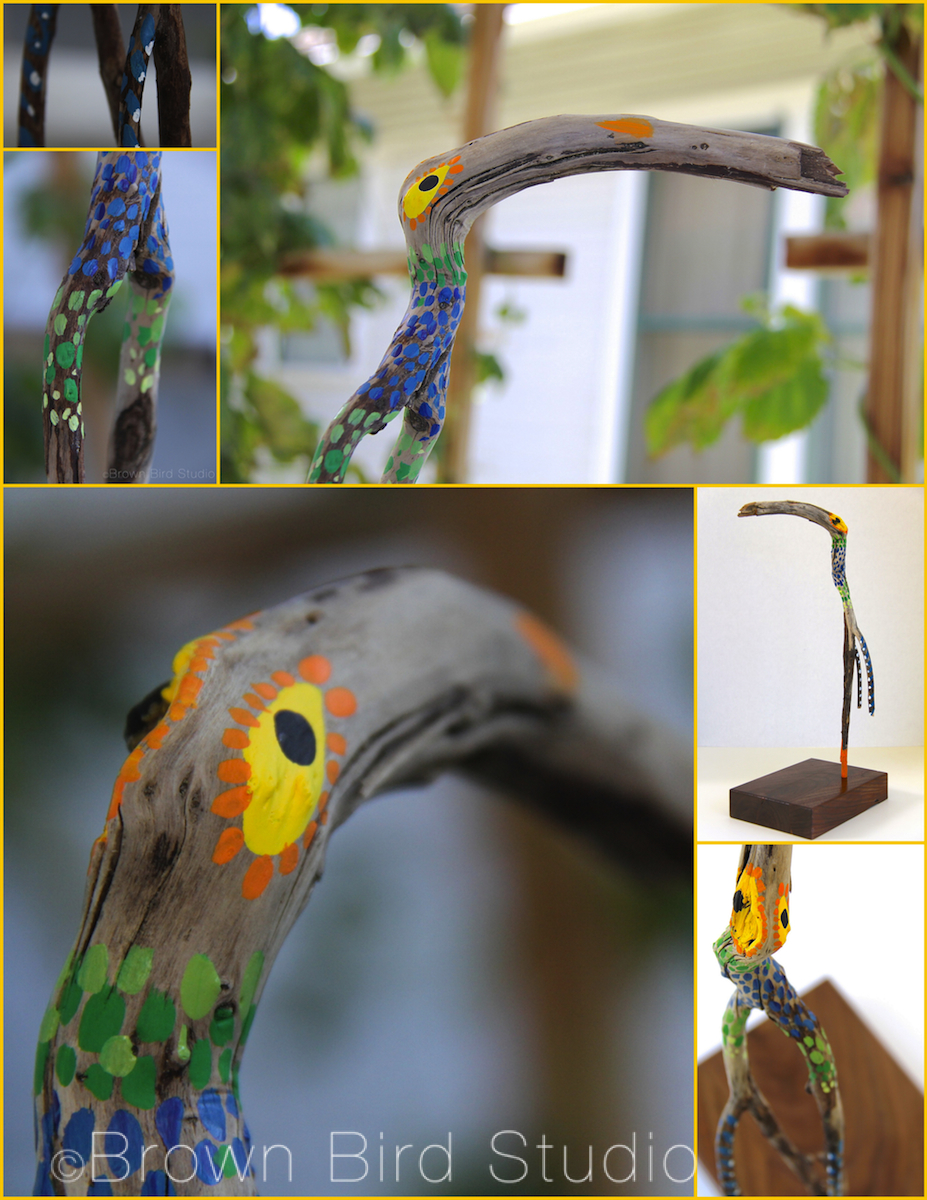
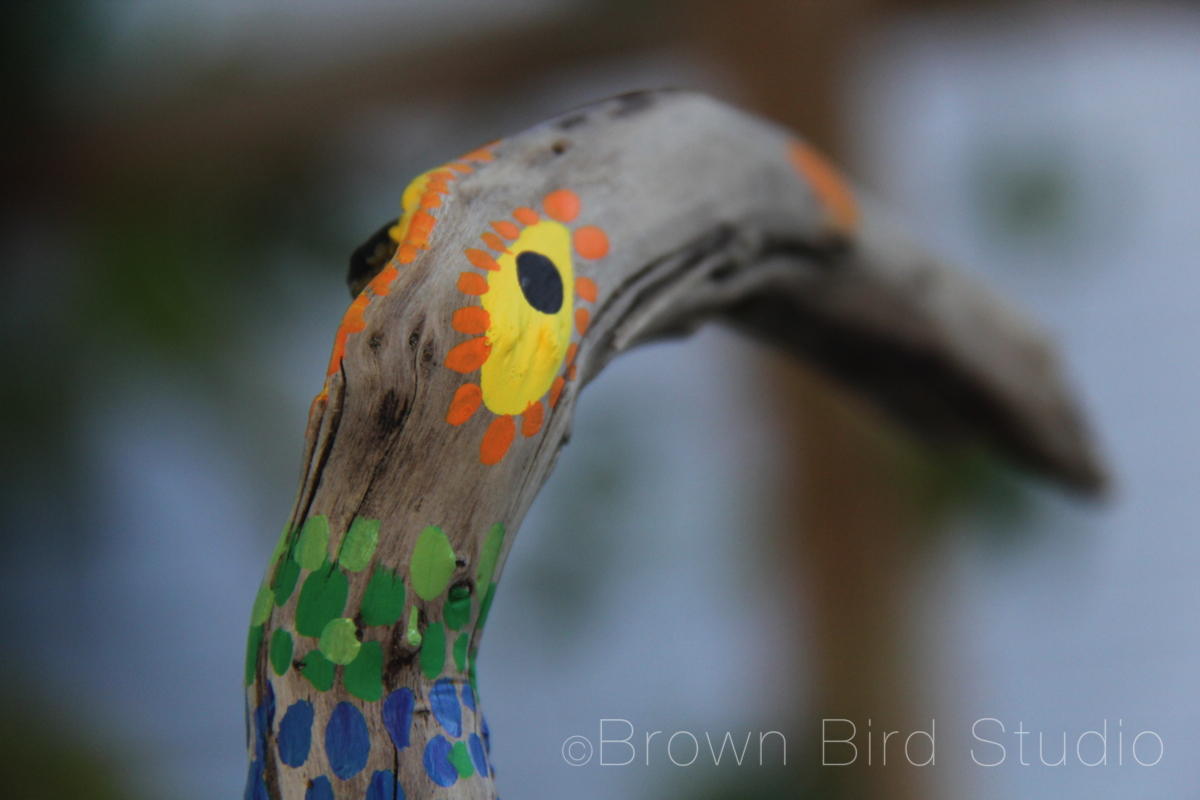
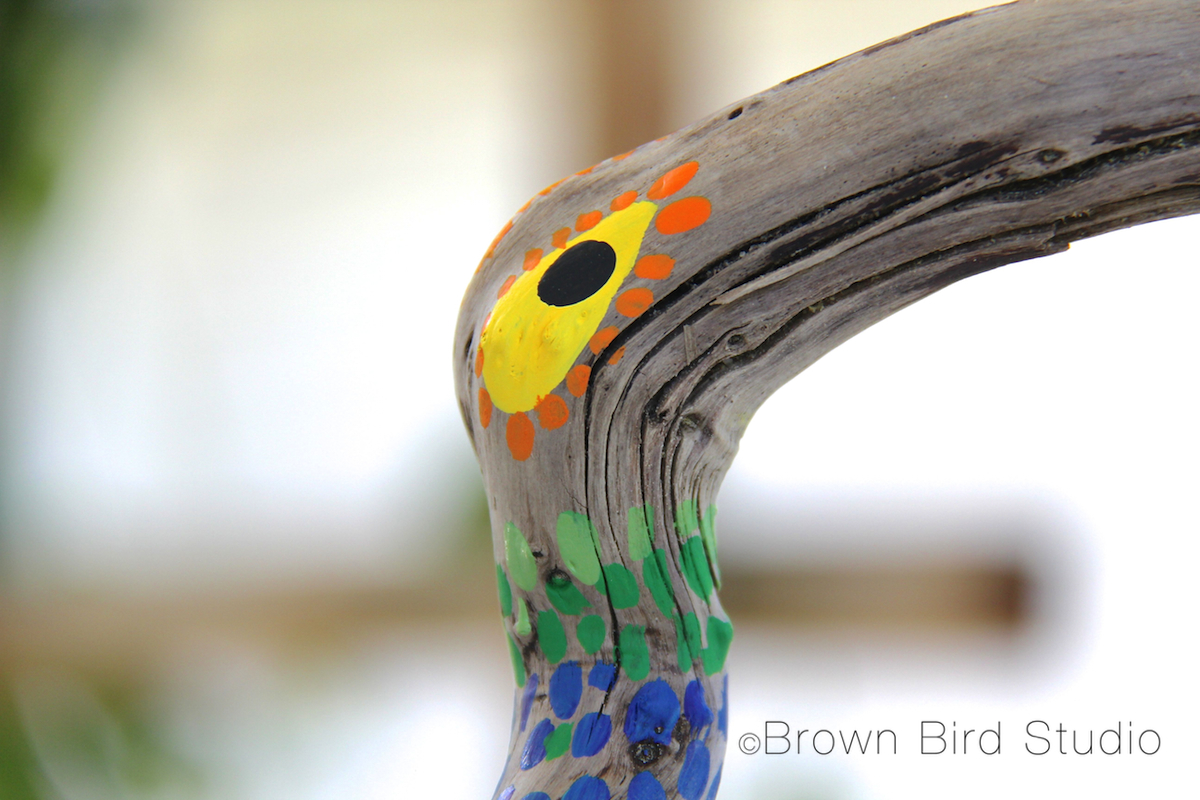
One of my roots looked exactly like a long, curved-bill crane so I made a fantasy bird that I named, an “oo-ooga crane.” This is the sound it makes when it’s happy. It has green and blue feathers with white spots. Also some yellow and orange eyes. I glued one of the crane’s legs into a hole in the walnut base. — Maureen

Elephant Deer Bird Detail

Maureen's Elephant Deer-Bird

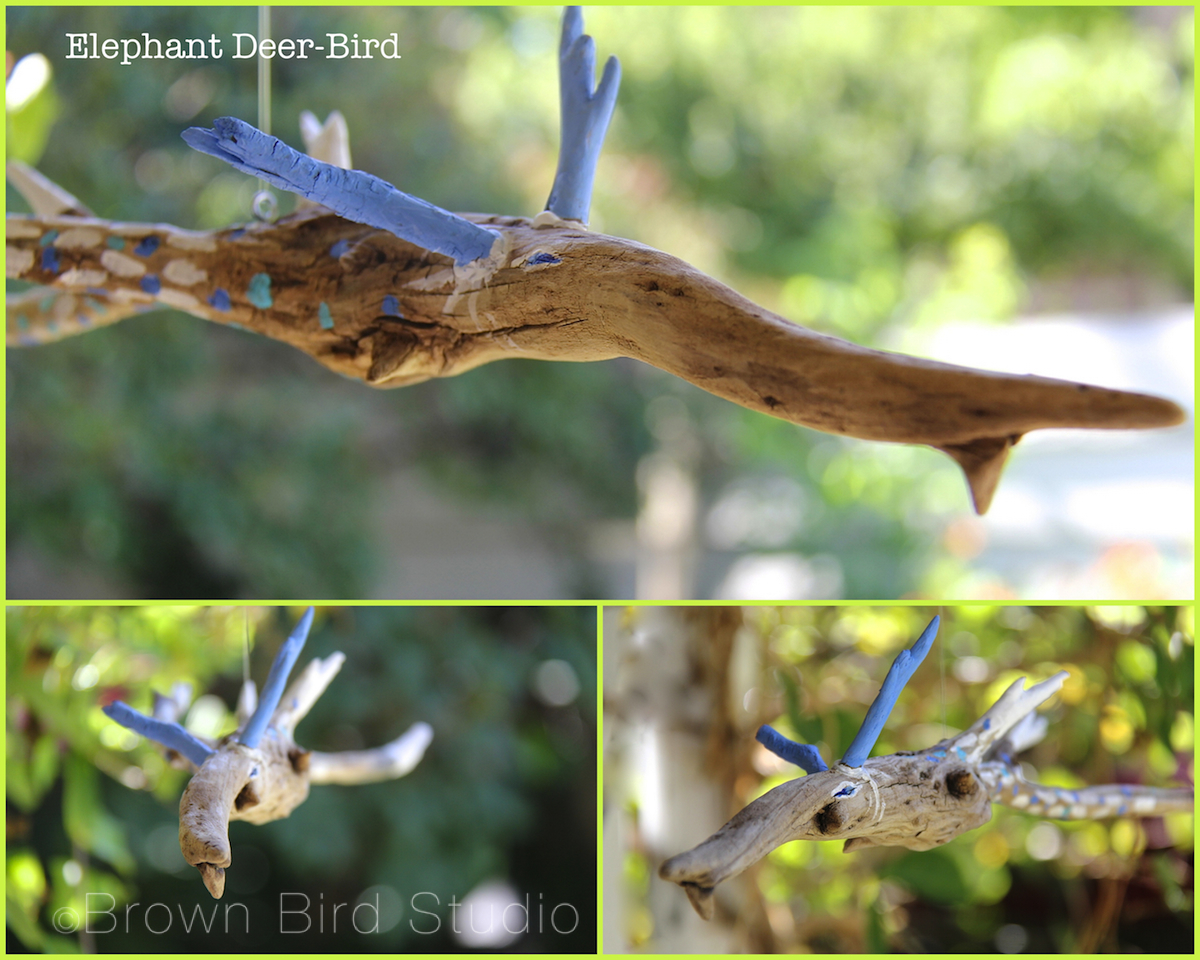
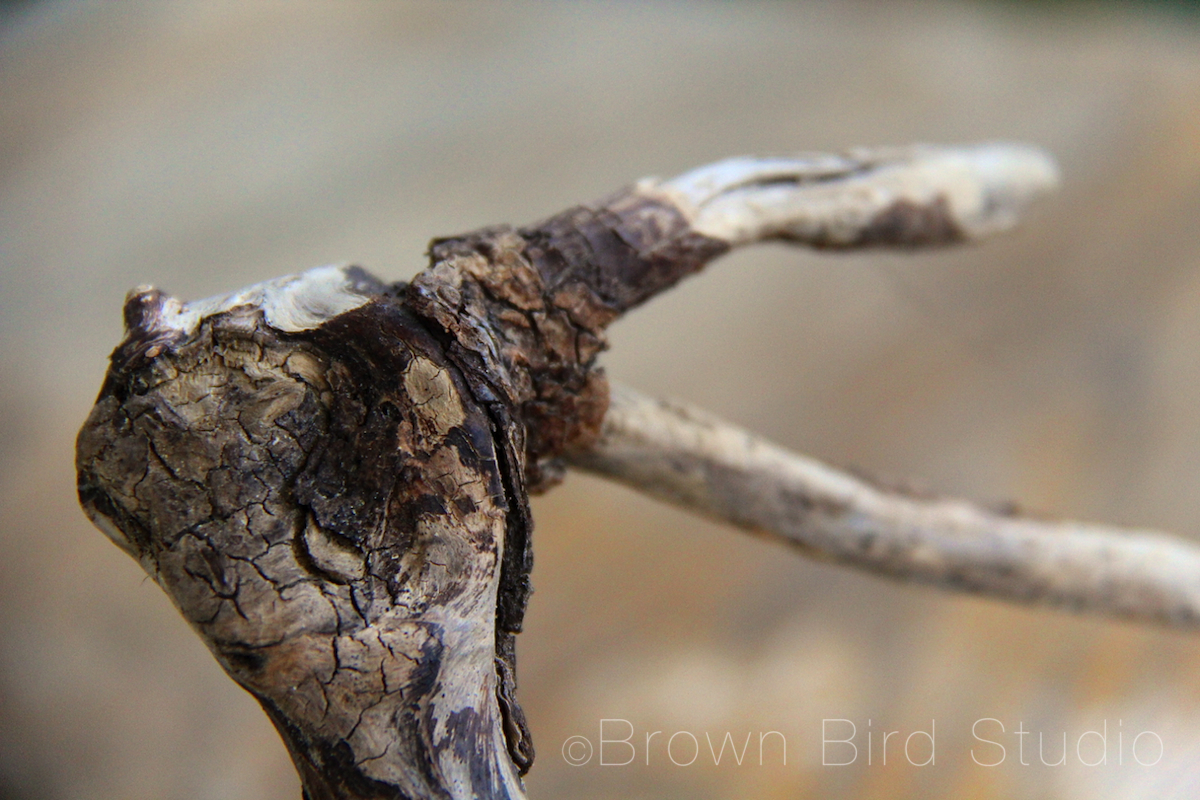
My other root reminded me of an elephant with wings. It has big long trunk, two skinny wings and a tail. I added little antlers so it’s an elephant-deer-bird. I painted the antlers blue because the Huichol Blue Deer is special to me. This one hangs from the ceiling because it’s flying. I screwed in a tiny eye-hook and hung the bird by a piece of monofilament. — Maureen

NOTES FROM THE TUTORIAL AND SUPPLY LIST:

*We used a little hot glue to attach odds and ends of roots to our creatures.

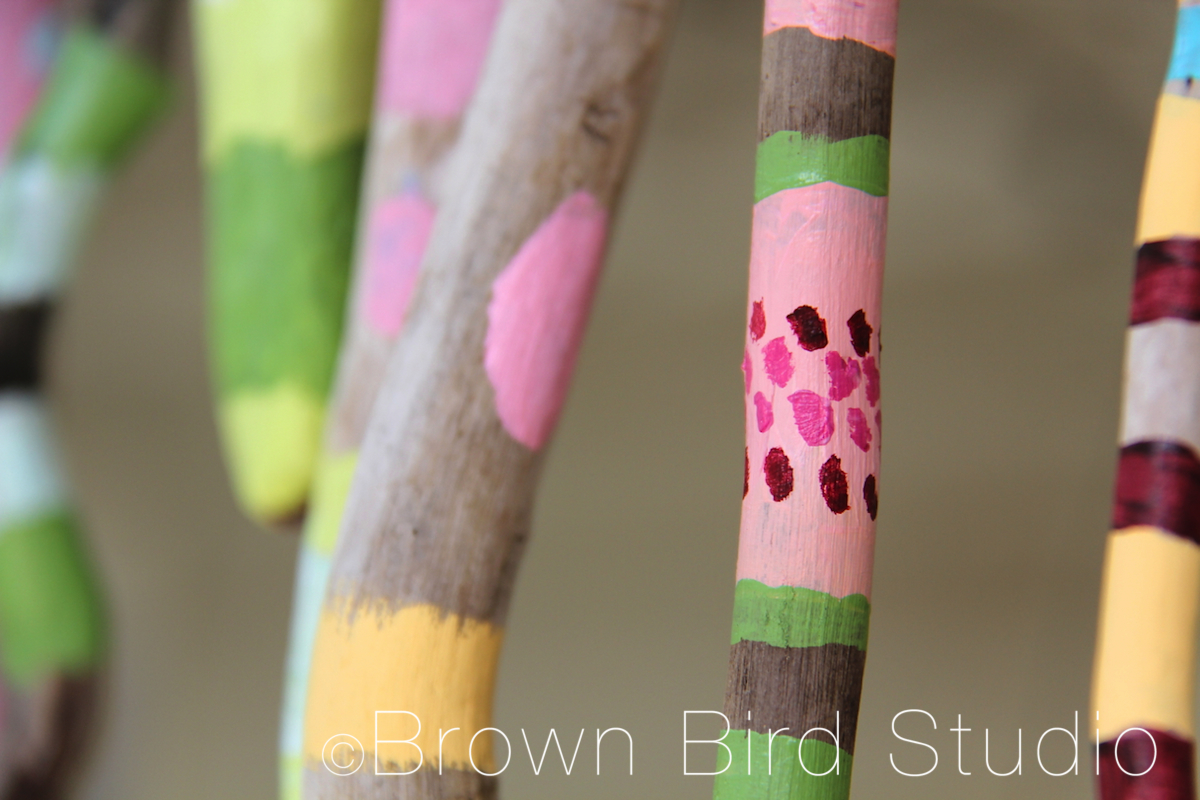
**For painting the creatures, you don’t have to completely cover the surface of the wood with paint. Leaving some of the natural wood showing looks really cool.

***If you want to make bases, cut some nice wood in a square or rectangle or any shape. Sand it so it’s nice and smooth. Sand the edges to make them roundish so they aren’t sharp. Figure out if you want to drill a hole or just glue on your creature onto the base. We made our bases out of scraps of walnut wood, the trees that grow actual walnuts on them.

root creatures11-improot creatures10-imp


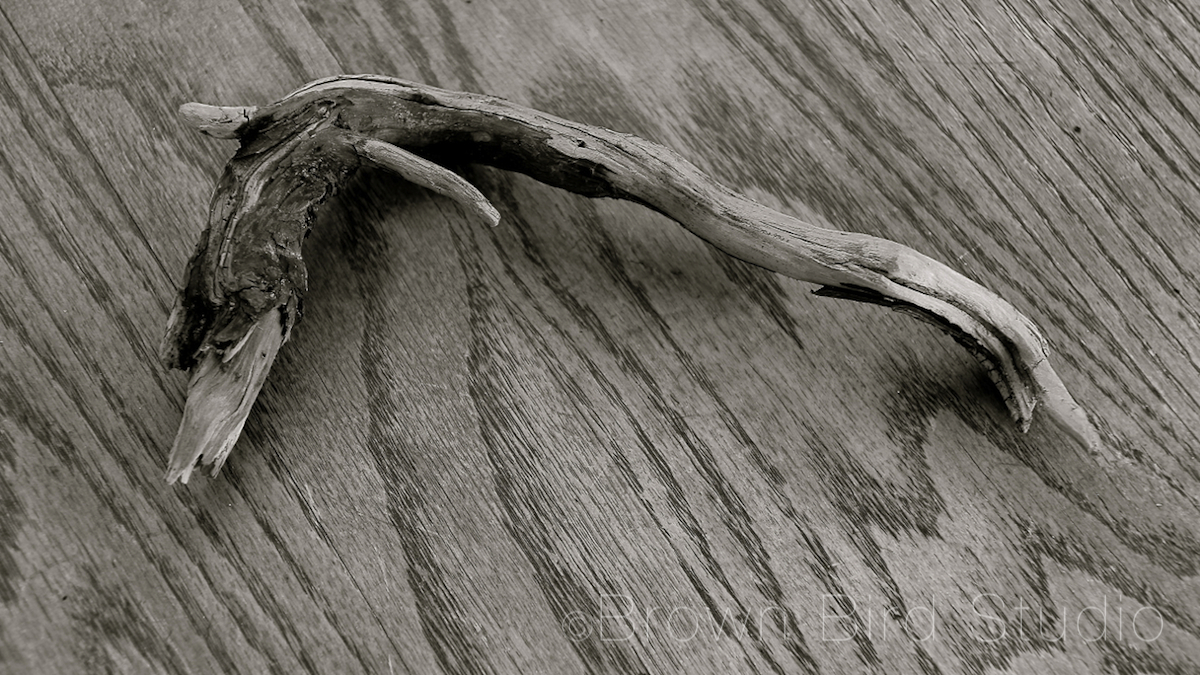
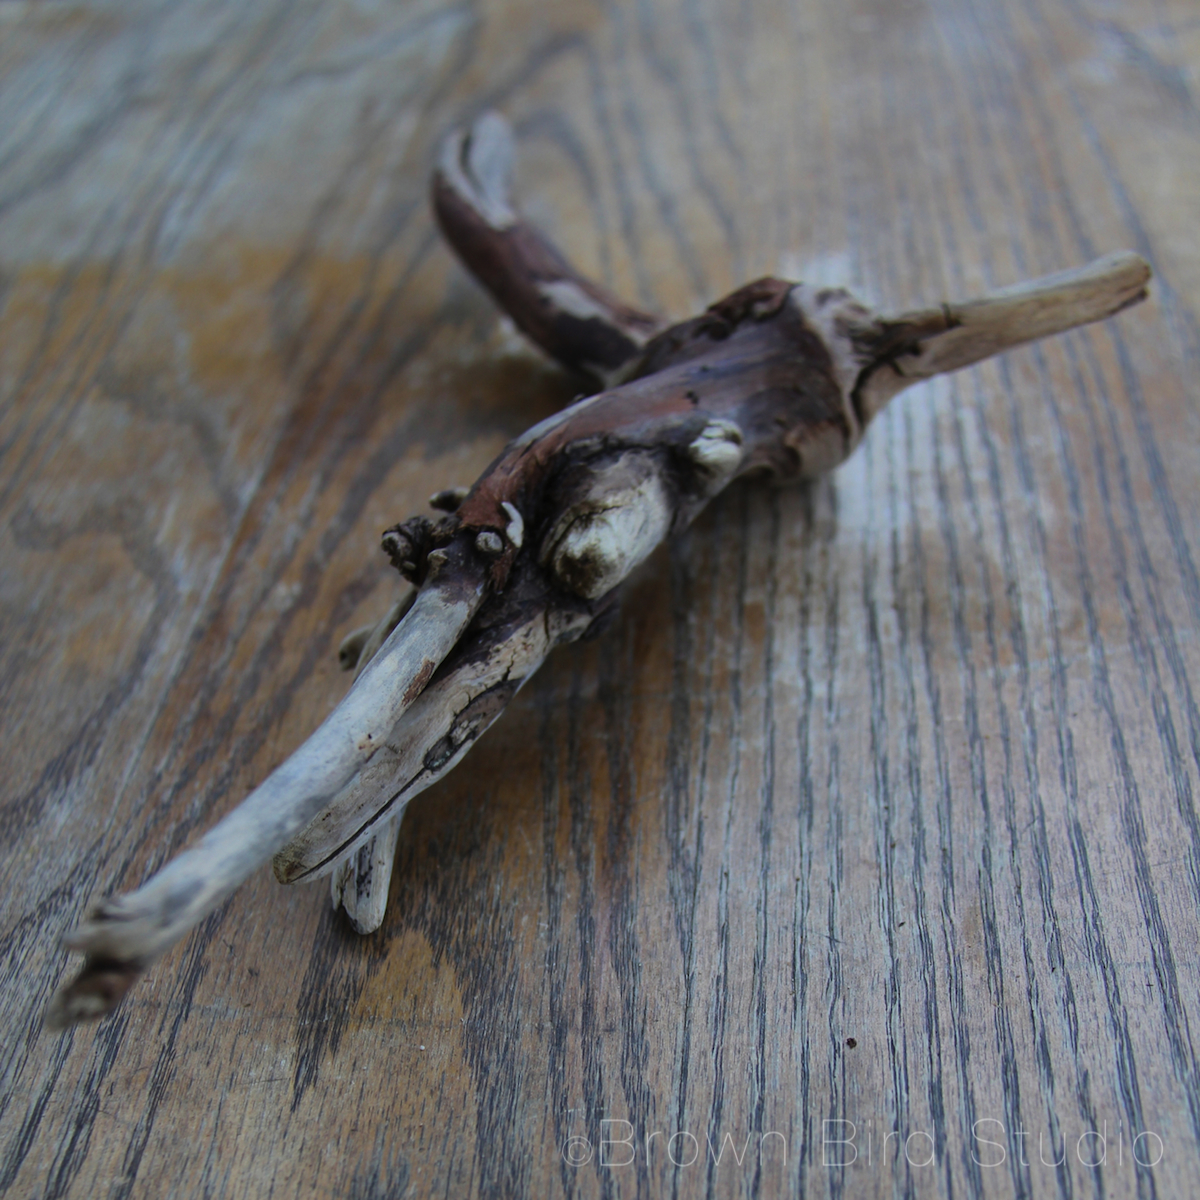
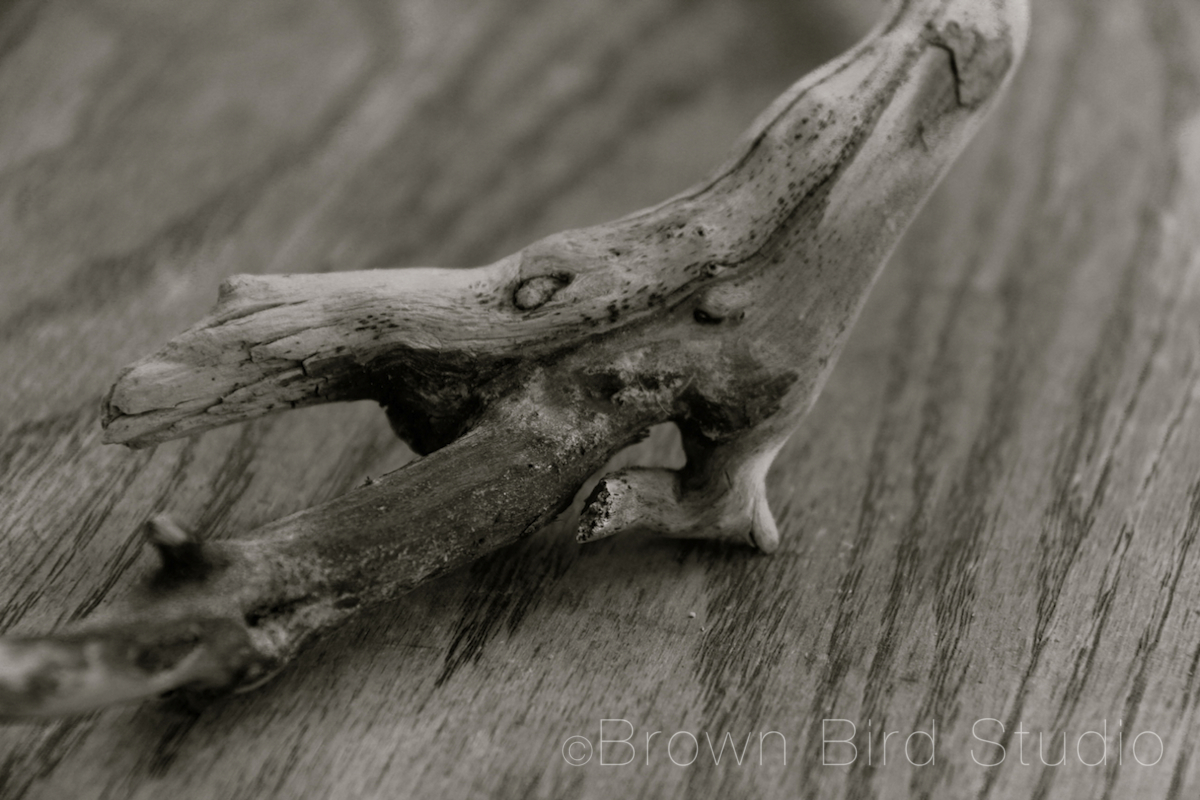
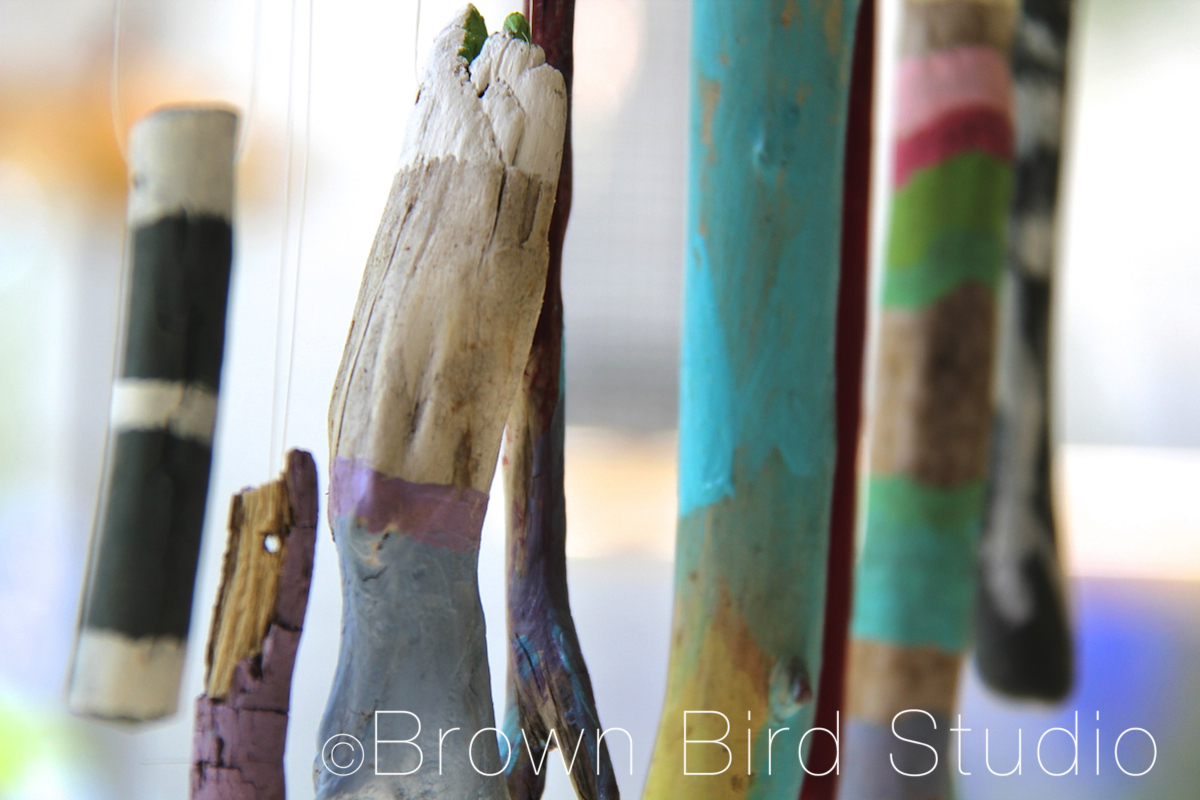
Below, we have a few other roots we haven’t painted yet. We are going to keep making these creatures. One of these roots is going to become a flying dragon with a tail made of smoke and fire coming out of its mouth. What do you see in these?  Please let us know in the comments.

Driftwood Root Driftwood Root Driftwood Root

Driftwood Root


Kid’s Art: Clothespin Puppets

clothespin puppet fish

clothespin puppet fishWe had an idea on our Summer Fun Pinterest board both girls wanted to make, so here’s what we did:

Clothespin Puppets

What you need:

  • clothespins (the kind you pinch to open)
  • heavy weight paper or lightweight cardboard *
  • acrylic paints, markers or other tools to decorate the puppets **
  • hot glue, regular glue (like Elmer’s) ***
  • scissors
  • paint brushes if you decide to use paint

hatching egg clothespin puppet clothespin puppet fish clothespin puppet chameleon clothespin puppet chameleonHow to make the puppets:

  1. Decide what you want to make. We liked the idea of a mouth opening to reveal something inside. Ema also made an egg that “hatches.” You could choose to make a person whose mouth opens to show a word-bubble, or an envelope that opens to show a letter inside. We mostly got our ideas from this lovely Flickr user, Molas & Company, but I can think of lots more ideas… get creative!
  2. Draw your shapes on heavy weight paper and cut out.
  3. Cut through the middle of the shape so you have two halves to glue to the two parts of the clothespin
  4. Paint or otherwise decorate your puppet shape.
  5. Make the inside piece and attach to the bottom of the puppet shape.
  6. Figure out the best placement of the two halves, on your clothespin.
  7. Hot glue the two halves of your puppet shape onto the bottom and top of the clothespin.

Have fun with your puppets:

clothespin fish puppet
Headline: Very brave whale tries to eat prehistoric sea dinosaur even with mouth full of boat!

Adia played with her puppets while watching Fantasia, above. They are interacting with the movie. That’s what I call active-watching (and a brave puppet whale!)

clothespin puppet fishNotes & Tips:

* One of the puppets we made using a lighter weight paper because Adia liked the color. The paper sort of curled, so I would suggest a heavier weight (cover stock is perfect) paper.

** We used acrylic paints and I limited the girls to just black and white (and gray mixed from the two colors.) Use brushes or any other tool you can think of, to apply the paint. The tan chameleon has a texture made by stamping white paint with the tip of a sponge brush (see photo below.) You could also use a pencil eraser to make polka dots. Get creative!

If you use a heavy weight paper, or light cardboard, you could decorate the puppets with glued on buttons, sequins, beads, felt, bits of fabric, ribbons, or pieces of magazine photos.  Very young artists could use stickers.

*** We used Elmer’s glue to attach paper bits to the paper puppet shapes. Hot glue to attach the puppet shapes to the clothespin. Use whatever glue you think will work best with the stuff you’re applying to your puppets.

Clothespin Puppet Critters
An egg that hatches, a whale swallowing a boat, a big fish eating two smaller fish, two chameleons eating flies and a frog eating a butterfly. Your imagination is the limit!
This texture was made by stamping the tip/edge of a sponge brush filled with white paint, on tan paper
I made this texture by stamping the tip/edge of a sponge brush filled with white paint, on tan paper

Links for Clothespin Puppets:


Art and Science Smash-Up: Milk Swirls Paintings

Milk Swirl Painting

milk and food coloring paintingI saw this idea on Photojojo a couple of days ago and immediately thought of doing this with Adia, who is very good at math and science. When I suggested this fun experiment for today, she was all over it! She remembered seeing the project on a website she called “Science Steve.”  Here is an excerpt from Steve’s post about this Color Changing Milk:

The secret of the bursting colors is the chemistry of that tiny drop of soap. Dish soap, because of its bipolar characteristics (nonpolar on one end and polar on the other), weakens the chemical bonds that hold the proteins and fats in solution. The soap’s polar, or hydrophilic (water-loving), end dissolves in water, and its hydrophobic (water-fearing) end attaches to a fat globule in the milk. This is when the fun begins.

The molecules of fat bend, roll, twist, and contort in all directions as the soap molecules race around to join up with the fat molecules. During all of this fat molecule gymnastics, the food coloring molecules are bumped and shoved everywhere, providing an easy way to observe all the invisible activity. As the soap becomes evenly mixed with the milk, the action slows down and eventually stops.

Milk Swirl Painting in ProgressSteve’s description of this experiment explains that it’s important not to stir the colors and the milk with the cotton swabs, but Adia couldn’t stop herself. She seemed much more interested in seeing what would happen when you stir all the colors together (you get a grayish tan color that looks totally unappetizing!)

I convinced Adia to let me to take photos along the way, before the colors were all mashed together. Aren’t these cool? The blue one looks a little like an angry face.

milk swirl painting in blue milk swirl paintings Green and Red Milk Swirl Painting Green and Red Milk Swirl Painting

What You Will Need

  • Whole or 2% milk (must have some fat for the science to work)
  • Dinner Plate
  • Food coloring (red, blue, green, yellow. We also used Neon colors)
  • Dish-washing soap (We used Ivory Liquid, but some sites say Dawn works best)
  • Q-tips (cotton swabs)

How to Make your Milk Swirl Paintings

Pouring milk for milk swirl painting
Pour a thin layer of milk onto a dinner plate that has a lip (we had to level our plate with a shim under one side


Beginning of Milk Swirl Painting
Put a few drops of food coloring into the milk
Green and Yellow Milk Swirl Painting
Touch the soapy swab to the colors in the milk and watch what happens.
Milk Swirl Painting
The color zooms away from the swab tip and makes beautiful, interesting shapes. You can keep dabbing the swab onto the colors, add more drops of color if you want.
Green and Yellow Milk Swirl Painting
You can also drag the swab lightly through the colors to make swirls and shapes.
Green and Yellow Milk Swirl Painting
Take photos! These make really cool abstract designs

Milk Swirl PaintingLINKS AND IDEAS:

Photojojo has a very clear, short video showing how to do this science/art project
Steve Spangler’s Science Experiment, Color Changing Milk. He even has a section on tips to turn this fun activity into a science fair experiment.
Here is a detailed description with great progress photos, of Steve’s color-changing-milk experiment.

Kid’s Art: Painted Stick Sculptures

painted stick sculptureWoohoo! We finished our stick sculptures! Ema and Adia assembled the painted driftwood sticks into two mobile-like or wind-chime-like thingies … we even tried blowing on them (like a breeze) and they do kind of clack together to make a gentle comforting sound. I really love these art pieces. So much I’m going to make one myself, for our porch.

painted hanging sticks hanging painted sticksSupplies and Tools Needed for This Project:

  • driftwood sticks, preferably already smoothed out
  • 1 longer driftwood stick for the horizontal piece
  • acrylic paints
  • brushes in various sizes
  • drill and tiny drill bit (bit size depends on size of your sticks. We used a 1/16 inch bit)
  • clear fishing line (mono-filament)
  • hot glue
  • enthusiasm and perseverance

painted stick sculptureNot exactly instructions, but you can see us painting and drilling the stick in this post

sticksculpture03-impA few tips we discovered as we made these painted stick sculptures:

  • limit the paint colors to get harmonious results
  • drill the holes after you paint, or be ready to poke them again with something like a t-head straight pin.
  • The hot glue dabs on the horizontal stick could be considered unsightly. I don’t mind them. It was the easiest way we could think to make sure the sticks didn’t all slide together and get tangled.
  • You can make just about any kind of assembly with these painted sticks. They don’t have to become a hanging sculpture. I am going to try some other ideas on my own, such as making little cities or crowds of painted sticks. Fun!
  • It might be kinda cool to also drill holes in the bottom of the sticks, then attach some things that would tinkle together, making more sound in the wind:  a true wind chime. You could use old keys, flattened-tin-can-cutouts, seashells …

Have lots of fun making something like these with your kids or students! I hope you will comment, give feedback, tell the rest of us what worked and what didn’t, and maybe even post some photos and put a link in the comments. Thanks for looking and reading. — Maureen, Ema and Adia

Painted Sticks HangingPainted Sticks Hanging