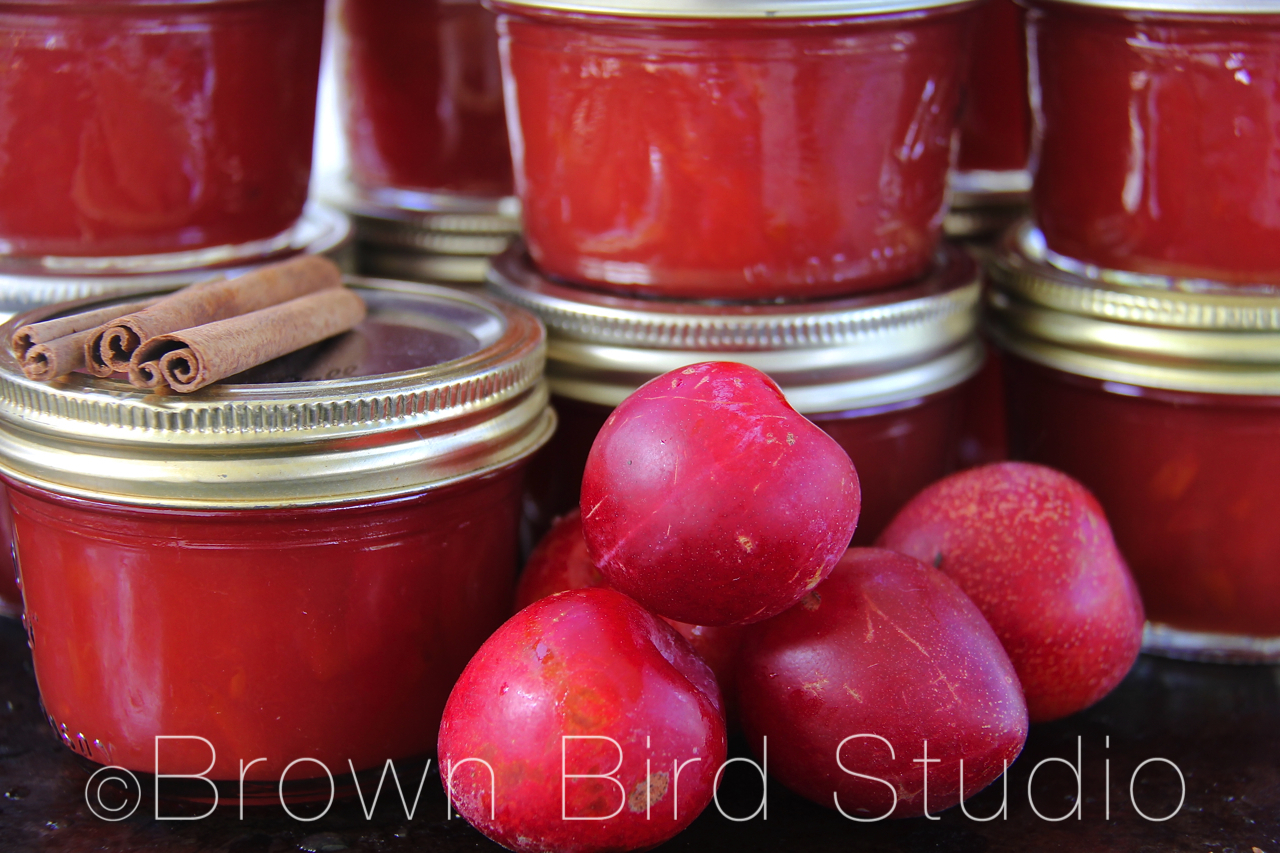
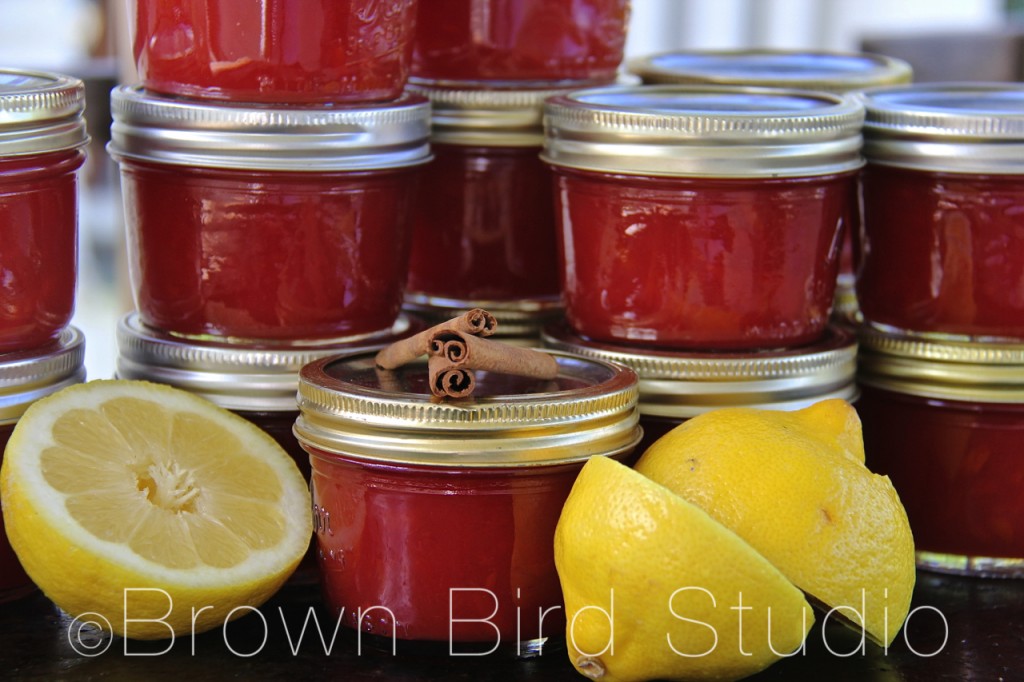
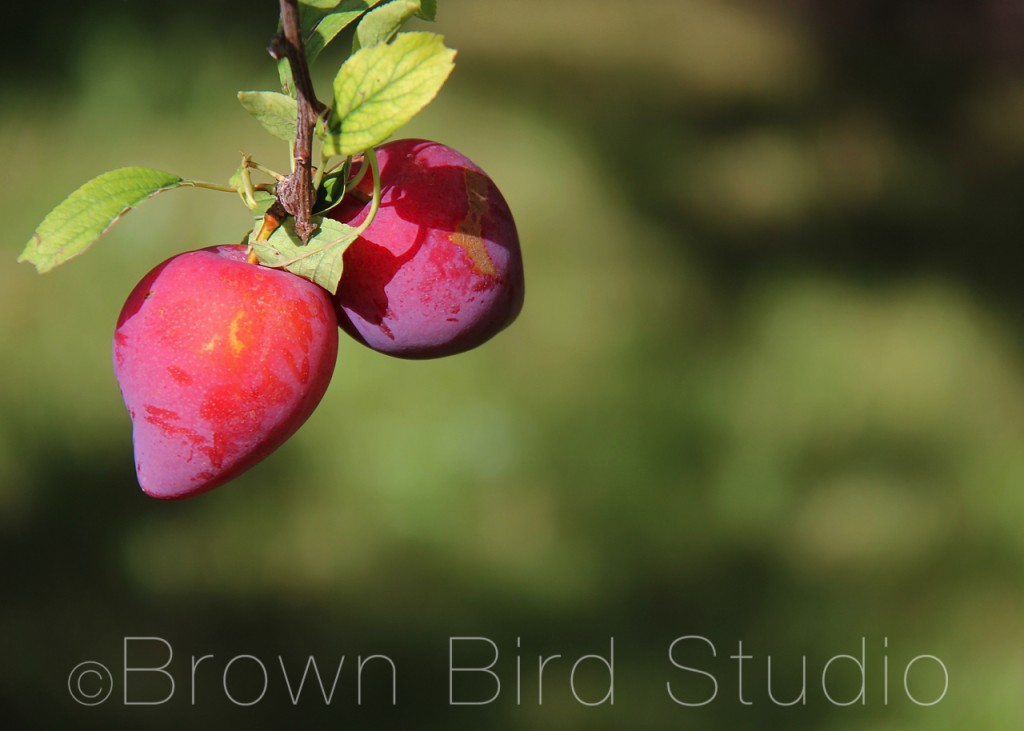
Another adapted recipe here … born of what we had in the pantry and the gift of some incredibly yummy red plums from our neighbors. I had a big box of plums to use up. Fast. Before the fruit flies drove me crazy.
So I made jam. I’m not a very organized cook. I got the jam boiling before I realized I didn’t have enough mason jars. Or lids. Tim kindly zipped out to the grocery store to get the supplies I needed.
I used Sure-Jell pectin, and the recipe from their website was the basis for my jam. But of course, did I really follow the recipe? Nooooo. Silly me. Not only did I not follow the recipe — I didn’t read the whole thing before dumping ALL of the ingredients in my pot.
Cardinal rule of cooking: read the danged recipe before you start. Even if you fully intend to ignore the recipe. Really.
I knew I wasn’t going to use 8(!) cups of sugar for just 6 cups of plums. Whoah! Sweet City. And I was already plotting to get creative with the flavor of this jam. Kraft isn’t known for extraordinary flavors, so what was I expecting from a recipe on their website, huh? Also, I sure as heck didn’t want to add butter to my jam. I mean, come on, folks. We put butter on our toast/muffins/cornbread so why put butter in the jam? (This is how I think. Now you know.)
I think you’ve guessed by now that I thoroughly mangled the plum jam recipe I started with.
So once I realized I was doing it all wrong, I punted. It turned out to be the best jam I have ever made. So I’m giving you the recipe exactly as I made it. Feel free not to follow my recipe — except oh, puhleeease do not skip the brandy, cinnamon and vanilla. Heh.
I hope you know you are a creative cook too. And if your jam turns out runny, pour it all over some pancakes.
Broadway Bungalow Plum Jam
INGREDIENTS
9 cups (about 6 lbs plums) pitted and halved, with skin left on (measure after you pit the plums)
1 cup water
1 cup brandy
Juice of 2 lemons
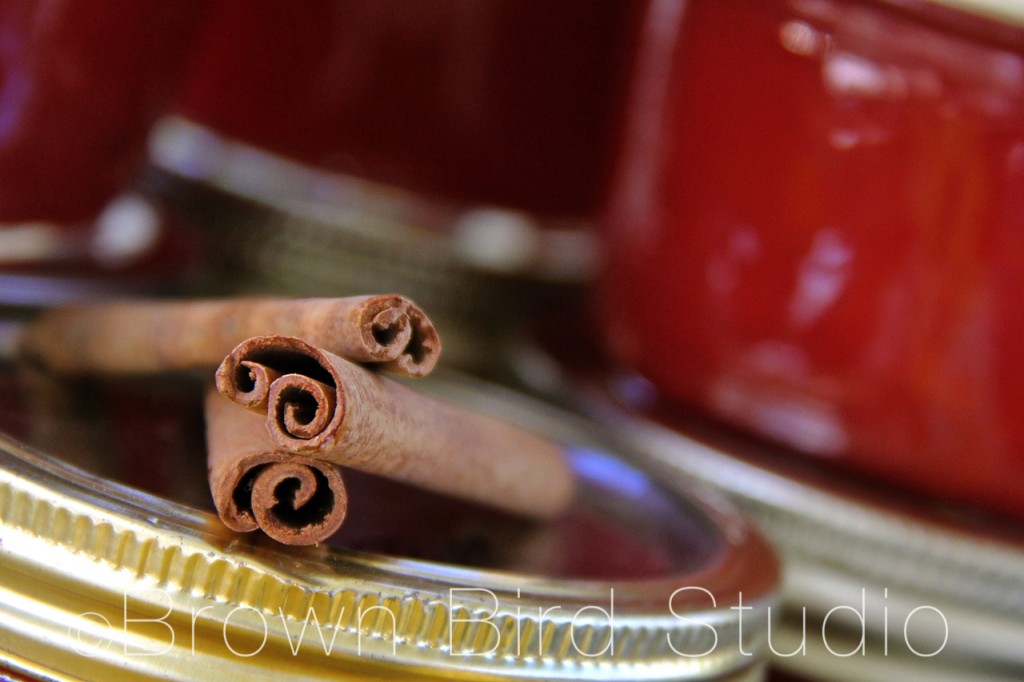
1 cinnamon stick
2 boxes powdered Sure-Jell fruit pectin
2 tsp Mexican vanilla
6 cups sugar
PREPARATION
Get your jars and canning pot ready:
- Wash small mason jars and the lid-rings with hot soapy water, rinse and set on a clean towel to dry.
- Pour boiling water over the flat lids and let sit for a minute, then remove with tongs and dry on the towel.
- Fill canning pot about half way with water and heat to a simmer while you are making the jam.
Make your jam:
-
Pit the plums. I had a hard time getting the pits to separate, so I just cut around them. Do not peel. The peel is the tastiest part!
-
Chop the fruit. I used my food processor and made quick work of this step
-
Place fruit in a large soup pot. Add water, sugar, lemon juice and cinnamon stick. Bring to boil. Reduce heat; cover and simmer 5 min.
- TAKE OUT THE CINNAMON STICK
- Stir pectin and vanilla into the jam. Bring mixture to a full rolling boil (a boil that doesn’t stop bubbling when stirred) on high heat, stirring constantly.
- Taste for sweetness. I added a bit more sugar at this point because it was super tart.
- Boil for about 2 minutes. Remove from heat.
- The jam will look runny, but it should thicken up as it cools in the jars.
- Ladle the jam into prepared jars, filling to within 1/8 inch of tops.
- Realize you don’t have enough jars or flat lids. Send husband to grocery store to get some real quick!
- Wipe jar rims and threads. Cover with two piece lids. Screw the bands on tightly.
- Place jars on a rack in the canner. The water should cover the jars by 1 to 2 inches — add boiling water if needed.
- Cover; bring water to gentle boil. Process 10 min + the # of minutes in this altitude chart. *
- Remove jars and place upright on a towel to cool completely.
- After the jars cool, check the seals by pressing the middles of the lids with your finger. If the lid springs back or makes a popping sound, it is not sealed and you will need to refrigerate that jar.
NOTE: * Since we live at around 4000 feet above sea level, I processed the jam jars for a full 20 minutes.
LINKS:
- Here is a much more detailed, recipe than mine, although her recipe doesn’t have the same flavors. She illustrates her technique with photos — very clear instructions. Check it out if you’re new to jam/jelly making.
