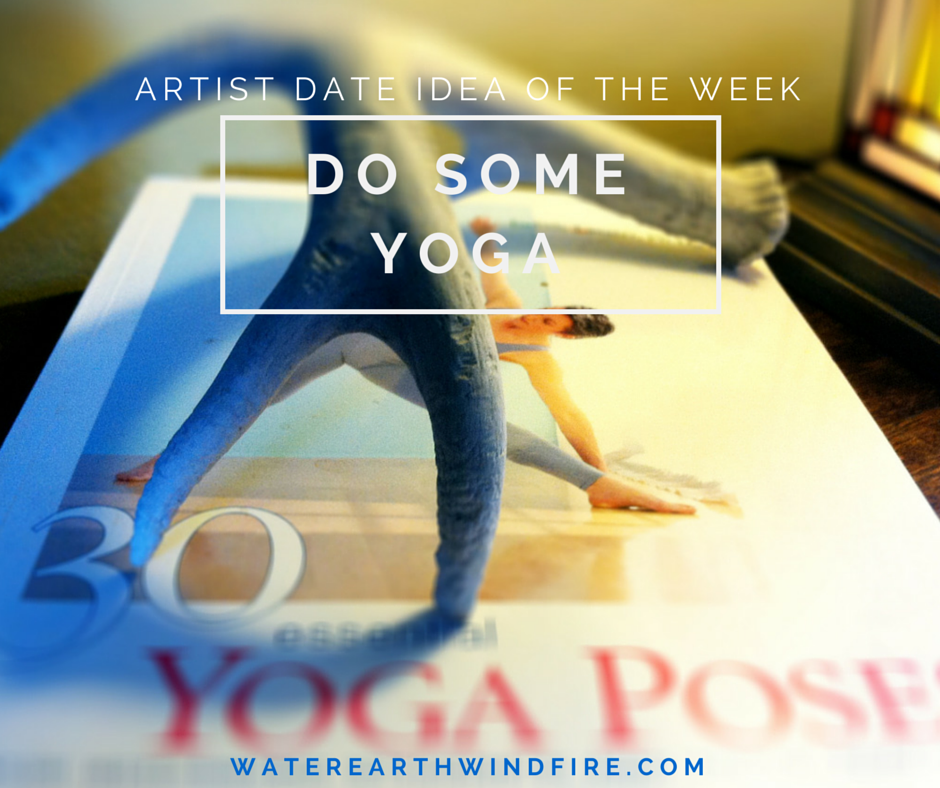
Artist Date 7: Stretch It Out with Yoga

Water :: Earth :: Wind :: Fire
Art and Art Education with the Elements
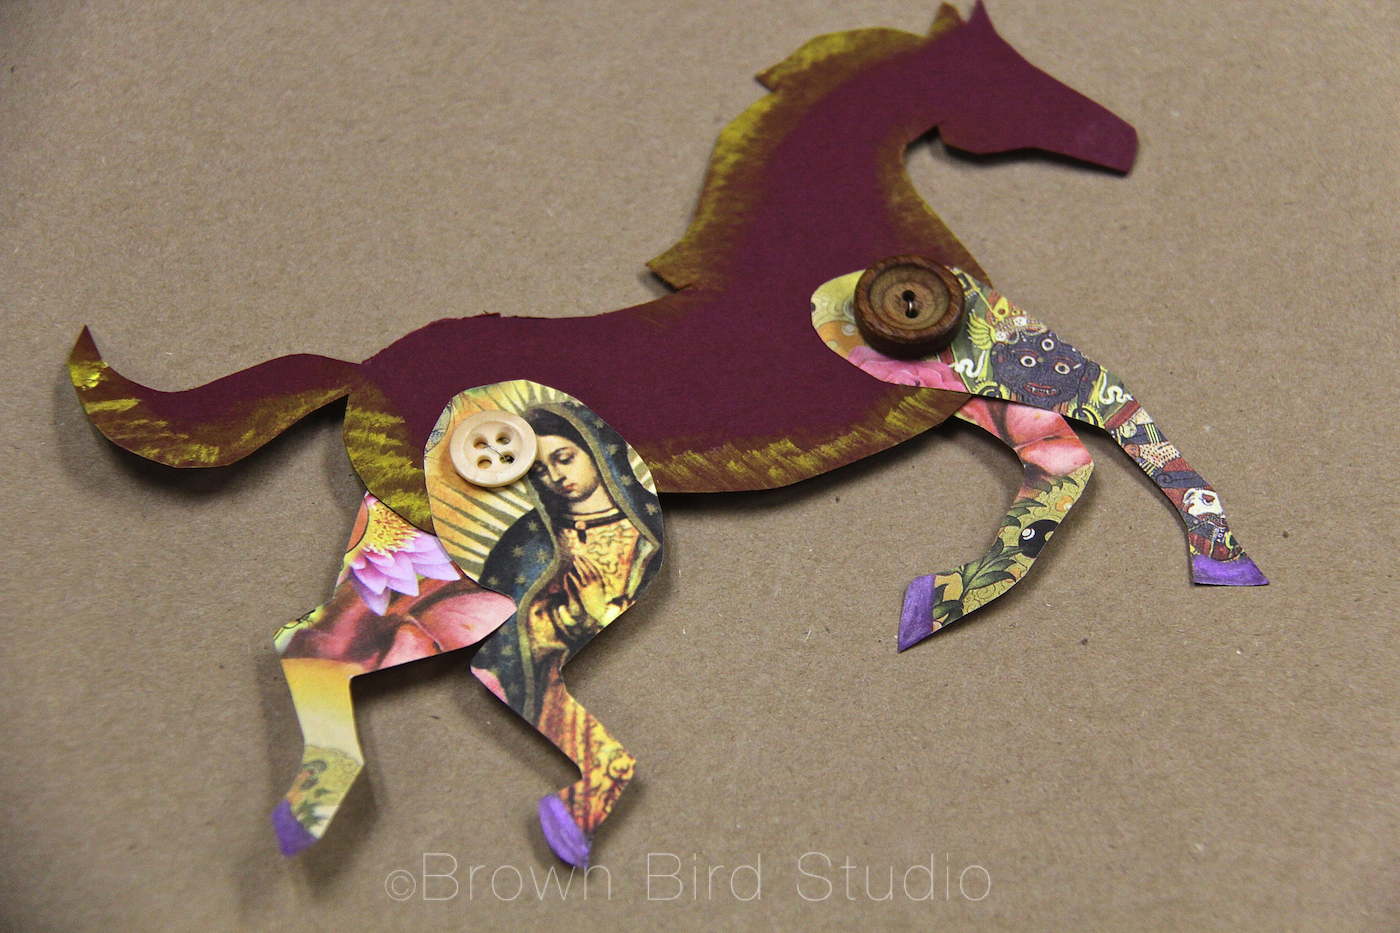
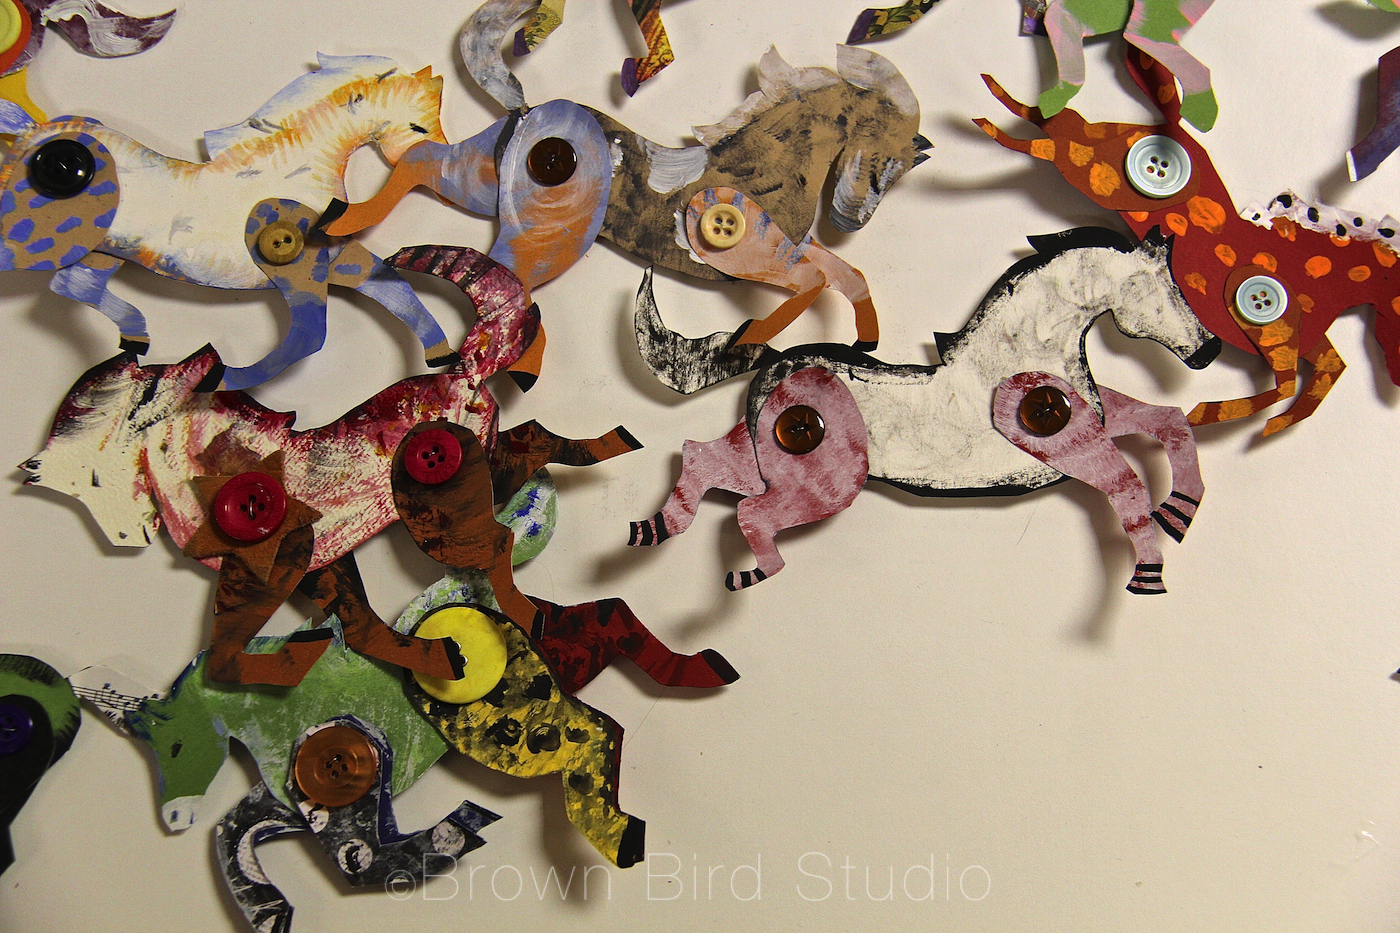
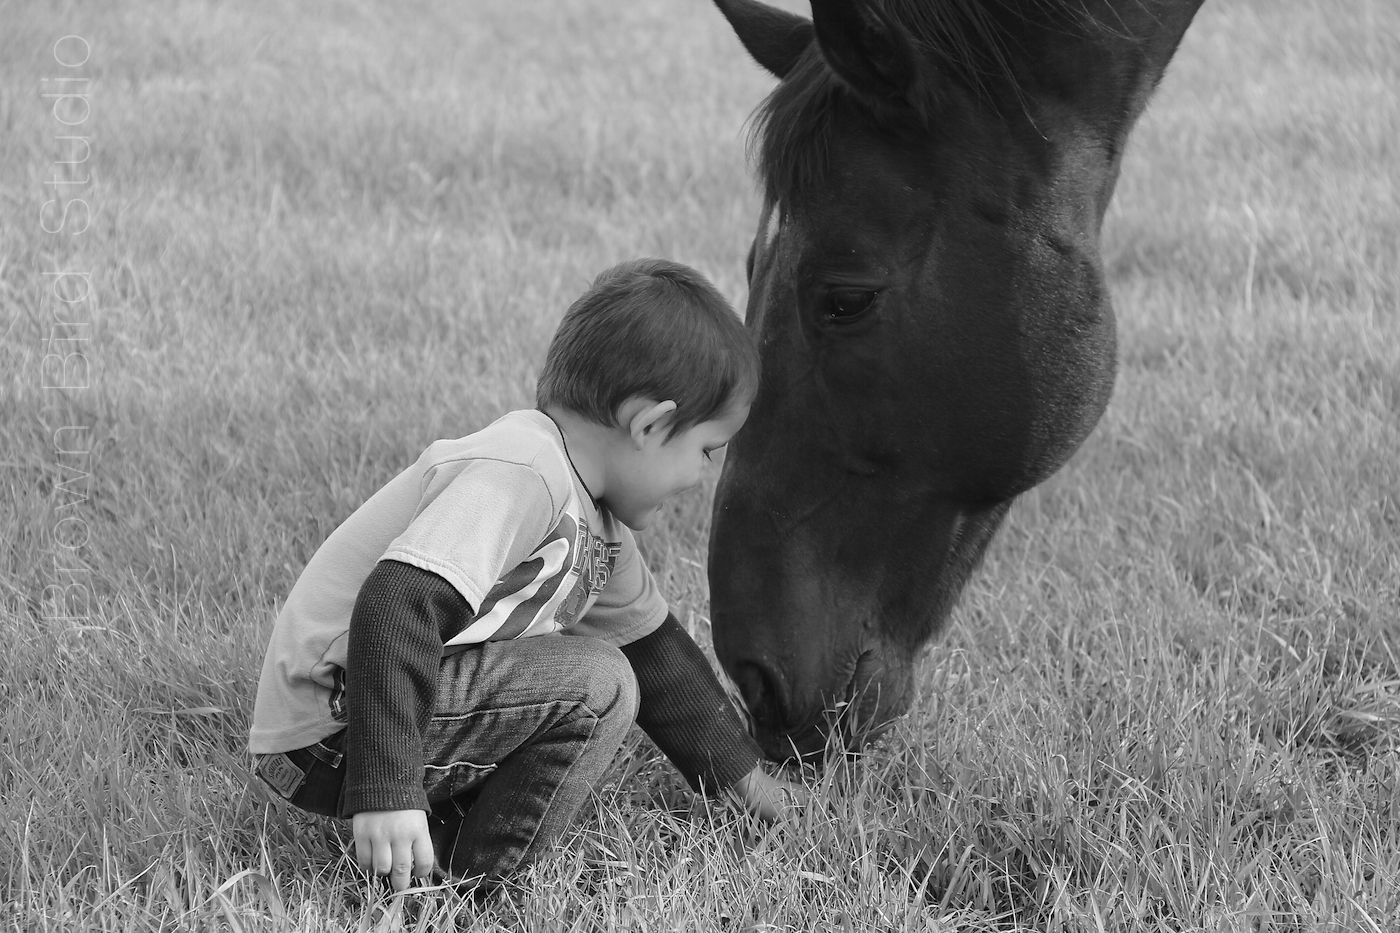
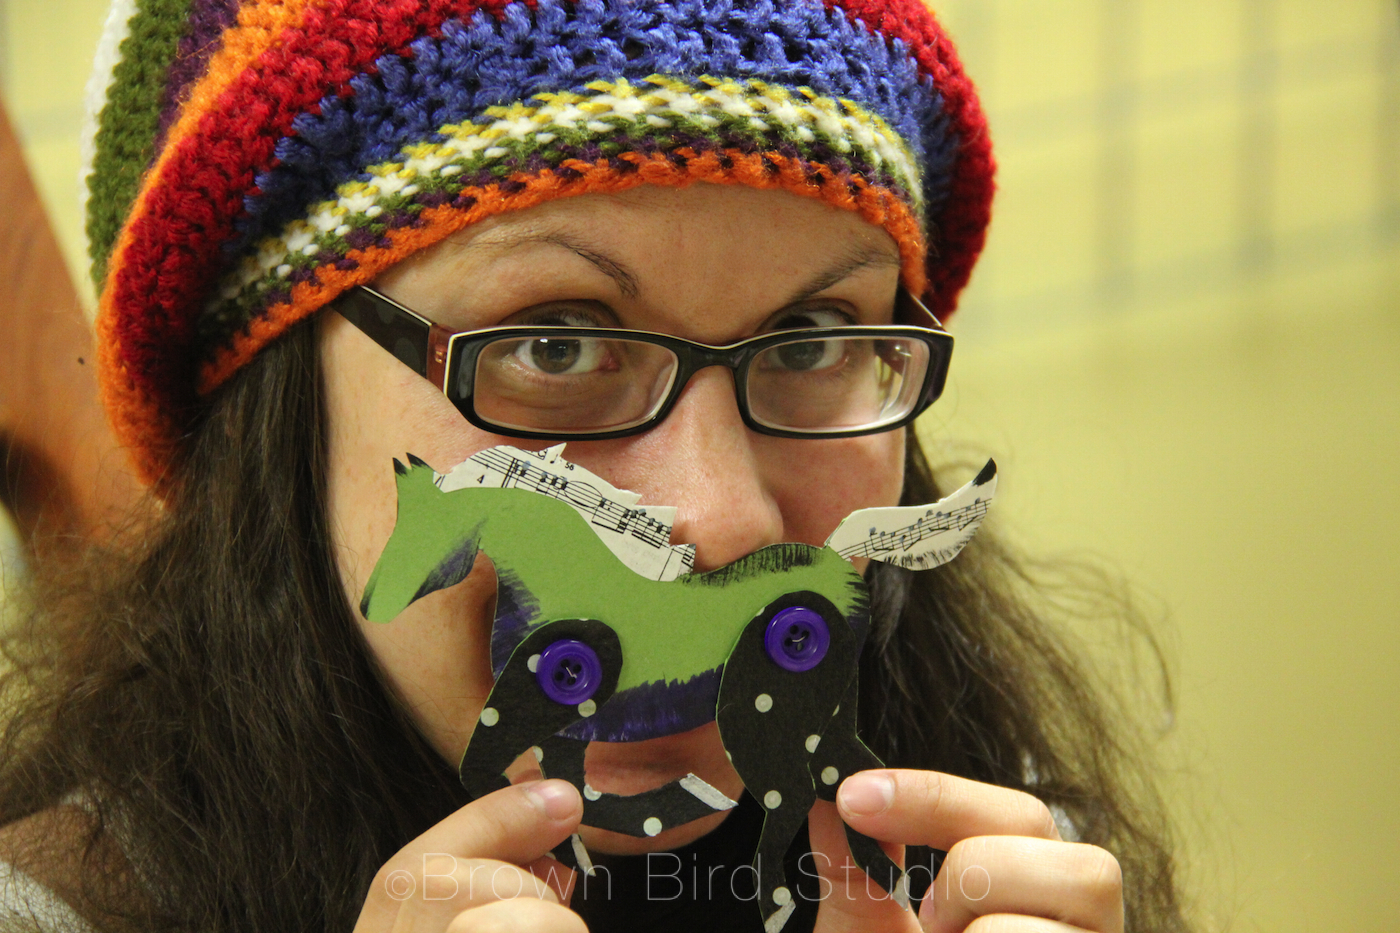
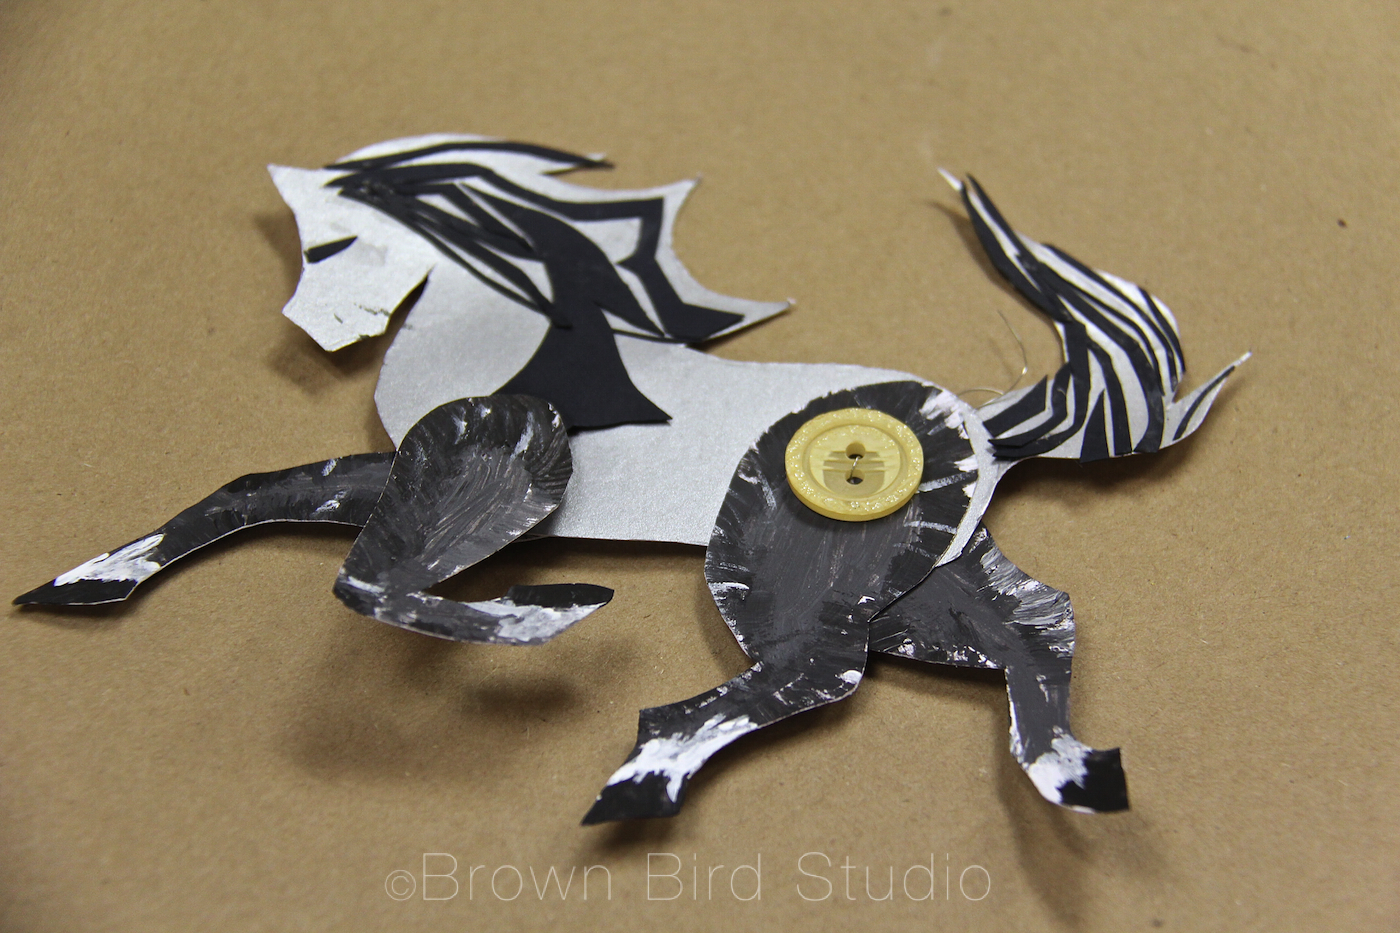
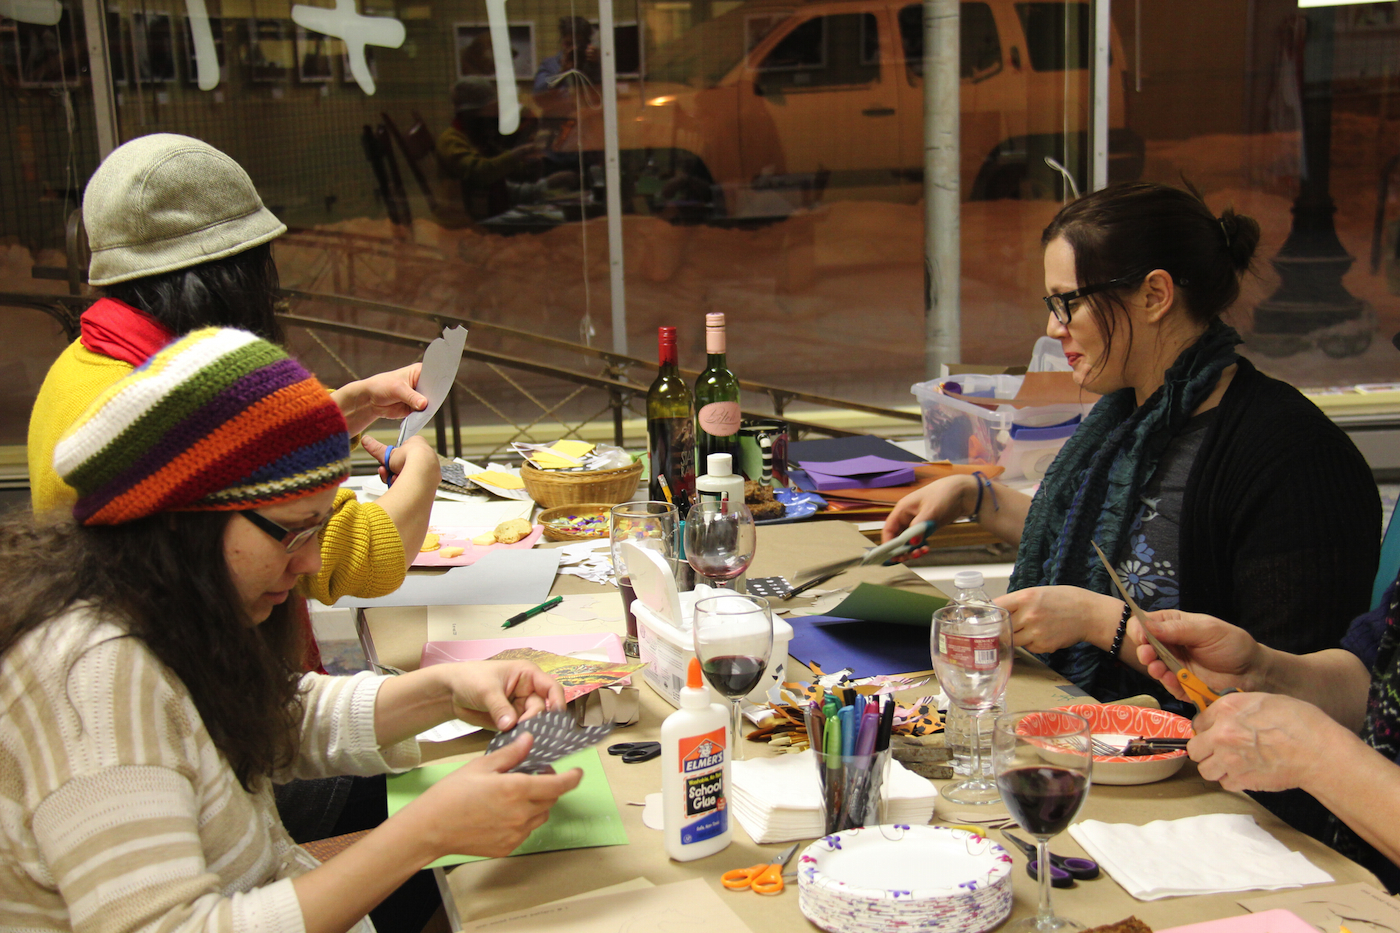
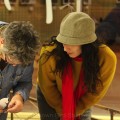
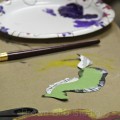
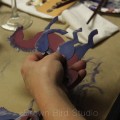
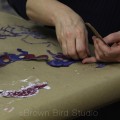
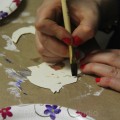
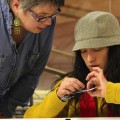
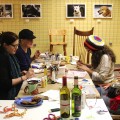
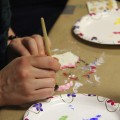
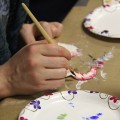
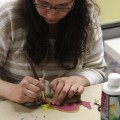
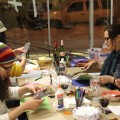
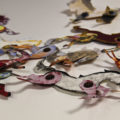
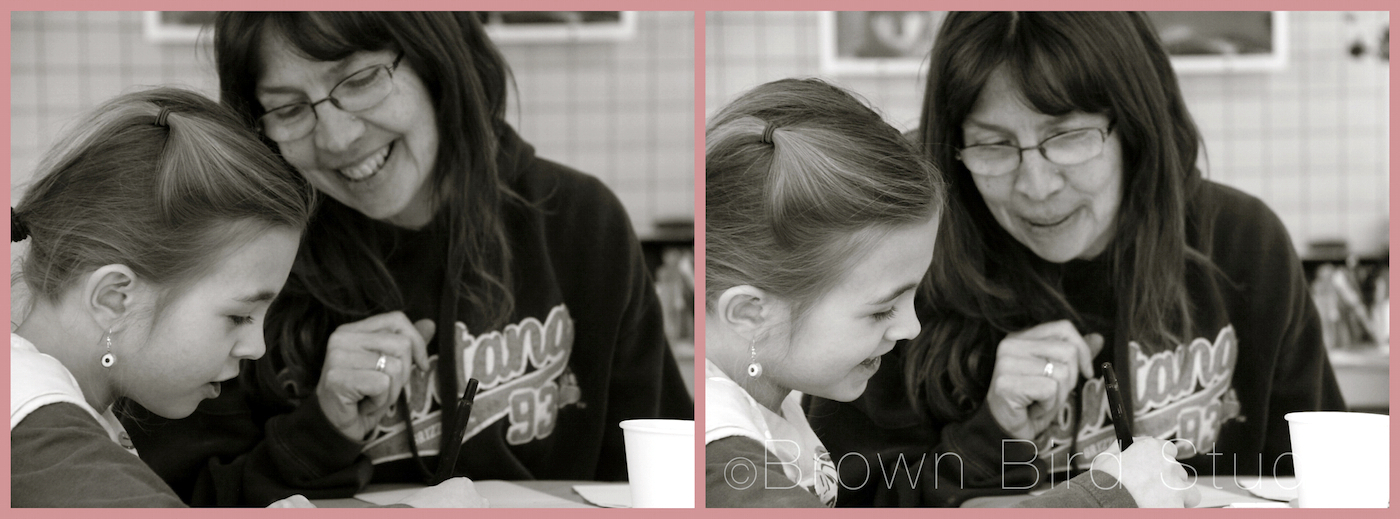
Last night at our first monthly Girls Art Night at 1+1=1 Gallery (Brown Bird Studio) we were inspired by Ann Wood’s creative exercise to make these absolutely delightful horses. We were a small group — just the perfect size, though as we continue to do these art-nights I hope other women will join us.
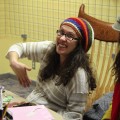
Shayna, Jaime, Cari and I gave some of our horses to Whitney, who is ready to give birth any day now. Her little boy will be born in the Year of the Horse. He will have a herd of wild horses to remind him of his naturally wild joy. With a mama like Whitney we know he’ll grow up snorting with laughter, jumping with glee and letting his wildness out into the world. (*See bottom of this post for some interesting predictions about this baby — and other babies born in this year of the horse.)

“Last night was like a symbolic circling of all the mares … lending the strength of those who have gone before, to the one ready to walk through that door that you never, ever can cross back through … the becoming of motherhood and the strength and grace of sisterhood … so special to me” — Jaime Terry
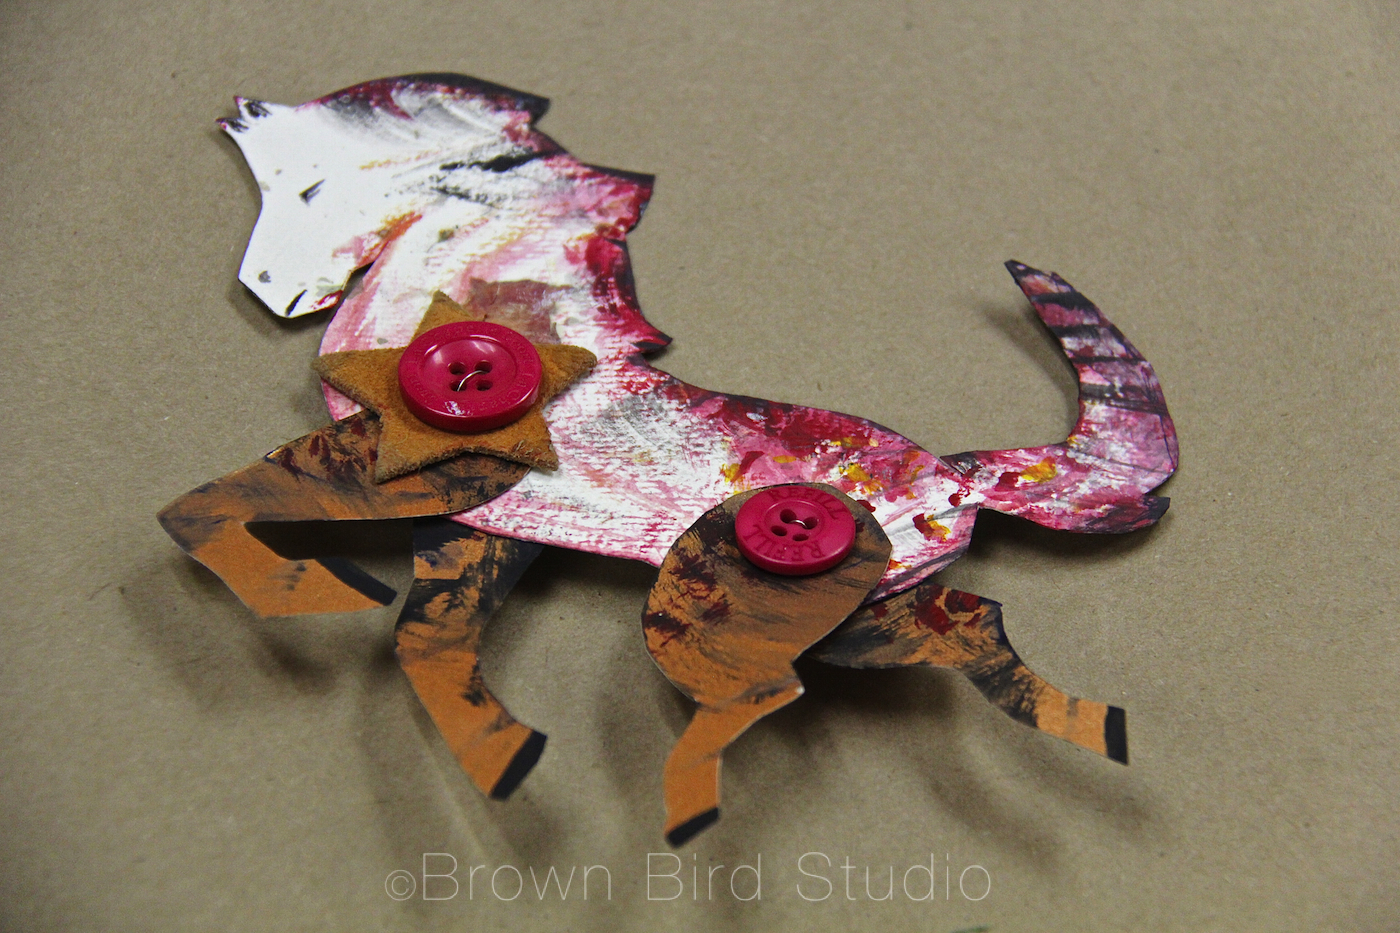
We made horses. We laughed. She contracted. We played. Relaxed. Listened to her talk about the baby, the baby’s name, the nest she is preparing. Talked about lack of sleep and future lack of sleep and hope for sleep. And about other things. And nothing at all.
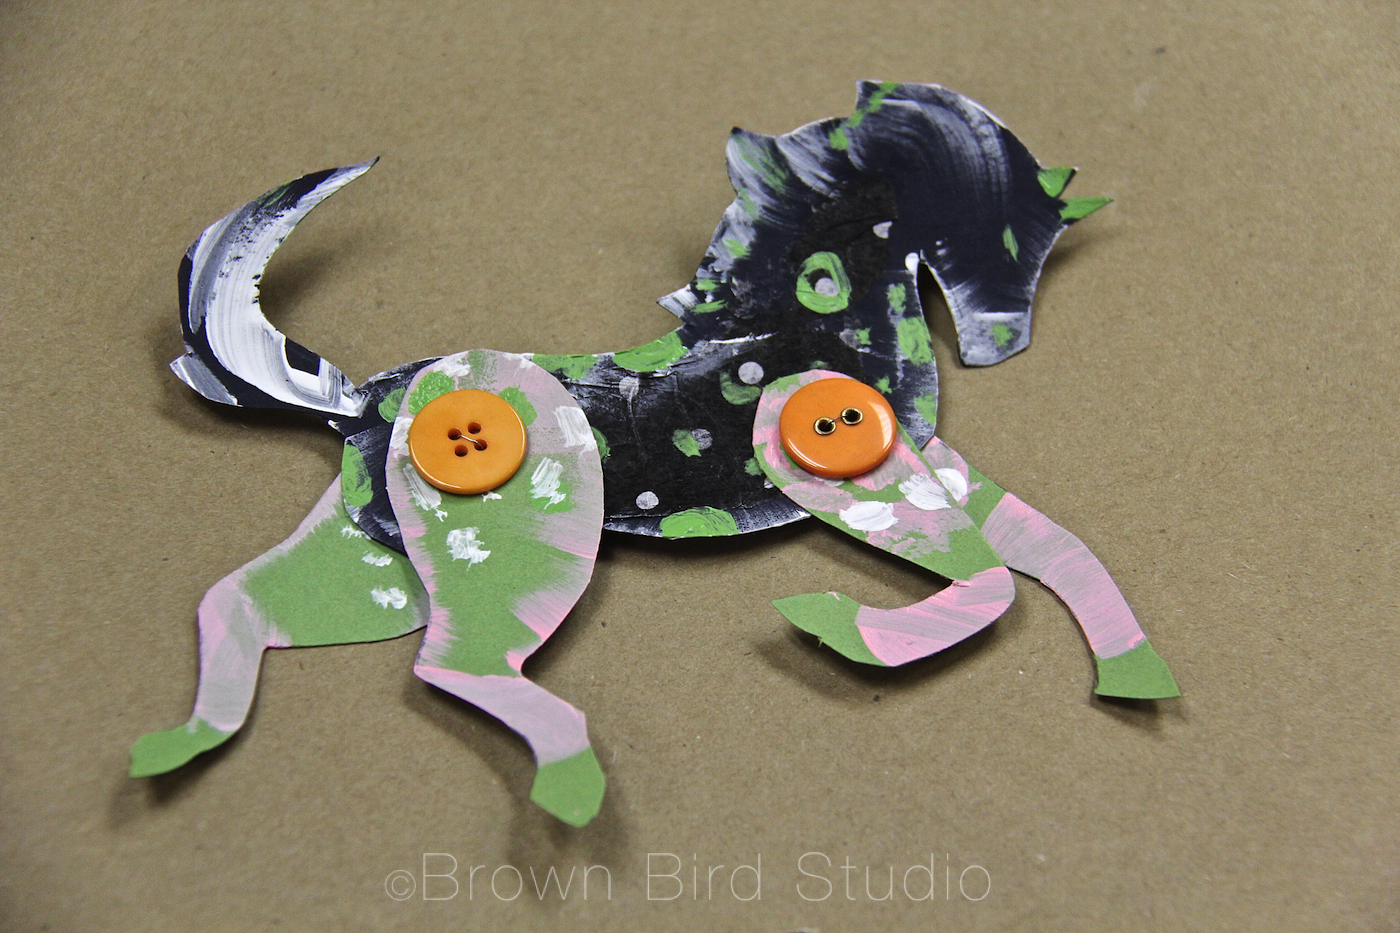
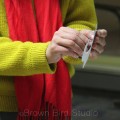
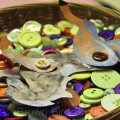
Our hands busy with scissors and paint and buttons. Good food. Good wine. Good company. It’s what women do. We nurture each other with food and listening and love and open arms. A circling of the mares.
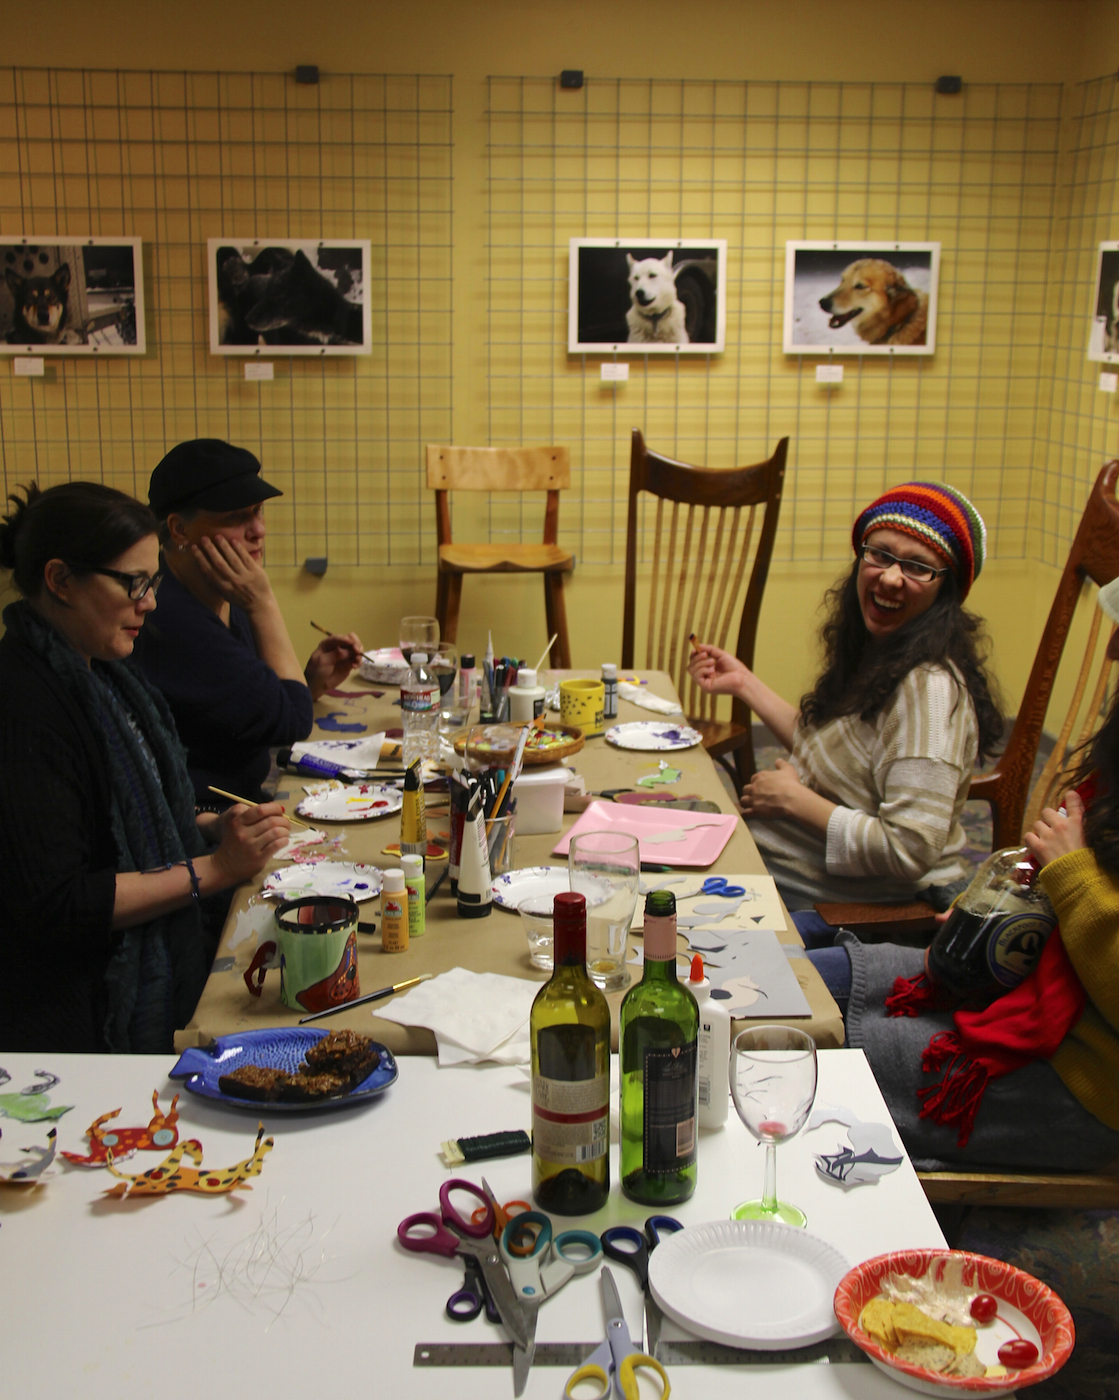
We decided to do this every month. Something artsy. Something to connect us. To each other. To our souls. To the Earth.
Please join us at our next Girls Art Night with Brown Bird Studio on the last Thursday of each month. Like our gallery’s facebook page or sign up for updates from 1+1=1 Gallery, and we’ll remind you a few days in advance. Put Girls Art Night on your calendar for March 27th at 6:30 pm. 335 North Last Chance Gulch, Helena.
Our evening gatherings are all about being relaxed and nurturing our inner artistic souls.
Whether you consider yourself artsy or “crafty” or not, I promise you will have a good time. And don’t forget we’ll share food, music and laughter too. The cost is free or minimal, depending on the materials we use.

LINKS:
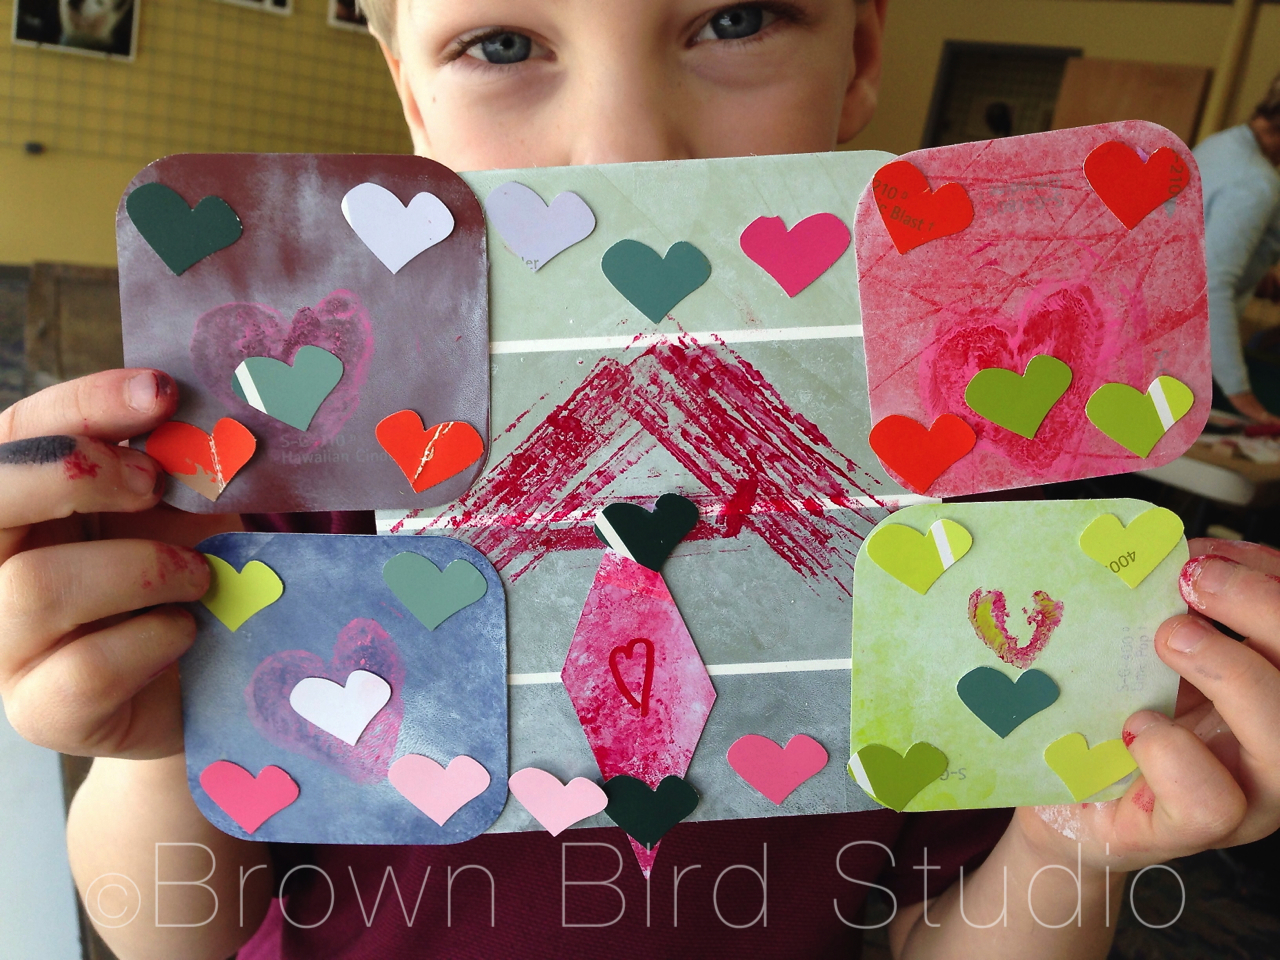
Cootie Catchers (aka salt cellars or fortune tellers) are perfect for a unique Valentine card that becomes a game. The basic shape is an origami fold. Make these with inexpensive copy paper in different colors. To make a cootie catcher into a Valentine gift, instead of writing “fortunes” on the inside, write little love notes or positive messages like the ones you find on Valentine candy hearts. Examples: “Be Mine” … “Call Me Later” “I-Luv-U” “Kiss Me” and “Hugs!” and “Sweetheart.”

Cootie catchers are easy to make and can be adapted for any age from 3 up. For toddlers, you might want to fold the shapes for them, letting them decorate the paper. They can tell you what they want you to write on the inside. This is a fun way to remind your little ones of all the positive messages you give them every day.
For older kids, try suggesting they use rubber stamps for the numbers or letters on the outside of the folded shapes. Or they can think of Valentine-related symbols such as a bumble bee (bee-mine) a heart, a flower or pair of lips to use instead of the traditional numbers on the outside flaps.
Remind kids to stay positive, and keep a great sense of humor. Your kids may surprise you with the fun sayings they come up with for their cootie catchers.
One of the kids came up with a cool idea: on the inside flaps she wrote things like, “Hug the person to your right” and “Your Valentine is on your left.” A perfect party cootie catcher!
HERE’S WHAT YOU NEED:
HOW TO DO IT:
Instead of trying to formulate instructions that make sense, I am sending you to momsminivan.com because she has not only complete instructions, but detailed photos and a video on folding. Check it out here. And here’s how to play cootie catchers:
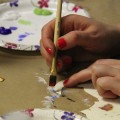
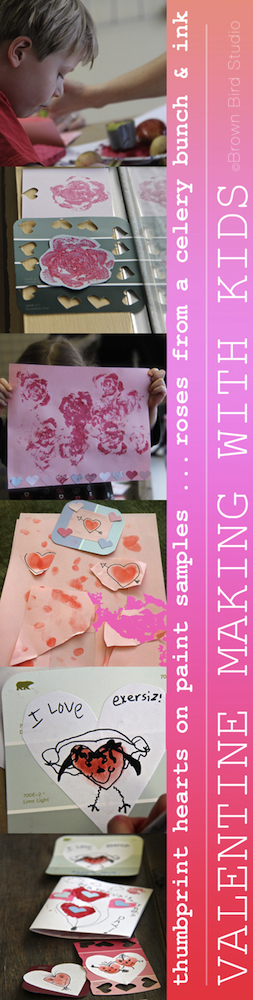 Make Valentine-y Prints Using Fruit and Vegetables
All you need for Valentine printmaking is some fruits and veggies and a few other things you probably have around your house. Think about handing your Valentine a bunch of flowers you made yourself!
HERE’S WHAT YOU NEED:
HOW TO DO IT:
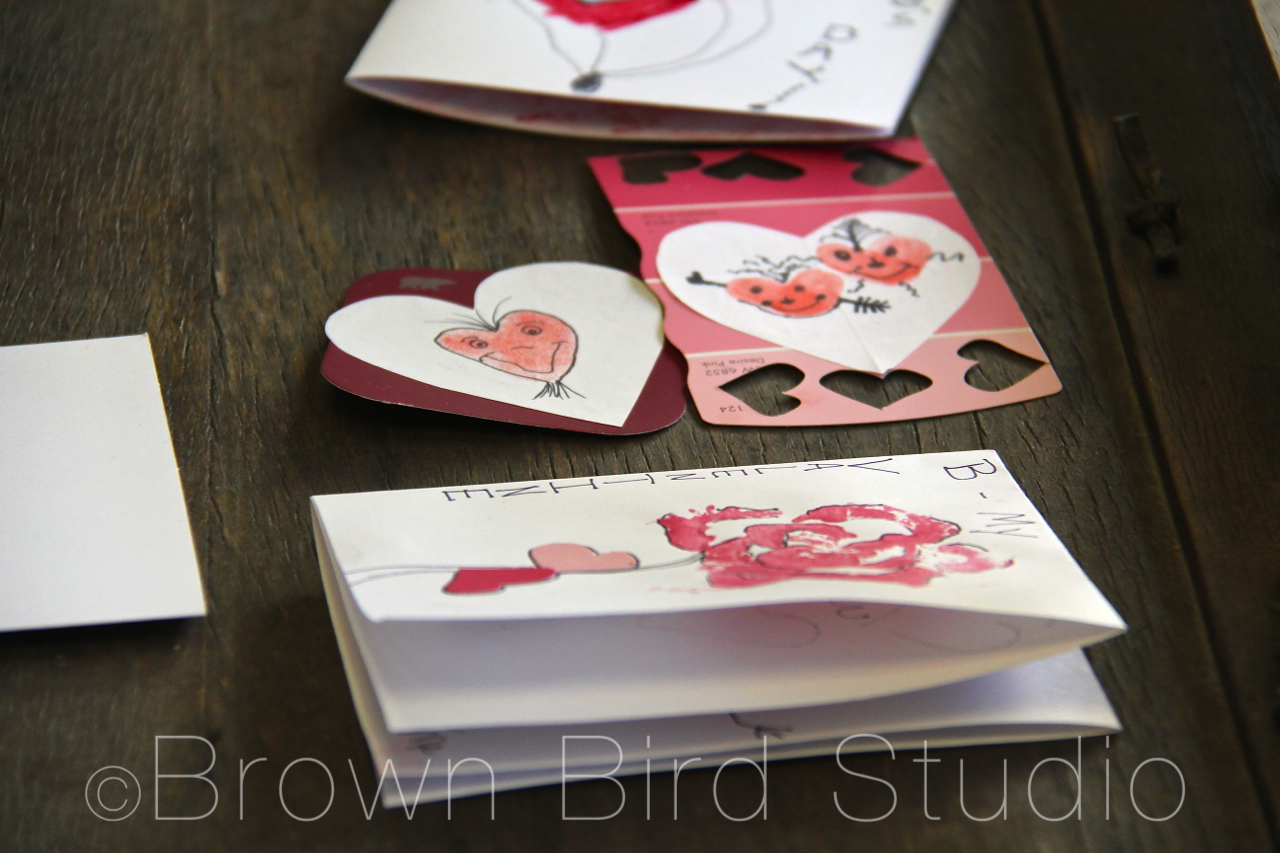
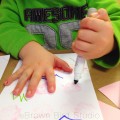
What is easy, simple, and uses something you have on you ALL the time? Hearts made with your very own thumbs. Big grownup thumbs or tiny toddler thumbs make super cute Valentines. This is a popular card making activity with the littlest ones. (I used washable red ink stamp pads for obvious reasons. heh)
HERE’S WHAT YOU NEED:
HOW TO DO IT:
Some of the kids who came to this workshop decided just to draw their Valentine’s cards — and I just say there were some really cool cards being made at that table! They used the markers and printer paper we had to exercise their creativity. Three-year old twins and their sister made these:
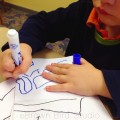
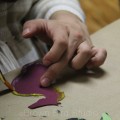
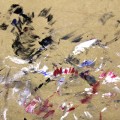
I love, love, love how this happens! Aidan made a cootie catcher, but the thing that really caught his imagination was the idea of printing and getting messy with paints. I had three planned valentine techniques and Aidan made such a beautiful — creative — Valentine using the materials and tools I had available but his very own multi-layered techniques. If he had given me his Valentine I would have proudly framed it and hung it in the gallery. Check it out below. Can you tell how Aidan made his valentine? (I’ll give you a hint about one little part of his design … below the picture)
(hint: Aidan used the outside of the celery stalk, lengthwise, to make the cross-hatched pattern in the middle. The rest of his techniques you’ll have to figure out yourselves.)

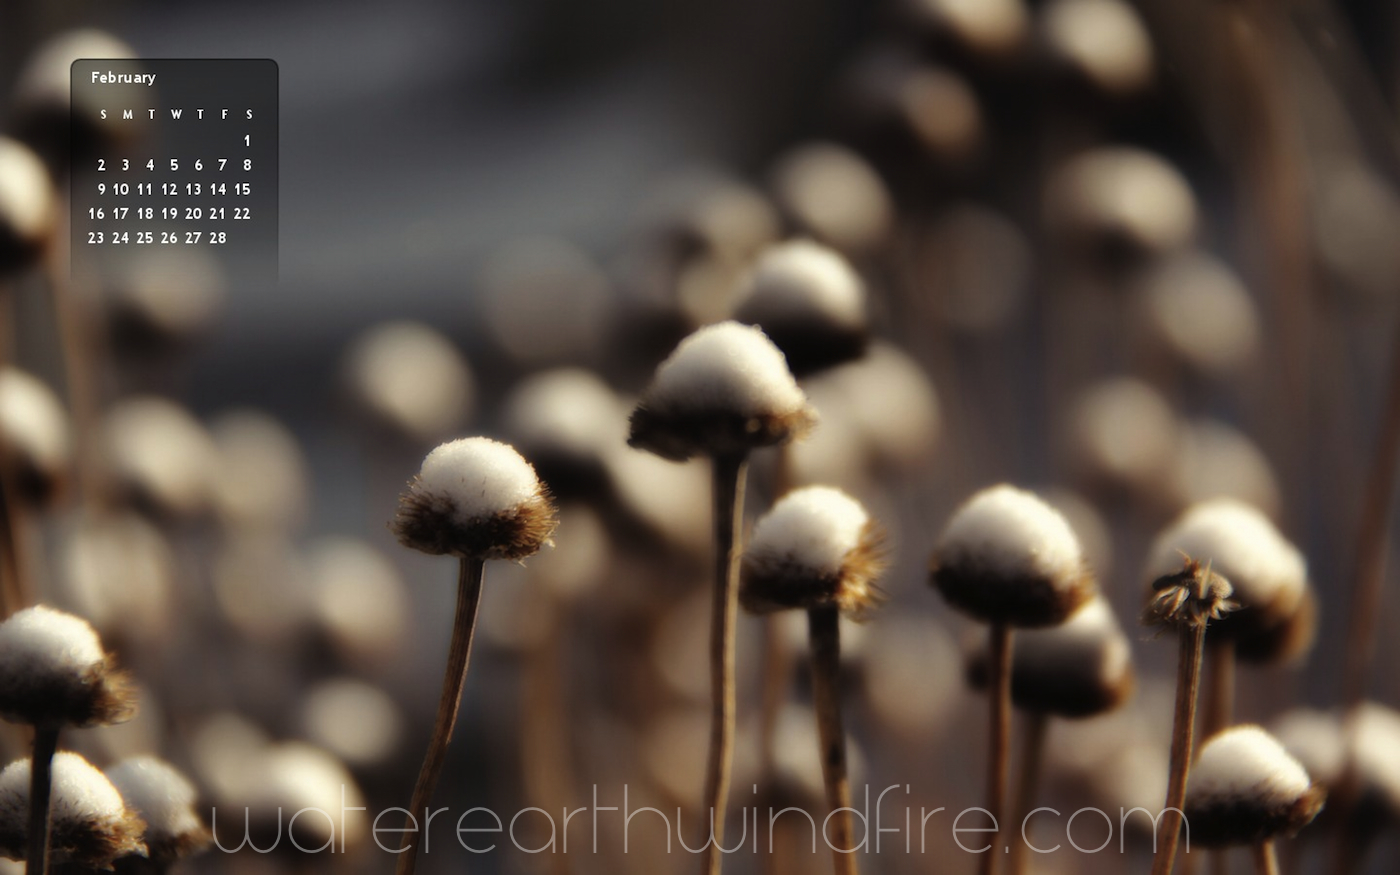
I used to post a free desktop wallpaper calendar every month and I loved doing it. I liked knowing that people appreciated the free calendar to liven up their laptop or desktop display and it was fun to give away my art to my blog readers. I think I stopped doing it because I got really busy with my job at Florence Crittenton. I have decided to start giving the calendars away again.
So, please download the calendars every month. I will try to post the calendars the first day or two of each month. The only thing I ask is that you use them only for your personal use. Please don’t sell them yourself. And please do tell your friends these are available. Thank you! These are a gift from me.
If I don’t have the size or proportion of your computer monitor, or if you would like one for a cell phone, please tell me in the comments and I will make one for you and post it here.
You should be able to right-click to save the image. Let me know in comments if you have any trouble. You can also download and print these calendars. (That’s a shout-out specially for my mom, Pat!. Love you mom!)
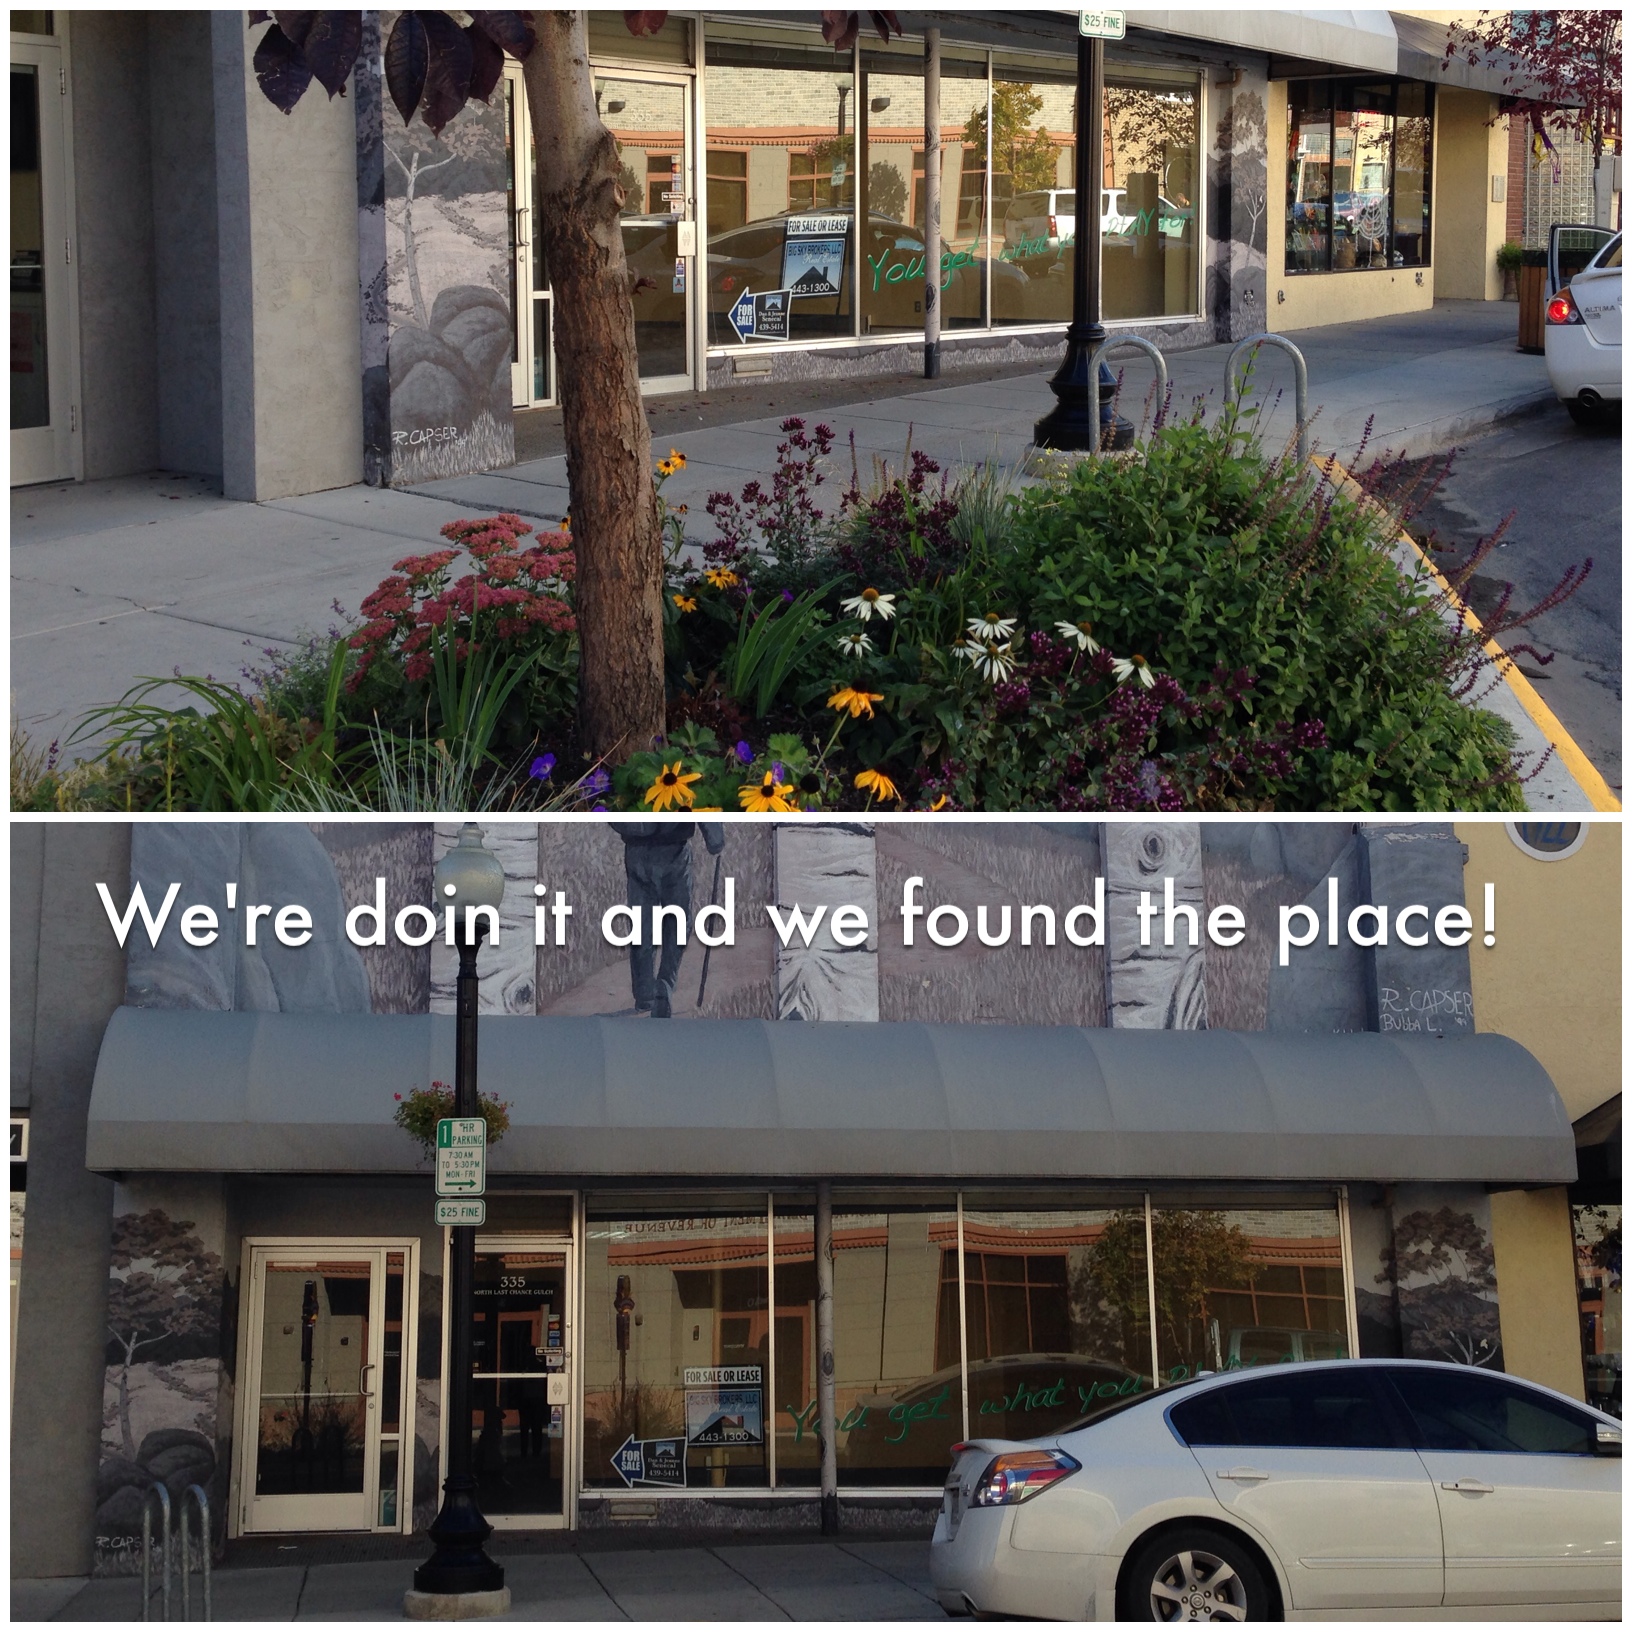
I have some good news: Tim and I made a commitment to renting a space in downtown Helena, for a whole month. We’re going to open a little pop-up (temporary, short-term) gallery the night of the Fall Art Walk — November 8th. The as-yet-to-be-named little gallery will feature Tim’s exquisite hand crafted furniture and my artwork. I will write more about the show and our progress as the time nears, both here and on my Facebook page.
We would be honored if as many of our Helena peeps as possible would come down to our little gallery during the art walk — or anytime from November 8th to December 8th. I’d love to see you and show you my work and Tim’s. You’ve been able to see both of our work online, and at the fall art walks for the past few years, but now is your chance to see a lot more of it — in person.
And when you come, please sit in one of Tim’s super comfy chairs. You’ll be amazed.
I will be at the little gallery during the Art Walk and Tim will be there part of the evening. He also has his piece, The Madison, in the Art of Wood show with the Helena Woodworkers Guild at the Placer Hotel lobby during the art walk.
Anyhoo, I’m really excited about this — and a little nervous. It’s a ton of work to put together a show of artwork, and we still have so much to do. I am working on 5 new paintings, and really excited to show them to the world.
Stay tuned for our progress, an invitation to an artist reception (and gallery talk) and more details as we get them nailed down.
LINKS ABOUT POP-UP GALLERIES AND THE POP-UP TREND
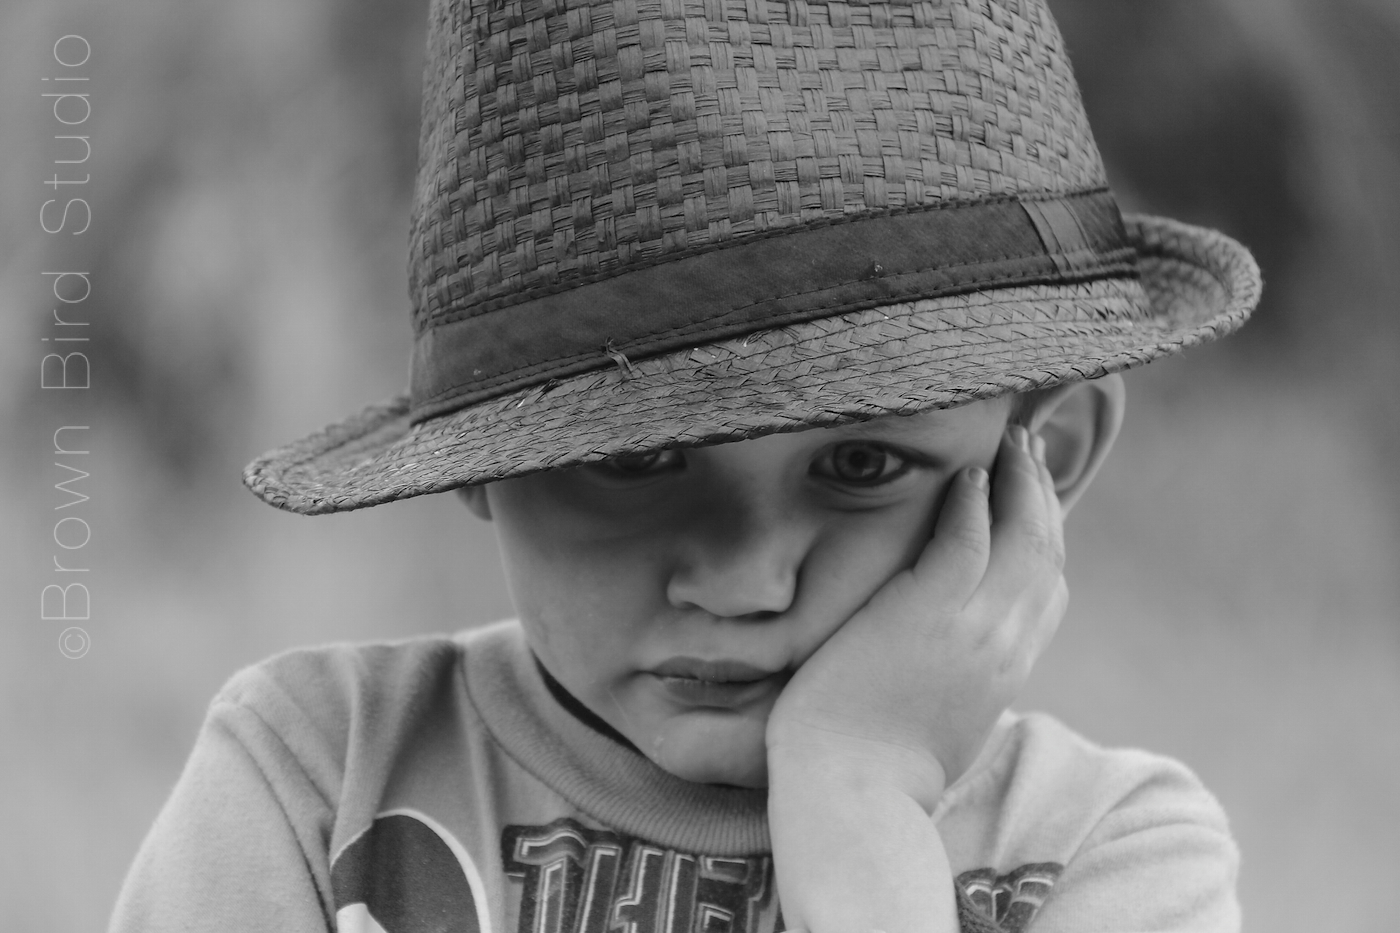
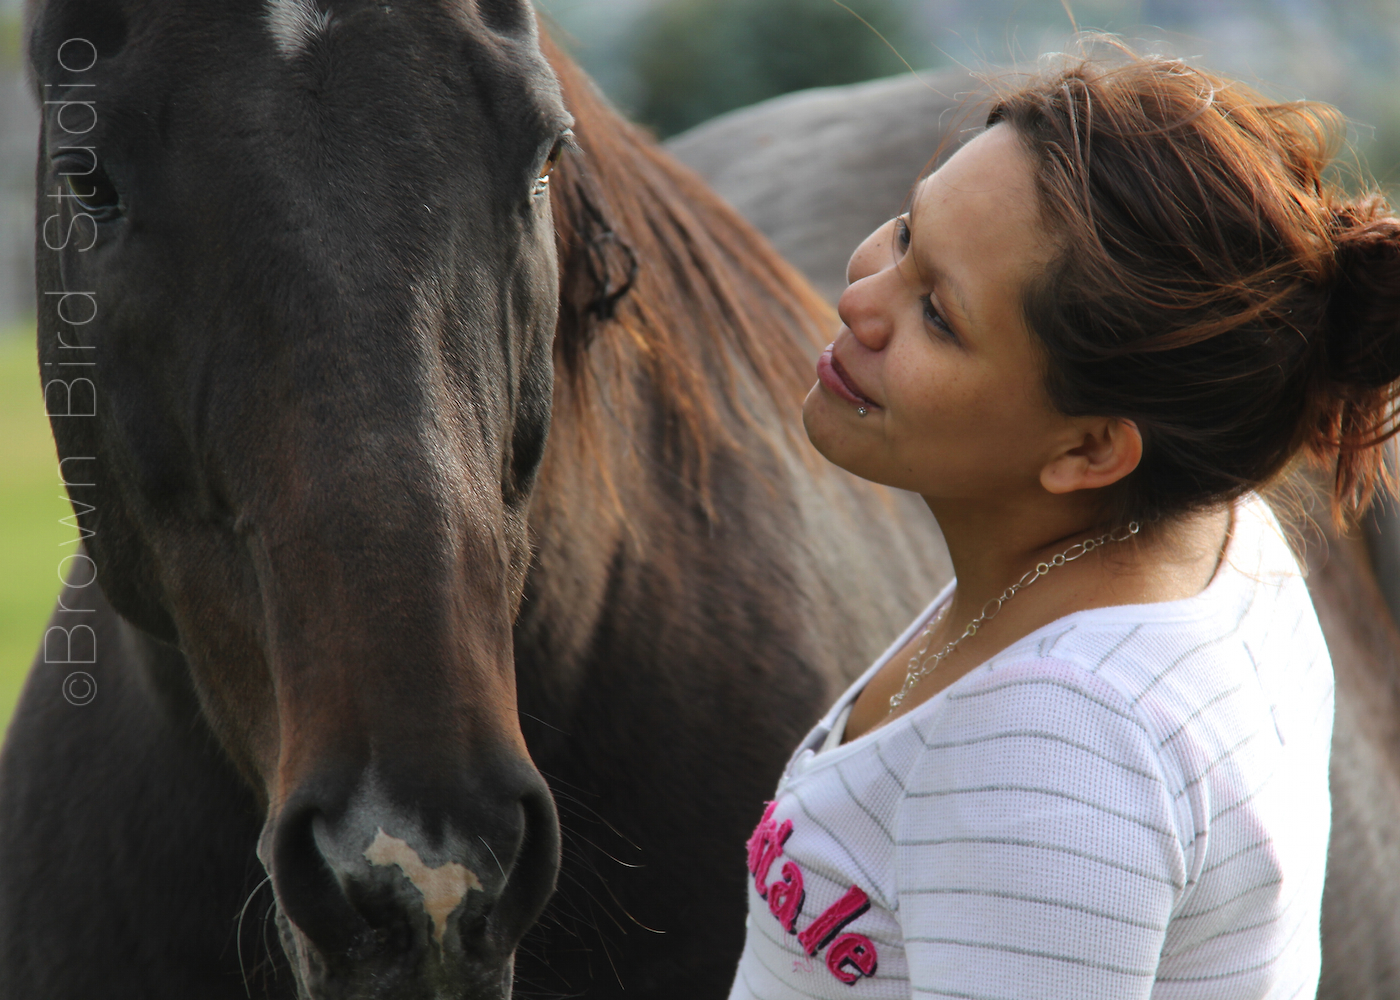
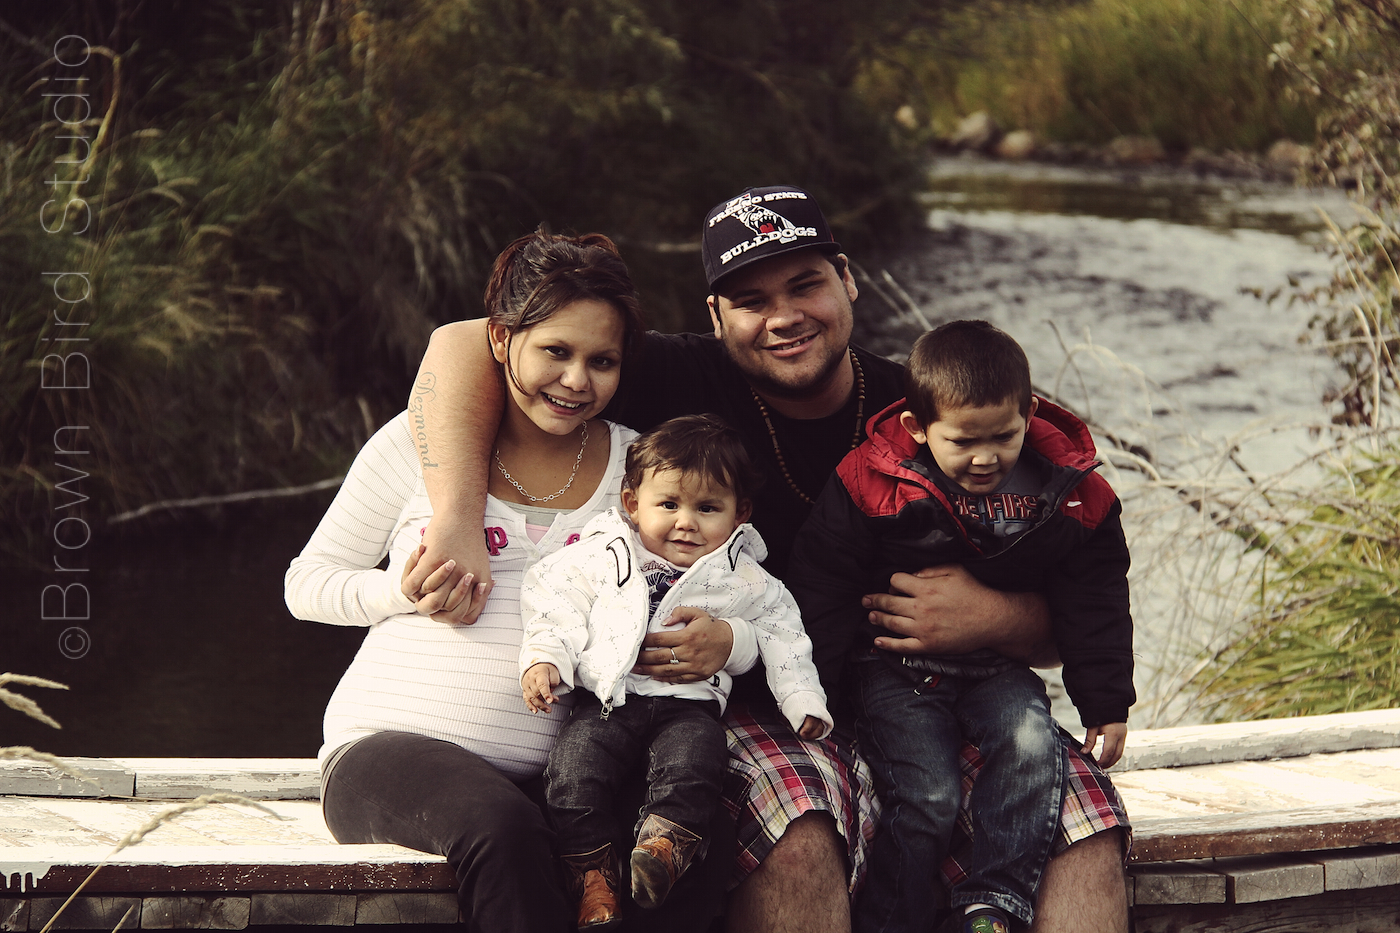
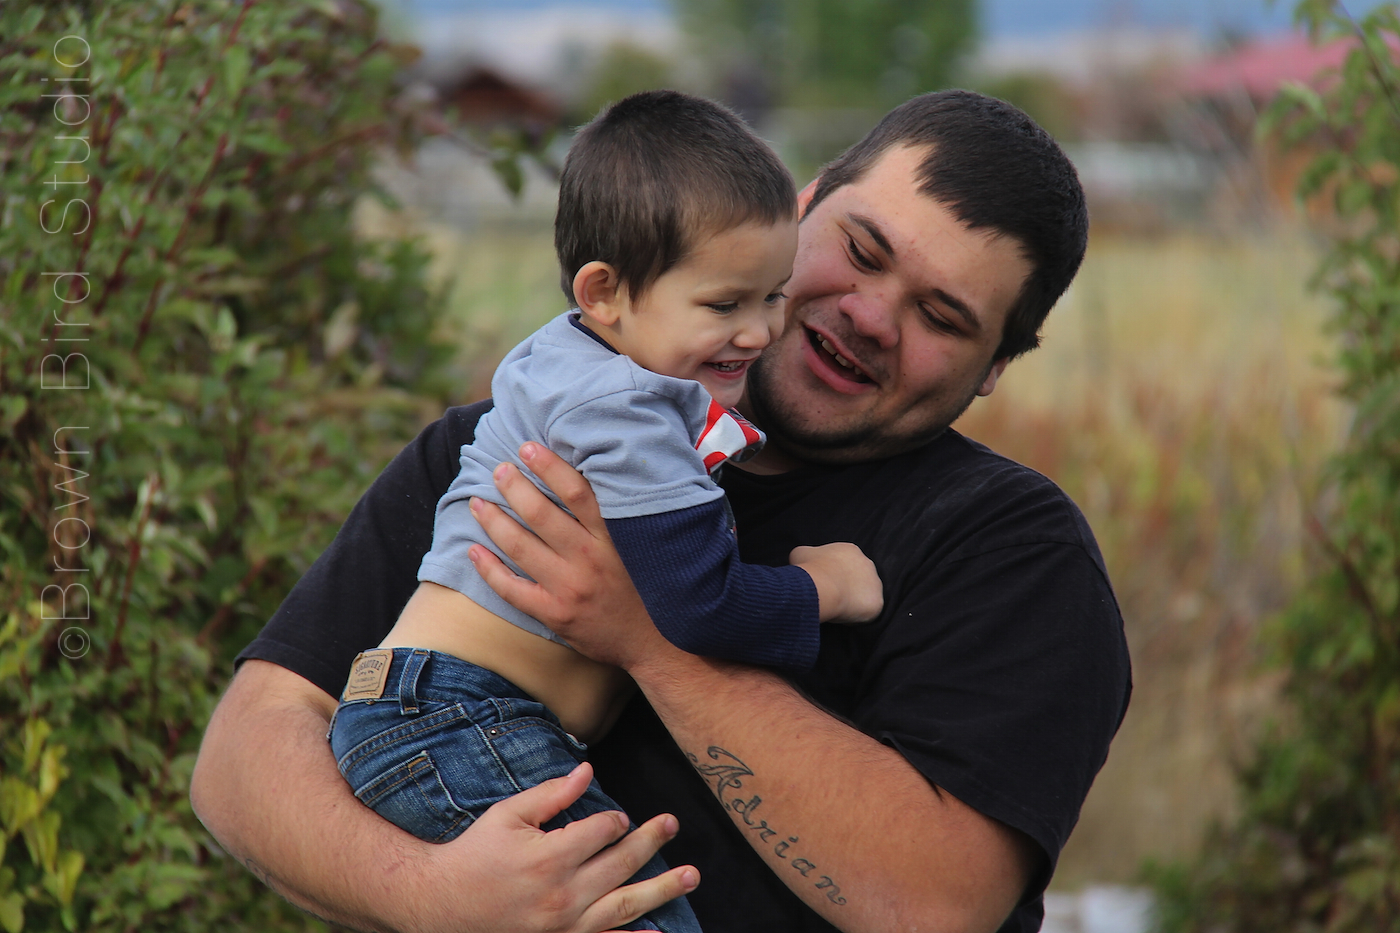
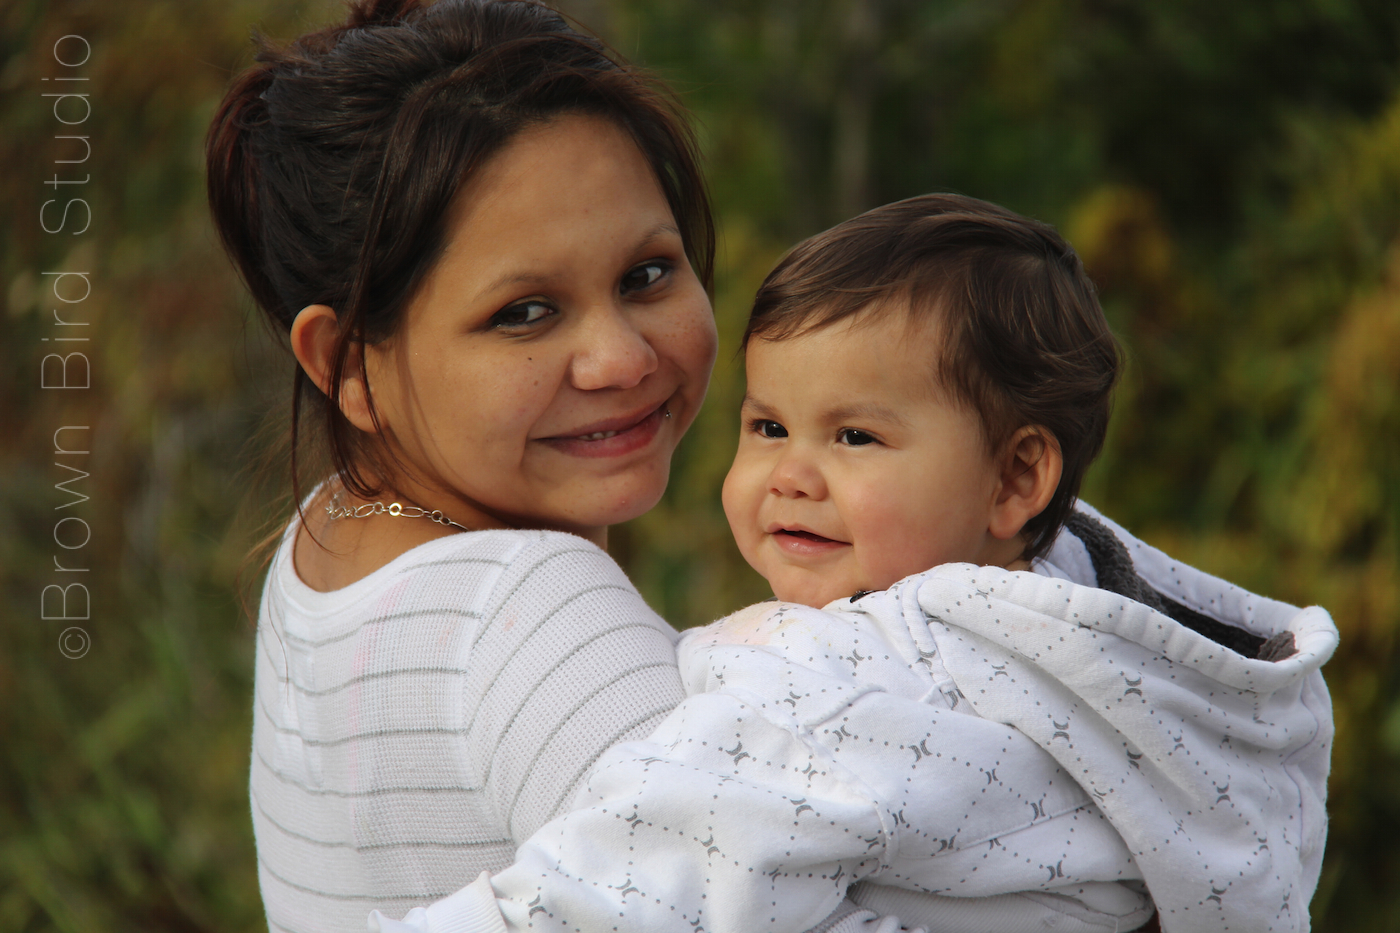
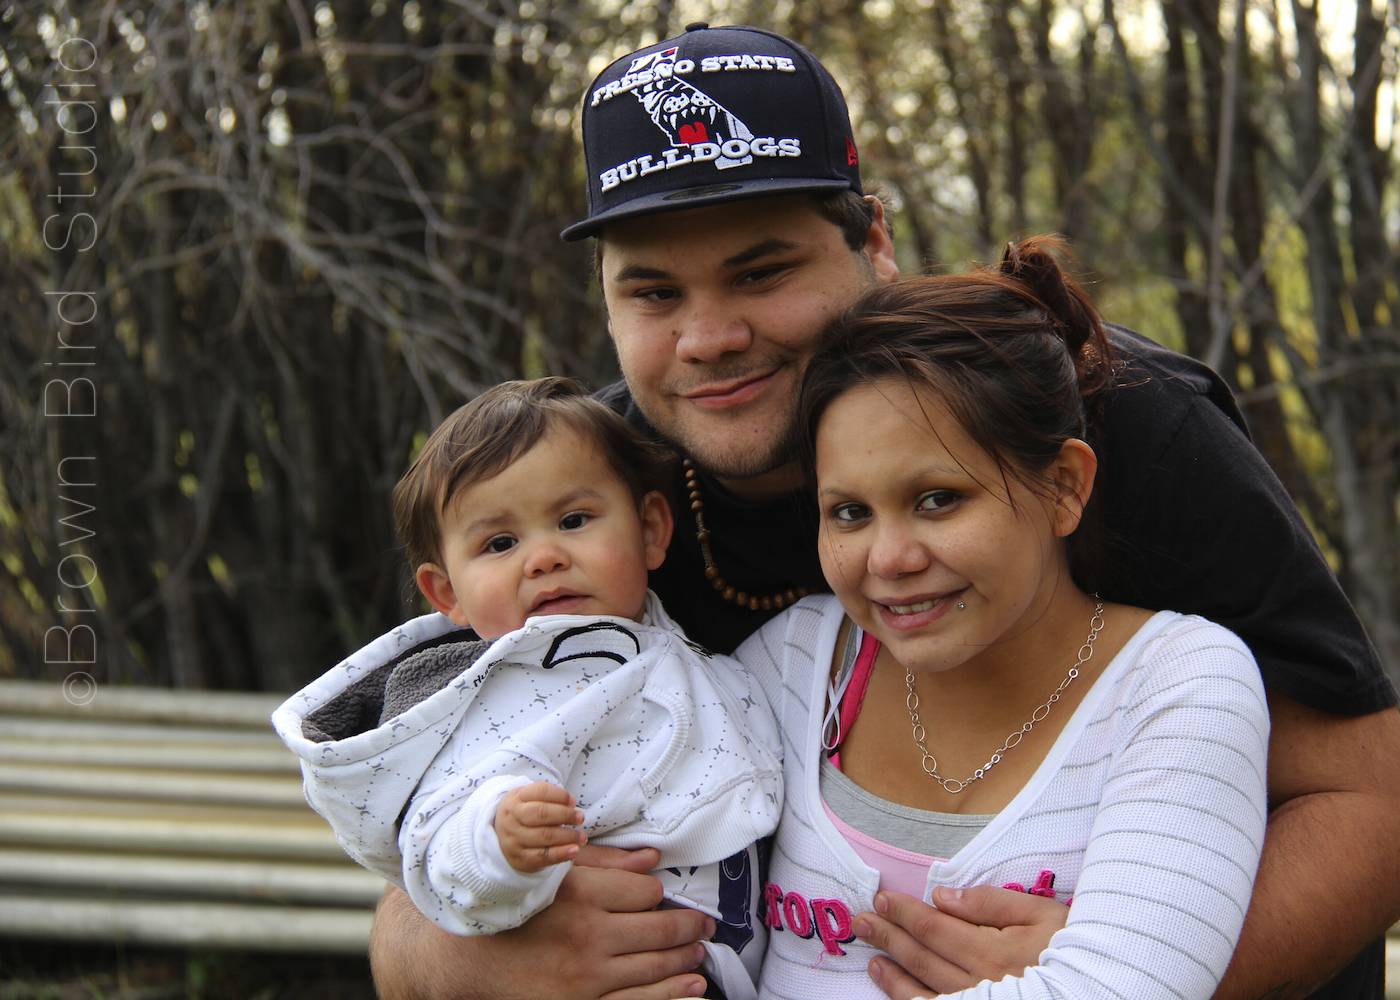
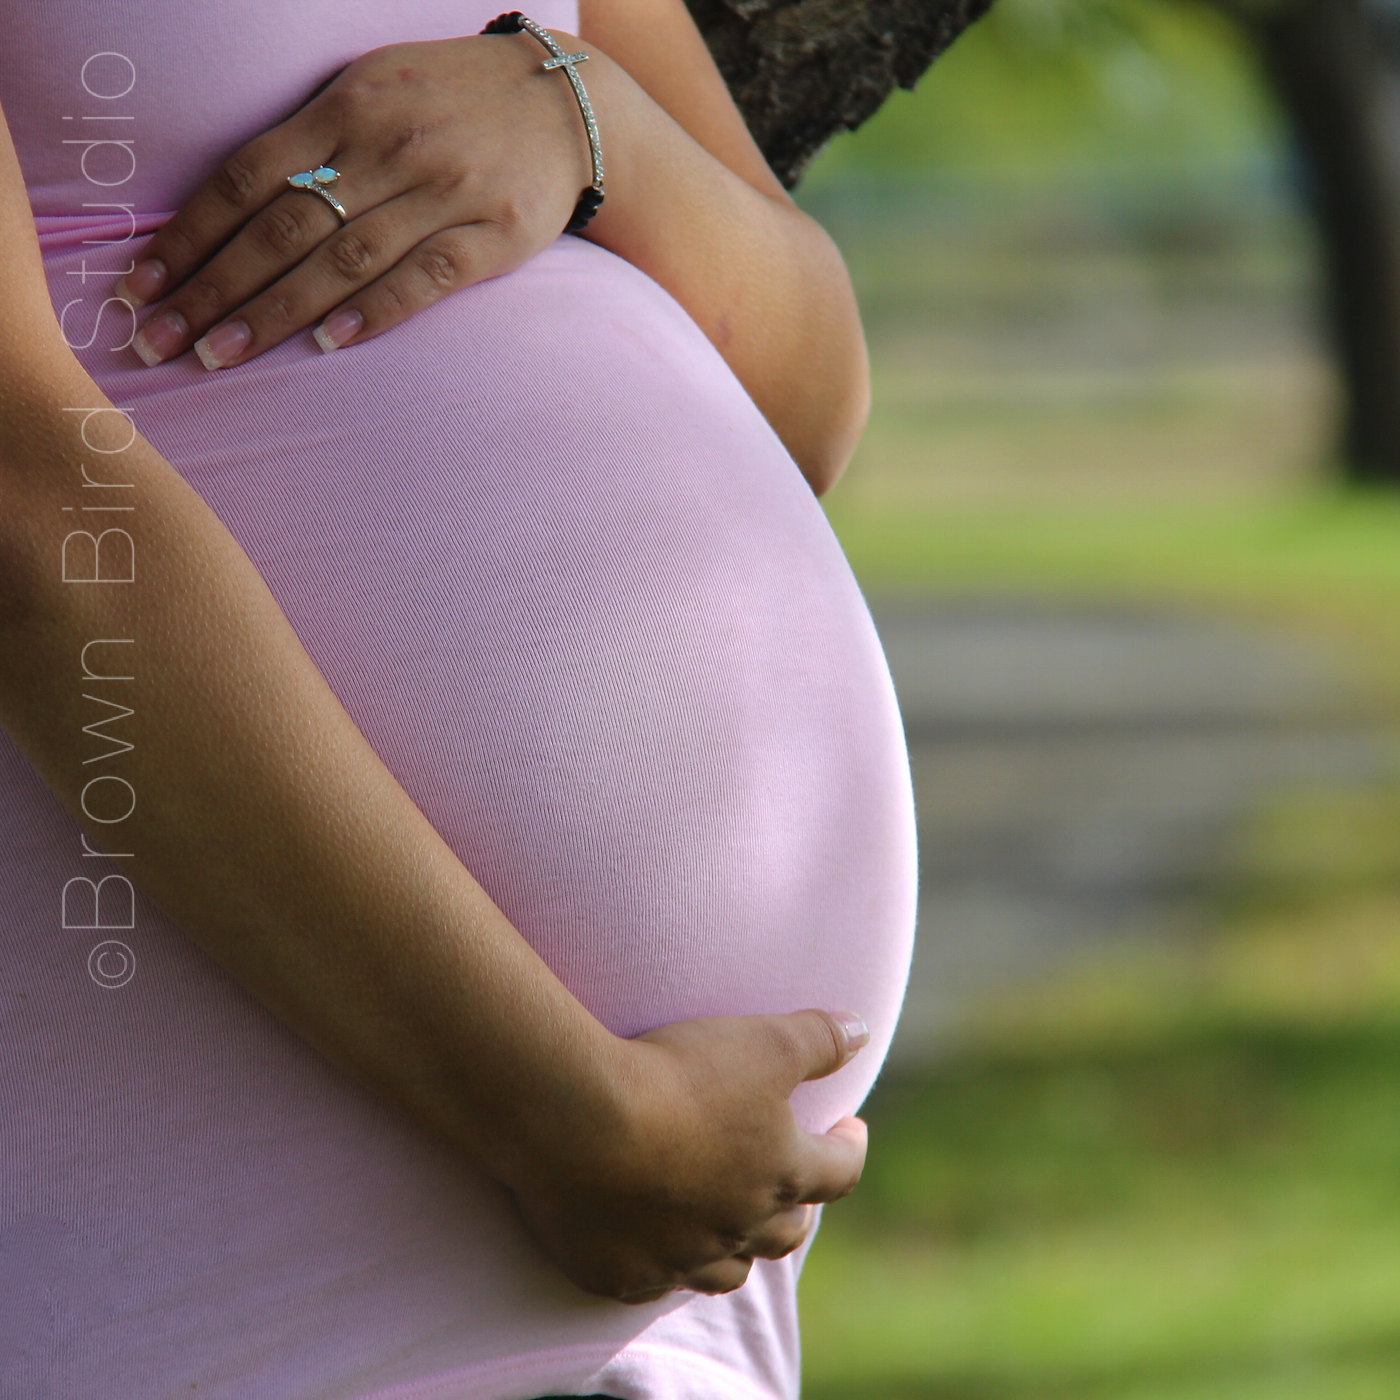
Here’s a peek at some of the images my lens captured today. Check back for more. We’re still in the stage of choosing which ones we like best.