Carousel
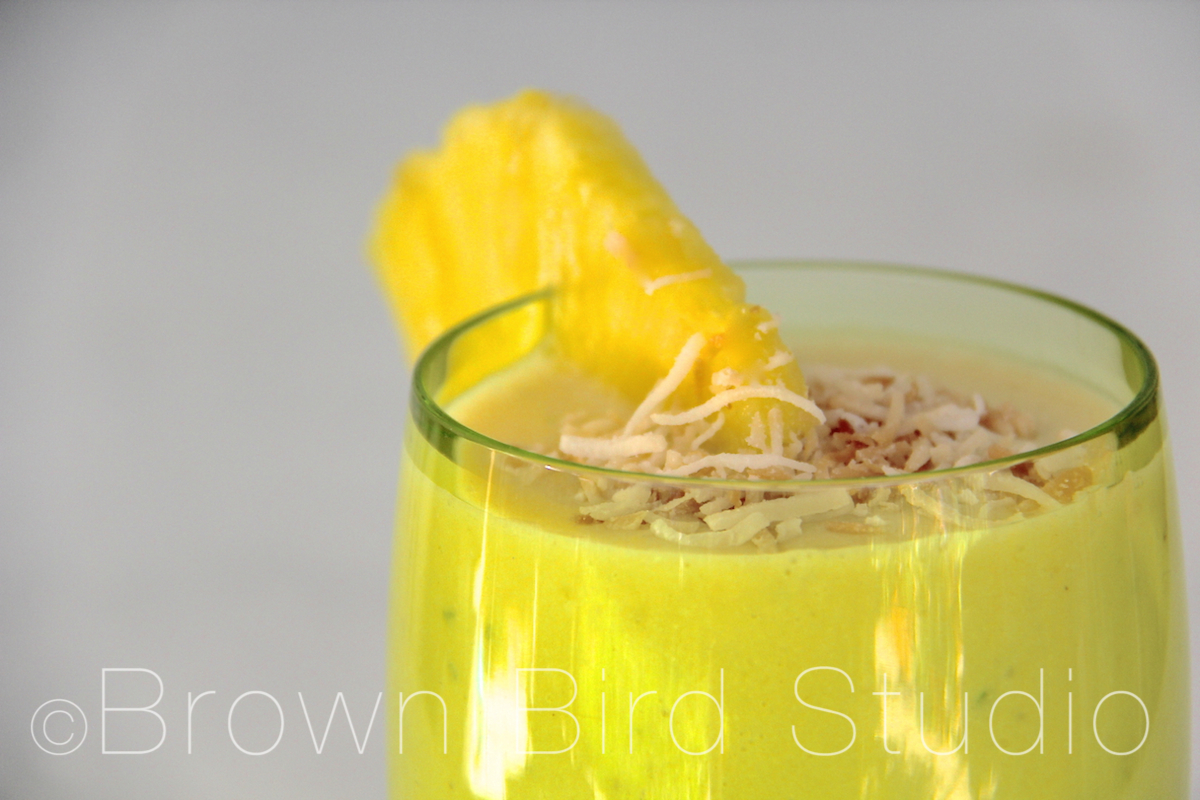
Saturday Smoothies: Pina Colada Pizazz
Art and Science Smash-Up: Milk Swirls Paintings
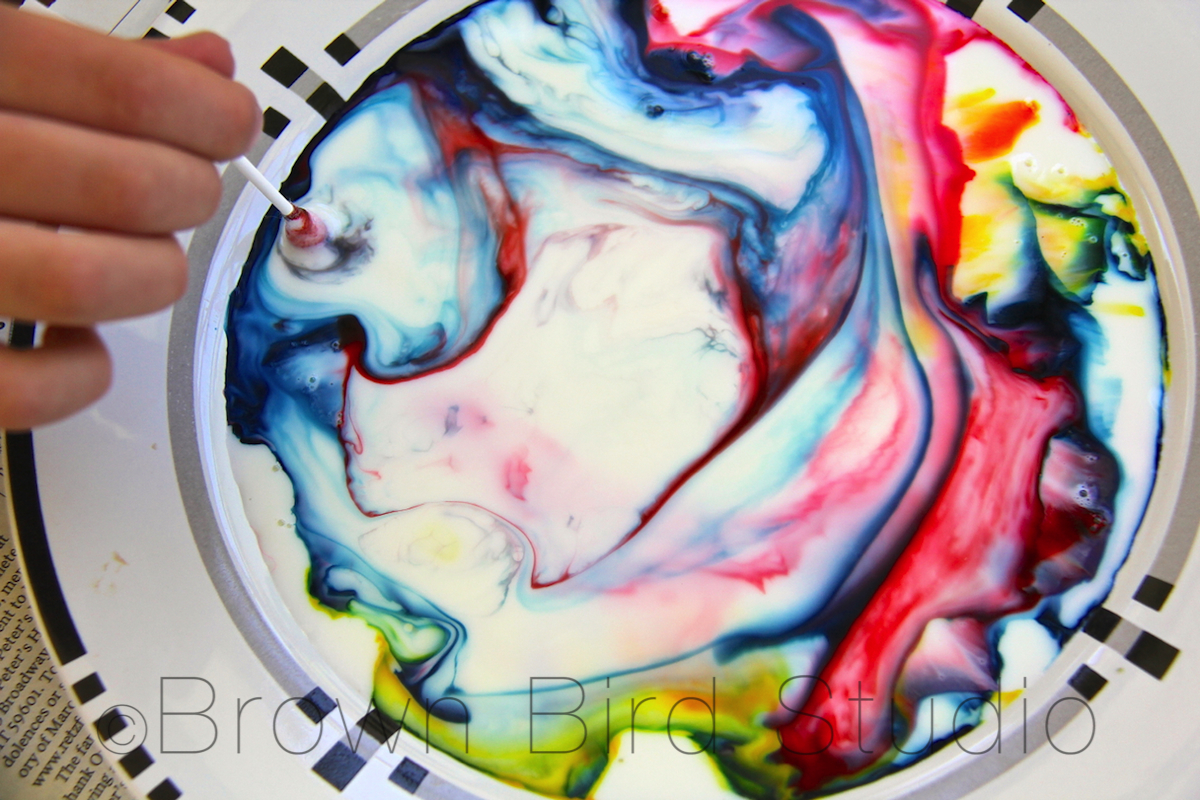
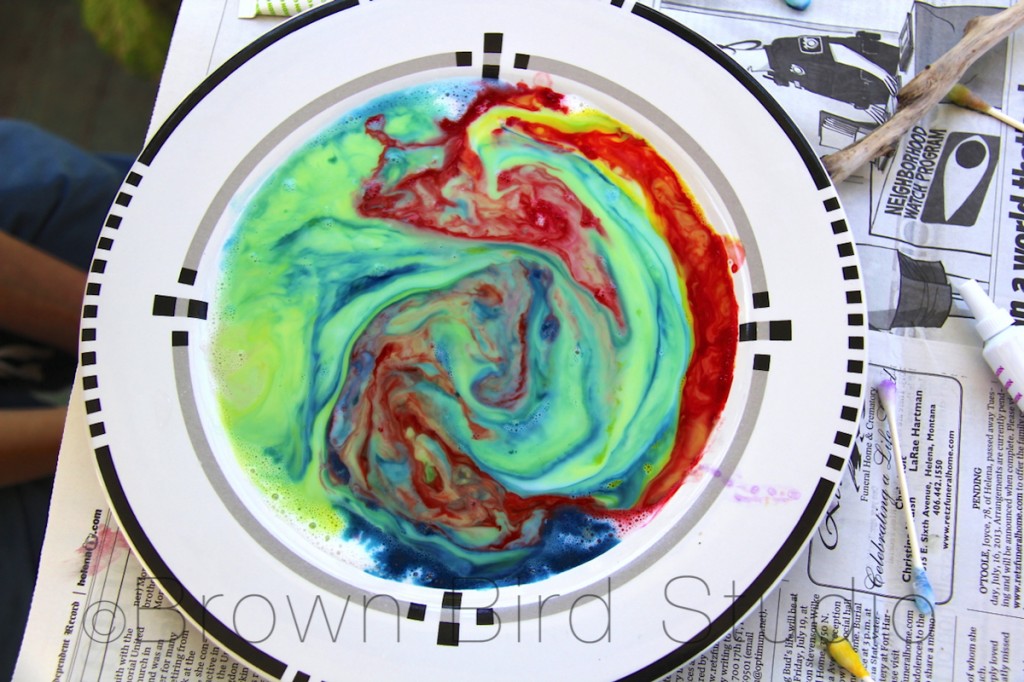
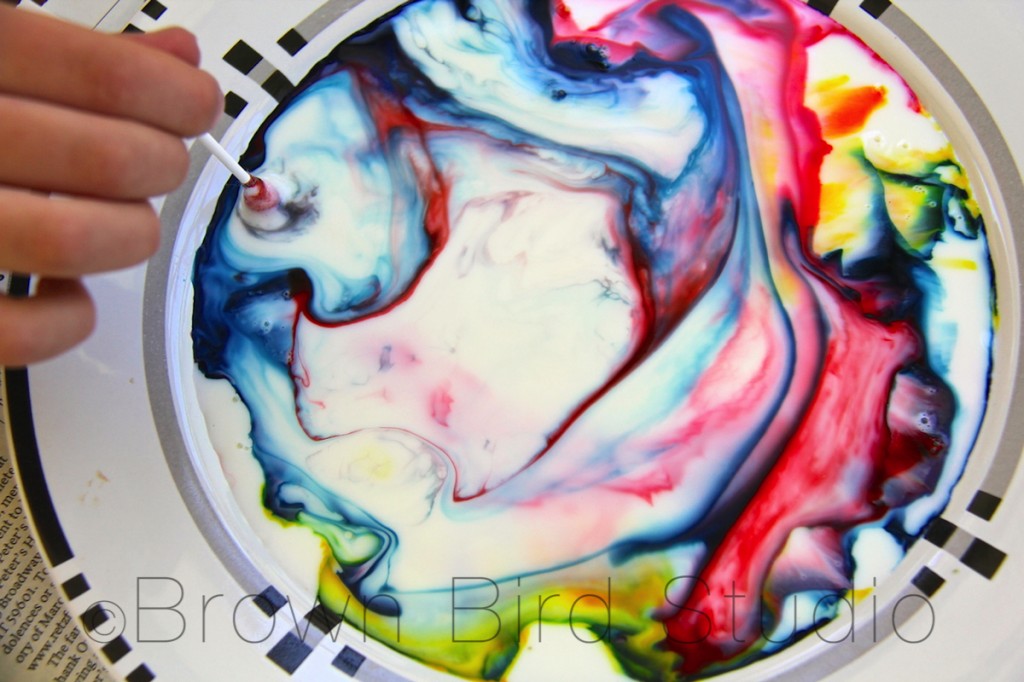
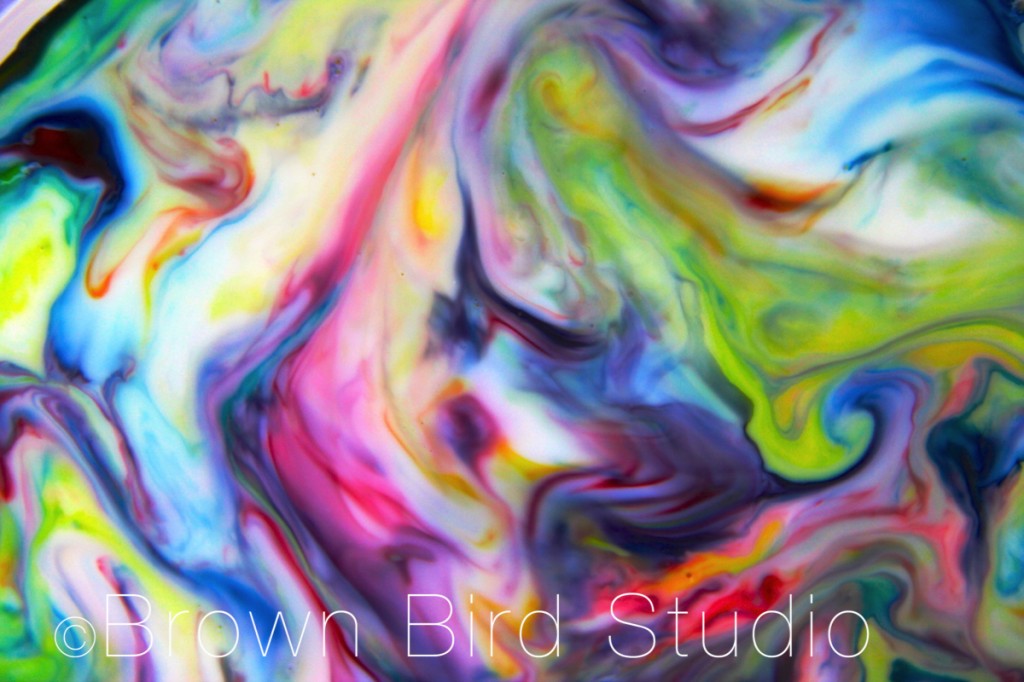 I saw this idea on Photojojo a couple of days ago and immediately thought of doing this with Adia, who is very good at math and science. When I suggested this fun experiment for today, she was all over it! She remembered seeing the project on a website she called “Science Steve.” Here is an excerpt from Steve’s post about this Color Changing Milk:
The secret of the bursting colors is the chemistry of that tiny drop of soap. Dish soap, because of its bipolar characteristics (nonpolar on one end and polar on the other), weakens the chemical bonds that hold the proteins and fats in solution. The soap’s polar, or hydrophilic (water-loving), end dissolves in water, and its hydrophobic (water-fearing) end attaches to a fat globule in the milk. This is when the fun begins.
The molecules of fat bend, roll, twist, and contort in all directions as the soap molecules race around to join up with the fat molecules. During all of this fat molecule gymnastics, the food coloring molecules are bumped and shoved everywhere, providing an easy way to observe all the invisible activity. As the soap becomes evenly mixed with the milk, the action slows down and eventually stops.
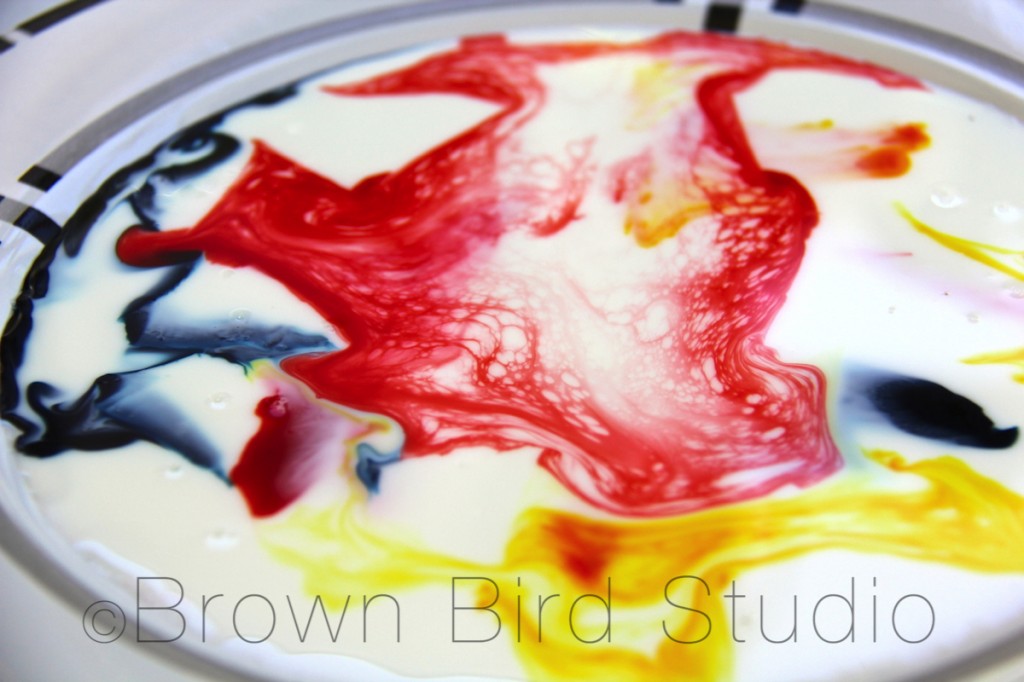 Steve’s description of this experiment explains that it’s important not to stir the colors and the milk with the cotton swabs, but Adia couldn’t stop herself. She seemed much more interested in seeing what would happen when you stir all the colors together (you get a grayish tan color that looks totally unappetizing!)
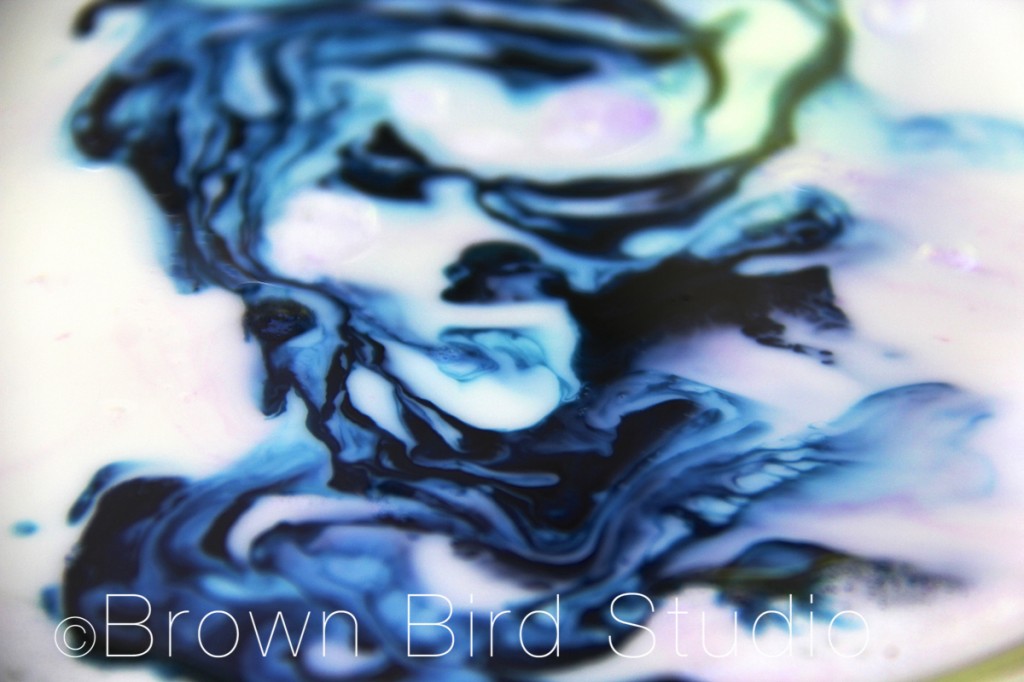
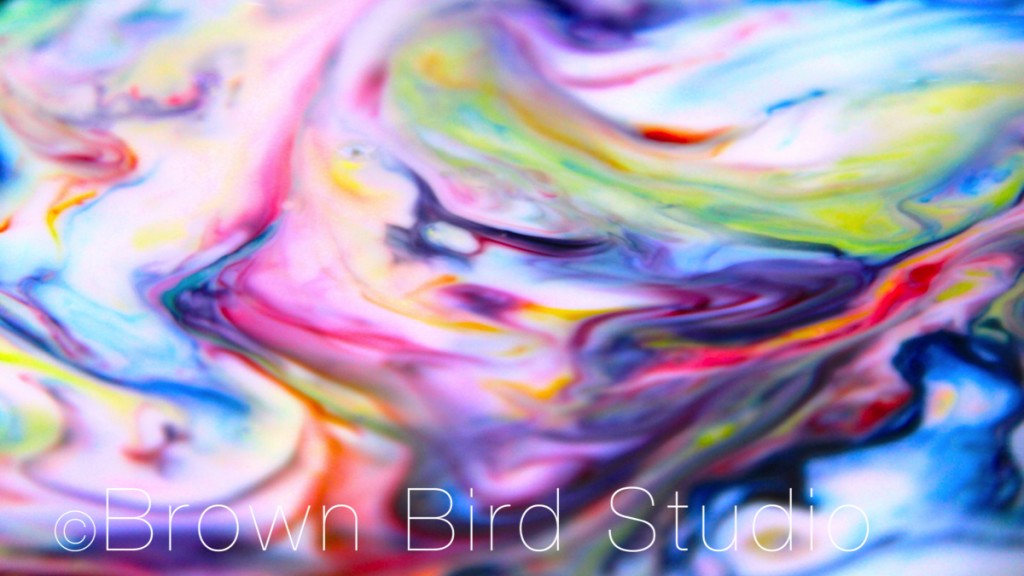
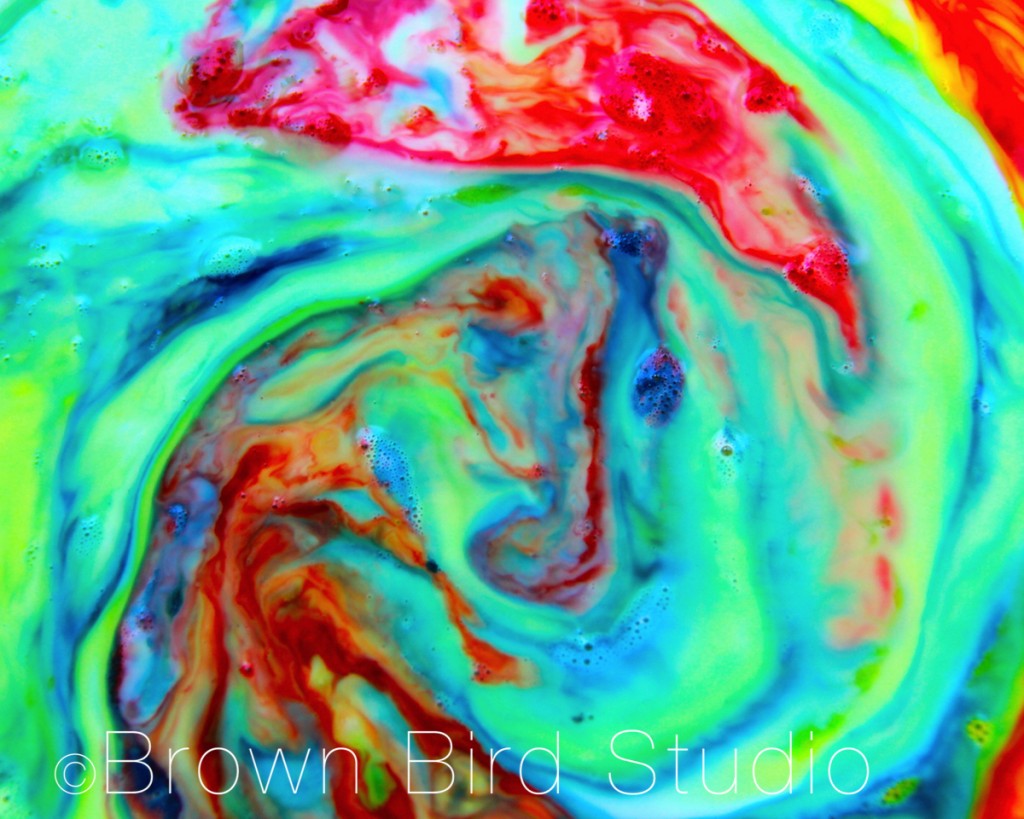
I convinced Adia to let me to take photos along the way, before the colors were all mashed together. Aren’t these cool? The blue one looks a little like an angry face.
What You Will Need
- Whole or 2% milk (must have some fat for the science to work)
- Dinner Plate
- Food coloring (red, blue, green, yellow. We also used Neon colors)
- Dish-washing soap (We used Ivory Liquid, but some sites say Dawn works best)
- Q-tips (cotton swabs)
How to Make your Milk Swirl Paintings
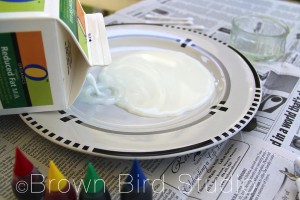
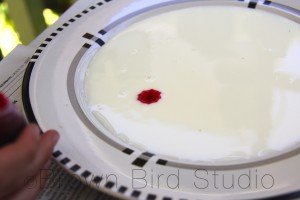
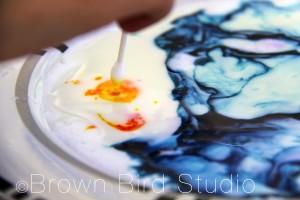
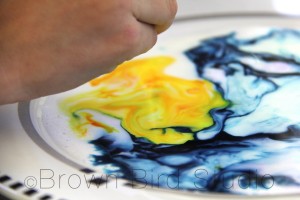
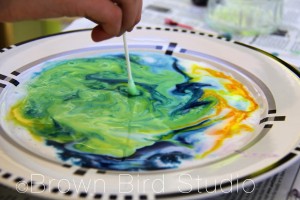
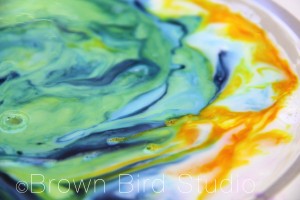
Photojojo has a very clear, short video showing how to do this science/art project
Steve Spangler’s Science Experiment, Color Changing Milk. He even has a section on tips to turn this fun activity into a science fair experiment.
Here is a detailed description with great progress photos, of Steve’s color-changing-milk experiment.
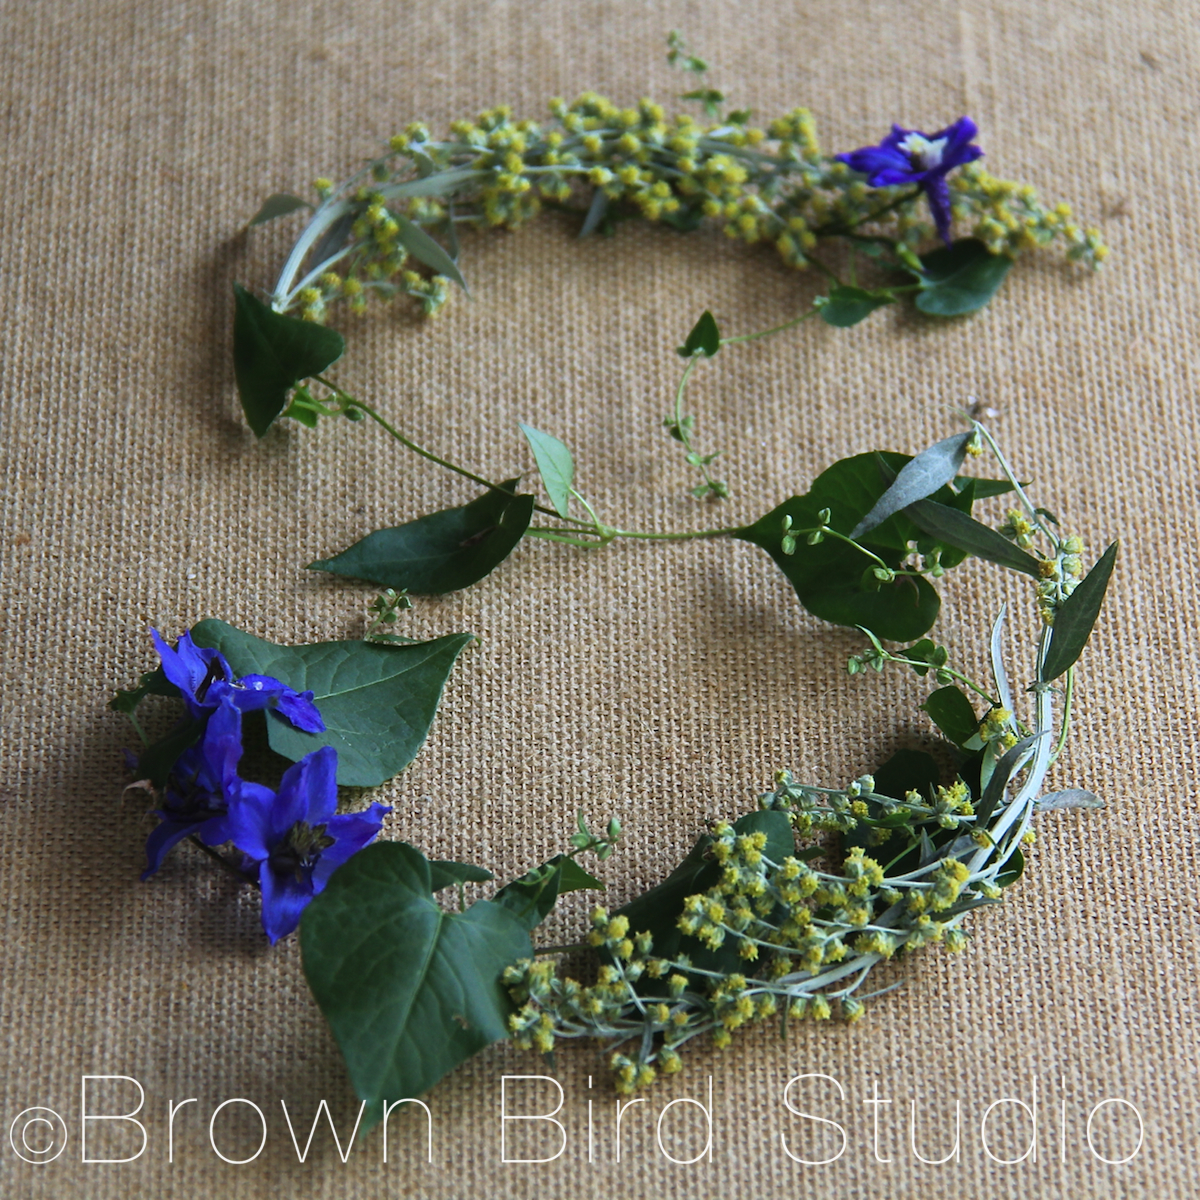
Kid’s Art: Flower Monograms
Kid’s Art: Painted Stick Sculptures
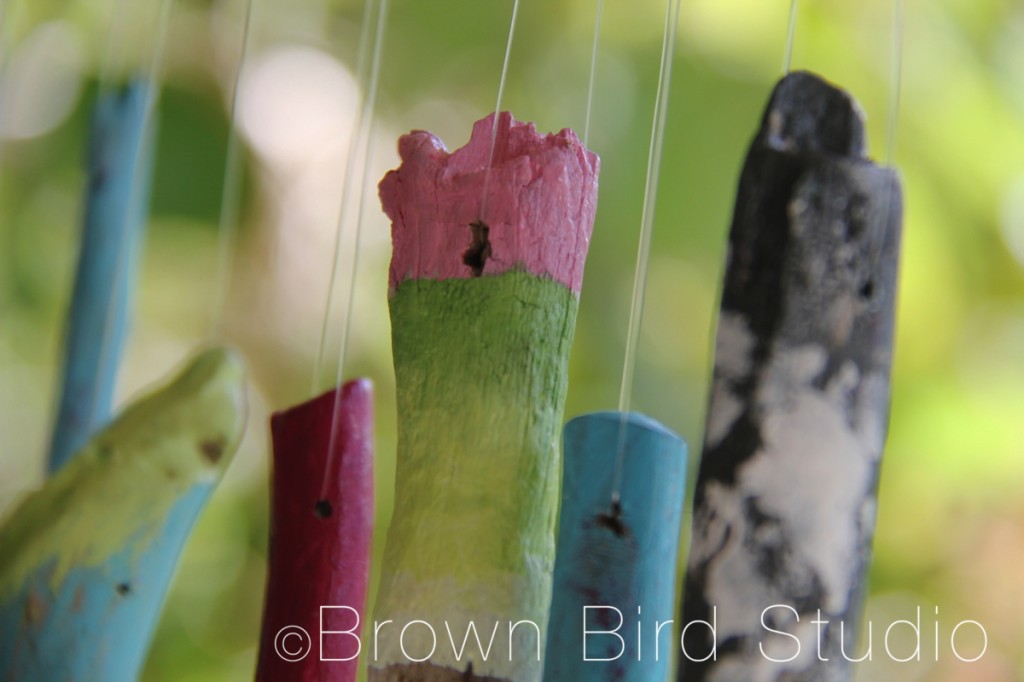
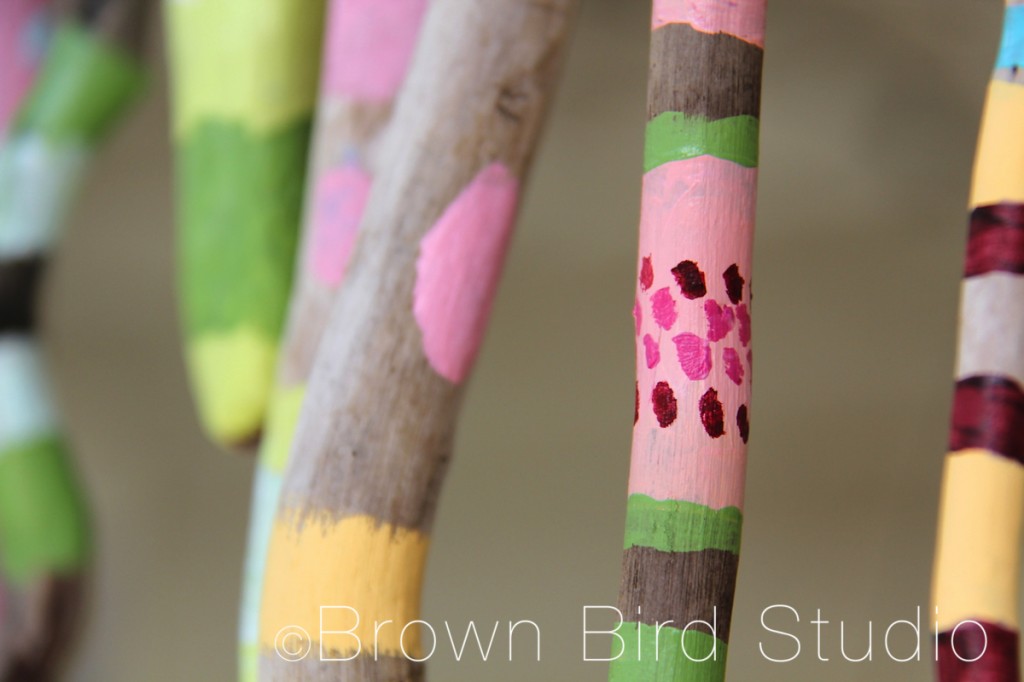
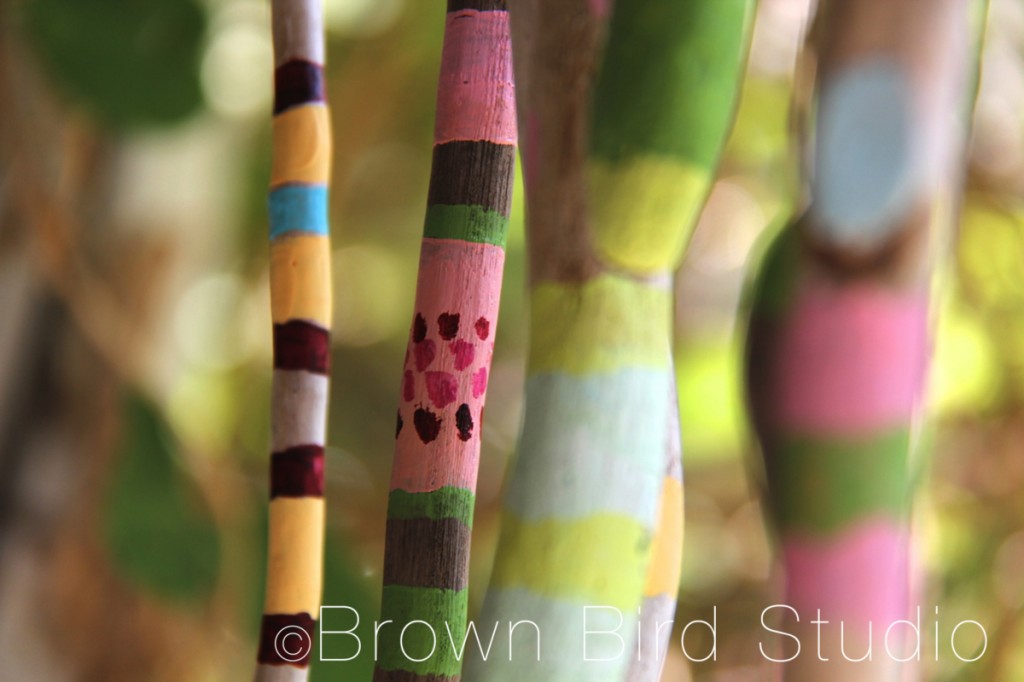 Woohoo! We finished our stick sculptures! Ema and Adia assembled the painted driftwood sticks into two mobile-like or wind-chime-like thingies … we even tried blowing on them (like a breeze) and they do kind of clack together to make a gentle comforting sound. I really love these art pieces. So much I’m going to make one myself, for our porch.
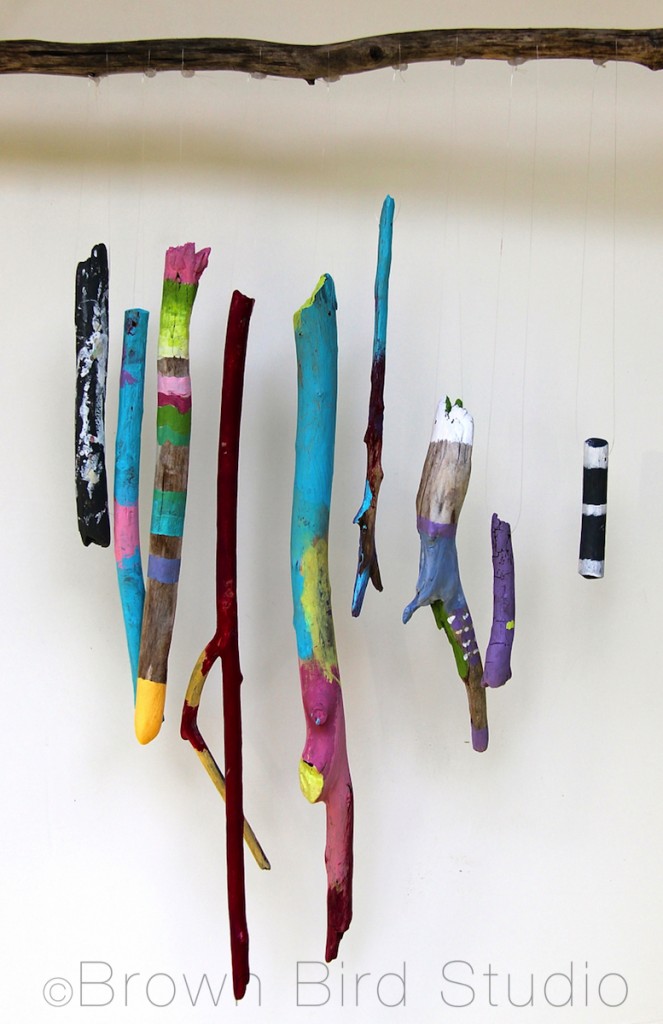
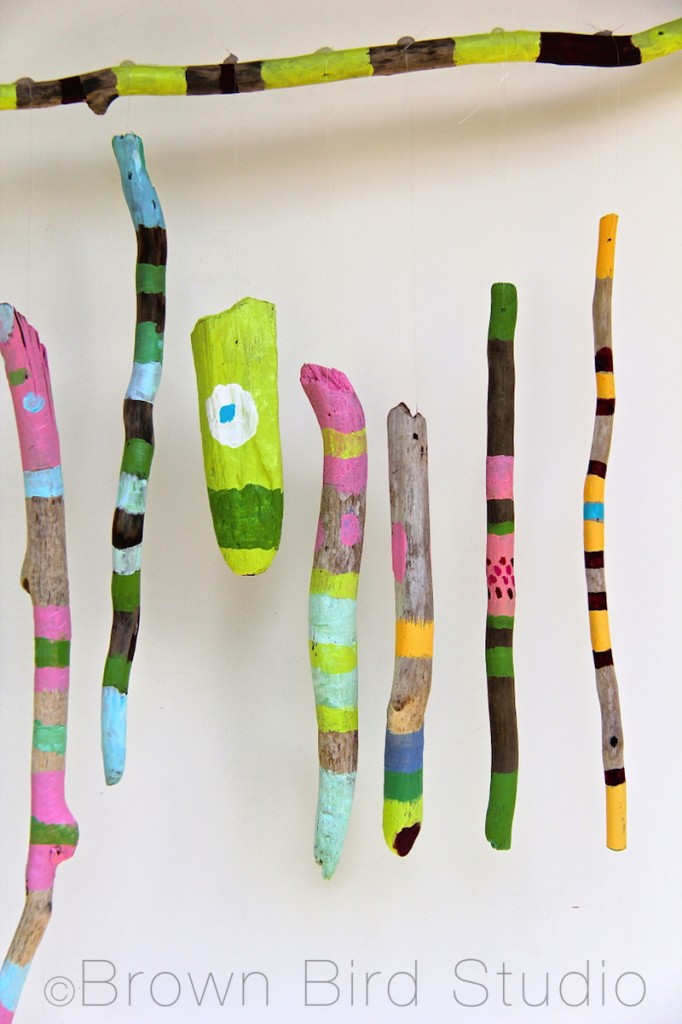 Supplies and Tools Needed for This Project:
- driftwood sticks, preferably already smoothed out
- 1 longer driftwood stick for the horizontal piece
- acrylic paints
- brushes in various sizes
- drill and tiny drill bit (bit size depends on size of your sticks. We used a 1/16 inch bit)
- clear fishing line (mono-filament)
- hot glue
- enthusiasm and perseverance
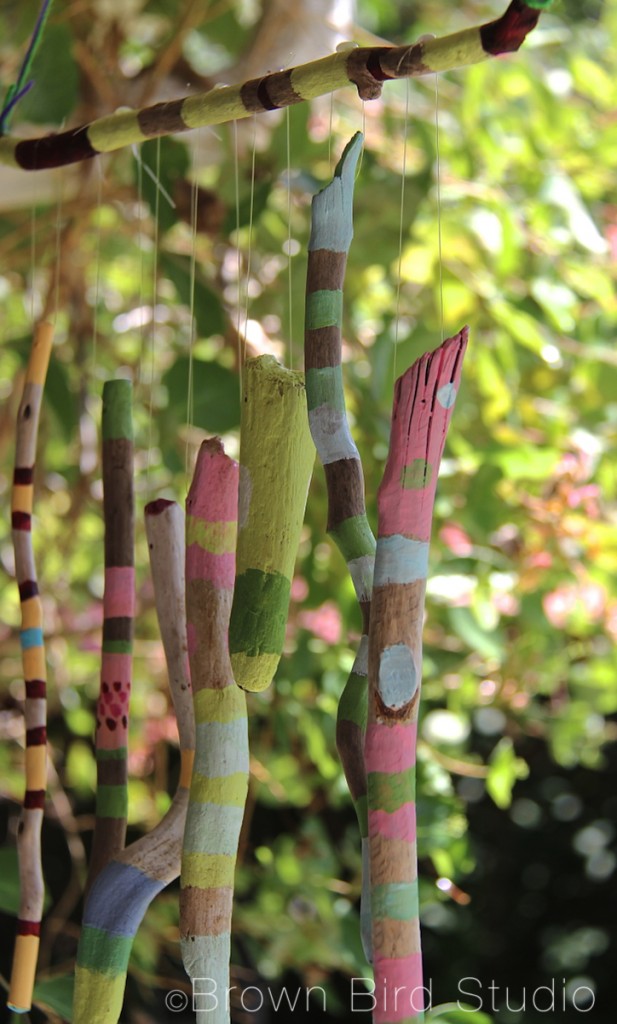 Not exactly instructions, but you can see us painting and drilling the stick in this post
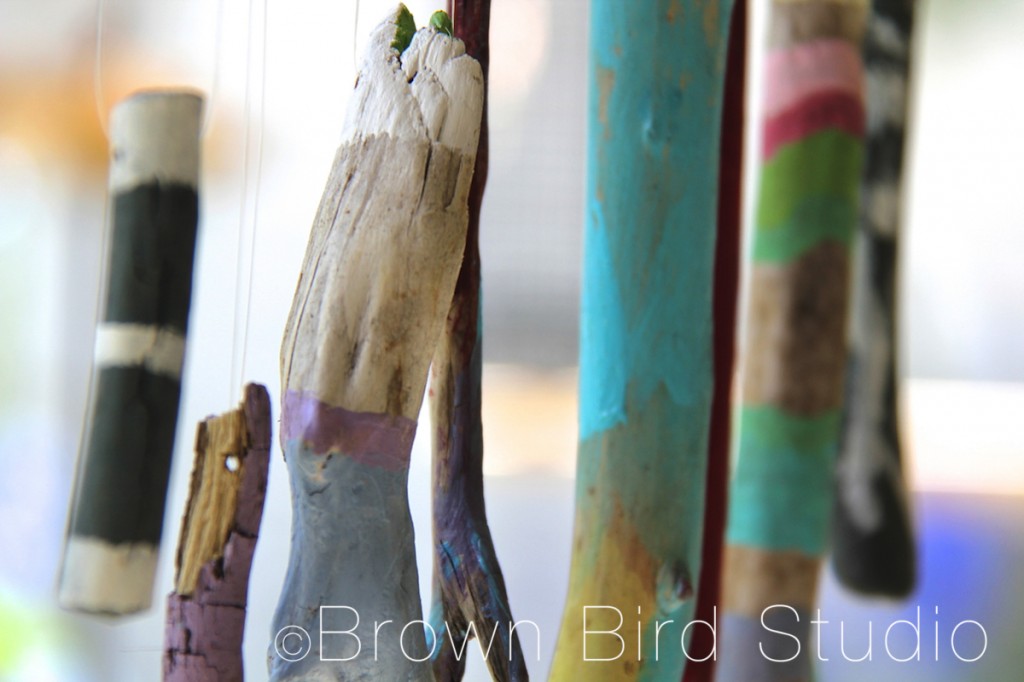 A few tips we discovered as we made these painted stick sculptures:
- limit the paint colors to get harmonious results
- drill the holes after you paint, or be ready to poke them again with something like a t-head straight pin.
- The hot glue dabs on the horizontal stick could be considered unsightly. I don’t mind them. It was the easiest way we could think to make sure the sticks didn’t all slide together and get tangled.
- You can make just about any kind of assembly with these painted sticks. They don’t have to become a hanging sculpture. I am going to try some other ideas on my own, such as making little cities or crowds of painted sticks. Fun!
- It might be kinda cool to also drill holes in the bottom of the sticks, then attach some things that would tinkle together, making more sound in the wind: a true wind chime. You could use old keys, flattened-tin-can-cutouts, seashells …
Have lots of fun making something like these with your kids or students! I hope you will comment, give feedback, tell the rest of us what worked and what didn’t, and maybe even post some photos and put a link in the comments. Thanks for looking and reading. — Maureen, Ema and Adia
