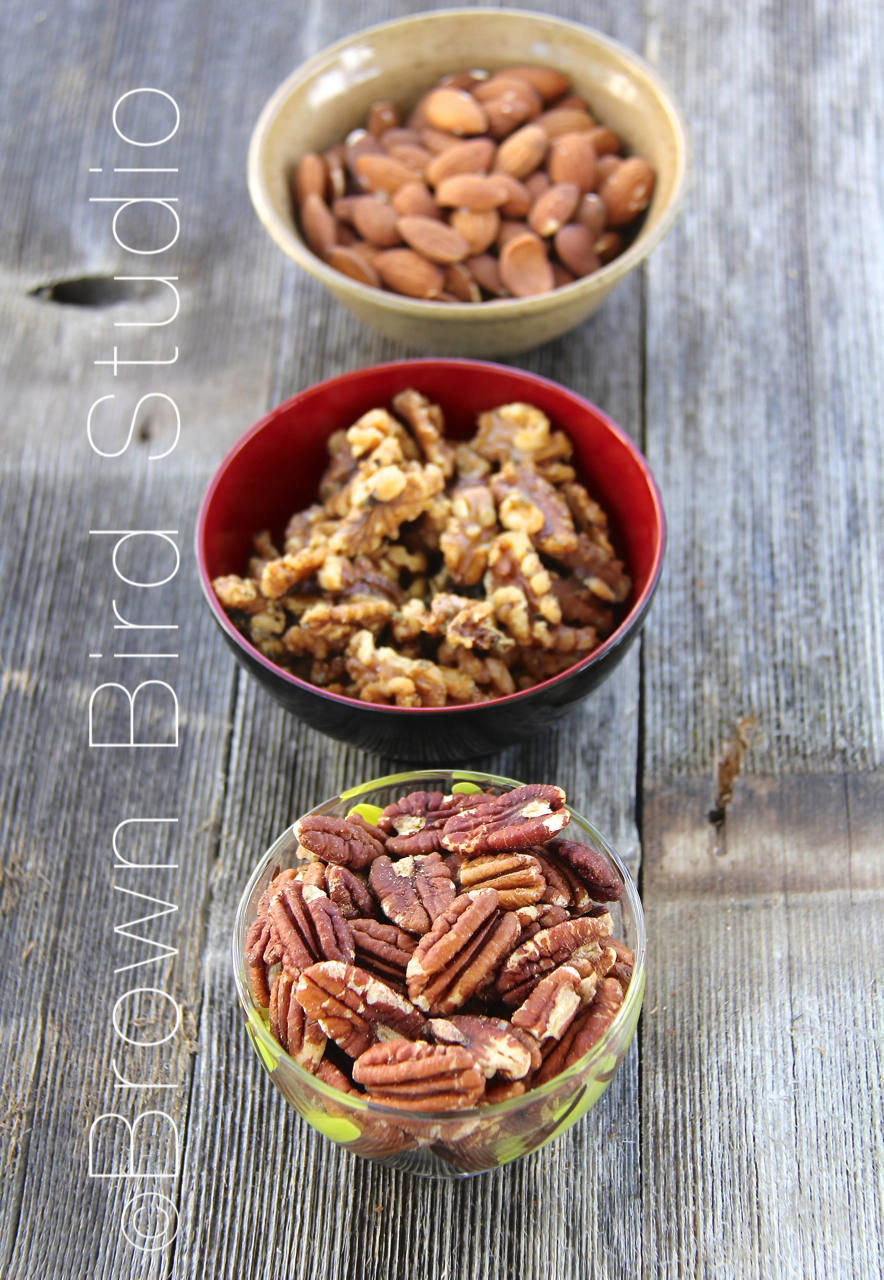
Maple Herb Roasted Walnuts
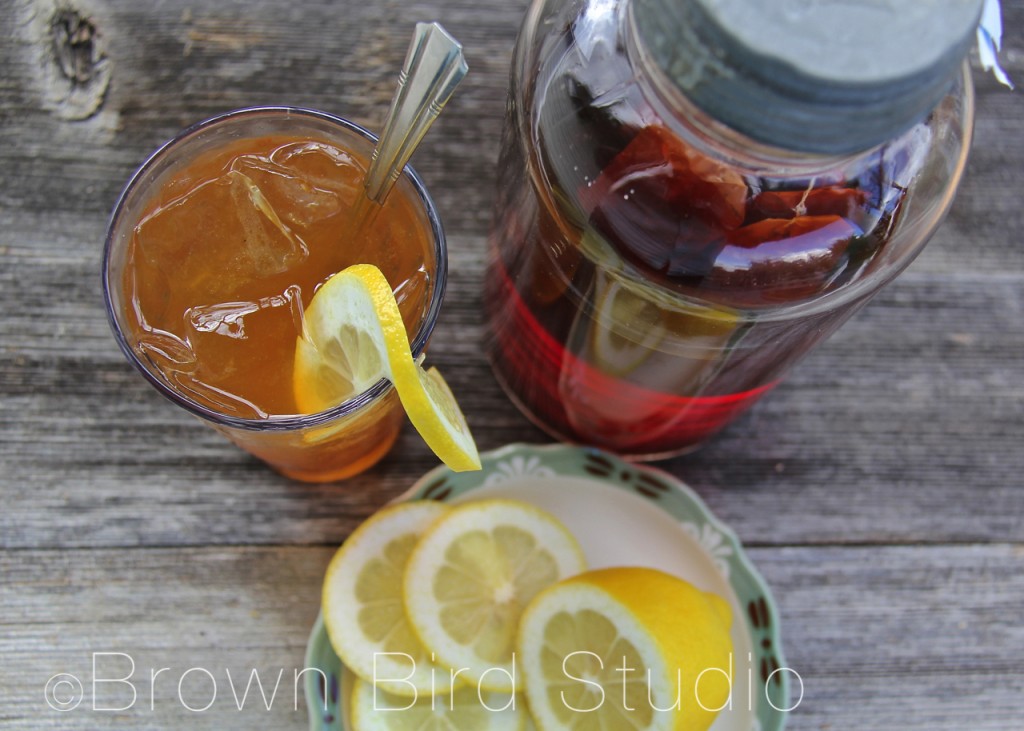
It’s a Fine Afternoon for Iced LemonTea
We’ve been having an oddly rainy September. Thunderstorms. Hail. Lightening. Then big blue sky. Anytime of day or night.
I love, love, love sitting out on the front porch during a storm. Staying dry. The little hairs on my arms and the back of my neck stand up in the electrical gold glow while thunder booms and rain drums the porch roof.
Yesterday we spent the day getting ready for an outdoor bbq party while storms rolled in and out of the valley. I fretted that the 20 or so guests would have to crowd into our tiny house. But we lucked out. We got to hang out on the porches and in the garden. The kids built a fire and roasted marshmallows while the adults caught up with each other’s lives. After everyone left, Tim and I sat out in the garden with the fire for another hour. A perfect evening.
So today is another weird weather day. Warm. Perfect temperature for a September day. Earlier today, we had a downpour and now, enormous thunder clouds are building up around the valley perimeter again. Tim is cleaning his woodworking shop, getting organized to start making a board-room table and set of chairs.
I just got back from a fun photo shoot with two young moms and their families.
And now, it’s time to relax.
With a tall glass of lemony iced tea. Sun tea. Red Rose Black Tea. With a little honey. Reminds me of my childhood when we visited Grandma and Grandpa and there was always a big pitcher of lemon sweet-tea. Mmmmmm!
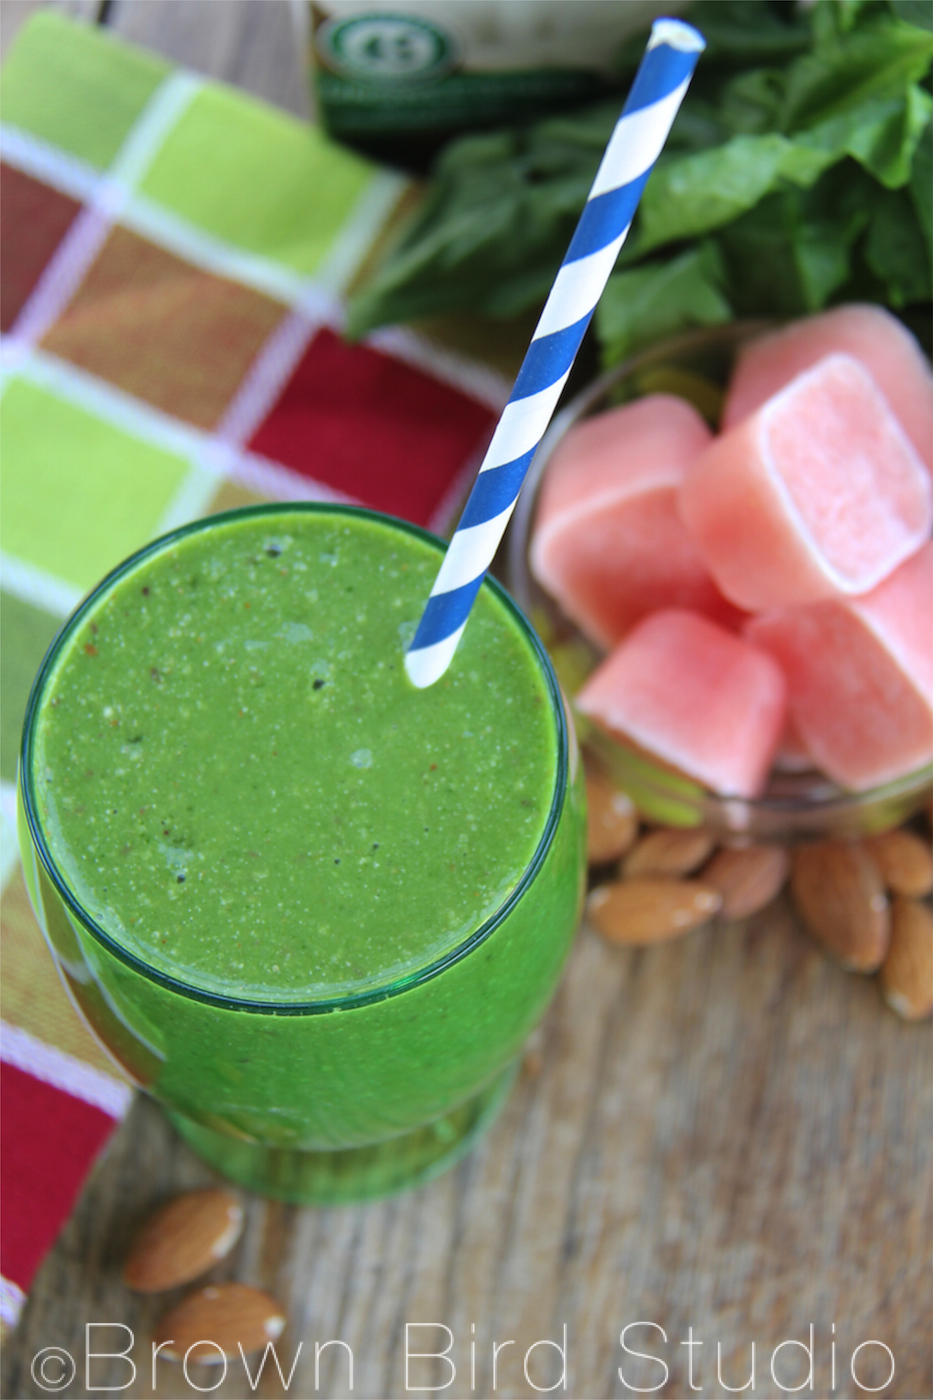
Saturday Smoothies: Watermelon-Peach Green Grin
Mother-Baby: seeing the connection through a camera lens

Elijah’s first birthday is coming up soon and his mom, Shayla, wanted some photos to celebrate and mark the occasion. We went down to Reeder’s Alley and played around on the brick alley and in the grass to get these cute photos. Elijah obliged me by being super cute — and totally not shy of the camera. May he always be this way, even when he’s in his teen years! Here are a handful from our photo shoot last week.
Shayla gained a great foundation in attachment parenting through the Florence Crittenton’s Parenting Classes. I have used concepts from the Circle of Security to caption these photos. If you want to know more about attachment parenting and the Circle of Security, check out the handouts at Circle of Security International or sign up for a parenting class through the community outreach center at Florence Crittenton.








If you live in the Helena area and would like to have a child or family photo shoot, or photos of yourself, please get in touch with me through email. You can find my email on my contact page. I would love to play, explore, delight and enjoy an hour or two with you, your children and my camera.
From September 2nd through October 20th, I am offering discounts to former residents of Florence Crittenton, single moms with kids living at home, and teen parents. Here is a link to my sitting and photo processing fees.
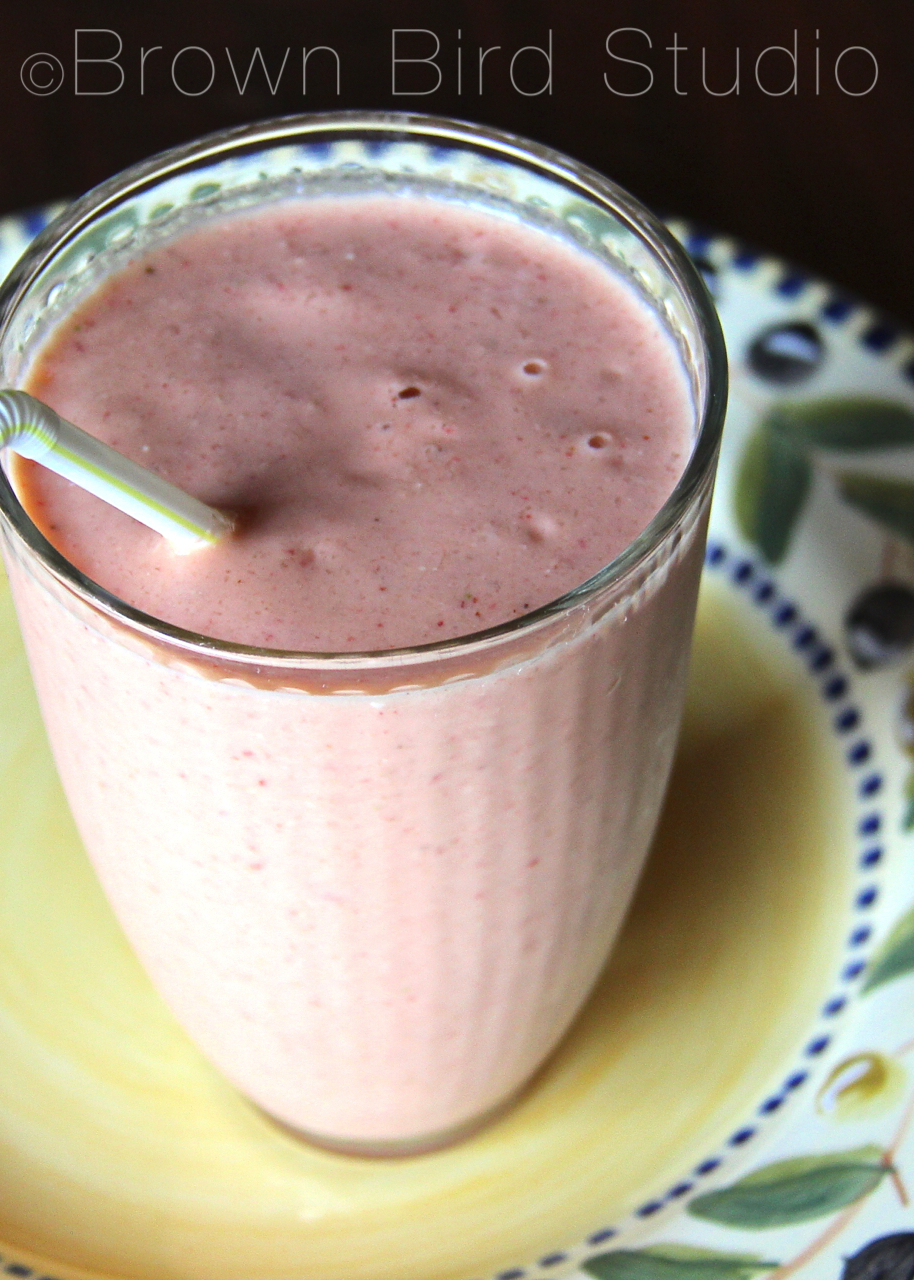
Back-to-School Bonus Breakfast Smoothie
Best Pie Crust Ever
Does your pie crust recipe usually end up in pieces on the kitchen counter when you try to roll it out? Do you get frustrated because your pie crusts are heavy and thick and uninspiring? Try my pie crust recipe and see if it makes a difference. This is a recipe my mom found at some point in my growing up years and it made all the difference in the world to add a little egg and vinegar to the ingredients. The sugar or honey is to counteract the tartness of the vinegar. I don’t know the chemistry of why it works, but crusts made with this recipe almost always turn out very tender and flakey. And a nice bennie is that they are easy to roll out and transfer to the pie pan without falling apart.
I substitute coconut oil for at least some of the butter, just for health’s sake. The original recipe called for lard. Or (Gasp!!!) shortening. Ack! I also use half the original amount of salt. So, if you follow my recipe (below) I think you will have an easy, yummy, tender crust for your pie.
Best Pie Crust Ever
INGREDIENTS
- 2 cups flour
- 1/2 tsp salt
- 1/2 cup butter (1 stick)
- 1/4 cup coconut oil
- 1 small egg, beaten (or just the yolk if you have a large egg)
- 2 tsp apple cider vinegar or lemon juice
- 1 T brown sugar or honey
- 1/2 cup (or less) very cold water
PREPARATION
- blend the flour and salt.
- add butter and coconut oil and using a pastry cutter, blend into the flour until you have a crumbly mixture. Don’t overblend!
- beat the egg (or yolk), add vinegar, brown sugar (or honey) and about half of the icy cold water.
- Make a well in the dry ingredients, pour in the liquid and stir QUICKLY with a fork until it’s almost all incorporated. VERY important not to overstir or your crust will be tough instead of flakey.
- If it’s really really dry, add a little more of the cold water and stir just a little. Dump the dough onto a floured surface like a cutting board or clean counter.
- Quickly, and using as little touch as possible, round the dough up into a ball. Wrap in wax paper or plastic wrap and chill while you make your pie filling.
- When you are ready to roll out your dough, cut the ball almost in half (one side should be a bit more than the other. The larger “half” will be your bottom crust) Chill the smaller half and roll out the larger half.
- Place the bottom crust into the pie pan, fill with fruit or whatever. Then roll out the other half and carry on. (see pie preparation above)
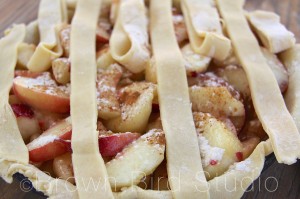
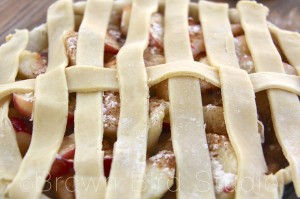
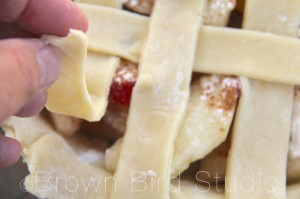
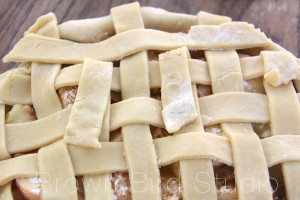
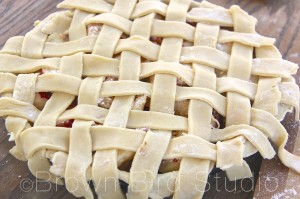
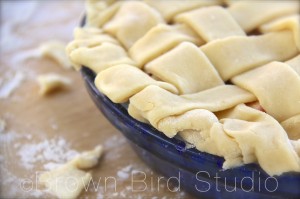
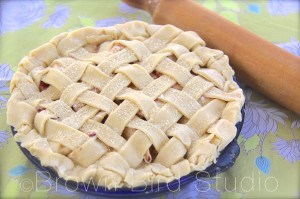
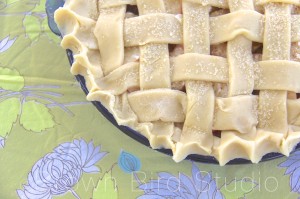
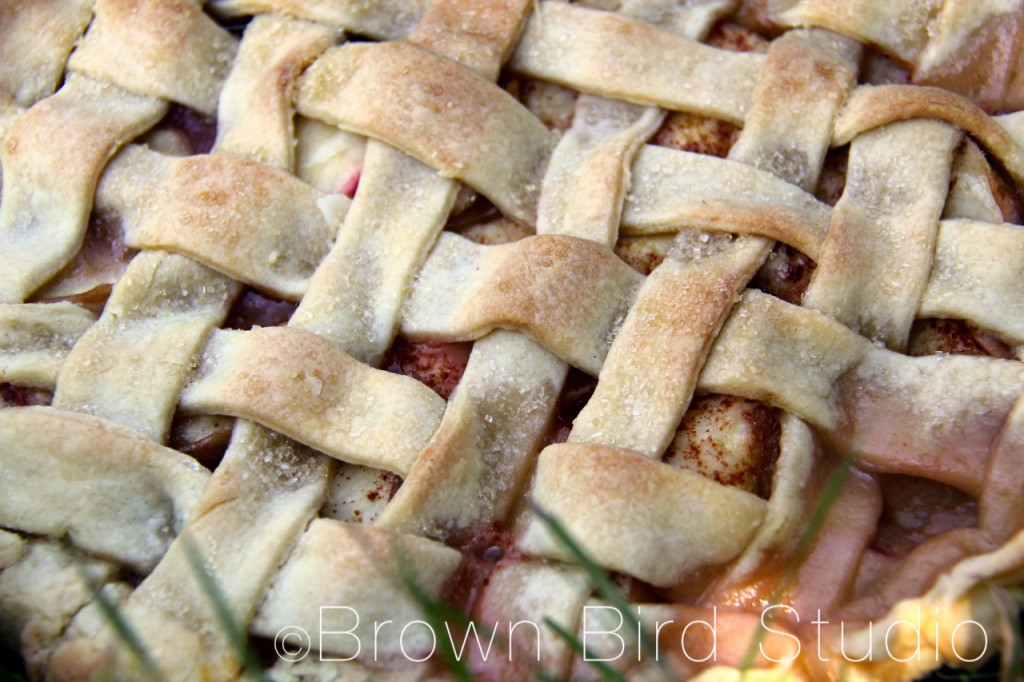
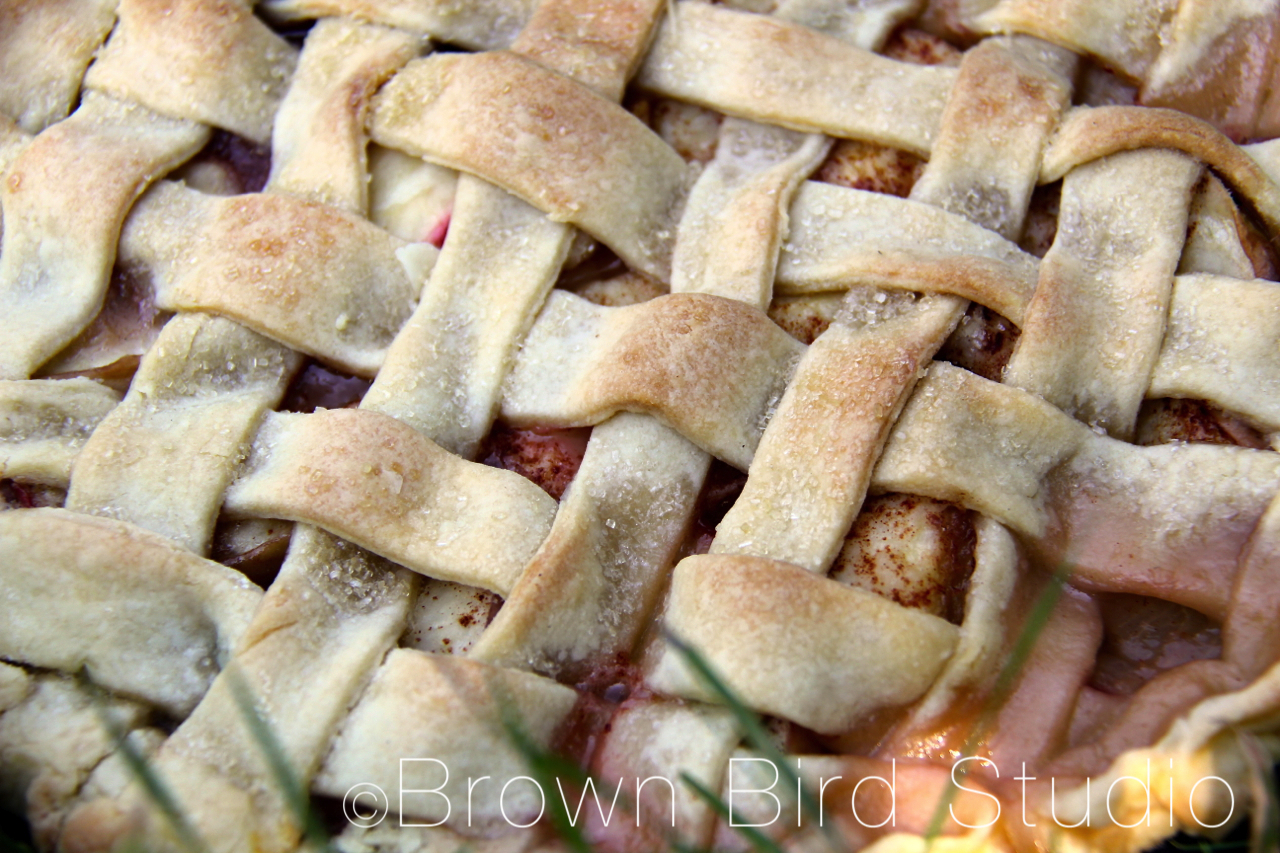
Some people think lattice pie crusts are complicated and difficult. They’re really not. Yes, it takes a couple of extra steps beyond just rolling out the top crust and plopping it over your pie filling. But it’s easy — and it does not have to be perfect (as you can see by my pie photos. Ahem!) Believe me, the little extra effort is SO worth it!
LATTICE CRUST INSTRUCTIONS:
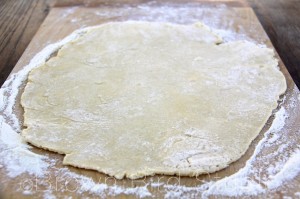
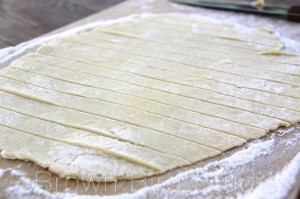
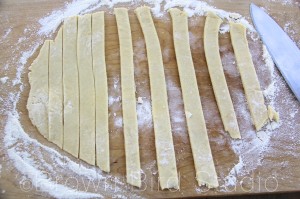
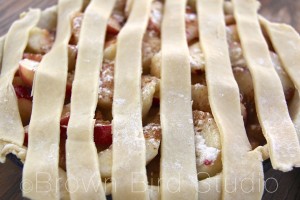
Alternating strips, place every other strip on the pie. The rolled out dough on your counter will look like stripes now. (see photo above.) Your pie will also look like it has stripes of dough on it.
