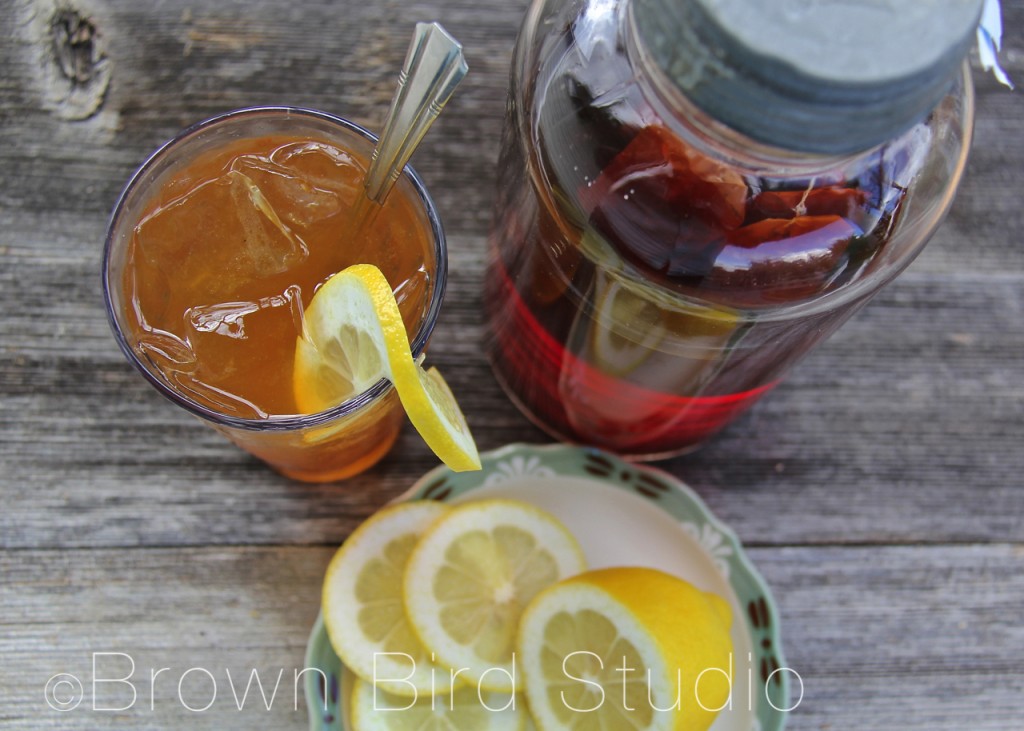
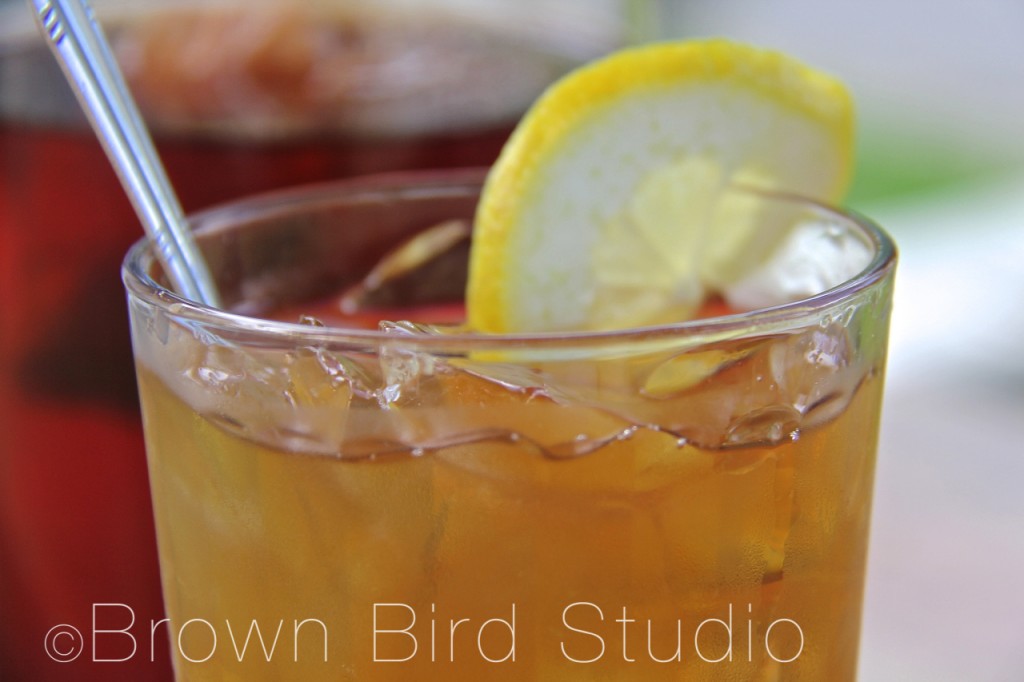
It’s a Fine Afternoon for Iced LemonTea
We’ve been having an oddly rainy September. Thunderstorms. Hail. Lightening. Then big blue sky. Anytime of day or night.
I love, love, love sitting out on the front porch during a storm. Staying dry. The little hairs on my arms and the back of my neck stand up in the electrical gold glow while thunder booms and rain drums the porch roof.
Yesterday we spent the day getting ready for an outdoor bbq party while storms rolled in and out of the valley. I fretted that the 20 or so guests would have to crowd into our tiny house. But we lucked out. We got to hang out on the porches and in the garden. The kids built a fire and roasted marshmallows while the adults caught up with each other’s lives. After everyone left, Tim and I sat out in the garden with the fire for another hour. A perfect evening.
So today is another weird weather day. Warm. Perfect temperature for a September day. Earlier today, we had a downpour and now, enormous thunder clouds are building up around the valley perimeter again. Tim is cleaning his woodworking shop, getting organized to start making a board-room table and set of chairs.
I just got back from a fun photo shoot with two young moms and their families.
And now, it’s time to relax.
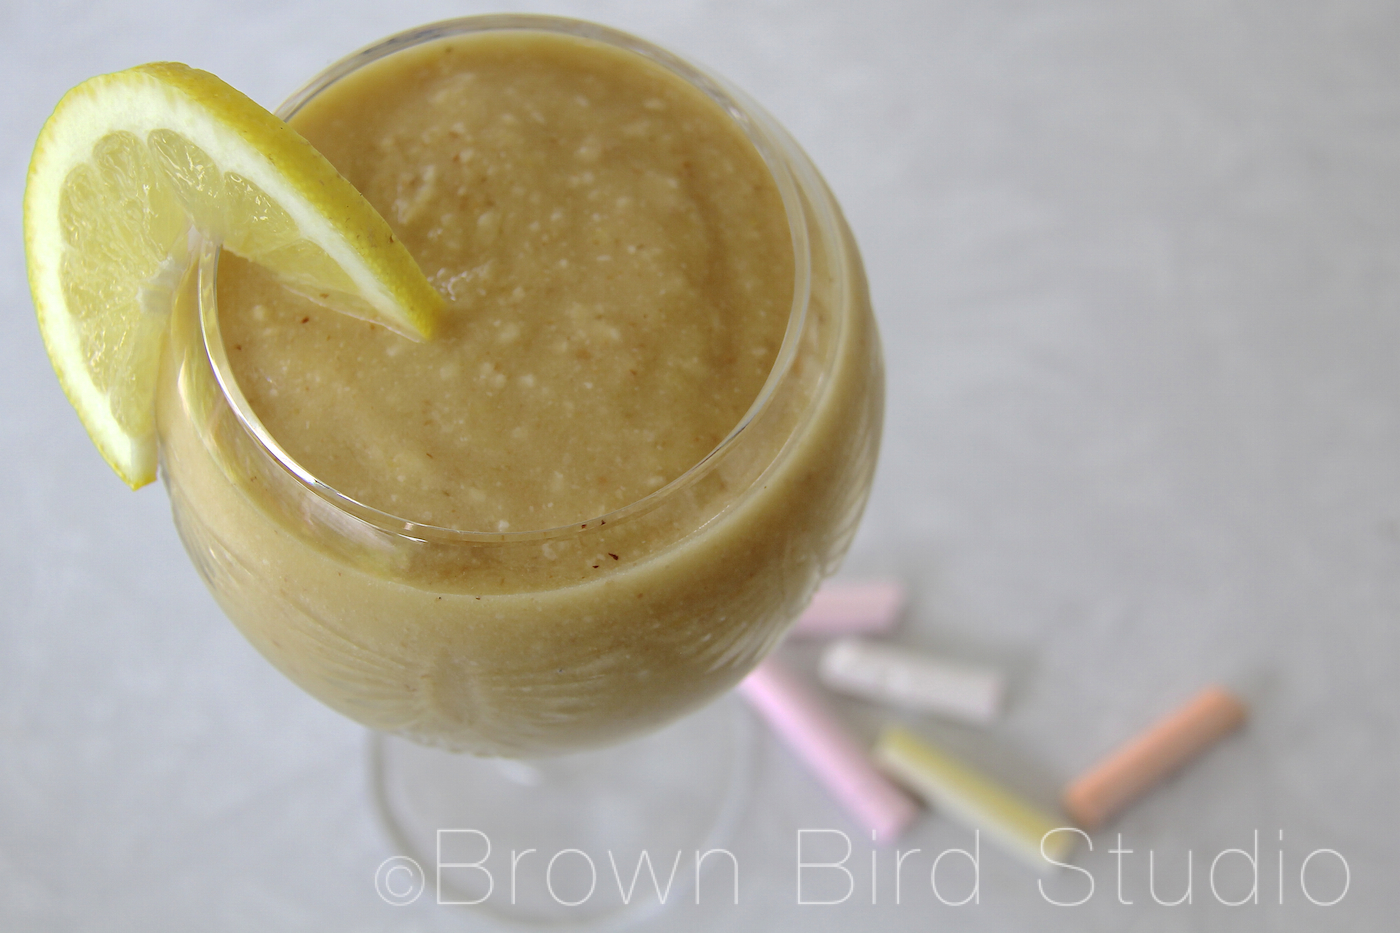
With a tall glass of lemony iced tea. Sun tea. Red Rose Black Tea. With a little honey. Reminds me of my childhood when we visited Grandma and Grandpa and there was always a big pitcher of lemon sweet-tea. Mmmmmm!
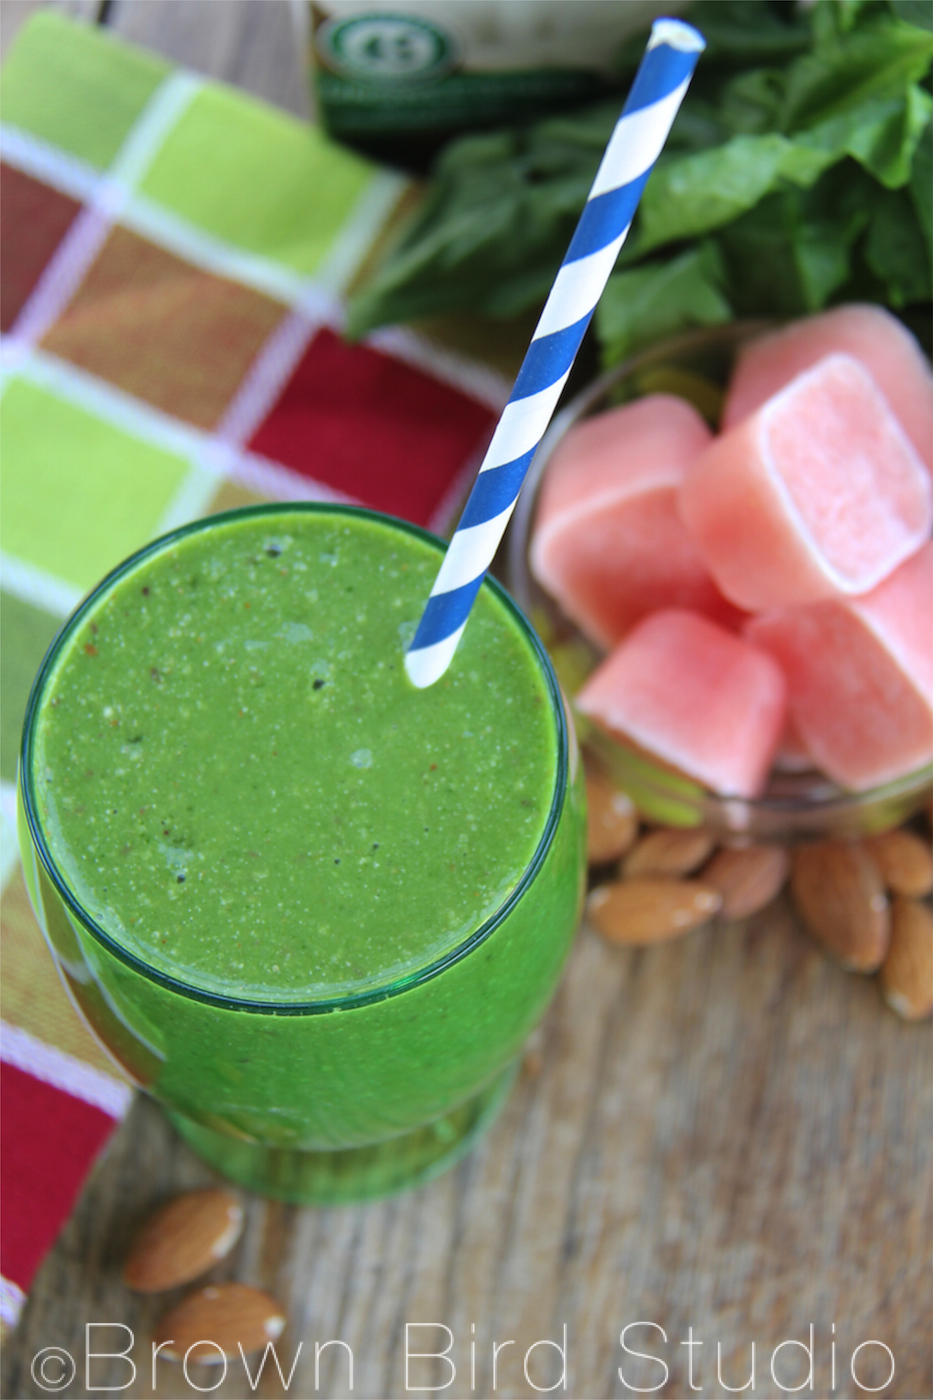
Saturday Smoothies: Watermelon-Peach Green Grin
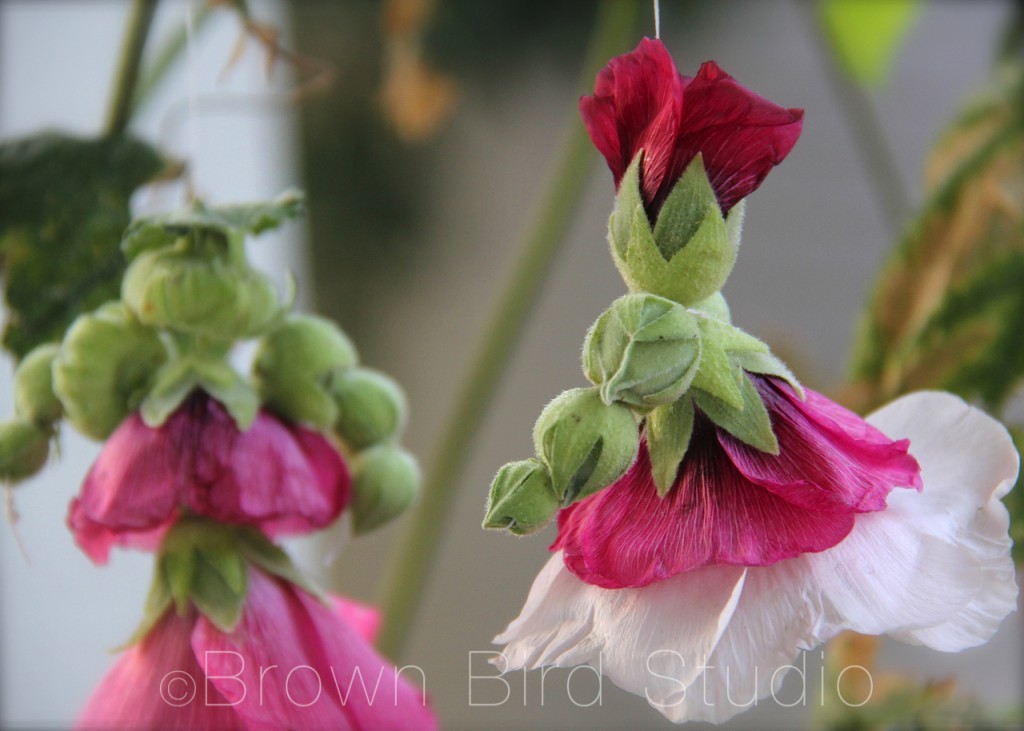
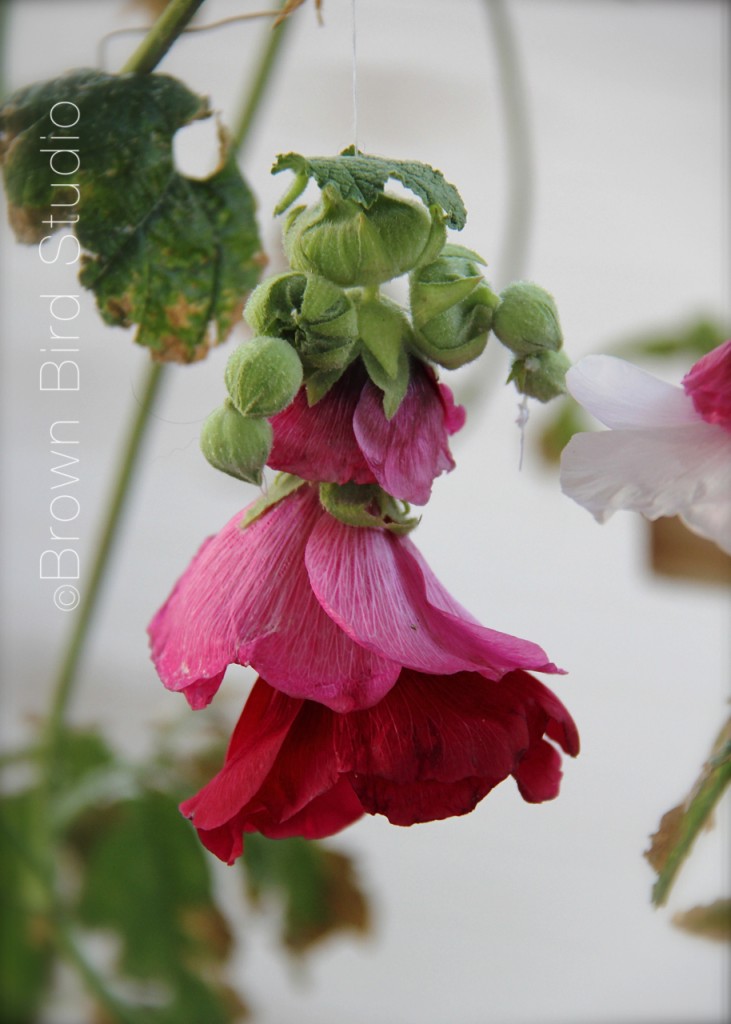
Hollyhock Dolls: a throwback to simpler times
I remember making these dolls from hollyhock blossoms in late summer. They only last for a few hours, even less if you play with them. But they’re fun to make, and really do have lots of personality. Now is hollyhock time in Montana. Do you have hollyhocks where you live? If you do, then you’re in luck. Go find a few, get out a needle and thread and go for it.
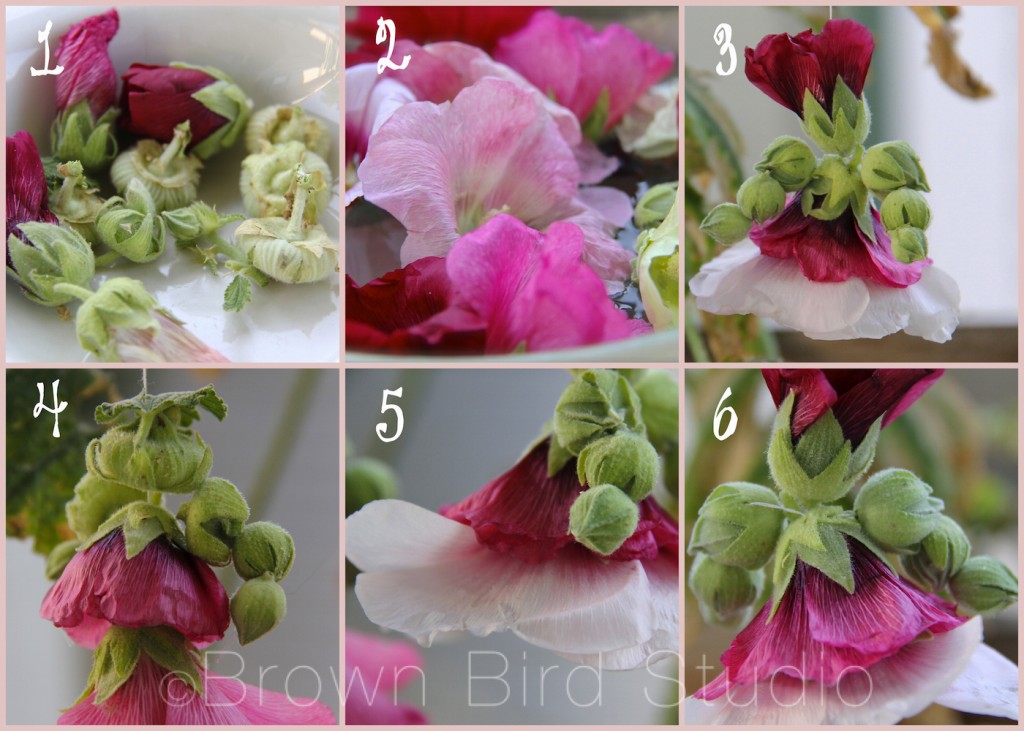
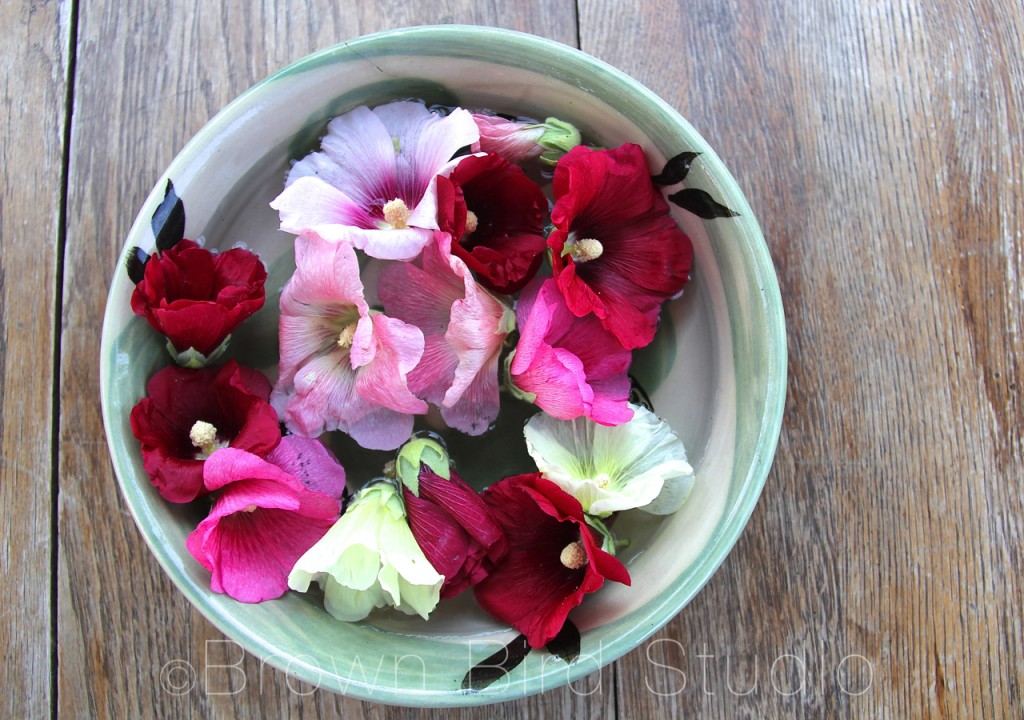
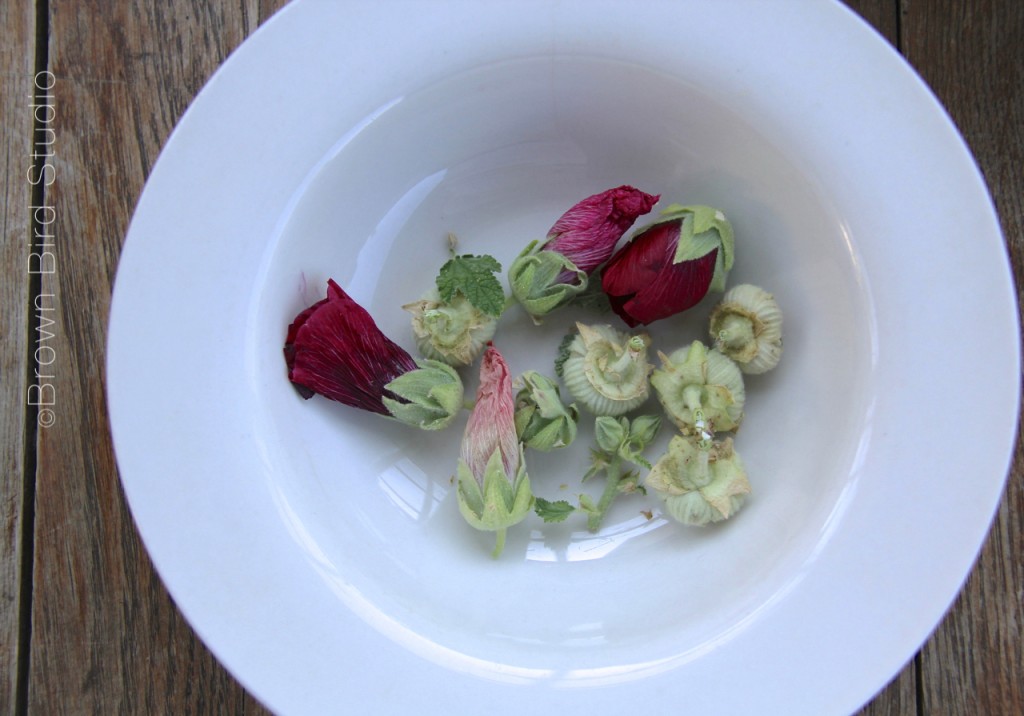
- Pick some hollyhock blossoms. Remember to get different sizes of buds, and a few leaves (for hats.) Sort the buds by size, making sure you have at least 3 buds for each arm.
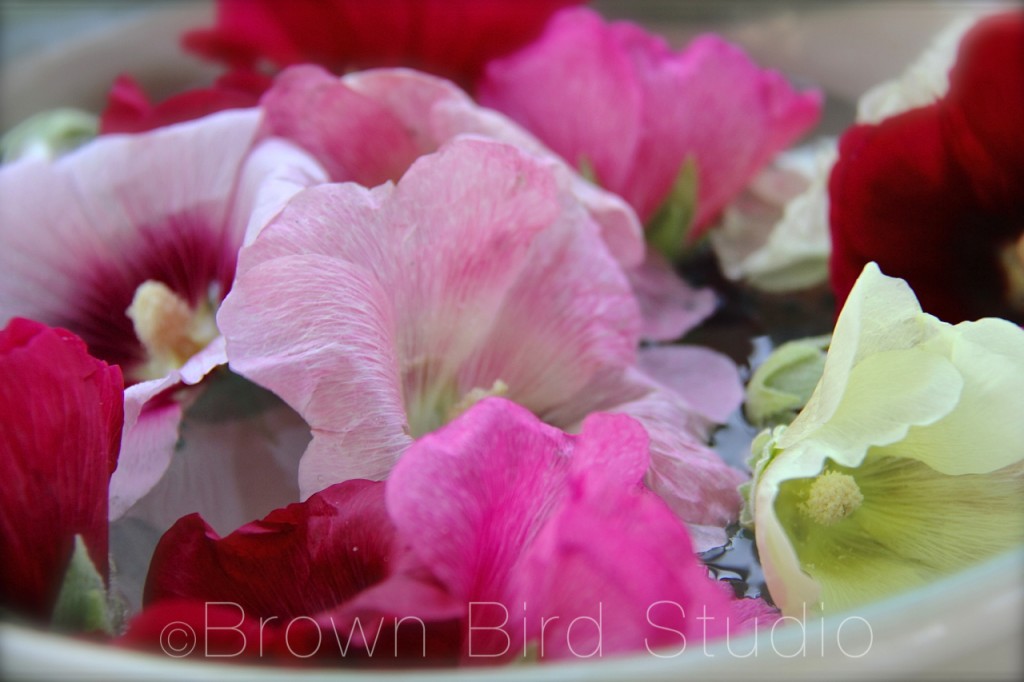
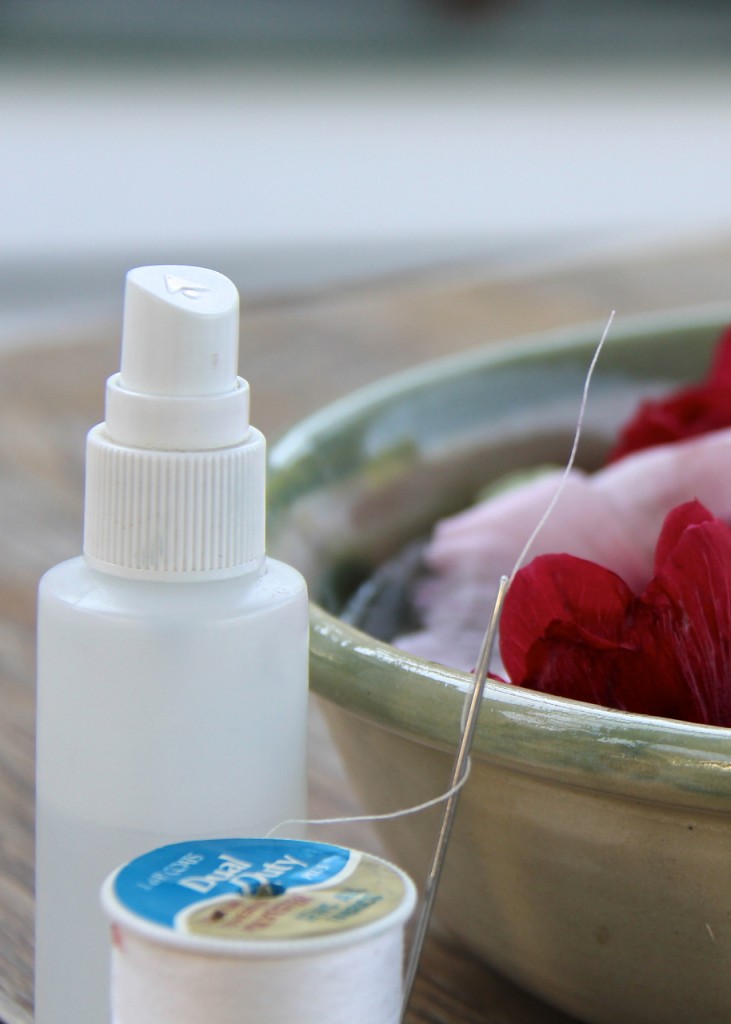
- Keep blossoms fresh while you work, by placing them in a bowl of water. You can also mist them with water using a sprayer.
- Remove the large, fuzzy stamen that sticks out of the center of each flower. Using a large needle and thread, stitch up through two or three large flowers, layering them to look like a skirt. You can make multi-color skirts with different colored flowers. Next make the head — you can use either a small blossom that hasn’t fully opened yet, or a large bud. Stitch from the bottom of the head through to the top.
- You can add a leaf on top of the head for a hat.
- Use 3 buds for each arm, a small, medium and large. I like to start at one hand, thread 3 buds together, then pierce the shoulder with the needle, and continue on the other side with 3 more buds for the opposite arm. (see photo 6)
- Your hollyhock doll will have personality and facial expressions if you use your imagination with her.
You can add legs if you want but I kinda like them without legs. The big skirts make the dolls look like Southern Belles at a Ball, or Ballerinas Dancing Across the Stage. If you want legs, do them the same as the arms.
 Another way to make hollyhock dolls is to use long, stiff pine needles, or toothpicks instead of needle and thread. Using the thread allows the arms, legs, neck and waist of the doll to move and jiggle, and if you hang her she will dance in the breeze. Using pine needles or toothpicks gives you a stiffer doll that can be played with more easily. Here is a link to making hollyhock dolls with toothpicks.
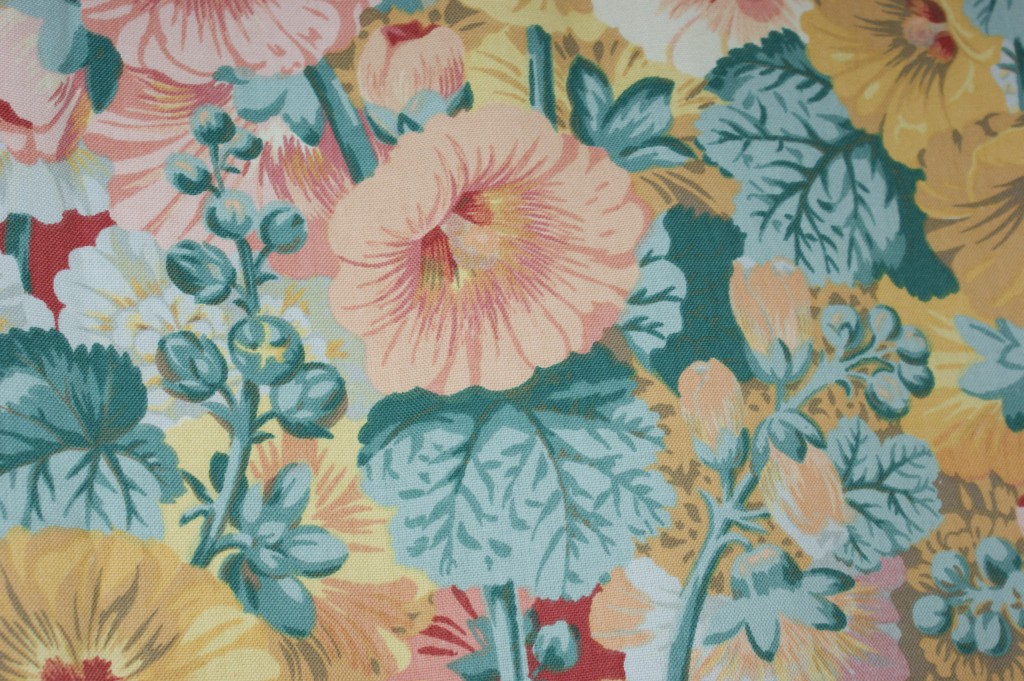
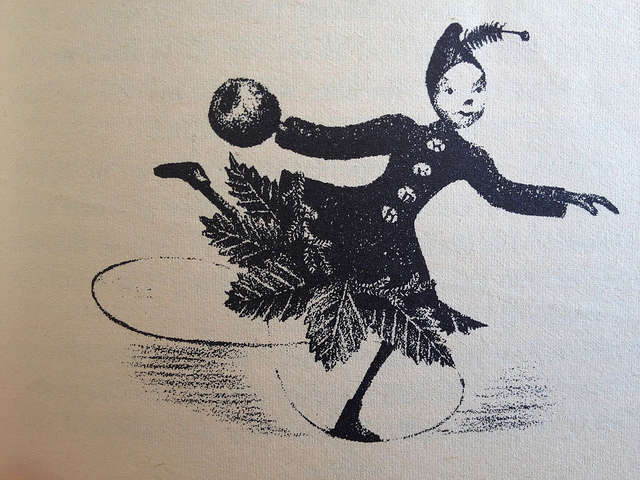
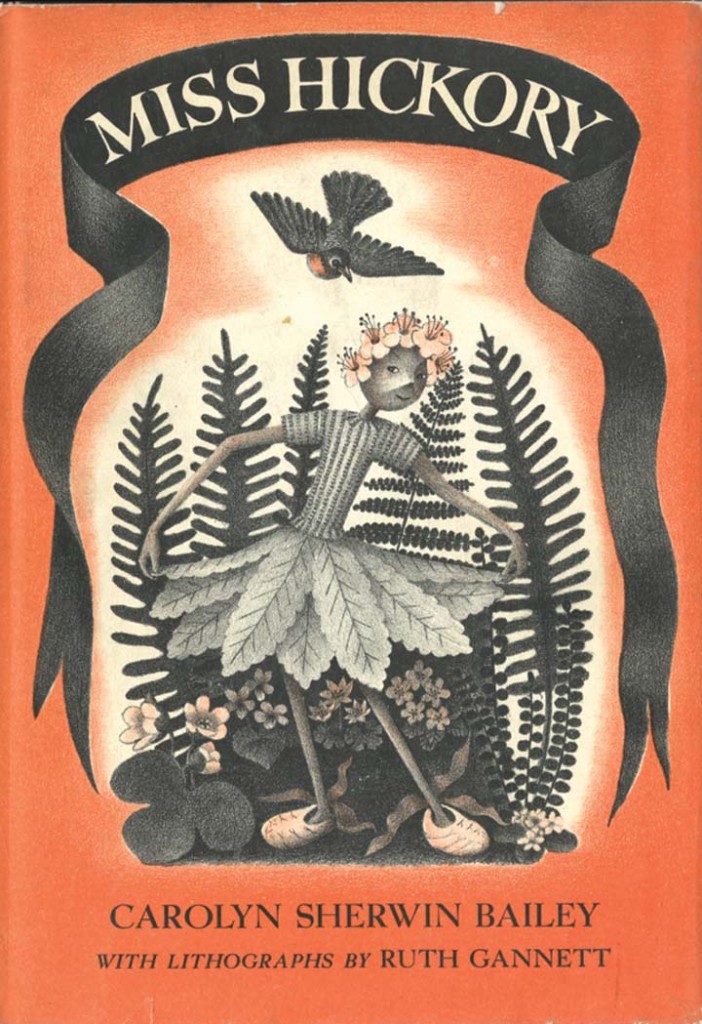
Miss Hickory is a children’s book that dates back to 1948. It is about a tiny doll made of apple twigs with a hickory nut head, so is a little similar to our hollyhock dolls, only longer lasting. The story follows her adventures through the four seasons. And eventually, the story ends with the little doll asleep on a branch of an apple tree and in the spring the apple tree blossoms all around her. Below are a couple of illustrations from the book and a link to a tutorial on how to make a Miss Hickory doll.
Saturday Smoothies: Tropical Guava Delight
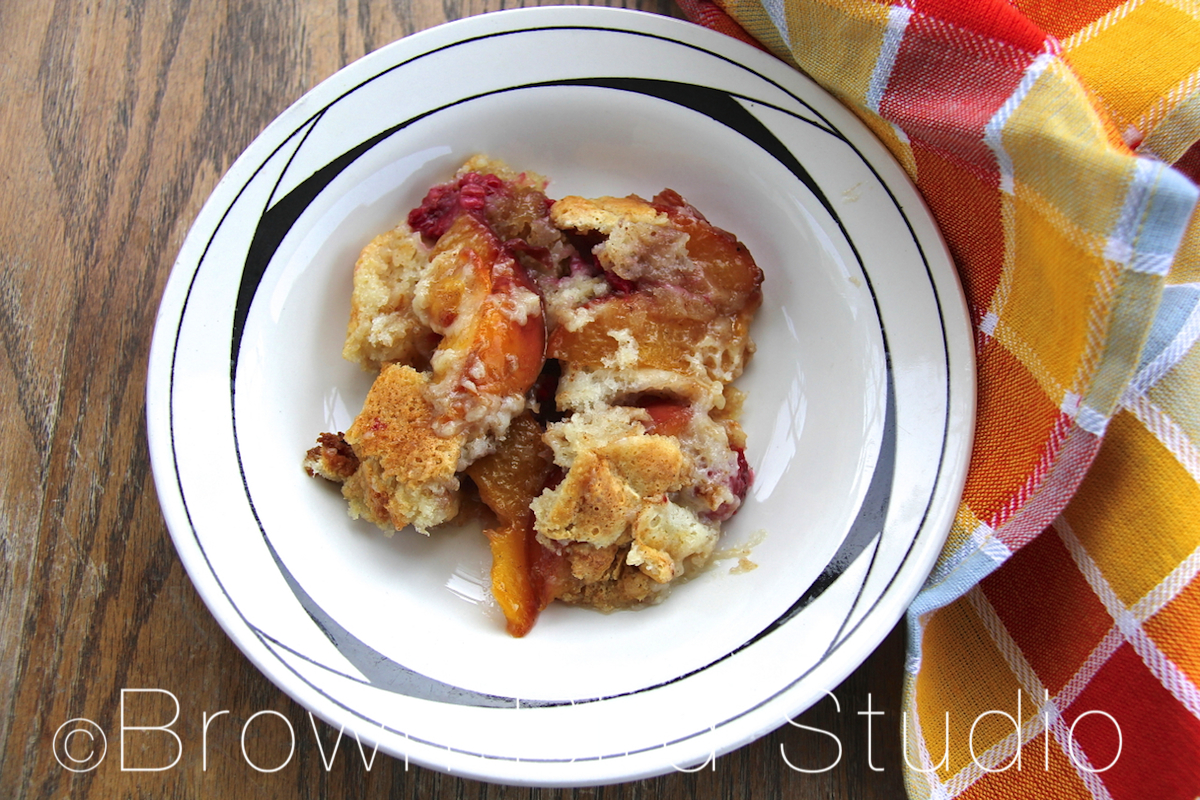
Peach Raspberry Buckle … or is it a Cobbler?
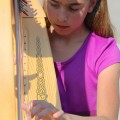
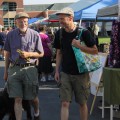
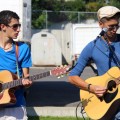
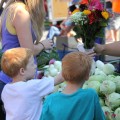
Street Musicians and Other Farmers Market Characters
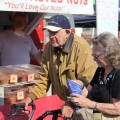
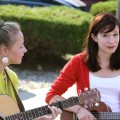
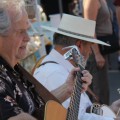
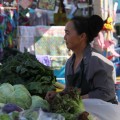
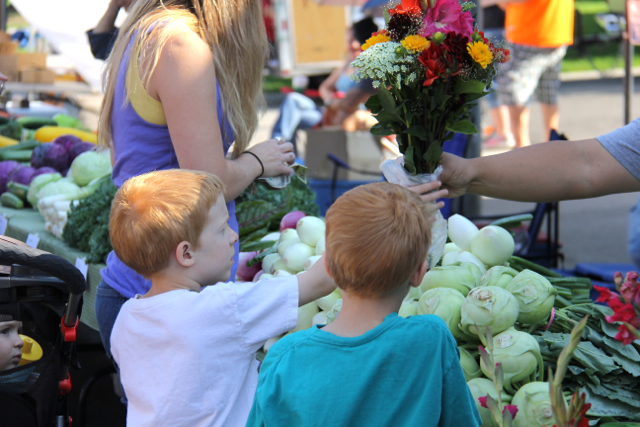 The Helena Farmers Market is a hoppin’ place in August when the harvest is rich and our days are warm. People bring their shopping bags and market baskets, their strollers and dogs, and their dollar bills to give to our entertaining street musicians. Today was a special market day because the Lake Helena Watershed Festival was also going on at Women’s Park adjacent to the market, lending an extra excitement. (There was a bounce house, live music, face painting, science learning activities for all ages, wetlands & xeriscape booths, and an ice cream aquifer)
Here is a gallery of shots I took this morning. Hope you find it almost as entertaining as being there.
Kid’s Art: Root Creatures
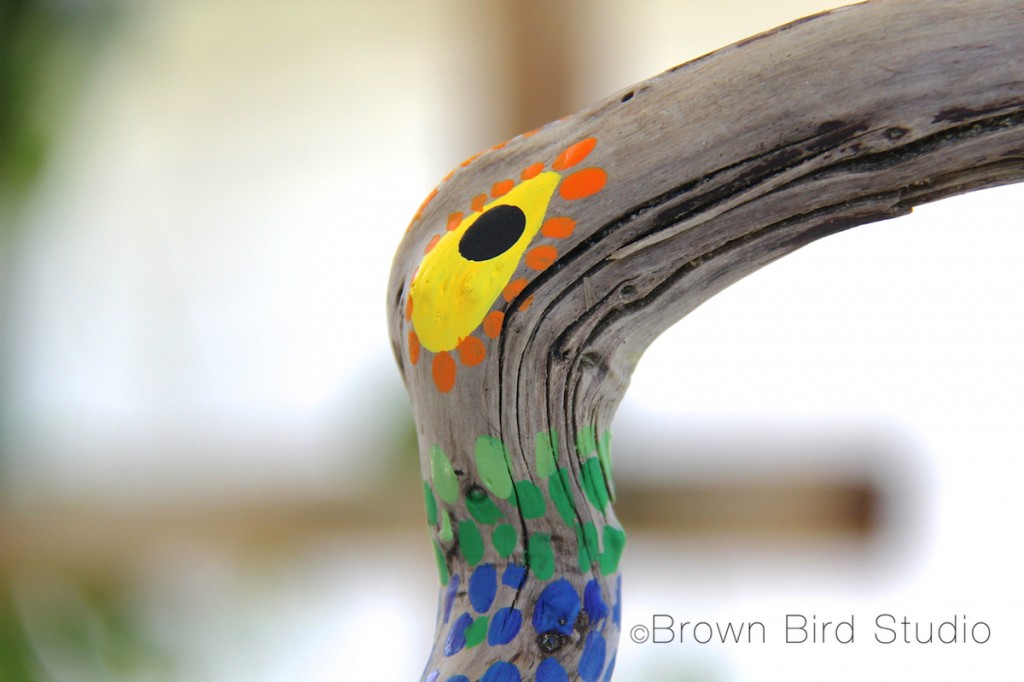 Ema, Adia and I made some really cool creatures using roots we found on the lakeshore. We picked them up because we thought each of these looked at least vaguely critter-like. Today we painted several of the roots to try to bring out the little features in the wood that looked like something or another. How do you like them now?
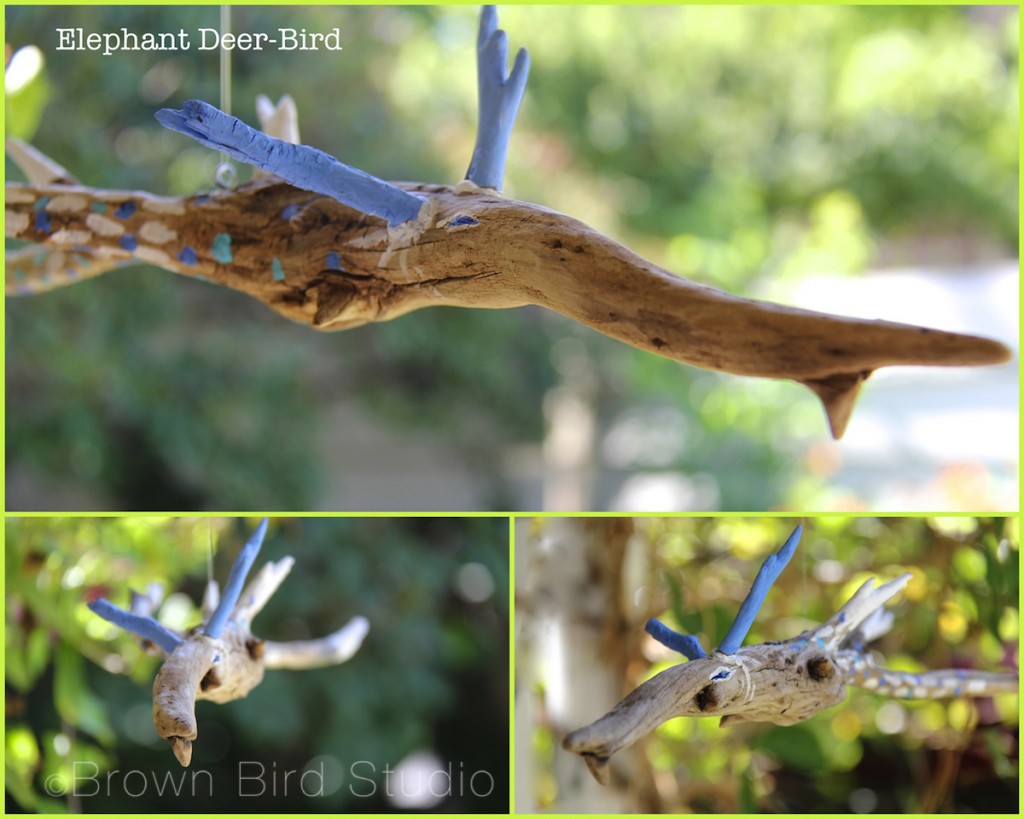
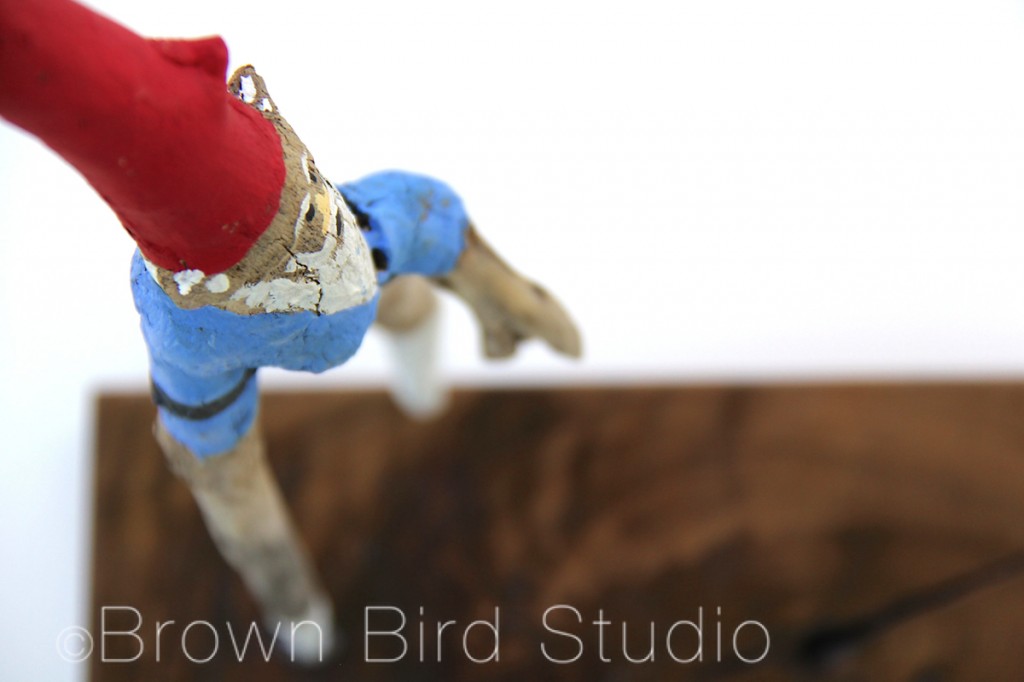
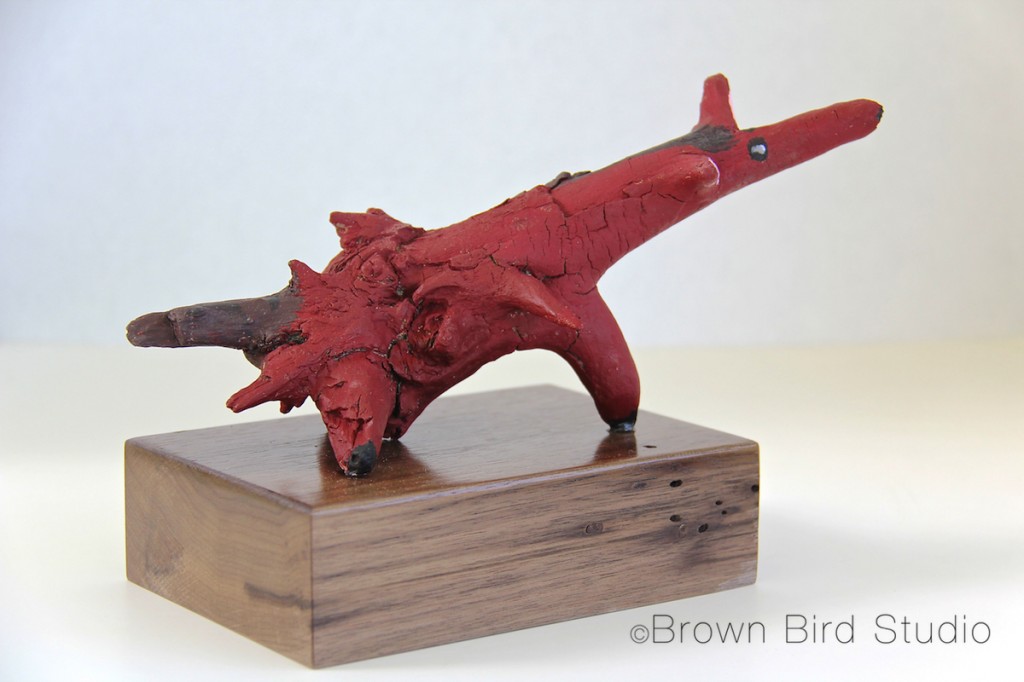
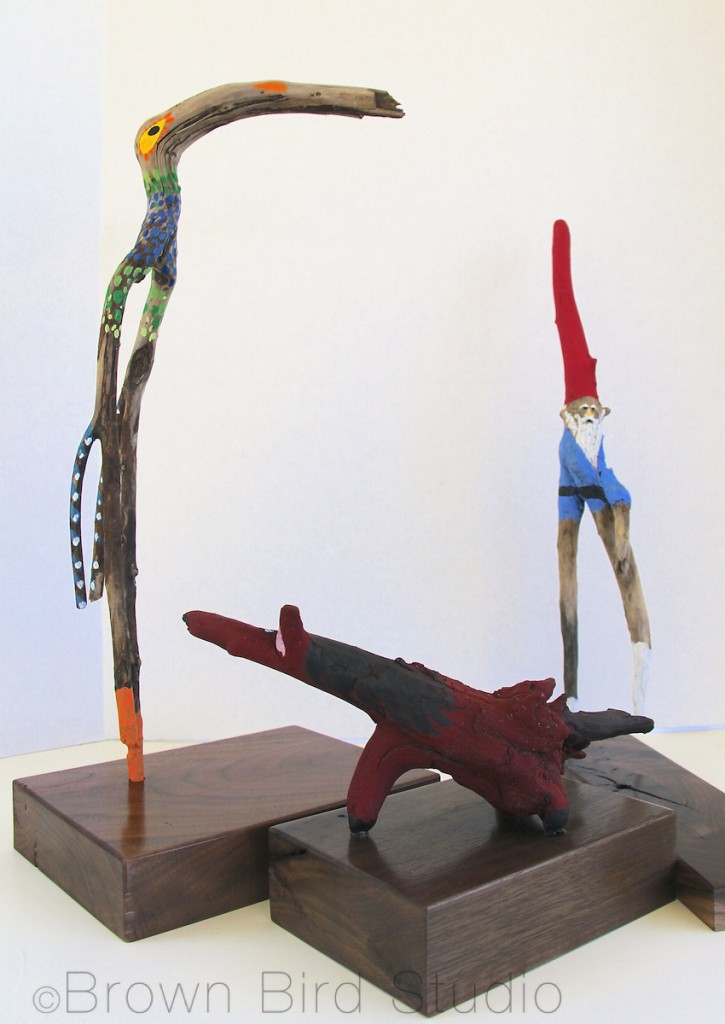 We have a horse, a gnome, an elephant-deer-bird, and another bird — a long-legged crane.
The following tutorial was written by Ema and Adia:
Have you ever wanted to make an imaginary creatures? Well here’s how. All you need is a few sticks and some paint. You can make whatever you can imagine when you look at the sticks.
You will need:
- sticks, driftwood or roots
- hot glue*
- acrylic paint**
- brushes
- something to use for bases for the creatures that will stand up*** …. or
- tiny eye hooks and some monofilament for creatures that will fly (hang)
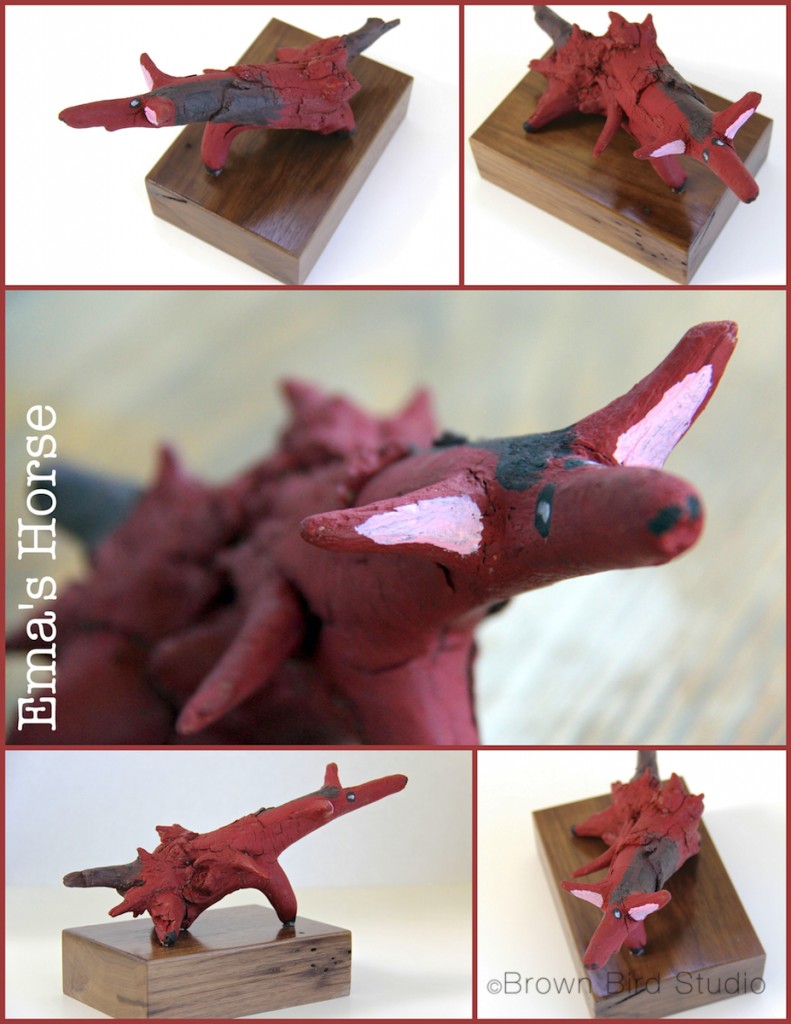
I got a funky root and I kept turning it and turning it and looking at it from different angles and then I saw that it looked like a horse. So I painted it to look like a red roan horse, specifically my favorite horse, Rosebud, who lives at my Grandma’s house in Anaconda. I glued mine onto the base instead of drilling a hole because it stands up by itself. — Ema, age 10
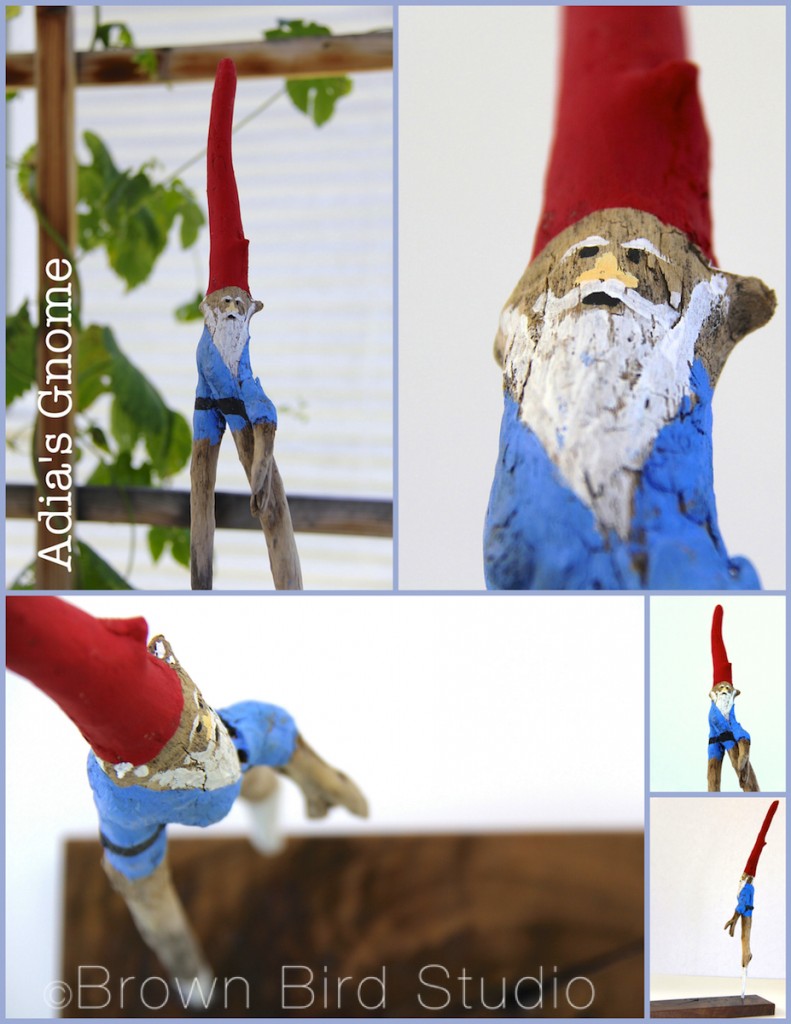
I made a gnome. A gnome is a little person with a beard. Santa Claus is a gnome. My gnome has a really tall red hat and is walking across the log that is my base. One leg is shorter than the other because he is walking. He also has a really long white beard and tall white boots. I drilled a hole in the base and glued my gnome’s longest leg into the hole. He looks like Santa. — Adia, age 8
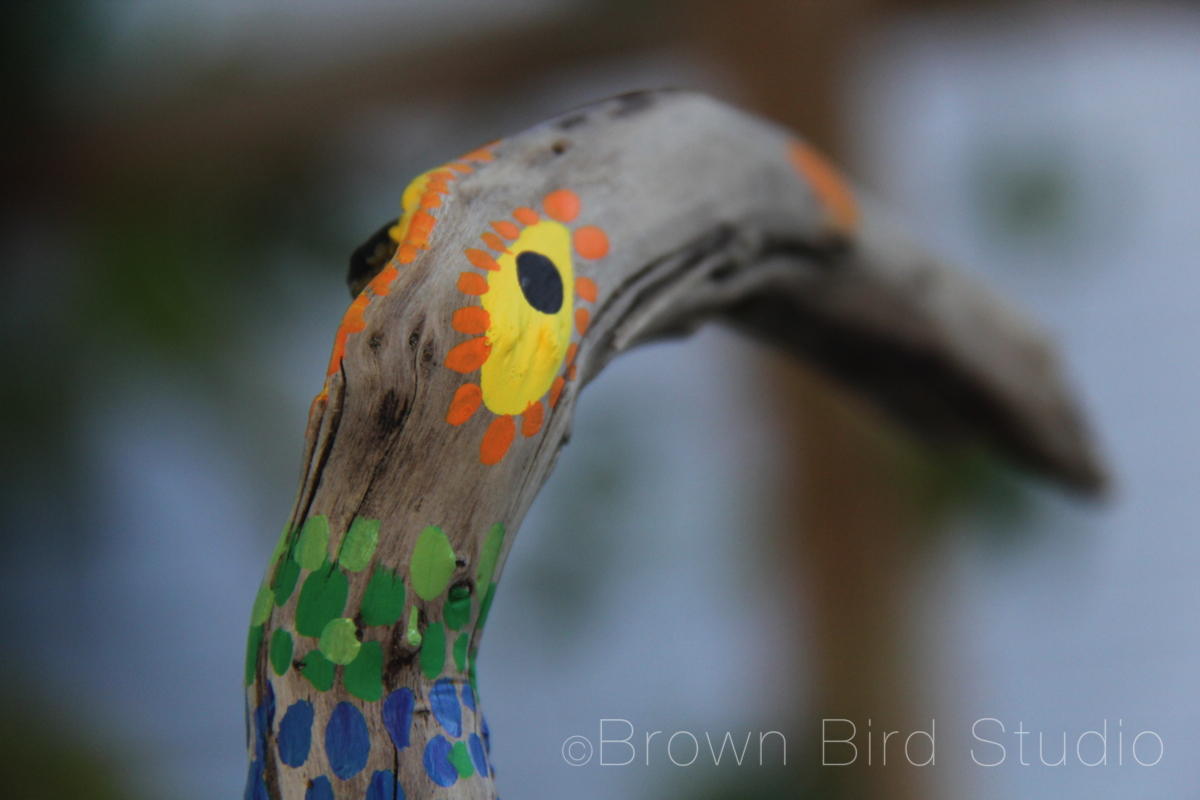
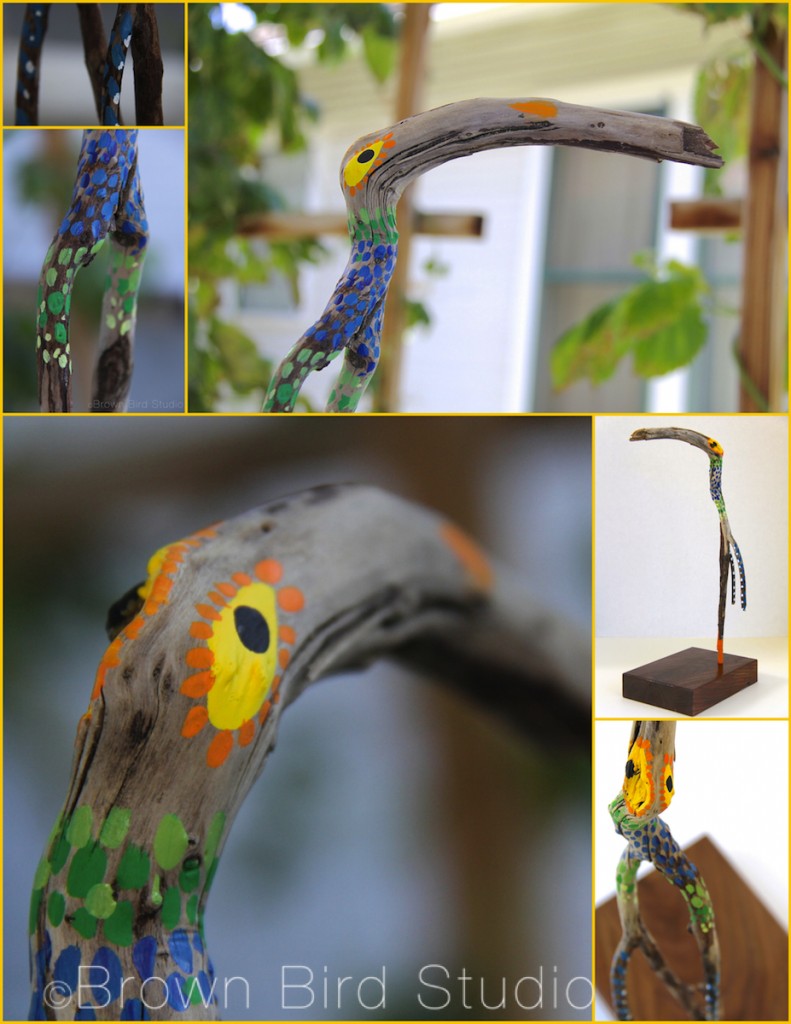
One of my roots looked exactly like a long, curved-bill crane so I made a fantasy bird that I named, an “oo-ooga crane.” This is the sound it makes when it’s happy. It has green and blue feathers with white spots. Also some yellow and orange eyes. I glued one of the crane’s legs into a hole in the walnut base. — Maureen
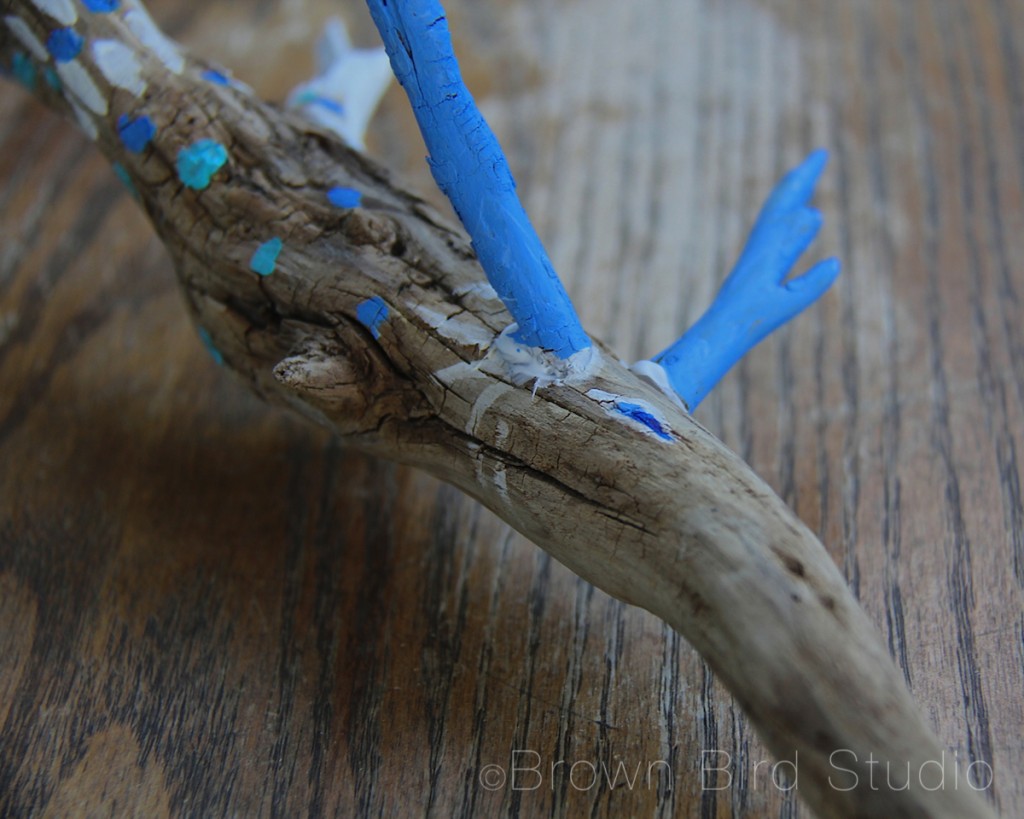
My other root reminded me of an elephant with wings. It has big long trunk, two skinny wings and a tail. I added little antlers so it’s an elephant-deer-bird. I painted the antlers blue because the Huichol Blue Deer is special to me. This one hangs from the ceiling because it’s flying. I screwed in a tiny eye-hook and hung the bird by a piece of monofilament. — Maureen
NOTES FROM THE TUTORIAL AND SUPPLY LIST:
*We used a little hot glue to attach odds and ends of roots to our creatures.
**For painting the creatures, you don’t have to completely cover the surface of the wood with paint. Leaving some of the natural wood showing looks really cool.
***If you want to make bases, cut some nice wood in a square or rectangle or any shape. Sand it so it’s nice and smooth. Sand the edges to make them roundish so they aren’t sharp. Figure out if you want to drill a hole or just glue on your creature onto the base. We made our bases out of scraps of walnut wood, the trees that grow actual walnuts on them.
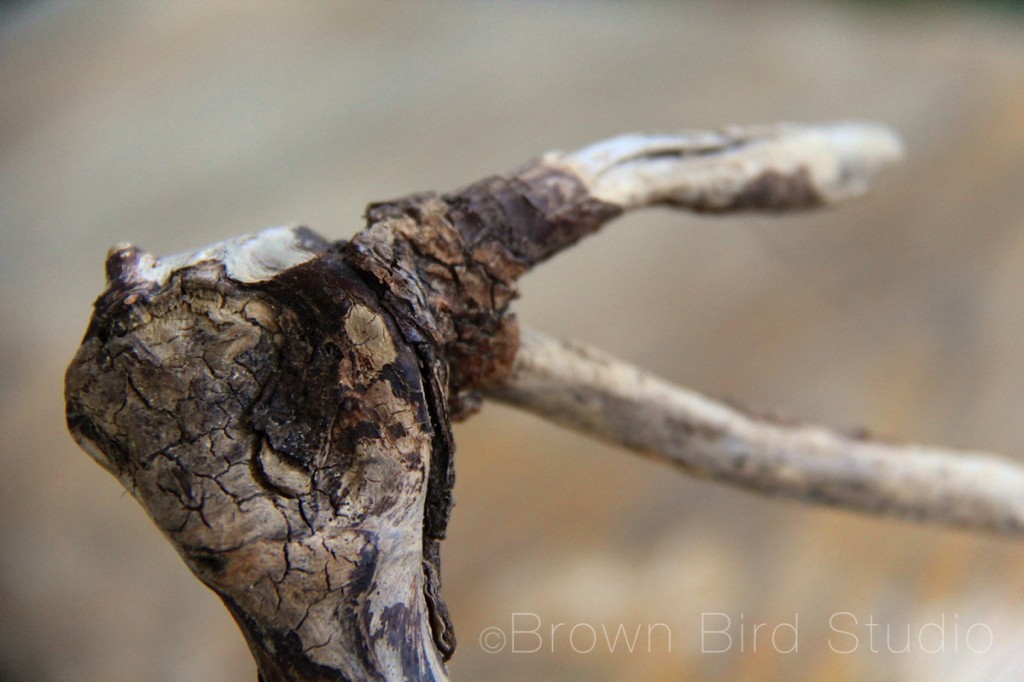
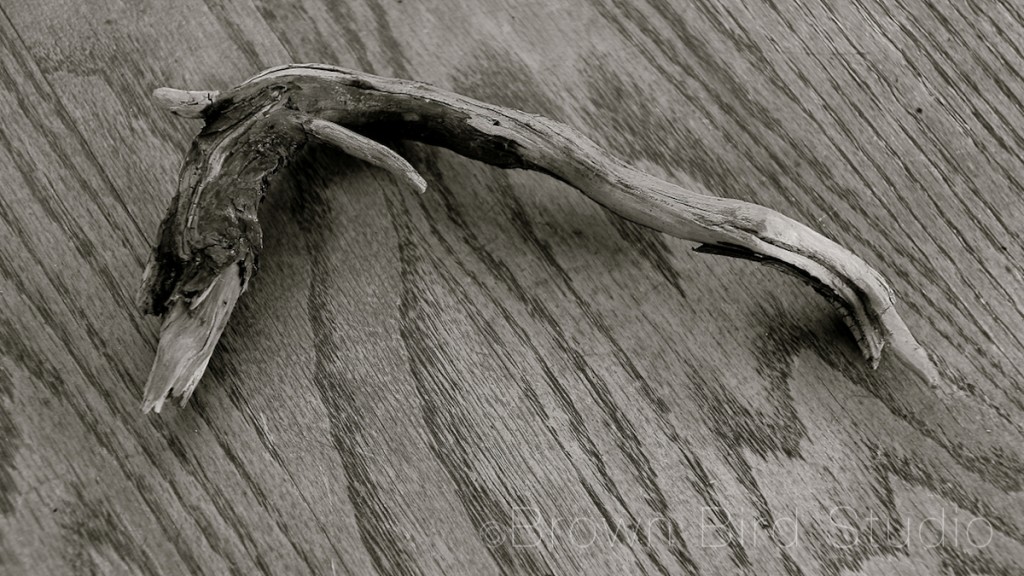
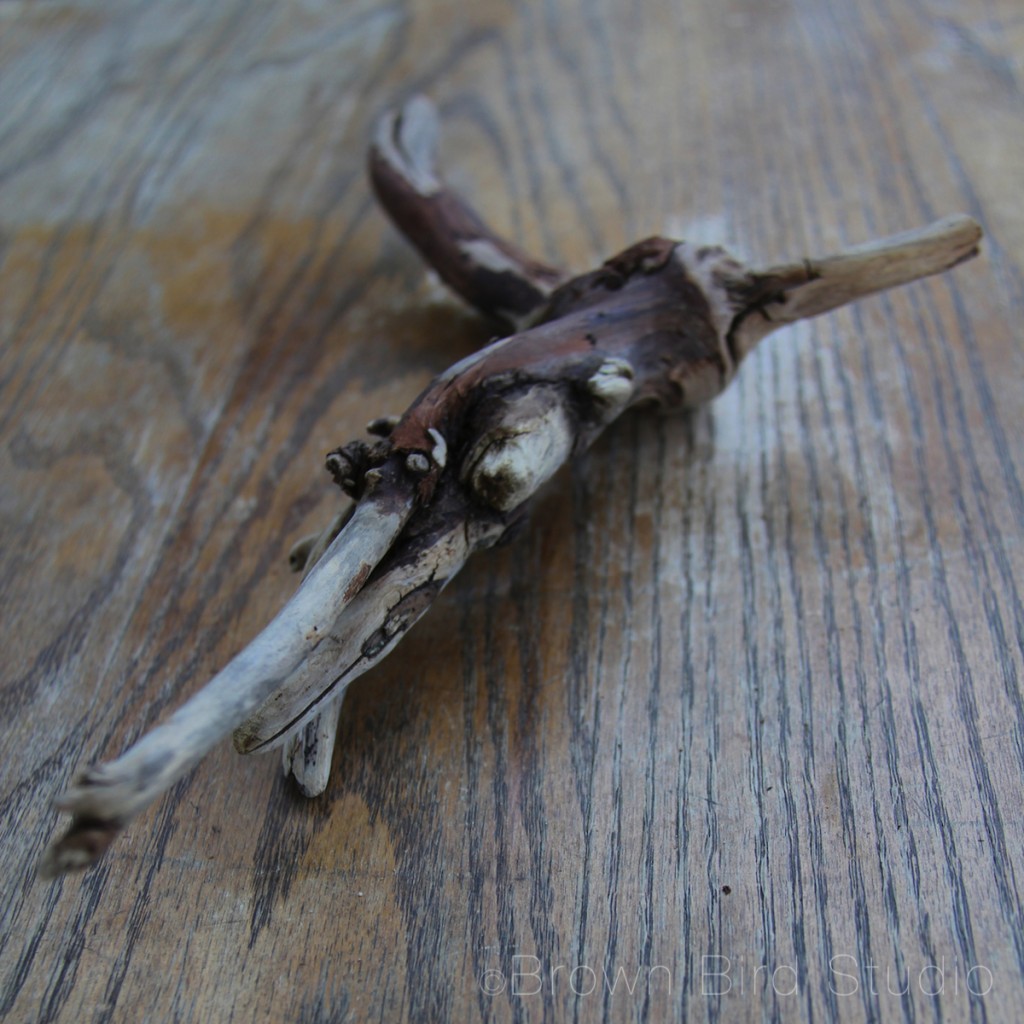
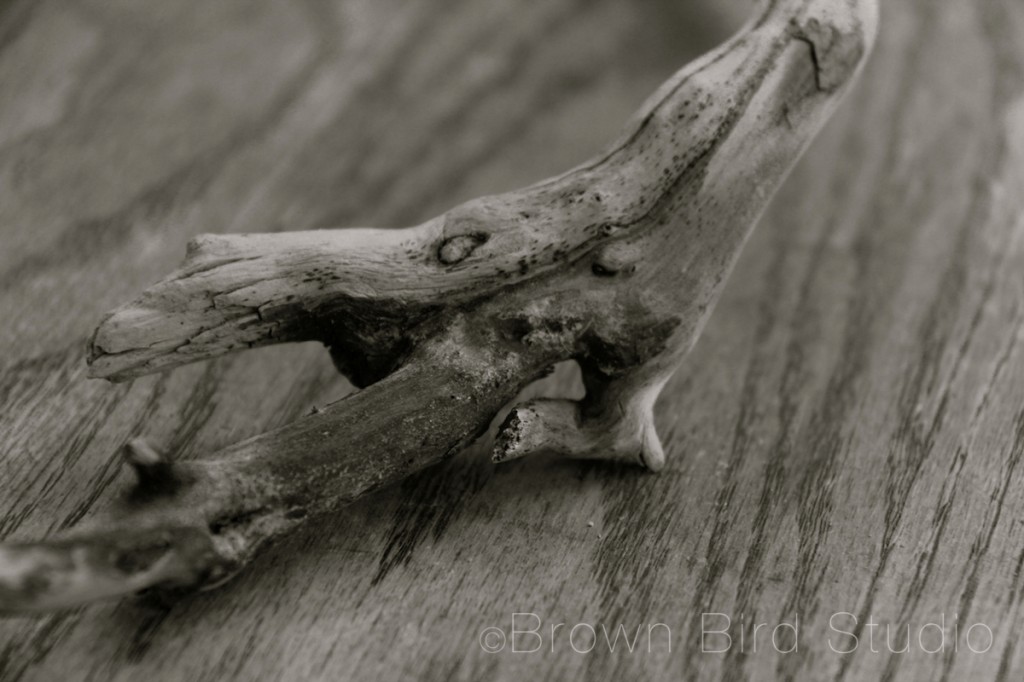
Below, we have a few other roots we haven’t painted yet. We are going to keep making these creatures. One of these roots is going to become a flying dragon with a tail made of smoke and fire coming out of its mouth. What do you see in these? Please let us know in the comments.
