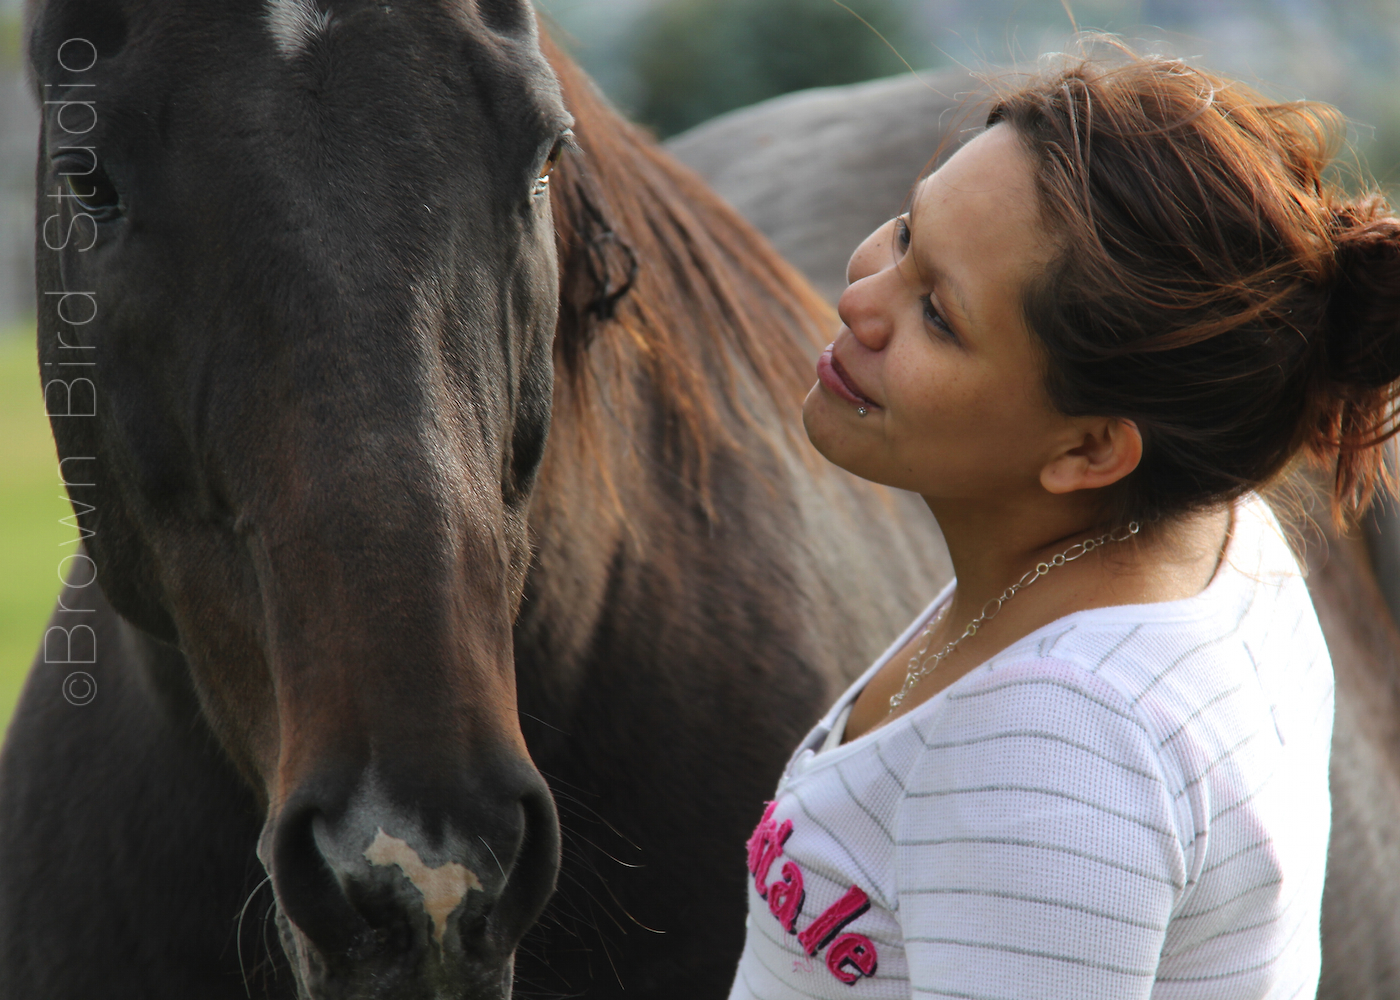
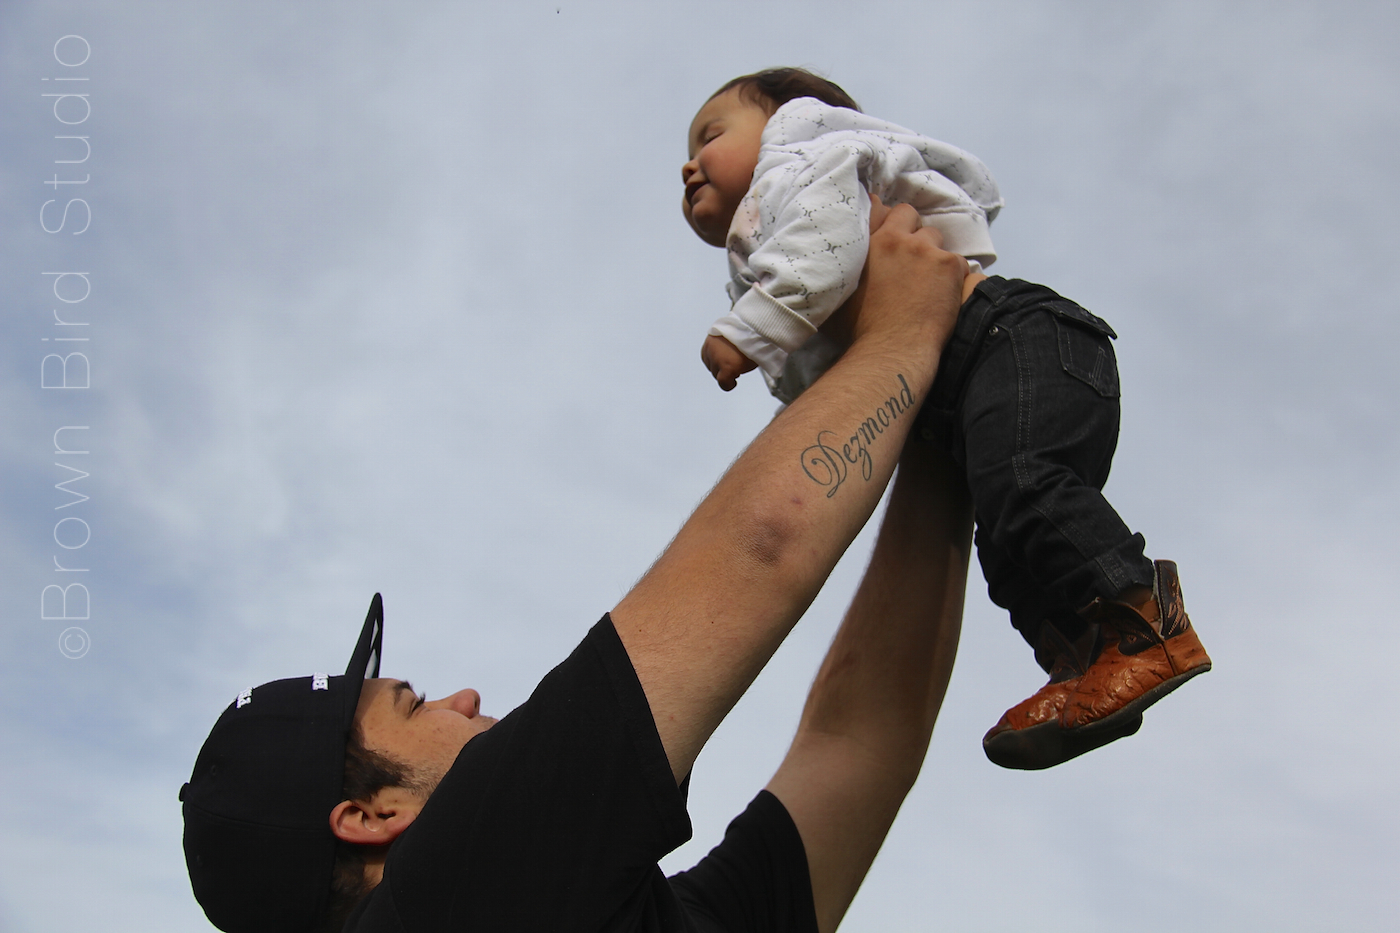
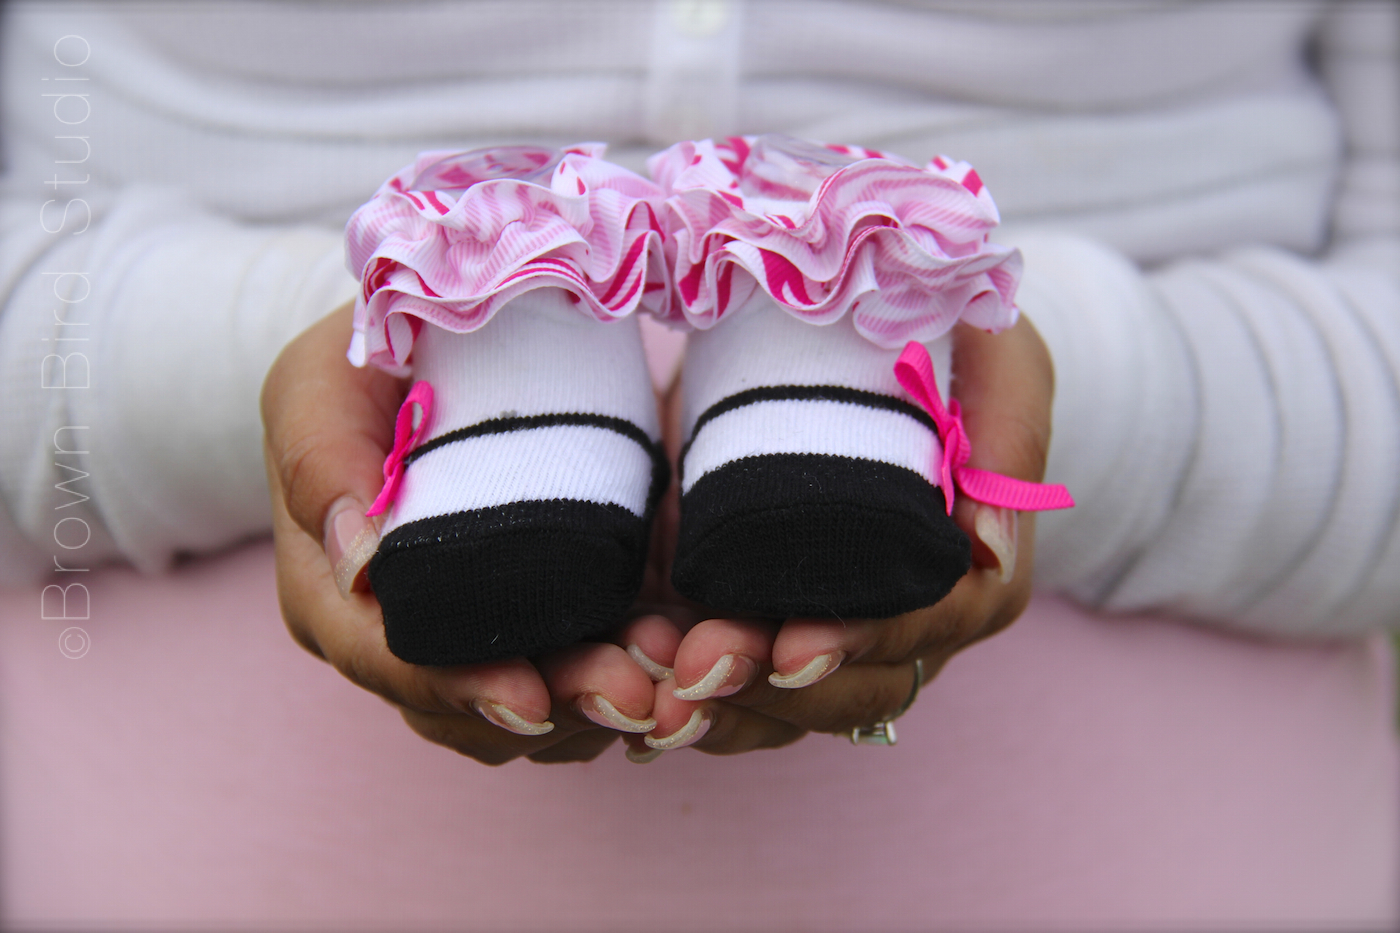
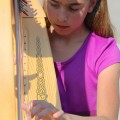
I am lucky because I have been involved in this young woman’s life for over 4 years.
I am lucky because she allows me to know her — the real her.
I am lucky to be able to point my lens in her direction almost anytime … she doesn’t mind. And she knows how to drop the mask and be herself. And she lets me see that. And record that part of her.
I am lucky to have been able to photograph her belly three times now. And the babies. And toddlers.
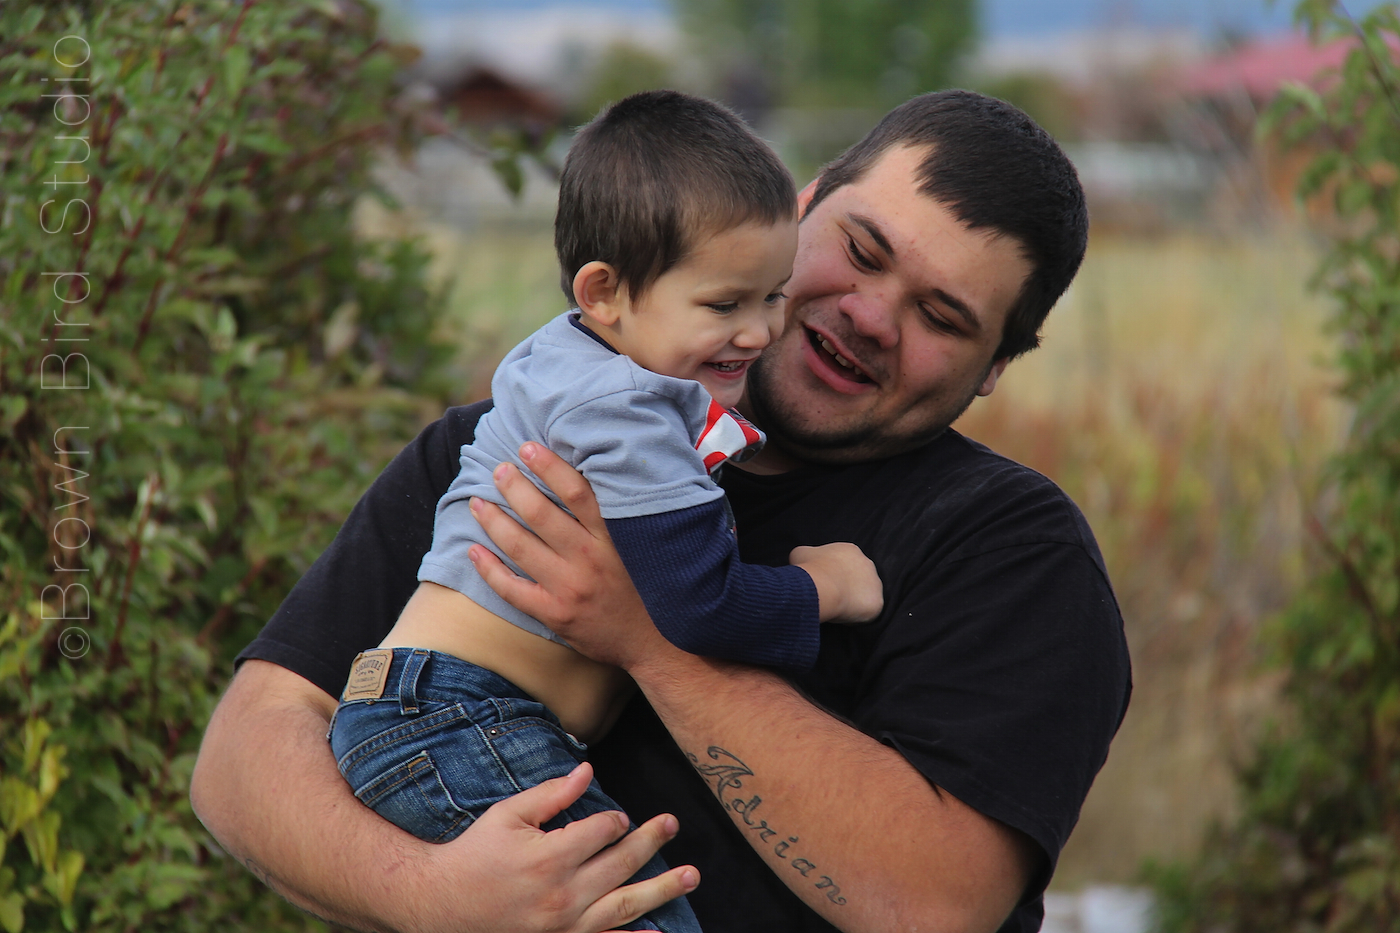
And finally I am lucky to watch healing happen in the heart a girl who was so wounded … and to see her find a partner who cherishes her, who is a good papa, who is gentle and funny and real.
Here’s a peek at some of the images my lens captured today. Check back for more. We’re still in the stage of choosing which ones we like best.
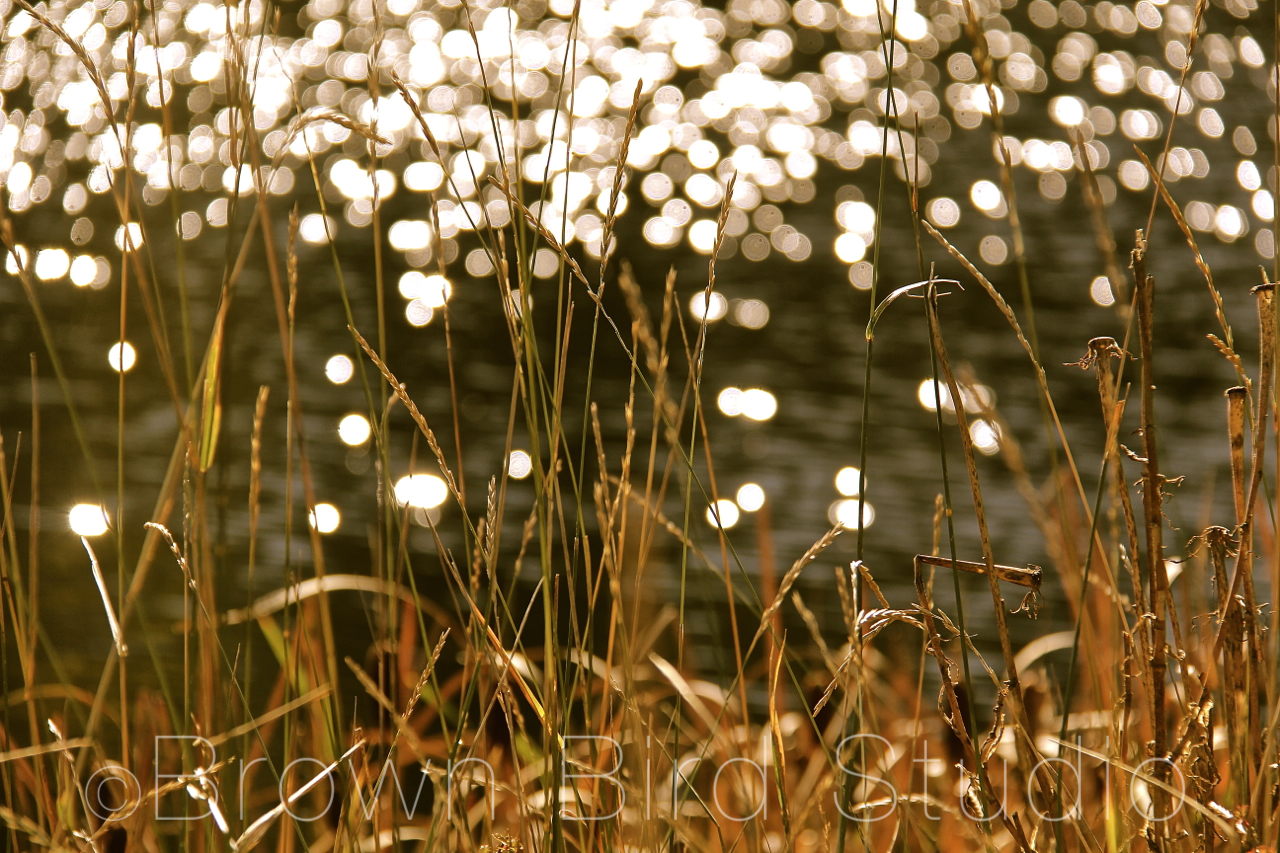
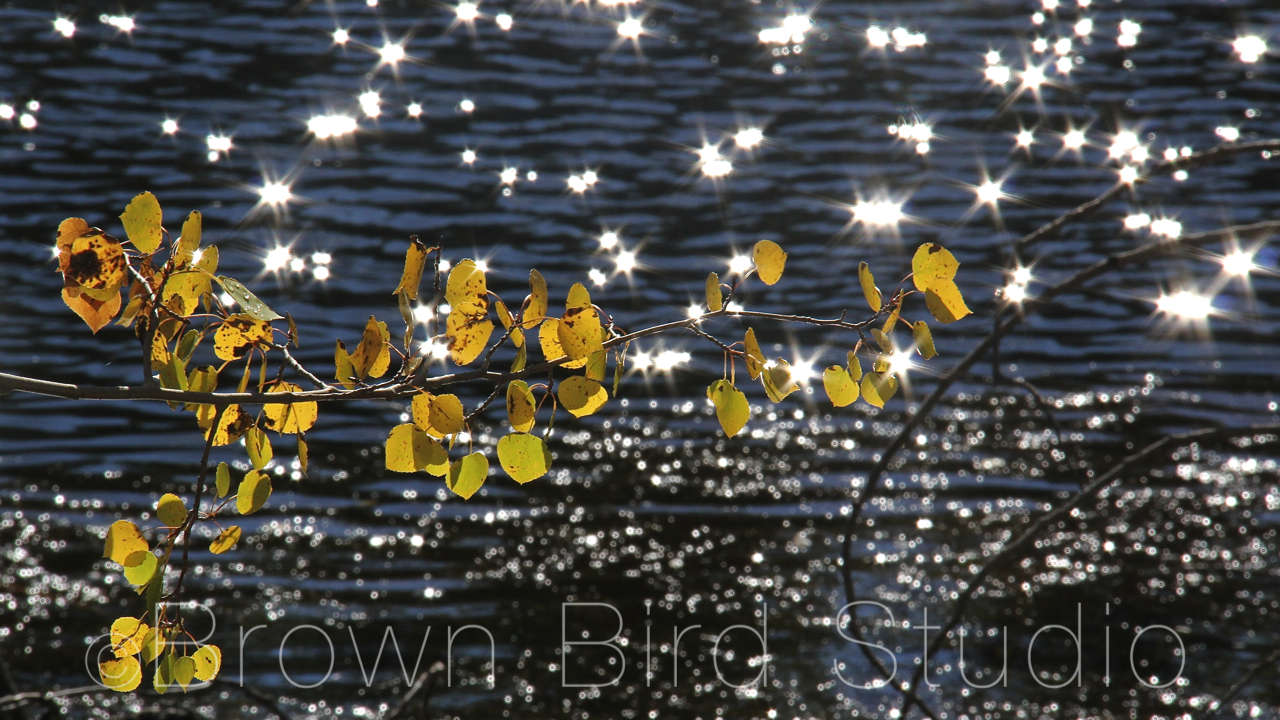
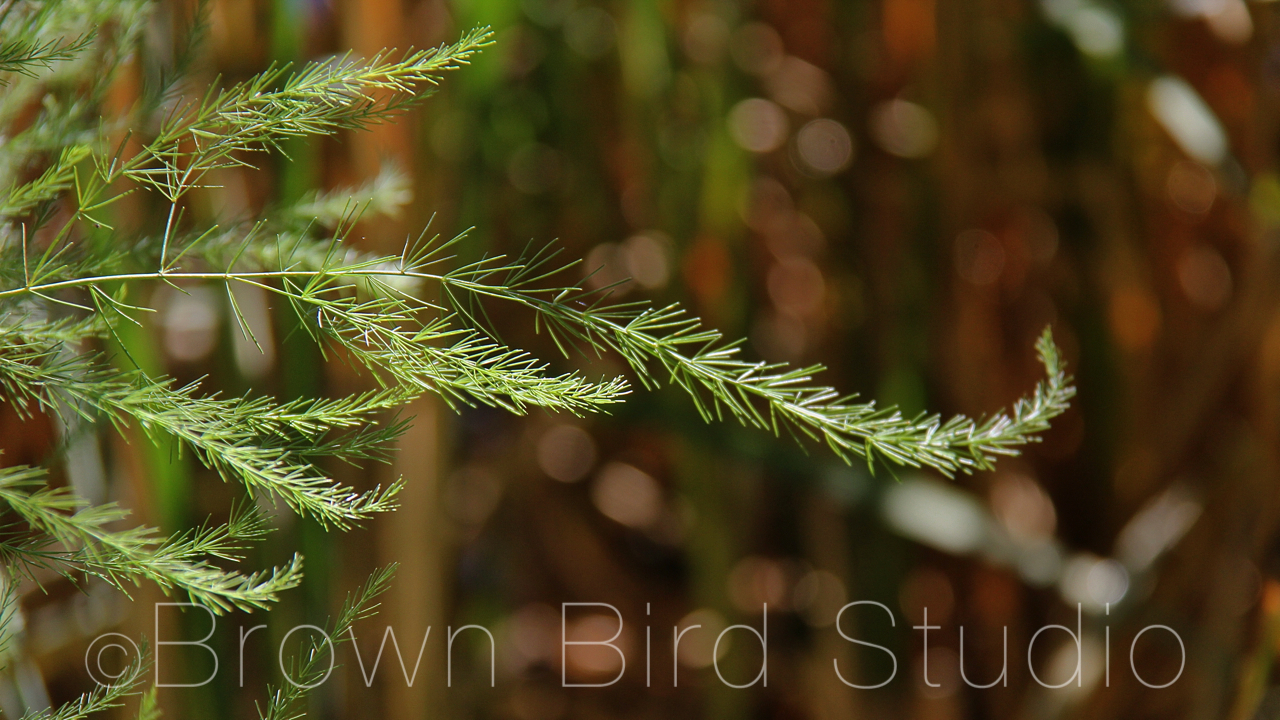
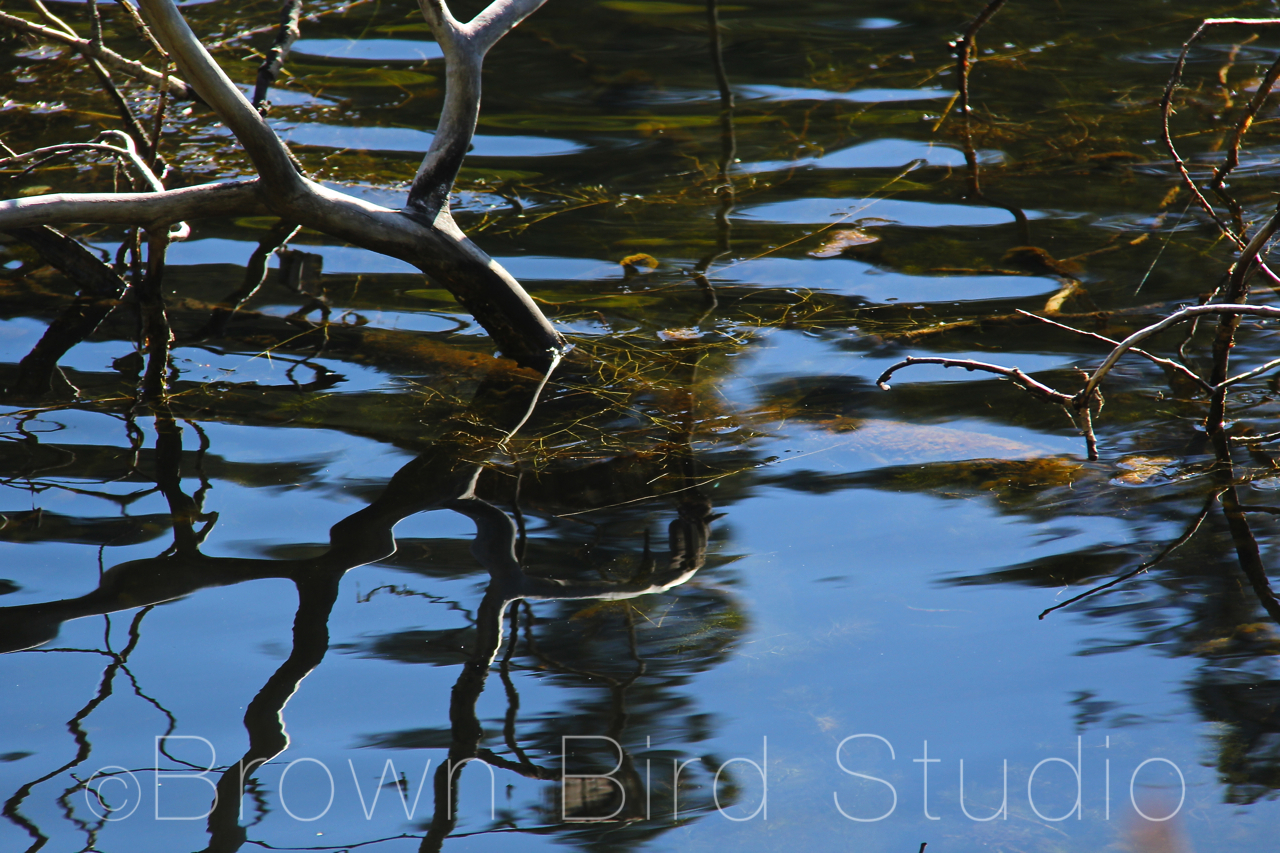
On my photo walk this week I found myself in such glorious beauty that at times it felt transcendent. It was my birthday today. Charlie and I spent a couple of hours at Cox Lake and on the ridgeline above the lake. Trying to take in the beauty. Trying to take in the light — the incredible crisp, clear, morning light just five minutes from our house.
I could not make myself post just one photo today. Though these are not my best photos ever, still I love the quality of light in these images. So, here are a few, for your viewing pleasure. I hope these images lift your heart as the place did mine.
Have you ever stayed indoors because it’s just too uncomfortable to go outside? Sometimes we all do that: hide from the elements — wind, rain, heat, snow, ice, sun. When I choose to stay inside and not head out into nature, I often regret it later. Yesterday was one of those days. I seriously thought about not going out in the rain, but Charlie needed his walk and I needed my nature-fix. So, I bundled up, put on a hat, grabbed the umbrella and my camera and took off with my favorite walking buddy.
Rain. Have you ever noticed when it’s raining, that in spite of overcast skies and gray air, the rain has an amazing effect on the colors all around you? I decided to turn our soggy outing into a hunt for awesome colors. This time of year in Montana, the colors of the land appear to fade but they don’t, really. Prairie grasses morph to tan, gray, brown. Wildflowers seed. Yes, aspens, larch and other trees will soon put on a color show, and the ground shrubs are still colorful, but mostly, when our eyes look out at the prairie, our brains see “gray/tan.”
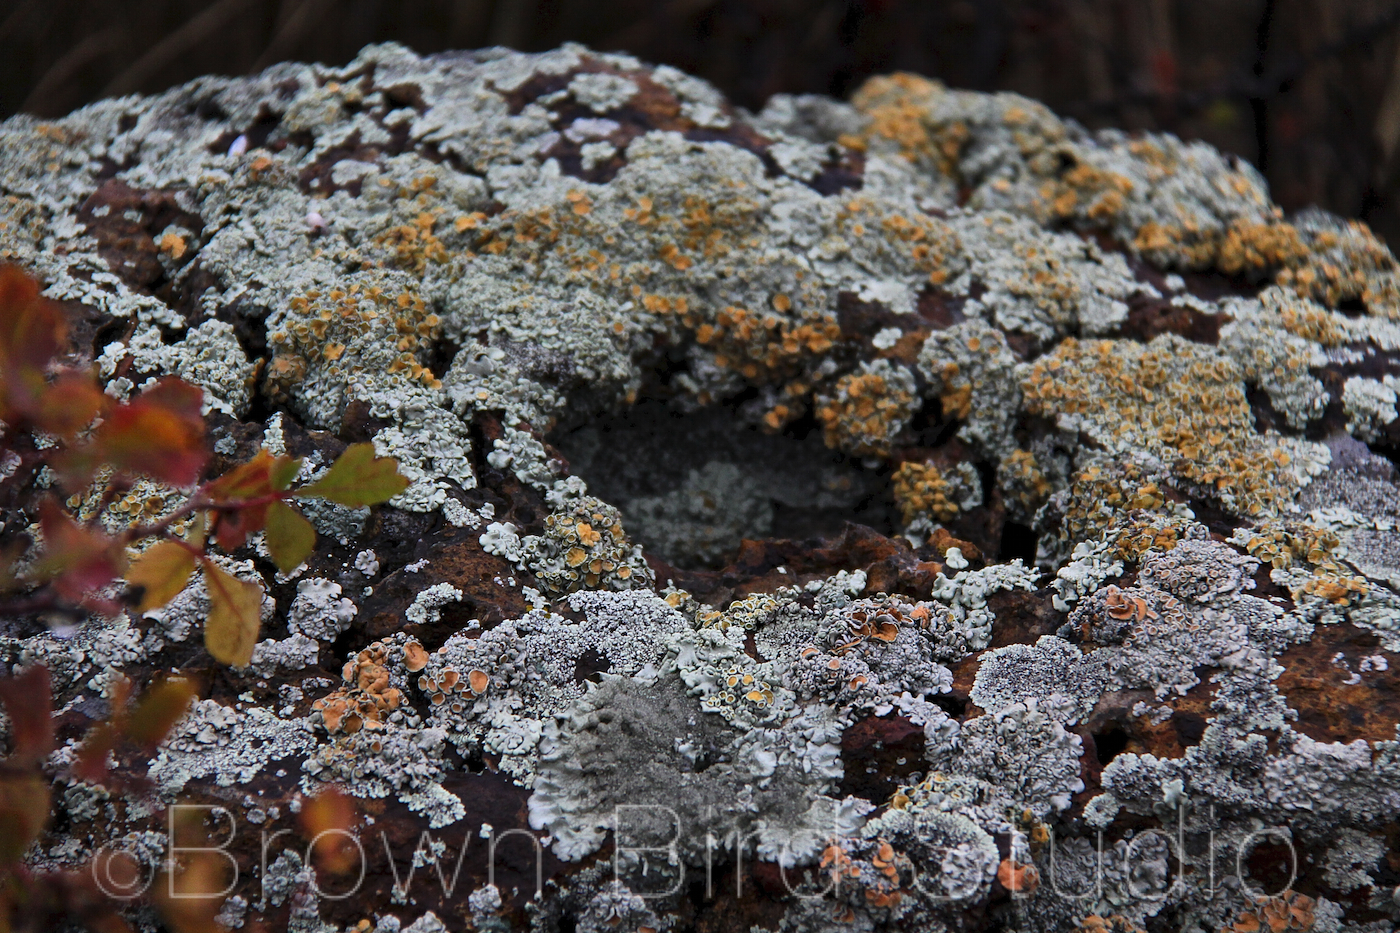
But. When the rain comes, all you have to do is look a little closer and you’ll see a tapestry of brilliant colors. Here’s one, above — a community of lichens.
Click the photo to see it large — you’ll see the colors better. It’s like getting down on the ground up close to your subject. 🙂
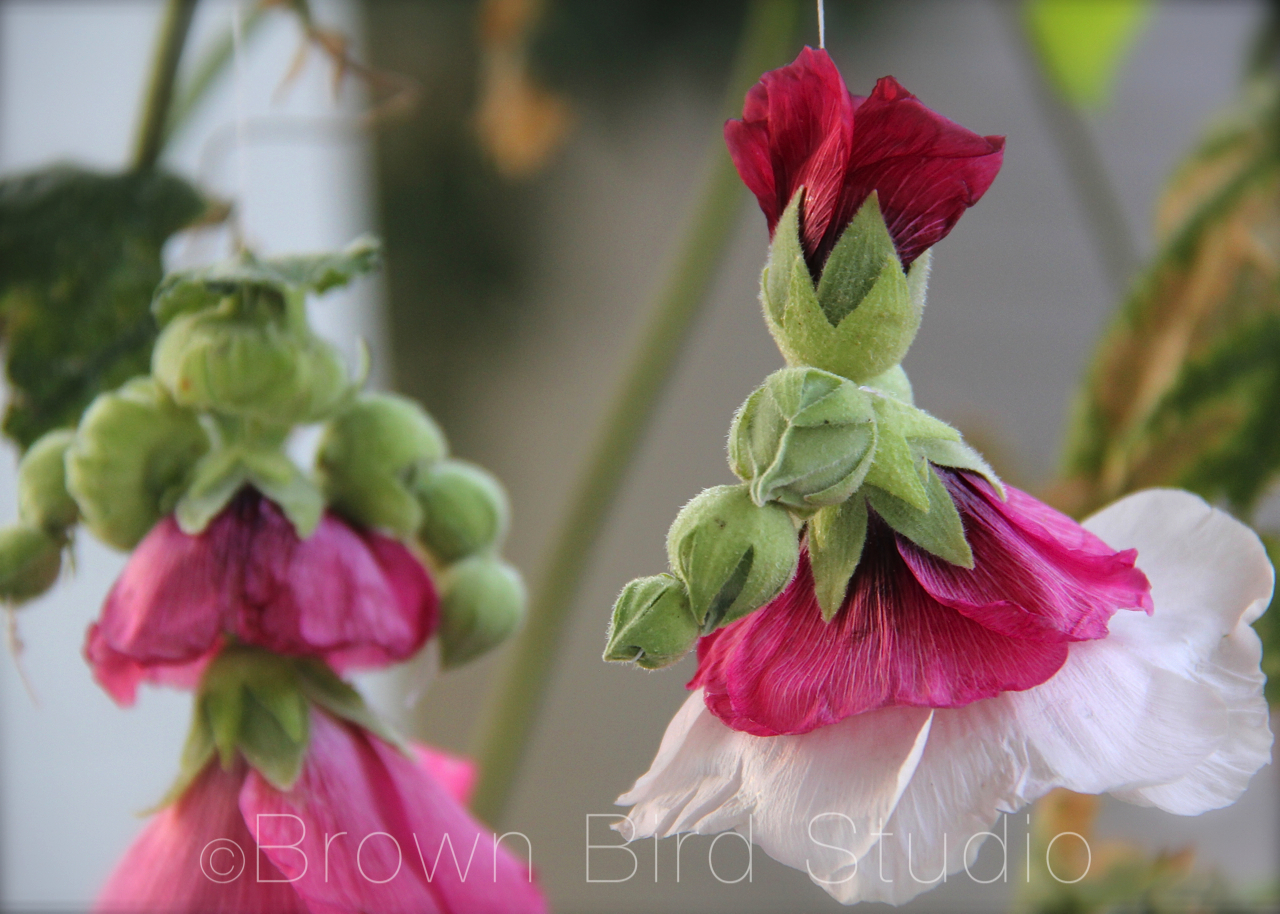
I remember making these dolls from hollyhock blossoms in late summer. They only last for a few hours, even less if you play with them. But they’re fun to make, and really do have lots of personality. Now is hollyhock time in Montana. Do you have hollyhocks where you live? If you do, then you’re in luck. Go find a few, get out a needle and thread and go for it.
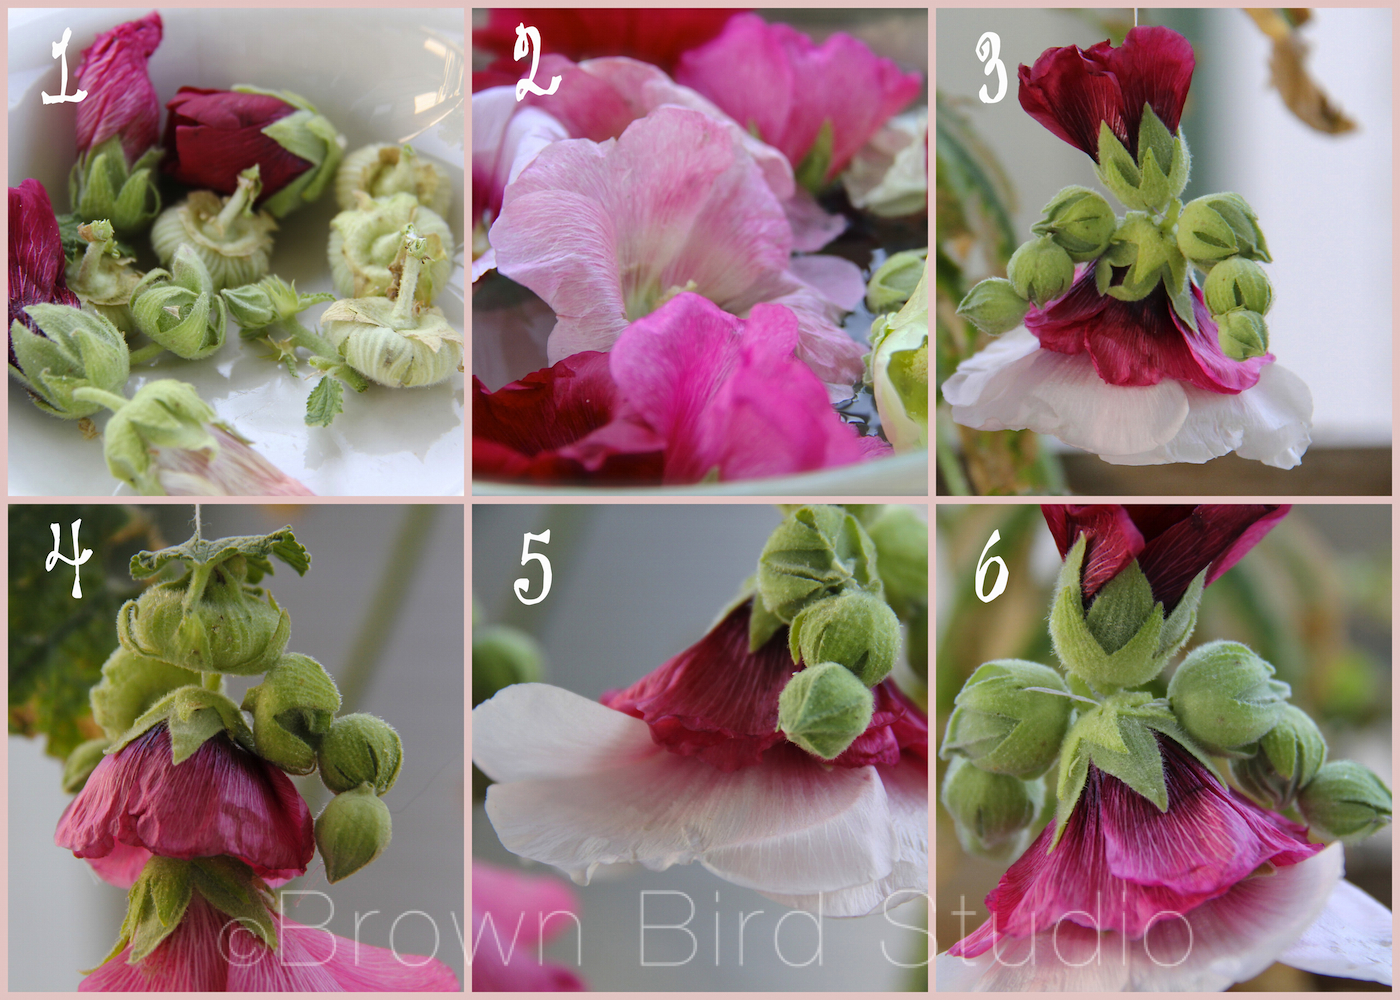
Pick some hollyhock blossoms. Remember to get different sizes of buds, and a few leaves (for hats.) Sort the buds by size, making sure you have at least 3 buds for each arm.
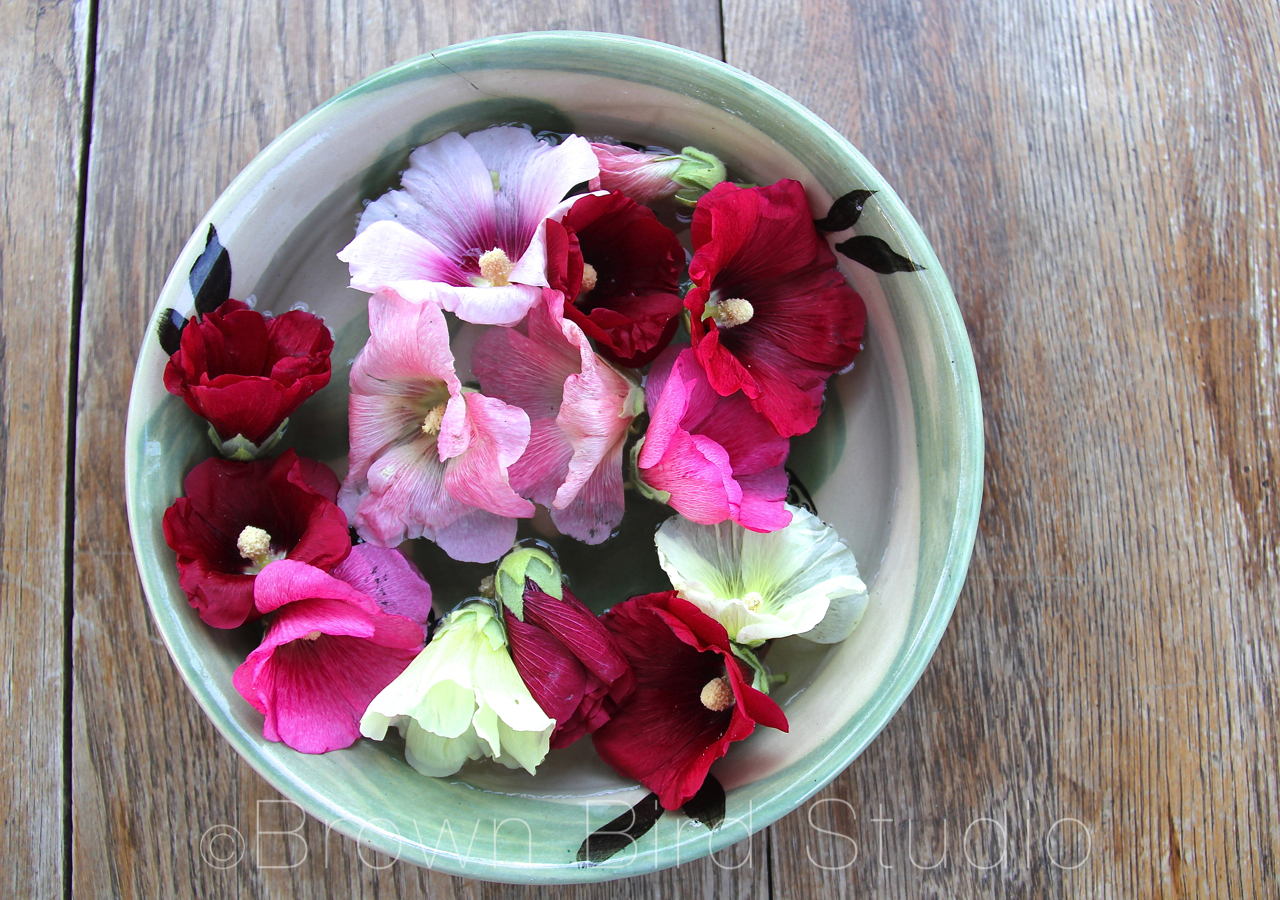
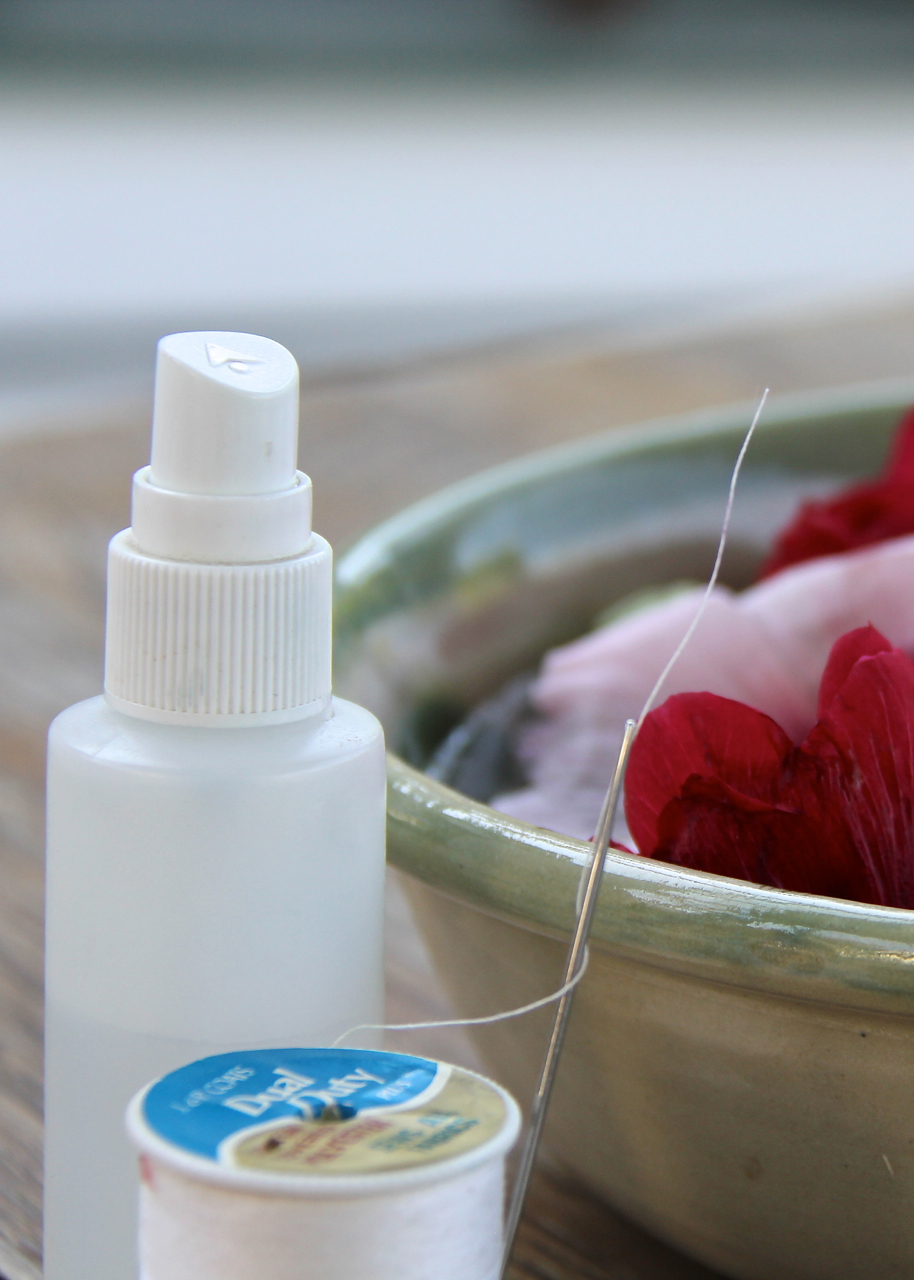
Keep blossoms fresh while you work, by placing them in a bowl of water. You can also mist them with water using a sprayer.
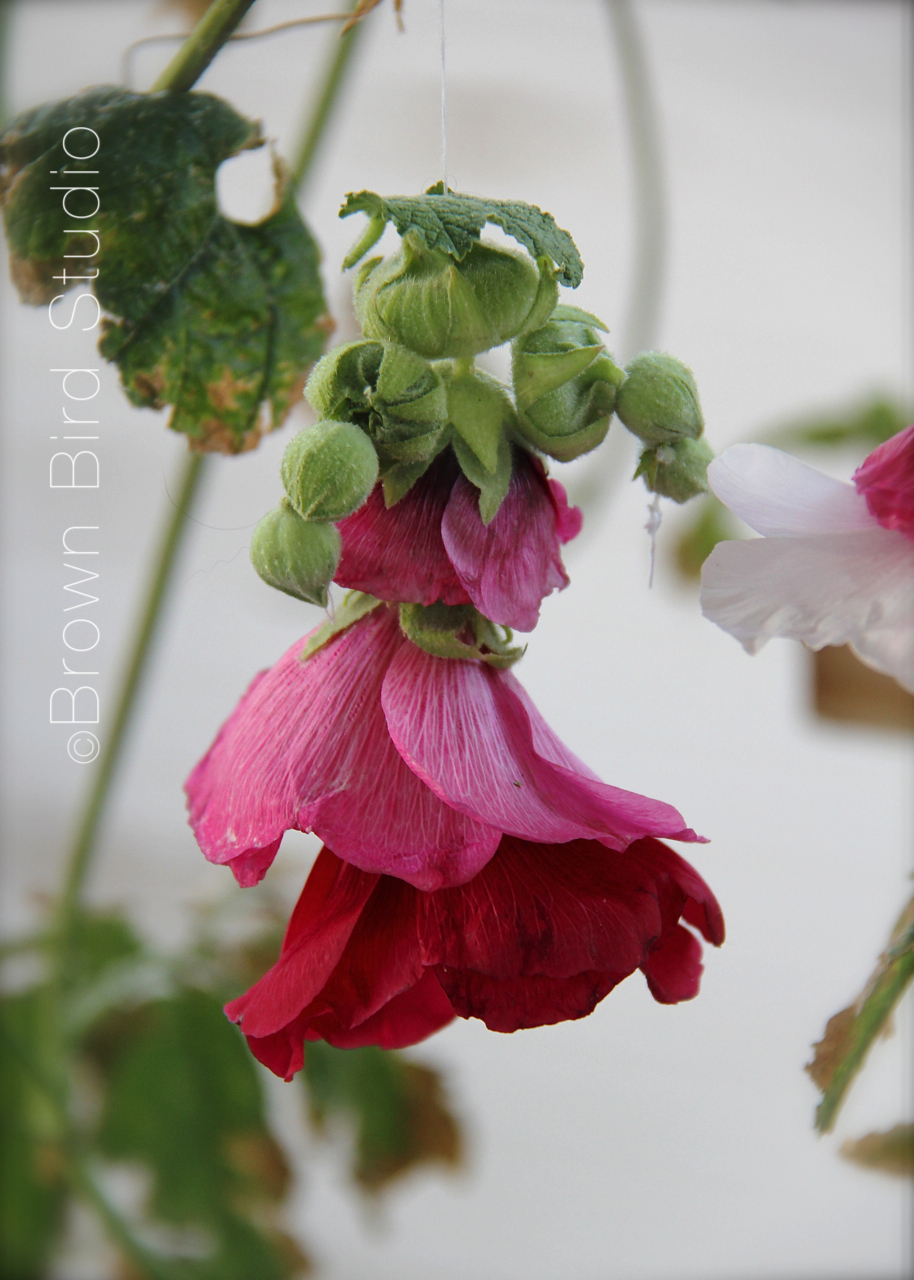
Remove the large, fuzzy stamen that sticks out of the center of each flower. Using a large needle and thread, stitch up through two or three large flowers, layering them to look like a skirt. You can make multi-color skirts with different colored flowers. Next make the head — you can use either a small blossom that hasn’t fully opened yet, or a large bud. Stitch from the bottom of the head through to the top.
You can add a leaf on top of the head for a hat.
Use 3 buds for each arm, a small, medium and large. I like to start at one hand, thread 3 buds together, then pierce the shoulder with the needle, and continue on the other side with 3 more buds for the opposite arm. (see photo 6)
Your hollyhock doll will have personality and facial expressions if you use your imagination with her.
You can add legs if you want but I kinda like them without legs. The big skirts make the dolls look like Southern Belles at a Ball, or Ballerinas Dancing Across the Stage. If you want legs, do them the same as the arms.
Another way to make hollyhock dolls is to use long, stiff pine needles, or toothpicks instead of needle and thread. Using the thread allows the arms, legs, neck and waist of the doll to move and jiggle, and if you hang her she will dance in the breeze. Using pine needles or toothpicks gives you a stiffer doll that can be played with more easily. Here is a link to making hollyhock dolls with toothpicks.
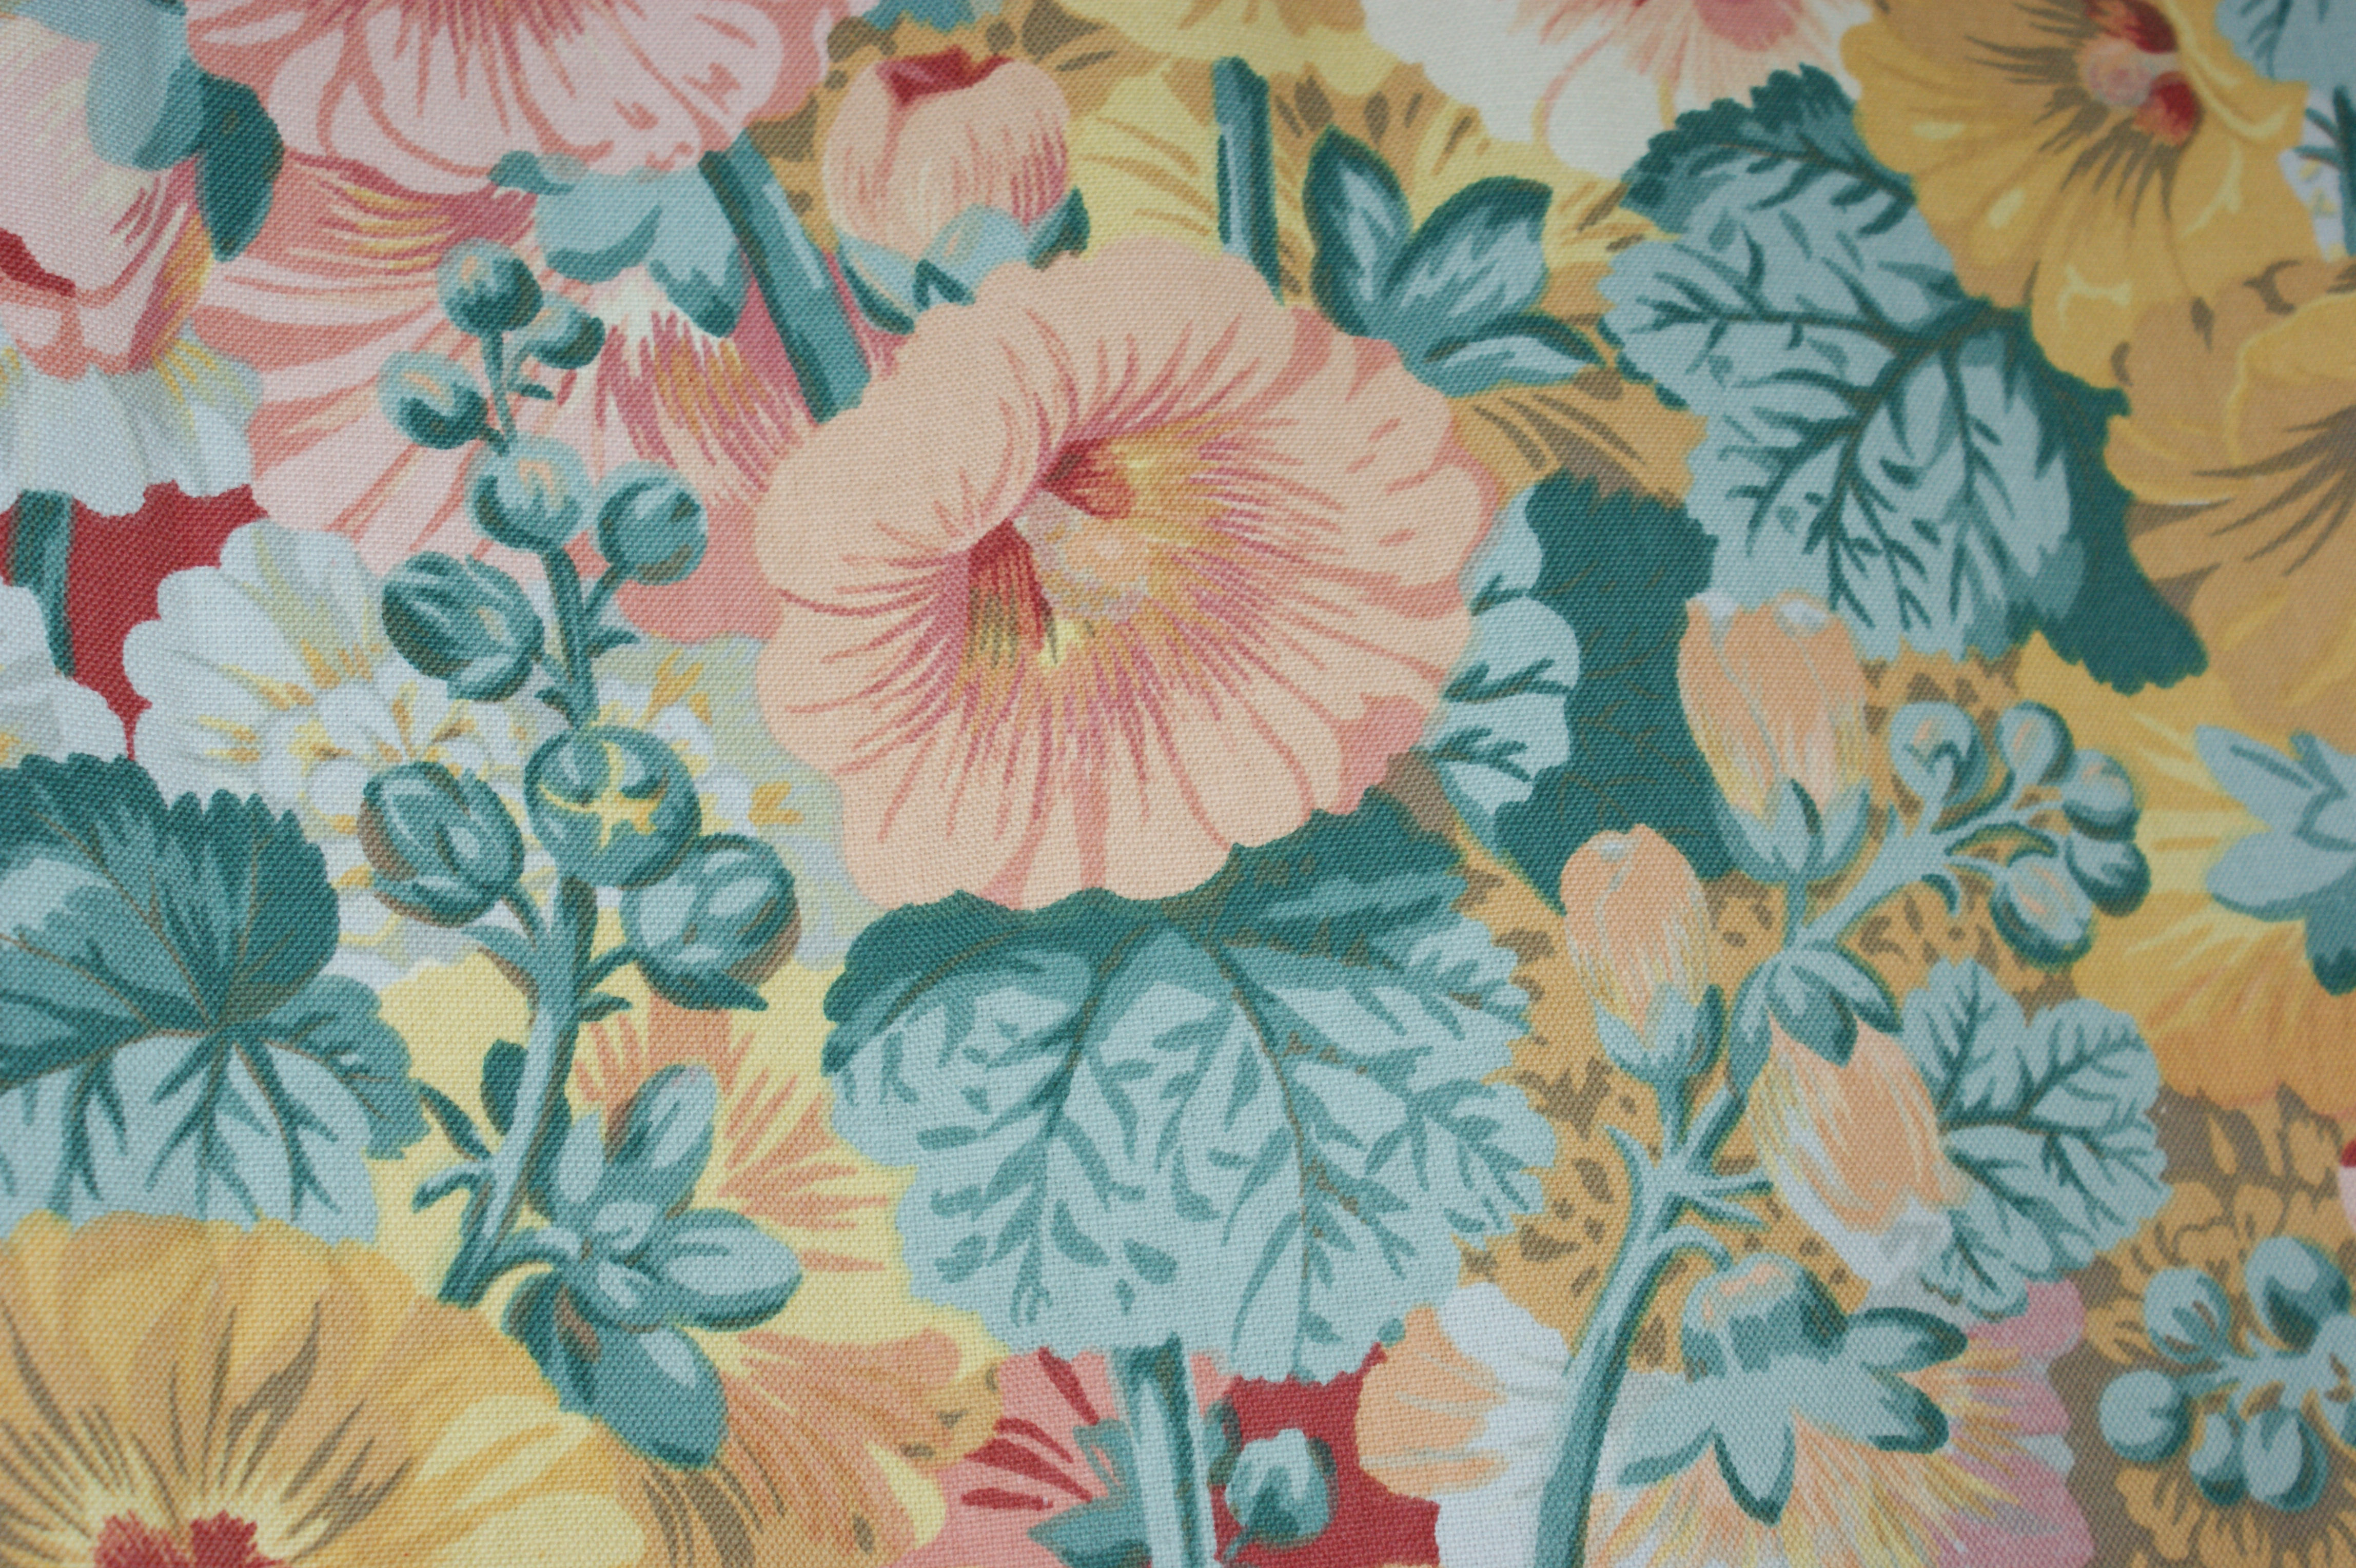
a lovely vintage textile print with hollyhocks
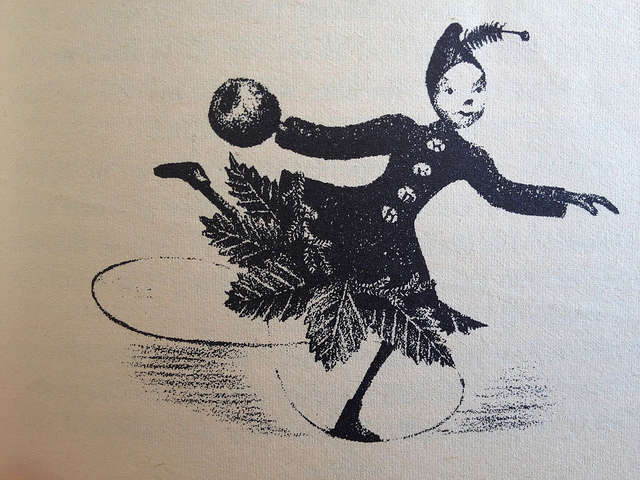
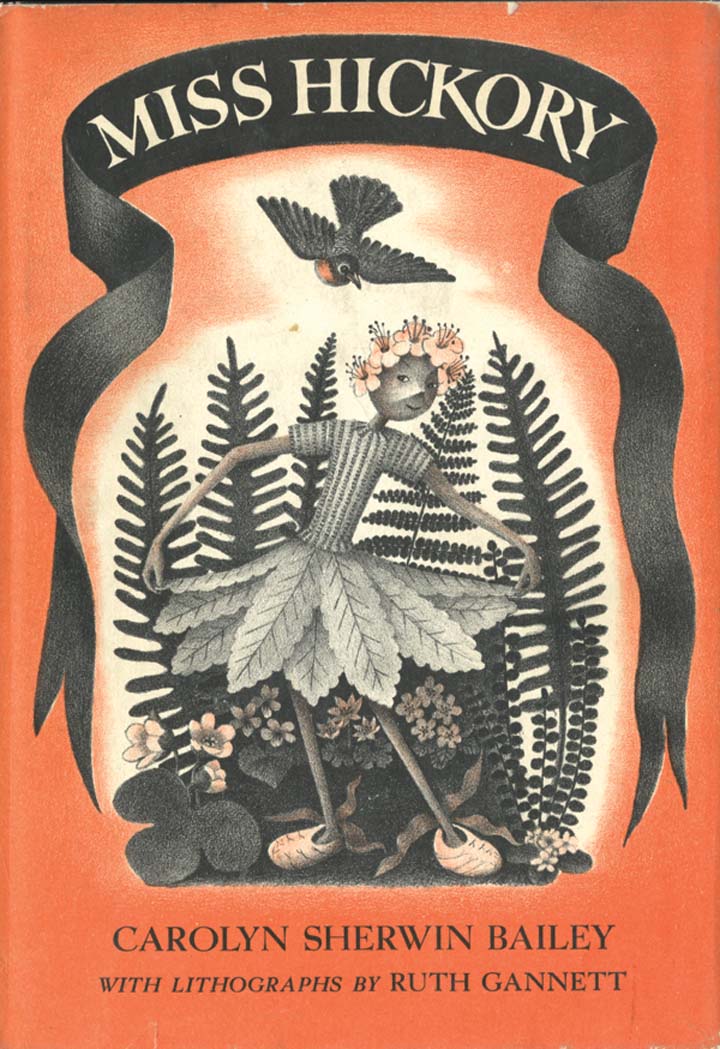
Miss Hickory is a children’s book that dates back to 1948. It is about a tiny doll made of apple twigs with a hickory nut head, so is a little similar to our hollyhock dolls, only longer lasting. The story follows her adventures through the four seasons. And eventually, the story ends with the little doll asleep on a branch of an apple tree and in the spring the apple tree blossoms all around her. Below are a couple of illustrations from the book and a link to a tutorial on how to make a Miss Hickory doll.
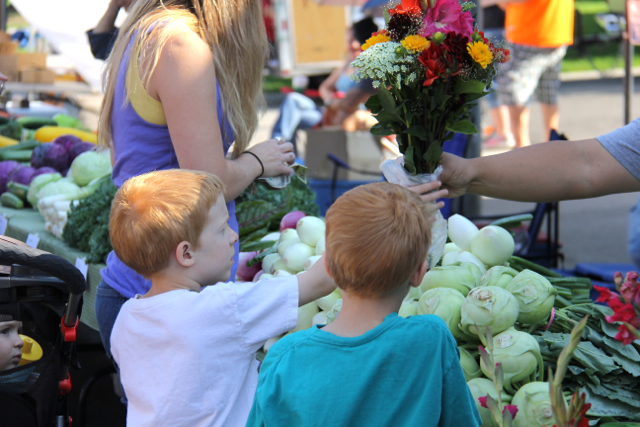
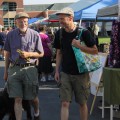
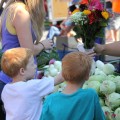
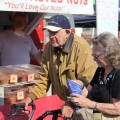
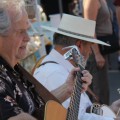
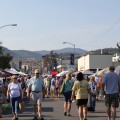
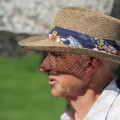
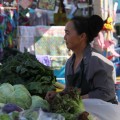
The Helena Farmers Market is a hoppin’ place in August when the harvest is rich and our days are warm. People bring their shopping bags and market baskets, their strollers and dogs, and their dollar bills to give to our entertaining street musicians. Today was a special market day because the Lake Helena Watershed Festival was also going on at Women’s Park adjacent to the market, lending an extra excitement. (There was a bounce house, live music, face painting, science learning activities for all ages, wetlands & xeriscape booths, and an ice cream aquifer)
Here is a gallery of shots I took this morning. Hope you find it almost as entertaining as being there.
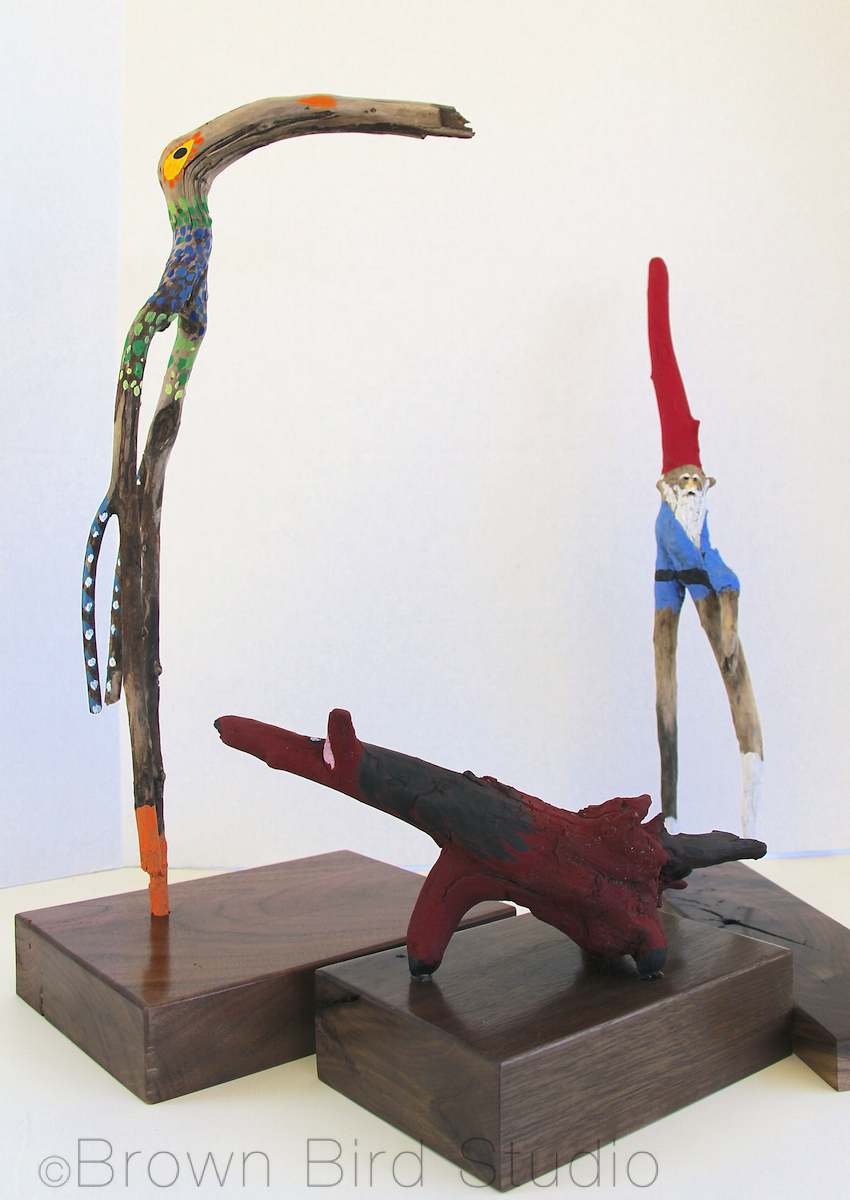
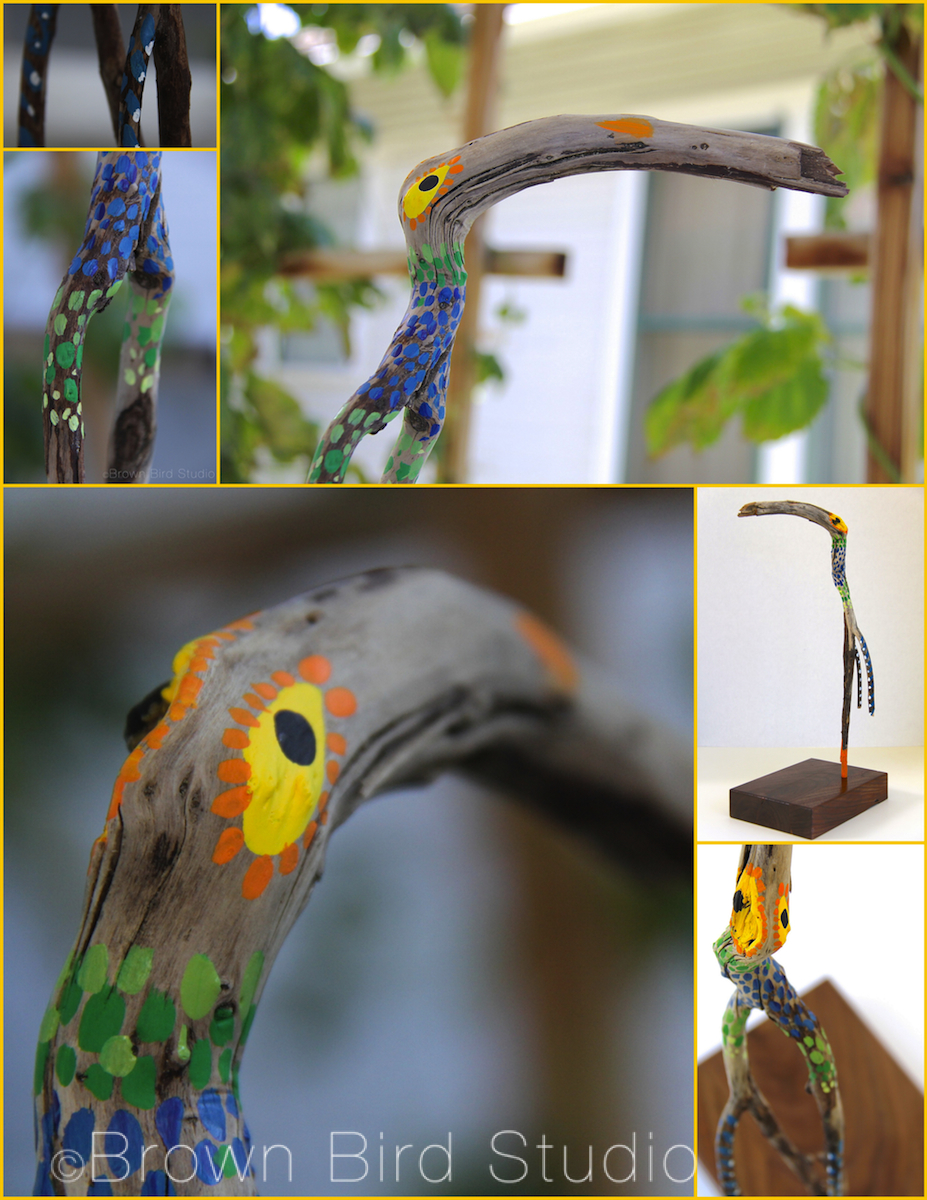
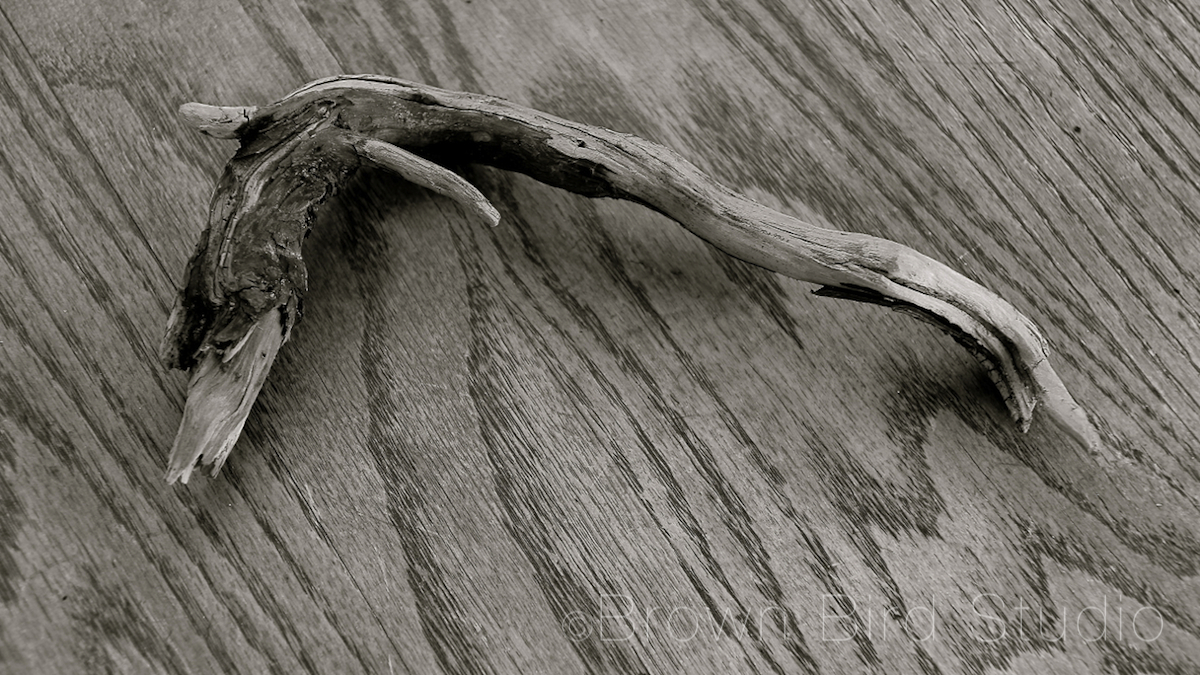
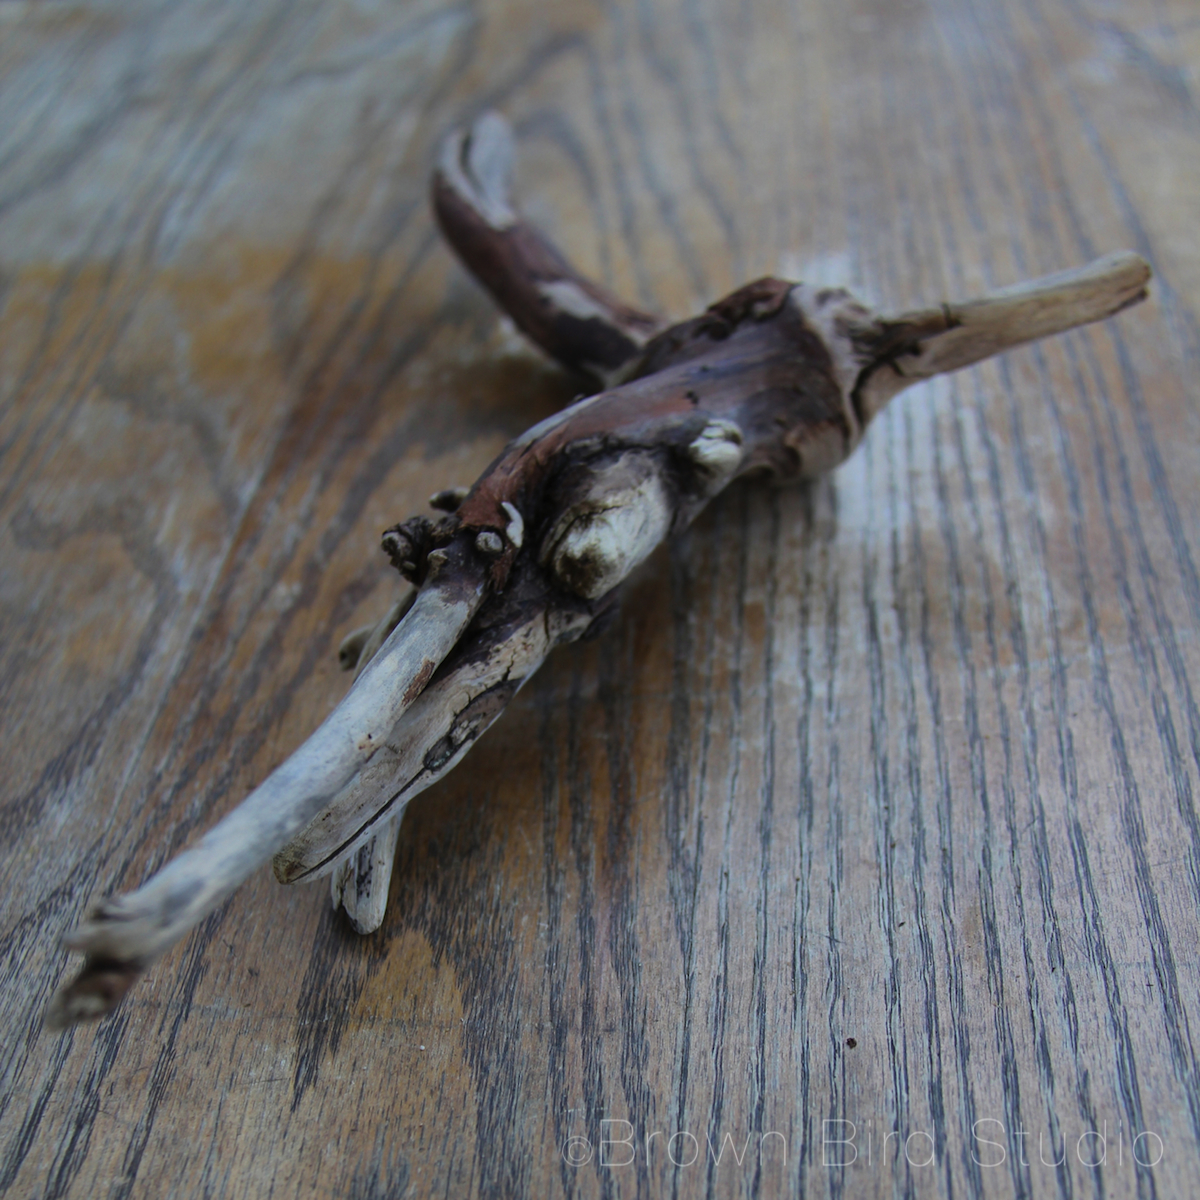
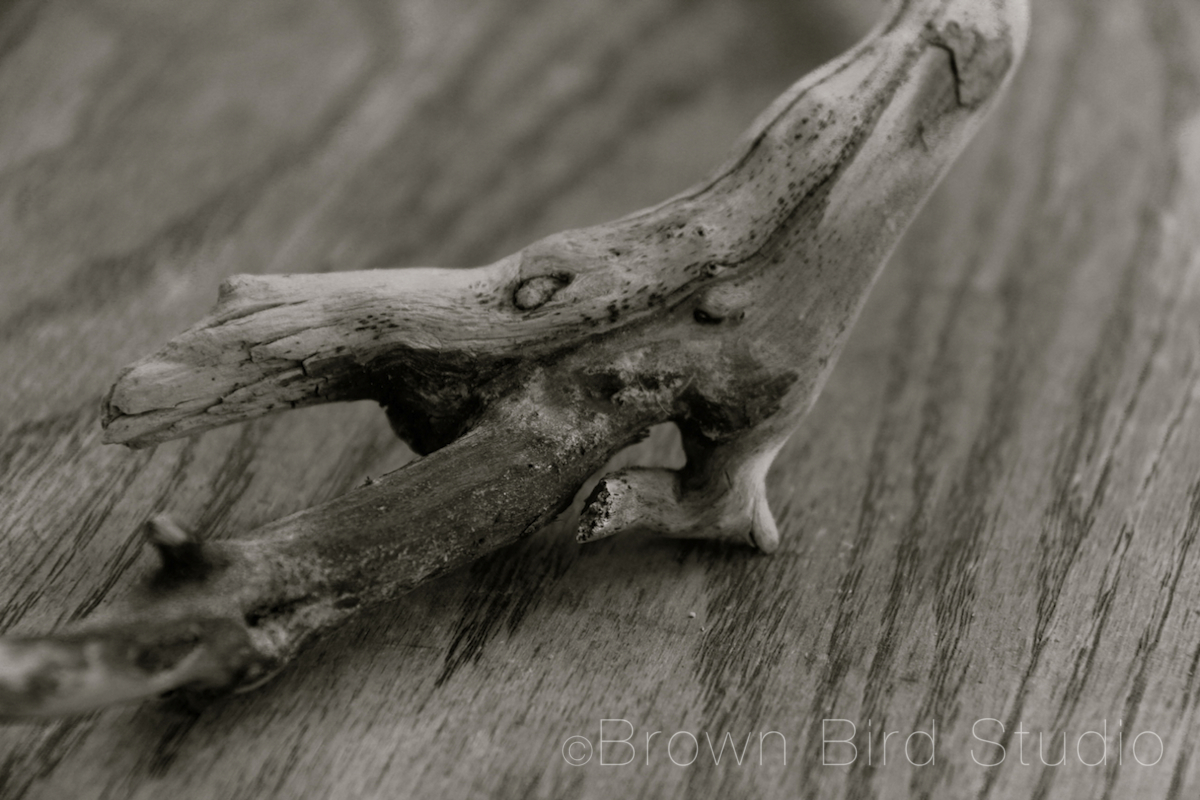
Ema, Adia and I made some really cool creatures using roots we found on the lakeshore. We picked them up because we thought each of these looked at least vaguely critter-like. Today we painted several of the roots to try to bring out the little features in the wood that looked like something or another. How do you like them now?
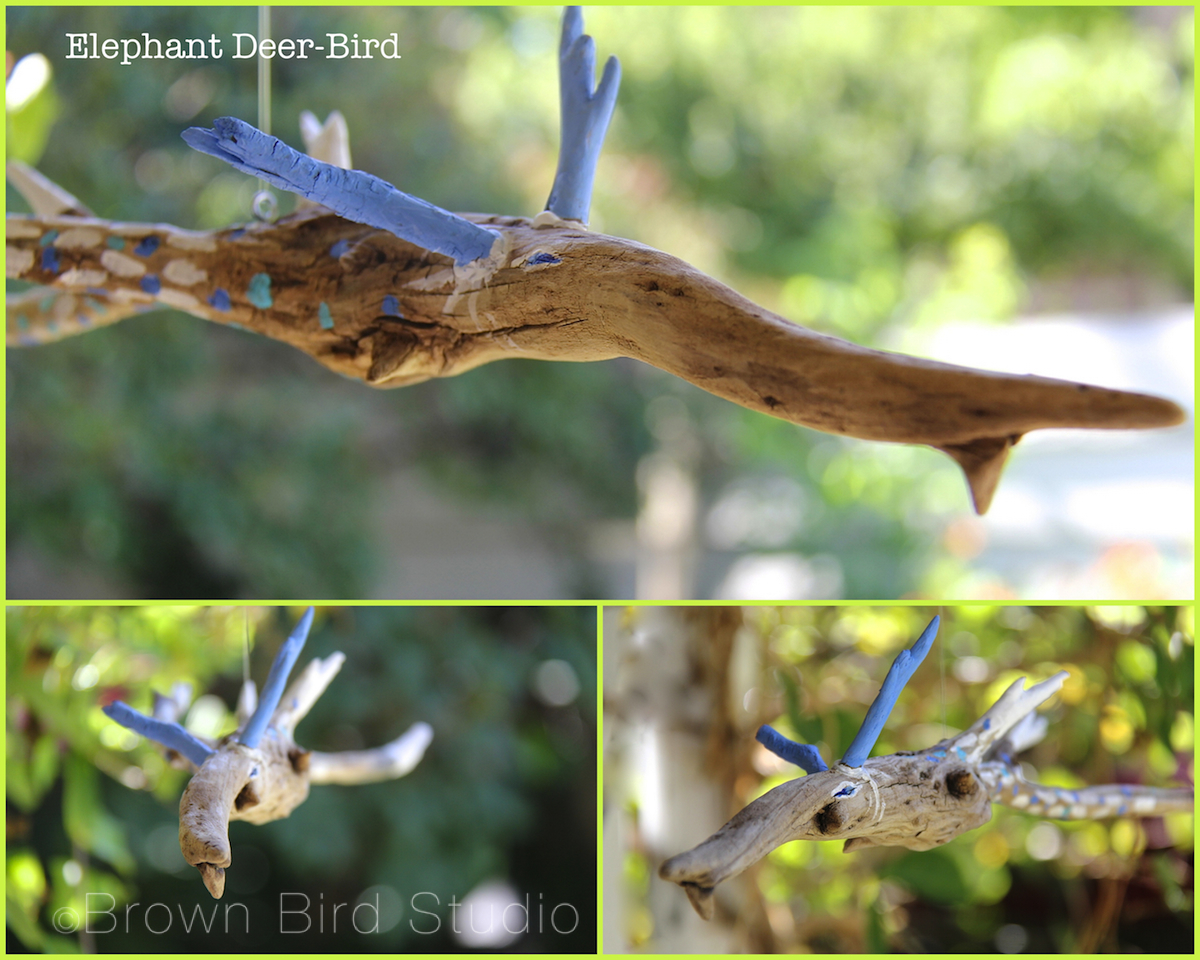
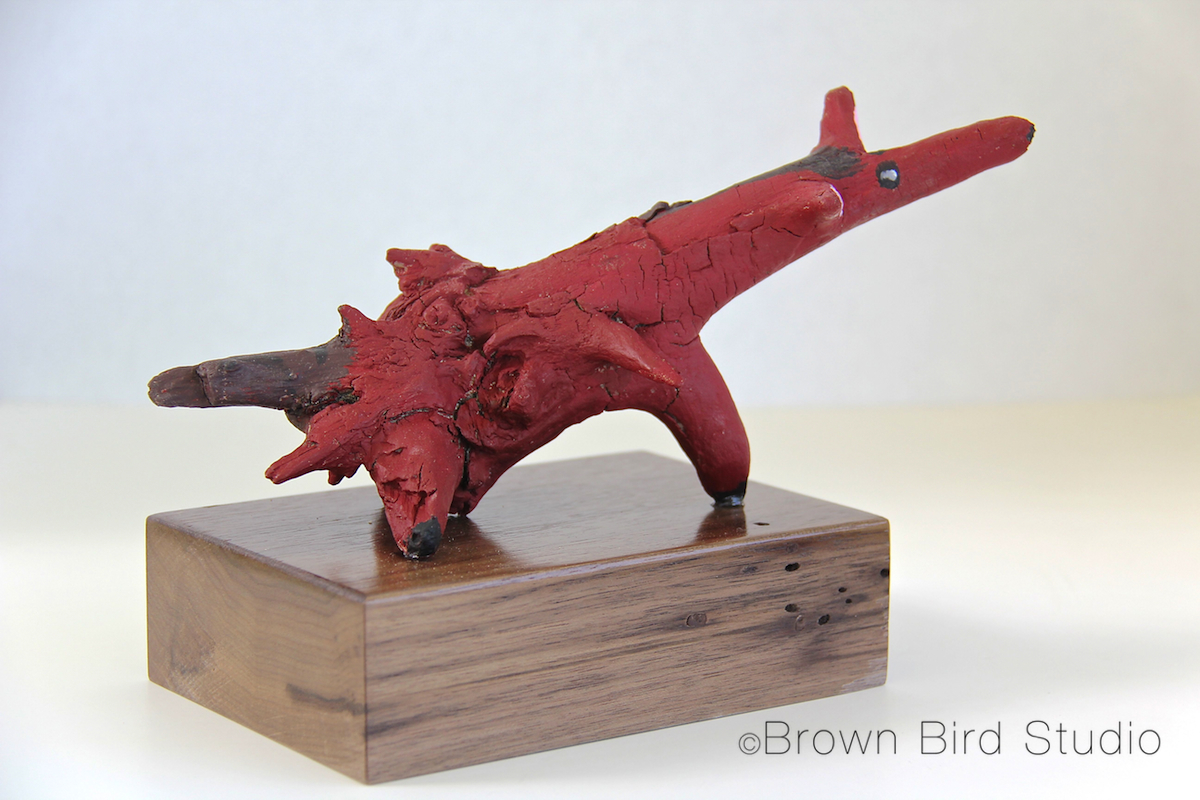
We have a horse, a gnome, an elephant-deer-bird, and another bird — a long-legged crane.
The following tutorial was written by Ema and Adia:
Have you ever wanted to make an imaginary creatures? Well here’s how. All you need is a few sticks and some paint. You can make whatever you can imagine when you look at the sticks.
You will need:
sticks, driftwood or roots
hot glue*
acrylic paint**
brushes
something to use for bases for the creatures that will stand up*** …. or
tiny eye hooks and some monofilament for creatures that will fly (hang)
I got a funky root and I kept turning it and turning it and looking at it from different angles and then I saw that it looked like a horse. So I painted it to look like a red roan horse, specifically my favorite horse, Rosebud, who lives at my Grandma’s house in Anaconda. I glued mine onto the base instead of drilling a hole because it stands up by itself. — Ema, age 10
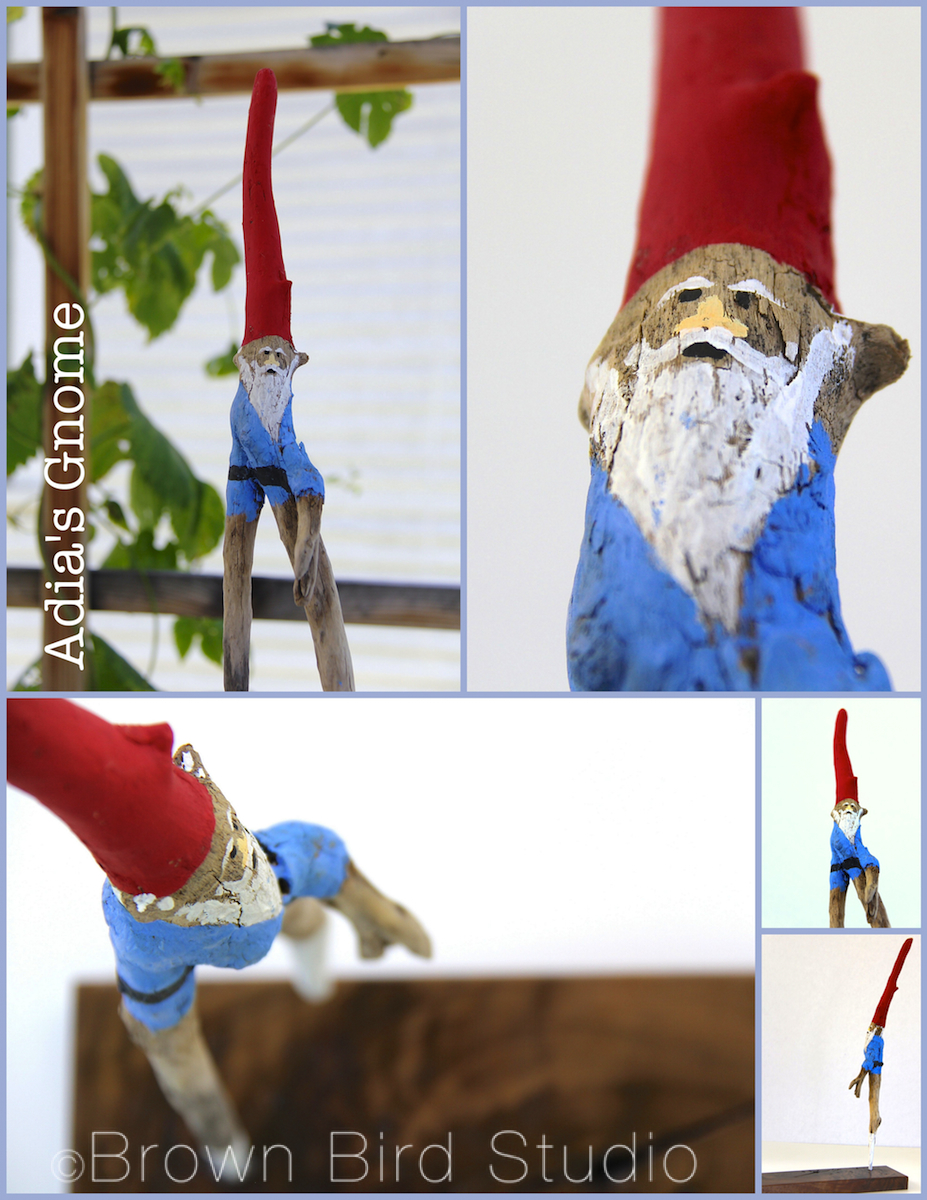
Gnome by Adia, age 8
I made a gnome. A gnome is a little person with a beard. Santa Claus is a gnome. My gnome has a really tall red hat and is walking across the log that is my base. One leg is shorter than the other because he is walking. He also has a really long white beard and tall white boots. I drilled a hole in the base and glued my gnome’s longest leg into the hole. He looks like Santa. — Adia, age 8
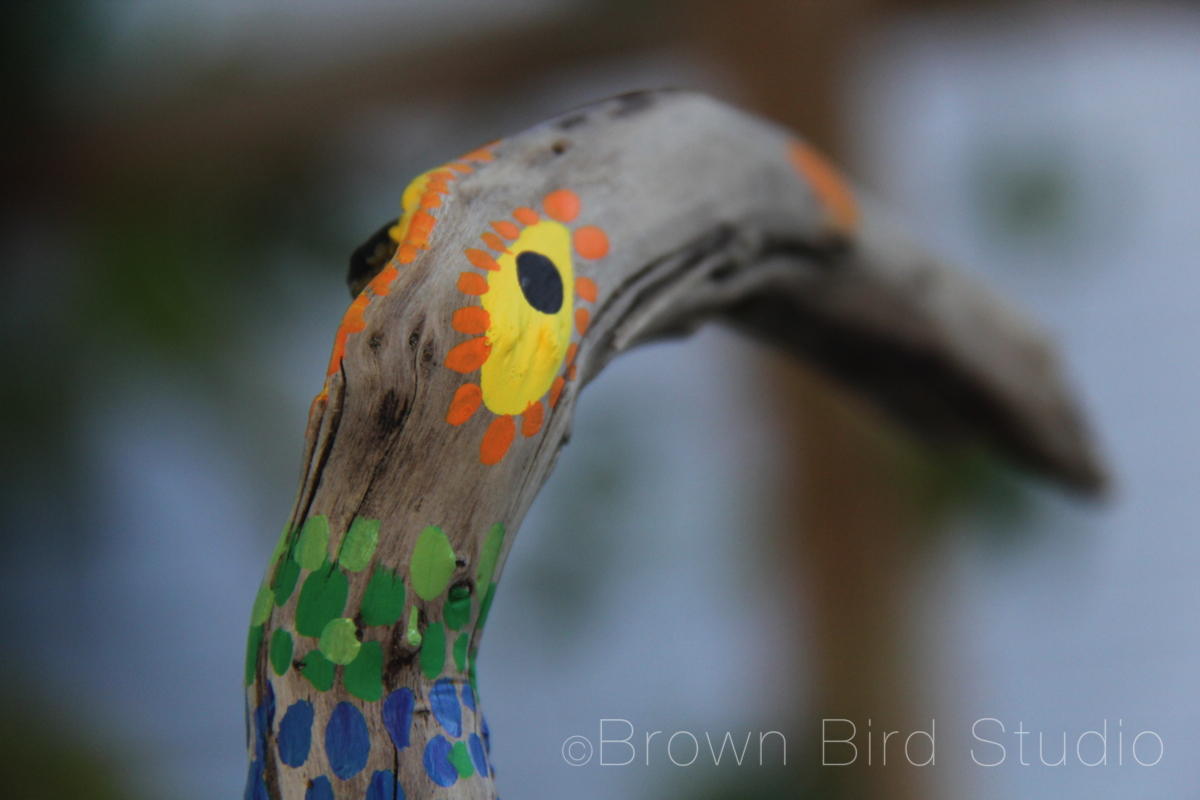
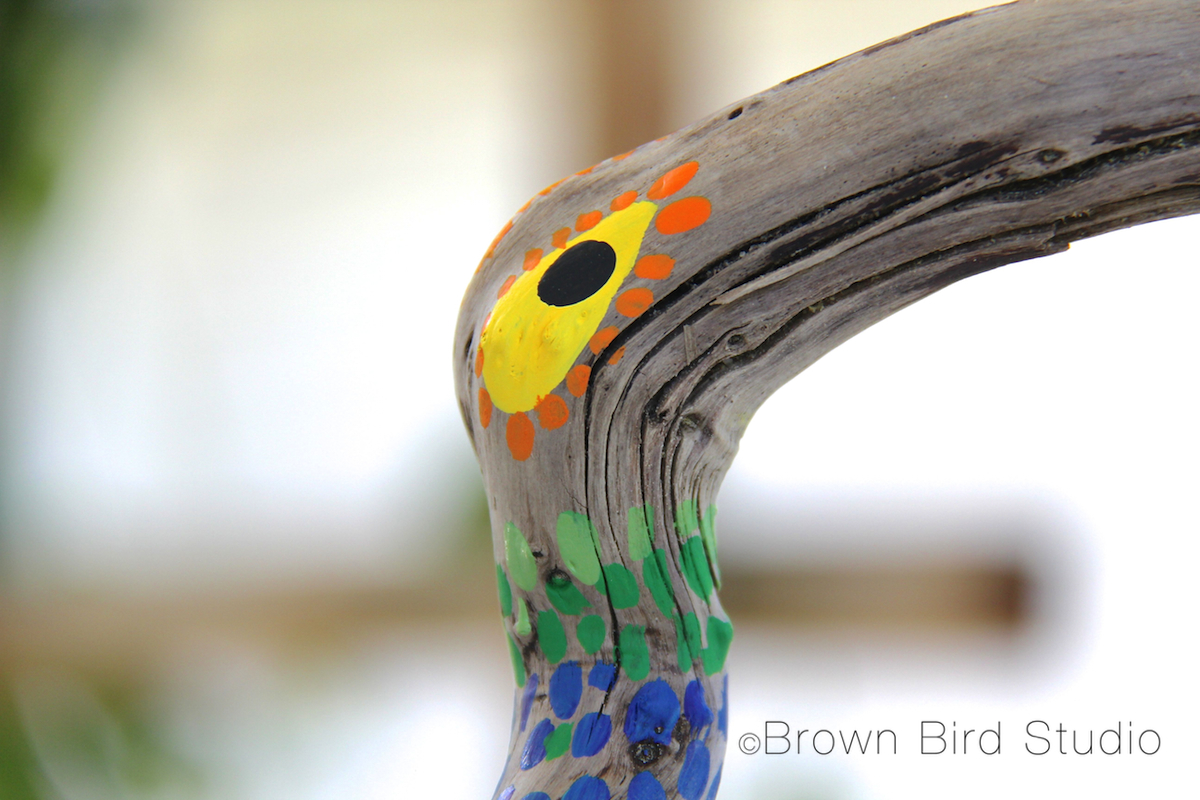
One of my roots looked exactly like a long, curved-bill crane so I made a fantasy bird that I named, an “oo-ooga crane.” This is the sound it makes when it’s happy. It has green and blue feathers with white spots. Also some yellow and orange eyes. I glued one of the crane’s legs into a hole in the walnut base. — Maureen
My other root reminded me of an elephant with wings. It has big long trunk, two skinny wings and a tail. I added little antlers so it’s an elephant-deer-bird. I painted the antlers blue because the Huichol Blue Deer is special to me. This one hangs from the ceiling because it’s flying. I screwed in a tiny eye-hook and hung the bird by a piece of monofilament. — Maureen
NOTES FROM THE TUTORIAL AND SUPPLY LIST:
*We used a little hot glue to attach odds and ends of roots to our creatures.
**For painting the creatures, you don’t have to completely cover the surface of the wood with paint. Leaving some of the natural wood showing looks really cool.
***If you want to make bases, cut some nice wood in a square or rectangle or any shape. Sand it so it’s nice and smooth. Sand the edges to make them roundish so they aren’t sharp. Figure out if you want to drill a hole or just glue on your creature onto the base. We made our bases out of scraps of walnut wood, the trees that grow actual walnuts on them.
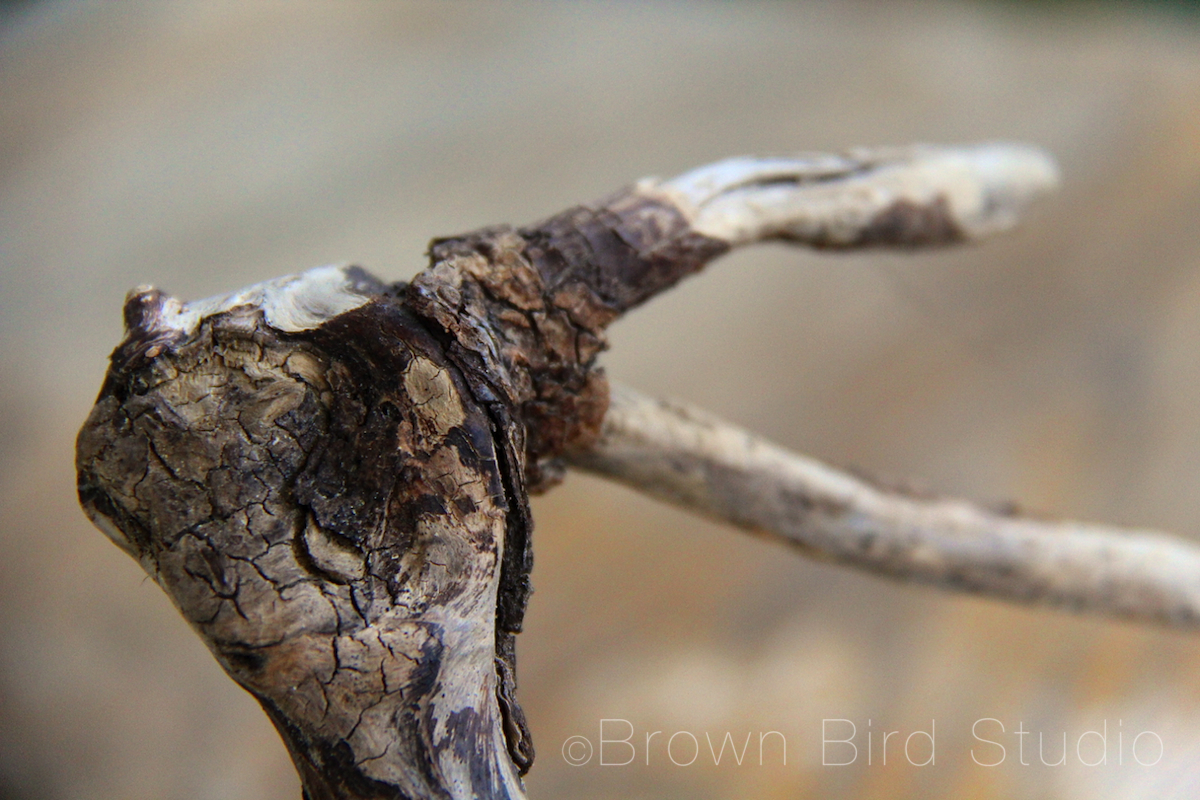
Below, we have a few other roots we haven’t painted yet. We are going to keep making these creatures. One of these roots is going to become a flying dragon with a tail made of smoke and fire coming out of its mouth. What do you see in these? Please let us know in the comments.