So Easy: DIY Marble Magnets


Water :: Earth :: Wind :: Fire
Art and Art Education with the Elements
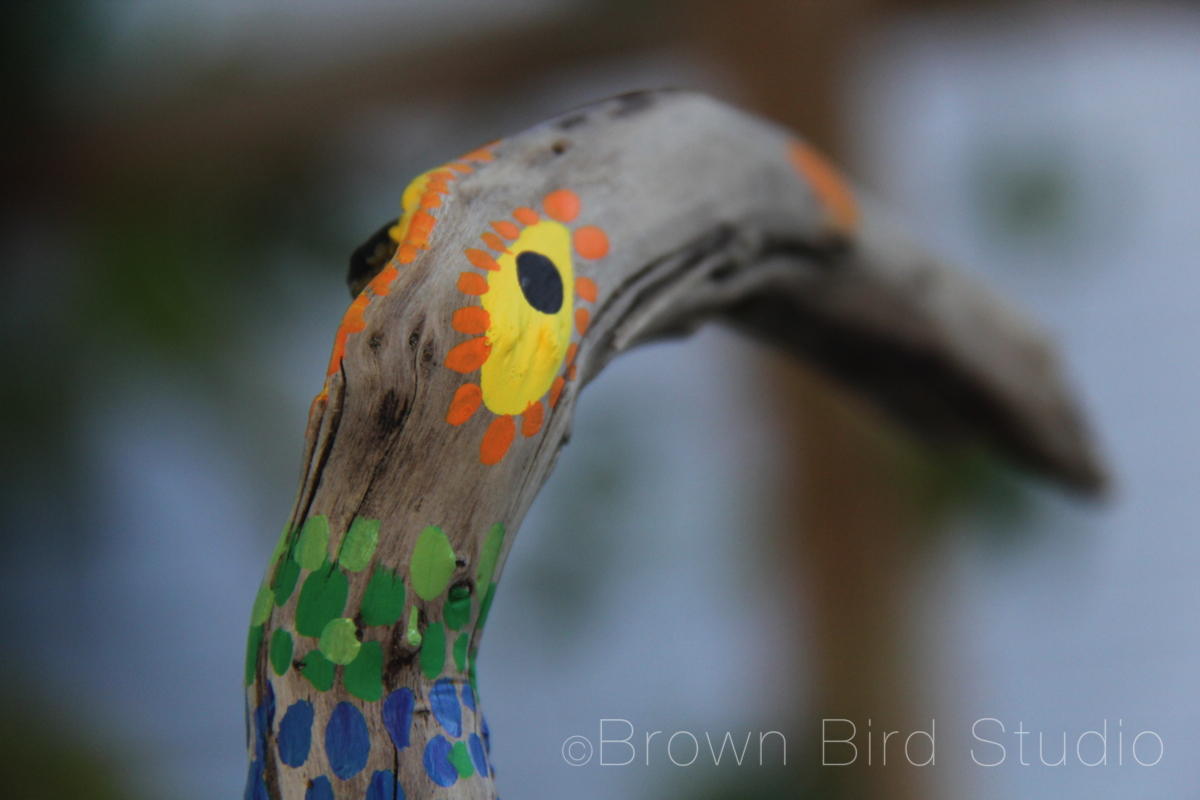
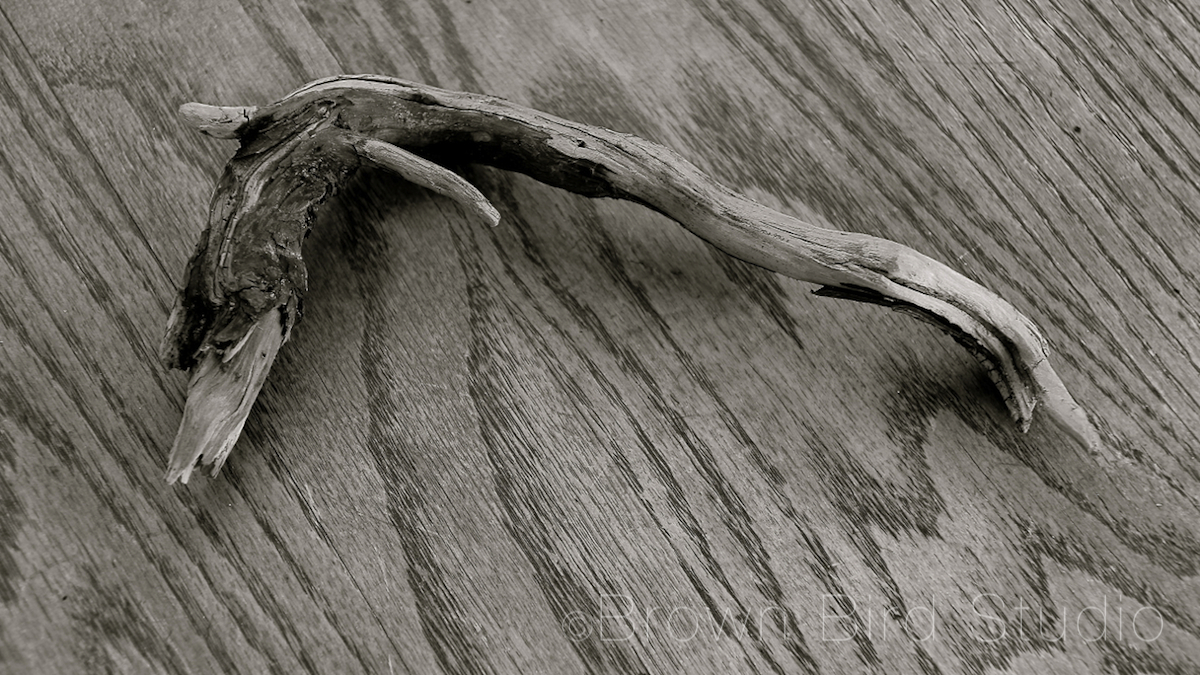
 Ema, Adia and I made some really cool creatures using roots we found on the lakeshore. We picked them up because we thought each of these looked at least vaguely critter-like. Today we painted several of the roots to try to bring out the little features in the wood that looked like something or another. How do you like them now?
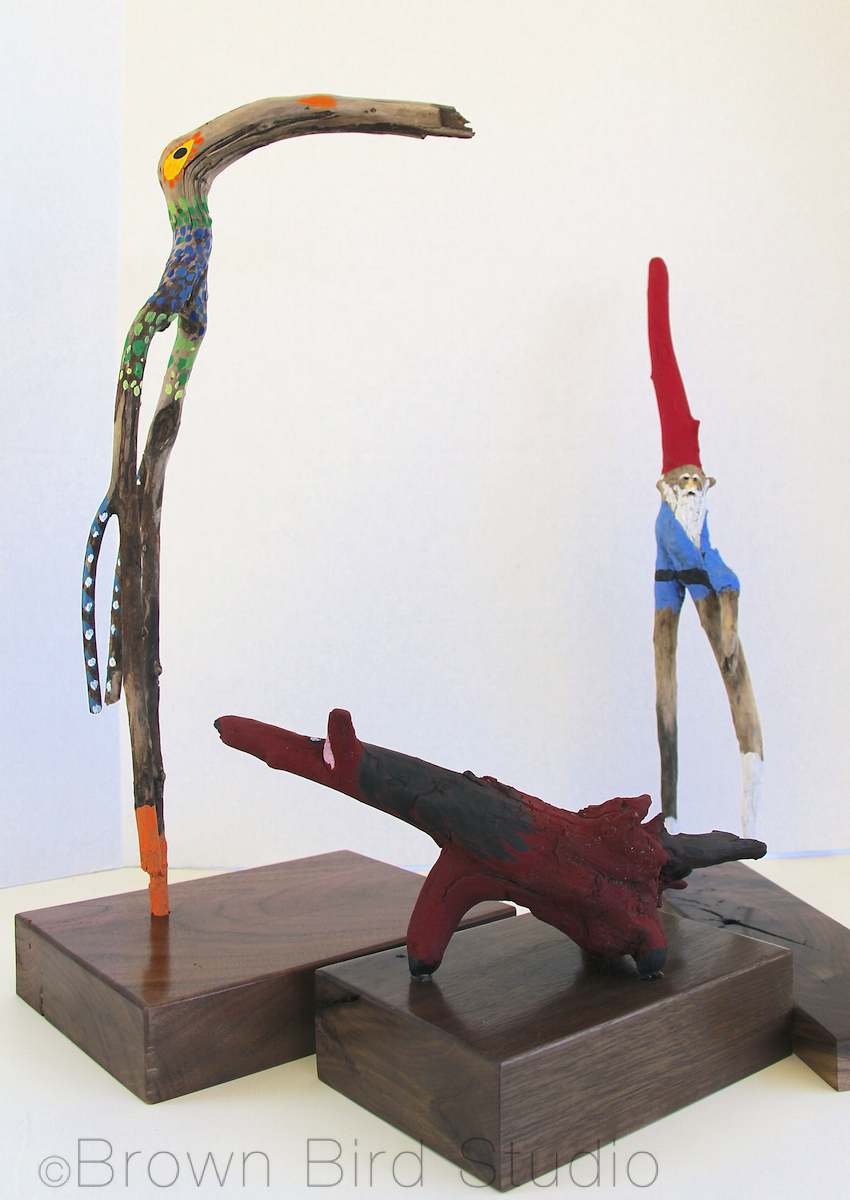 We have a horse, a gnome, an elephant-deer-bird, and another bird — a long-legged crane.
The following tutorial was written by Ema and Adia:
Have you ever wanted to make an imaginary creatures? Well here’s how. All you need is a few sticks and some paint. You can make whatever you can imagine when you look at the sticks.
You will need:

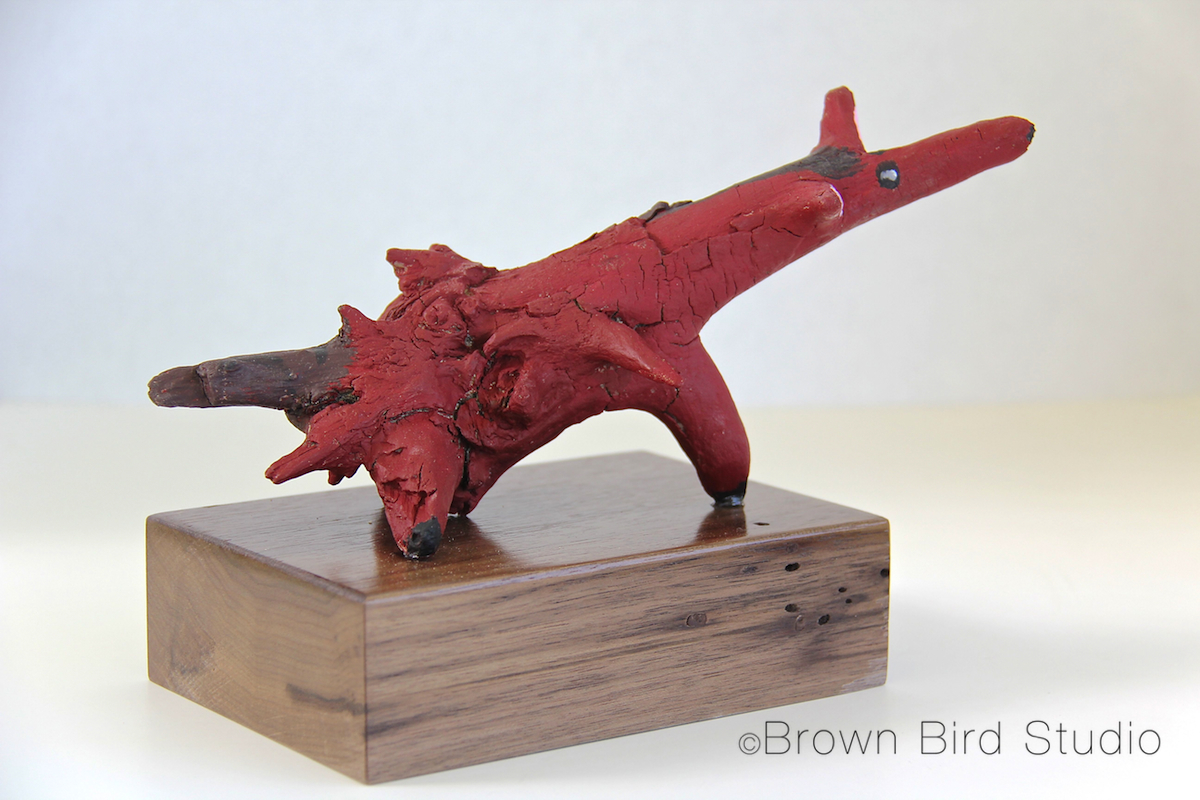
I got a funky root and I kept turning it and turning it and looking at it from different angles and then I saw that it looked like a horse. So I painted it to look like a red roan horse, specifically my favorite horse, Rosebud, who lives at my Grandma’s house in Anaconda. I glued mine onto the base instead of drilling a hole because it stands up by itself. — Ema, age 10
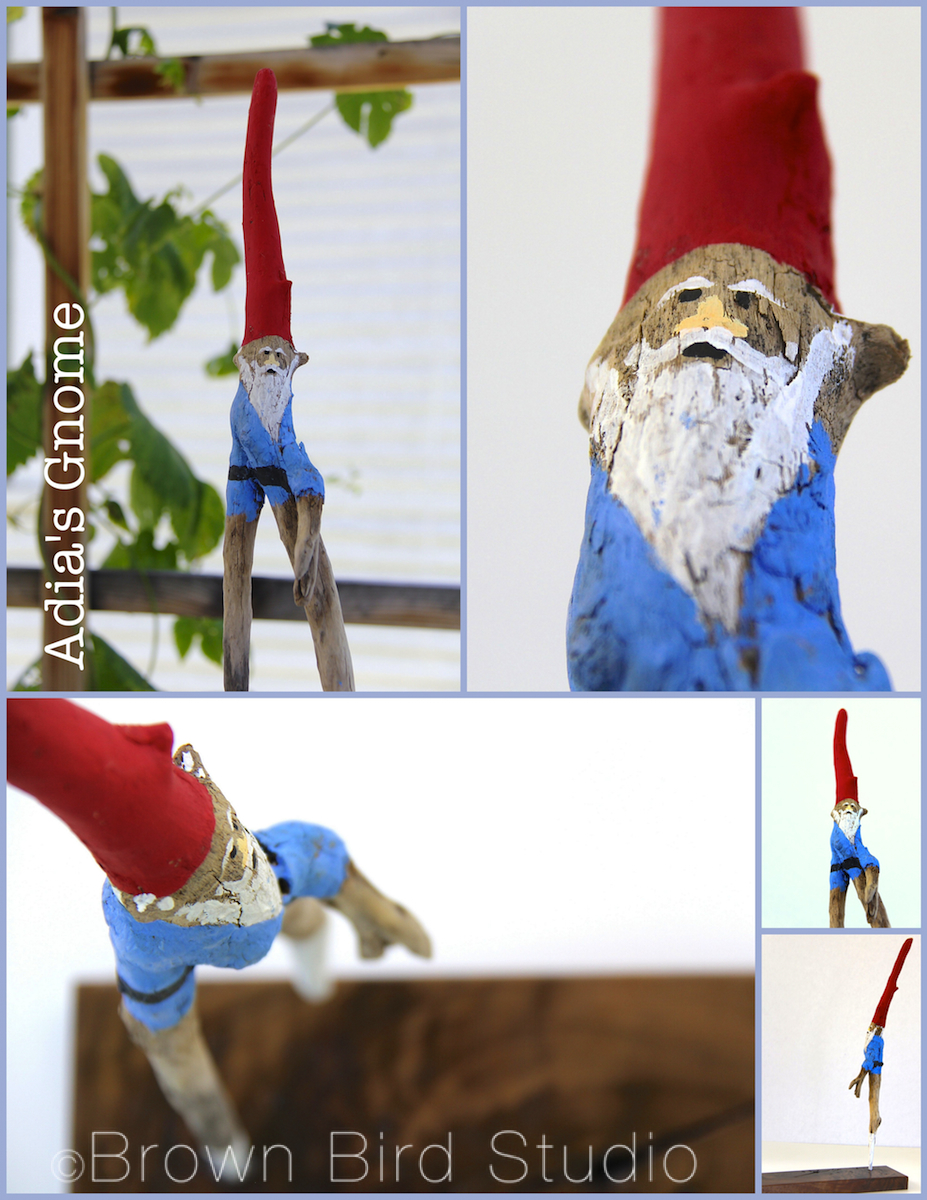
I made a gnome. A gnome is a little person with a beard. Santa Claus is a gnome. My gnome has a really tall red hat and is walking across the log that is my base. One leg is shorter than the other because he is walking. He also has a really long white beard and tall white boots. I drilled a hole in the base and glued my gnome’s longest leg into the hole. He looks like Santa. — Adia, age 8
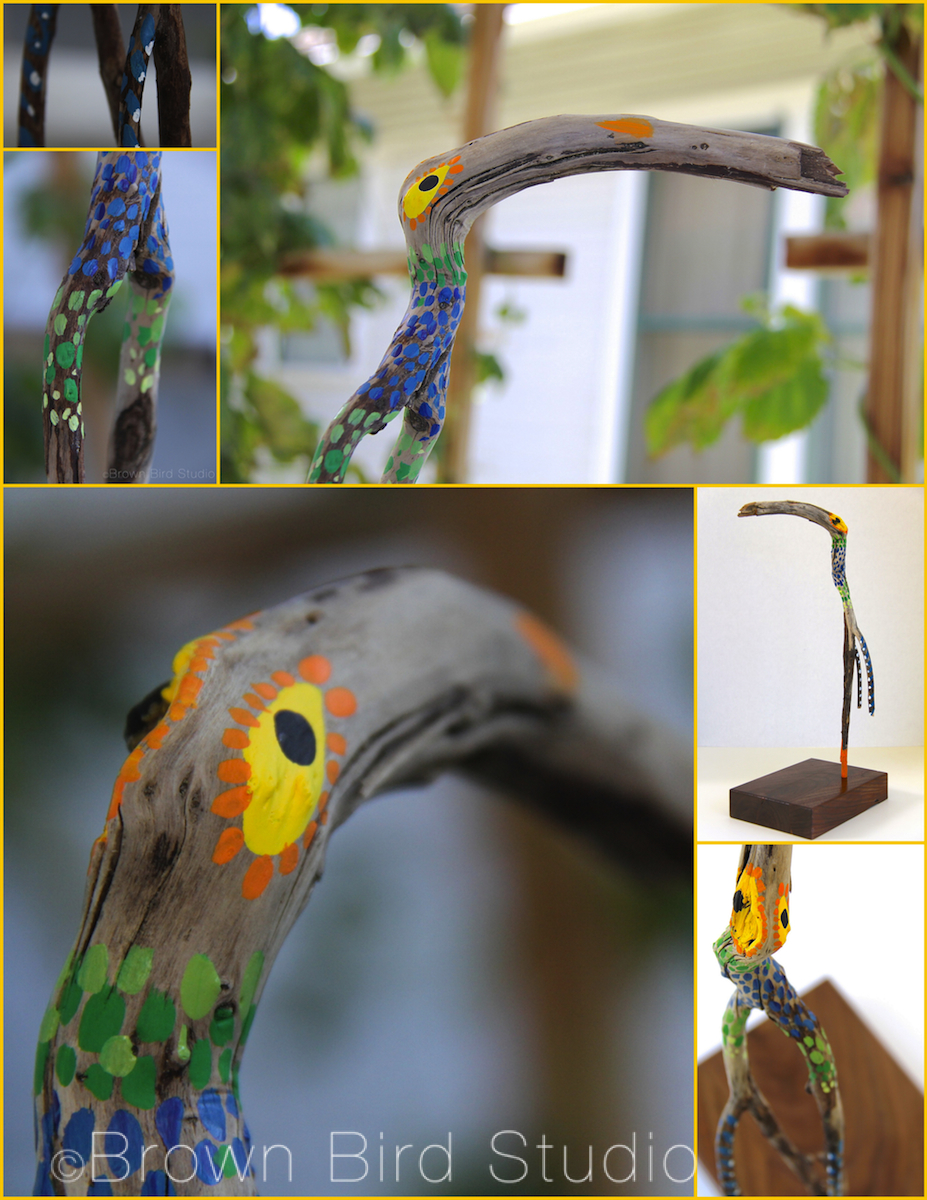
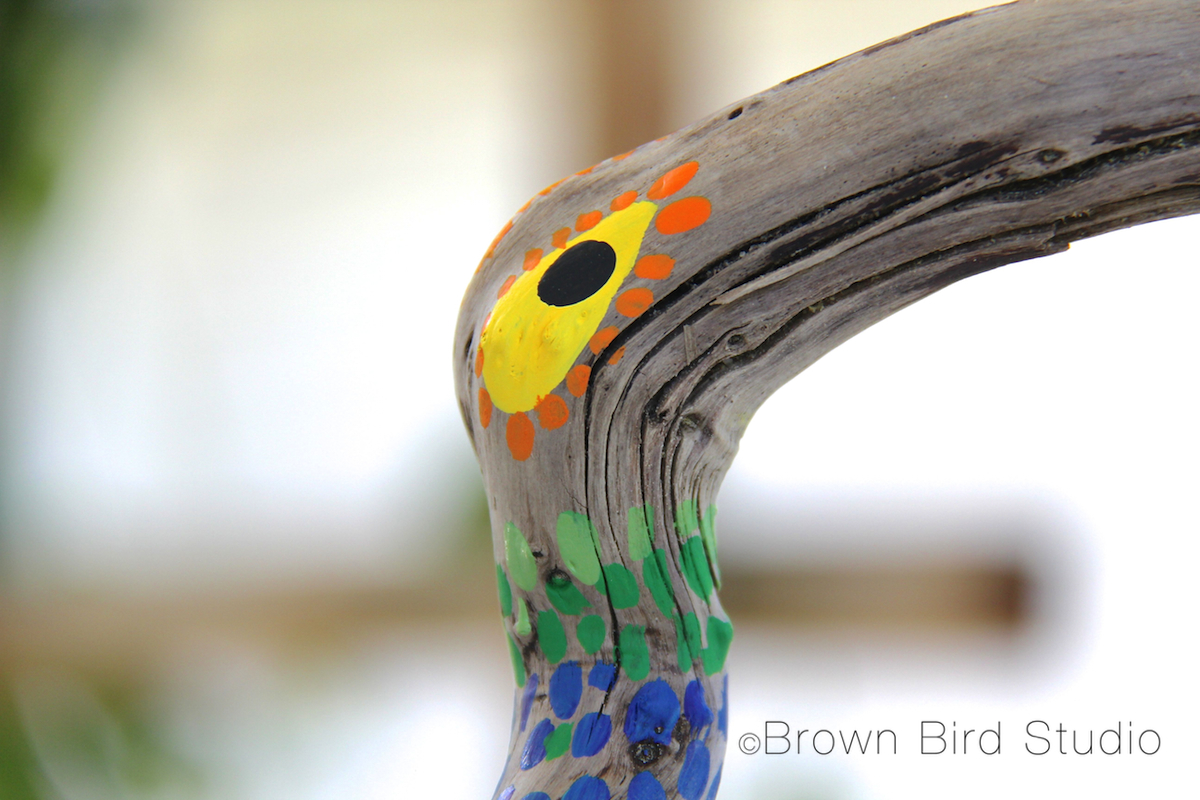
One of my roots looked exactly like a long, curved-bill crane so I made a fantasy bird that I named, an “oo-ooga crane.” This is the sound it makes when it’s happy. It has green and blue feathers with white spots. Also some yellow and orange eyes. I glued one of the crane’s legs into a hole in the walnut base. — Maureen

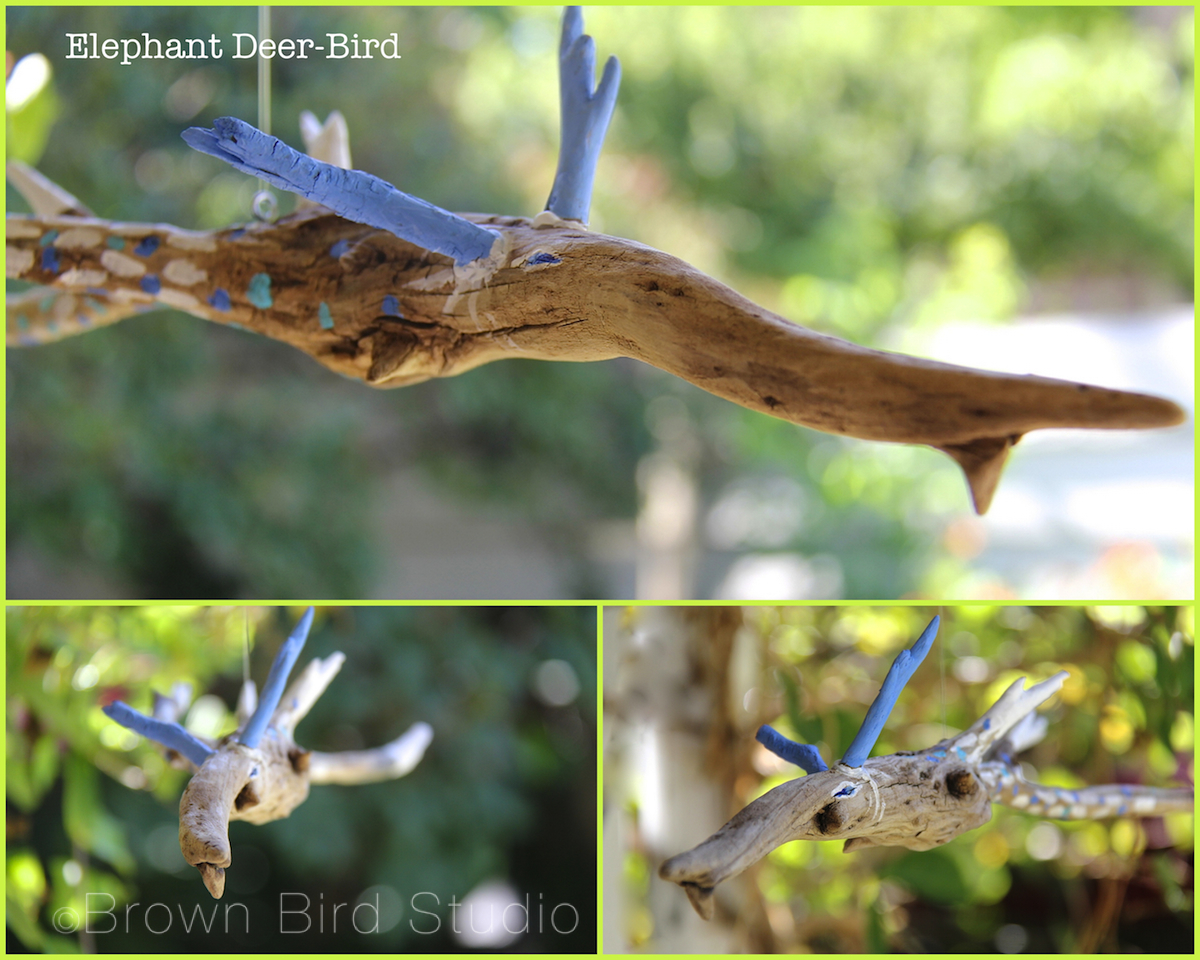
My other root reminded me of an elephant with wings. It has big long trunk, two skinny wings and a tail. I added little antlers so it’s an elephant-deer-bird. I painted the antlers blue because the Huichol Blue Deer is special to me. This one hangs from the ceiling because it’s flying. I screwed in a tiny eye-hook and hung the bird by a piece of monofilament. — Maureen
NOTES FROM THE TUTORIAL AND SUPPLY LIST:
*We used a little hot glue to attach odds and ends of roots to our creatures.
**For painting the creatures, you don’t have to completely cover the surface of the wood with paint. Leaving some of the natural wood showing looks really cool.
***If you want to make bases, cut some nice wood in a square or rectangle or any shape. Sand it so it’s nice and smooth. Sand the edges to make them roundish so they aren’t sharp. Figure out if you want to drill a hole or just glue on your creature onto the base. We made our bases out of scraps of walnut wood, the trees that grow actual walnuts on them.

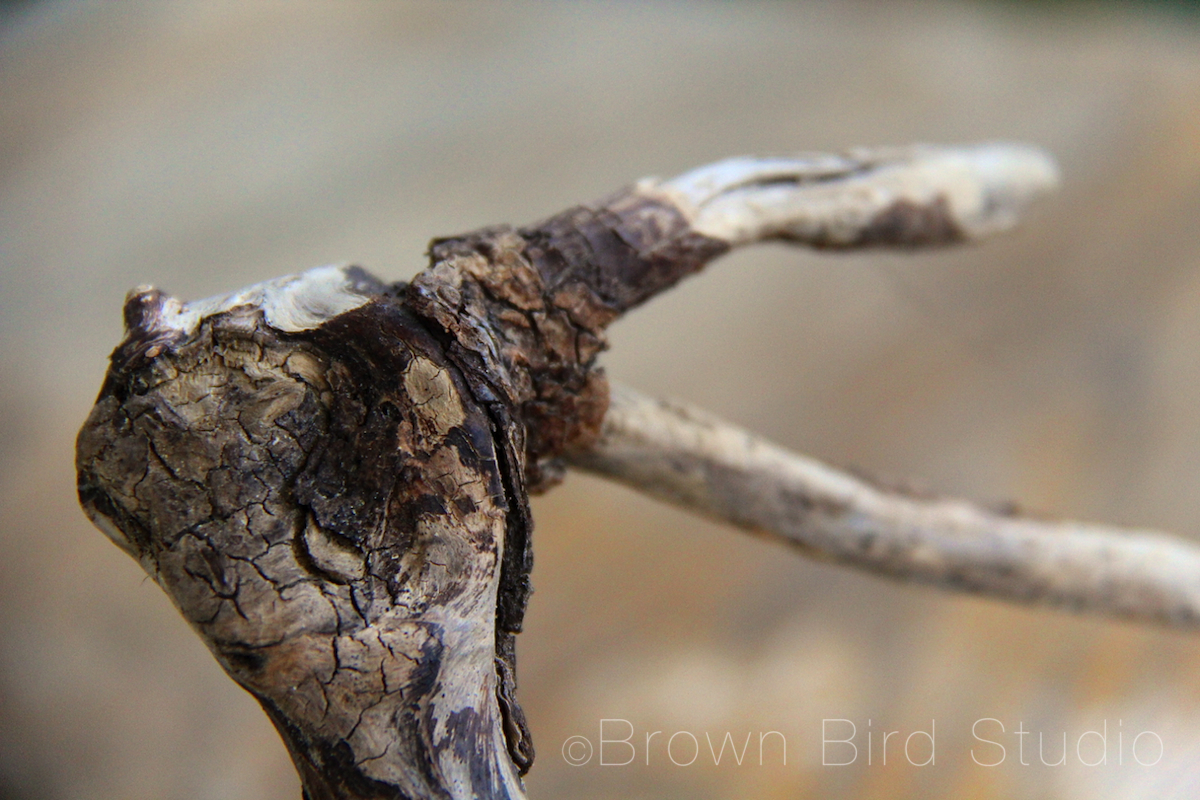
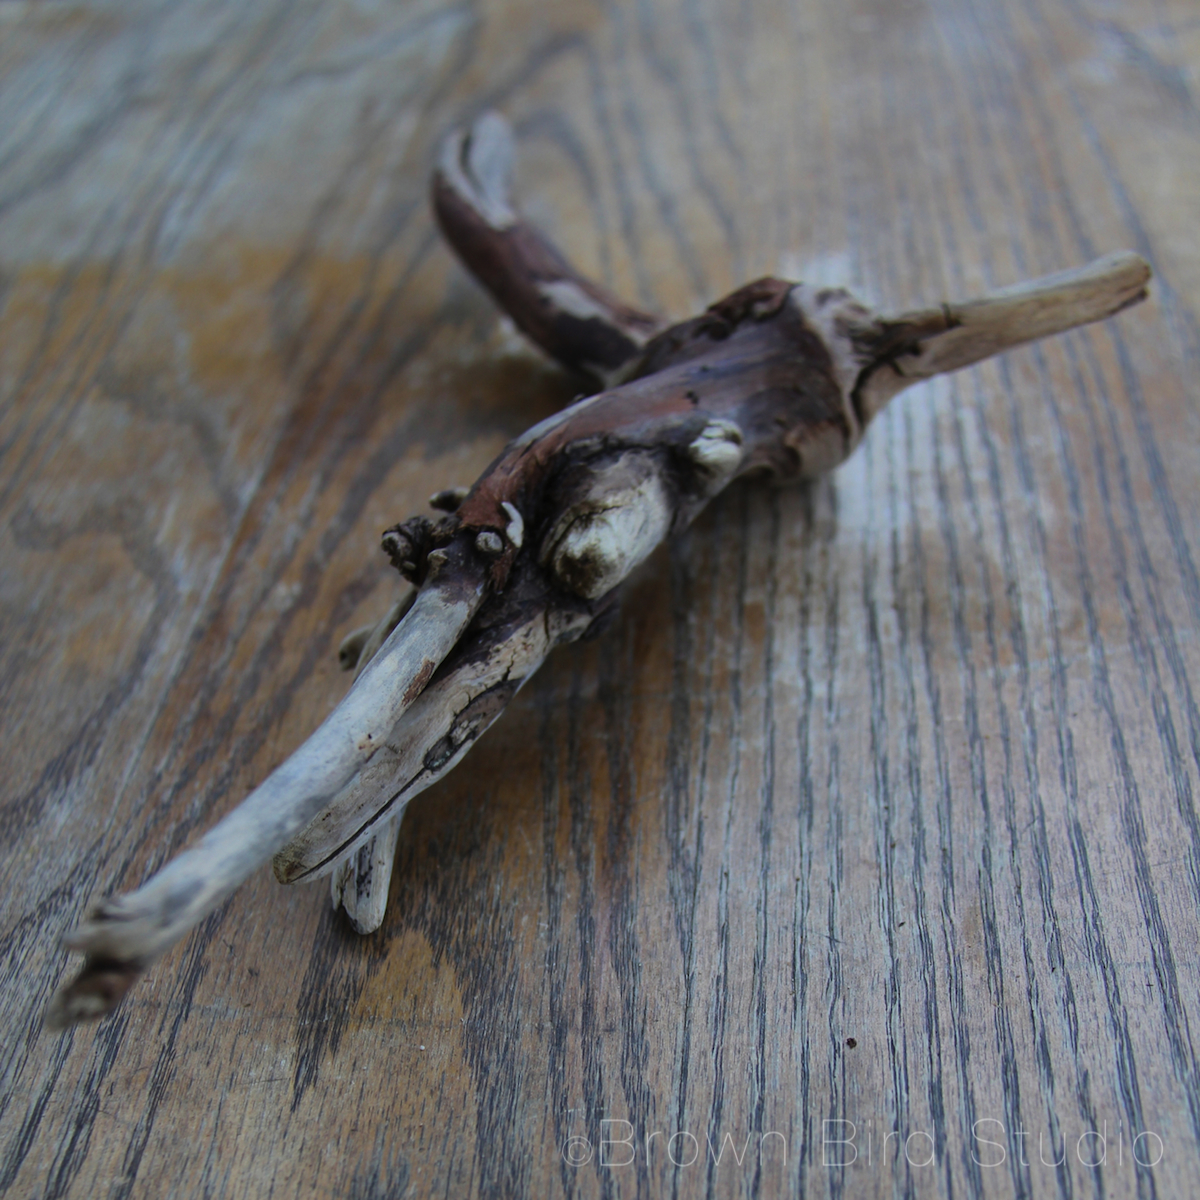
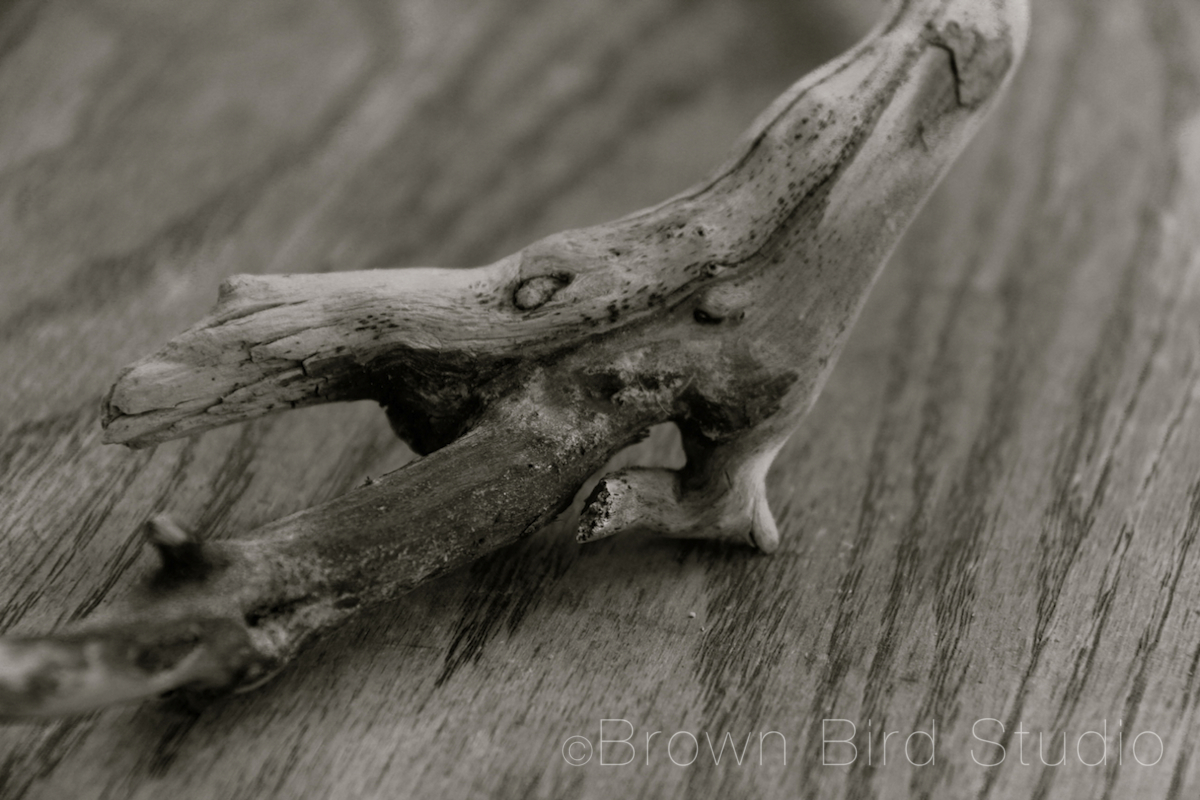
Below, we have a few other roots we haven’t painted yet. We are going to keep making these creatures. One of these roots is going to become a flying dragon with a tail made of smoke and fire coming out of its mouth. What do you see in these? Please let us know in the comments.

Nature is inside art as its content, not outside as its model.
–Northrop Frye
Nature is the source and content of most of my artistic and creative work and it’s right outside our home. In Helena, it literally takes just a couple of minutes to get from “town” out into a more natural environment. But even right in town, all I have to do is get down on my hands and knees with my eyes, my camera, my sketchbook, my sense of wonder… to find something inspiring and worth using in my artwork. Not only am I inspired to draw/paint/photography and write when I take in Nature’s sweetness — I also know when I look closely and pay attention, that I am part of Nature. Try it! It feels so good.
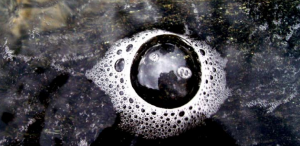
I also love discovering other artists whose inspirations are obviously directly from nature. Danish ceramic artist, Lotte Glob fits that category. I came across her work during the winter of 2006 and since then she has built an incredible home and studio on her land. It’s really one of the coolest houses I’ve ever seen.
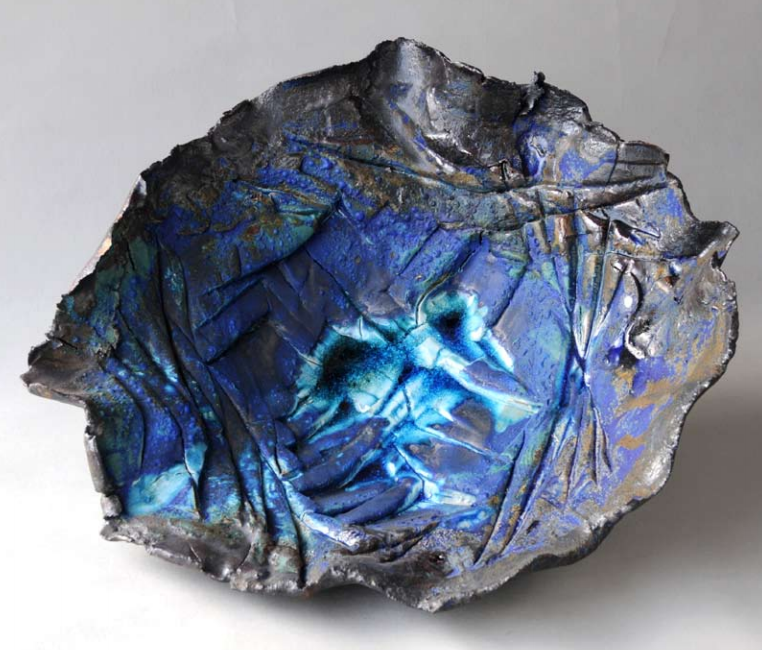
Glob’s ceramic vessels make me swoon! Her work is intimately inspired by natural forms she finds, especially around the “Ultimate Rock Garden,” as she calls her studio and home on the shore of Loch Eriboll in Scotland.
Glob has a beautiful online portfolio exhibiting her ceramic sculptures, books, fountains, tiles and bowls. These are incredibly beautiful pieces — if you are at all attracted to artwork based on natural colors, shapes and textures, check out her portfolio.
Well, today was Jaime’s first day at her new job — and my first full day with Ema and Adia. And whoah! did we ever pack alot of fun stuff into one day! We started out by choosing a couple of projects from our Summer Fun Pinterest board, then running around town for an hour or so gathering supplies.
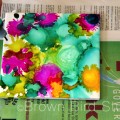
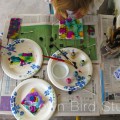
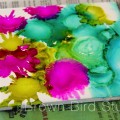
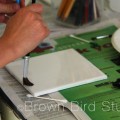
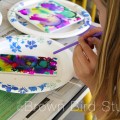
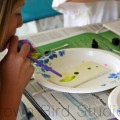
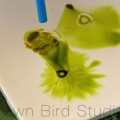


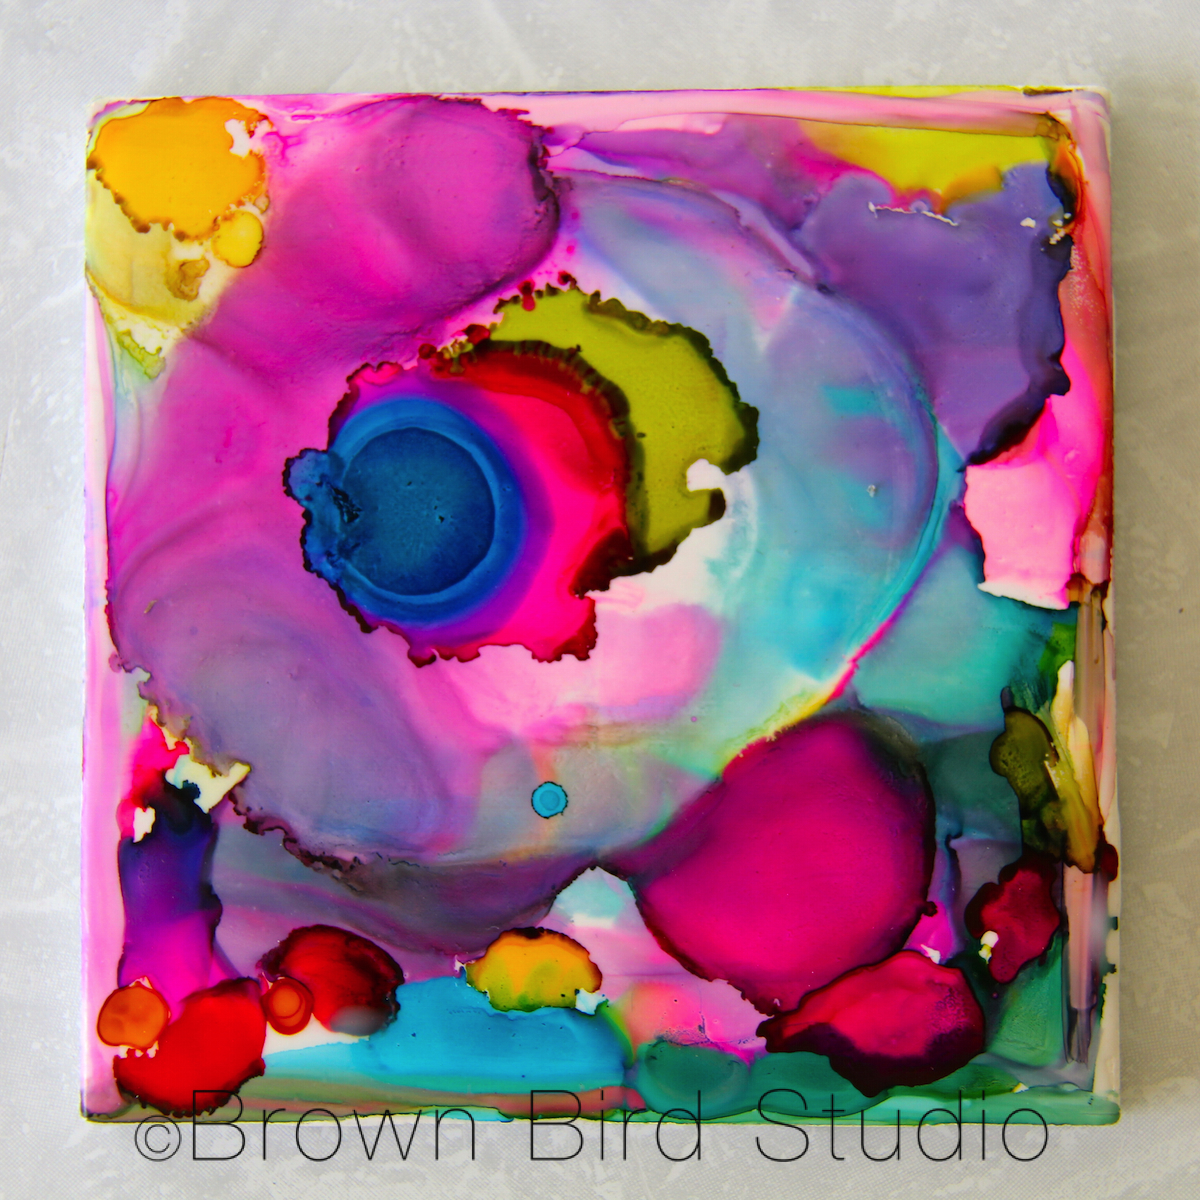
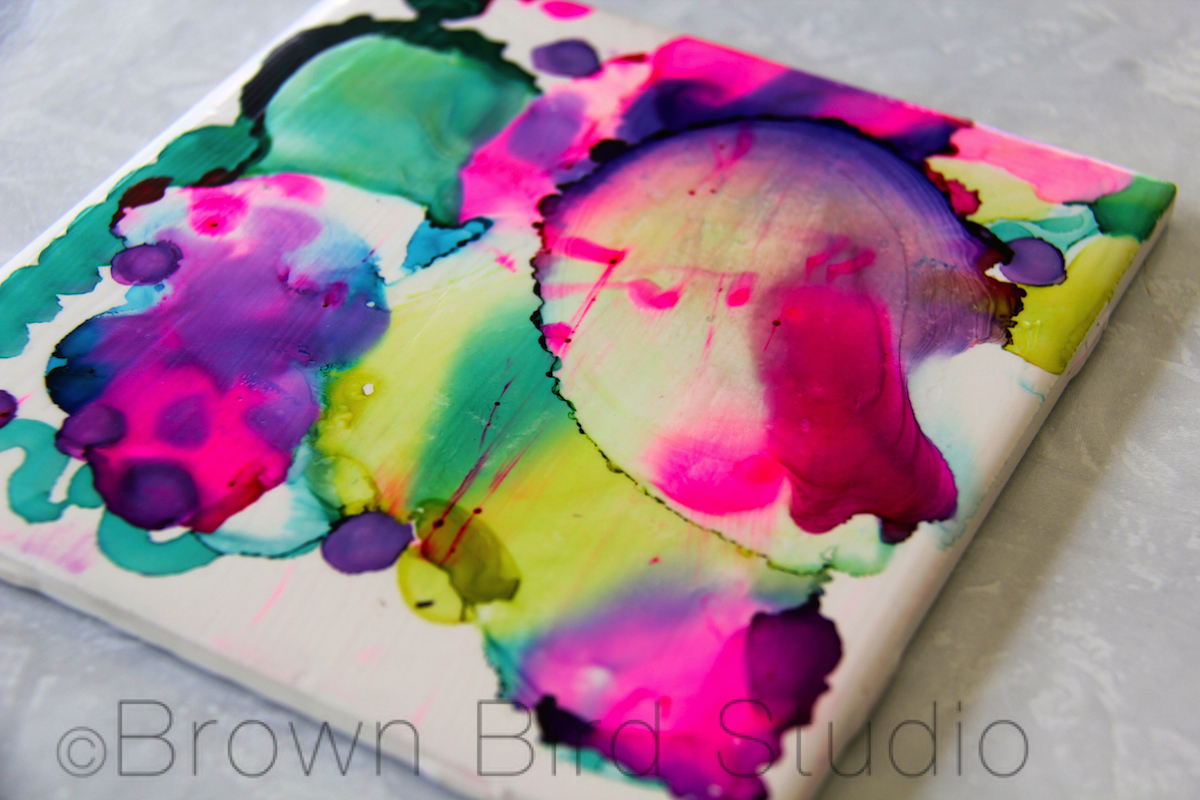
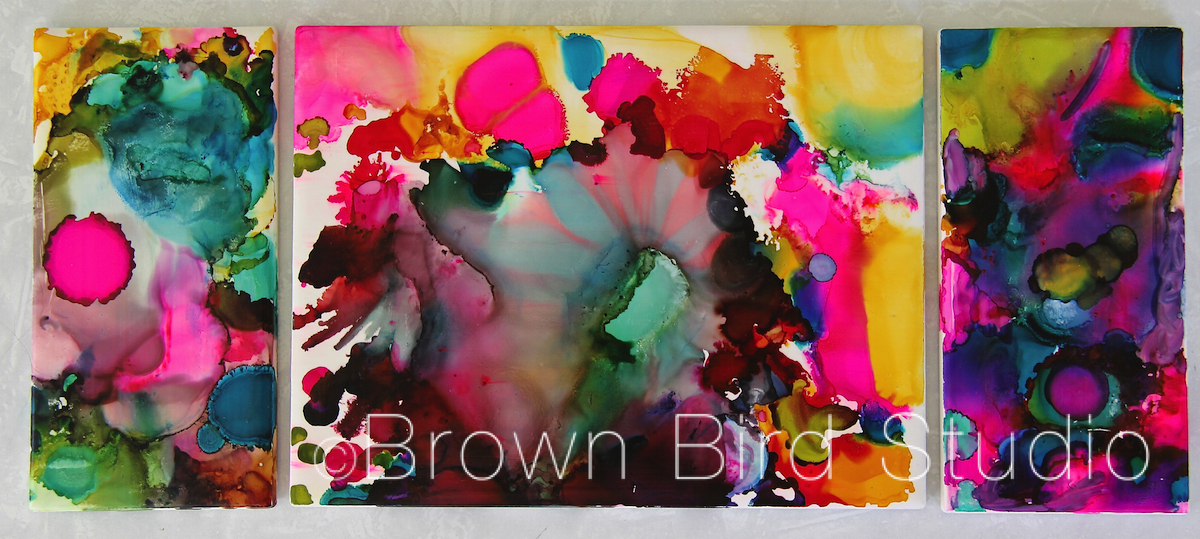
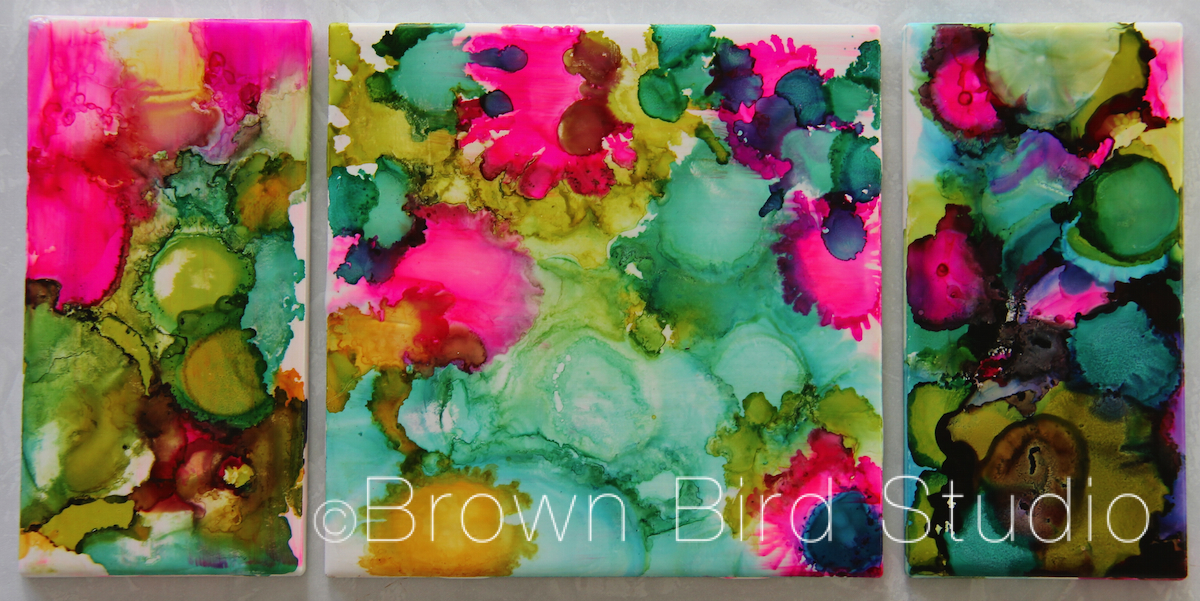
Our first project was to make ink painted tiles inspired by this link … we had to do a little googling to figure out exactly how to do it and which supplies we needed, plus we added our own spin (Adia named our technique “Straw-mania.”) I will let Adia and Ema write a blog post later this week with details on how they made their tiles.
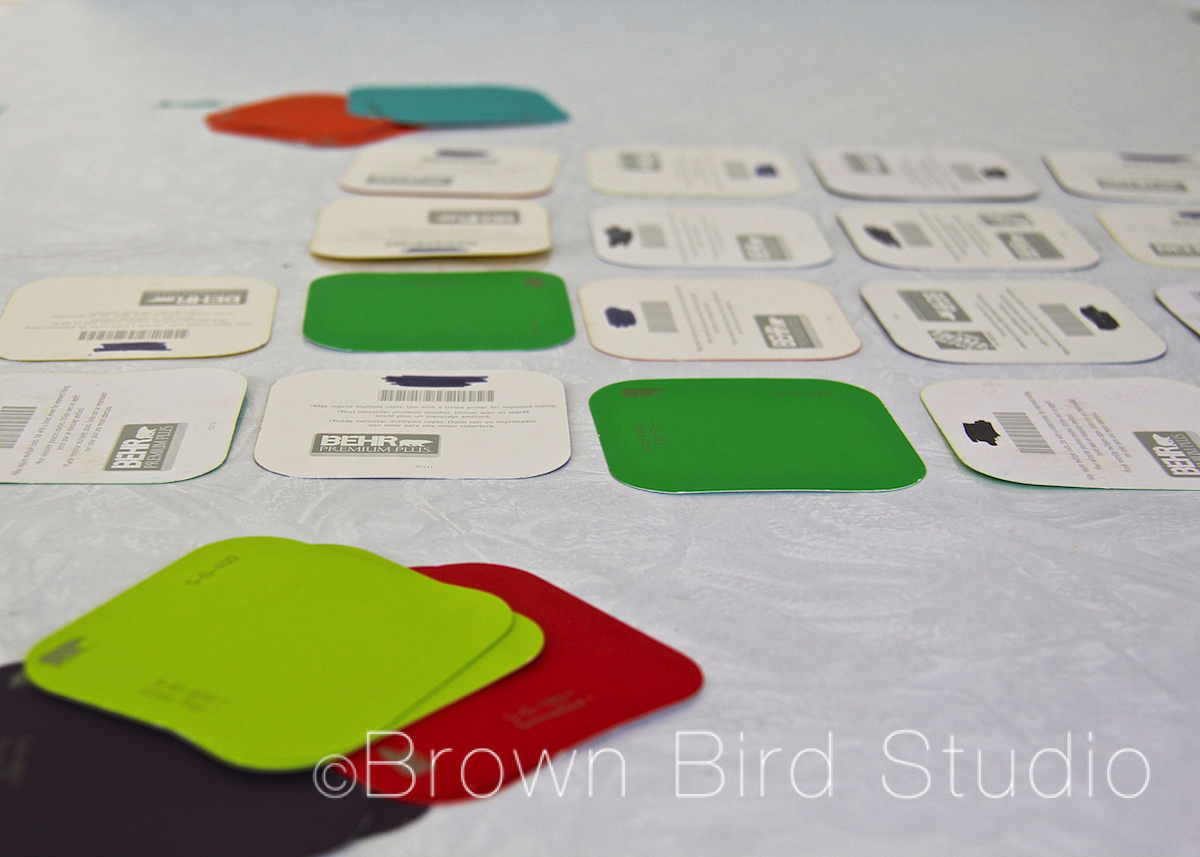
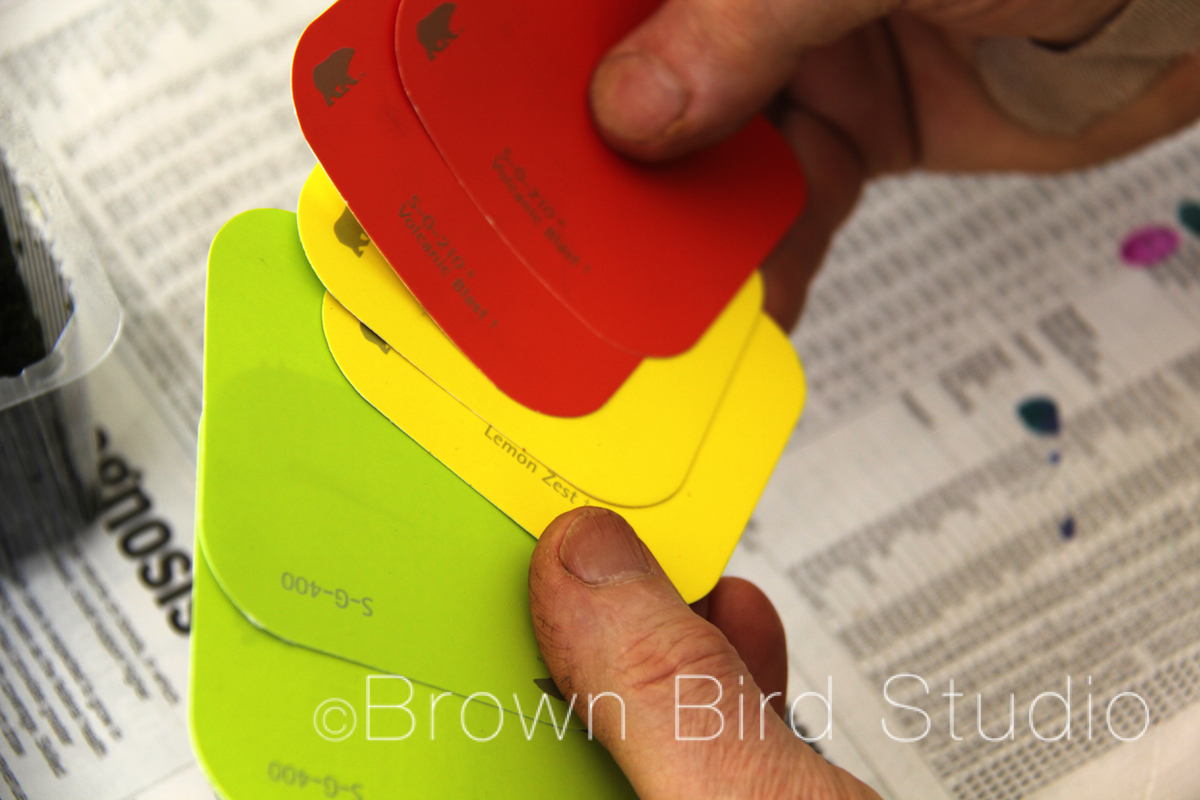 While we waited for our tiles to dry, we made smoothies (strawberry-peach-banana-amond) and sandwiches and ate lunch while playing “Memory.” We made our own Memory game with paint samples. That was a hit. I think we’ll keep the deck for other days. Then we walked down to Johns’ house to play with Tuffy for a few minutes, water Jaime’s garden a little and, oh yeah — get the marshmallows for the Rice Krispie Treats.
After lunch, we made krispie treats, then snuggled on the sofa and watched “The Lorax” on our Netflix instant-play. Sun tea and krispie treats during the movie… the girls had never made krispie treats. They got to do the whole thing themselves. (Confession: we ate almost half the pan — big grin)
We filled the rest of the afternoon with quiet activities: I taught them to make a campfire in the back yard, and the girls showed me how to make friendship bracelets . I am now wearing the one Ema made for me and she is wearing mine. I have a prediction: we’ll be making lots of friendship bracelets this summer. It’s easy, cheap, and something you can do for an hour while you are waiting for your mom to come home from work. 🙂 Besides I need to make one for Adia!
Tomorrow: make Charlie’s dog food. Get goldfish for the pond. Take Charlie out to play along the irrigation canal … make some silly videos and check out the classic cars at the Montana Dept. of Transportation 100th Birthday Celebration. Another non-boring day. 😉
I am having a glass of wine with my dinner tonight…
World Environment Day is today, Wednesday, June 5th, 2013. This year, the theme for WED is Think-Eat-Save, focusing on ways we can alleviate the incredible food waste problems that contribute to world hunger and environmental degradation.
On a TEDx talk, Peter Lehner shares how he began working on food waste issues when he backpacked 30 days of food in his mountain climbing years. It’s true that if you have to carry your food for miles, you pack carefully and considerately — and you don’t waste a bit of it! His talk is 14 minutes long by well worth watching. (click here to watch Peter Lehner’s TEDx talk)

That’s in the US and Canada … Worldwide the amount of food wasted — on average — is slightly less, but still outrageously dangerous for Earth’s future. Luc Gnacadja, Executive Secretary UN Convention to Combat Desertification, says:
Food is produced at such a high environmental cost. Yet, every year about one third of it is either wasted or lost. Meantime, one in seven people still goes to bed hungry. This enormous drain on our limited natural resources is shocking and morally unacceptable.
Lehner (in his TEDx talk) refers to a game they called “Journey to the back of the fridge,” when they would look for the multi-colored mold growing on an assortment of food. We have changed our food deal at the Carney-Shaughnessy household these days. We eat 90% vegetarian, and use aLOT of fresh fruits and vegetables, so it’s doubly critical that we shop/plan/cook in ways that we don’t end up tossing alot of produce in the garbage or compost pile (although composting is better than putting food in the landfill).
A couple of years ago, I would regularly have to clear out our fridge– throwing out science experiments like slimey greens, moldy salsa, stinky cooked beans, dried up leftovers … even the freezer had dried up meat and really old bread to toss. Not so anymore. We have gotten so efficient with menu planning and cooking just the right amount that I would estimate we have cut our food waste by at least 90%. One of the best things about that? Saving money!
Okay, now for some eye-candy:
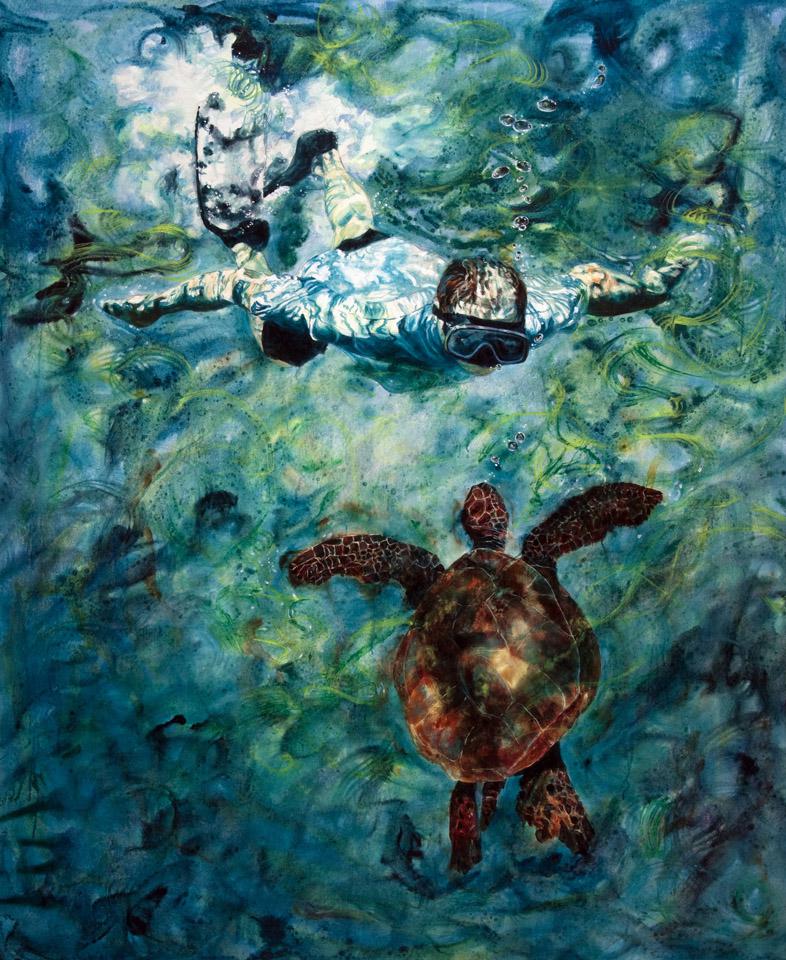
And finally, I am doing a shameless plug of my sister’s cause, ArtBomb, because today she has a stunning painting up for auction in honor of World Environment Day. Here’s what Mary Beth writes about the piece pictured above:
On Wednesday, June 5th, Artbomb will have a solo feature of the work of Vancouver artist Cheryl Fortier in celebration of the UN’s International Year of Water Cooperation and World Ocean’s Day. Cheryl’s piece, titled Hover/Suspend, is a large, immersive and transporting painting depicting a close encounter between a snorkeler and a sea turtle. The rendering of the water, and of the small swirling movements of the 2 participants in this dance of curiosity, is masterful, a balance between realism and abstraction. The scale of the piece allows one to feel submerged with the figures, an underwater voyeur watching this enchanting and touching interaction between human and animal. Cheryl paints with emotion, spontaneity and intuition. This piece will both charm you, and transform your living room!
If you are interested in this painting, or know of anyone who might be, please pass this link along to them. ArtBomb auctions last ONLY one day, so it’s a great way to acquire original, professional art for reasonable prices. I would also LOVE it if you share the link on your Facebook timeline, or Tweet about it. Check out Cheryl’s website — she is an amazing artist. I love her paintings!
Note: this is a 2005 post I have resurrected. I tried to update links, but if you find a broken link please let me know. Thank you!
A discussion on Garden Web about water feature trends got me thinking what exactly is it that makes a well designed water feature?
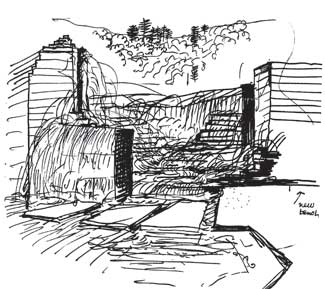
I first learned of Lawrence Halprin in landscape architecture school a very long time ago … I was impressed by the 100’s of sketchbooks he had filled over the years. Of particular interest to me were his sketch studies of waterfalls, creeks, plunge pools, eddies and other water shapes in mountain creeks and rivers … he spent countless hours studying the way water acts naturally so he could design the urban concrete fountains for which he is known. And his sketchbooks inspired me to do some of my own studies as I backpacked around the Washington Cascades, Olympic Mountains and places in Montana.
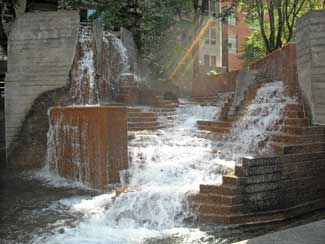
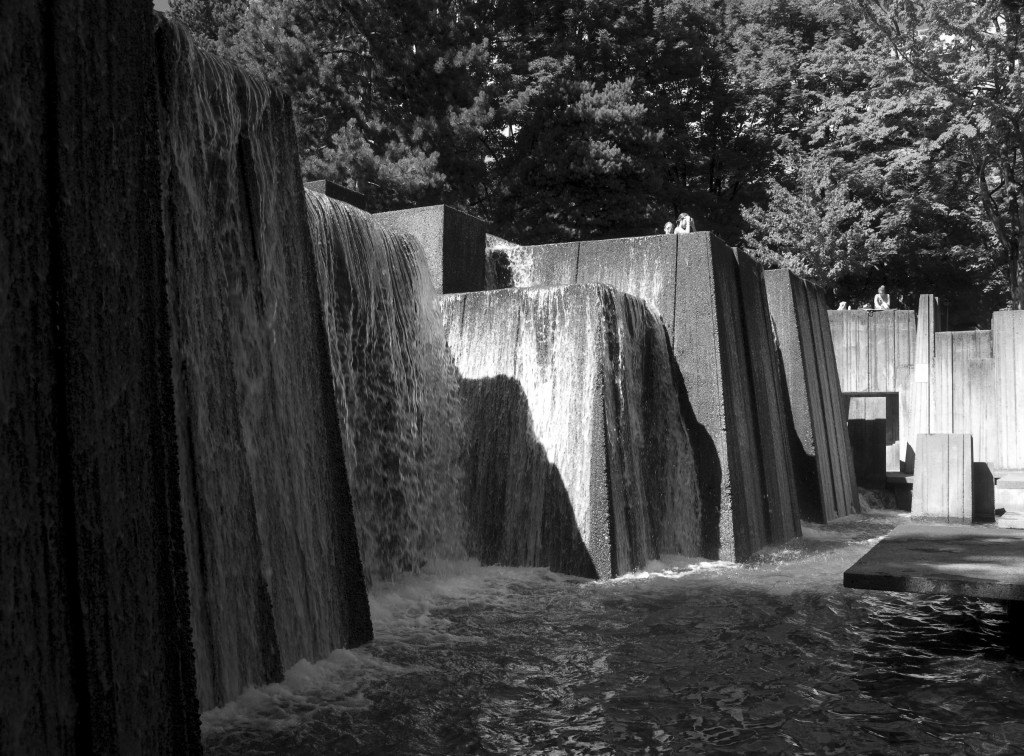 Some of my favorite Halprin fountains are Lovejoy Plaza and the Ira Keller Fountain in Portland, Oregon along with Freeway Park in Seattle. In Washington DC, the FDR Memorial waterfalls are well used. You pretty much have to have studied the natural flow of water to make convincing monumental artificial falls like these, also at the FDR Memorial.
Halprin is by no means the only architect/landscape architect or designer noted for beautiful, appropriate and celebrated water features. But he is one who influenced me, influenced the way I design and the way I look to nature for guidance, for ideas, for inspiration.


like lines of a poem, tendrils, stems
and seeds of a hitchhiker weed
twist, turn and stick in my memory
Garden features such as urns, ponds and small flowing streams can add to your enjoyment of the garden as well as connect the different parts of your garden together.
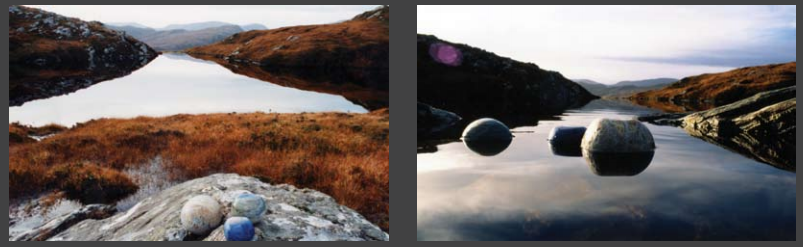
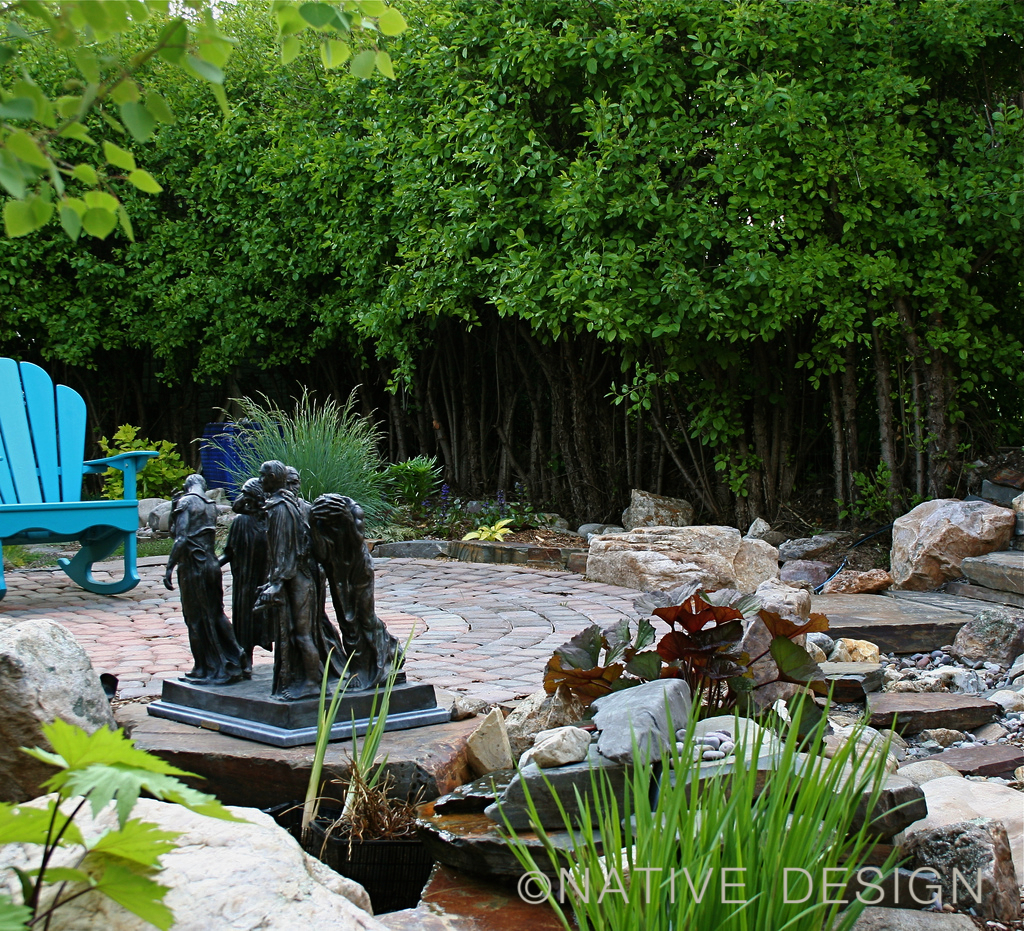
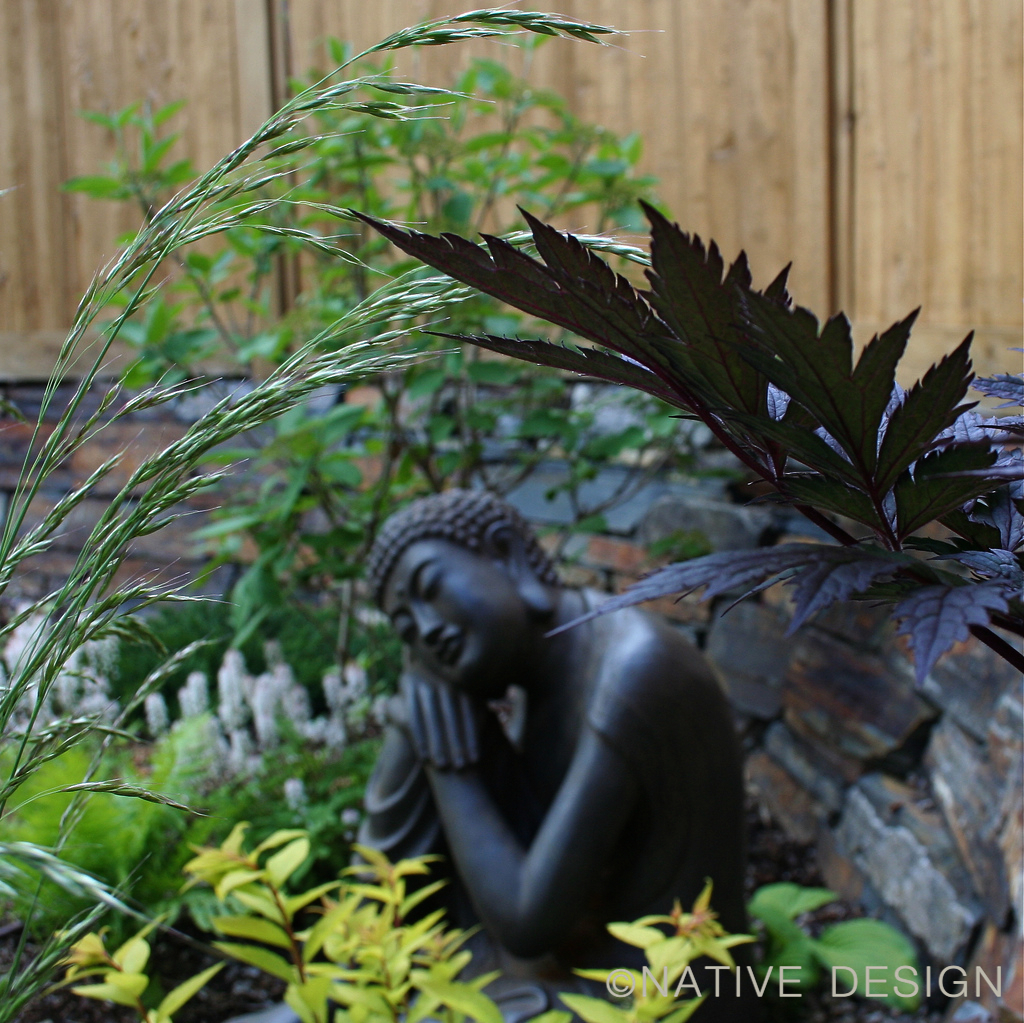
Here is an example of an outdoor room with two water features. The water features — a flowing urn and a pond — are separated by a distance of about 25 feet in this garden. We needed a design solution to visually connect them. The garden’s pond is located next to a low deck and appears to extend under the deck. The second water feature is an overflowing urn fountain on the other side of the small garden (in the photo above, look for the blue urn, barely visible behind the ornamental grasses.) The water flows over the rim of the urn and disappears into a hidden reservoir under the container. We wanted to visually and psychologically connect the urn fountain with the small garden pond as well as solve a drainage problem.
Our solution was to build a dry stream bed using the same stones we used in the pond and around the urn. The dry stream gives an illusion of flowing water and in the imagination and mind of garden visitors, the urn is a perpetually flowing source of clear fresh water for the pond.
In order to fool the eye and create as natural-looking a stream bed as possible, I took my inspiration from the way bedrock, boulders and cobbles come to rest in a mountain stream. Too many times when folks attempt to create a dry stream bed in their landscaping it results in something that looks very unnatural — or worse. The tendency people have is to dig a swale or channel; line the edges with large rocks and fill the center with smaller river rock. That isn’t the way river dynamics form streams in nature.

In the center of the above montage, you can see the rough sketch I made before we started construction. It’s almost impossible to design the exact layout of water features, when working with boulders and other natural materials. Fortunately I was able to stay involved in the construction process to make sure the final results matched what was in my head. I also owe much of the credit to the contractor who installed the water feature — he was sensitive to the same forces of nature I observe, and we worked well together.
If you want to design water features in a “natural” style, consider water’s natural behavior — particularly the way water affects the environment through which it flows. Take a hike in the mountains and observe the way gravel and cobbles fill the nooks and crannies between boulders lin a tumbling mountain stream. Gravel is lighter than boulders, so it is picked up and carried by water more readily than the larger stones. Spring runoff and high flows are strong enough to move boulders so these are shifted until they get stuck in a tumbly looking pattern. If you live in a valley — there may be natural water features you can imitate. A stream or river can give you design clues in the shape of the meanders, the oxbows, the inner and outer curves and how the banks are sculpted by the flow. Where are the large rocks, if any? Where is the gravel deposited and is it all the same size?
What other garden features might benefit from an observation of nature in the design process? Ponds, boulder benches, stepping stones and other pathways, terraces, stone walls, even steps leading from one garden level to another. These will be topics in at least one future post so check back for more design inspiration.
Links that might help with designing garden features in a “Nature Inspired” style:
Here are some more photos from this garden installation and it’s first year. There are several nature-inspired garden features in this small private landscape project including dry-laid stone walls, shade structures, a wandering stepping stone pathway, boulder benches and a total absence of lawn. Click on any of the photos to see a larger version. Enjoy! And please comment if you have any questions about your own water feature. Thank you for reading!