
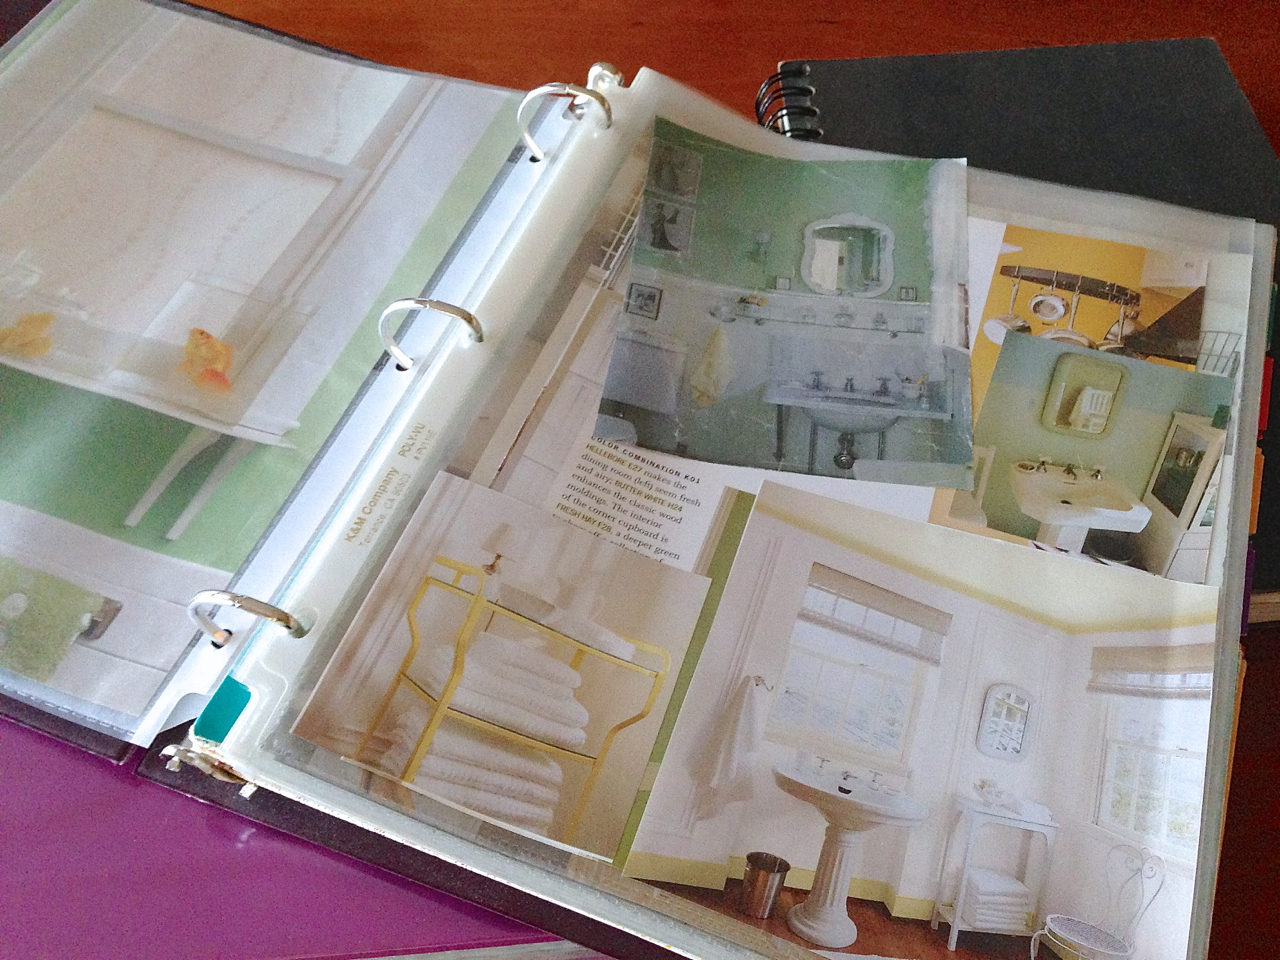
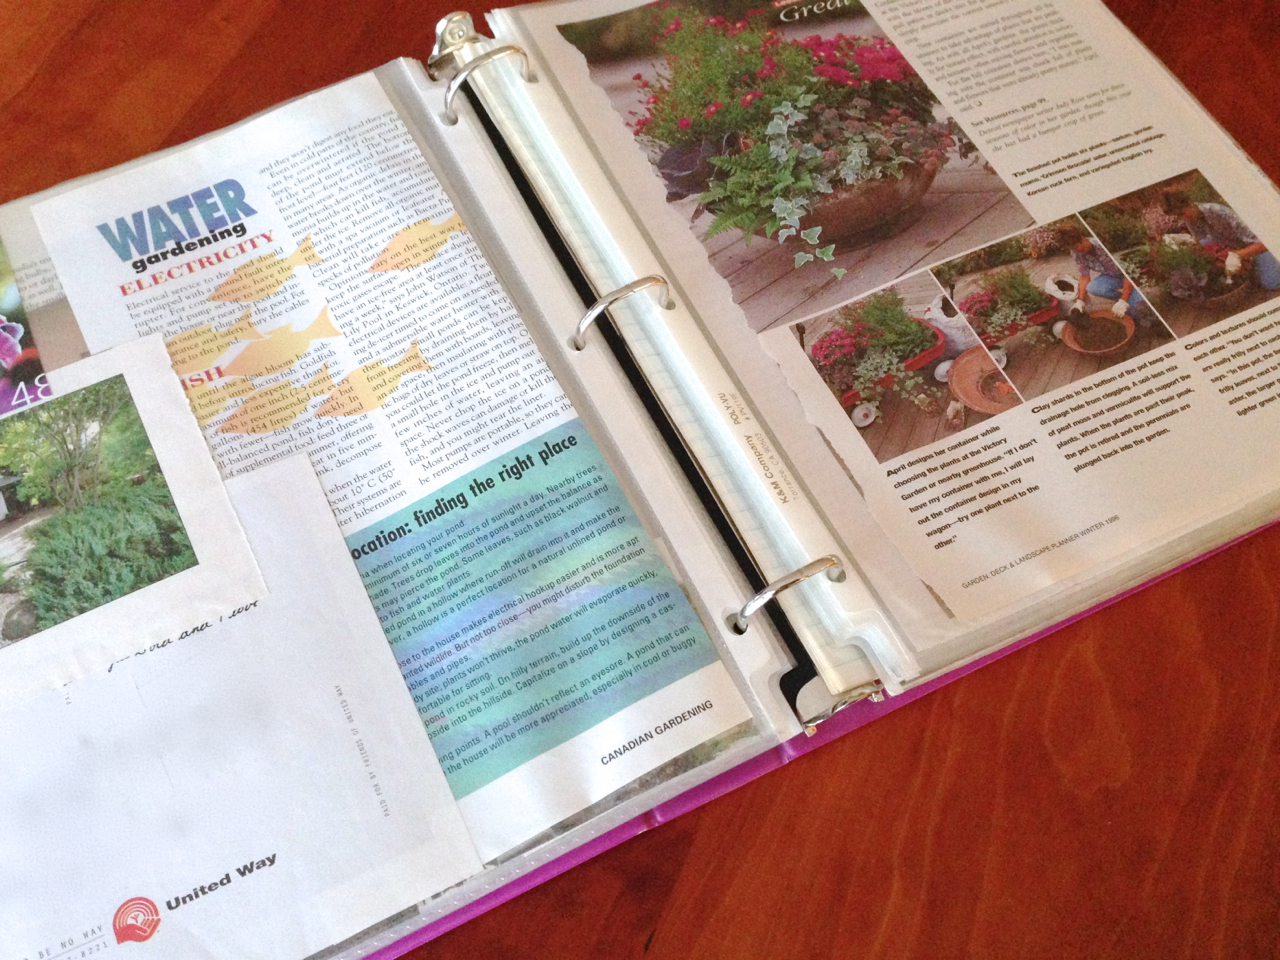
Once upon a time, long before there was Pinterest … before there was Houzz … before there were so many ways to bookmark and share your ideas on the web instantaneously and effortlessly … there were ideabooks: binders with plastic sleeves for saving magazine clippings and writing down our ideas for our remodeling projects or our dream houses.
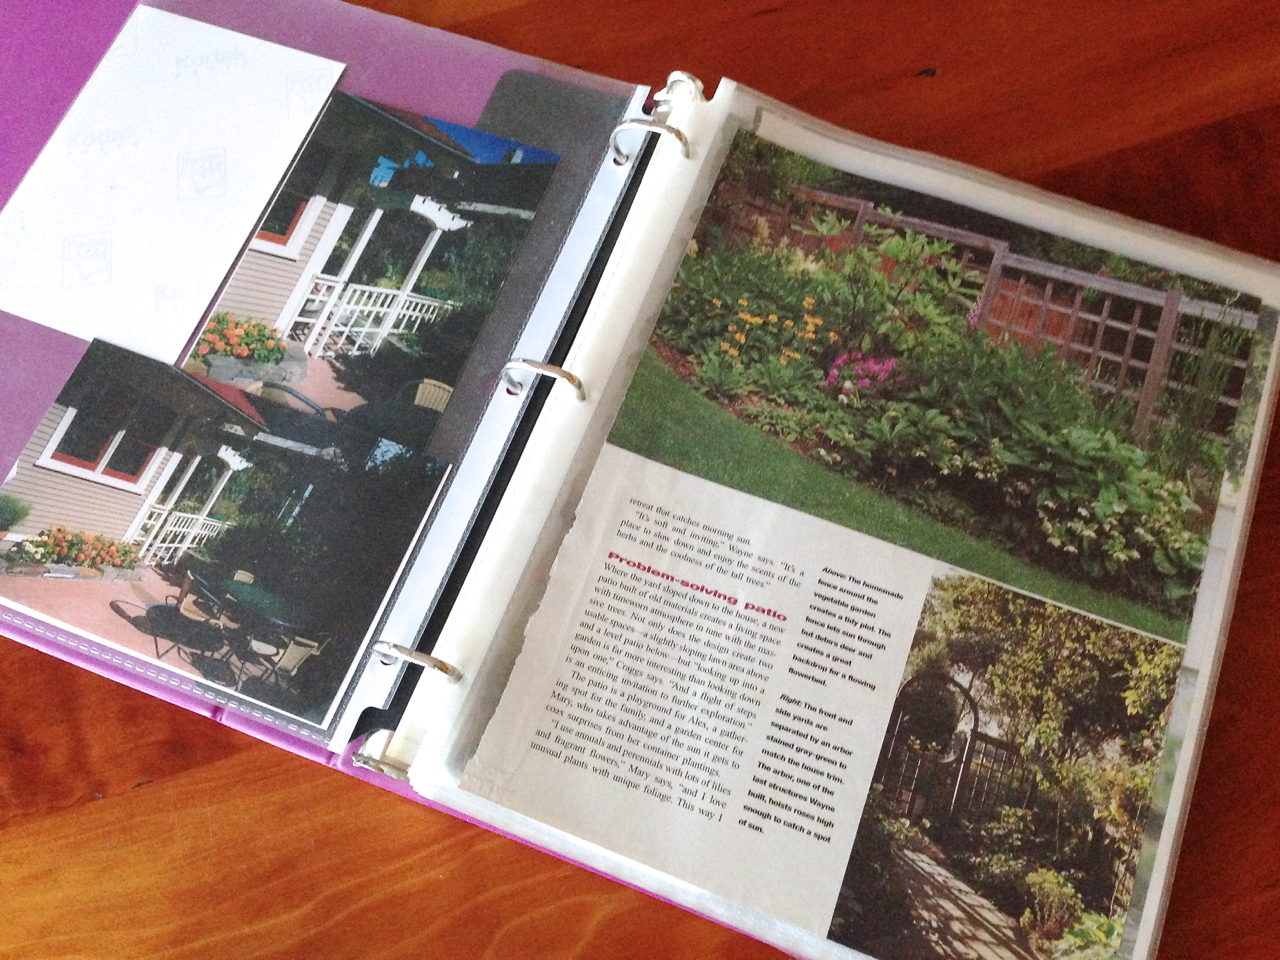
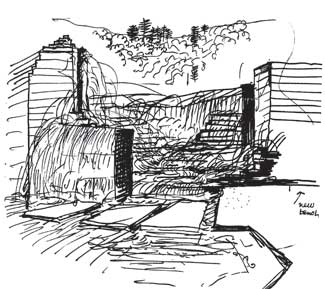
And before binders with plastic sleeves, there were notebooks and style-boards –– for collecting bits of fabric, paint samples, drawings (remember hand drawing?) of furniture styles and window treatments, decks, patios and container plantings. We made notes with hand lettering, detailing why we liked a certain photo of a room (the wall color, flooring or light fixtures… the way the light streamed in from large windows, or the cozy reading nook) or where we would buy that Persian rug or dining room set.

Designers used ideabooks long before Houzz existed. They made style boards to present to their clients. They often asked clients to clip and save their own ideas, gathering them into ideabooks that would help the client and designer be on the same page when it came time to narrow down things like color, materials, style.
I love Houzz. I really like using Pinterest too, though I try not to get too sucked in to the Pinterest vortex. It can be a huge time waster if you aren’t careful. Houzz has made architectural, garden and interior planning so much easier. And easier to share with others.
When I work with a landscape design client, I often ask them to open a Houzz account to share their ideas with me. They can also browse around my Houzz ideabooks to get a feel for my signature style, as well as other styles they might like to consider. It sure beats buying alot of garden magazines and cutting them up, then wondering what to do with the remains!
Houzz is specifically set up to gather ideas when you are planning a remodel, refurnishing or redecorating your home, or designing new construction. I’m pretty sure the Houzz founders used designers’ ideabooks and style boards as the basis for their online format.
On Houzz, you make ideabooks remarkably like analog ideabooks. You can “clip” images to your ideabooks as references or inspiration. You can have multiple ideabooks, based on function (lighting, flooring, layout) or by room (kitchen, bath, bedroom, garden.) Your imagination is the limit.
Clip images from anywhere on the web to your Houzz ideabooks, or just browse other people’s Houzz ideabooks and clip images directly from theirs into your own. It’s a great way to share ideas with people you know, with strangers who have similar taste, and with your architect, landscape designer, or interior designer. It’s also a fun way to collaborate with others who involved in your project such as family members and friends.
You can keep your ideabooks private or make them public. When you comment you can mark your comment as private if you like. How much you share is totally up to you.
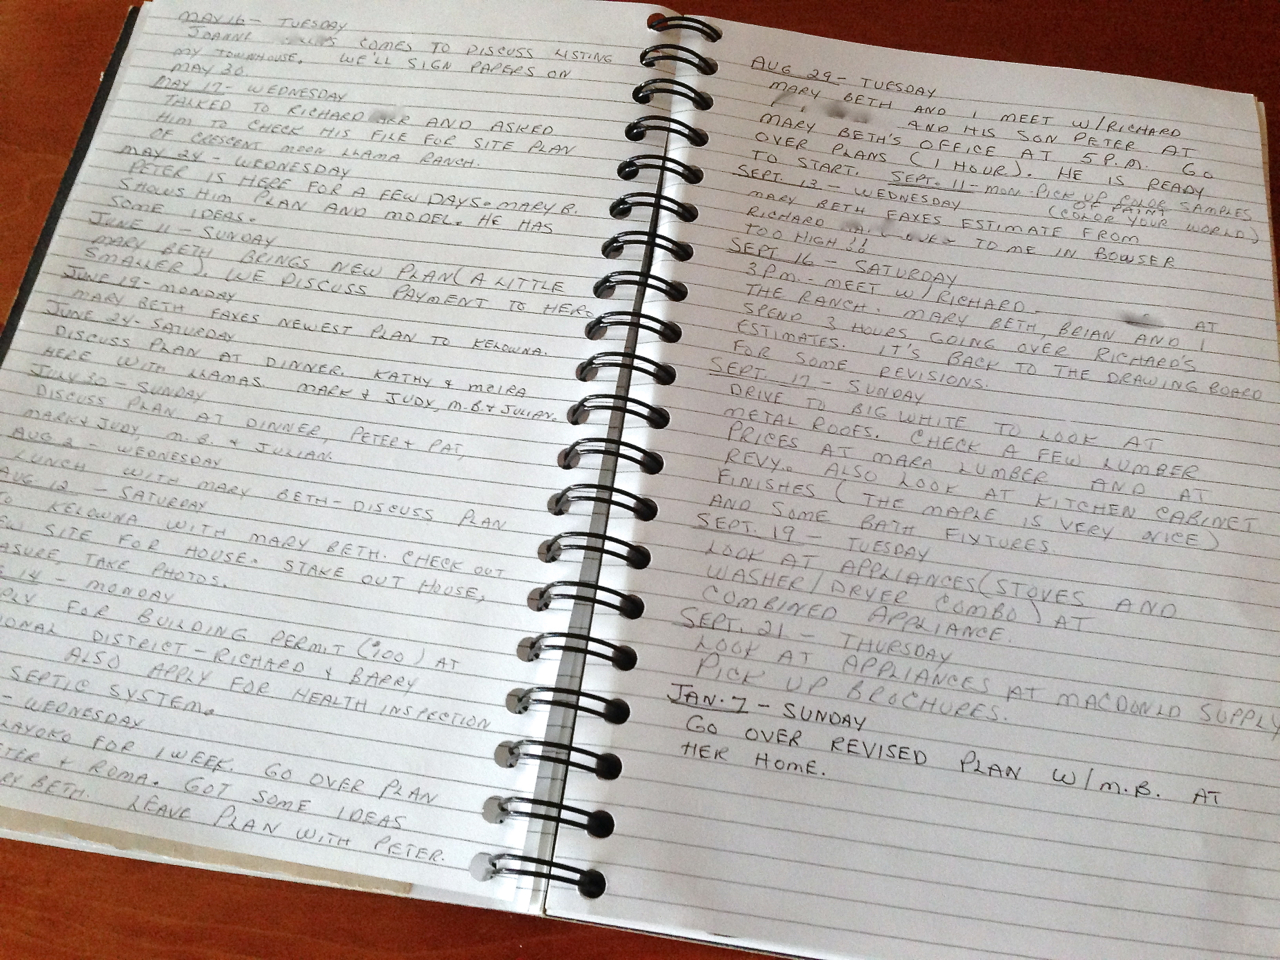
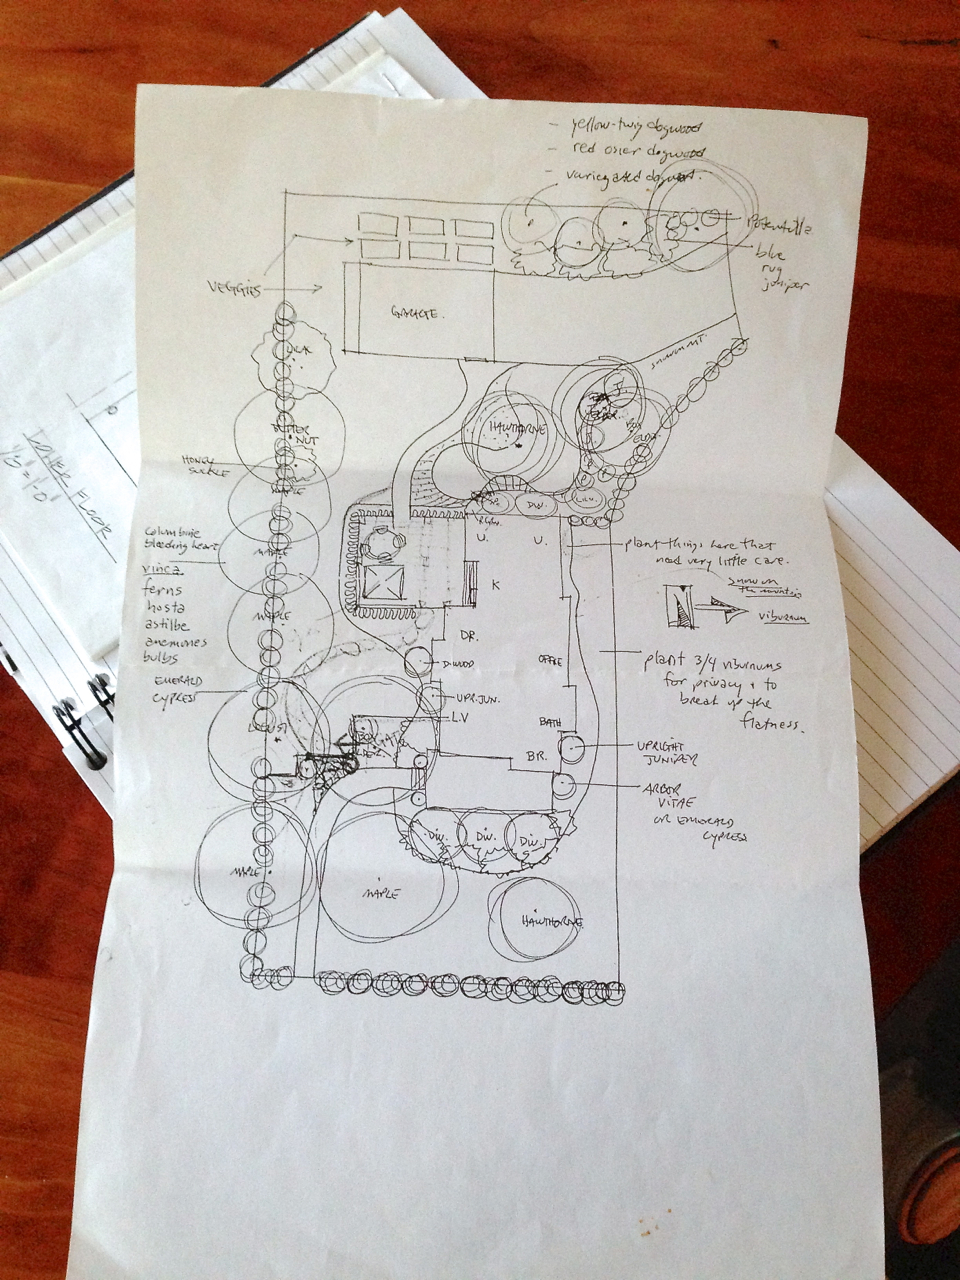
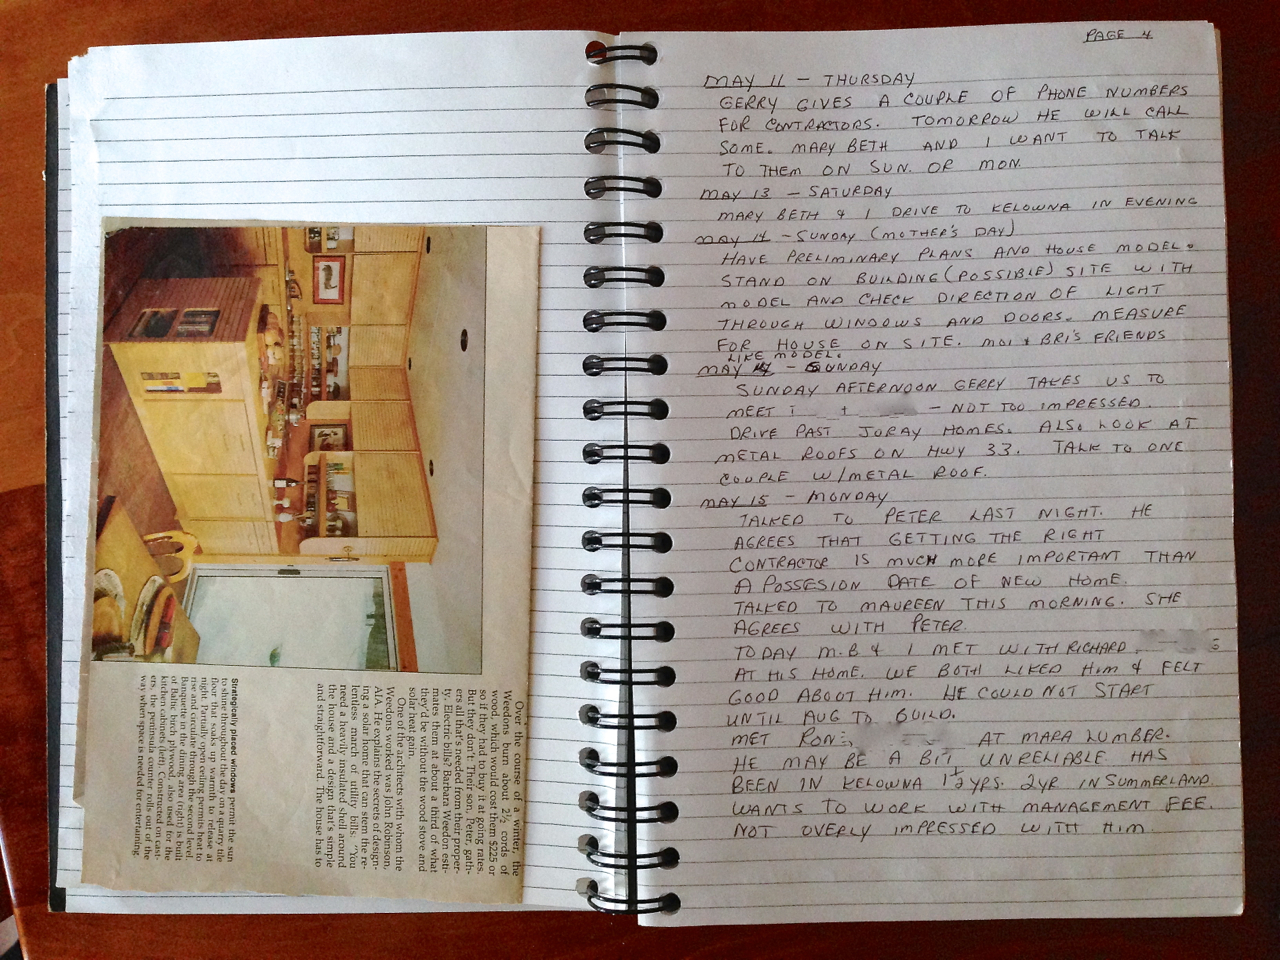
The photos in this article are my mother’s analog ideabooks from a few years back when she was designing a new house with my architect sister, Marybeth, and her landscaping with me. Mom involved all of her kids in the design and planning process, as you can see from her very detailed diary of the planning process.
In fact, now that I think about it the ability to keep an online diary or calendar of planning/design/construction right on one’s account might be a good idea for Houzz to develop. It would make a great record of what you and your contractors did during a project … and could be shared with others as an example of how a home project might evolve.
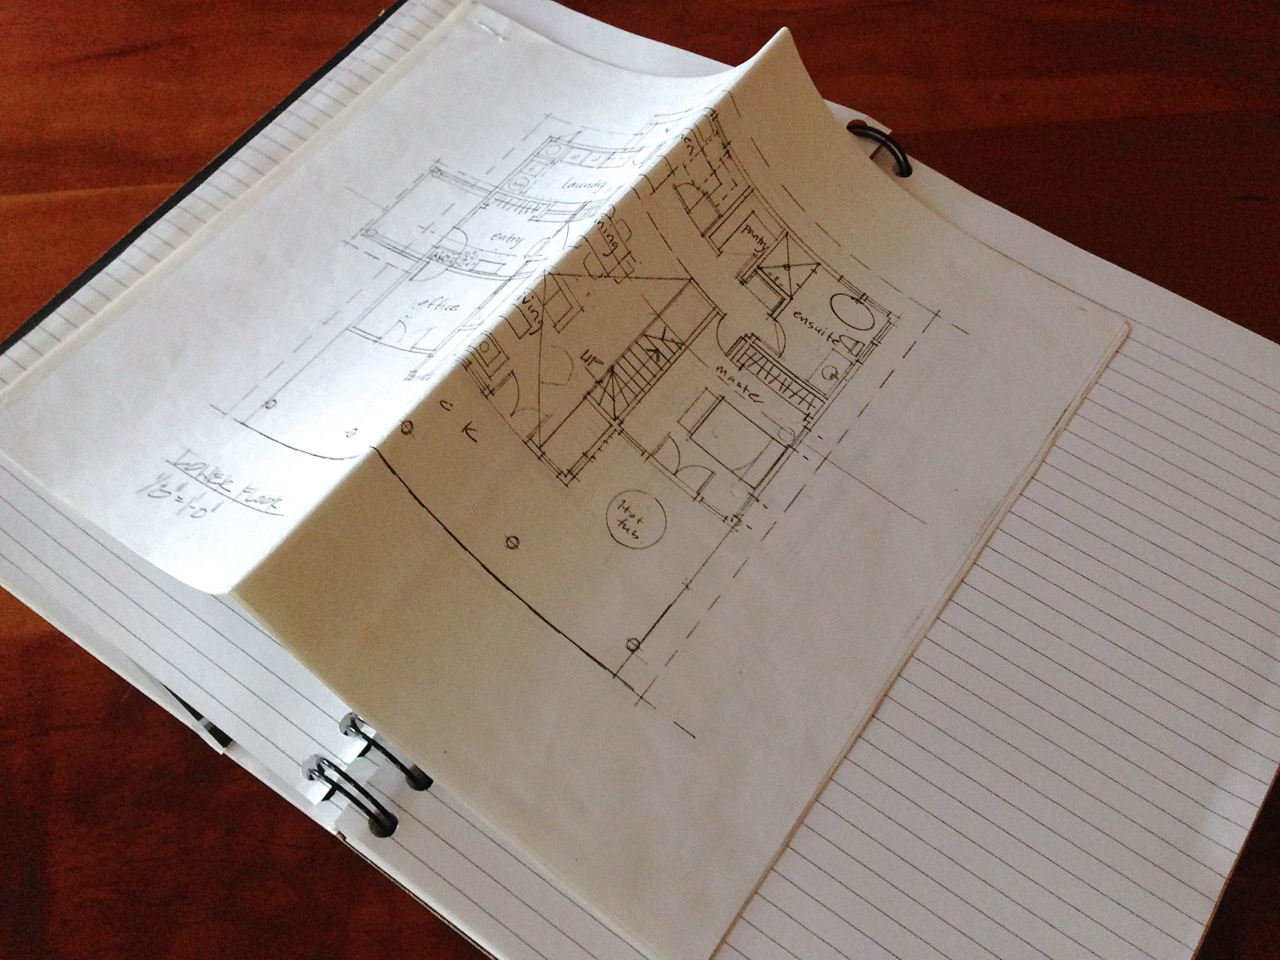
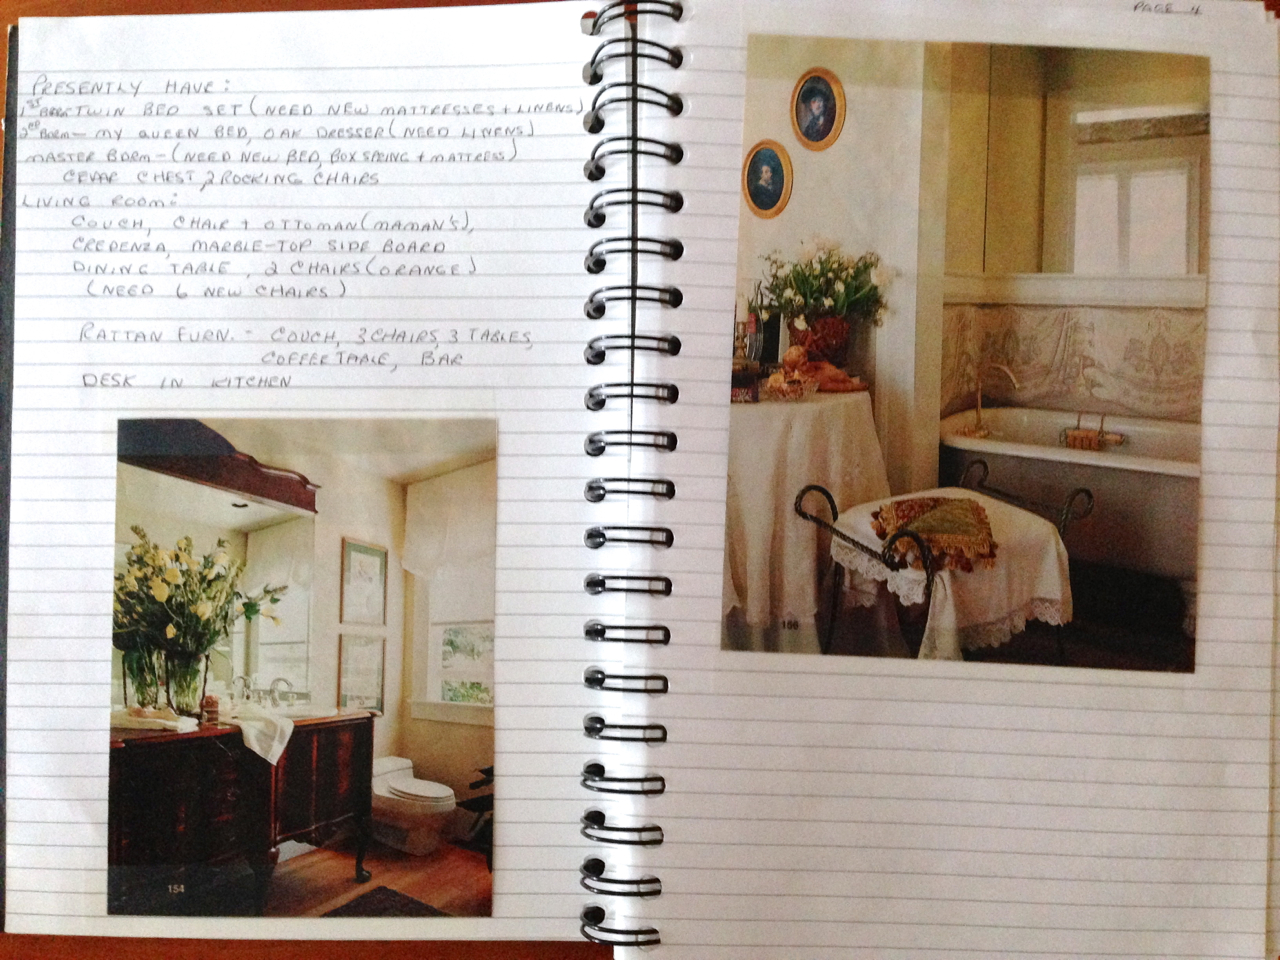
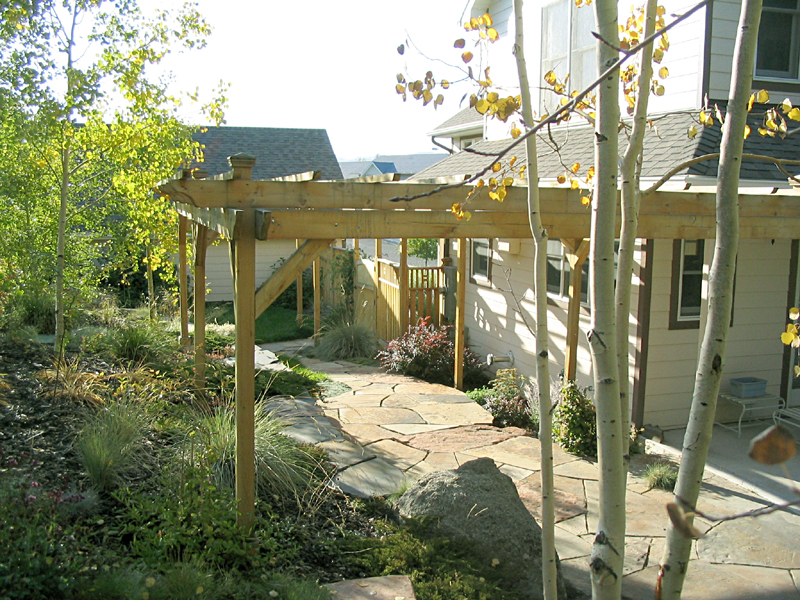
It’s always a good idea to take an inventory of what you already have whether you are designing a remodel or new construction. Especially now when we are all trying to simplify and live more conscientiously, it pays to design around the big things you already own. Mom did that when she was designing her new house, below. She also included clipped photos that showed ideas of ways she could use her present furniture in the new house.
Okay, enough about ideabooks. I think you have the idea of how Houzz originated their format. Now, go explore Houzz if you don’t already have an account and I hope you sign up, even if you don’t have a project in mind right now.
You might start with an ideabook for next year’s gardening season … or just for fixing up one room in your apartment in simple ways. Start a color ideabook, or a wall-decor ideabook (clip ways to frame art, ways to display artwork, and artwork you like) It’s always fun to dream and imagine!
Check out my ideabooks. Here are links to some favorites:
- Our Kitchen Remodeling Project
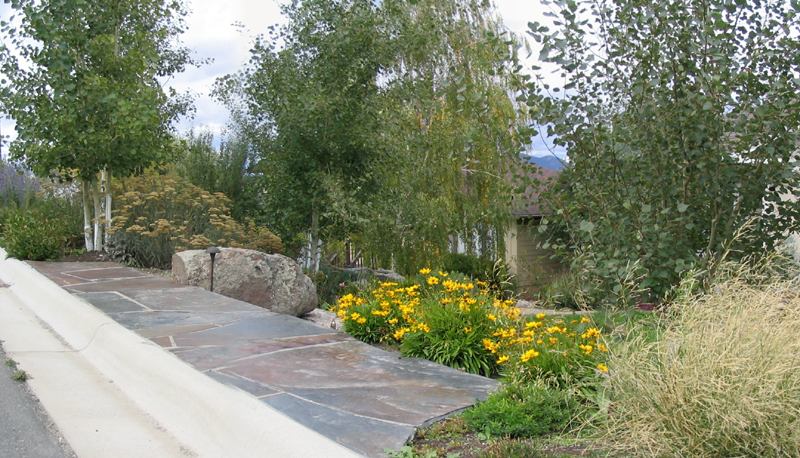
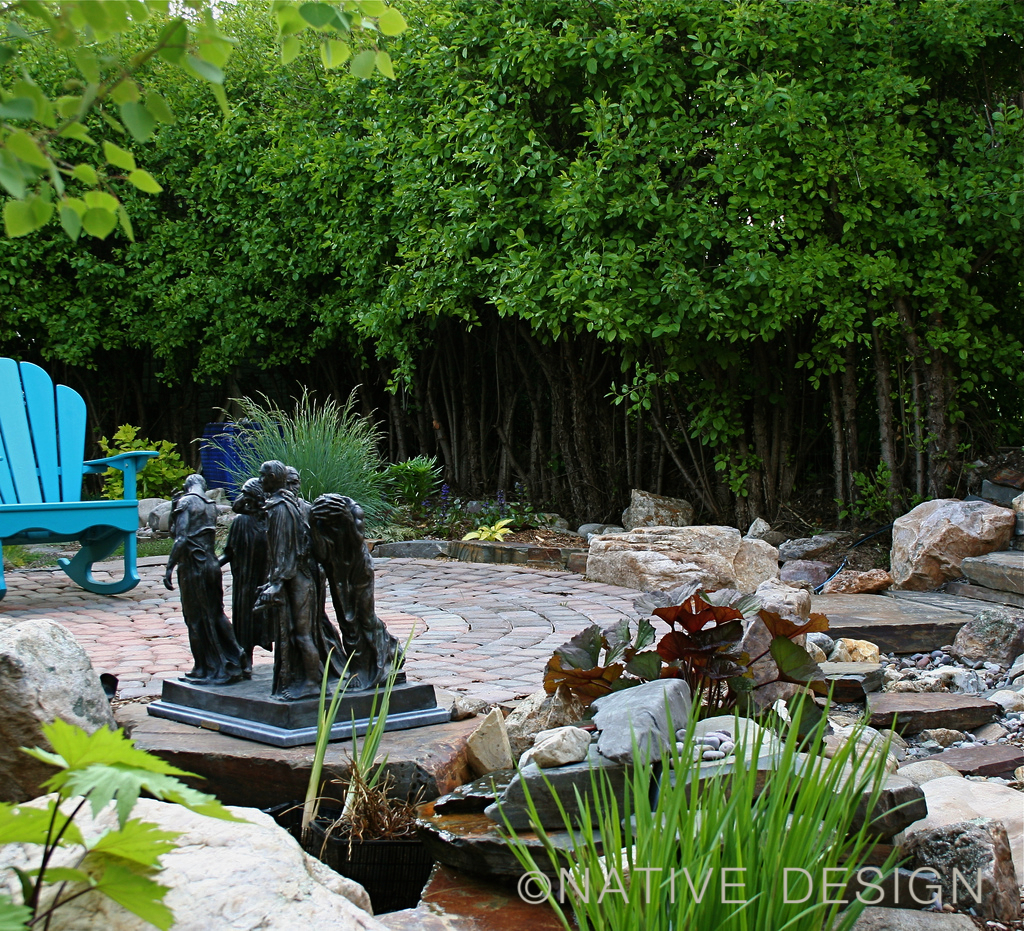
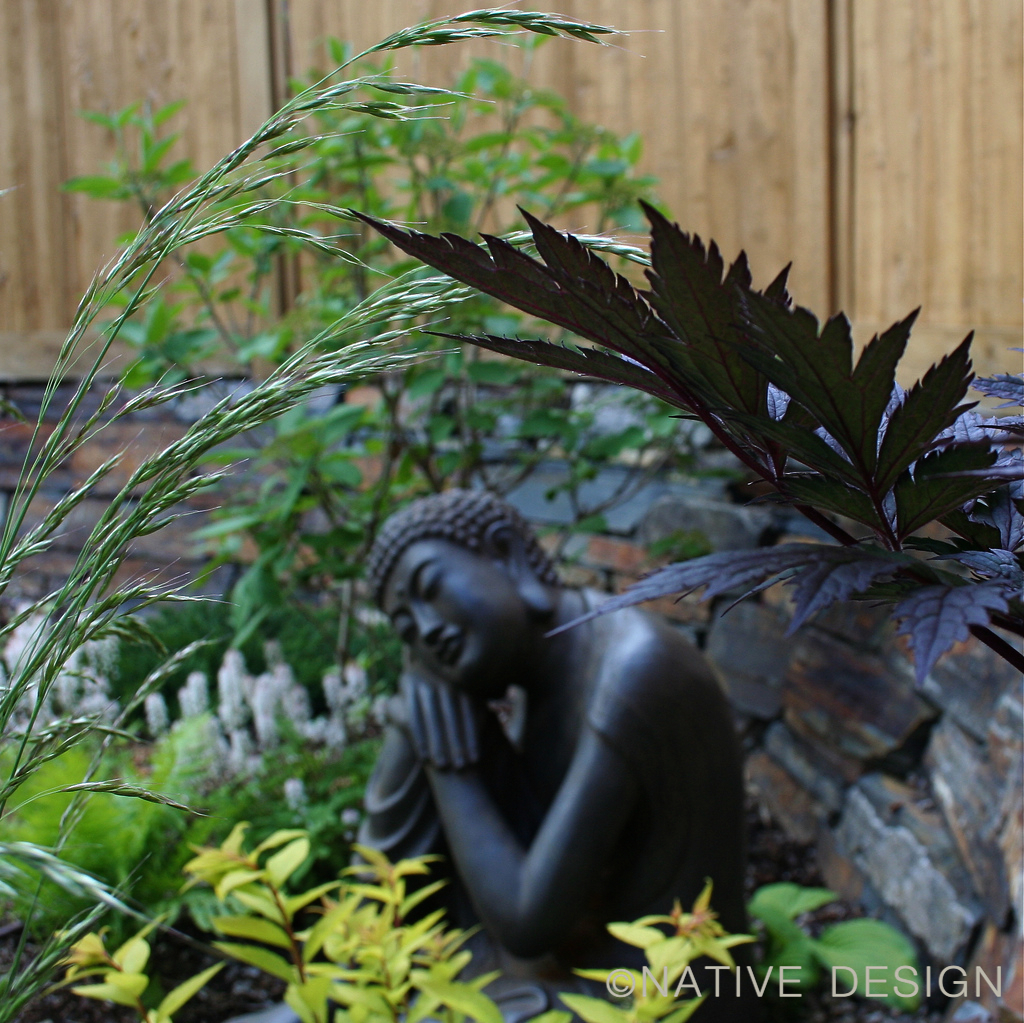
- Outside the House: Natural Garden Style
- Outside the House: Fences, Gates and Screens
- Materials and Sources
Other Links about style boards and ideabooks


