Kid’s Art: Dribble and Blow Drawings


Water :: Earth :: Wind :: Fire
Art and Art Education with the Elements
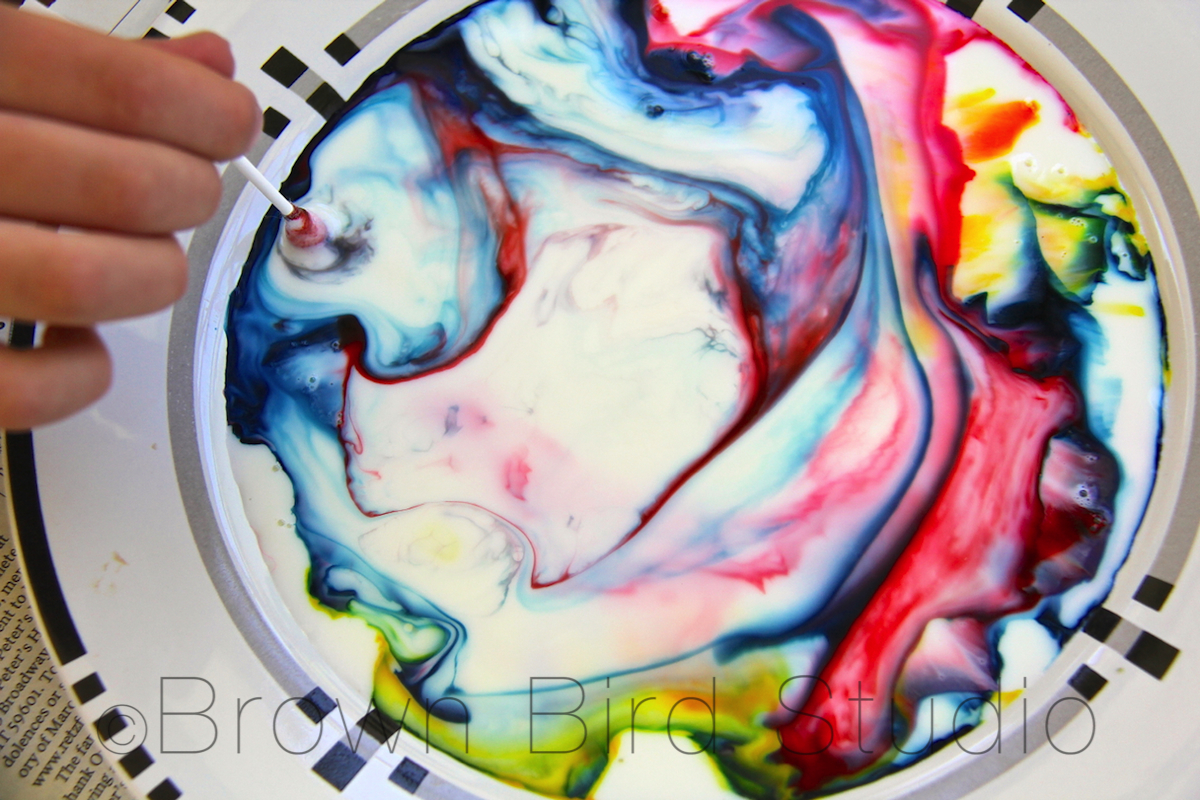
 I saw this idea on Photojojo a couple of days ago and immediately thought of doing this with Adia, who is very good at math and science. When I suggested this fun experiment for today, she was all over it! She remembered seeing the project on a website she called “Science Steve.” Here is an excerpt from Steve’s post about this Color Changing Milk:
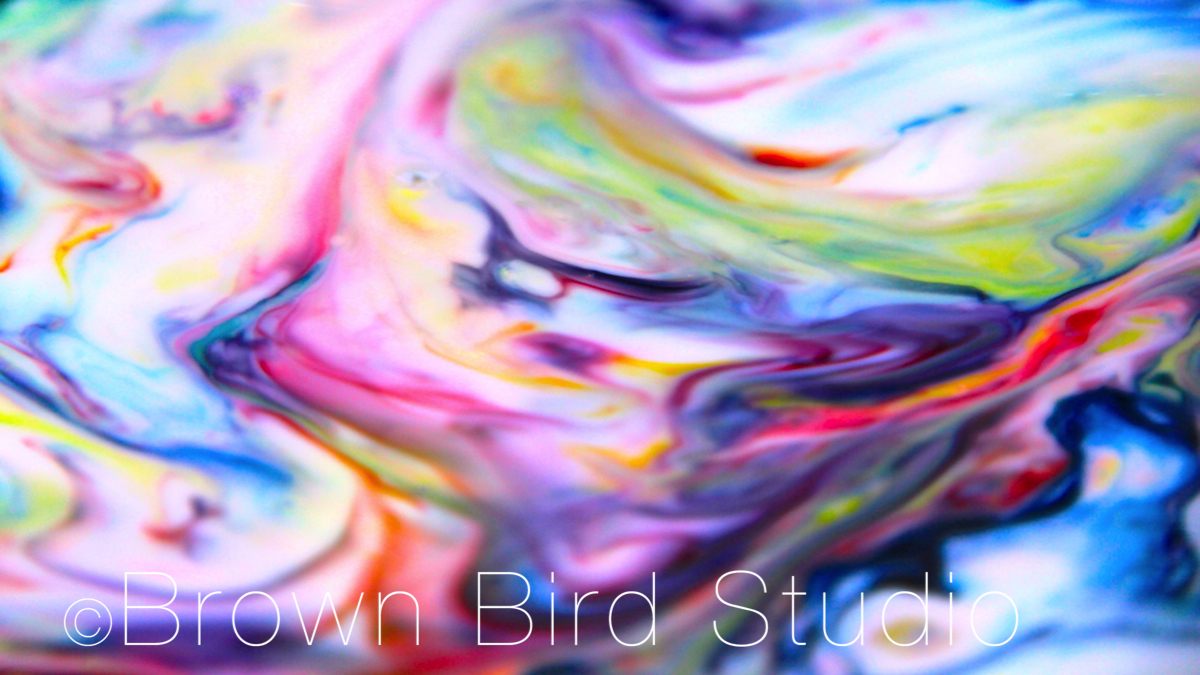
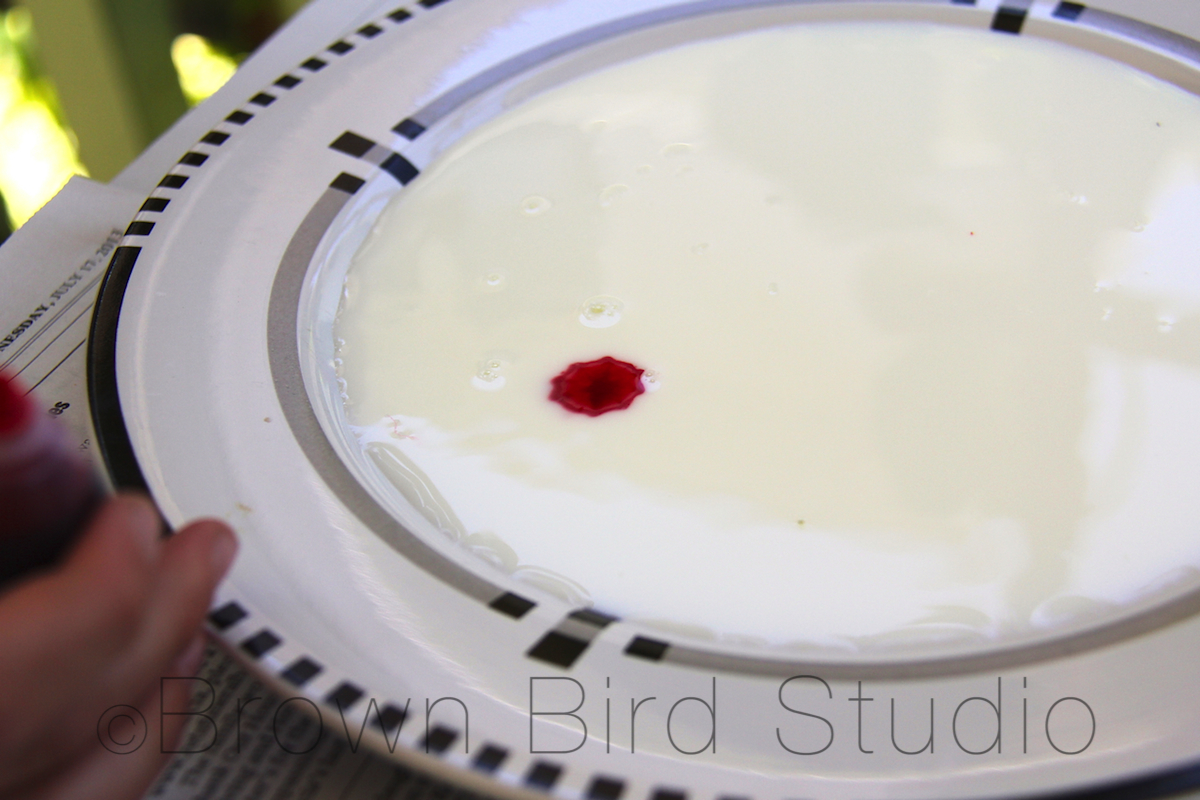
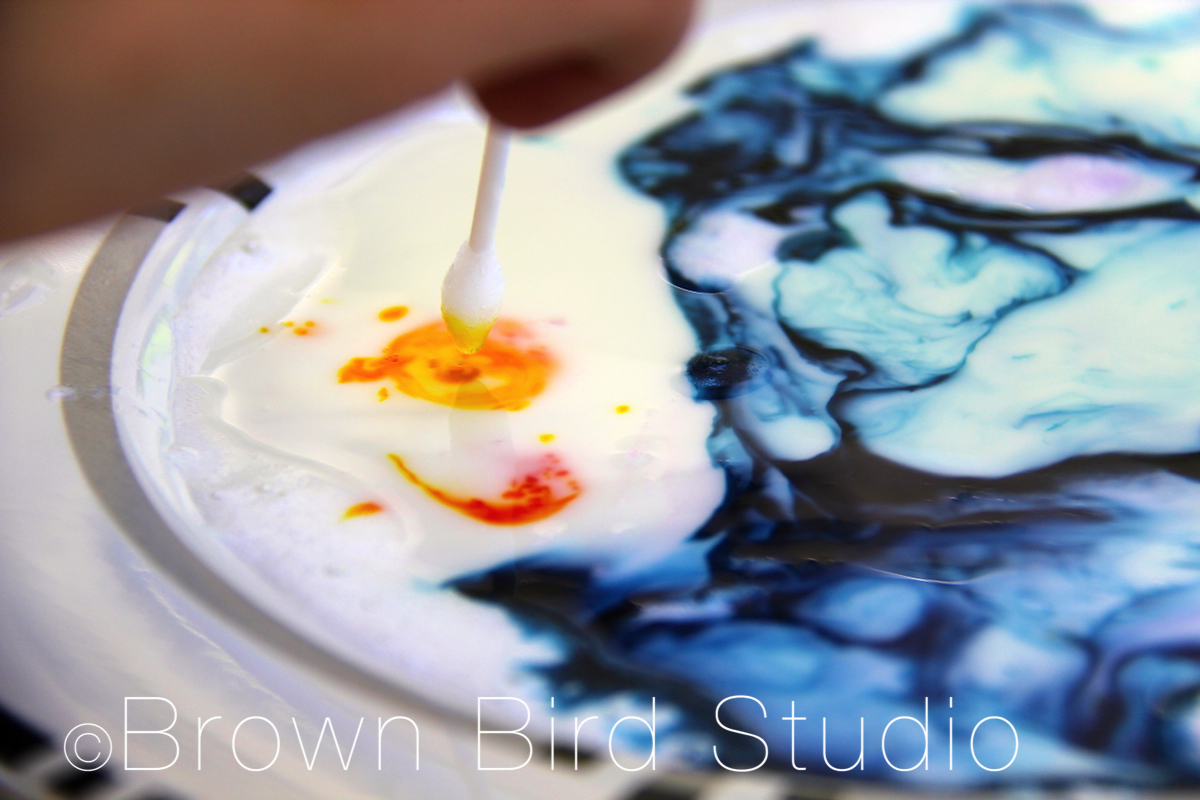
The secret of the bursting colors is the chemistry of that tiny drop of soap. Dish soap, because of its bipolar characteristics (nonpolar on one end and polar on the other), weakens the chemical bonds that hold the proteins and fats in solution. The soap’s polar, or hydrophilic (water-loving), end dissolves in water, and its hydrophobic (water-fearing) end attaches to a fat globule in the milk. This is when the fun begins.
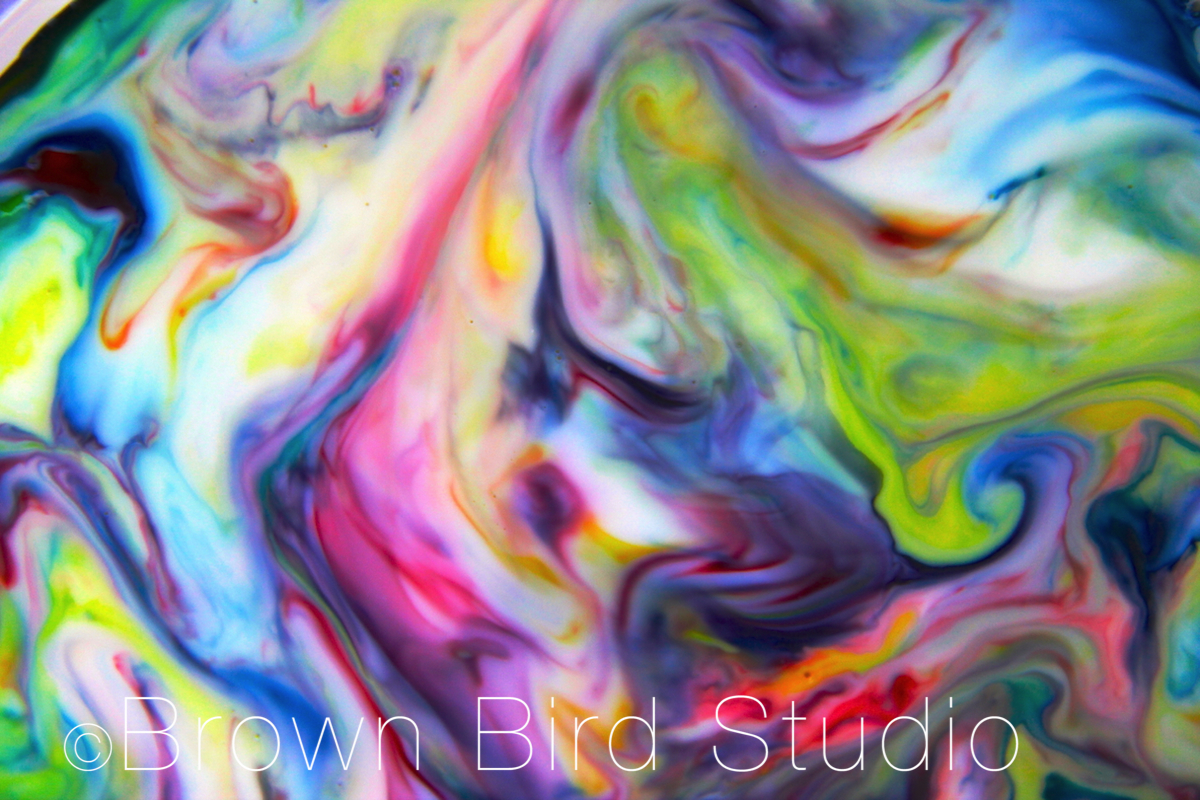
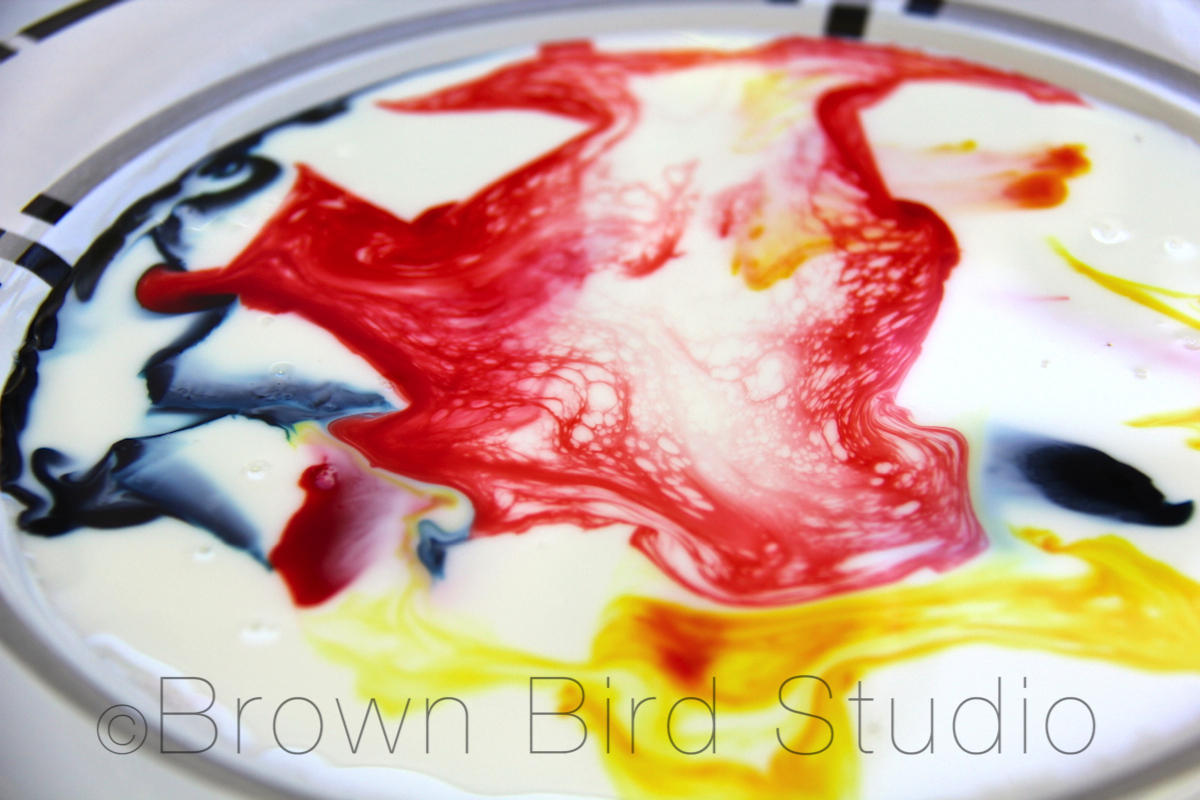
The molecules of fat bend, roll, twist, and contort in all directions as the soap molecules race around to join up with the fat molecules. During all of this fat molecule gymnastics, the food coloring molecules are bumped and shoved everywhere, providing an easy way to observe all the invisible activity. As the soap becomes evenly mixed with the milk, the action slows down and eventually stops.
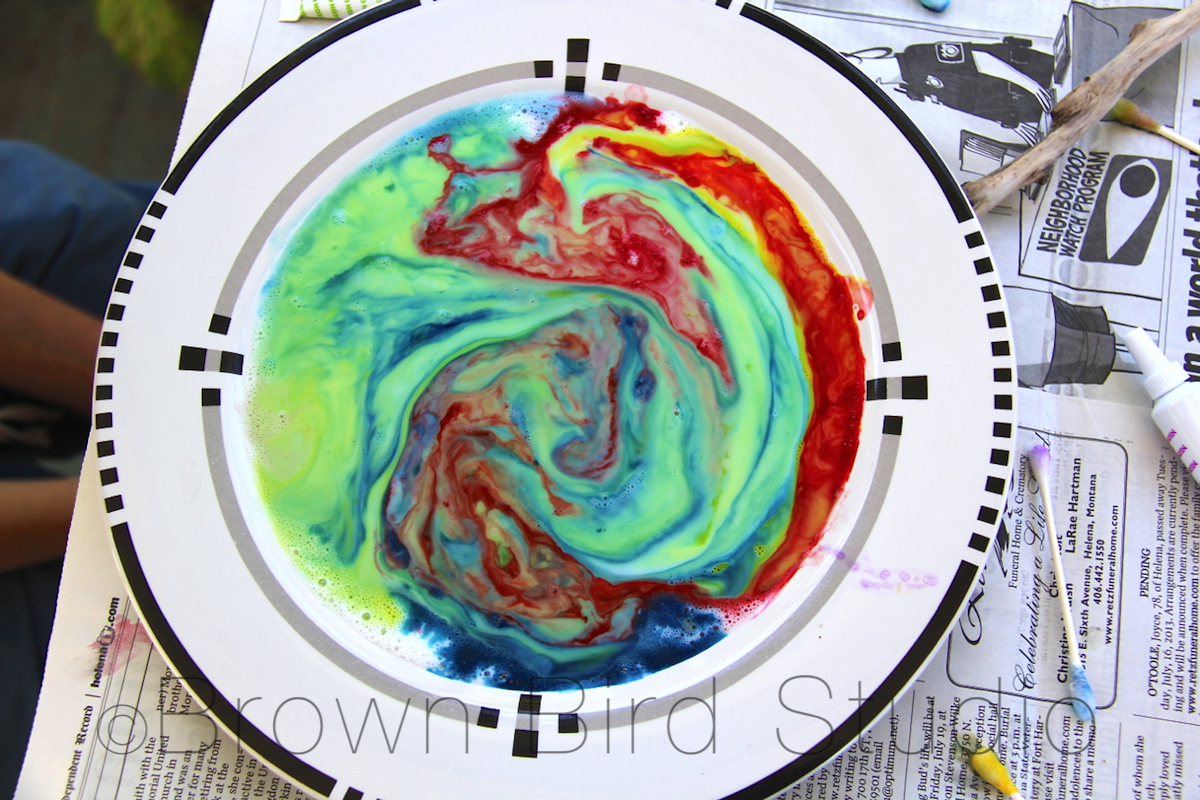
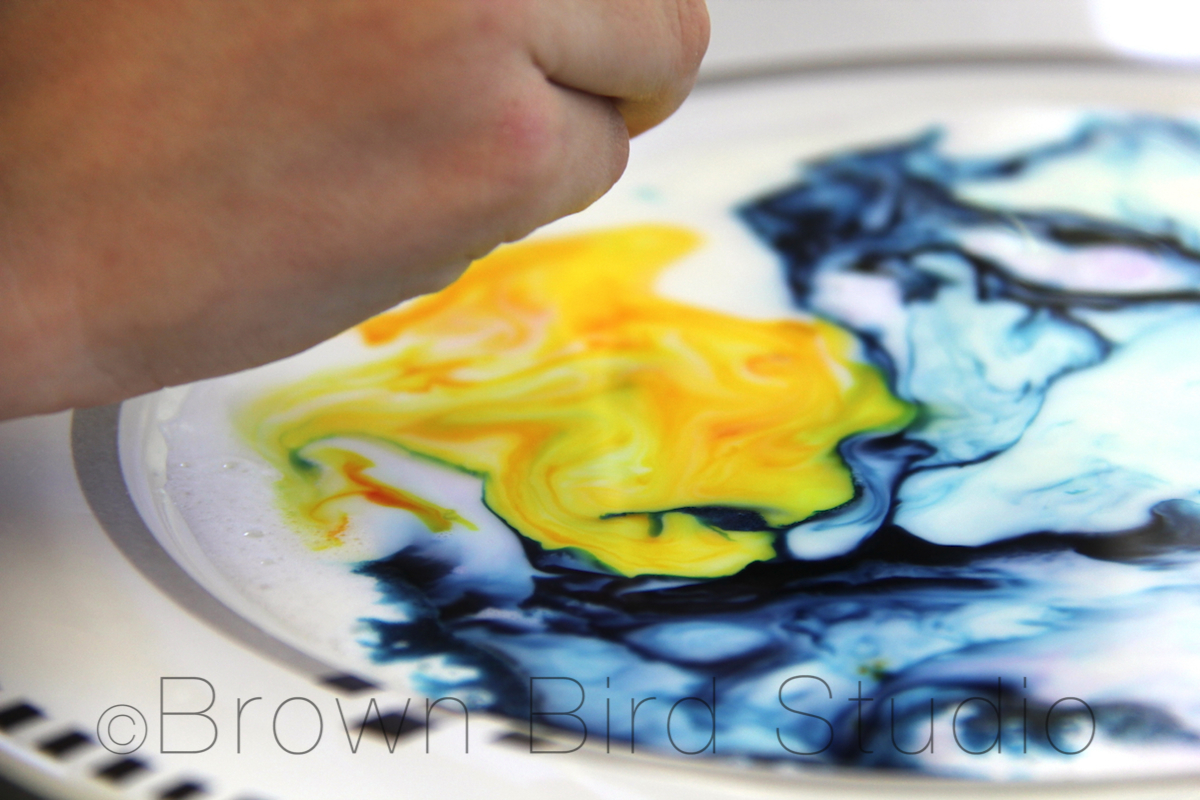
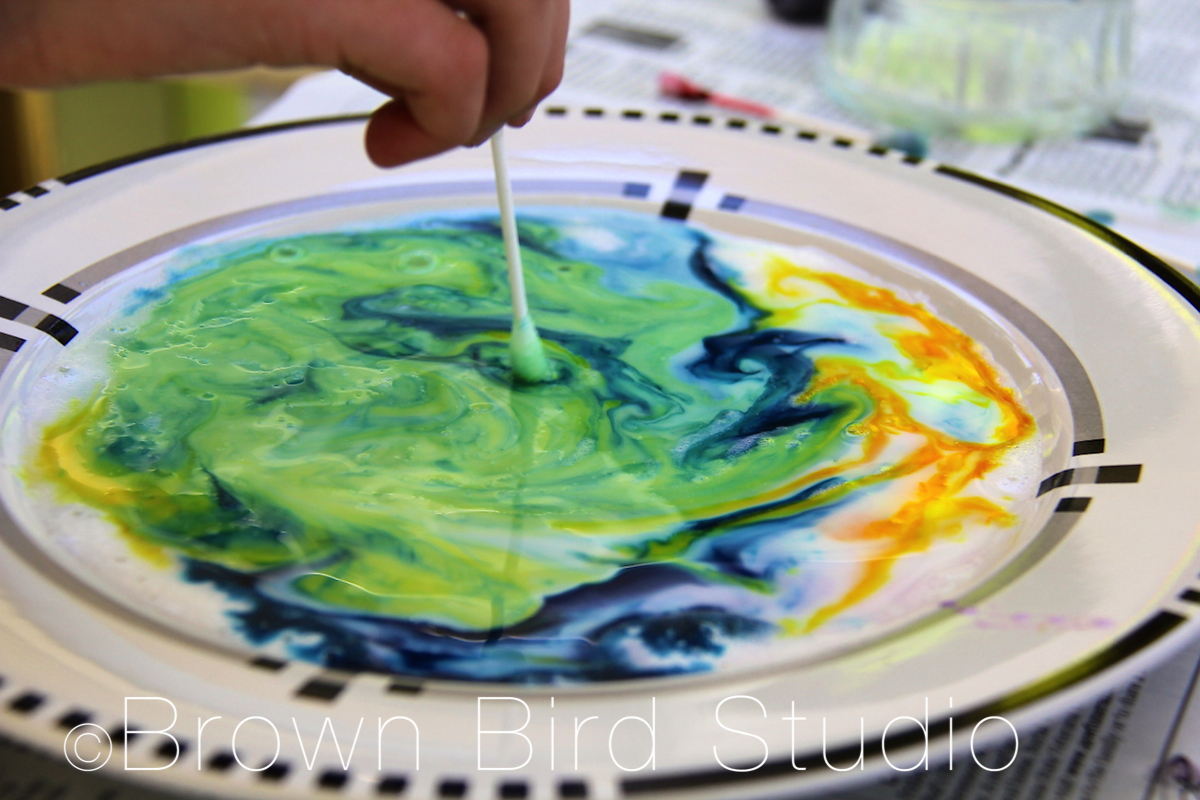
 Steve’s description of this experiment explains that it’s important not to stir the colors and the milk with the cotton swabs, but Adia couldn’t stop herself. She seemed much more interested in seeing what would happen when you stir all the colors together (you get a grayish tan color that looks totally unappetizing!)
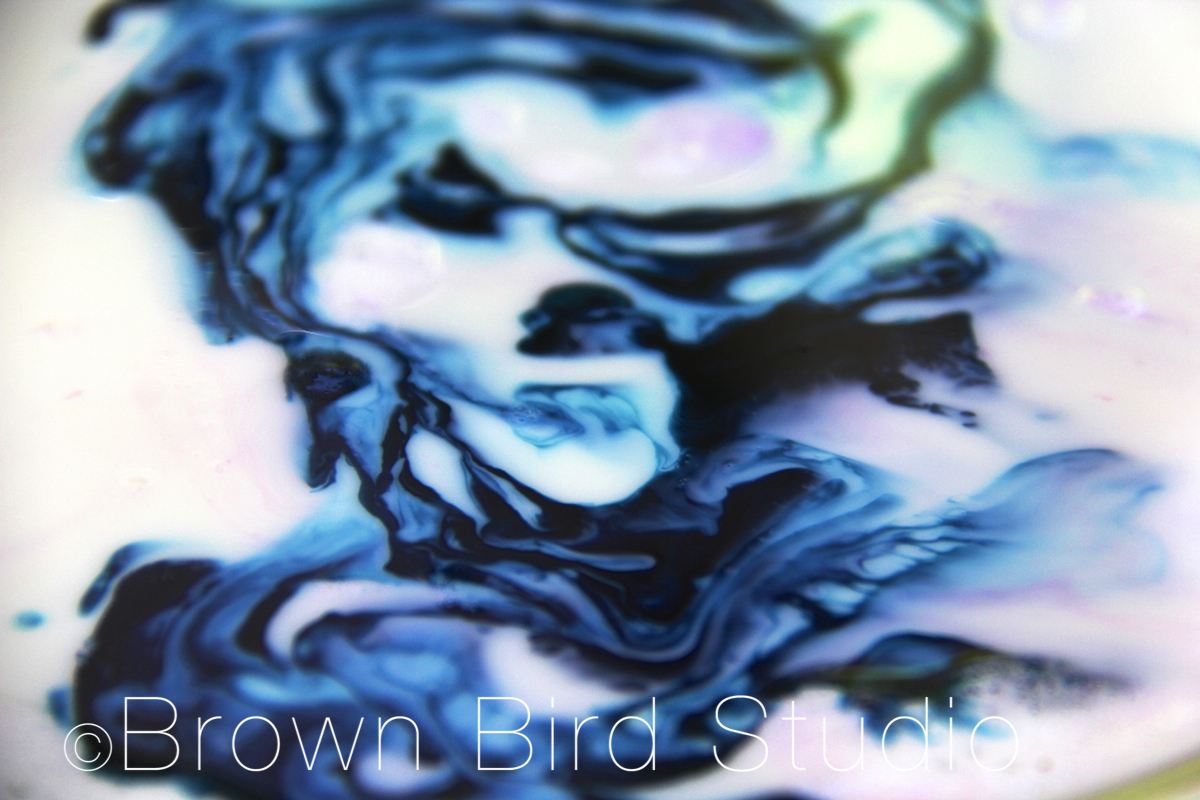
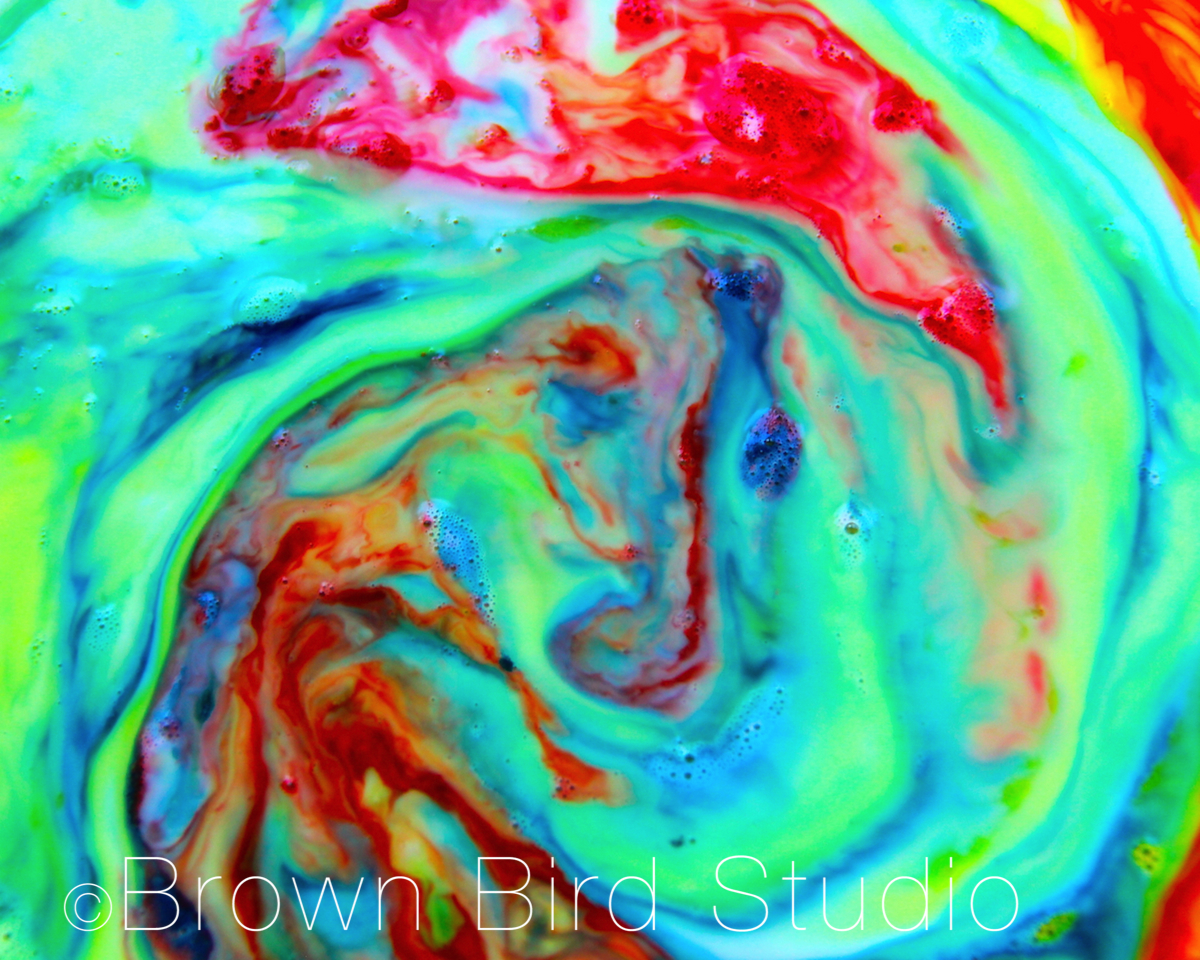
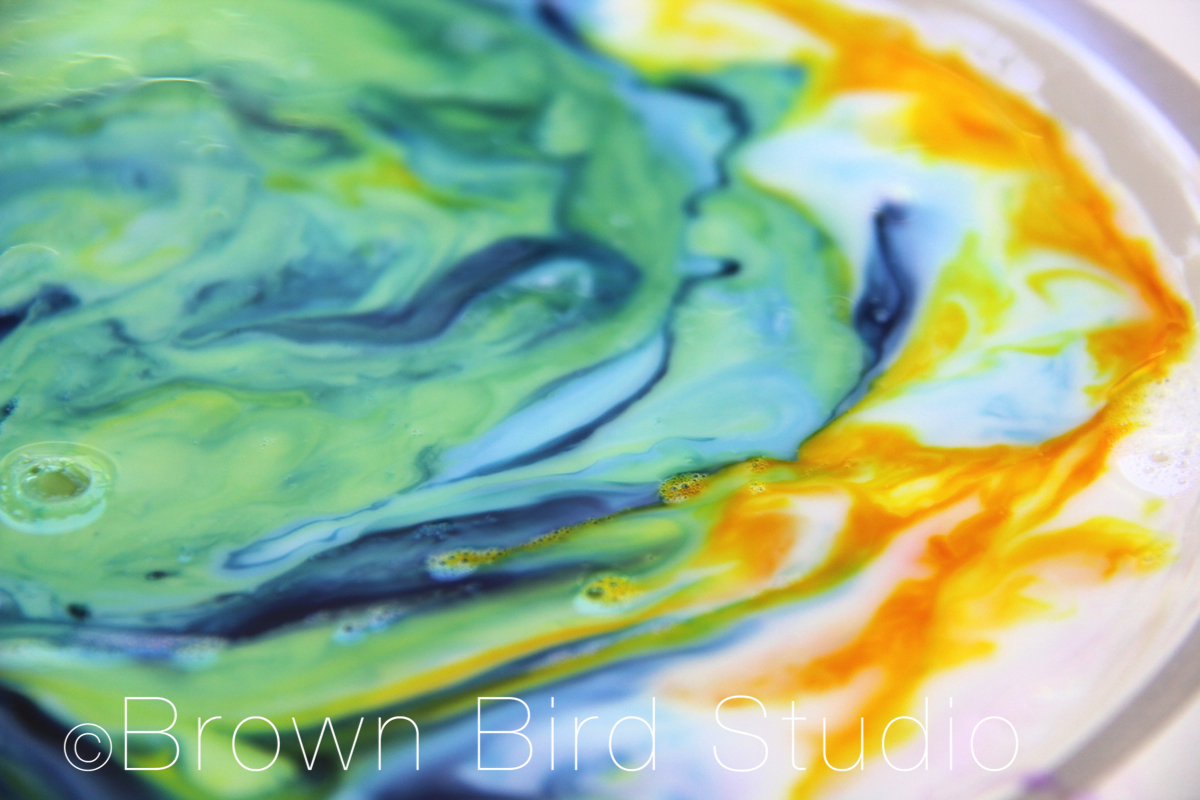
I convinced Adia to let me to take photos along the way, before the colors were all mashed together. Aren’t these cool? The blue one looks a little like an angry face.
What You Will Need
How to Make your Milk Swirl Paintings

LINKS AND IDEAS:
Photojojo has a very clear, short video showing how to do this science/art project
Steve Spangler’s Science Experiment, Color Changing Milk. He even has a section on tips to turn this fun activity into a science fair experiment.
Here is a detailed description with great progress photos, of Steve’s color-changing-milk experiment.

Nature is inside art as its content, not outside as its model.
–Northrop Frye
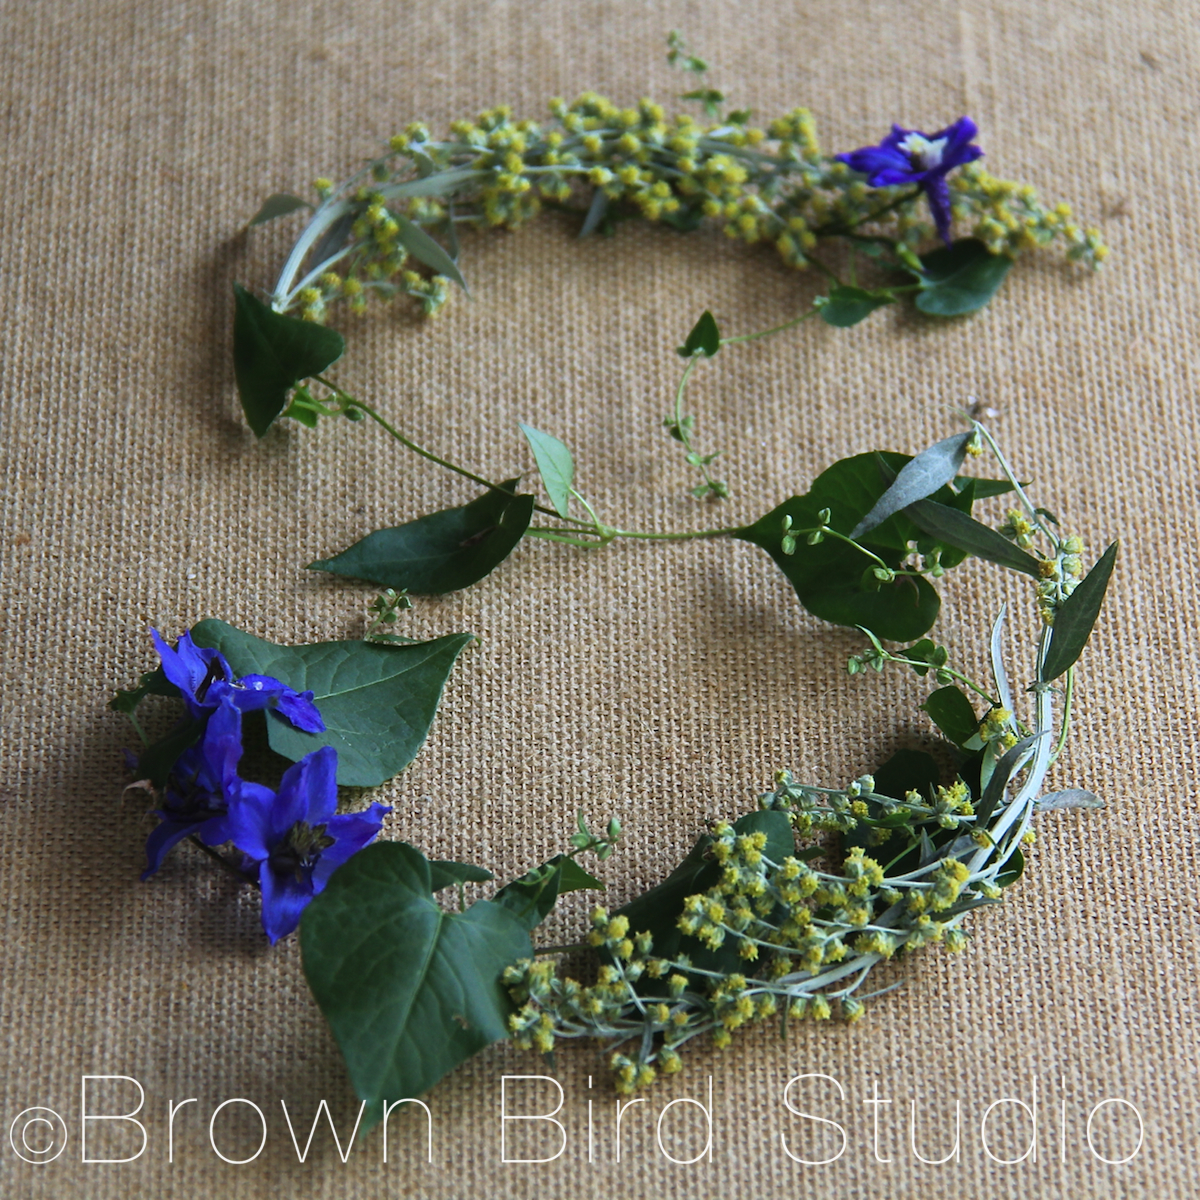
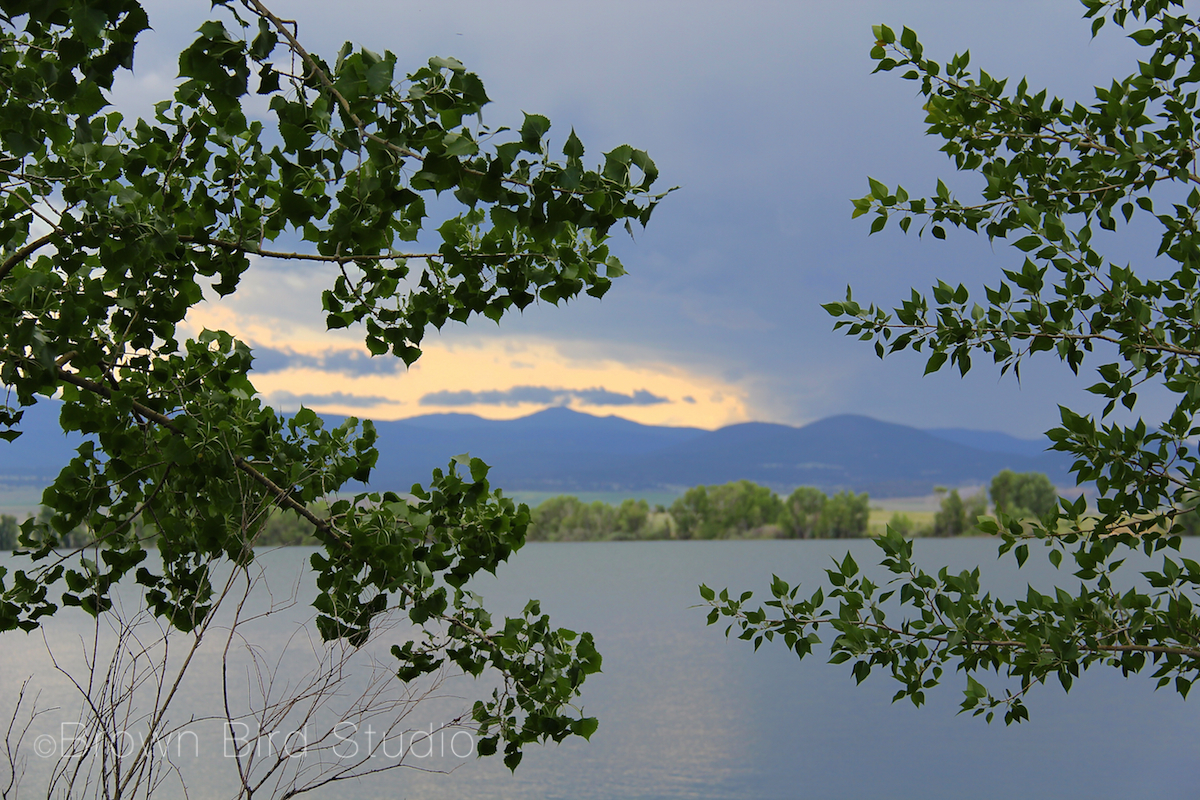
Nature is the source and content of most of my artistic and creative work and it’s right outside our home. In Helena, it literally takes just a couple of minutes to get from “town” out into a more natural environment. But even right in town, all I have to do is get down on my hands and knees with my eyes, my camera, my sketchbook, my sense of wonder… to find something inspiring and worth using in my artwork. Not only am I inspired to draw/paint/photography and write when I take in Nature’s sweetness — I also know when I look closely and pay attention, that I am part of Nature. Try it! It feels so good.
I also love discovering other artists whose inspirations are obviously directly from nature. Danish ceramic artist, Lotte Glob fits that category. I came across her work during the winter of 2006 and since then she has built an incredible home and studio on her land. It’s really one of the coolest houses I’ve ever seen.
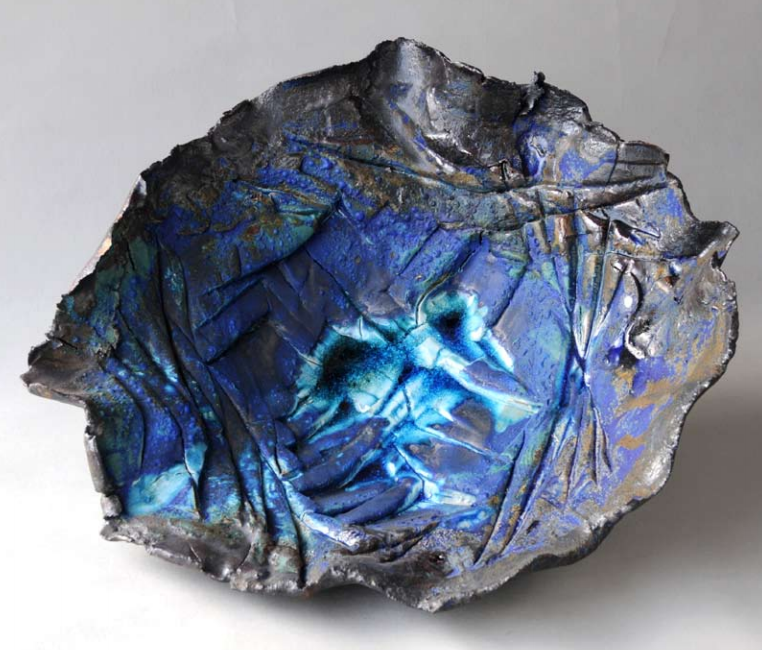
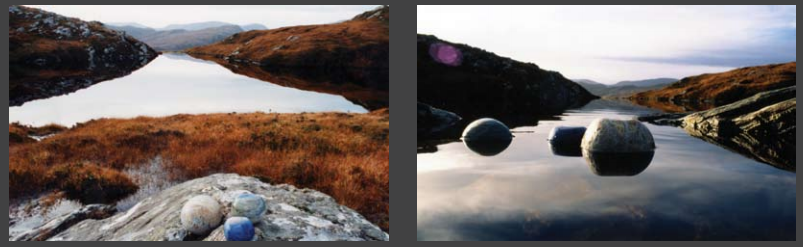
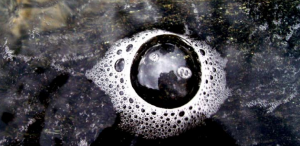
Glob’s ceramic vessels make me swoon! Her work is intimately inspired by natural forms she finds, especially around the “Ultimate Rock Garden,” as she calls her studio and home on the shore of Loch Eriboll in Scotland.
Glob has a beautiful online portfolio exhibiting her ceramic sculptures, books, fountains, tiles and bowls. These are incredibly beautiful pieces — if you are at all attracted to artwork based on natural colors, shapes and textures, check out her portfolio.
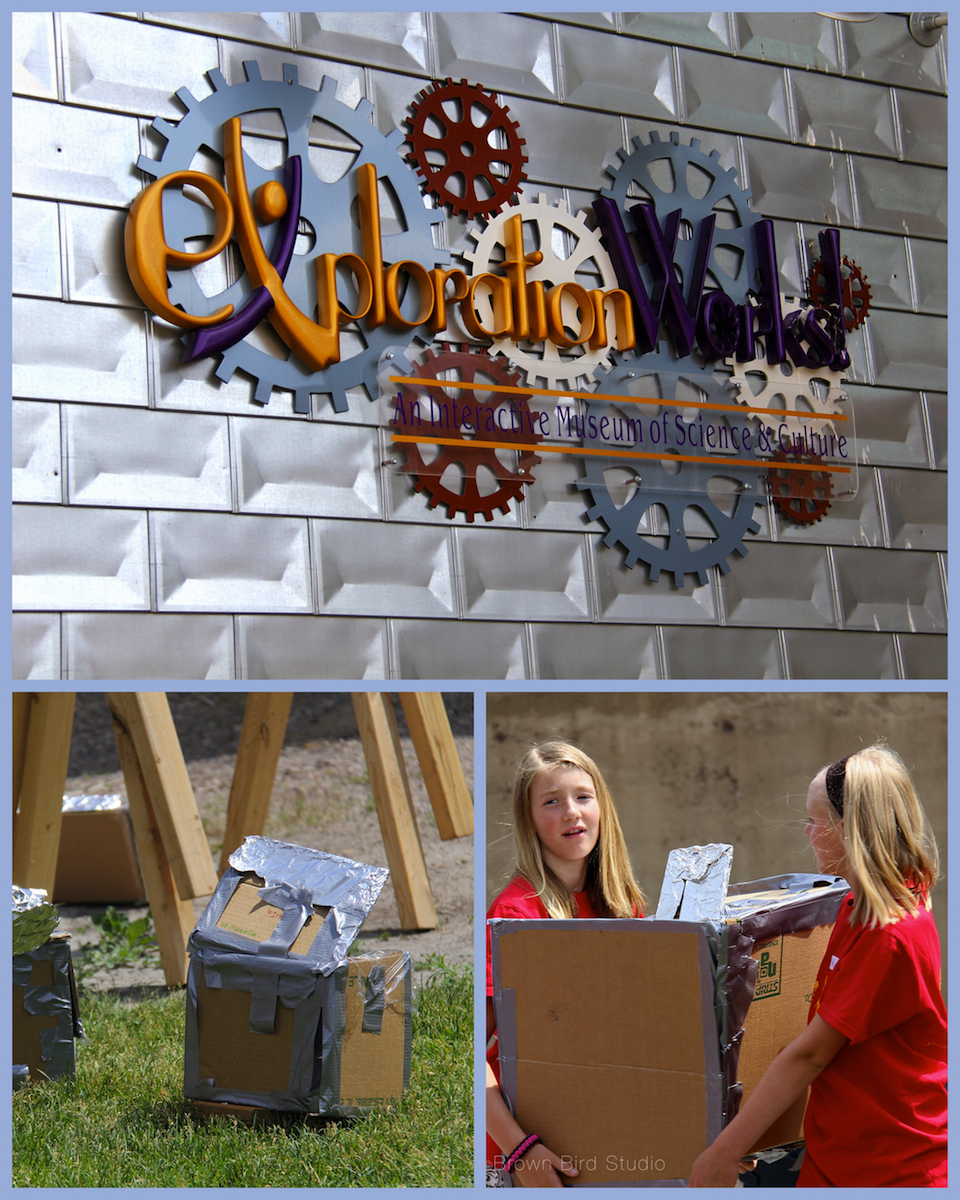
It has been 10 days since Ema and Adia and I spent the day together making art, playing with Charlie and doin other summer kid stuff. I actually missed them. And I think maybe they might have missed playing with me too. When I picked them up at the Exploration Works Science Museum at noon, they both gave Charlie and me big hugs and smiles.
So … we went to a fast food place for lunch (it shall remain unnamed — grin) just to do something totally unexpected and different. The girls liked it. (I remembered why I don’t eat there.)
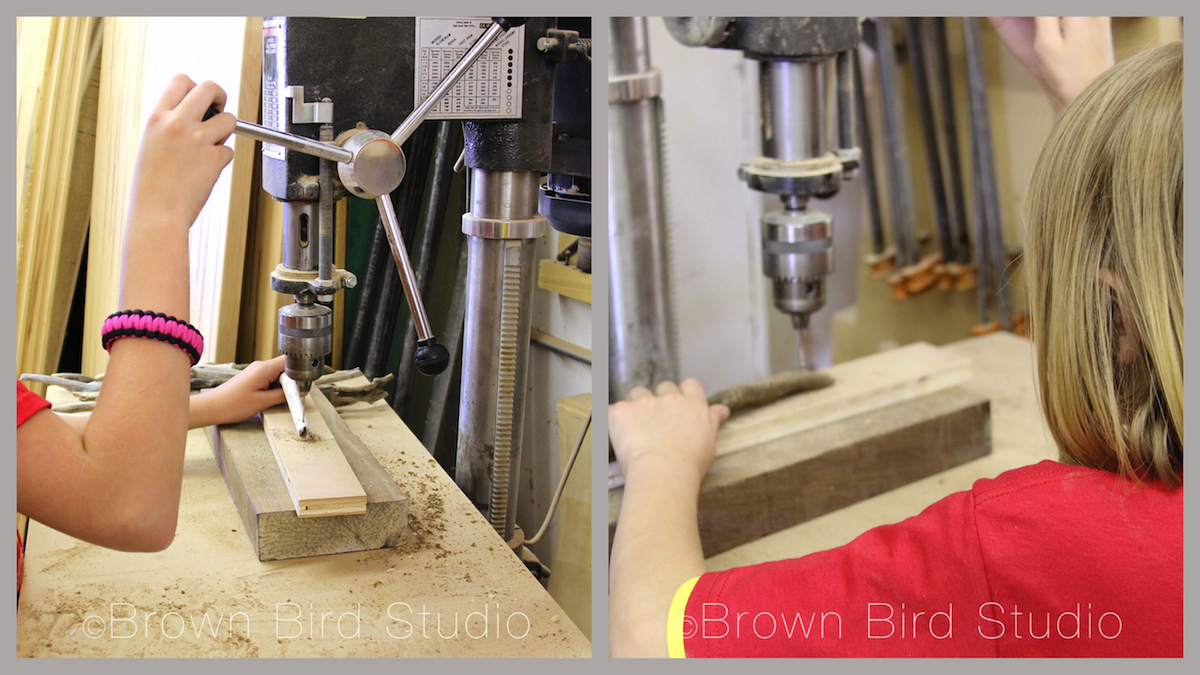
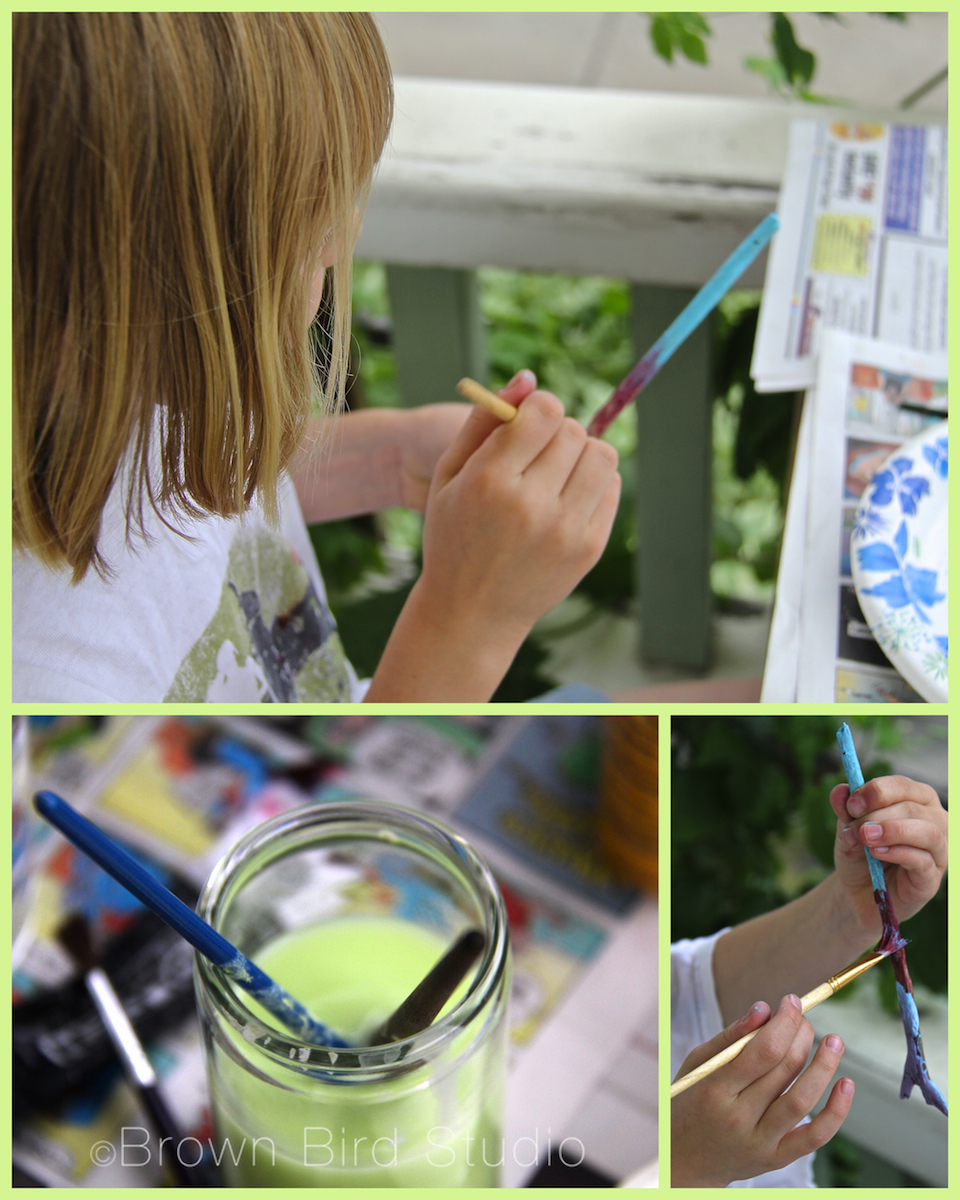
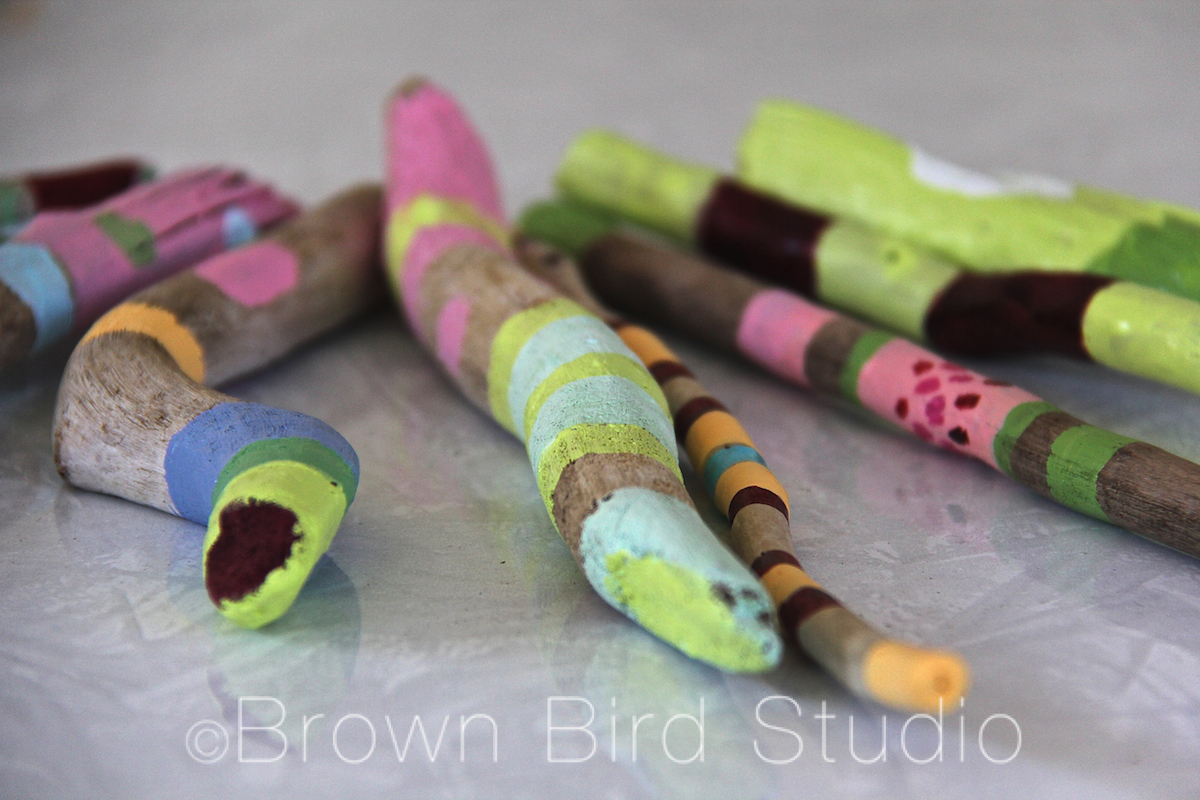
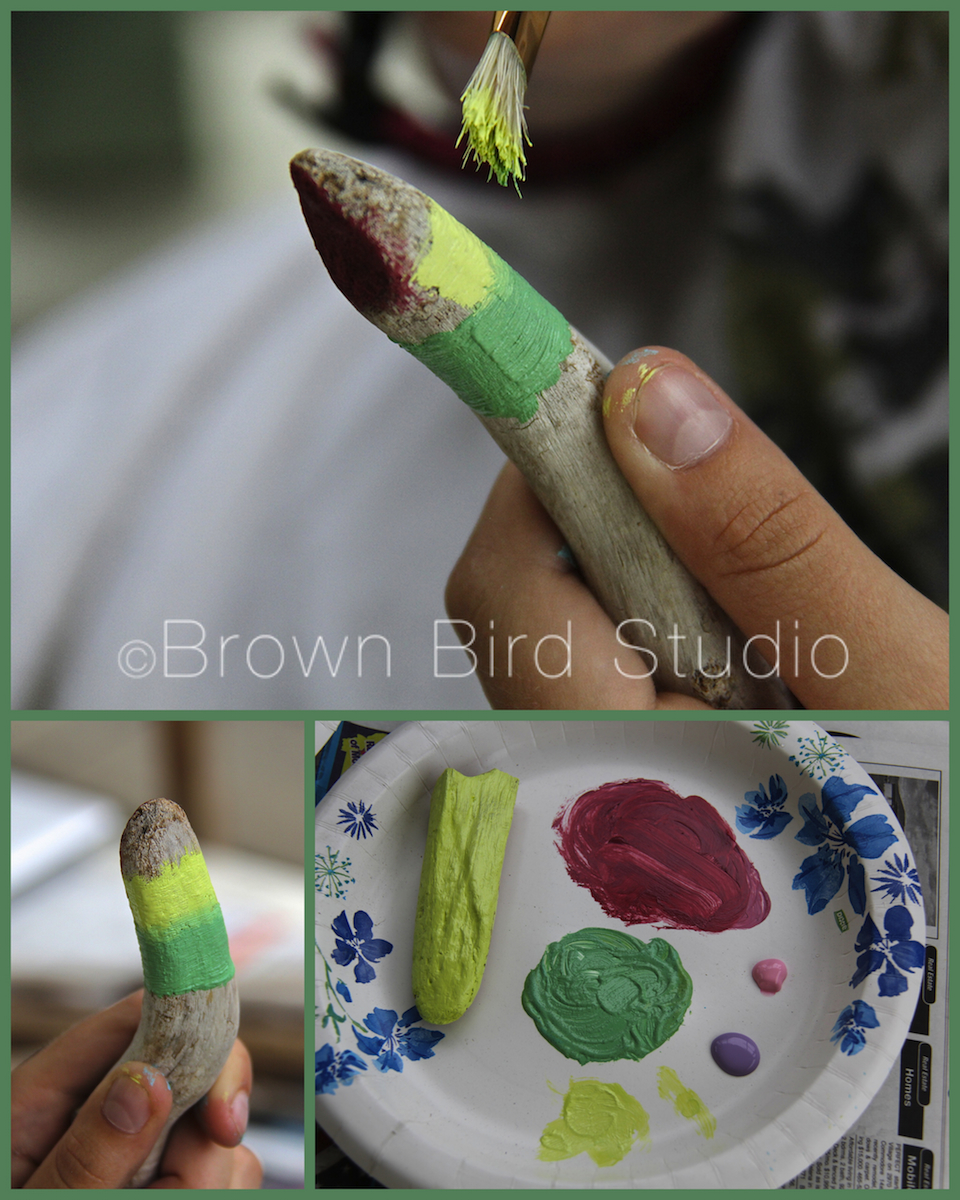
Thunder and a sweet summer rain kept us company while we painted our sticks. It’s my favorite kind of weather — a warm thunderstorm when you’re nice n’ dry on the porch so you can feel the hairs rising on your skin but you don’t get drenching wet. Welp, that was fun! And definitely something 8 to 10 year olds can handle.

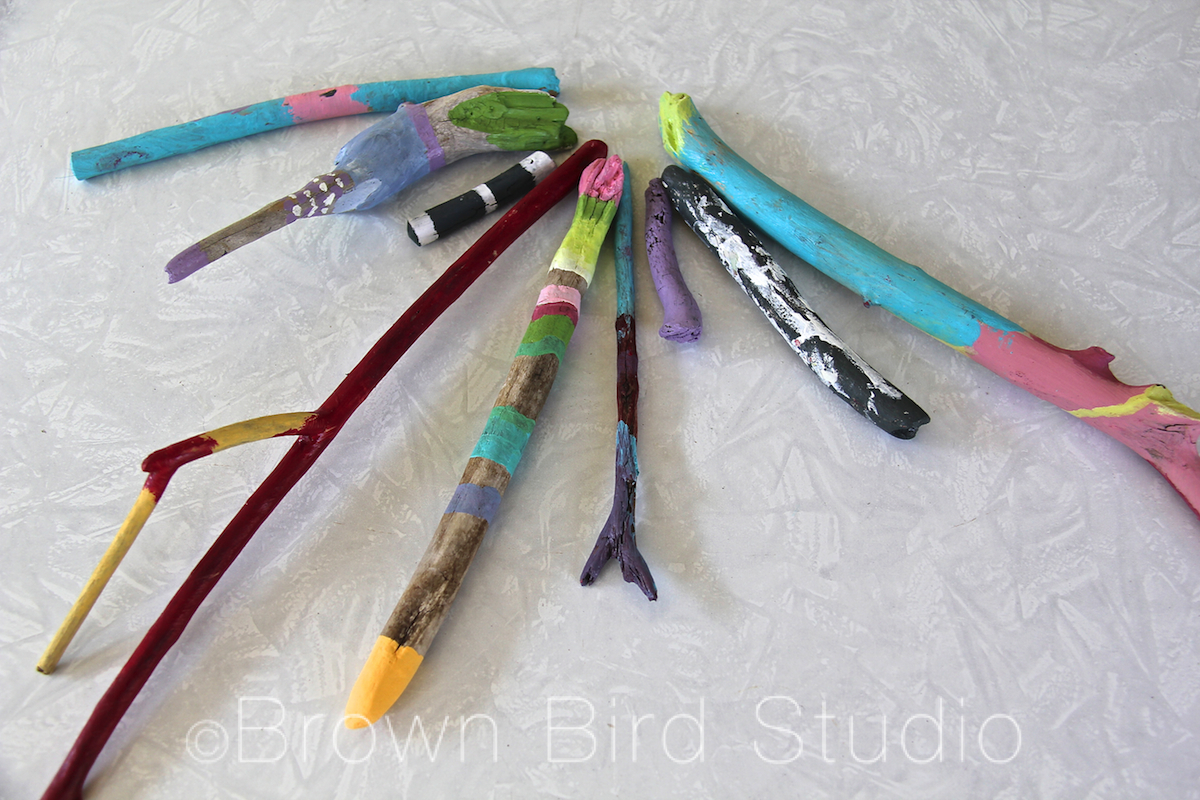
Tomorrow it’s time to turn in our Chalk It Up Helena applications. We will have a cooking lesson (Pepperoni Pizza Puffs) and try to finish our stick projects. We’ll show you the finished results next time, okay?
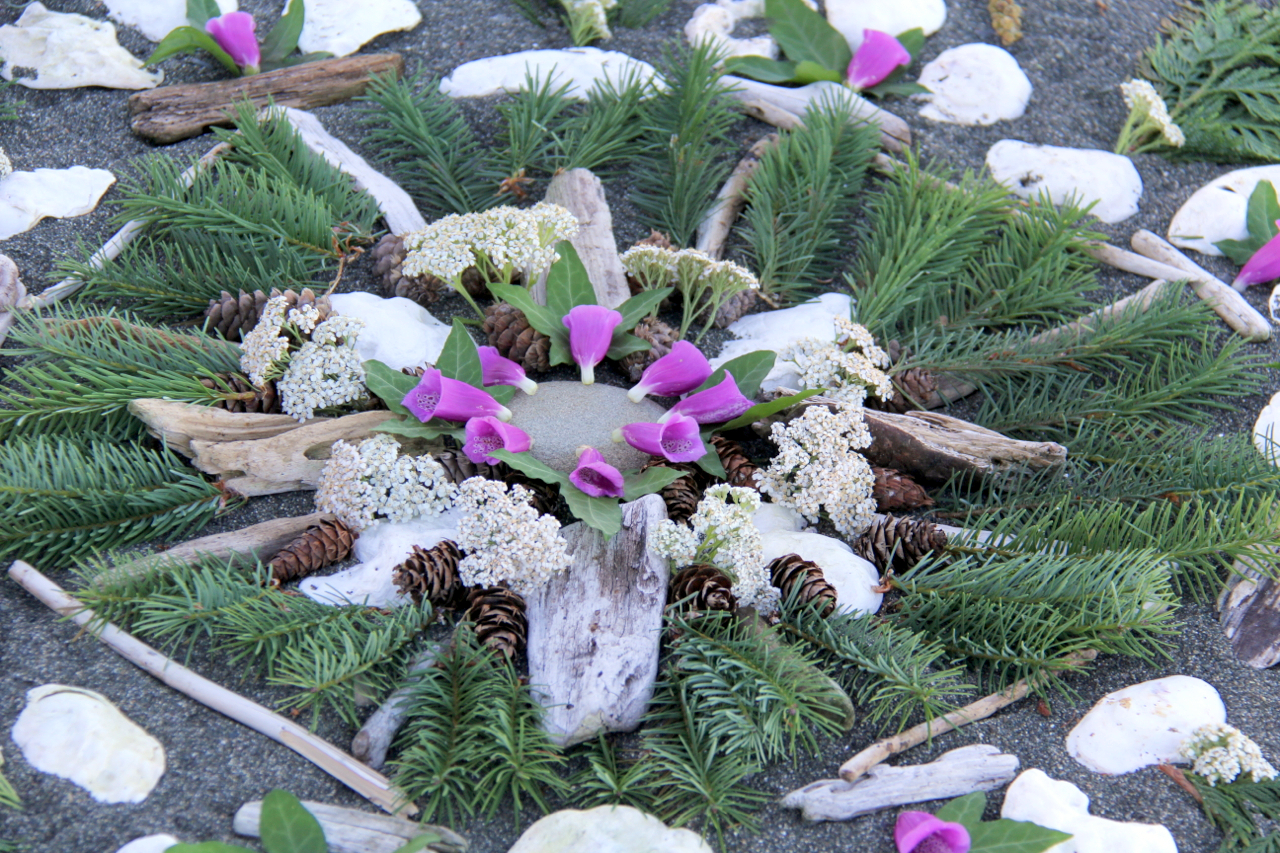
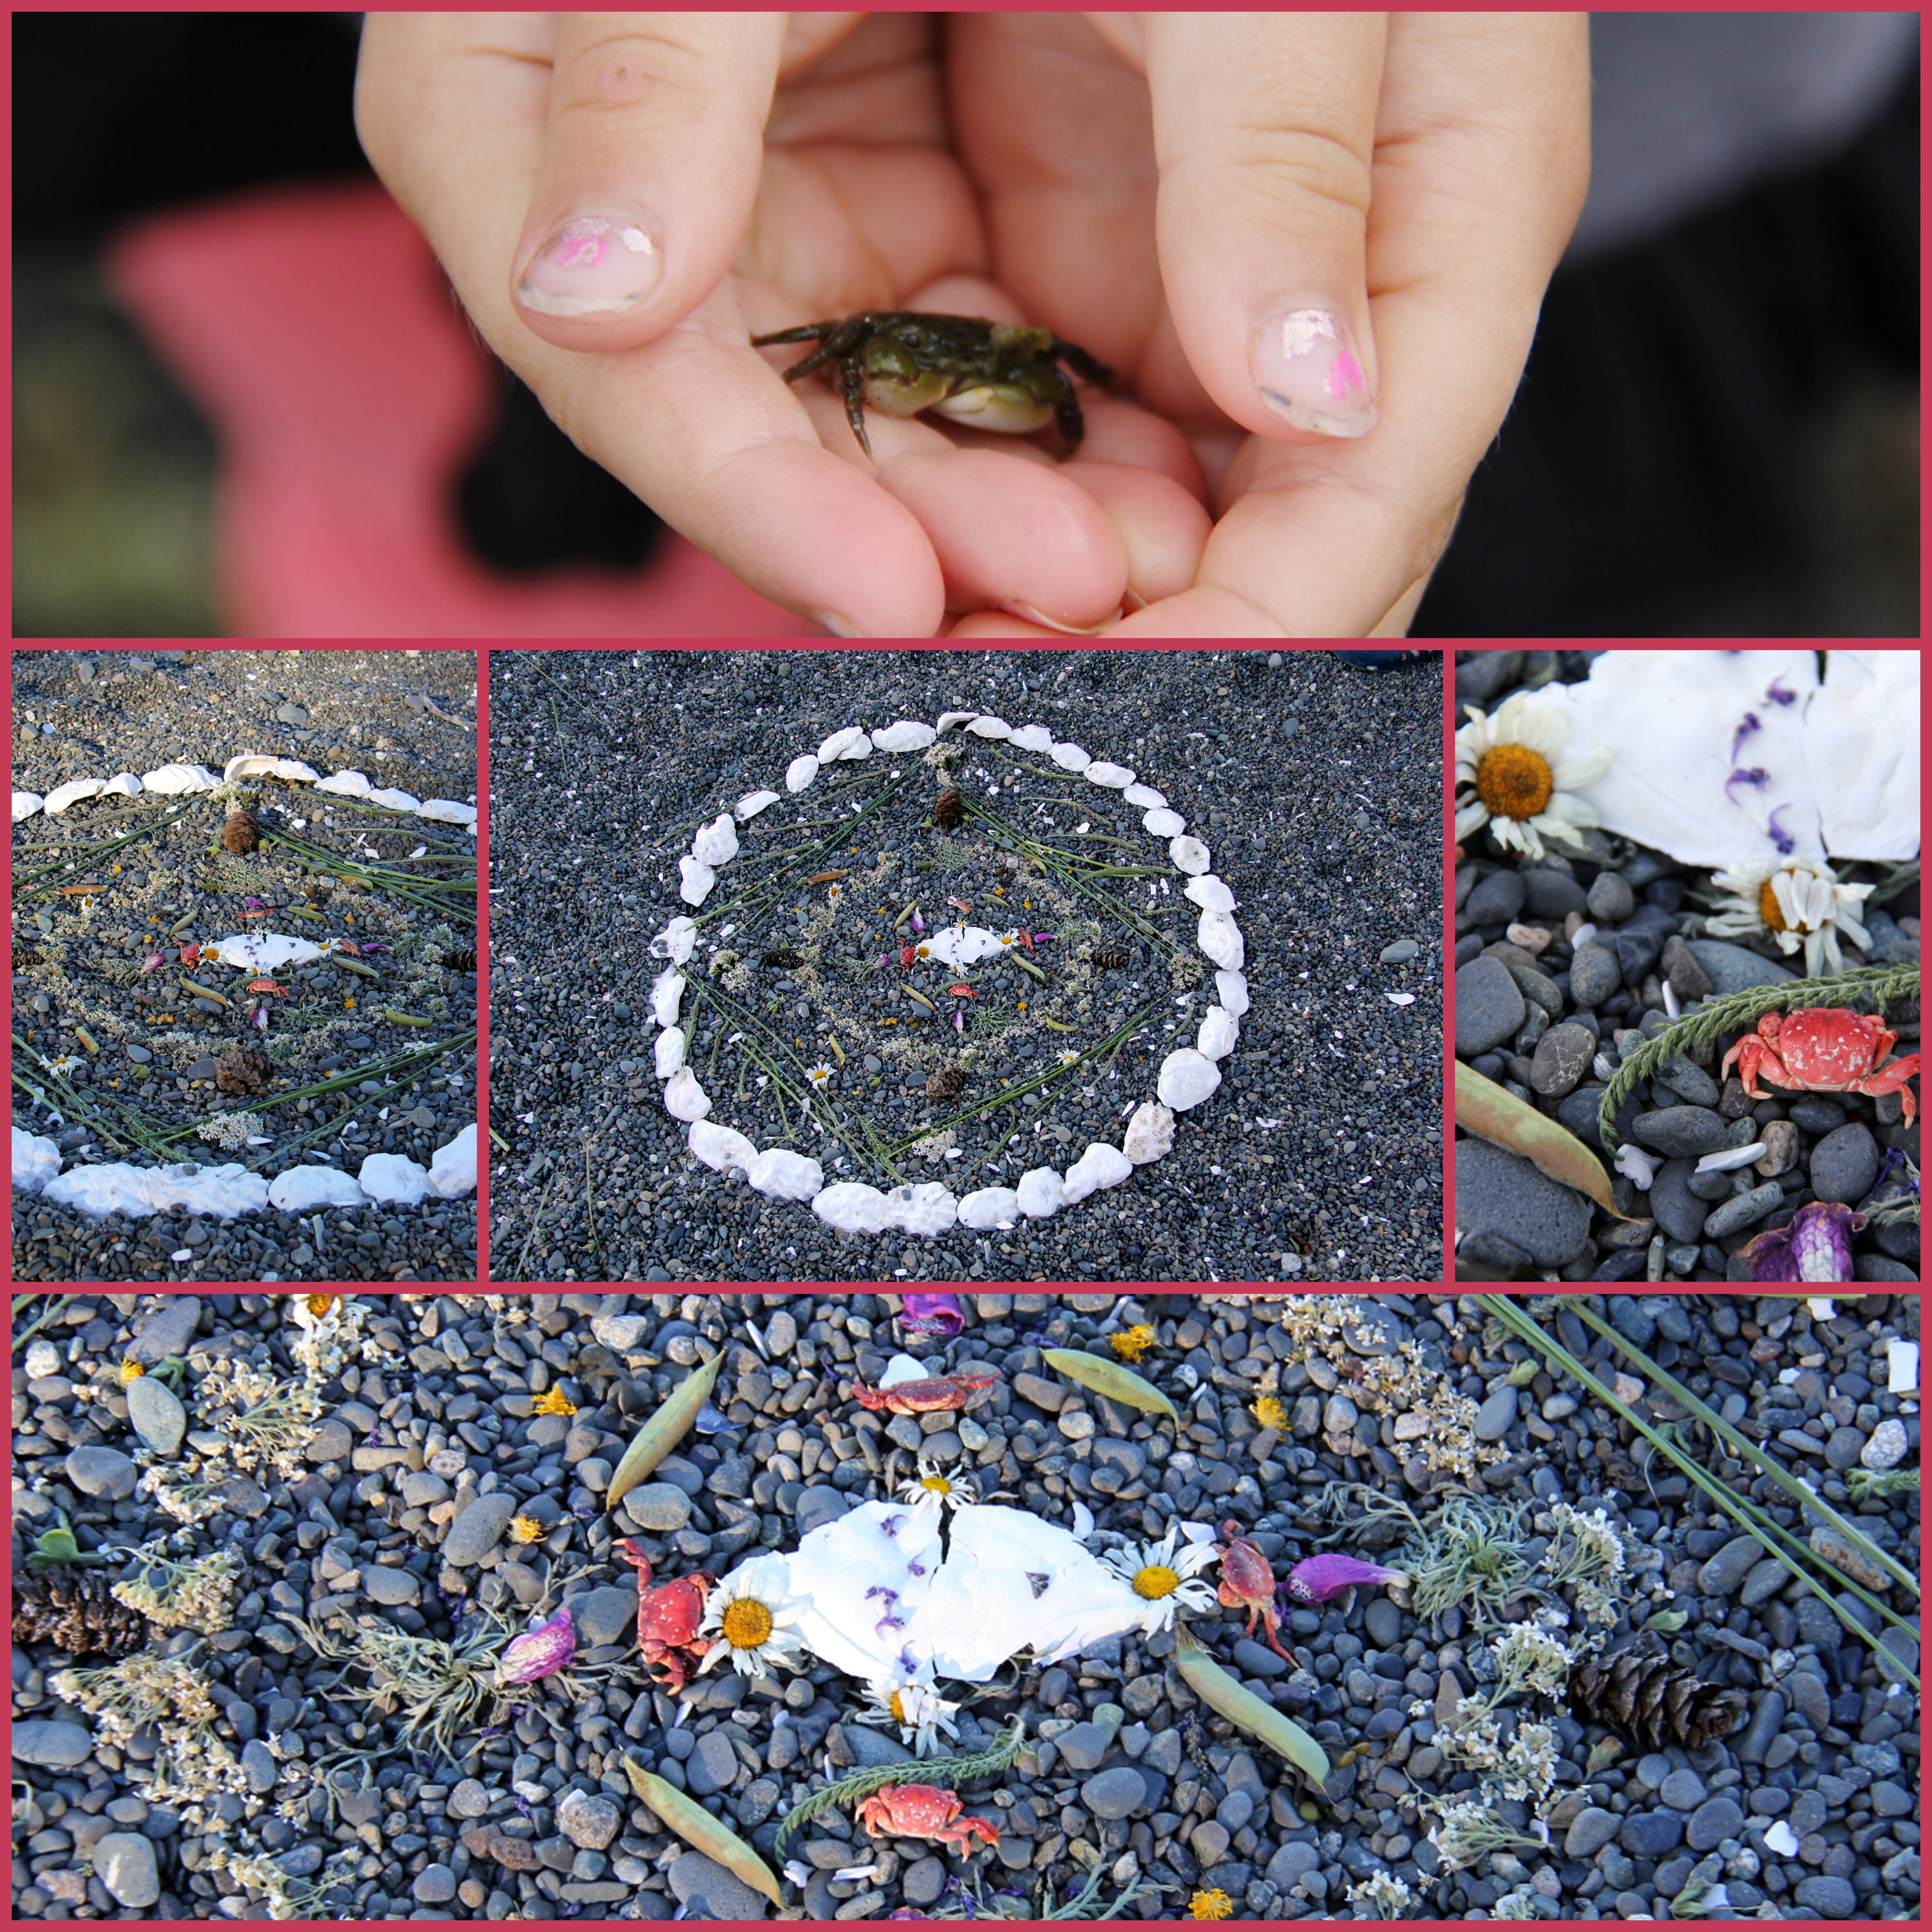
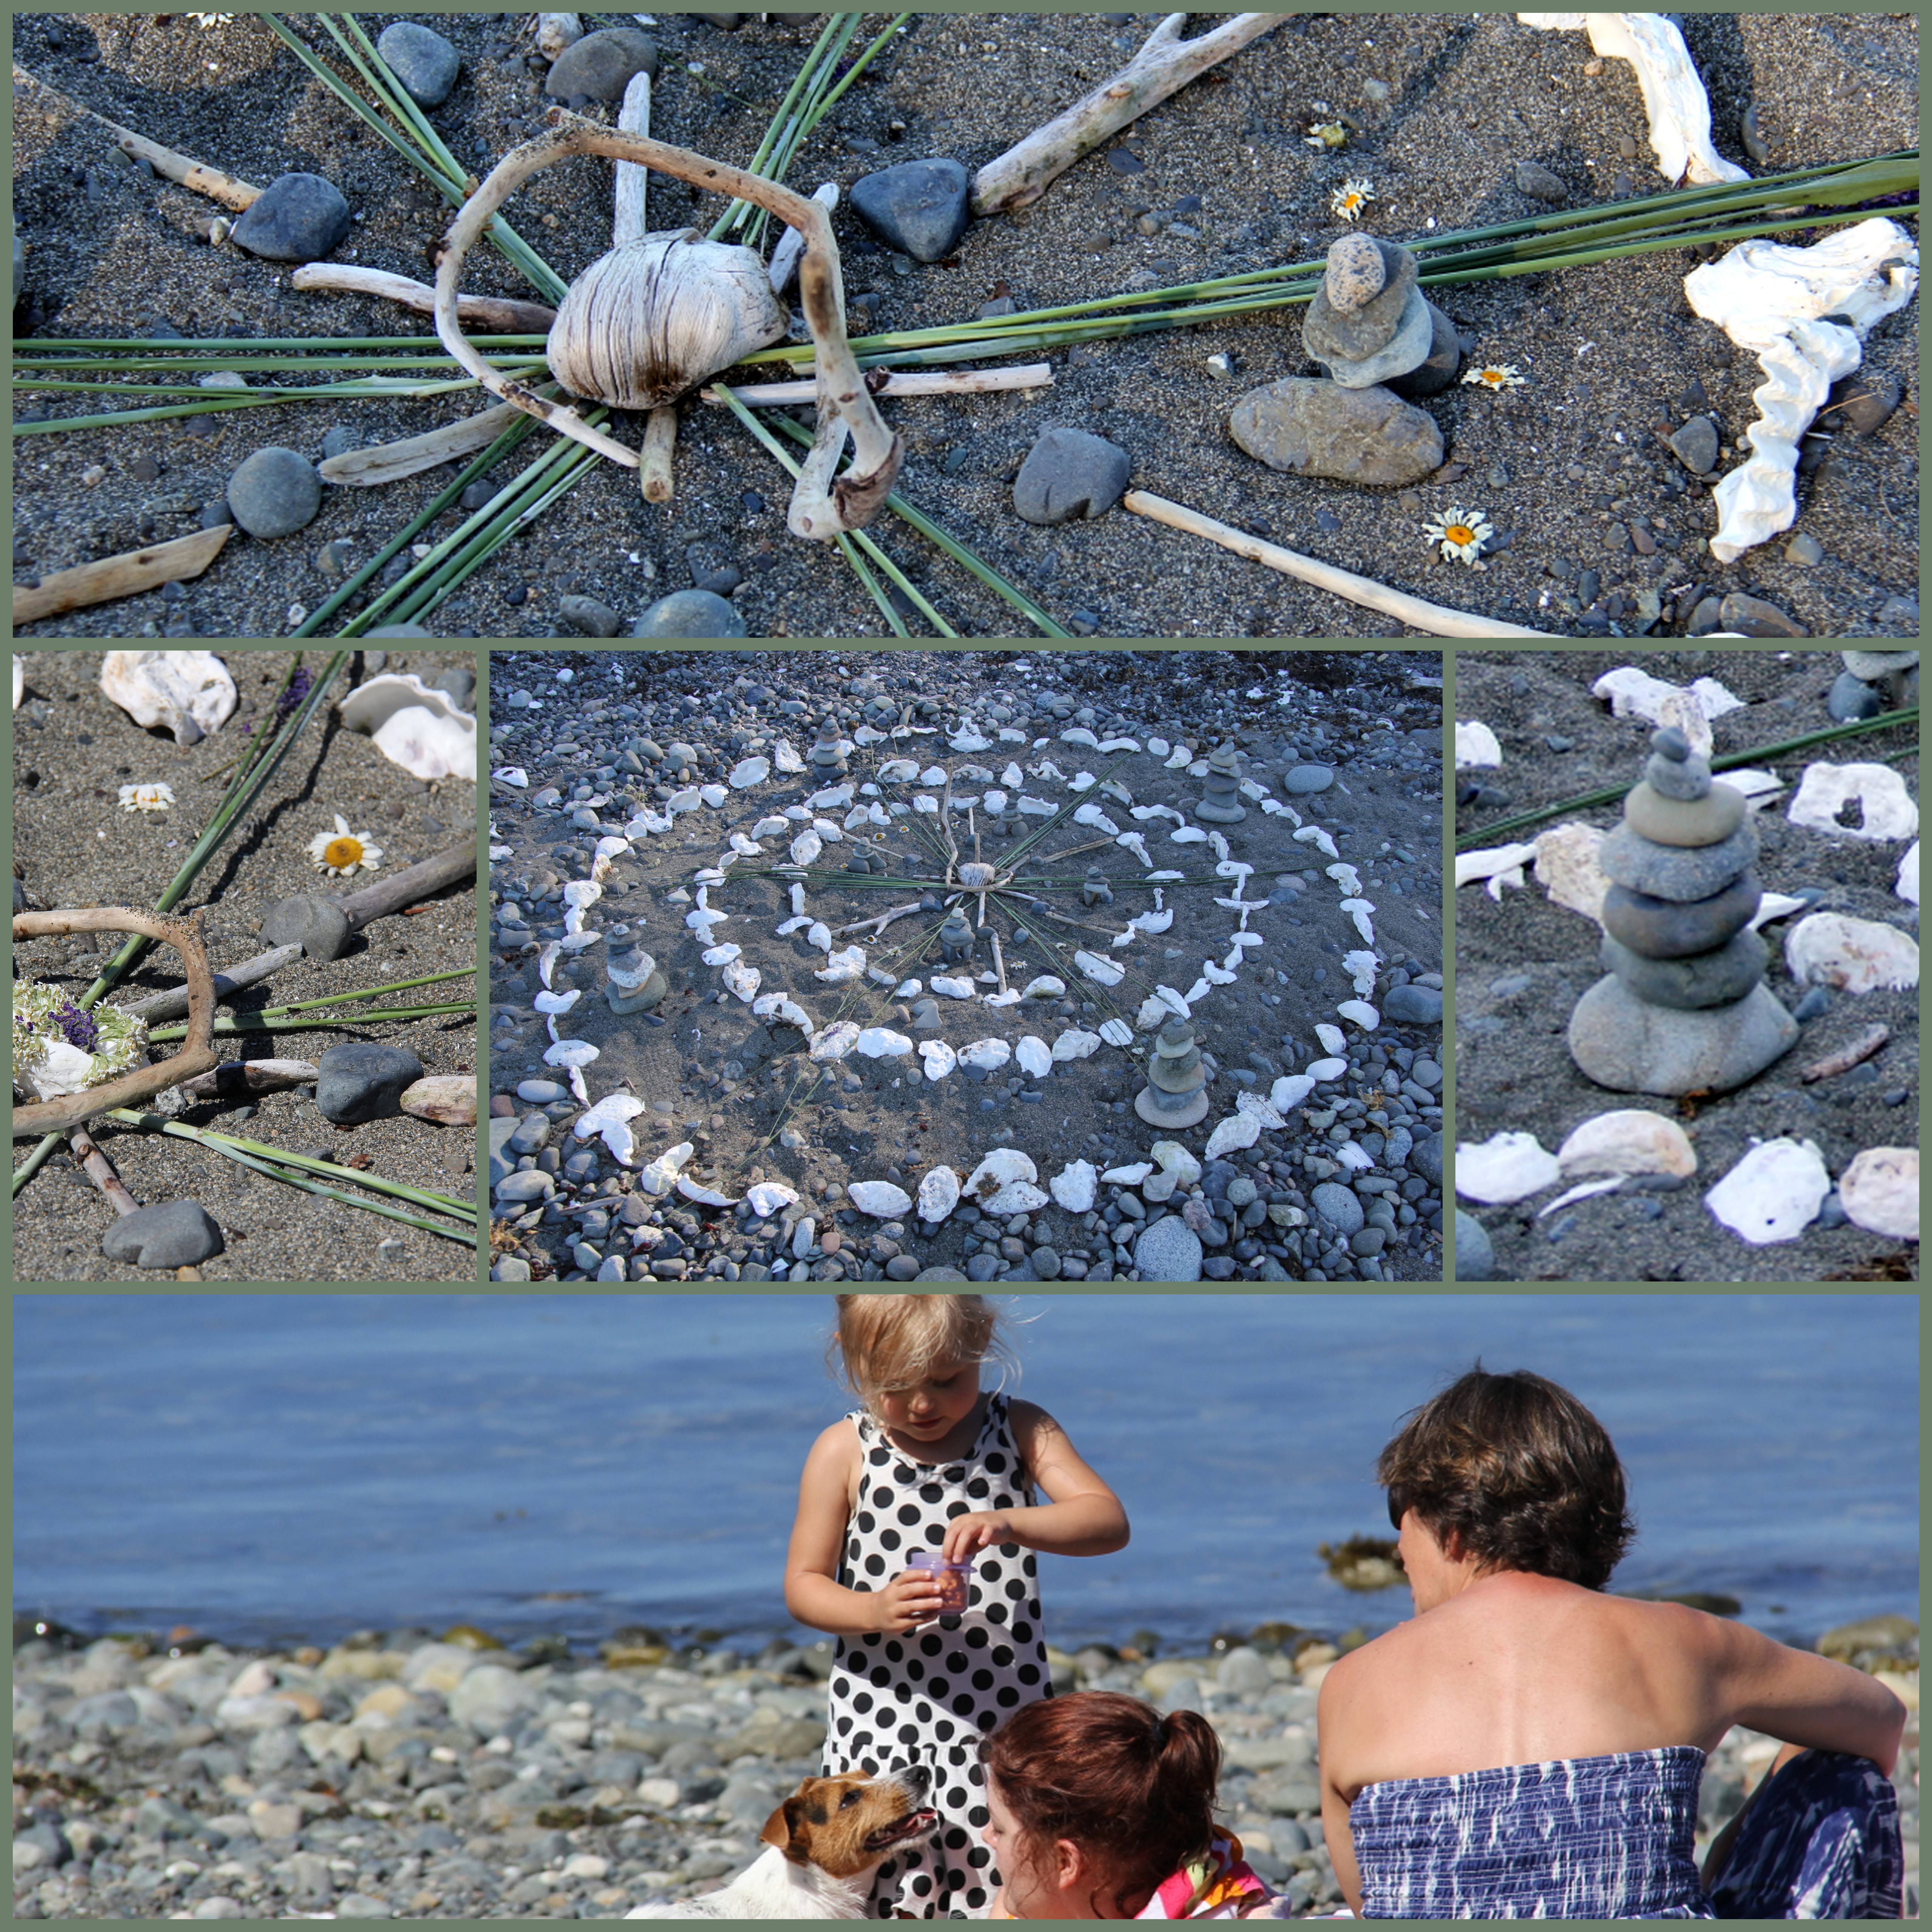
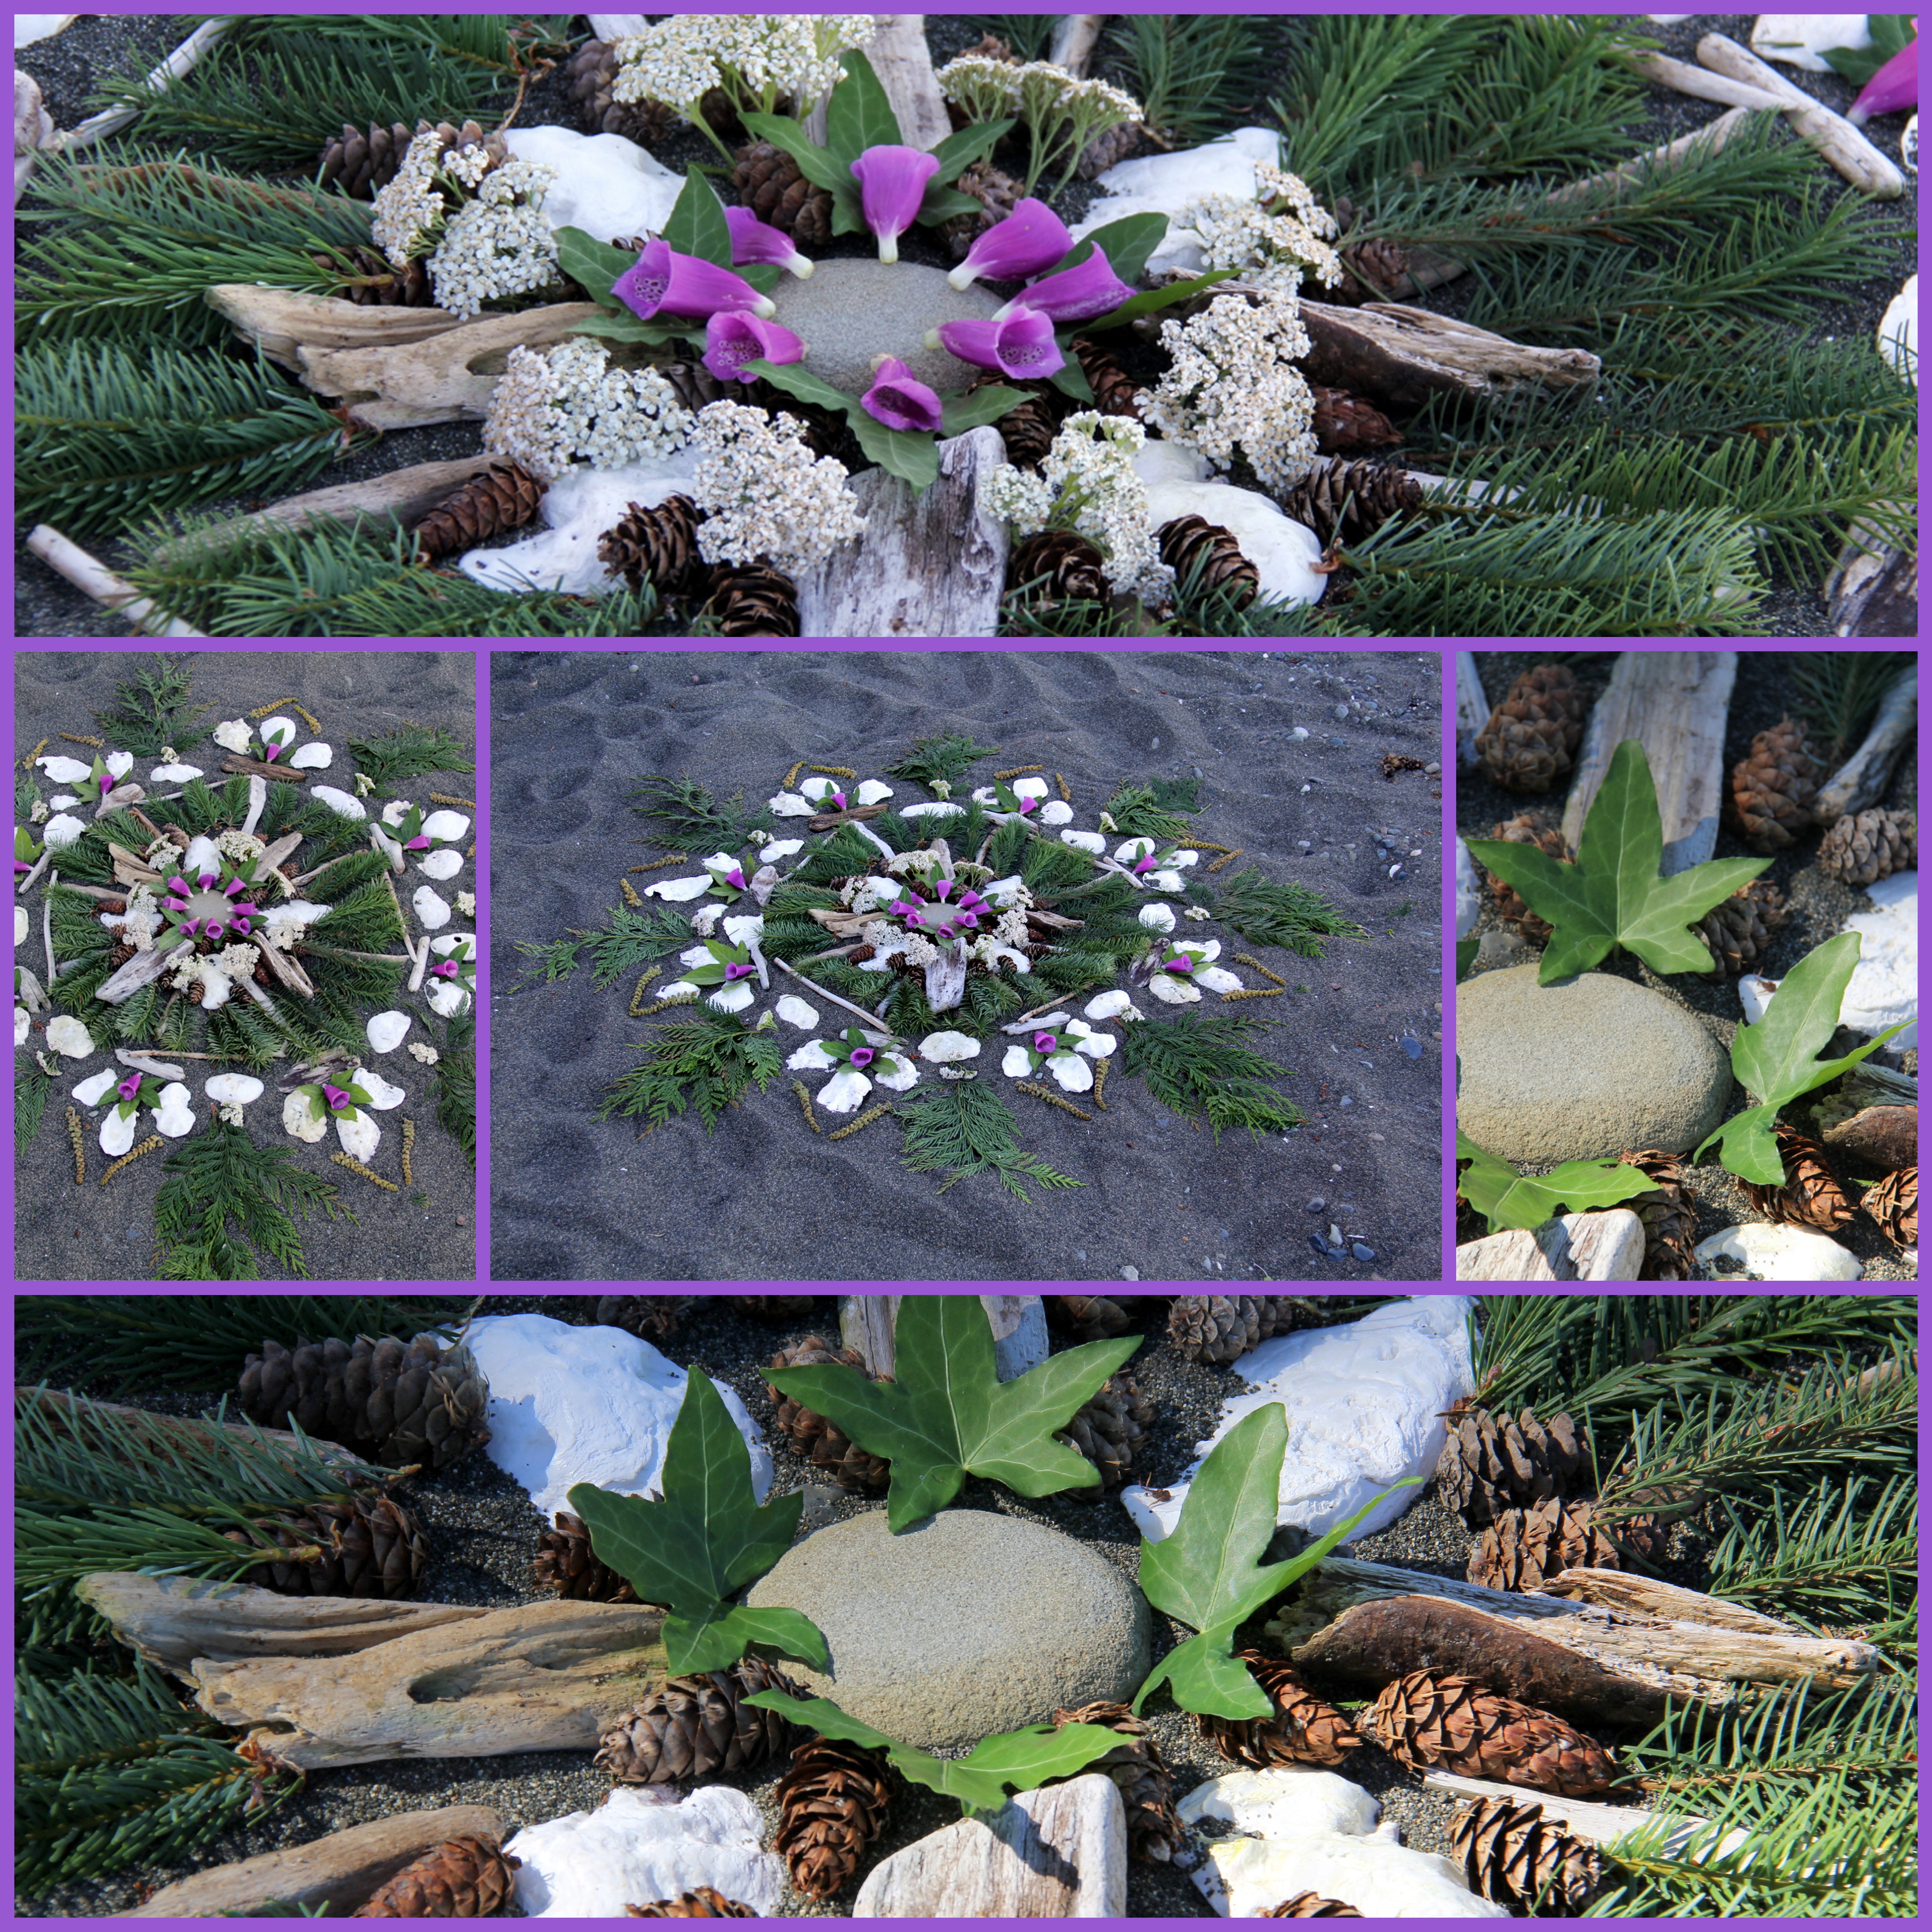
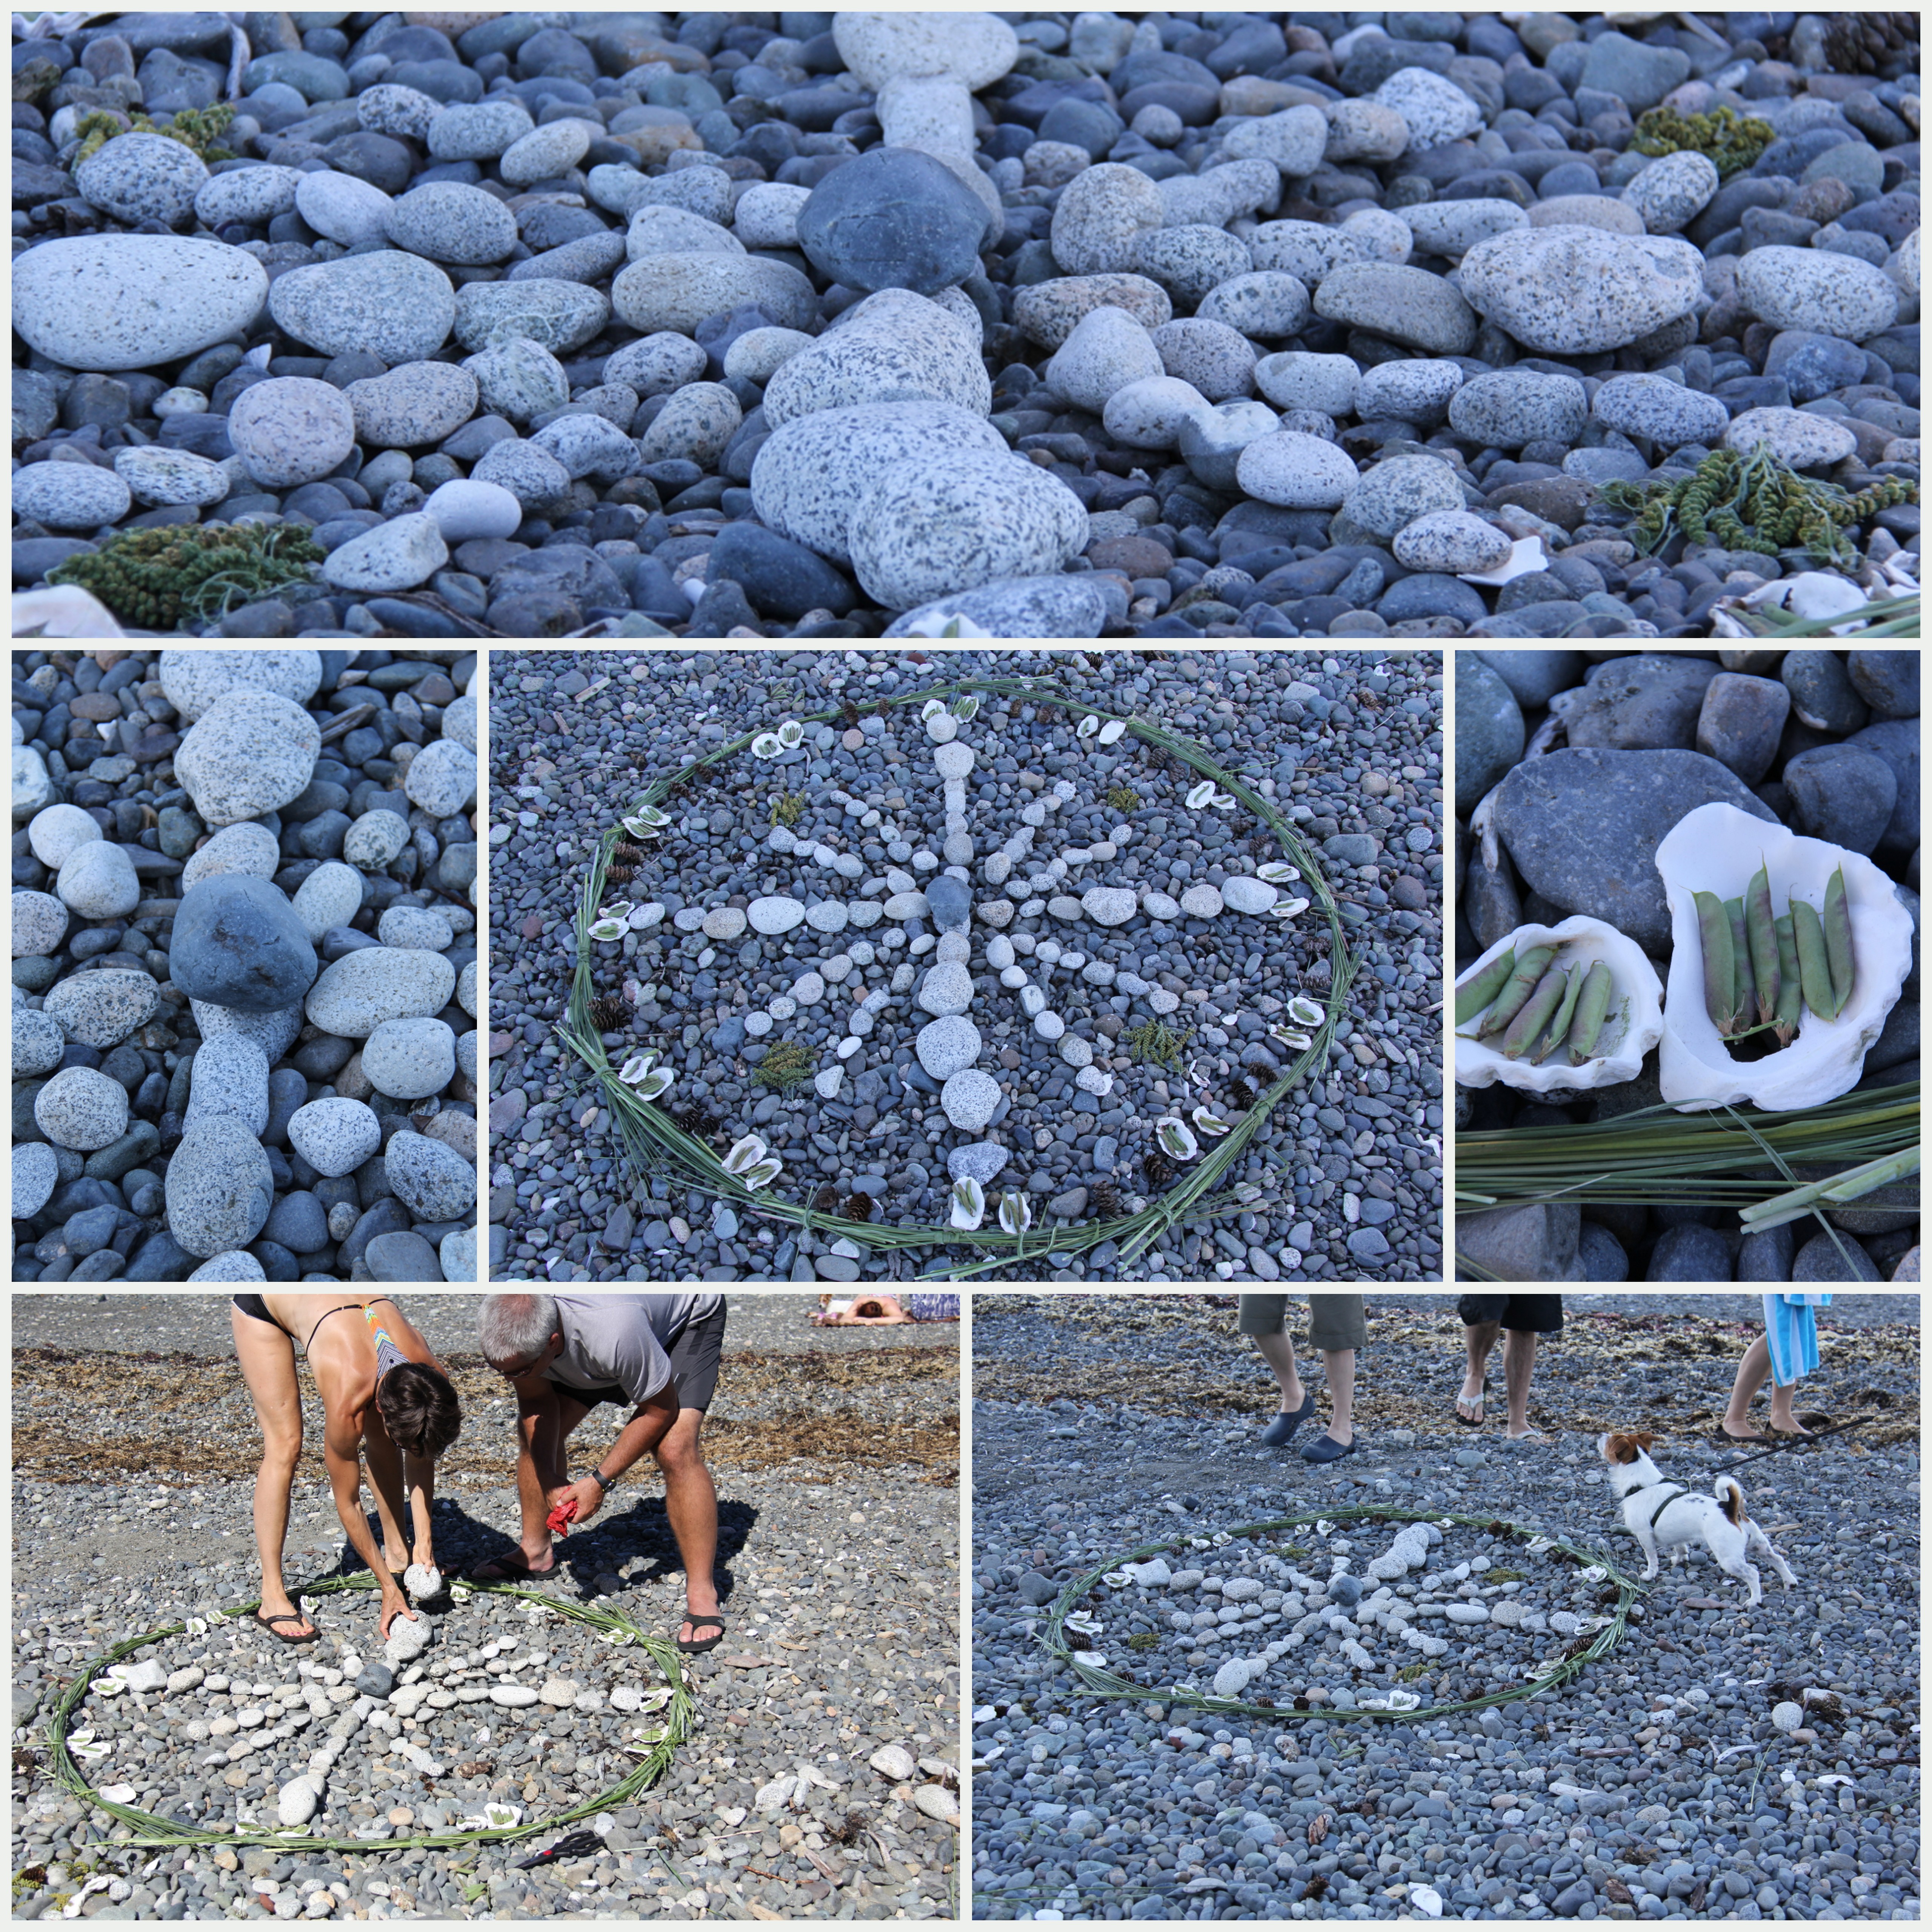
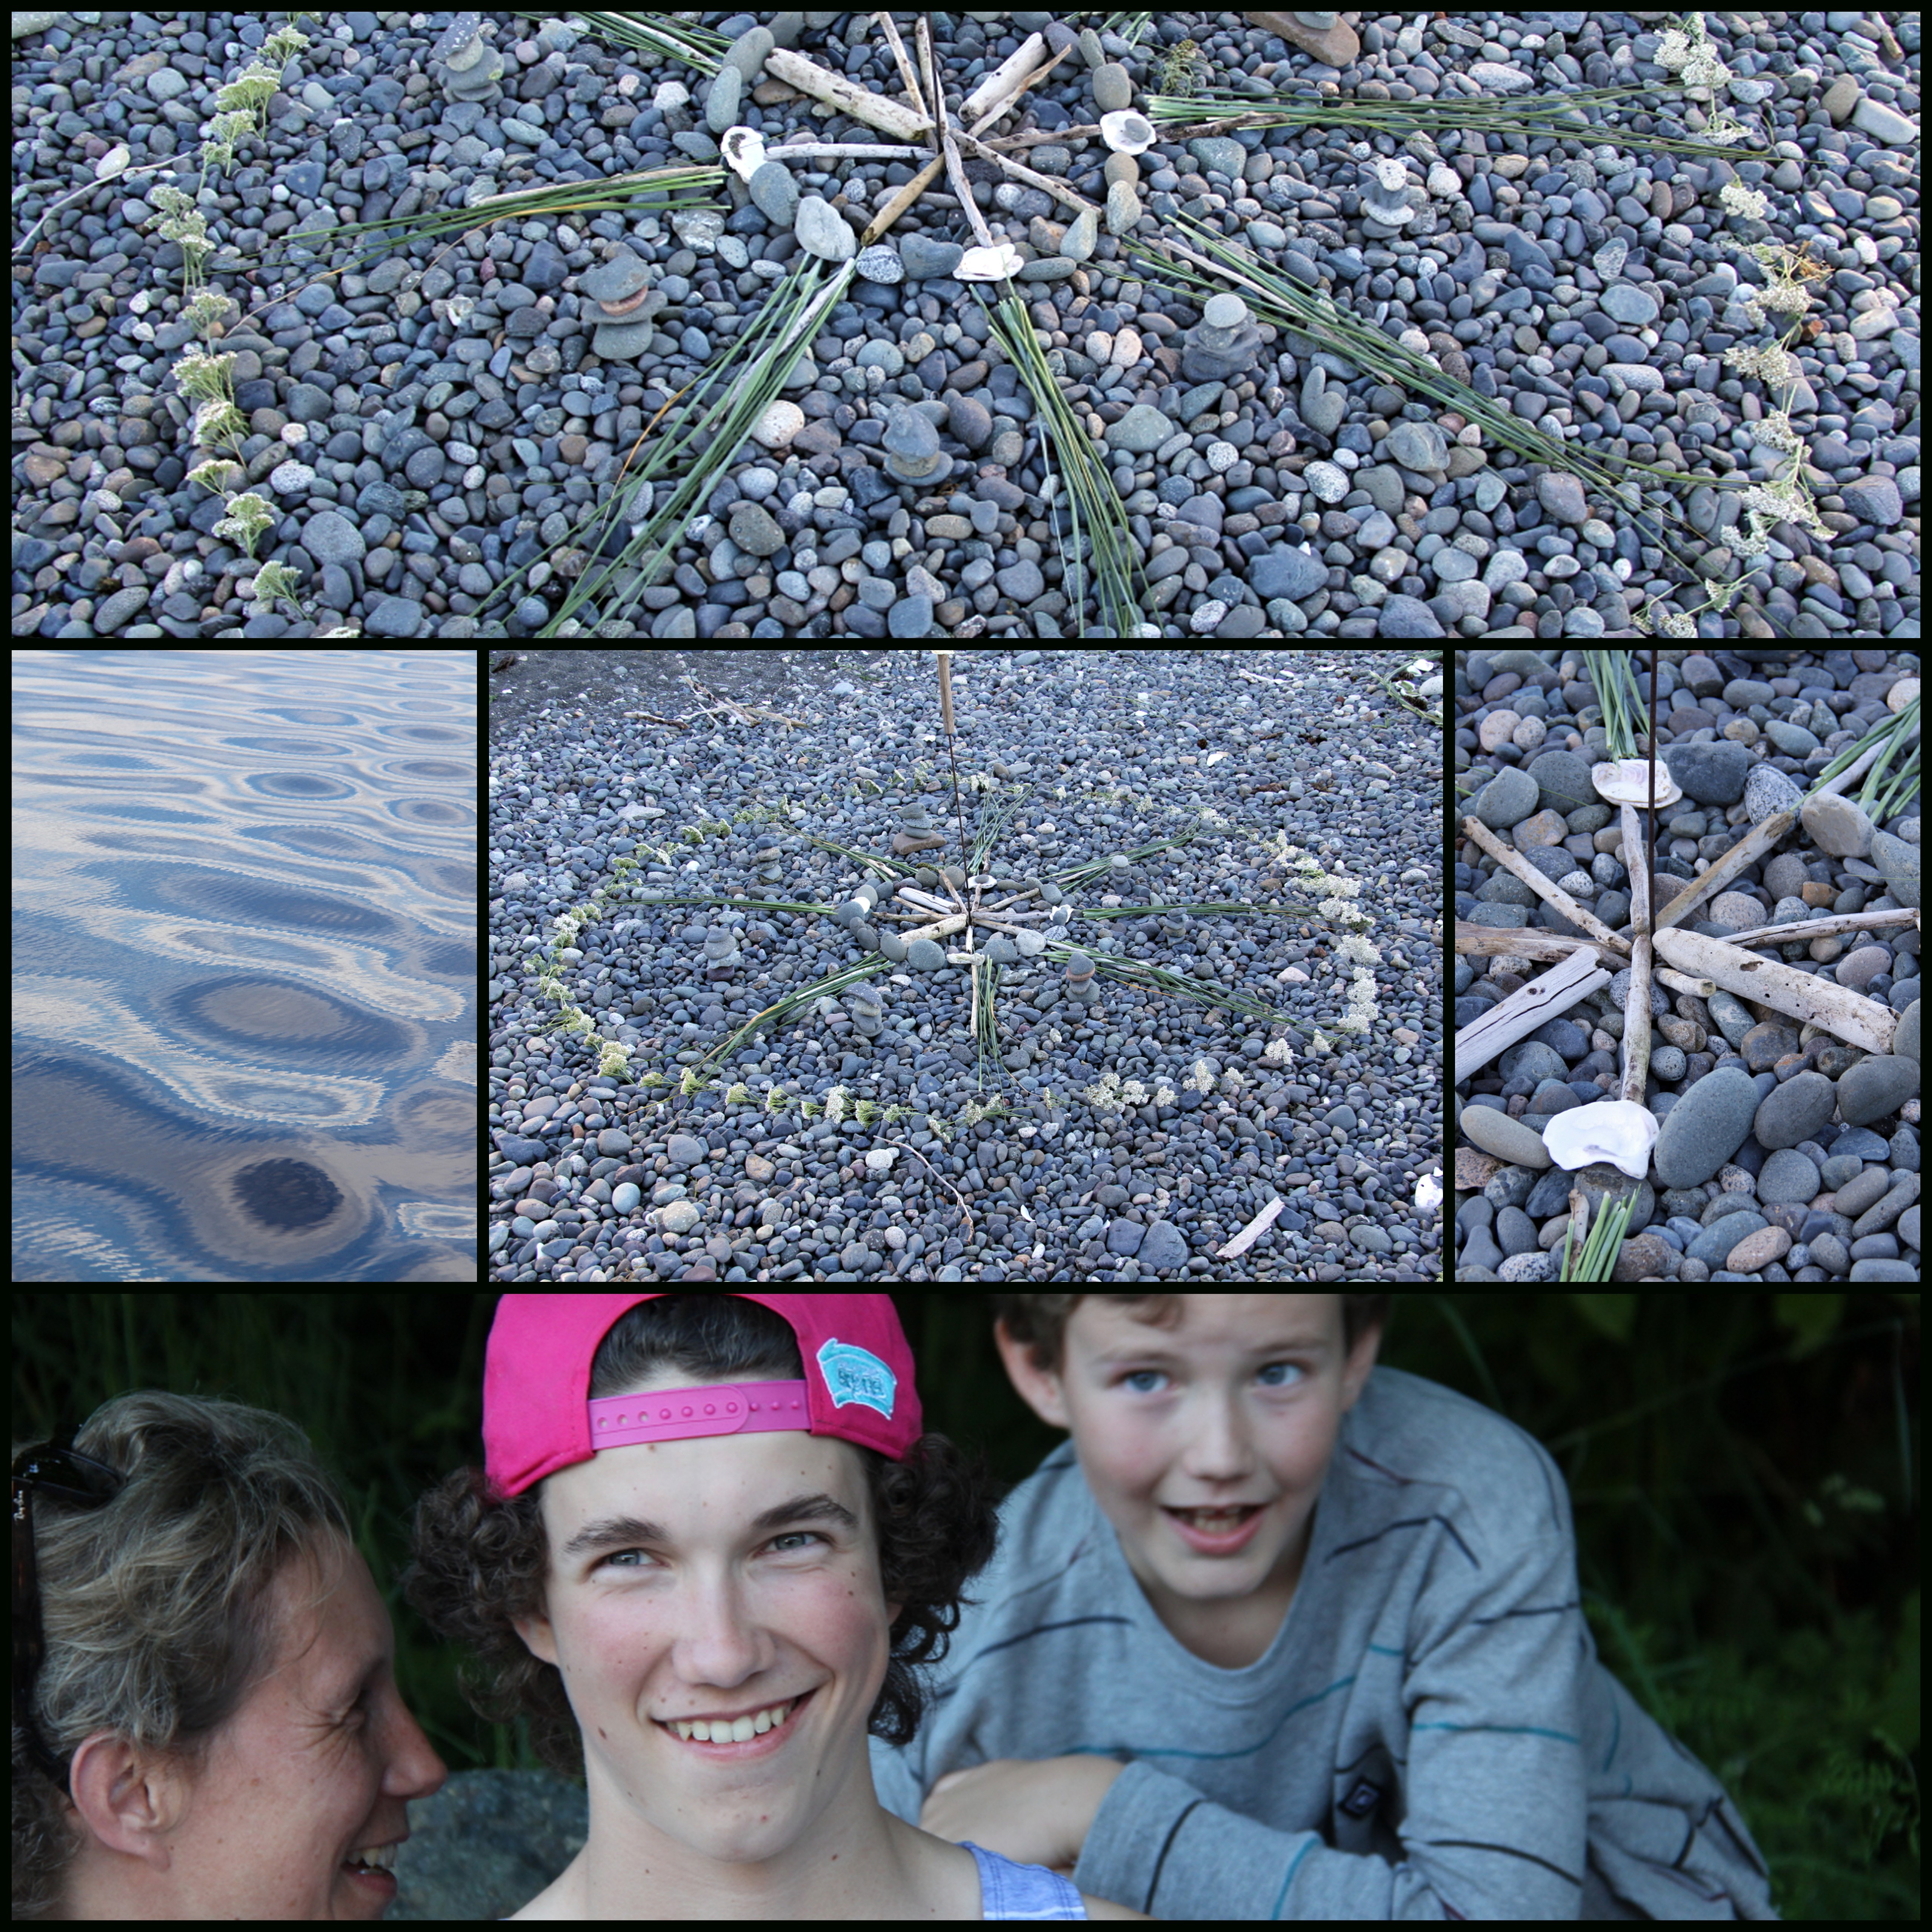
At our family reunion on Vancouver Island this past weekend, some of us made mandalas of shore materials we found in the forest and on the beach. Natural object mandalas are– by their very nature — ephemeral, and will be destroyed by the tides, wind, wildlife and time. Yet the making of these circular designs gives so much pleasure it doesn’t really matter that they won’t last long.
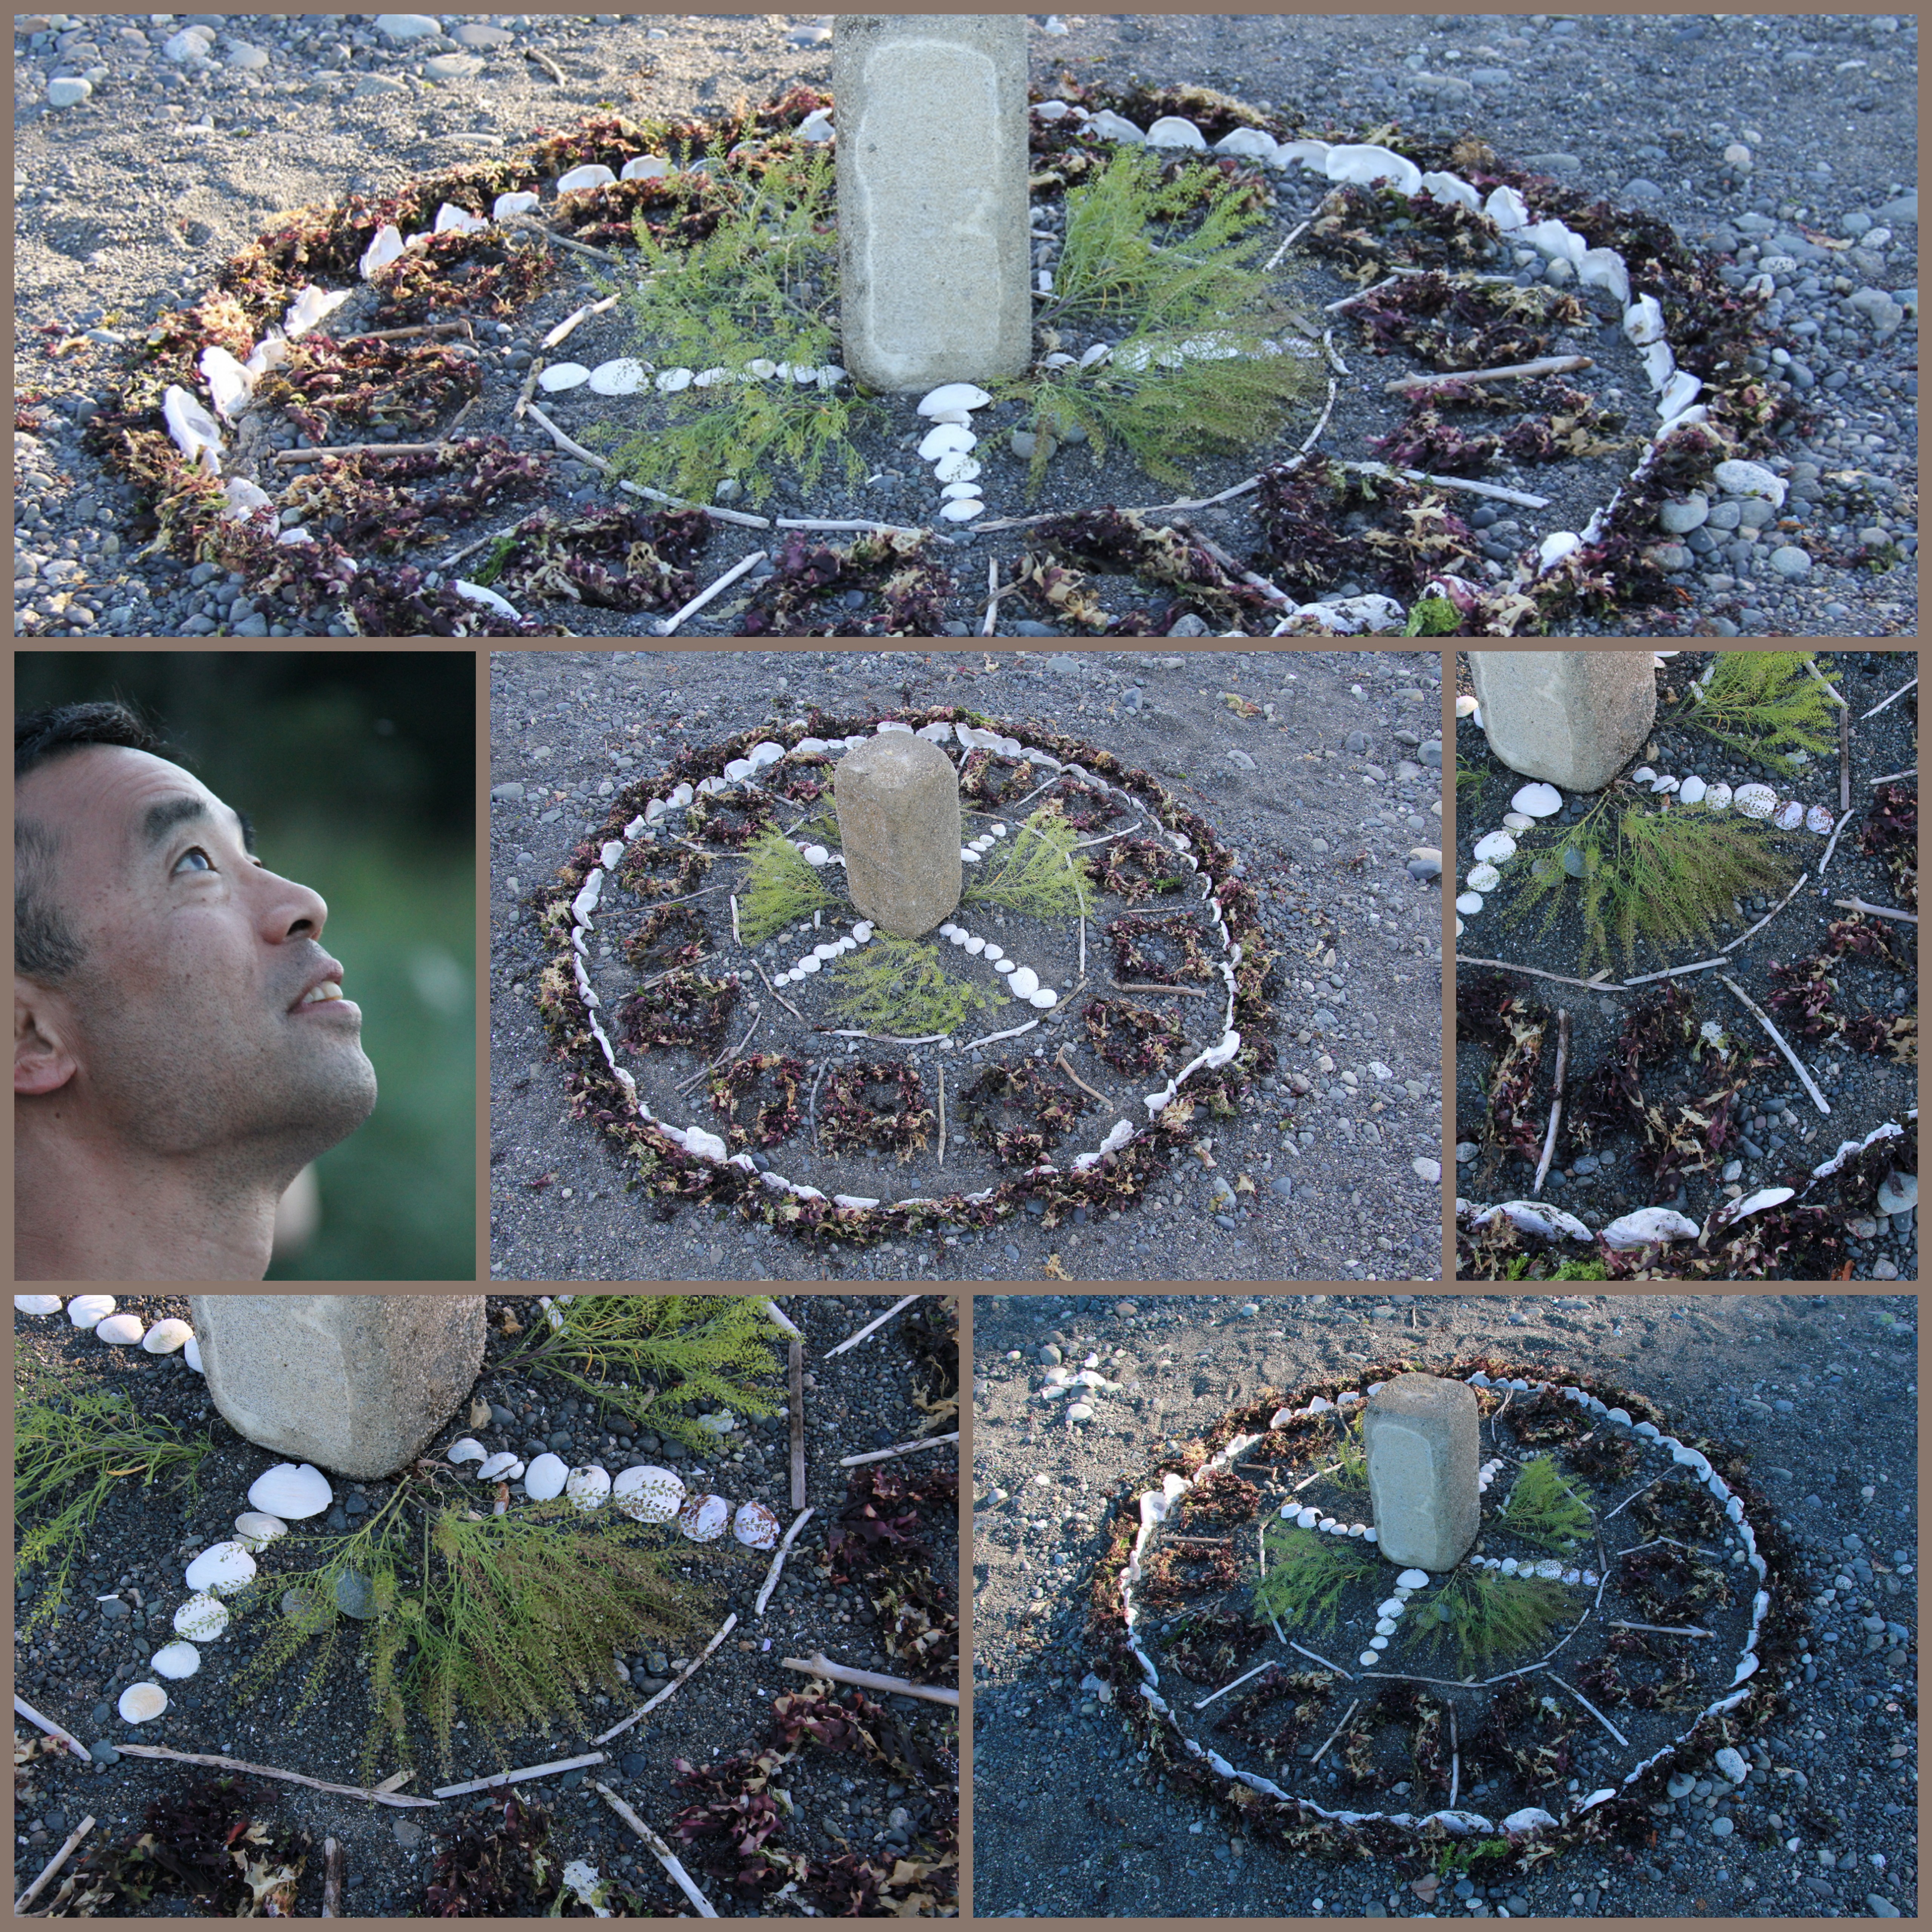
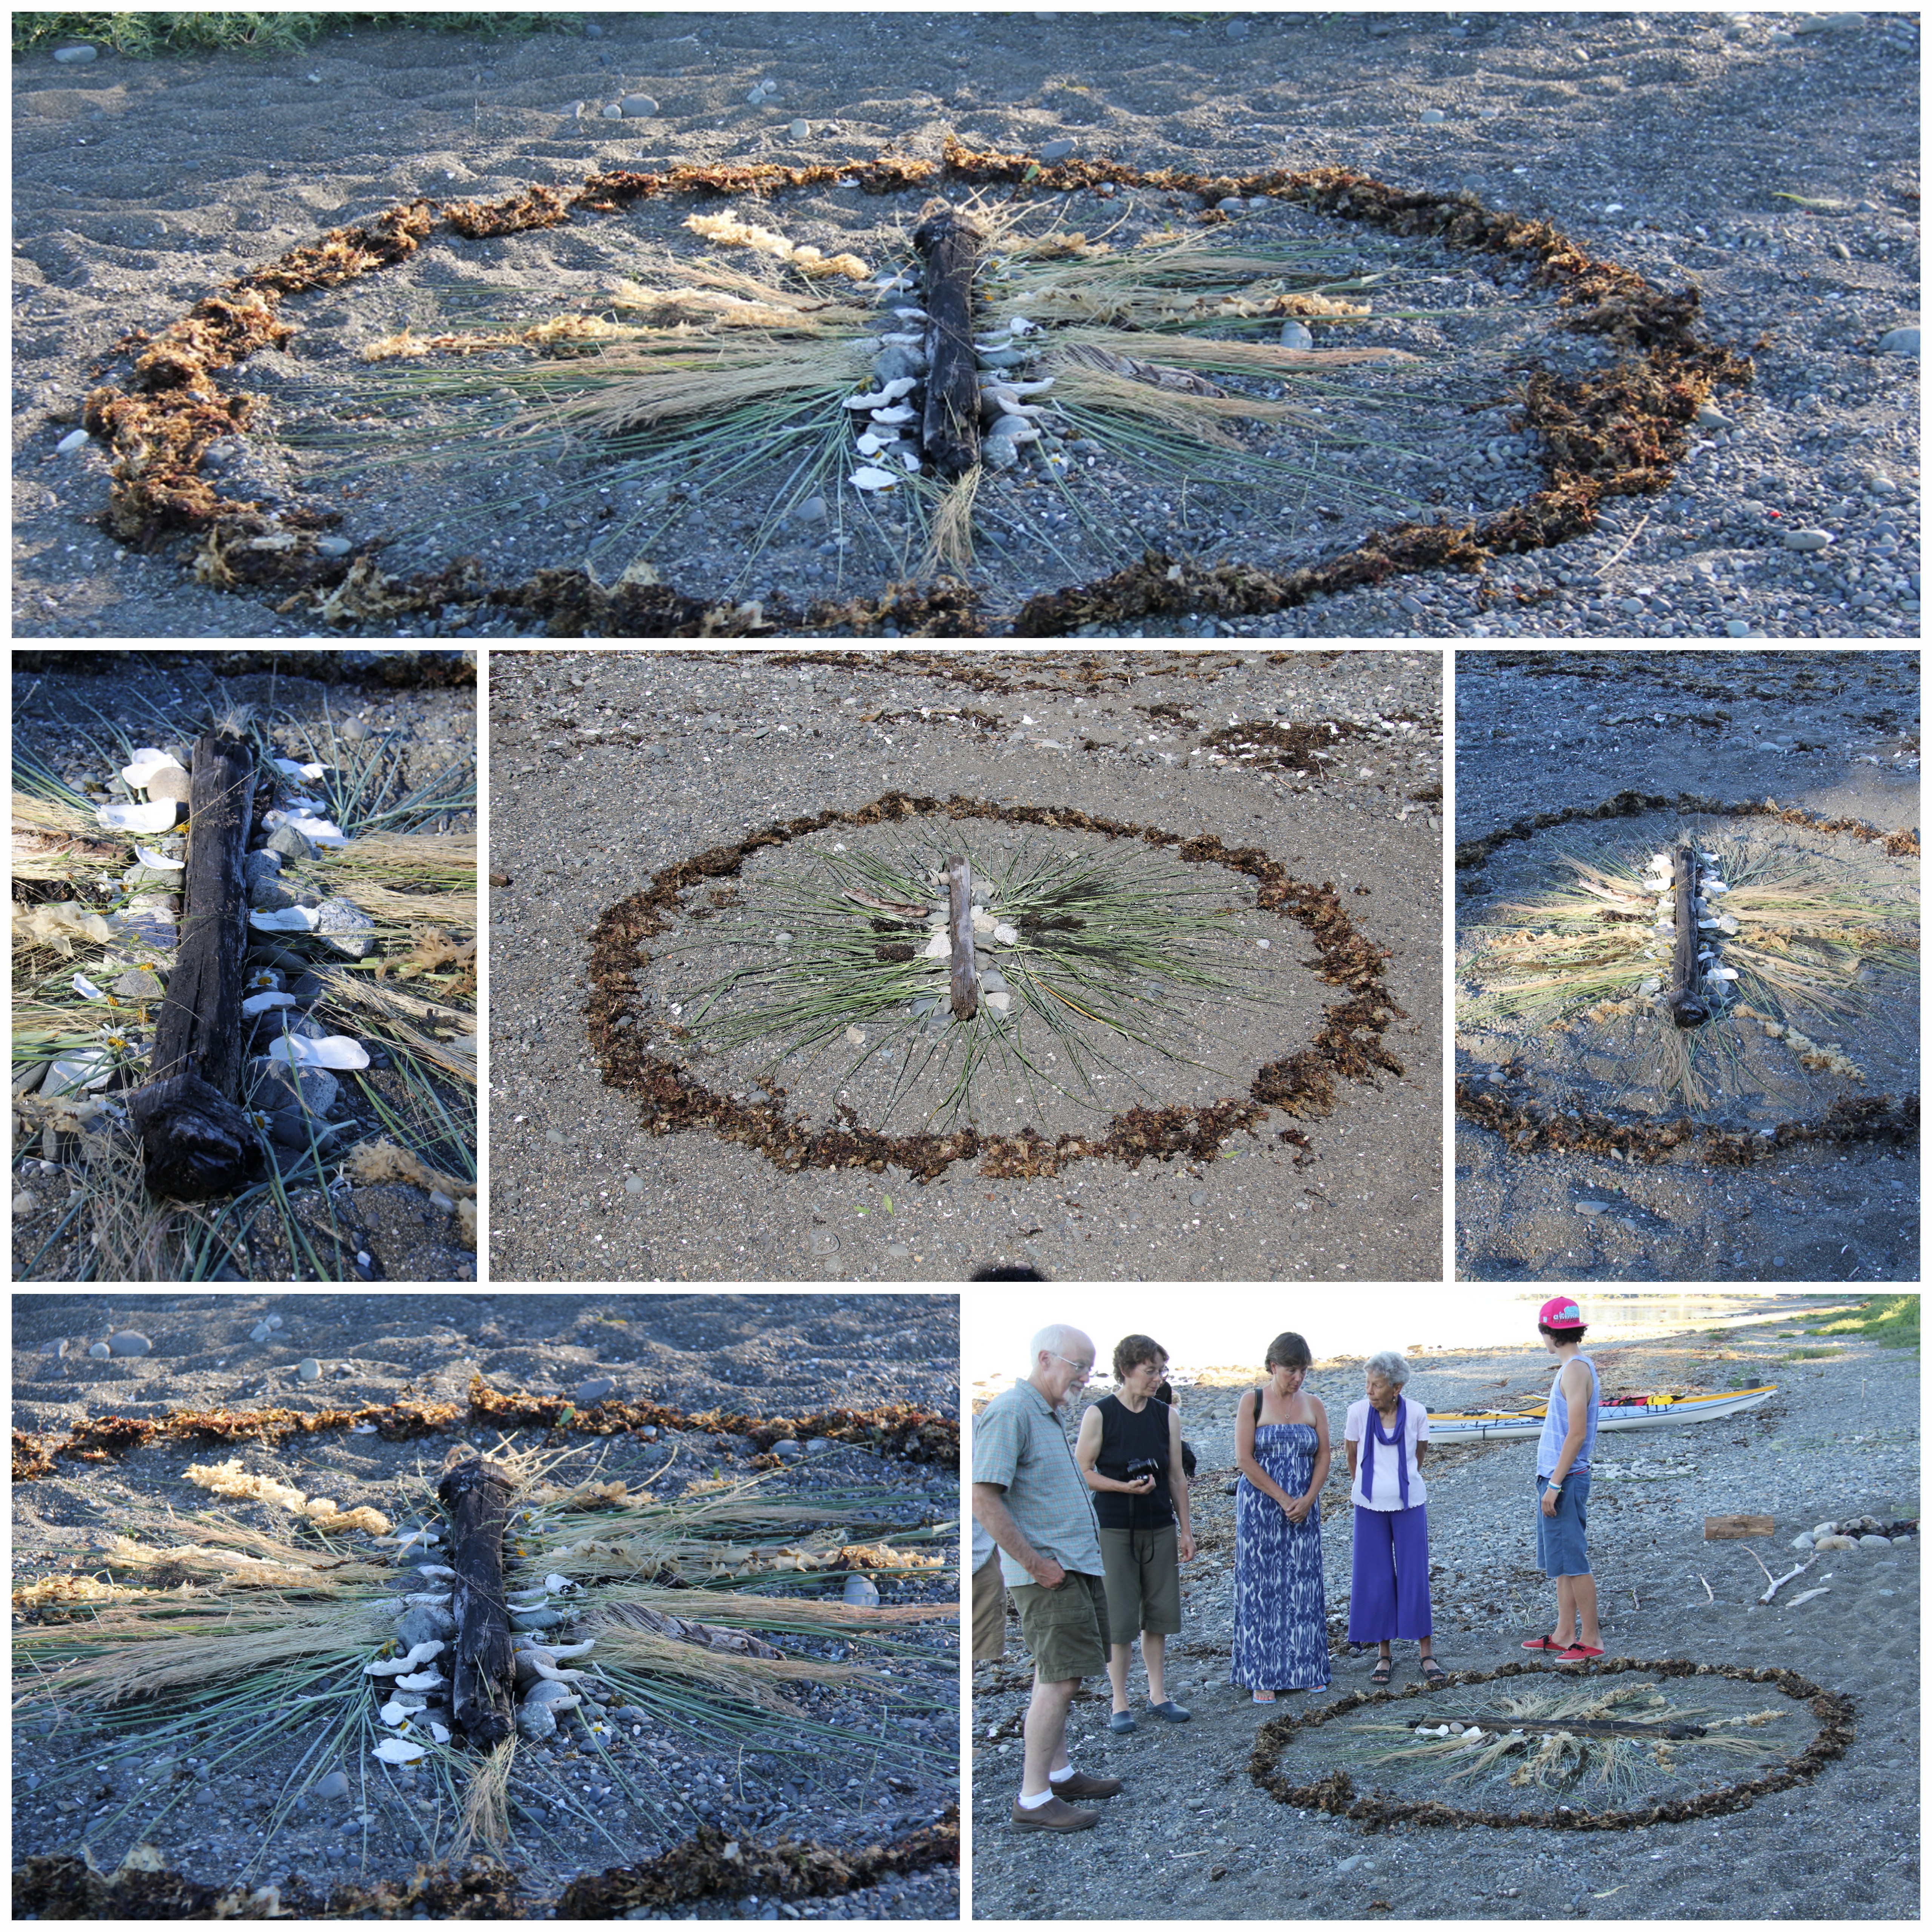
As the evening cooled, we walked around admiring the mandalas … then later watched as Tom and Kat’s mandala was washed away by the incoming tide. I love thinking of beach-walkers stumbling across our mandalas and wondering about the makers. I hope these photos inspire you to make your own mandalas, no matter where you are.
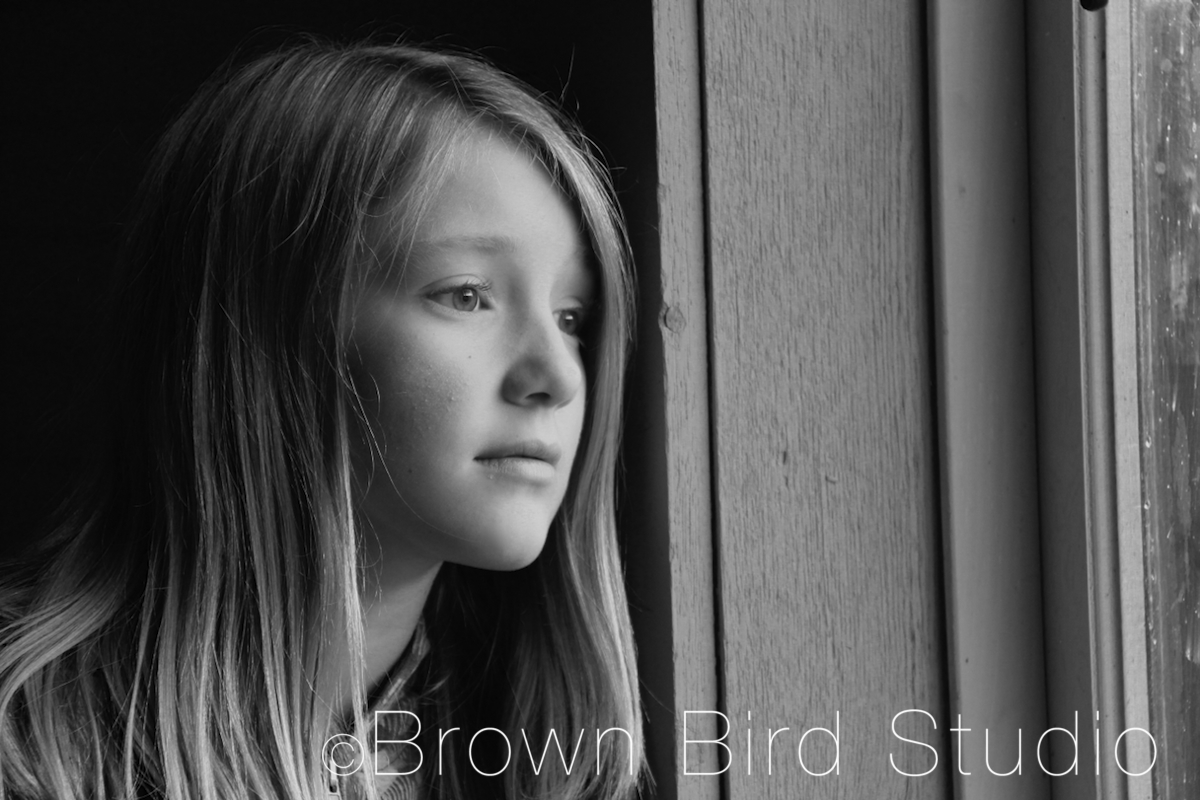
At first I thought about showing this shot (in-camera) to Ema and saying “try not to look so worried, Ema…” but I resisted and I am glad I did. Somehow, the way her brow is lifted, the way her eyes are focused on some thought far far away … the way her mouth is slightly turned down and so relaxed, the way her hair falls to half cover her face … that light, the soft animal body of Ema … somehow this is who she really is and I am glad I did not try to change her today.
My best portraits are the ones that have reached into a person’s soul and somehow let it shine out through the facial expression, eyes, body language. Not the ones where they were smiling at the camera, being their “perfect selves.” But the shots where there might be a sadness. A thoughtfulness, some discomfort — or deep comfort. The shots where they weren’t wearing makeup or the clothes they thought they should wear, or perfectly styled hair. Those best portraits are the ones where I captured a moment dis-armed. The space between two heartbeats. The true heart of a person. When I can do this, I feel deeply satisfied.
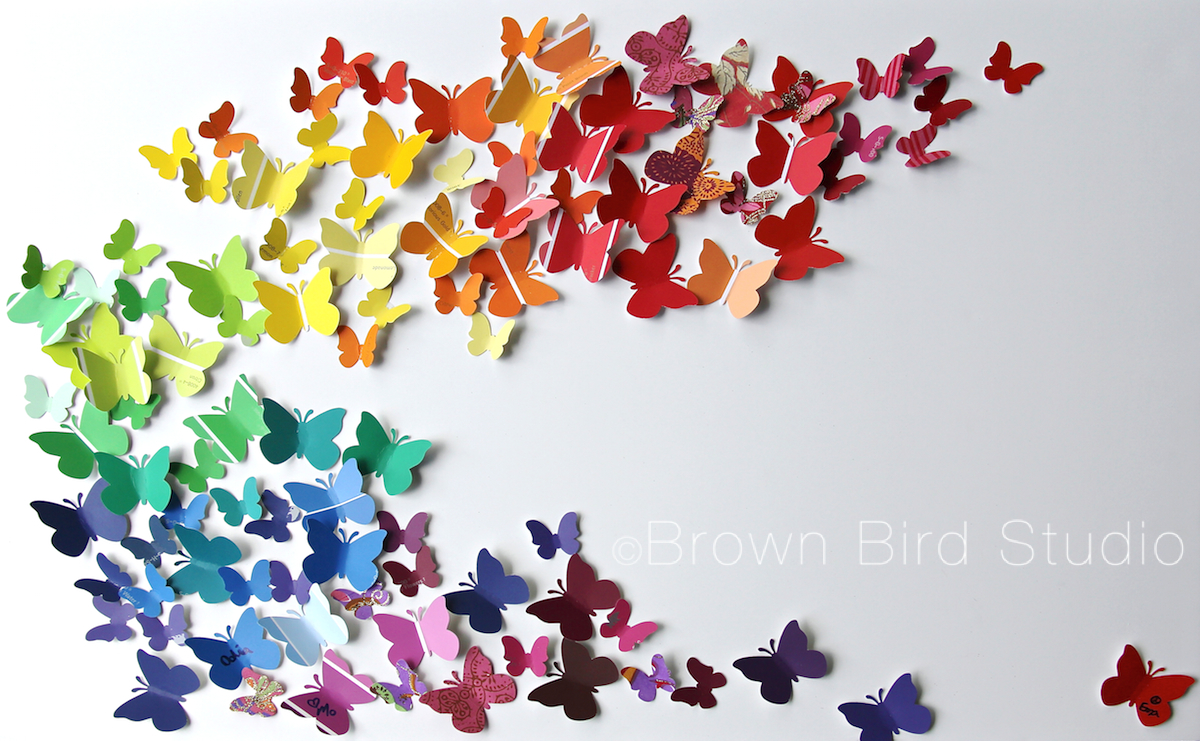
 One of the projects I did with the girls this week was to create this piece of wall art for their mom’s office wall. (Her office is so totally in need of bright beautiful art to cheer up the grayness. heh.)
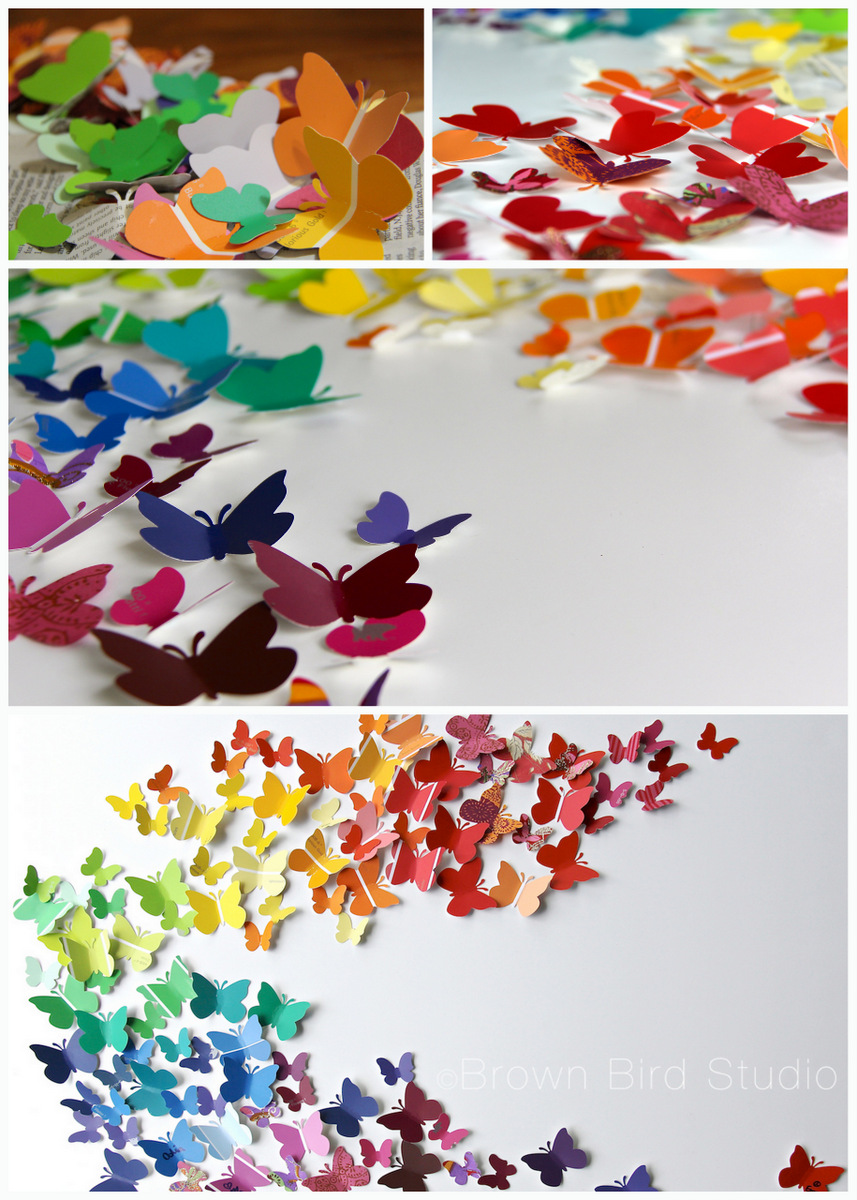
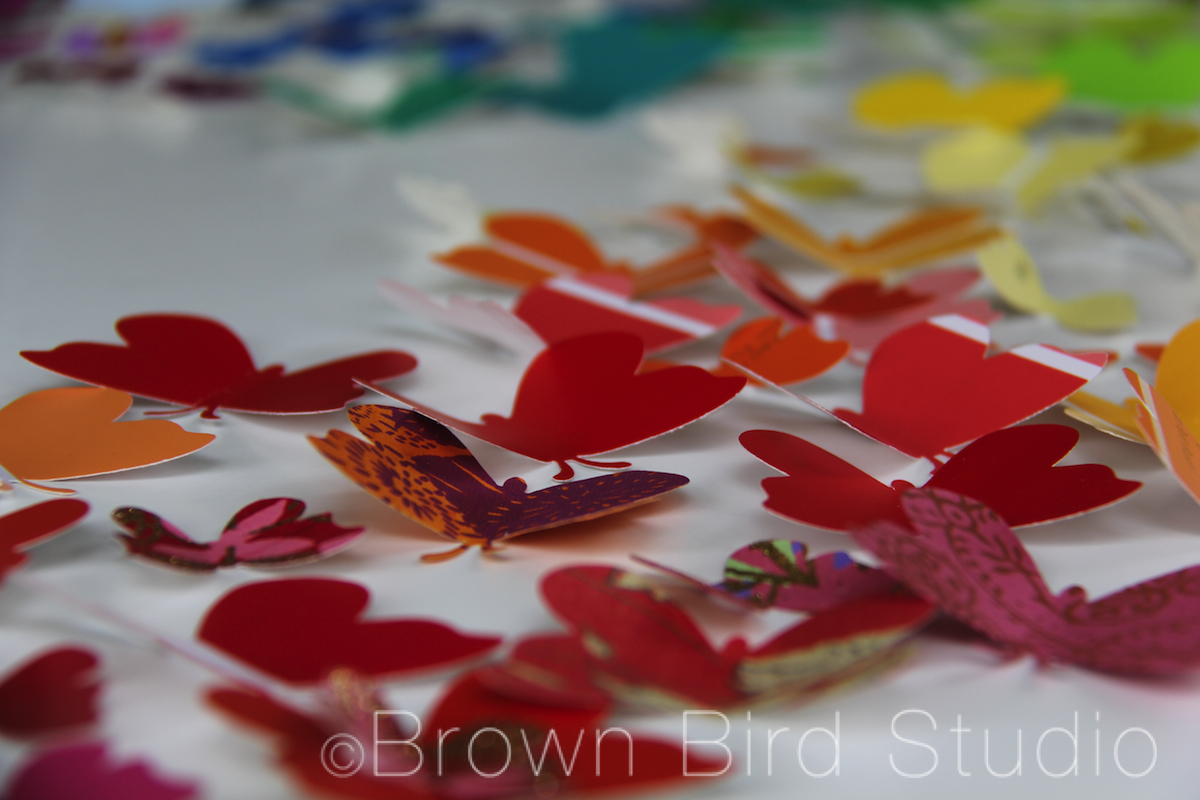
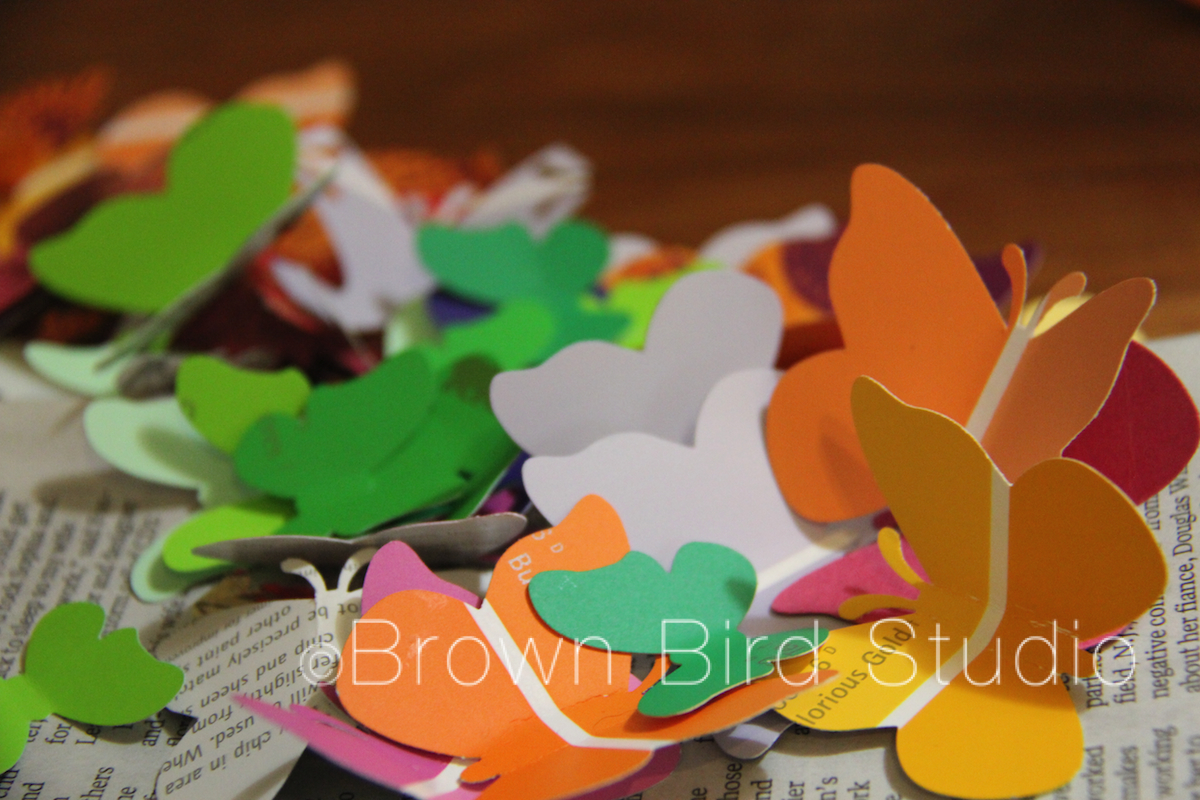 We used the paint samples you can get at hardware stores. Home Depot was kind enough to let us have a big handful of samples for free. The girls picked out the colors, punched the shapes with paper punches and bent the wings to make the butterflies look three dimensional. We also used some leftover pieces of printed papers I had lying around, to add variety.
Next we worked together to come up with the swoosh shape and I glued them onto a large piece of foam core. I wanted to use a large stretched canvas, painted white, but my supply budget for the summer wouldn’t stretch quite that far and I didn’t feel like stretching my own canvas. You could also use a piece of nice 1/4 inch birch plywood with sanded edges … maybe leave the natural wood color, or paint with white acrylic or indoor wall paint.
 We used Craft Glue to attach the butterflies to the foam core. I thought about using hot glue but decided it would be too messy and overkill, since the little butterflies are so lightweight.
We have a rainbow thing goin’ on in this butterfly swarm, but we could as easily have chosen to use a different color scheme. You could even do an “ombre” design — the great thing about paint samples — there are so many colors, and if you get the sample cards that have 4 or 5 shades of color on each, well that would be just easy!
Glue or stick some hangers on the back and voila! You have a colorful work of happy art. Total cost for this project: $3.00 (I already owned the paper punches. These are expensive, but maybe find someone who would lend you theirs … or plan to spend many evenings hand cutting hundreds of shapes.)
Supply List: craft glue, foam core (stretched canvas or 1/4 inch plywood panel may also be used), lots of paint sample chips, paper punches, one or two picture hangers for the back