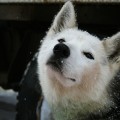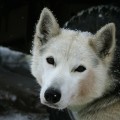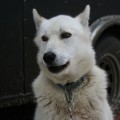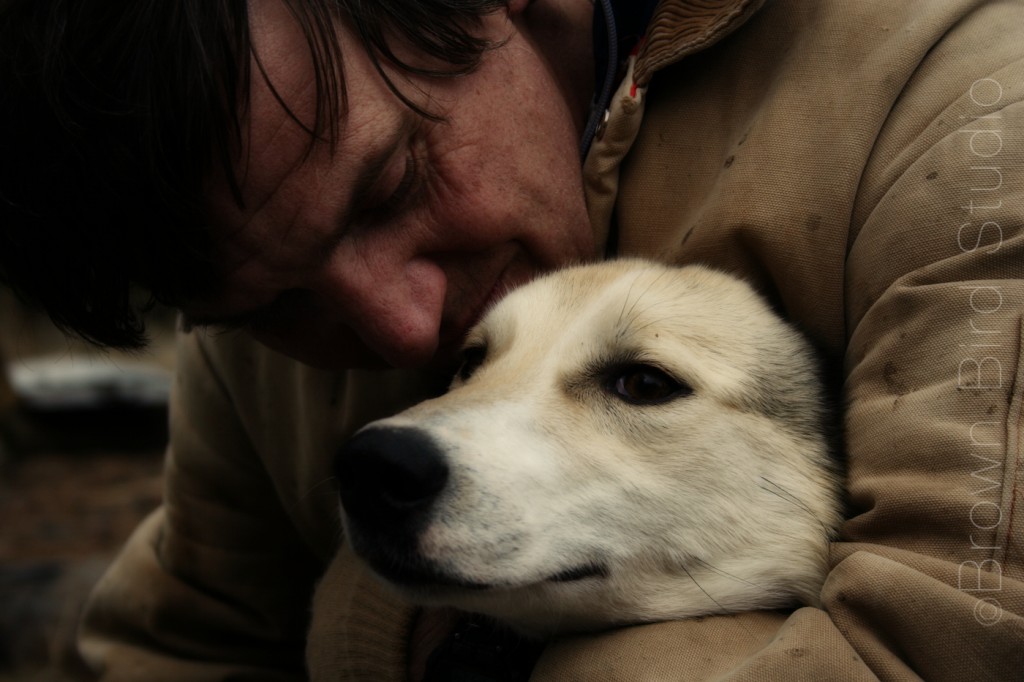
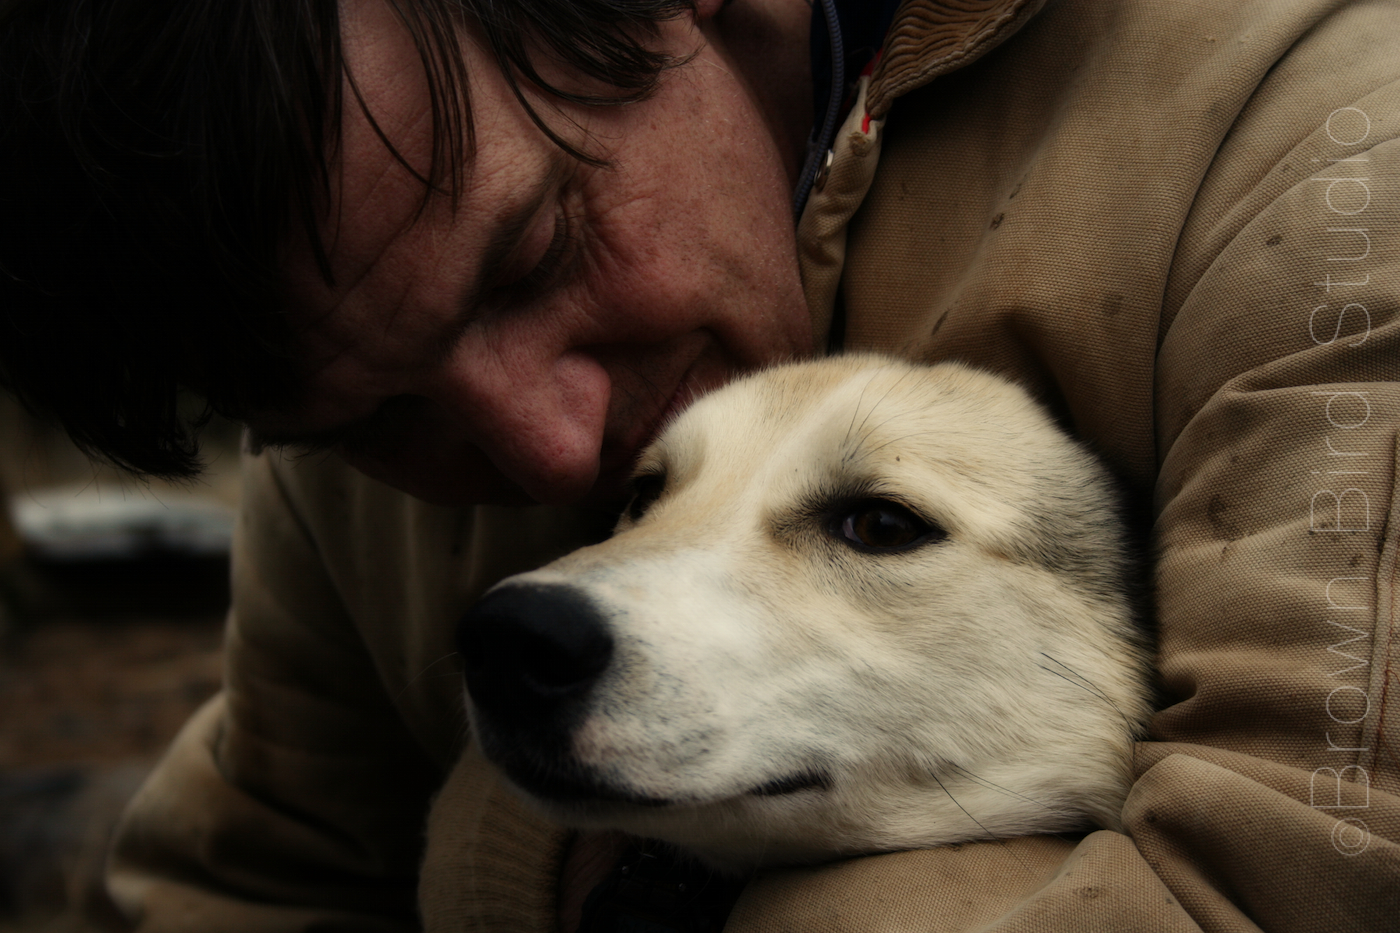
Ancient Bond: Photographic Portraits of Sled Dogs

Bond between Dog and Human
Ancient Bond between Dog and Human
Ancient Bond
©Maureen Shaughnessy


The Race to the Sky is Montana’s premier winter event. If you can make it to the official race start at Camp Rimini, or to the re-start of the race at Lincoln, you won’t be disappointed! It’s an incredibly fun event for families. I’m not a musher but I know a few — and I’m pretty sure the mushers and their dogs have fun too.

The 350-mile Race to the Sky is a qualifying event for the Iditarod. This year, the race starts on Saturday morning at 10:00 am. You can get more info about the race at the official Race to the Sky website here.

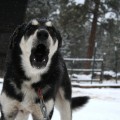
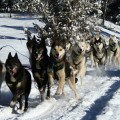
The walk from parking along the road, to the starting line at Camp Rimini is short. I like to find a place to watch up the trail — away from the crowds. When the dog teams come by where we are standing, they’re usually quieter and more focused. It’s a different (and equally fascinating) experience back at the actual starting line, where all of the dog teams are barking to beat the band in anticipation of taking off!

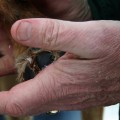
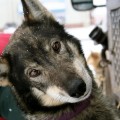
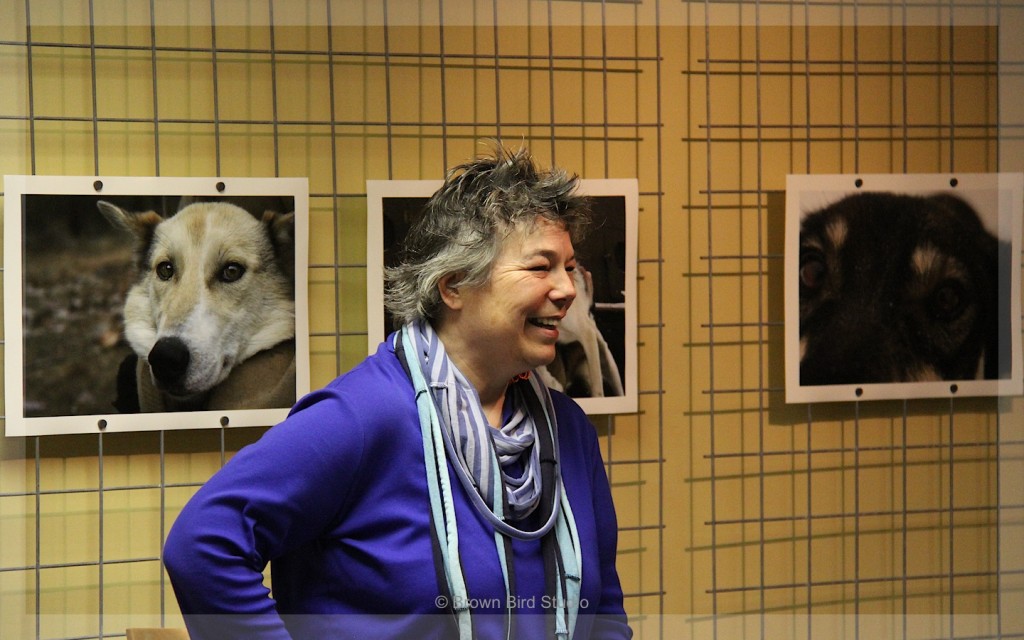
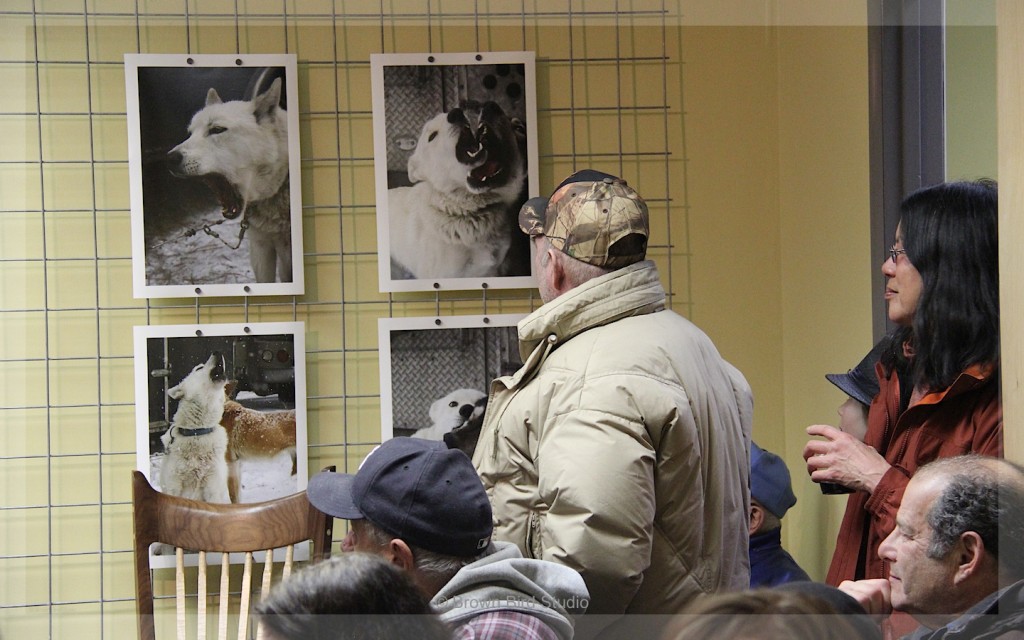
I am exhibiting the photos below at 1+1=1 Gallery in Helena. Please come by the gallery to see the show while you’re in town for the race. There is also an 8 foot antique dog sled on display in the gallery. All of these 12 x 18 inch archival prints are available for purchase (details at bottom of this post.) The exhibit will be up for one month, through March 2nd.


IF YOU GO:

1+1=1 Gallery
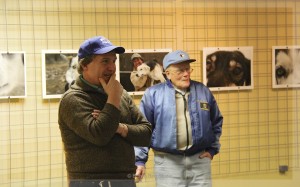
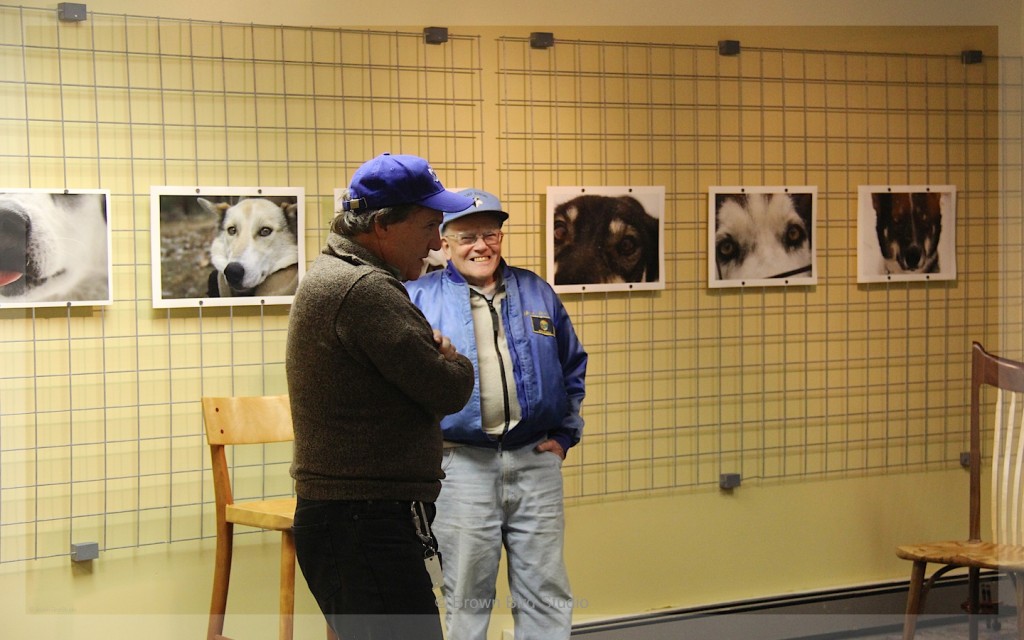
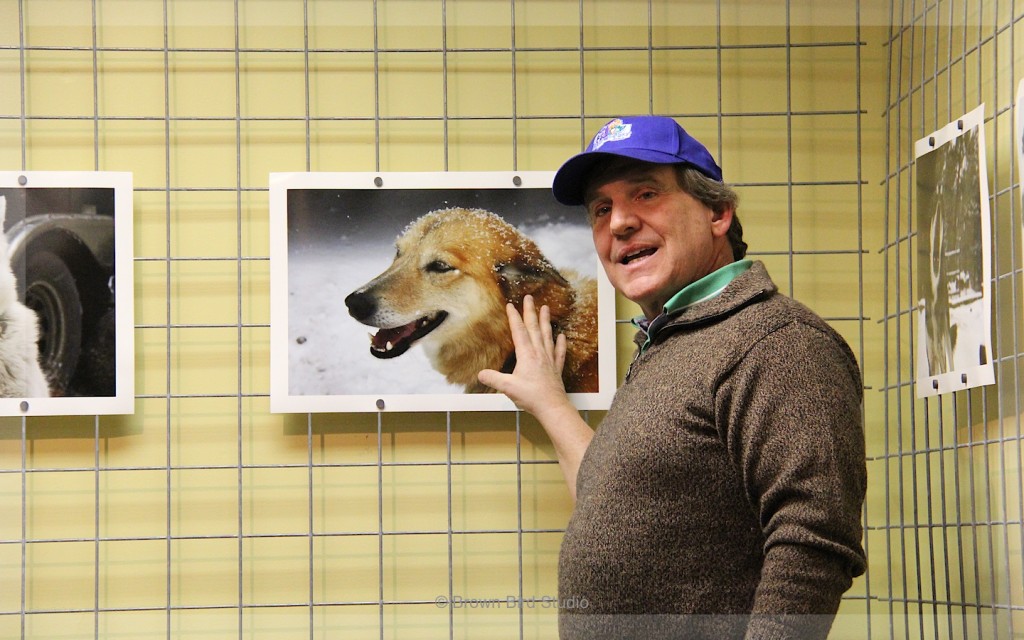
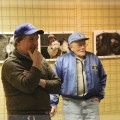
Mark Ibsen and Dave Armstrong During Mushing Talk335 North Last Chance Gulch. Open Wednesdays, Fridays, Saturdays and Sundays noon to 5:00 pm.


Official Race Start near Rimini on Saturday Feb 15 at 10:00 am
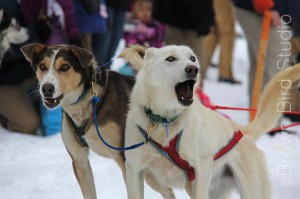
Ready to Go!Take Highway 12 (Helena side of McDonald Pass).  At the bottom of McDonald Pass, turn south on Rimini Road and follow Rimini Road past Moose Creek Campground on the right.  Watch for the snowmobile parking area on the right side of the road, park on right side of the road.


Race Re-Start in Lincoln on Sunday Feb 16 at 2:00 pm

Follow Highway 12 past Elliston and Avon.  Turn right (north) at Highway 141 just beyond Avon, cross the railroad tracks, and follow Hwy. 141 for 34 miles to the end of the Helmville Road.  At the stop sign intersecting Highway 141 and Highway 200, turn right (east) toward Lincoln and travel another 16 miles farther.  Hi-Country Snack Foods is on the left side of the road when going toward Lincoln from the Helmville Road.  Watch for the sign. The Race to the Sky starts and finishes under the big archway.

Do you love dogs? Have any wall space at home that just begs for one of these sweet dog portraits?

Are you a veterinarian or doctor? These beguiling portraits might be just the thing for your waiting room or exam rooms — imagine your patients connecting with the feelings evoked by these photos of care, love, enthusiasm and personality!

Do you have your own office? Can you imagine yourself connecting with one of these human-canine images when you look up from your work?

Picture a grouping of these striking portraits wherever you live or work, to remind you of the special bond we humans share with our dogs:

  • Sizes: most of the signed photos are 18 inches x 12 inches.
  • Paper: photos are digitally printed on archival Silver Rag Gloss (more of a luster finish) paper.
  • Quality: these are the highest quality digital prints I can find, made for me in South Carolina by a fine art printer. The colors and black and white tones are rich and the paper feels like a traditional cotton fiber based paper.
  • Price unframed: $100 each
  • Price for Ready-to-Hang prints mounted on Baltic Birch gallery panels: $200 each. These are light-weight cradled wood panels 1 1/4 inches deep, with natural birch sides. The photos are mounted with archival adhesive flush to the edge of the panel.
  • How to Buy: please let me know by email if you want to purchase one or more prints from this exhibit. [email protected]


Love Dogs? How about Sled Dogs?

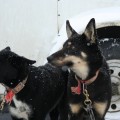
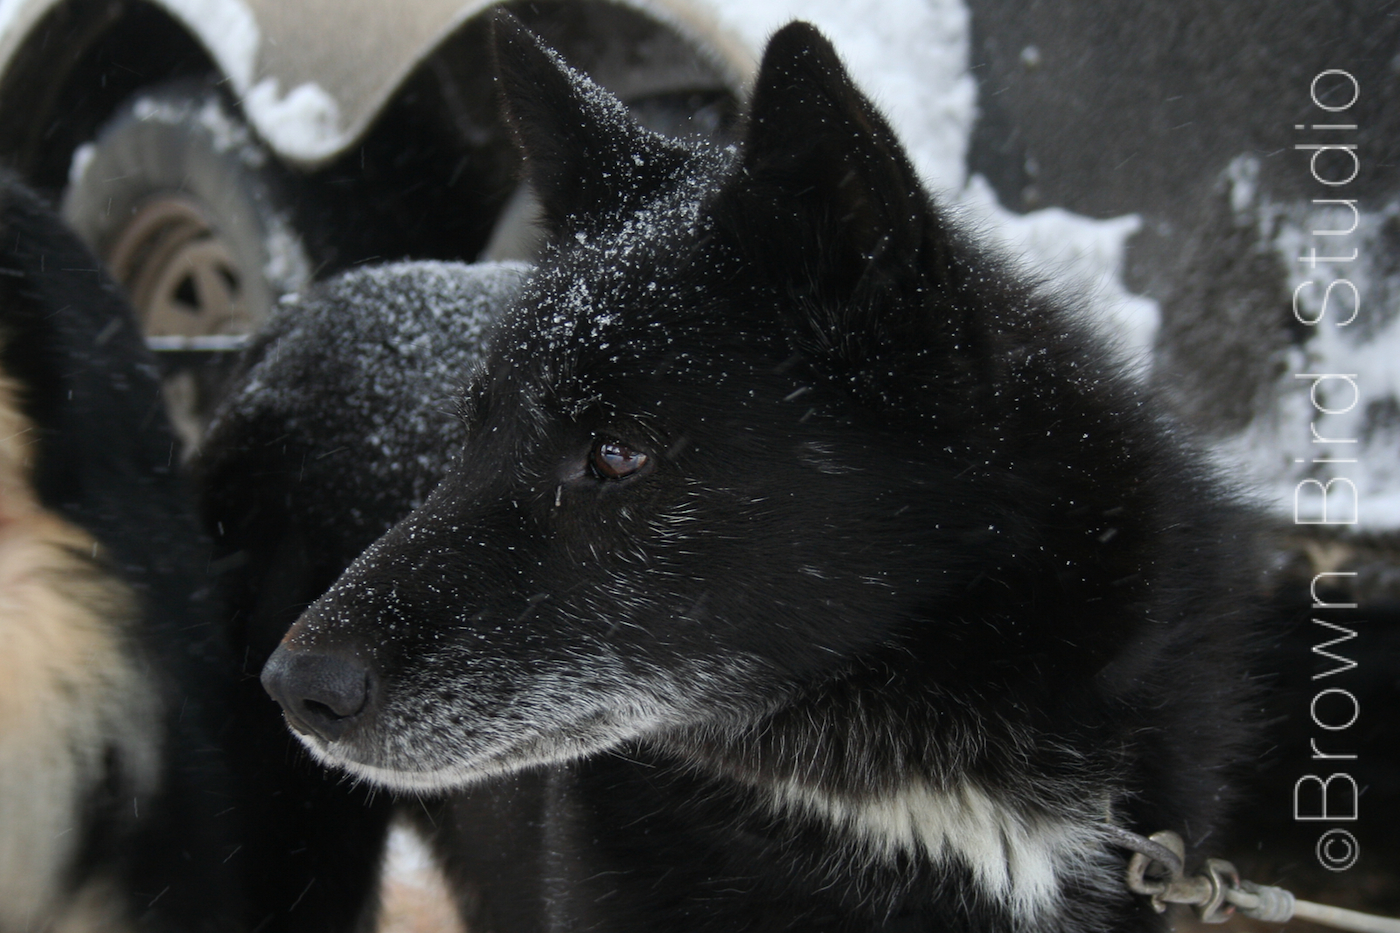
Old Black Sled Dog Waiting

Mark Ibsen and Dave Armstrong During Mushing Talk

Tweet this: what do you know about dogs’ personalities? want to know more?

If you missed the opening reception of All Things Sled Dog (and Dog) at 1+1=1, you can still see the photos at the gallery through March 2nd, 2014. We are located at 335 North Last Chance Gulch in Helena, Montana.

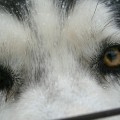
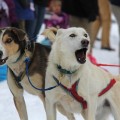
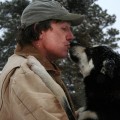
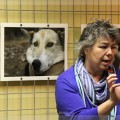
There are two exhibits by Maureen Shaughnessy at the gallery this month:  Ancient Bond, an exhibit of sled dogs portraits emphasizing the dogs’ personalities and the bond with their handlers and mushers… and Charlie’s Closet, select portraits of Charlie putting up with being dressed up in human clothes.

Artist During Gallery Talk

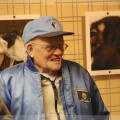
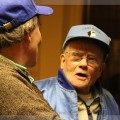
Our Friday night reception was well attended. I began with a talk about how I shoot portraits of dogs, and try to build connections between the dogs (the photos) and viewers.  Mark Ibsen followed with a humorous talk about mushing, using my photos to enlighten the audience about what the dogs might be feeling or thinking. He had the guests (and me) laughing and smiling. Dave Armstrong and several other old-time mushers attended and we even got Dave to give us some history about the Race to the Sky and the antique sled displayed at the gallery this month.

Mark Ibsen During Mushing Talk

We had a mix of mushers and mushing-fans along with other dog lovers and a handful of photo buffs. I promised a couple of guests that I would post my talk, along with the 19 tips for photographing dogs, so I’ll do that in the next day or so. Check back later this week.

Gallery Reception and Artist Talk

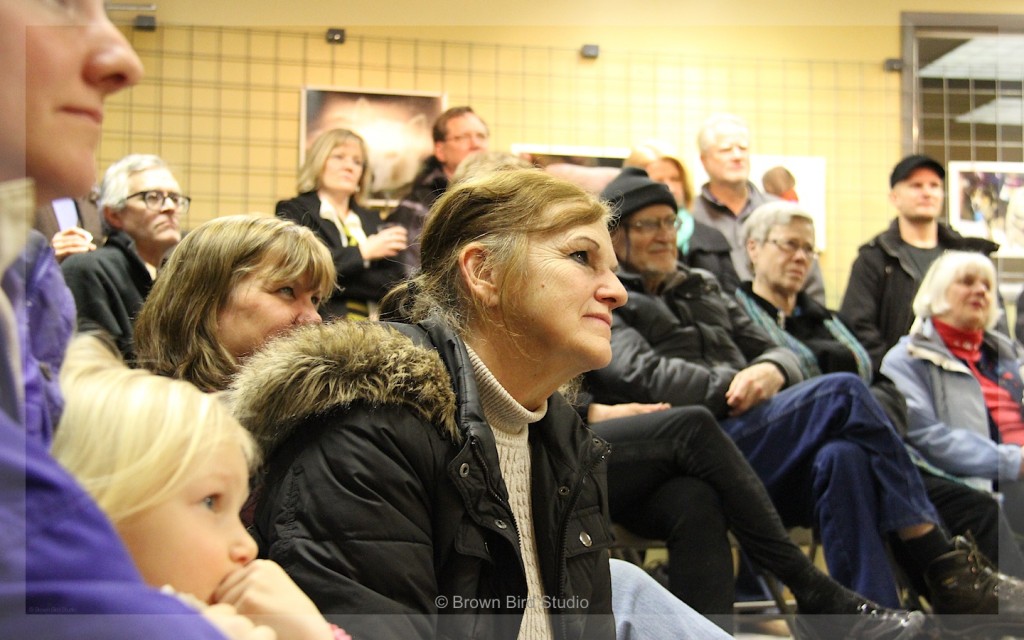
Guests at 1+1=1 Gallery

Thank you to my dear friends, Jaime for helping me hang the show and to Ema and Adia for your help with the food during the reception. Thank you especially to Tim Carney, who mounted the utility panels on the gallery walls and helped me serve wine and finance the exhibit. Plus you are always my greatest fan and helpmate. You’re awesome!

Please enjoy the opening night photos. If you see yourself in the crowd and want to comment, please do. Or comment even if you weren’t there.

  • All of Maureen’s photos are for sale.
  • The size of most of the signed photos is 18 inches x 12 inches.
  • The photos are digitally printed on archival Silver Rag Gloss (more of a luster finish) paper.
  • These are the highest quality digital prints I can find, made for me in South Carolina: the colors and black and white tones are rich and the paper feels like a traditional cotton fiber based paper.
  • Unframed prints are $100 each.
  • Ready-to-Hang prints mounted on Baltic Birch gallery panels are $200 each.
  • I will have a gallery of prints available from this exhibit in a separate post. Please let me know by email if you want to purchase one or more prints from this exhibit. [email protected]
 Here’s where you can purchase the prints. 

5 Fun Kid-Made Valentines

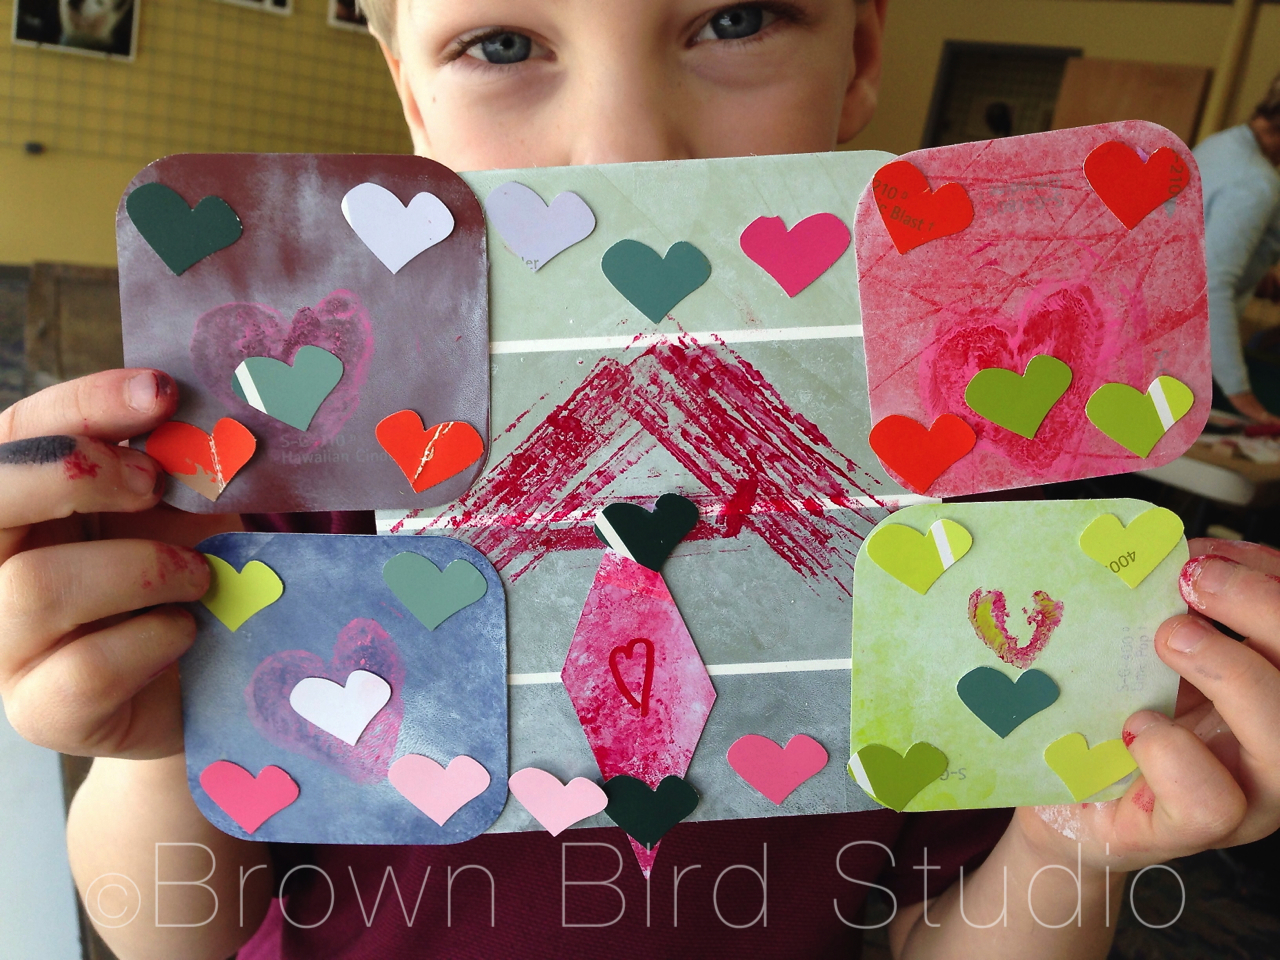
Aidan Proudly Shows one of his Valentine Creations

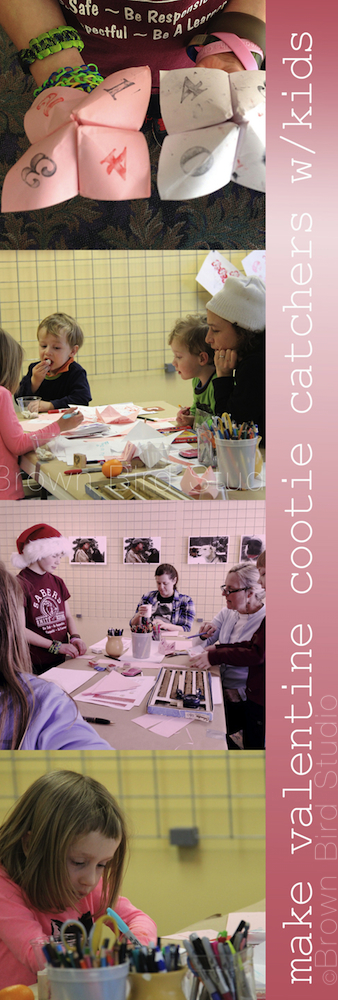
Make Cootie Catchers with Love Notes Inside

Cootie Catchers (aka salt cellars or fortune tellers) are perfect for a unique Valentine card that becomes a game. The basic shape is an origami fold. Make these with inexpensive copy paper in different colors. To make a cootie catcher into a Valentine gift, instead of writing “fortunes” on the inside, write little love notes or positive messages like the ones you find on Valentine candy hearts.  Examples: “Be Mine” … “Call Me Later”  “I-Luv-U” “Kiss Me” and “Hugs!” and “Sweetheart.”

Valentine Cootie Catchers

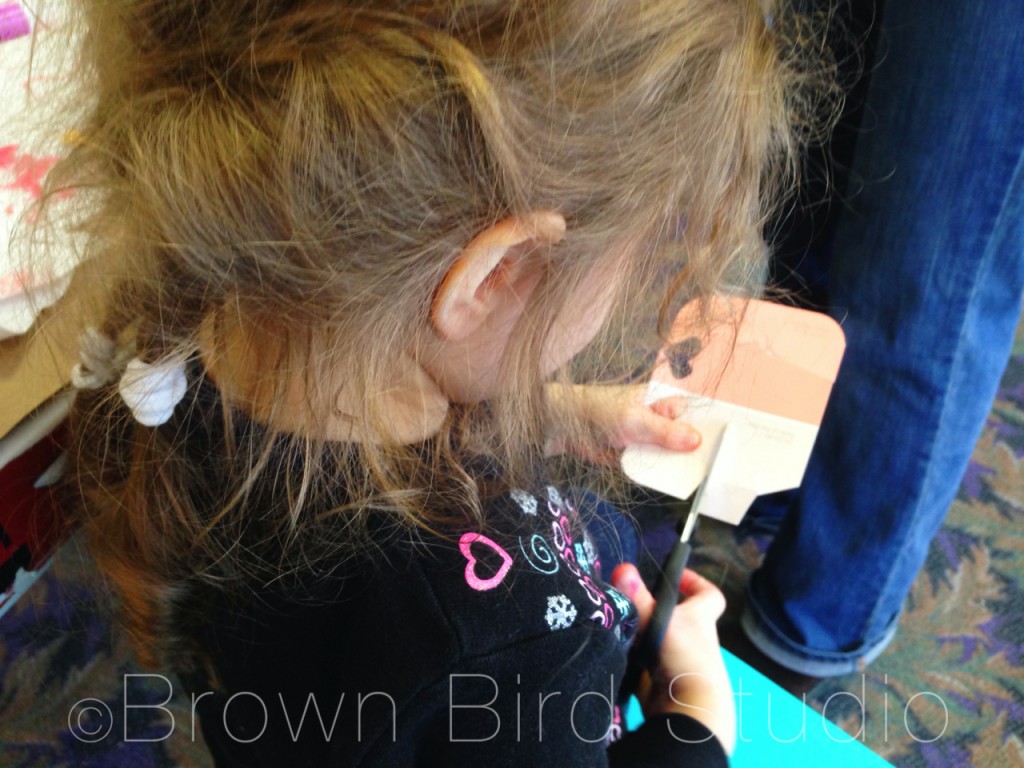
Cootie catchers are easy to make and can be adapted for any age from 3 up. For toddlers, you might want to fold the shapes for them, letting them decorate the paper. They can tell you what they want you to write on the inside. This is a fun way to remind your little ones of all the positive messages you give them every day.

For older kids, try suggesting they use rubber stamps for the numbers or letters on the outside of the folded shapes. Or they can think of Valentine-related symbols such as a bumble bee (bee-mine) a heart, a flower or pair of lips to use instead of the traditional numbers on the outside flaps.

Remind kids to stay positive, and keep a great sense of humor. Your kids may surprise you with the fun sayings they come up with for their cootie catchers.

One of the kids came up with a cool idea: on the inside flaps she wrote things like, “Hug the person to your right” and “Your Valentine is on your left.” A perfect party cootie catcher!

HERE’S WHAT YOU NEED:

  • pink or white printer paper
  • rubber stamps and stamp pads (optional)
  • scissors (to make letter-size paper into squares)
  • markers, colored pencils

HOW TO DO IT:

Instead of trying to formulate instructions that make sense, I am sending you to momsminivan.com because she has not only complete instructions, but detailed photos and a video on folding. Check it out here.  And here’s how to play cootie catchers:

  1. Practice opening and closing the cootie catcher. Open it first with your forefinger and thumb on each hand together. Then open it with your two forefingers together and your two thumbs together.
  2. With the Cootie Catcher closed, have someone choose a number or symbol from the four outside flaps. Open the Cootie Catcher once for each letter in the symbol (eg if they choose a heart, spell out h-e-a-r-t) or count the number they picked. Leave it open at the end so they can see four numbers or symbols inside.
  3. Next, have them choose one of the four inside flaps they can see, and close-and-open the Cootie Catcher that many times, again ending with it open.
  4. Last, they should choose one of the four flaps they now see, and you lift up that flap to show their love note or personal message.

Printing Valentines with Fruits and VeggiesMake Valentine-y Prints Using Fruit and Vegetables

All you need for Valentine printmaking is some fruits and veggies and a few other things you probably have around your house. Think about handing your Valentine a bunch of flowers you made yourself!

HERE’S WHAT YOU NEED:

  • pink or white printer paper
  • vegetables such as a bunch of celery, apples, brussels sprouts, carrot, potato and lemon
  • cheap sponges
  • a printmaking roller
  • little plates to put the sponges on
  • red, pink and black stamp pads
  • very sharp knife and a cutting board

HOW TO DO IT:

  1. Place a moistened sponge on a small paper plate. Squeeze a little red tempura or acrylic paint onto the sponge and spread it evenly with the roller. Cut the celery bunch about 3 or 4 inches from the root end, leaving the stalks all together. (Save the stalks you cut off of the root end.) Holding the celery bunch together tightly, press it onto the sponge and get some paint on the ends. Next, stamp it on your paper. Don’t squish it around or you will smear your design. Lift it up and Voila! There is a beautiful “rose!” Make a bouquet of roses.
  2. Cut a brussel sprout in half horizontally. Make a clean cut! Now, press it onto a red stamp pad (paint is too much for a brussel sprout print) and get it good and red. Next, stamp it onto your paper and lift it straight up. You will have a miniature rose. Make a big bouquet of mini roses!
  3. Use the stalks of celery you cut off of the celery bunch, to make little squiggle designs. Use your stamp-ink-pad for these. Play around and see what you can make with these.
  4. Cut an apple in half vertically to make a heart shape. Try cutting an apple in half horizontally for a circular shape with a perfect star in the middle. Use the paint-soaked sponge for the apple prints.
  5. Cut a lemon in half and dry it well on paper towels. Use your ink-stamp-pad to ink up the lemon and press, press, press.
  6. Cut a potato in half and using a sharp knife, carve the flat side into a heart shape or any other simple shape. Use this as a stamp, with either the stamp pads or in paint-soaked sponge.
  7. Compost the veggies and fruits after you finish.

Delight in Each Other
Delight in each other

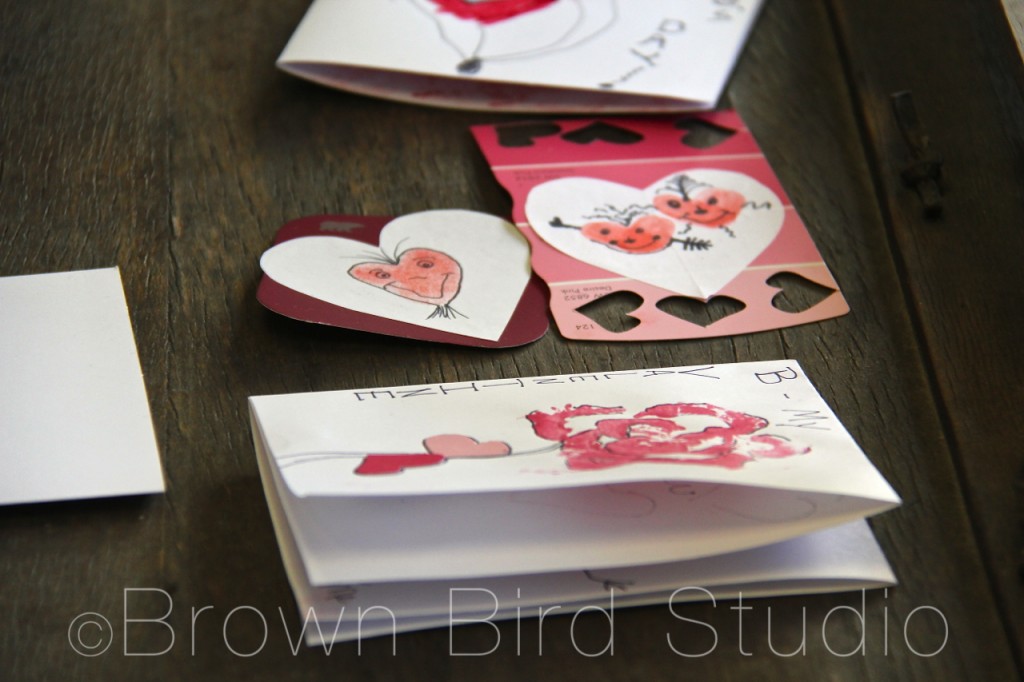
Thumb Print Hearts Make Cute Valentine Cards

What is easy, simple, and uses something you have on you ALL the time? Hearts made with your very own thumbs. Big grownup thumbs or tiny toddler thumbs make super cute Valentines. This is a popular card making activity with the littlest ones.  (I used washable red ink stamp pads for obvious reasons. heh)

Sarah and Bailey Were Almost All Thumbs
Sarah and Bailey were almost all thumbs

HERE’S WHAT YOU NEED:

  • thumbs
  • white or pink printer paper
  • washable red stamp pad
  • paint samples
  • glue sticks
  • scissors
  • markers, colored pencils, fine-tip permanent pen
  • heart shaped paper punch (totally optional)

HOW TO DO IT:

  1. Press your thumb onto a red stamp pad and get it good and inky.
  2. Make two thumb impressions, at slight angles to form the shape of a heart. Play around with your own ideas.
  3. After the thumb prints dry (takes a minute) draw on them with markers, colored pencils or sharpies.
  4. Cut the hearts out and glue onto paint samples from the paint store.
  5. We also used a heart punch to embellish these cards.

Just Draw!

Some of the kids who came to this workshop decided just to draw their Valentine’s cards — and I just say there were some really cool cards being made at that table! They used the markers and printer paper we had to exercise their creativity. Three-year old twins and their sister made these:


And Then There Was Aidan — He Went All Out(side-the-box)

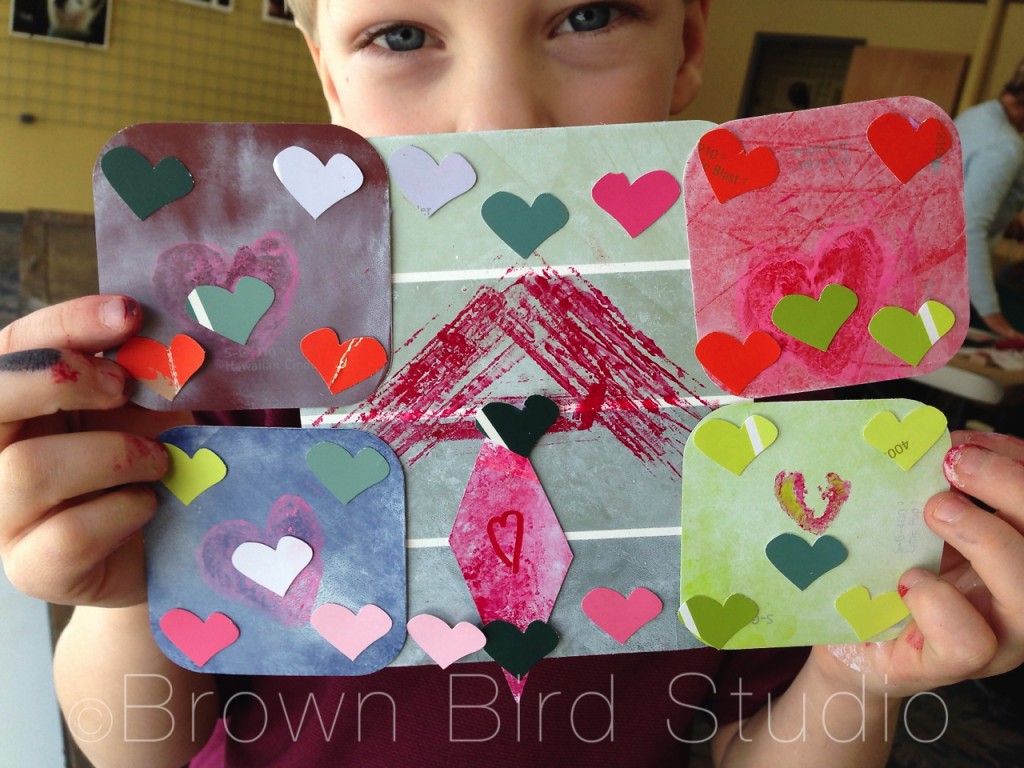
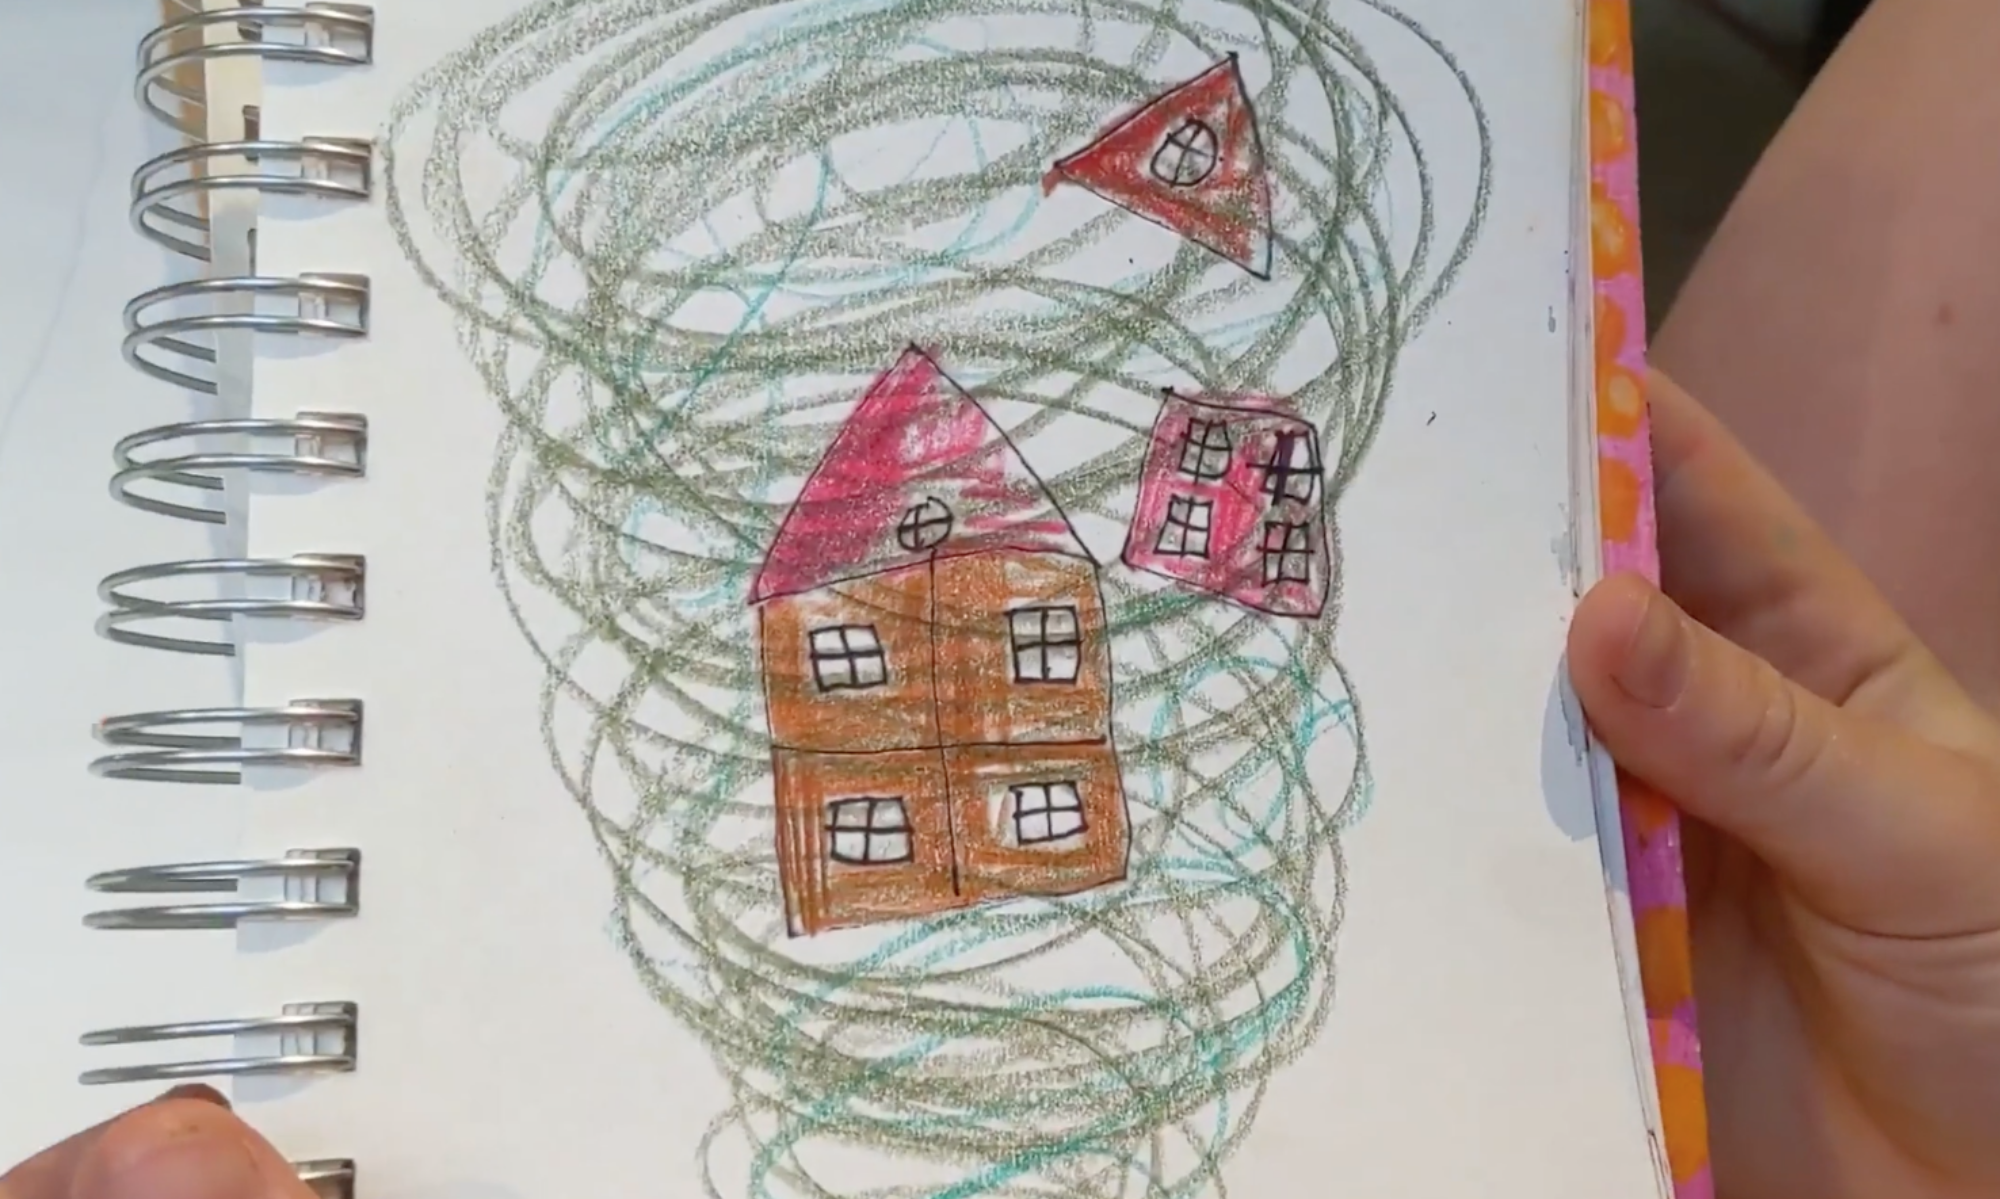
I love, love, love how this happens! Aidan made a cootie catcher, but the thing that really caught his imagination was the idea of printing and getting messy with paints. I had three planned valentine techniques and Aidan made such a beautiful — creative — Valentine using the materials and tools I had available but his very own multi-layered techniques. If he had given me his Valentine I would have proudly framed it and hung it in the gallery. Check it out below. Can you tell how Aidan made his valentine?  (I’ll give you a hint about one little part of his design  … below the picture)

Aidan Proudly Shows one of his Valentine Creations
Aidan proudly shows his amazing Valentine creation!

(hint: Aidan used the outside of the celery stalk, lengthwise, to make the cross-hatched pattern in the middle. The rest of his techniques you’ll have to figure out yourselves.)

Enthusiastic Valentine Maker
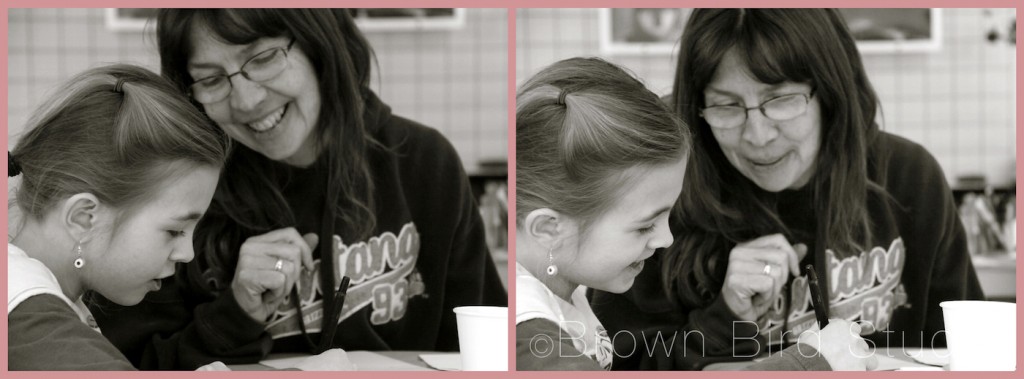
Lily really got into punching and cutting the paper samples!

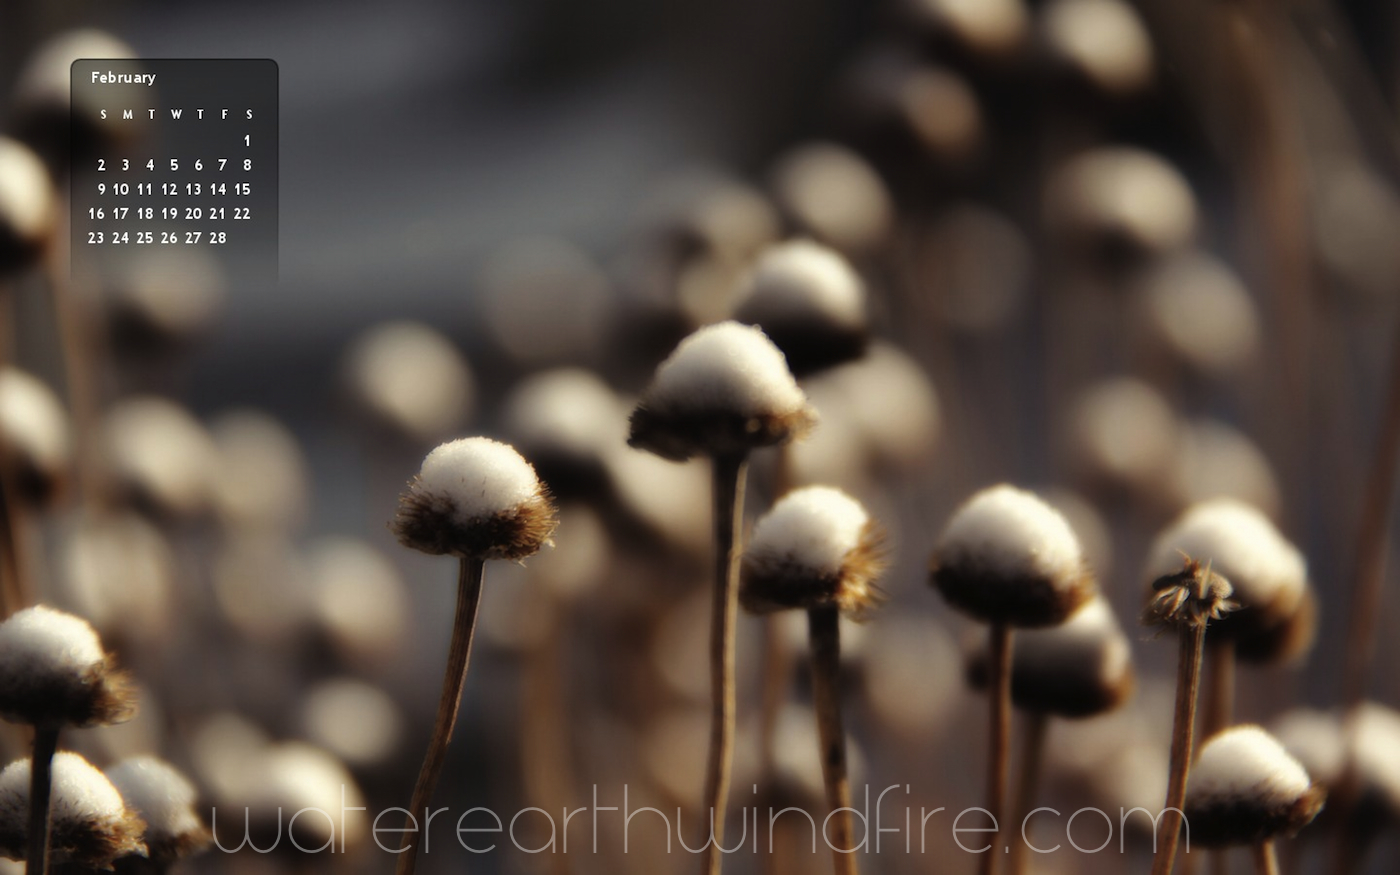
Desktop Wallpaper Calendar for February

February 2014 Wallpaper Calendar

February 2014 Wallpaper Calendar


I used to post a free desktop wallpaper calendar every month and I loved doing it. I liked knowing that people appreciated the free calendar to liven up their laptop or desktop display and it was fun to give away my art to my blog readers. I think I stopped doing it because I got really busy with my job at Florence Crittenton. I have decided to start giving the calendars away again.

So, please download the calendars every month. I will try to post the calendars the first day or two of each month. The only thing I ask is that you use them only for your personal use. Please don’t sell them yourself. And please do tell your friends these are available. Thank you! These are a gift from me.

If I don’t have the size or proportion of your computer monitor, or if you would like one for a cell phone, please tell me in the comments and I will make one for you and post it here.

You should be able to right-click to save the image. Let me know in comments if you have any trouble. You can also download and print these calendars. (That’s a shout-out specially for my mom, Pat!. Love you mom!)

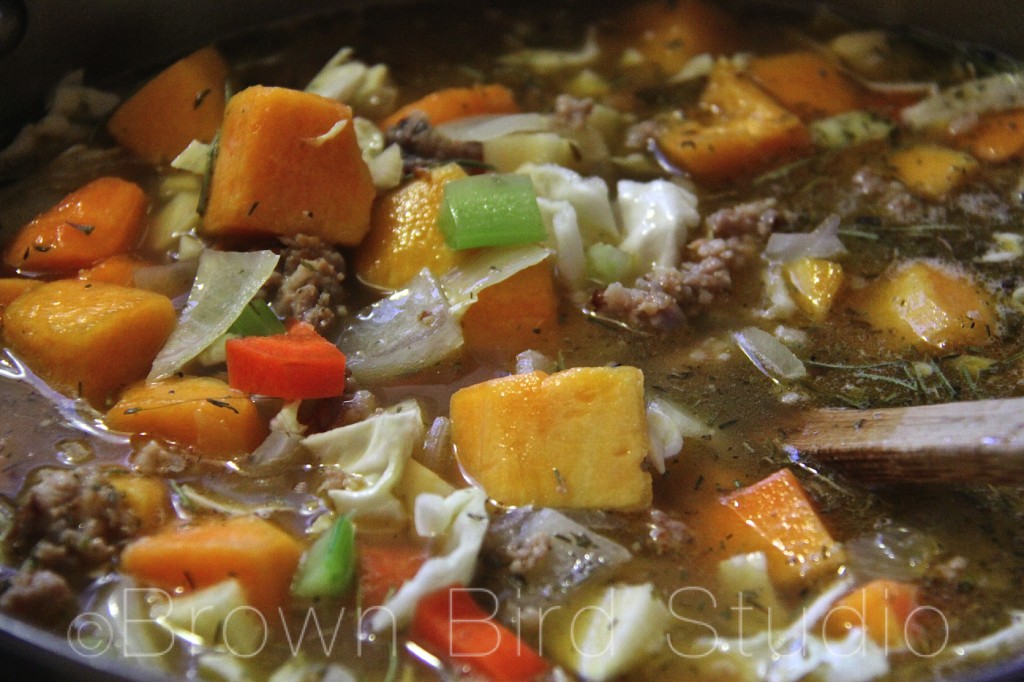
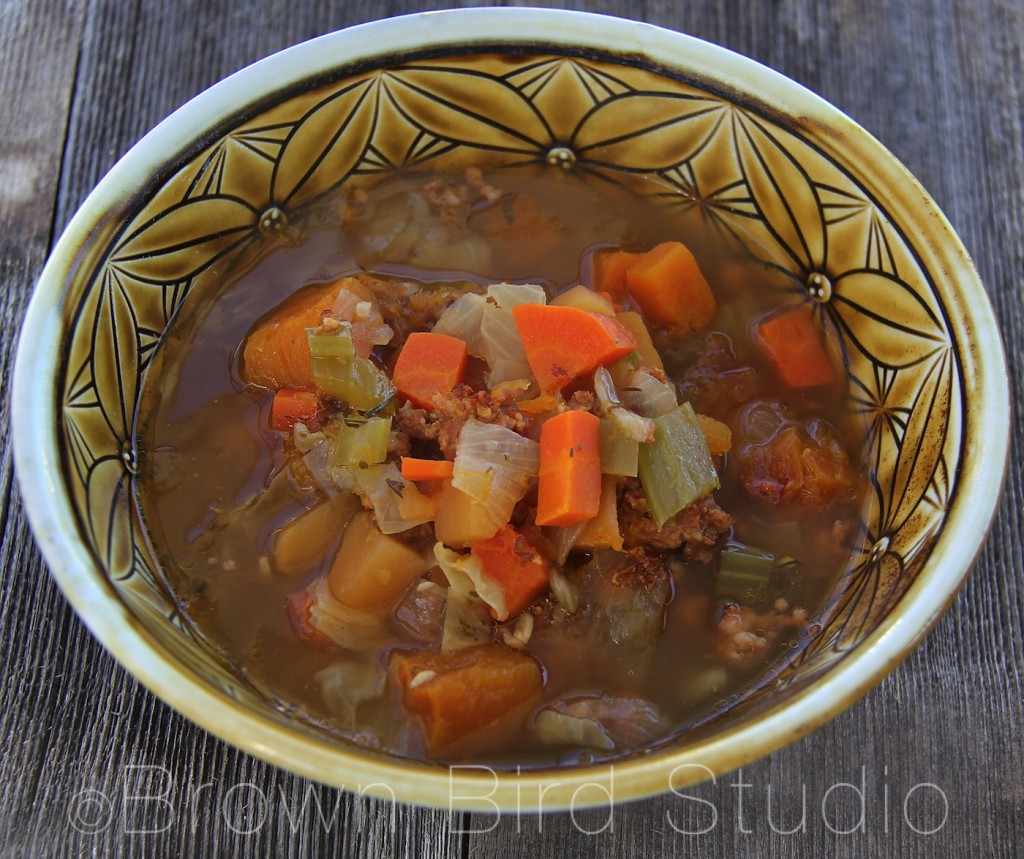
Eat Your Orange Colors: Old World Butternut Squash Soup

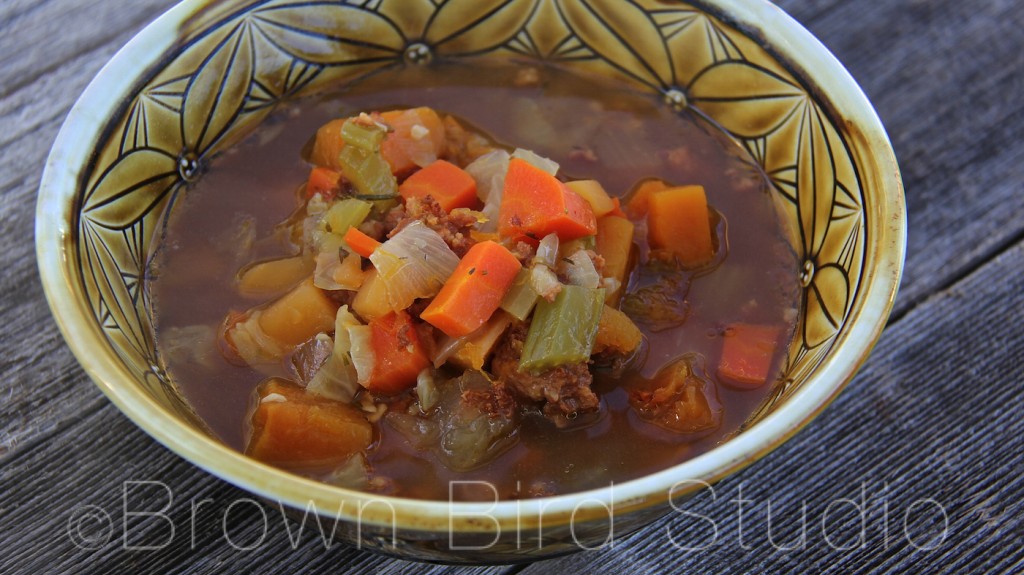
Old World Butternut Squash Soup

Old World Butternut Squash Soup is a delightful medley of orange veggies and sweet/savory flavors. Super healthy for you. Make this soup vegetarian — or not. Either way it’s delicious on a blustery winter day with some hot-out-of-the-oven whole grain bread or a scone and a leafy green salad.

A perfect winter meal:

Old World Butternut Squash Soup

INGREDIENTS

  • 1 large onion, diced
  • 3 celery stalks, chopped
  • 2 fat carrots, diced
  • 6 large cloves garlic, chopped finely
  • 1 T olive oil
  • 4 Italian sausages
  • 2 to 3 boxes organic chicken or vegetable broth (I use the 32 oz. boxes)
  • 1 rutabaga, diced small
  • 2 cups cabbage, shredded
  • 2# butternut squash peeled & cubed
  • 1 or 2 large tart apples, cut into chunks (leave the peel on)
  • Salt, pepper
  • 2 bay leaves
  • 1T Herbs de Provence
  • 1 t. thyme leaves
  • 1 t. rosemary leaves

butternutsquashsoup4-imp

PREPARATION

  1. Cut/Chop/Dice all the veggies so everything is ready to cook
  2. Remove sausage meat from casings and cook in a frying pan until done, crumbling it as it cooks. Set aside
  3. In a large soup pot, heat the olive oil and saute the onion, celery and garlic
  4. Add the cooked sausage, broth, carrots, rutabaga, cabbage, squash, apple and herbs
  5. Add a little salt to taste and adjust the amount of broth to your liking
  6. Simmer for two hours or so, until everything is very tender or cook in slow cooker for 4 hours.
  7. Adjust the salt to your liking and add lots of fresh ground black pepper
  8. Enjoy with a healthy green salad and maybe a scone or slice of whole grain bread

Old World Butternut Squash Soup

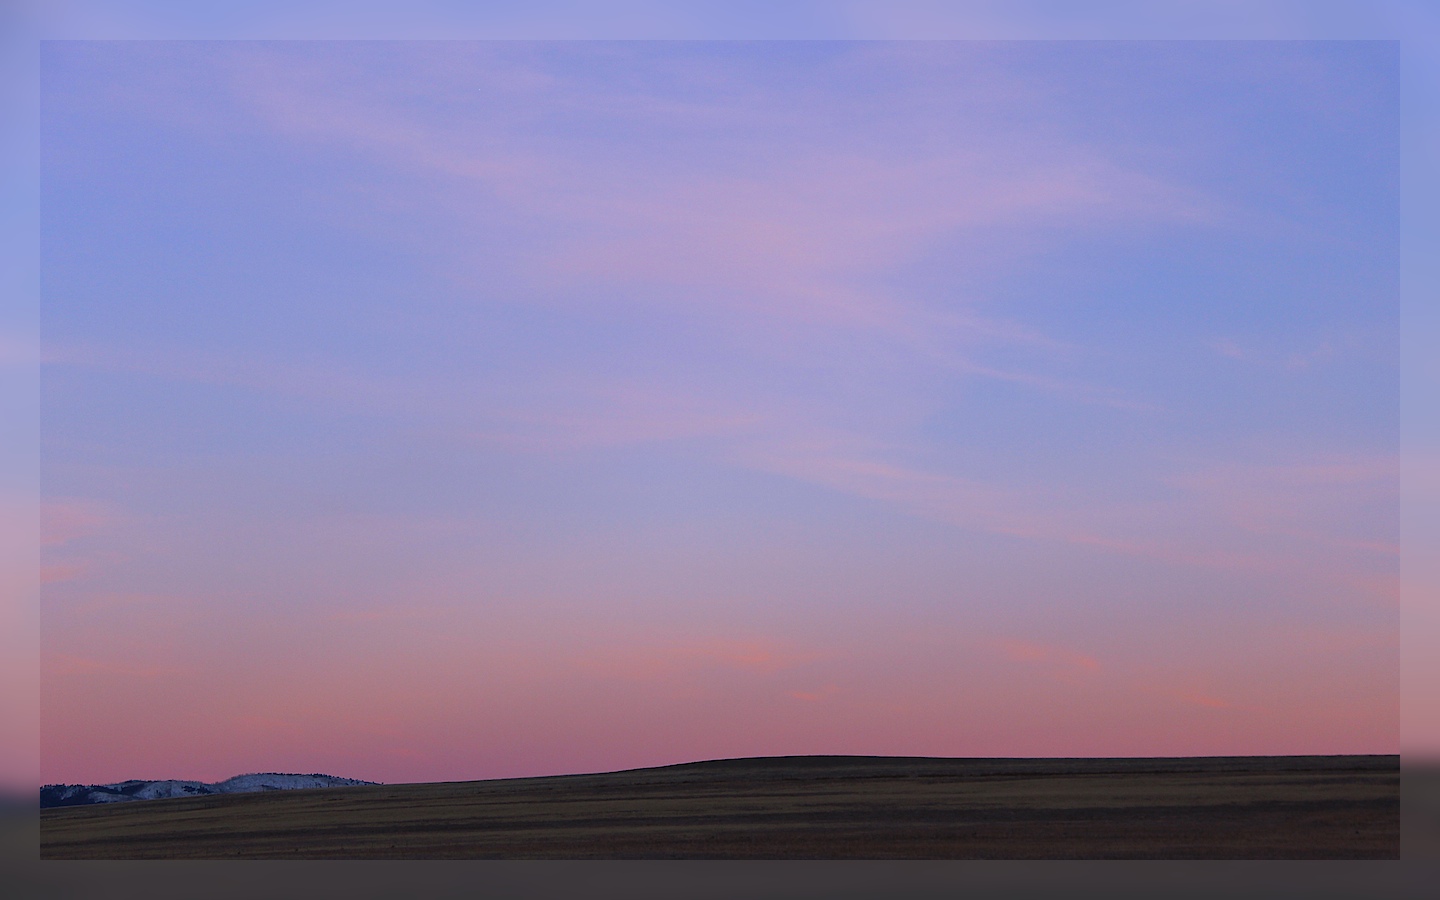
A Prairie Sunset that Fills Me with Peace

Prairie Twilight II

I love the soft gradients of some sunsets. This kind of sunset is a quiet counterpoint to the wild, heavily textured sunsets we sometimes have. I like both kinds.

This kind fills me with peace.

Prairie Twilight I

These two skies were on either side of me. The top photo is looking east in the evening twilight … then I turned around and shot the photo below, facing directly west.

Prairie Twilight II