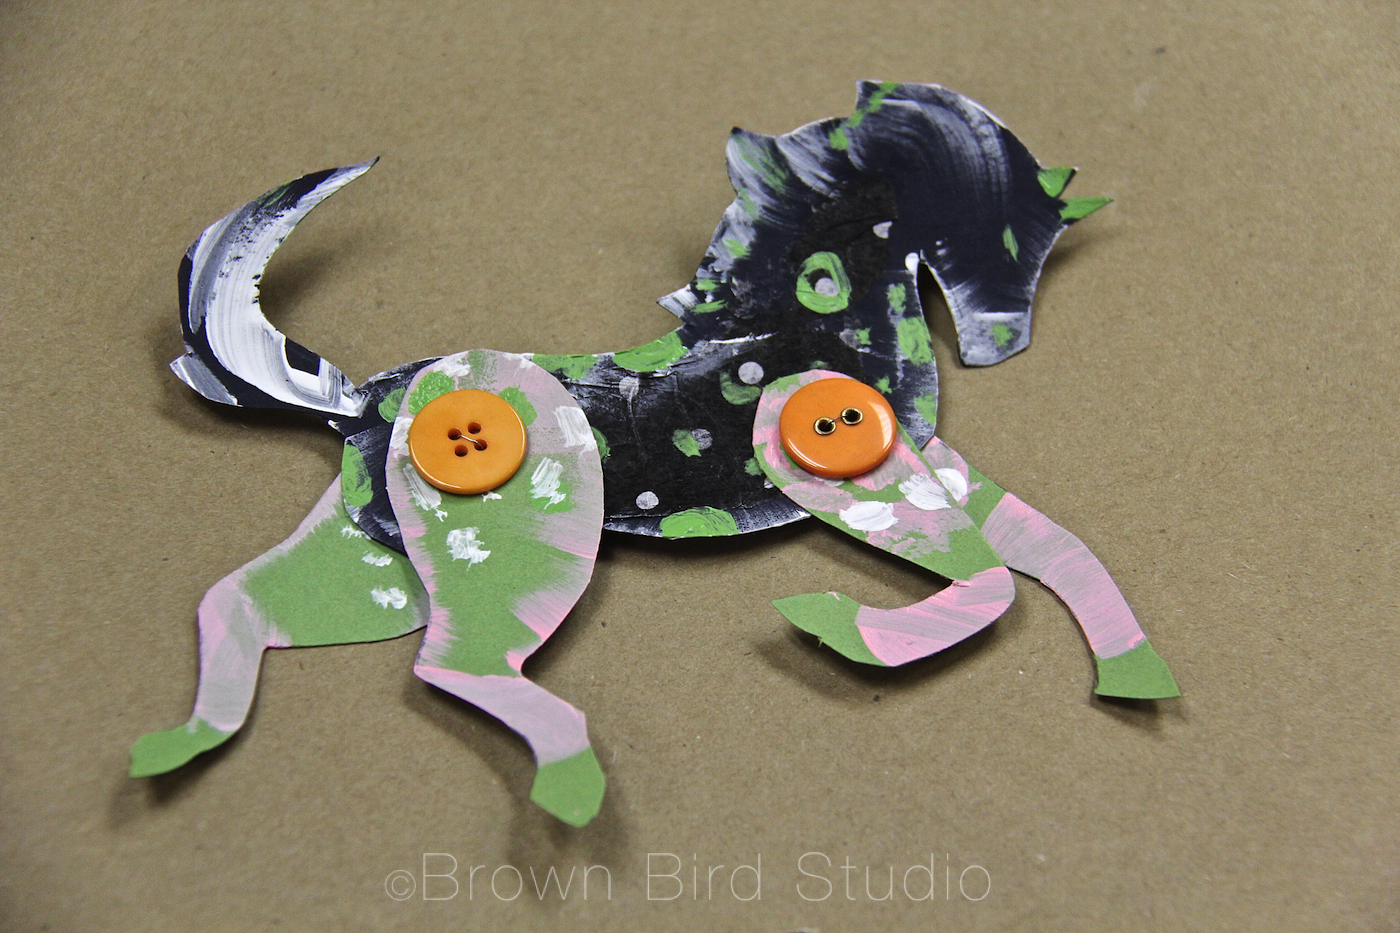
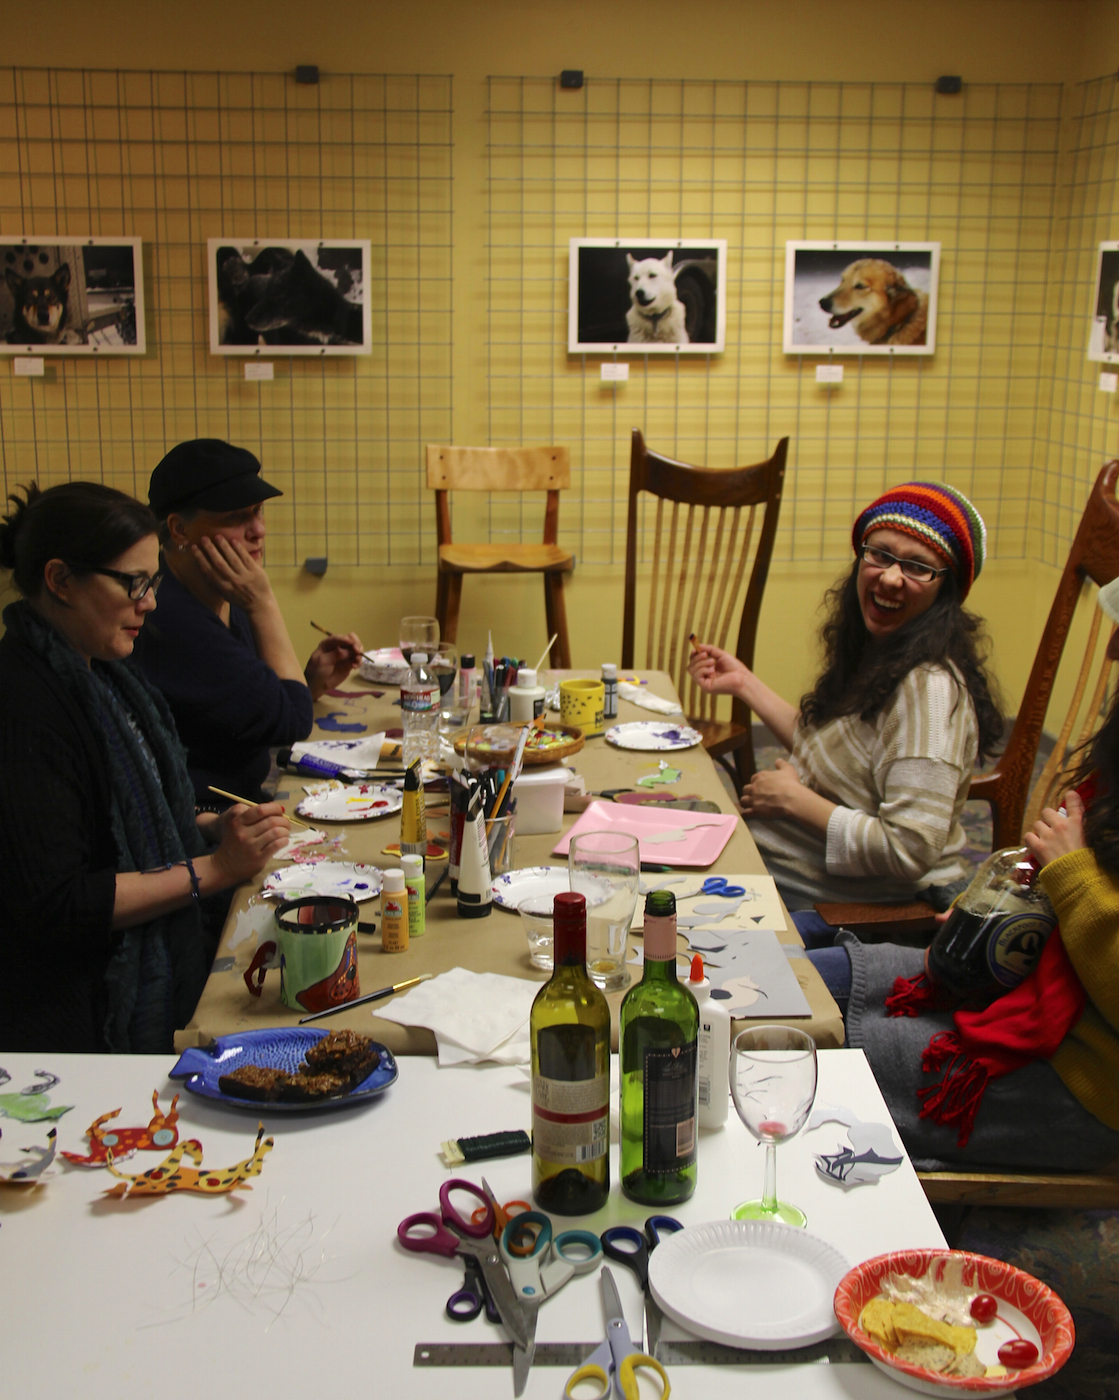
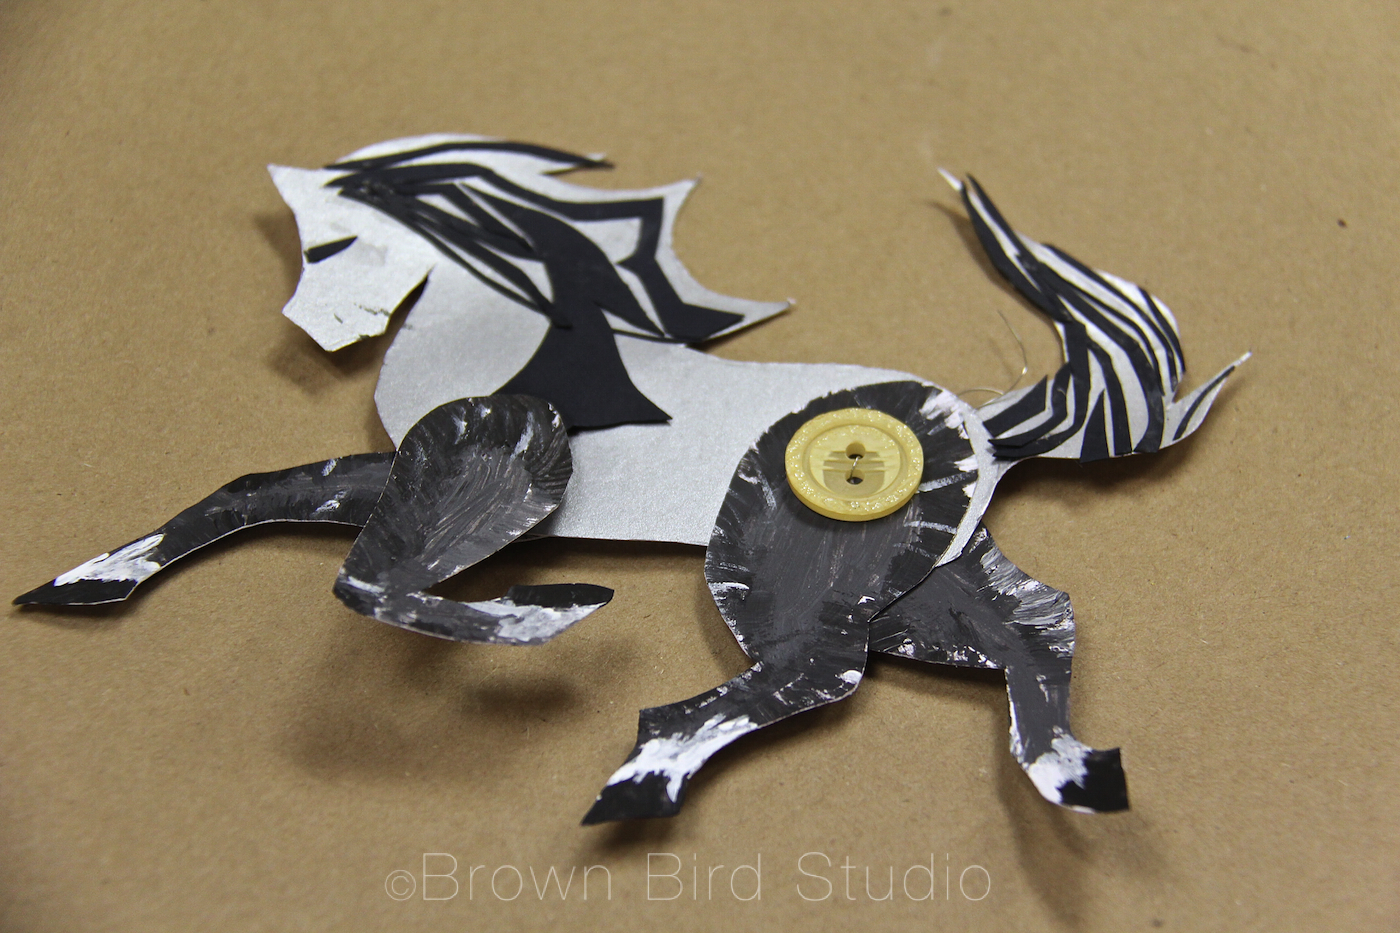
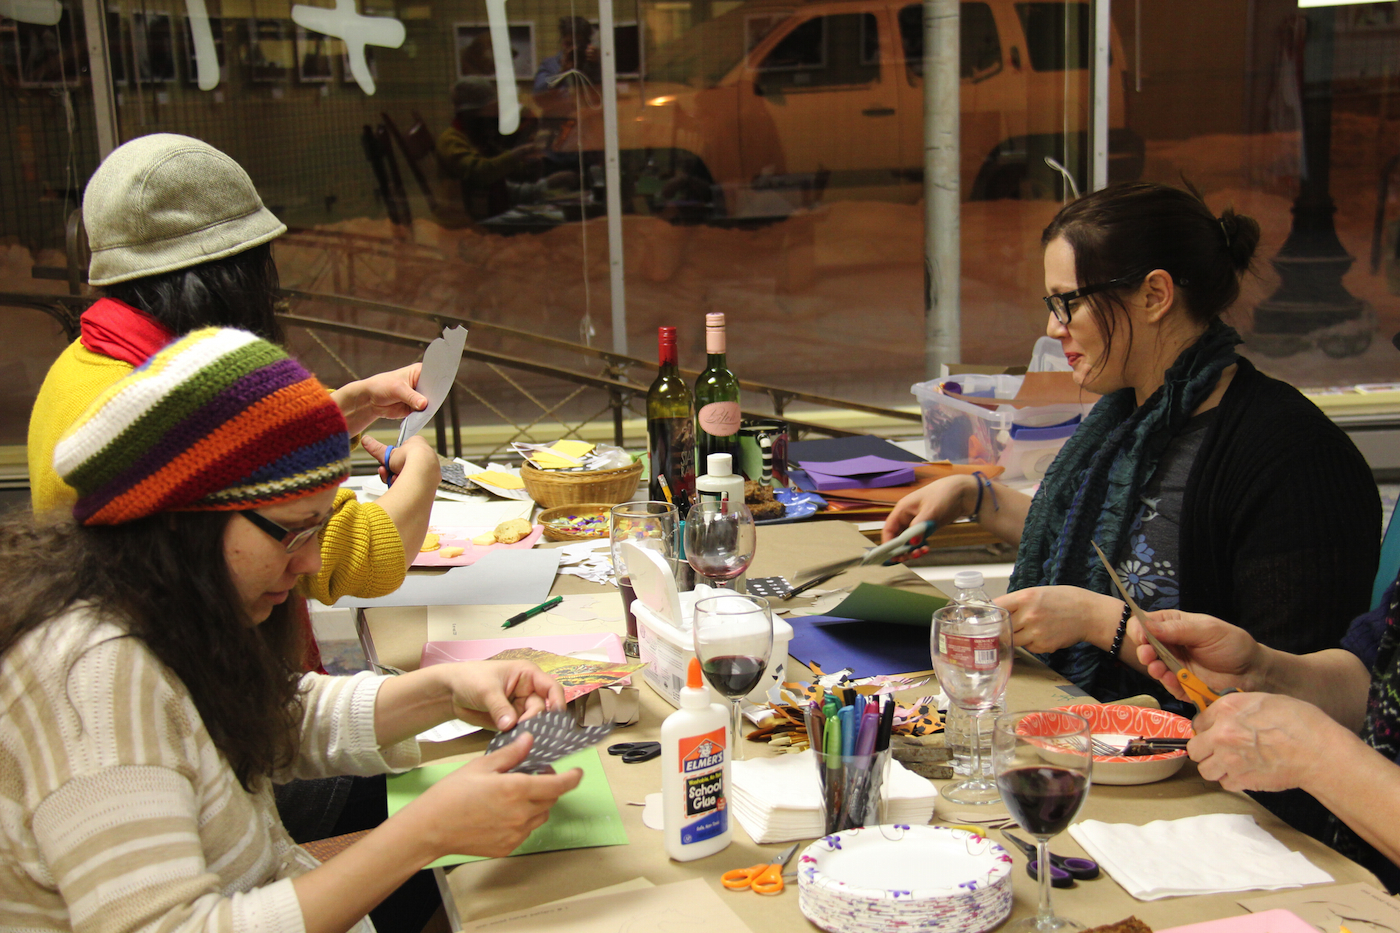
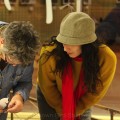
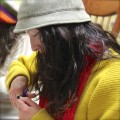
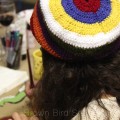
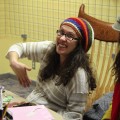
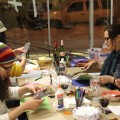
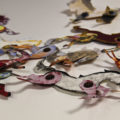
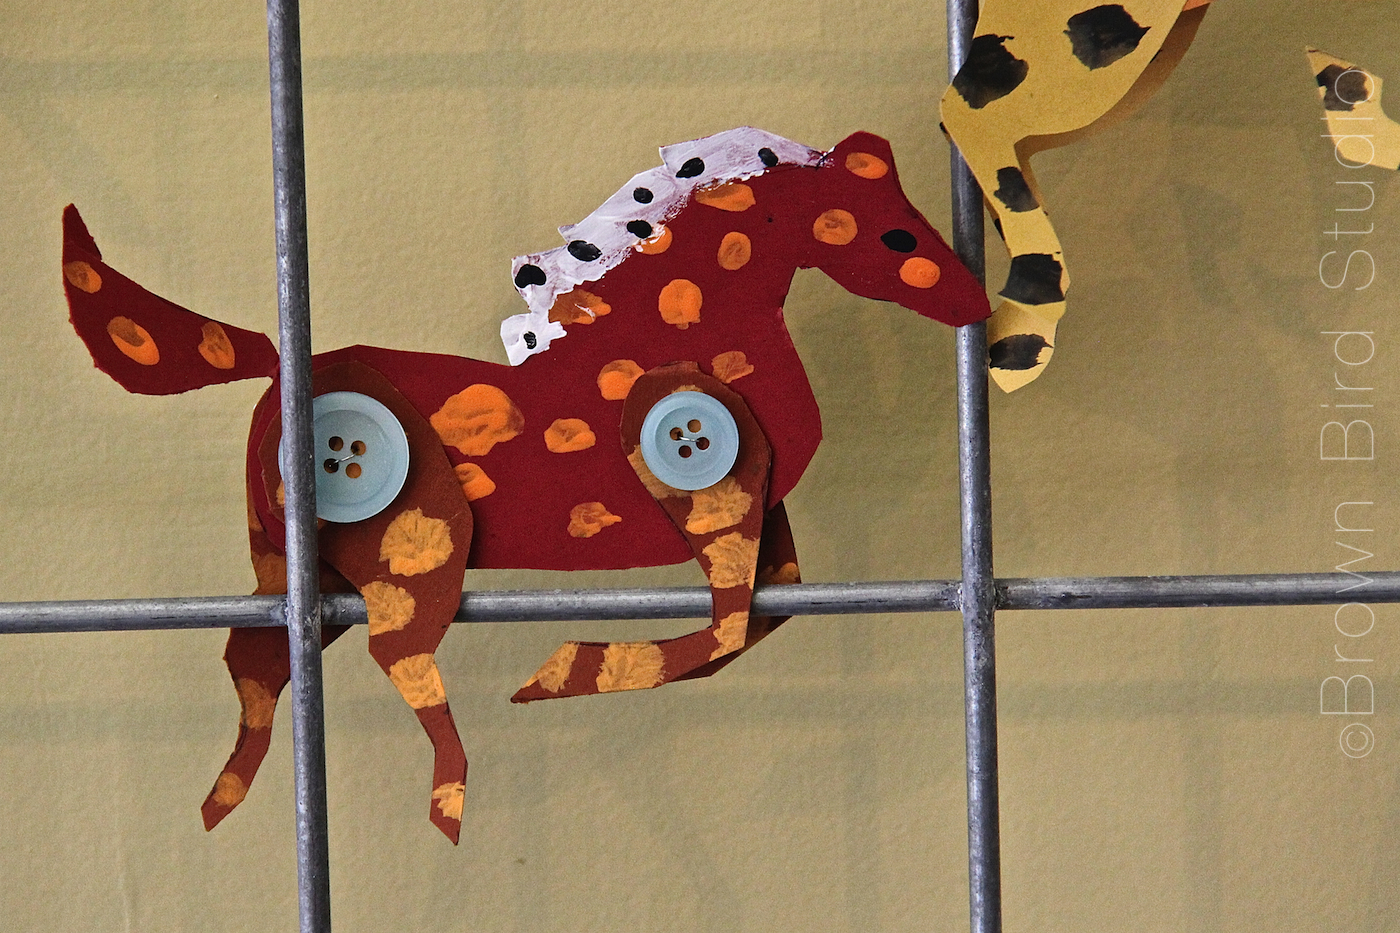
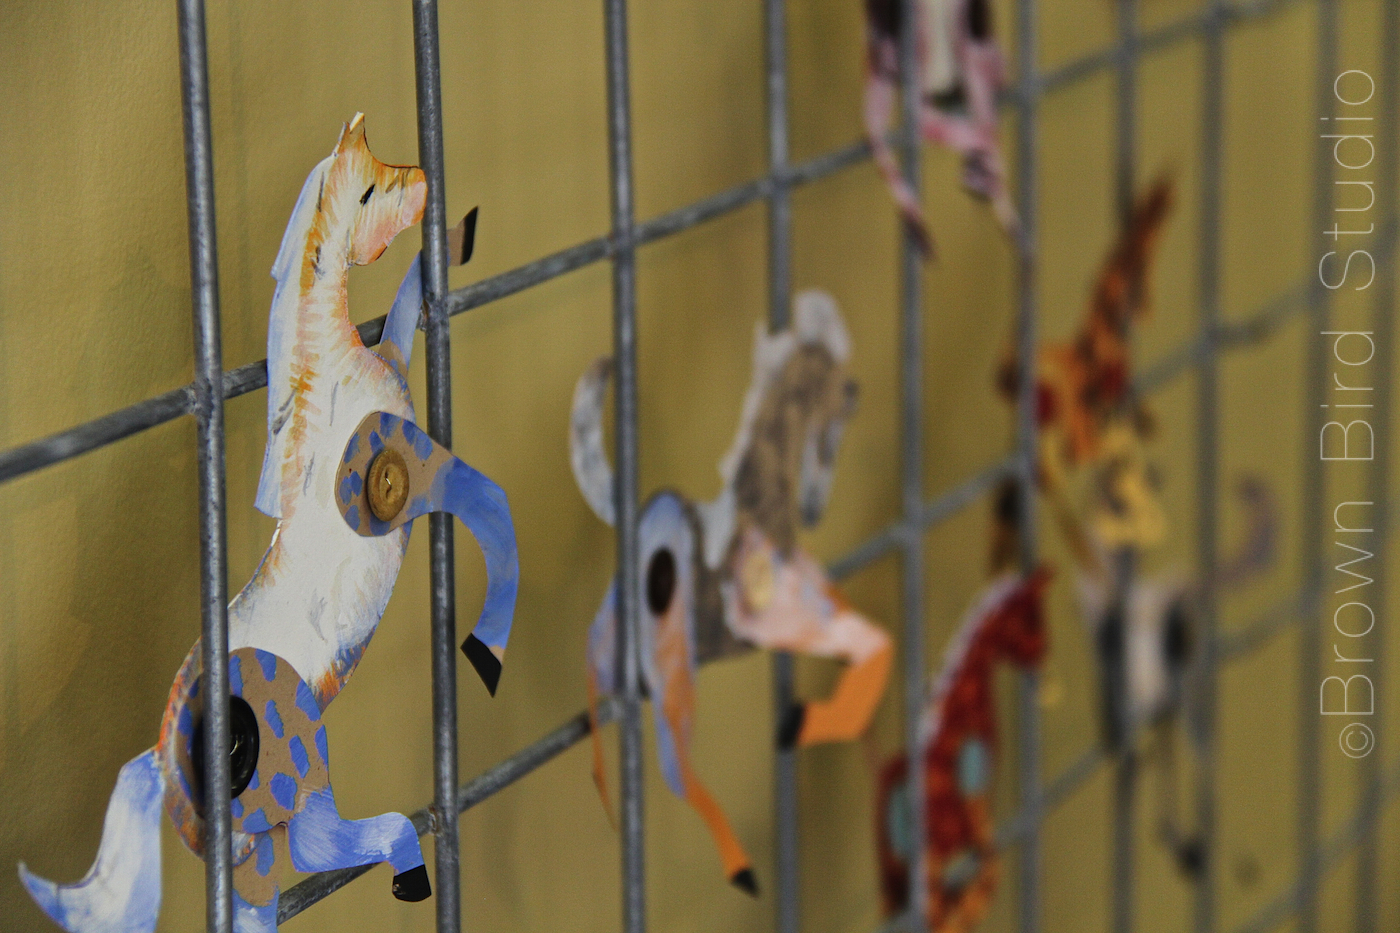
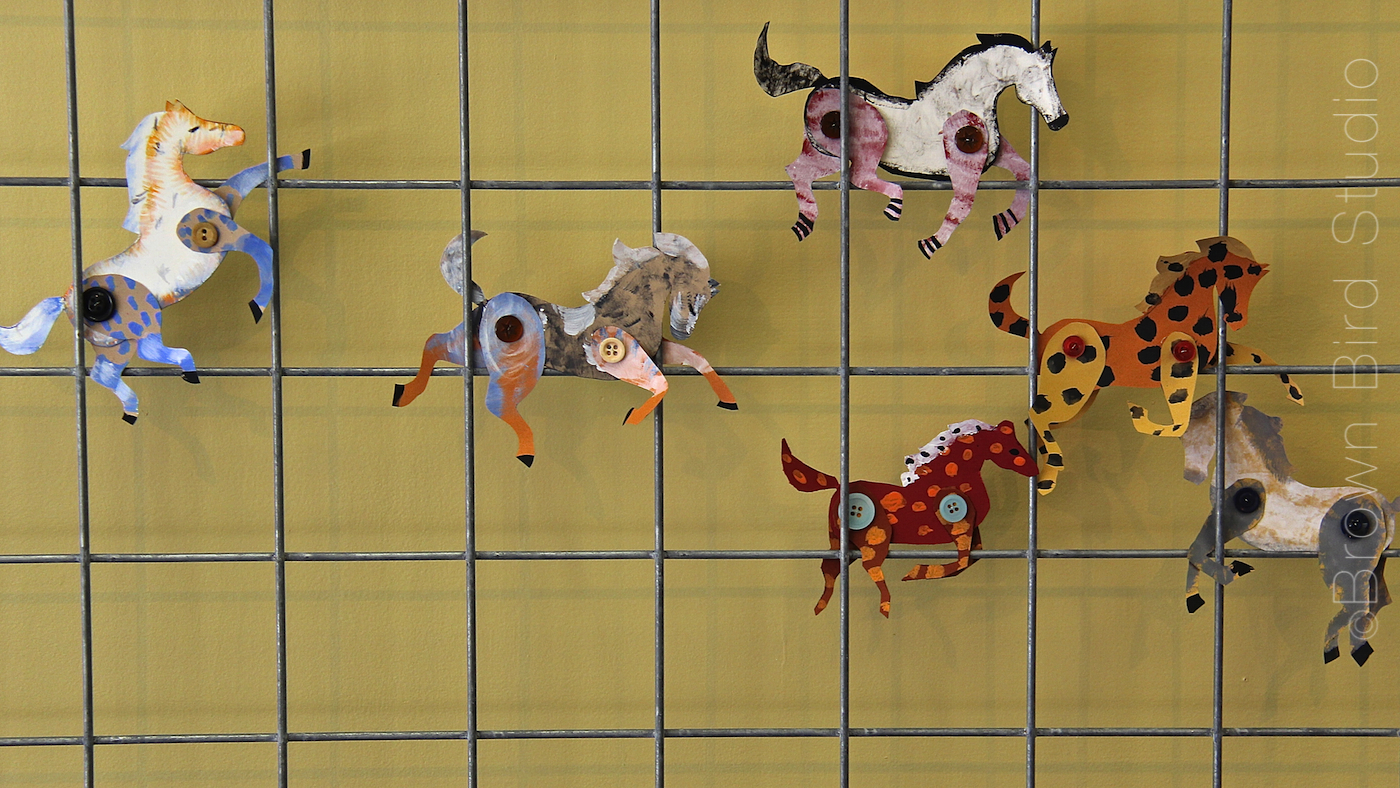
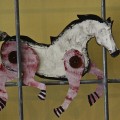
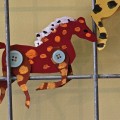
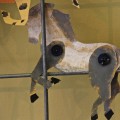
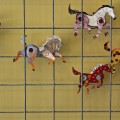
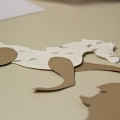
Last night at our first monthly Girls Art Night at 1+1=1 Gallery (Brown Bird Studio) we were inspired by Ann Wood’s creative exercise to make these absolutely delightful horses. We were a small group — just the perfect size, though as we continue to do these art-nights I hope other women will join us.
Shayna, Jaime, Cari and I gave some of our horses to Whitney, who is ready to give birth any day now. Her little boy will be born in the Year of the Horse. He will have a herd of wild horses to remind him of his naturally wild joy. With a mama like Whitney we know he’ll grow up snorting with laughter, jumping with glee and letting his wildness out into the world. (*See bottom of this post for some interesting predictions about this baby — and other babies born in this year of the horse.)
“Last night was like a symbolic circling of all the mares … lending the strength of those who have gone before, to the one ready to walk through that door that you never, ever can cross back through … the becoming of motherhood and the strength and grace of sisterhood … so special to me” — Jaime Terry
We made horses. We laughed. She contracted. We played. Relaxed. Listened to her talk about the baby, the baby’s name, the nest she is preparing. Talked about lack of sleep and future lack of sleep and hope for sleep. And about other things. And nothing at all.
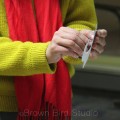
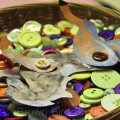
Our hands busy with scissors and paint and buttons. Good food. Good wine. Good company. It’s what women do. We nurture each other with food and listening and love and open arms. A circling of the mares.
We decided to do this every month. Something artsy. Something to connect us. To each other. To our souls. To the Earth.
Please join us at our next Girls Art Night with Brown Bird Studioon the last Thursday of each month.Like our gallery’s facebook page or sign up for updates from 1+1=1 Gallery, and we’ll remind you a few days in advance. Put Girls Art Night on your calendar for March 27th at 6:30 pm. 335 North Last Chance Gulch, Helena.
Our evening gatherings are all about being relaxed and nurturing our inner artistic souls.
Whether you consider yourself artsy or “crafty” or not, I promise you will have a good time. And don’t forget we’ll share food, music and laughter too. The cost is free or minimal, depending on the materials we use.
LINKS:
A perfect horoscope prediction for Whitney’s baby (knowing Whit …): People born in the year of the horse are said to be a bit like horses: animated, active and energetic – they love being in a crowd. They are quick to learn independence – foals can walk minutes after birth – and they have a straightforward and positive attitude towards life. They are known for their communication skills and are exceedingly witty. — from The Guardian (UK) “8 Things You Probably Didn’t Know about the Year of the Horse.”
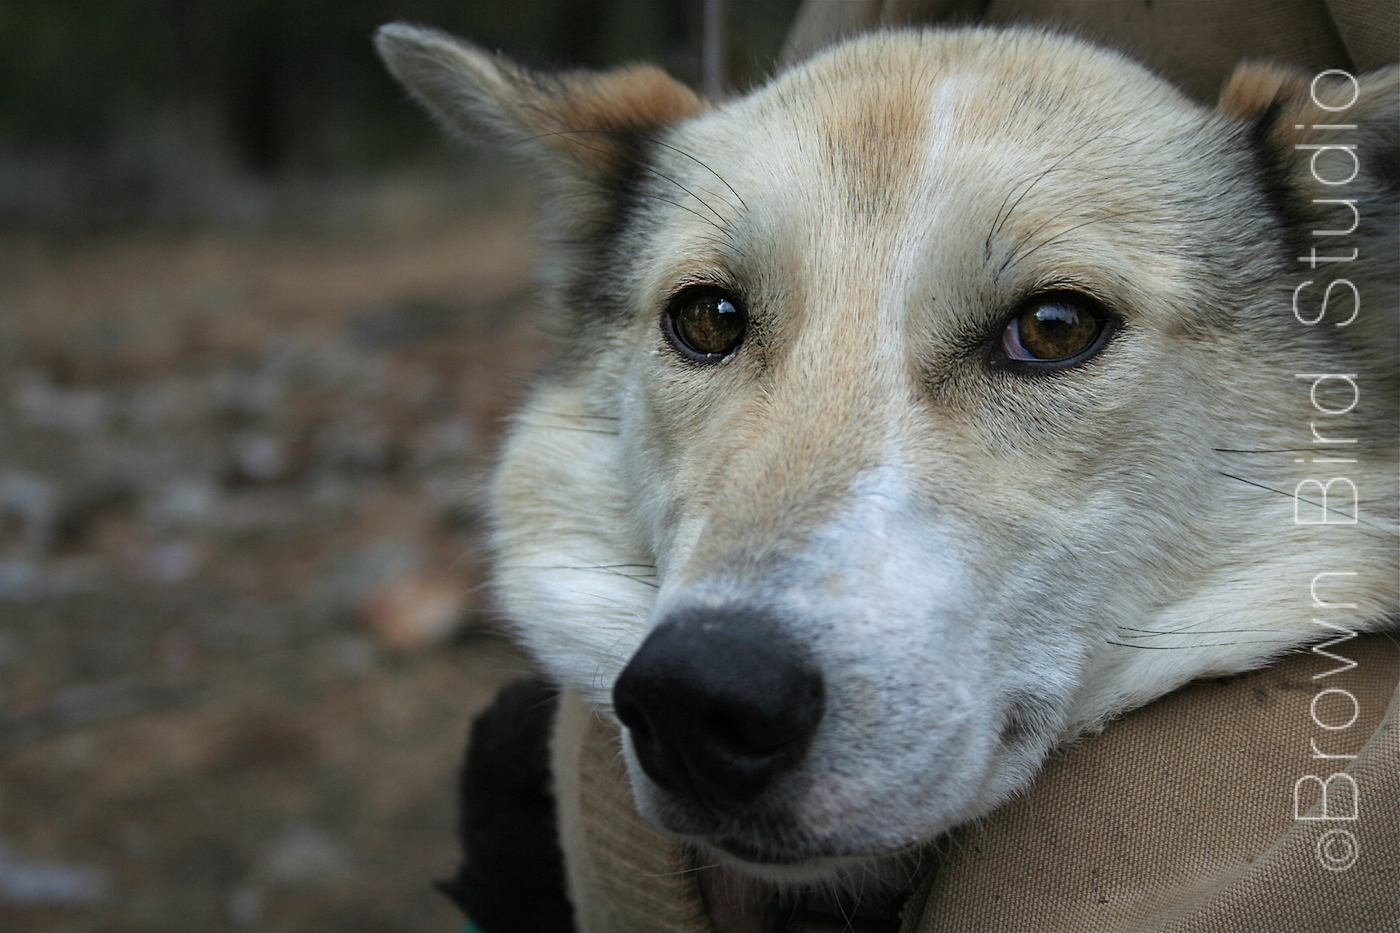
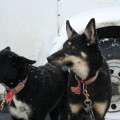
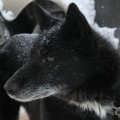
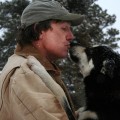
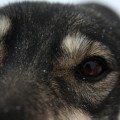
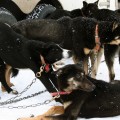
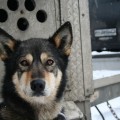
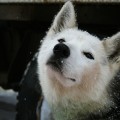
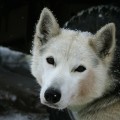
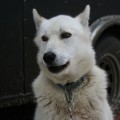
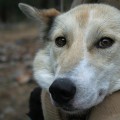
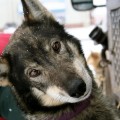
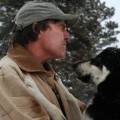
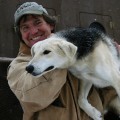
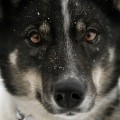
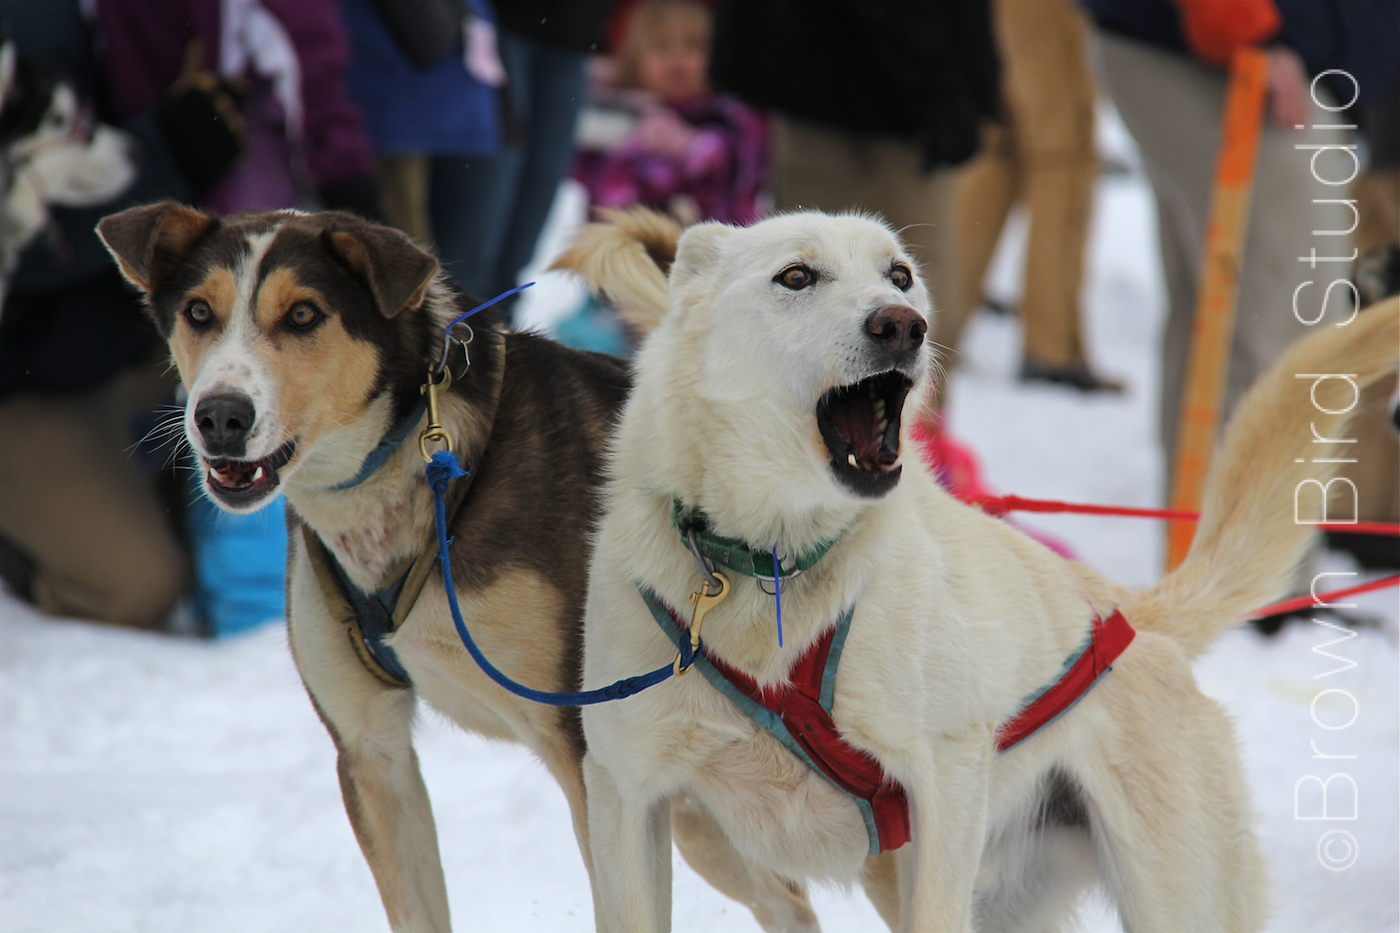
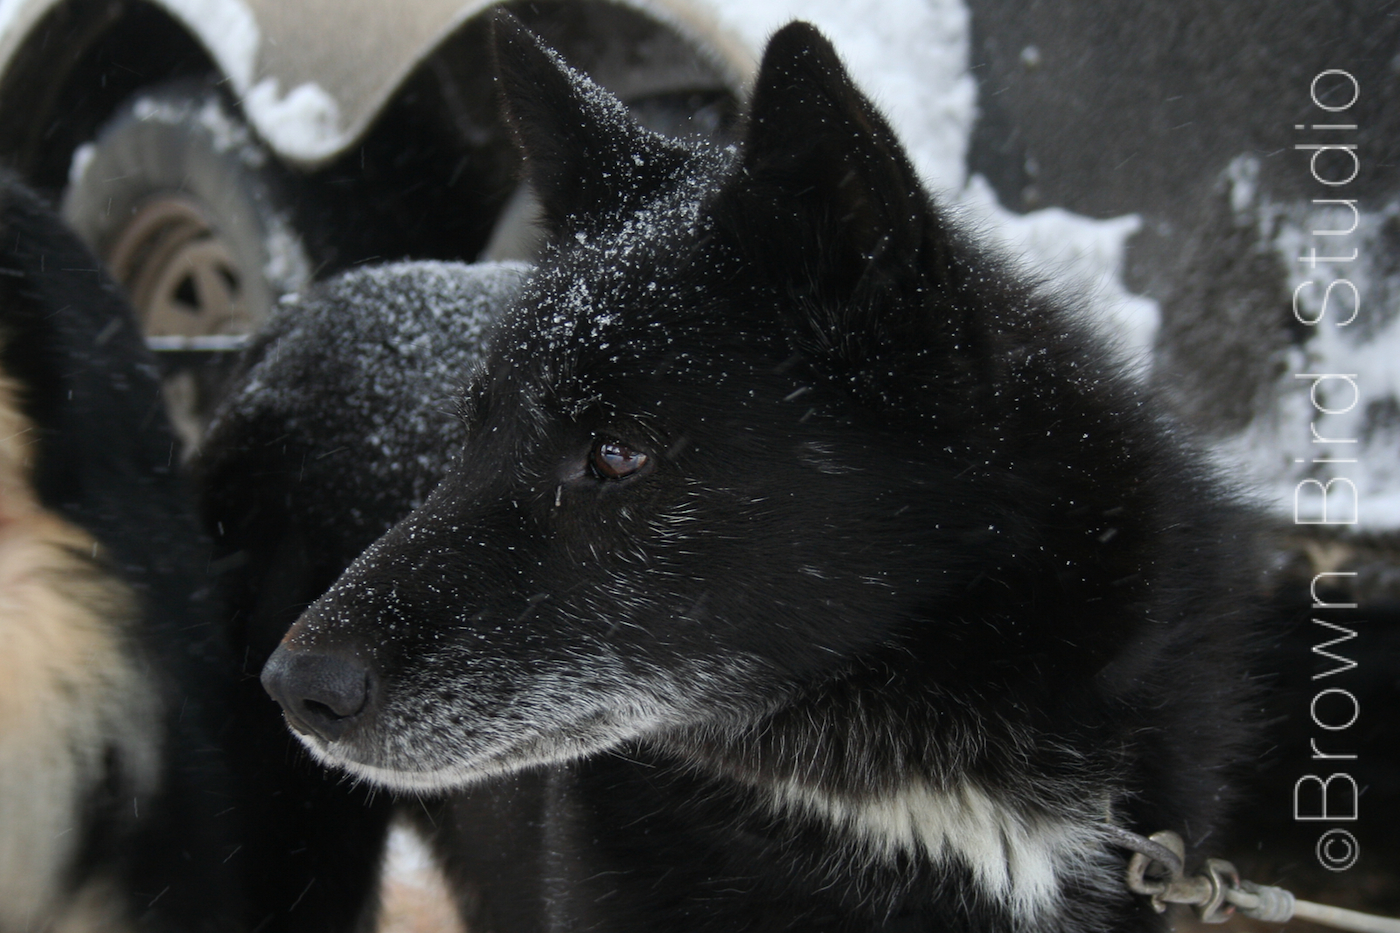
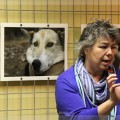
I promised to post a gallery of the sled dog photos included in the exhibit, Ancient Bond. So here it is. Each of these is available for purchase as a signed, archival print. (See details below the gallery) Click on the photos to enlarge them. Watermarks are not on the prints.
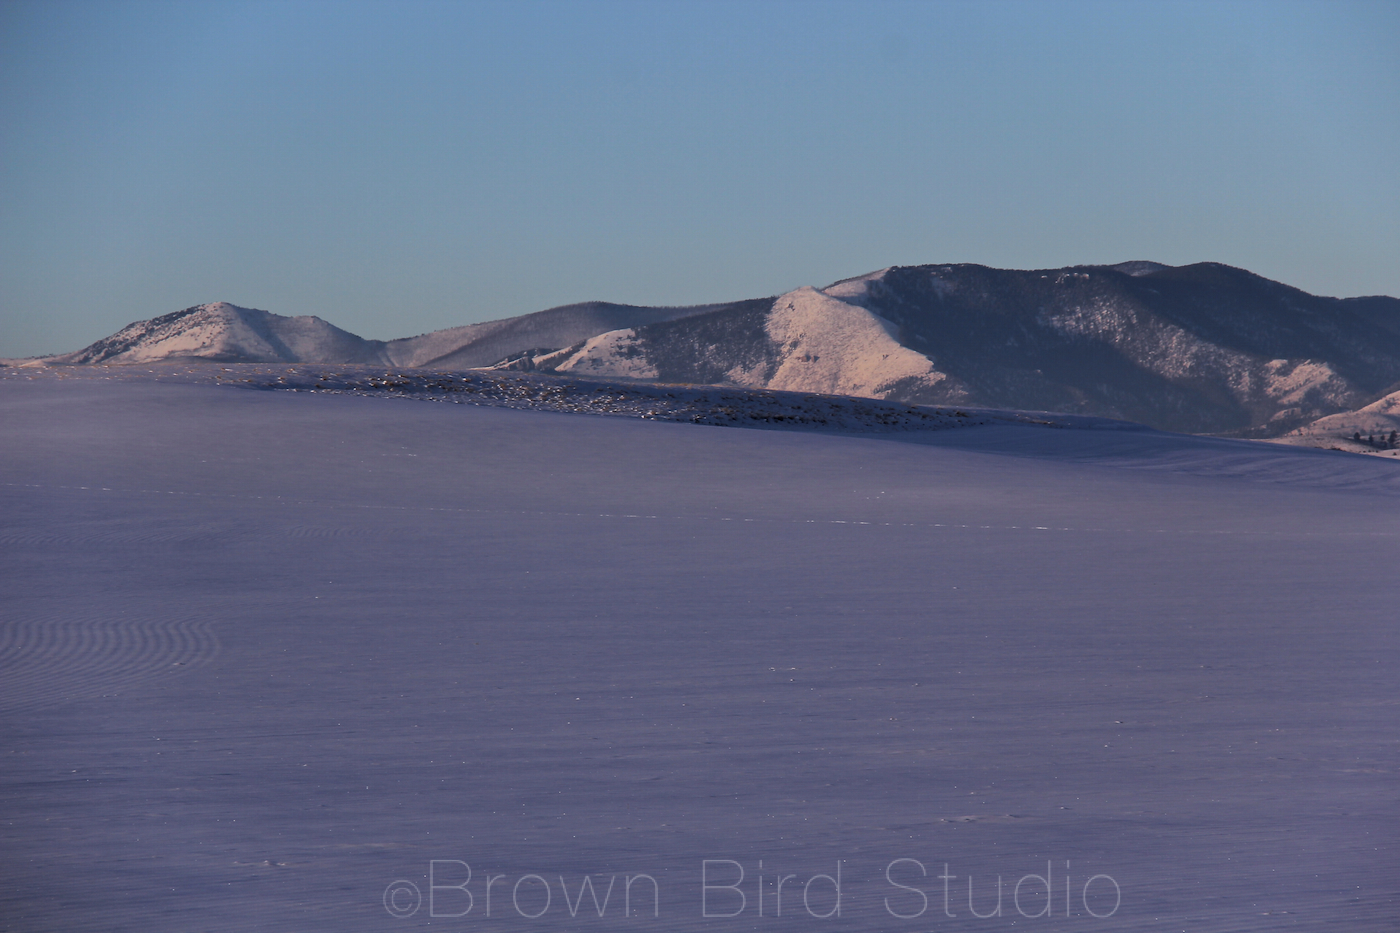
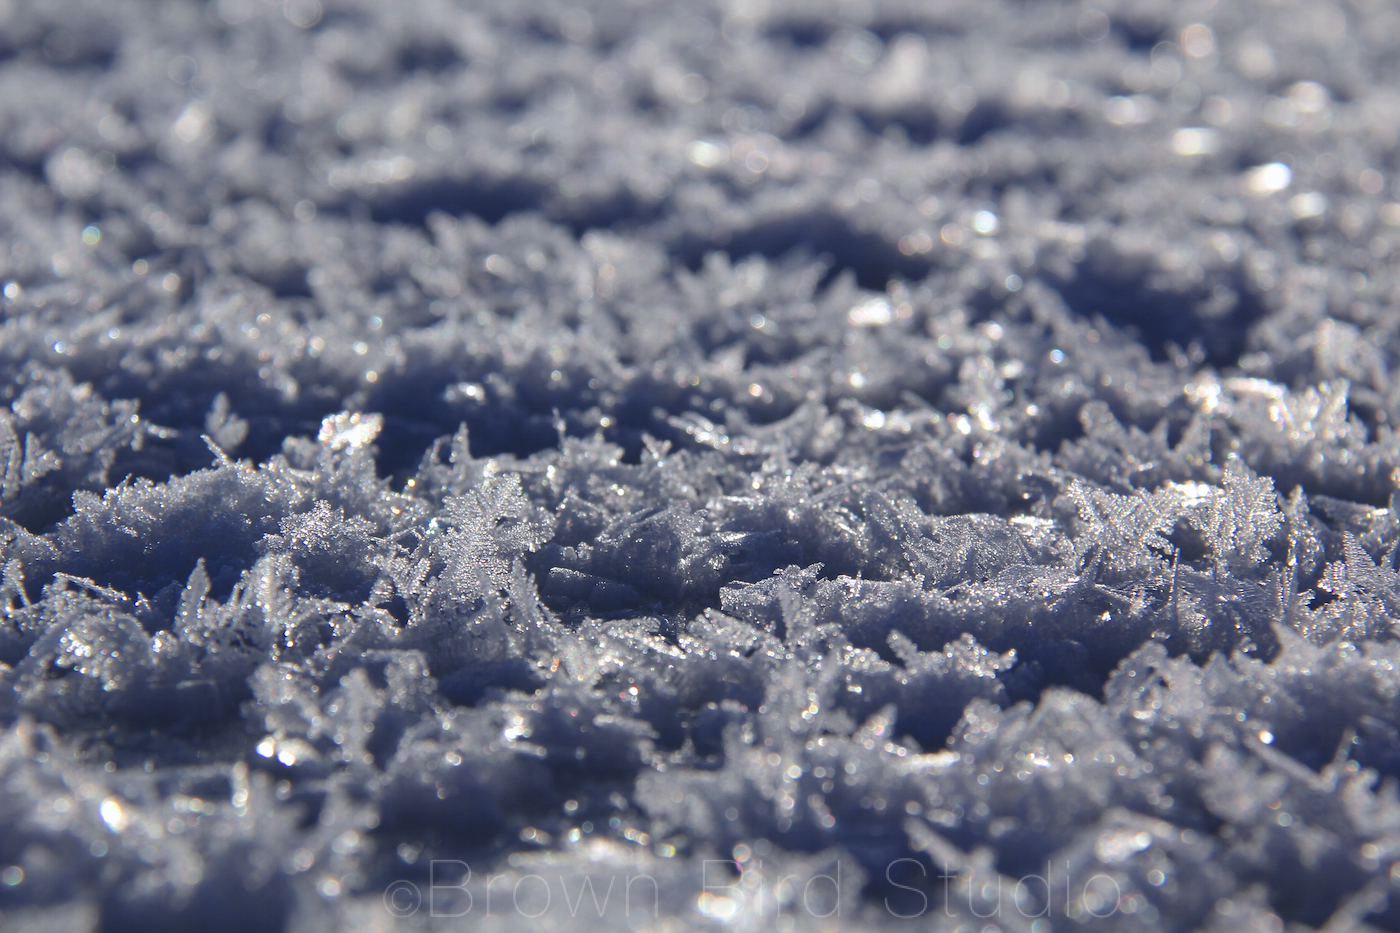
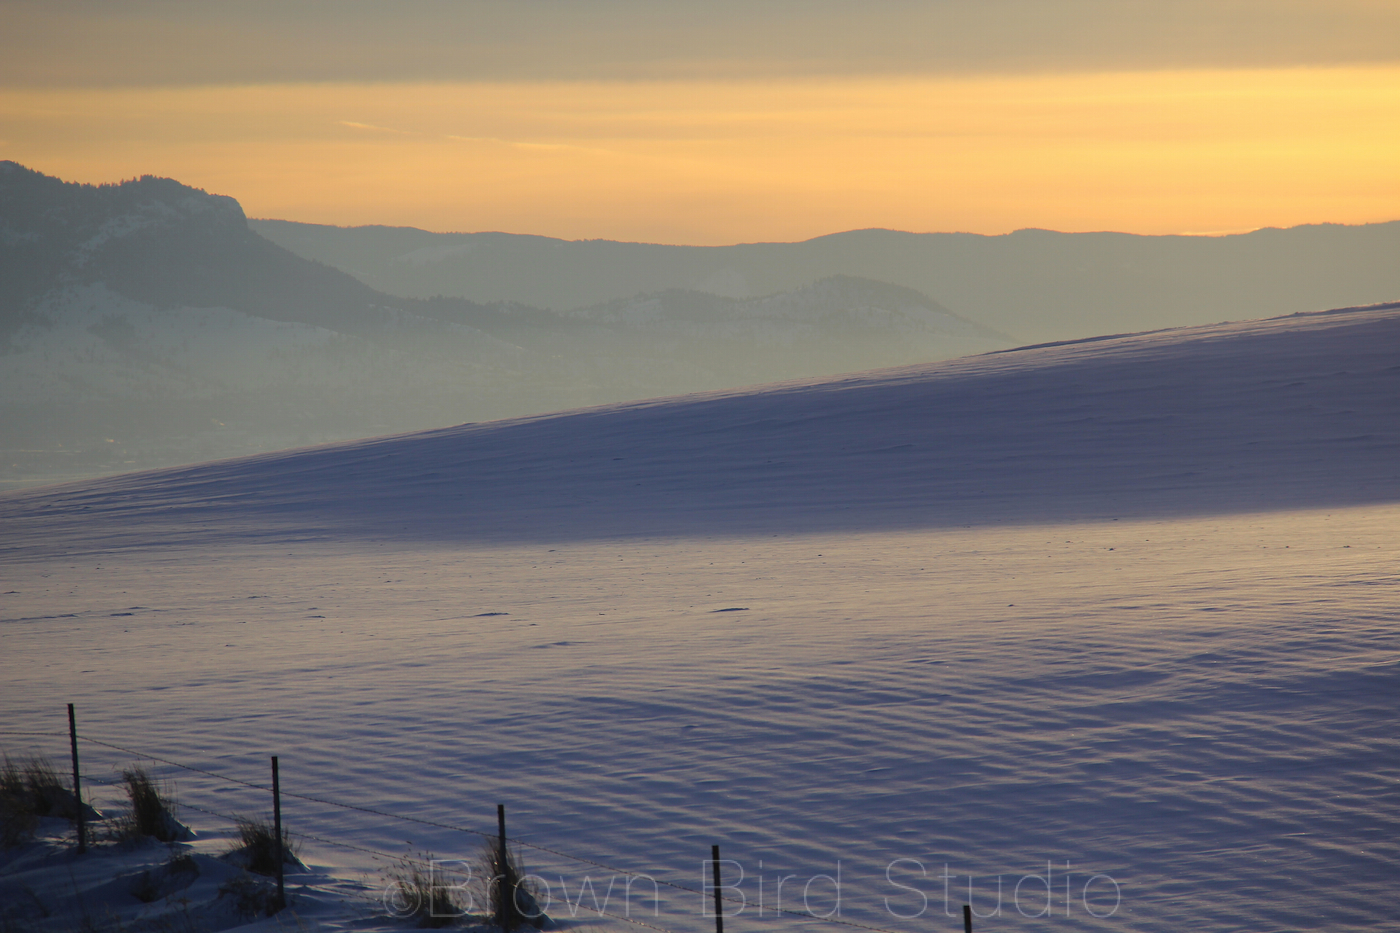
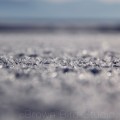
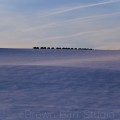
Helena, Montana is closing in on a record February snowfall. The winter of 1936 set that record. I’m not sure how much snow we’ve had so far this month (usually our driest month of the winter) but, since last Friday, at least 18 inches of snow has fallen outside our house.
Snow is good. The mountains need snow. The soil, the prairies and farms and trees and fish, the rivers and air and people. We all need this moisture and I will be glad of it in summer when the grasses are crisping and crackling. When wildfires do their roaring, racing, burning thing…
The older I get, the less patient I am with the inconveniences of Montana winters. But the colors! Those colors keep me interested!
I go on at least one walk a day, but I get so cold in my bones that it’s just not as much fun as it was when I was younger and (ahem… ummmm) hotter.
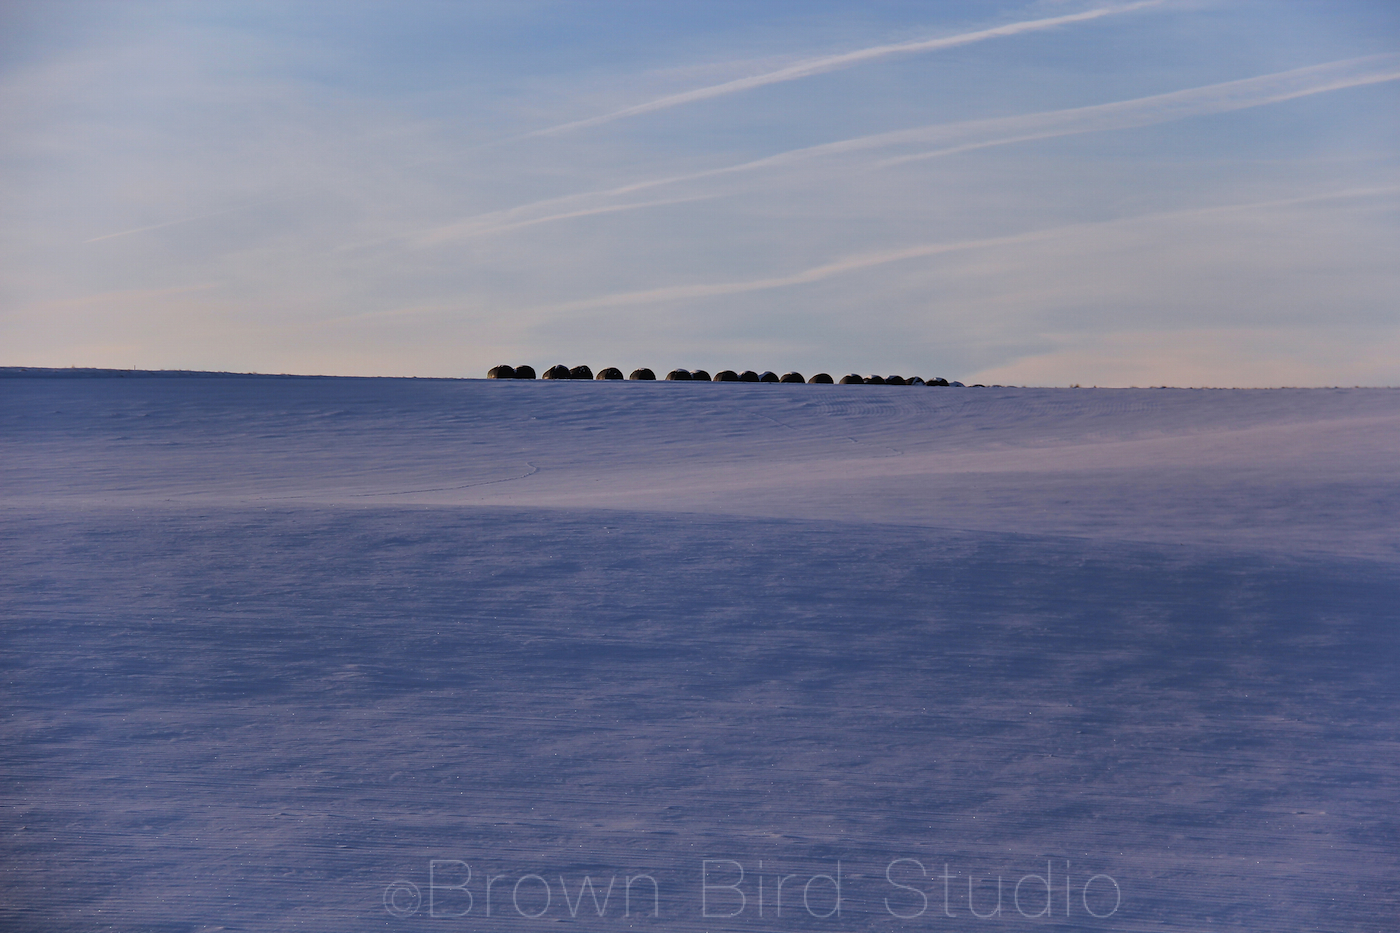
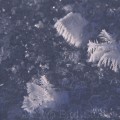
it takes a day like today:
wide open skies
not a single cloud
an almost
(imperceptible)
mist hanging close
to the frozen earth
it takes this kind of day
to remember
how many different blues are inside the cold
… how many
different
colors belong to white
Snow.
Is not.
White.
You knew that.
So … I hope these images inspire you to take some time and get out into the cold. Bundle up. Stay out until just before the sun goes down so you can grab a little of that incredible light into your soul.
And look. Really look at the colors that surround you!
Those colors will still be inside you on a summer day that tops 100F. When all you want to do is stick your head in a freezer. When you are wishing for some of that of zero-degrees-cold.
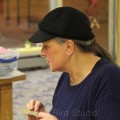
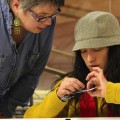
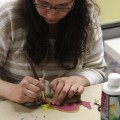
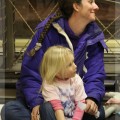
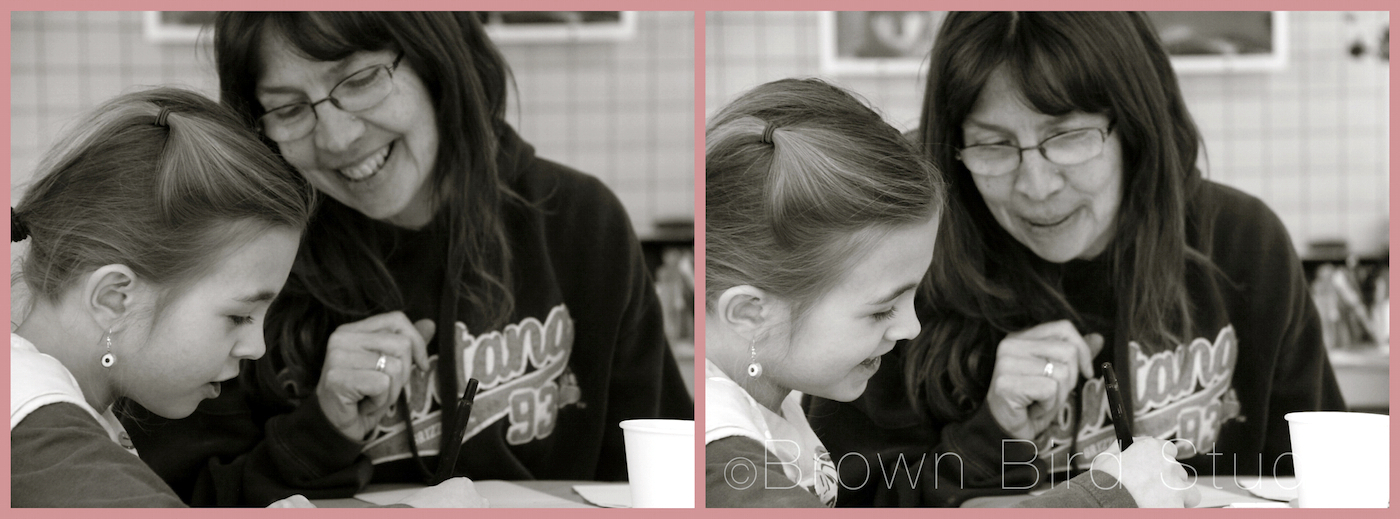
It’s Wednesday, the day Ema comes to assist me at 1+1=1 Gallery. Well, today was early release day from school, so I spent the afternoon with not one — but two — of my favorite young ladies, Ema and Adia. They are always up for an art project after we have our snack and catch up with each other: what’s new in school, what was the most fun you had so far today, what do you think about gardening together this summer, blah blah blah.
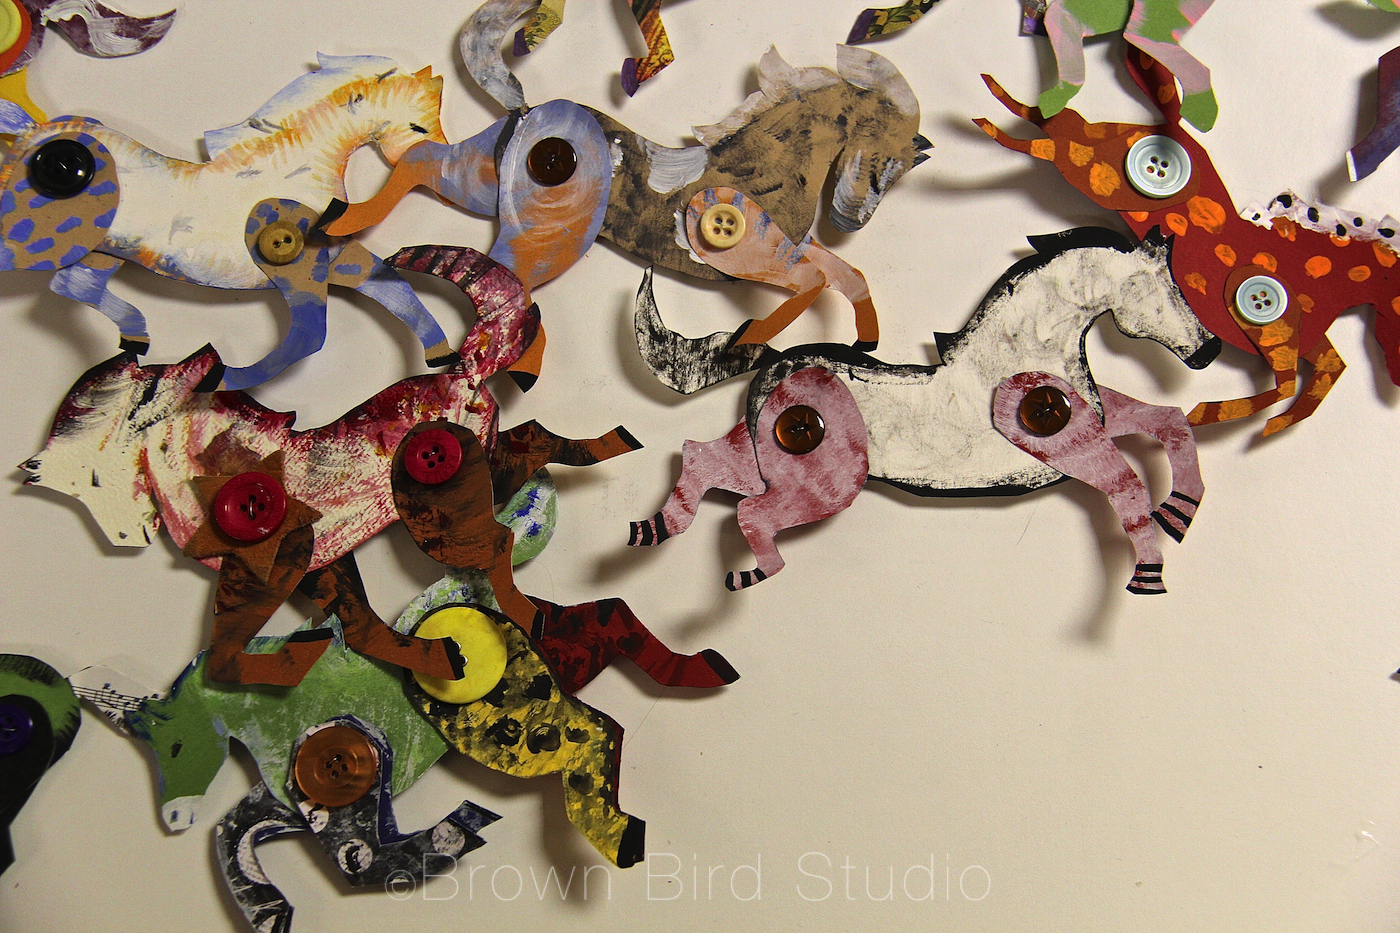
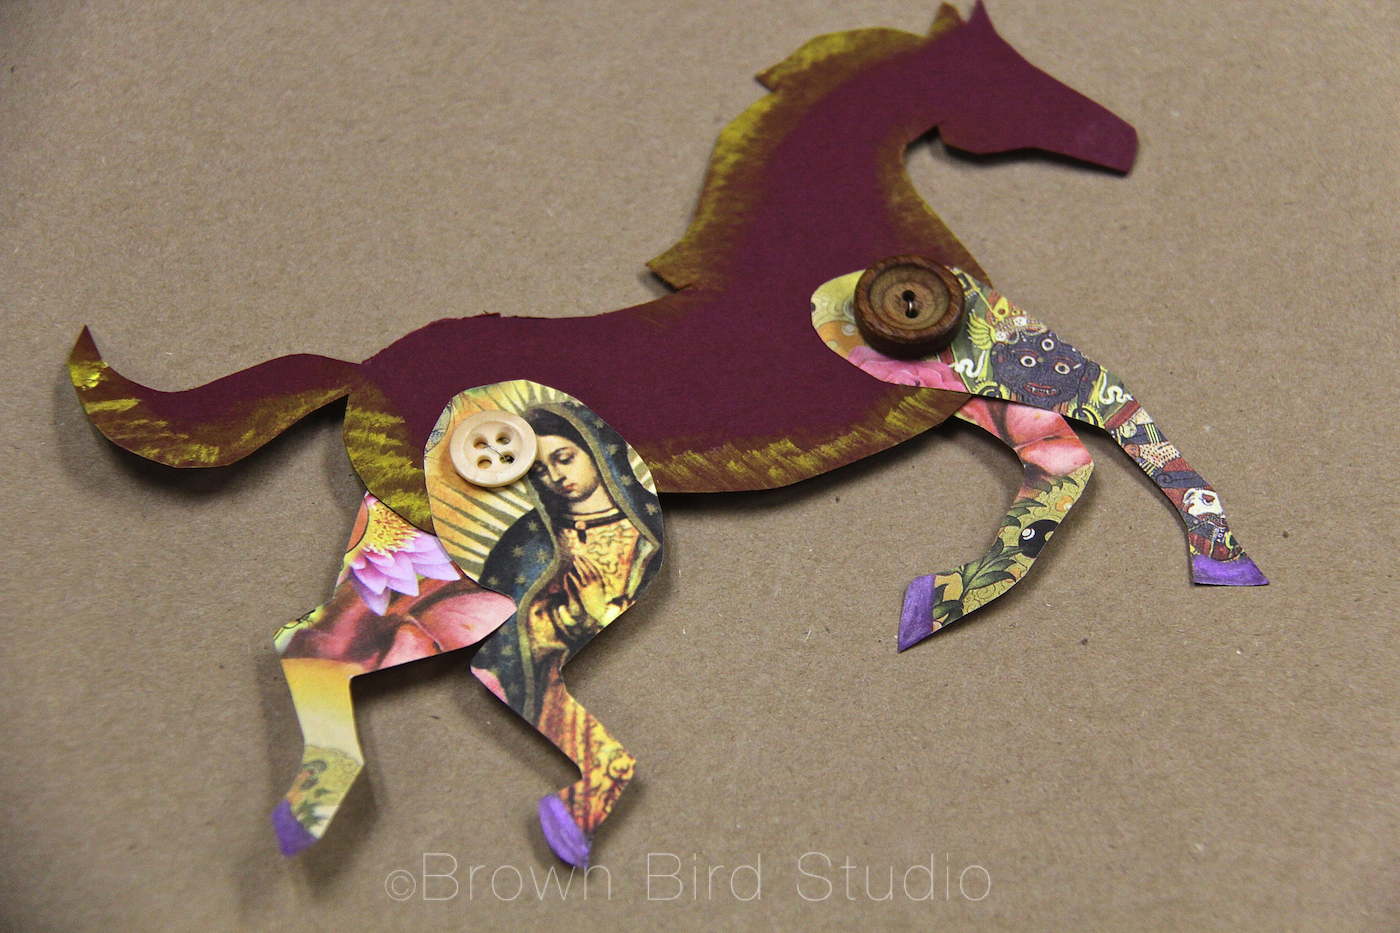
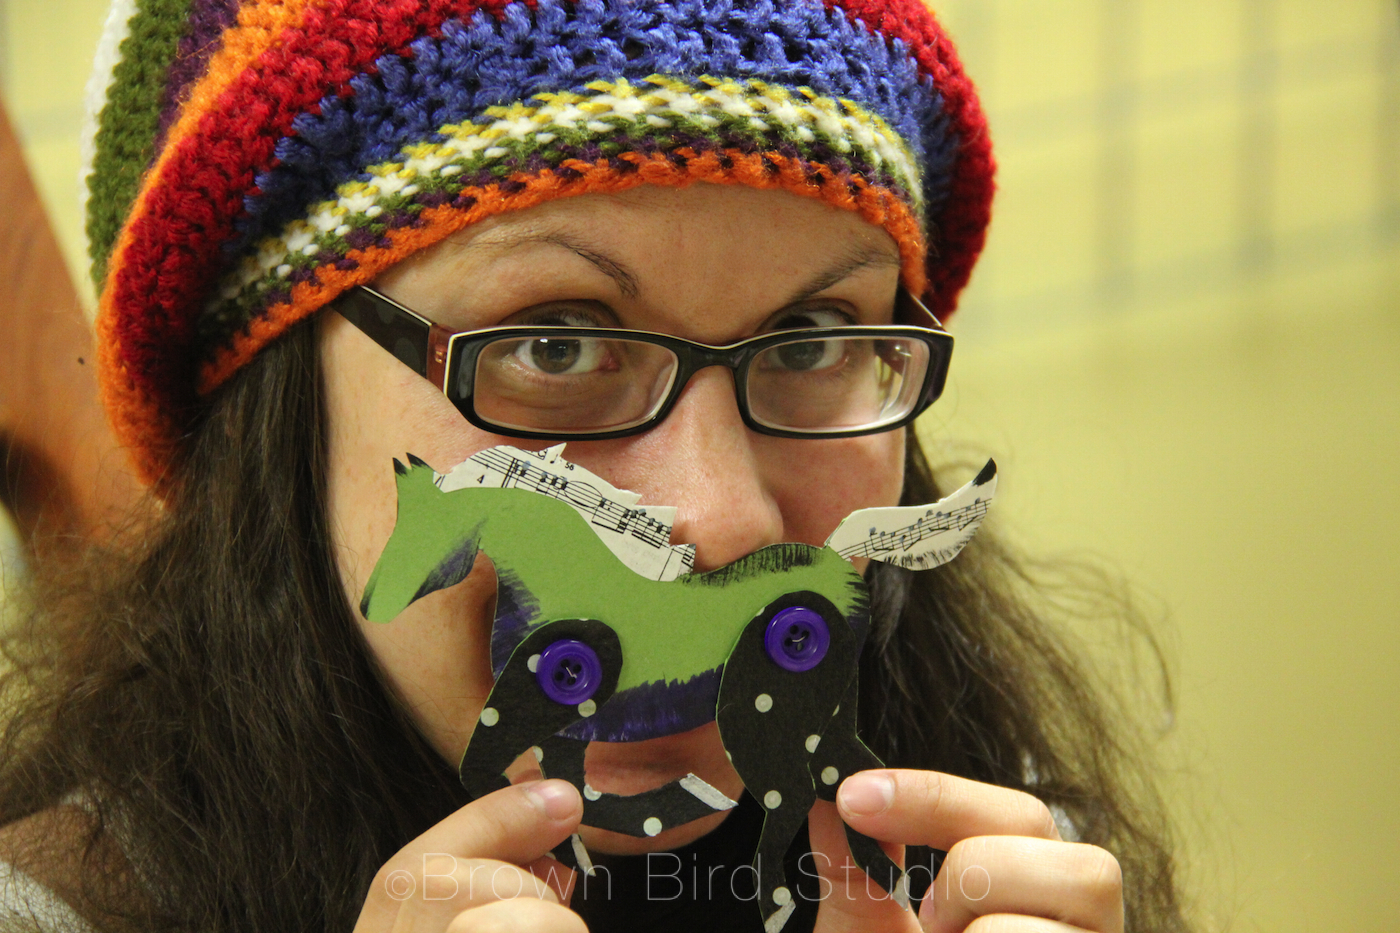
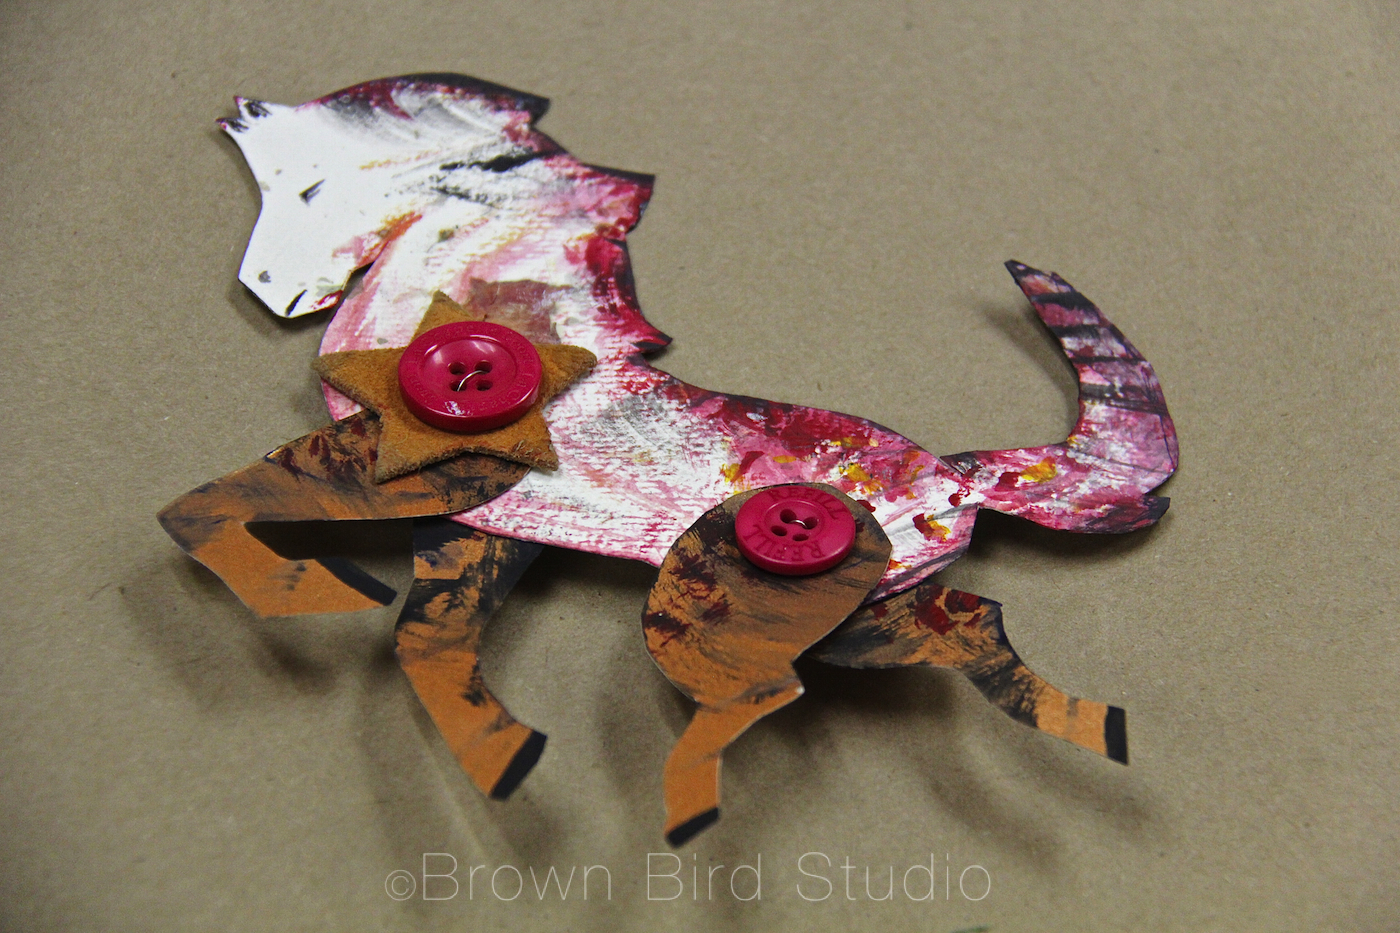
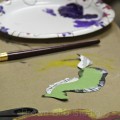
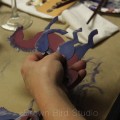
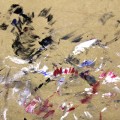
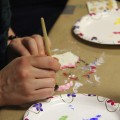
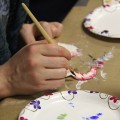
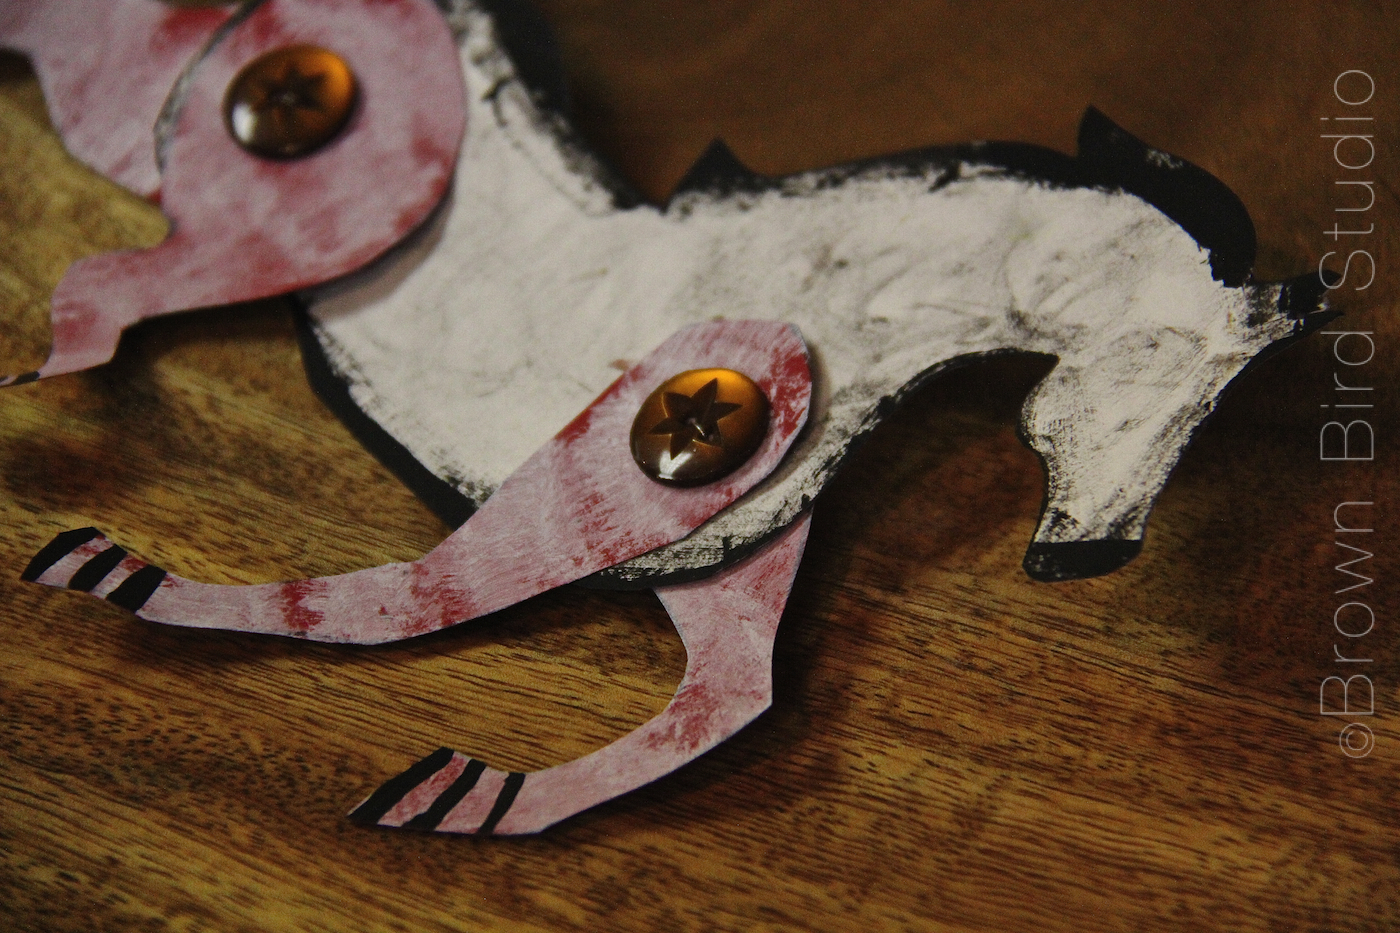
Today we made a small herd of wild horses patterned after Ann Wood’s beautiful stampede of horses. She provides a downloadable template for the horses, and a great tutorial so I’m not going to duplicate her wonderful instructions here. This awesome project took us about an hour and a half, including set-up and clean-up.
The horses are pretty easy, but not something I’d recommend for toddlers or really little ones (see adaptation ideas in list below.)
Ideas to Adapt this activity for younger children:
pre-cut the shapes and have the children paint them. Then an older child or adult may assemble the horses
use scrapbook papers that are already decorated. Cut the shapes and let children glue the legs on instead of having them be articulated legs
use bendable brads instead of buttons and wire
Cut the shapes out of colorful card stock and have younger children brush glue on and sprinkle glitter
Ways to use/display the horses:
mount with tacky glue, double-sided tape or sticky-mounting-squares onto a foam core or poster board.
display directly on a wall using mounting putty.
the horses don’t all have to be facing the same way.
arrange the horses on whatever background you are using, so they look energetic and dynamic
make a mobile of horses using fishing line to hang them.
use one horse, mounted with re-positionable double sticky tape, to make a greeting card. The receiver of the card can take the horse off to play with.
Ann Wood makes sweet creatures and botanical thingies of bits of yarn, fabric, wire, metal, sticks and found objects. They are so cute … she makes bride-and-groom cake toppers too. Go see!
The herd of horses idea was something I had saved on my Pinterest board for summer craft projects. We still have lots of ideas left on the board: “Ideas for Kids. Playing. Learning.”
Did I mention that I love, love love the little thingies Ann Wood makes?
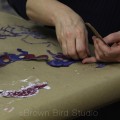
Here are a few more photos of what the girls and I made today:
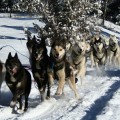
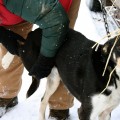
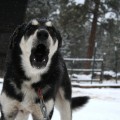
The Race to the Sky is Montana’s premier winter event. If you can make it to the official race start at Camp Rimini, or to the re-start of the race at Lincoln, you won’t be disappointed! It’s an incredibly fun event for families. I’m not a musher but I know a few — and I’m pretty sure the mushers and their dogs have fun too.
The 350-mile Race to the Sky is a qualifying event for the Iditarod. This year, the race starts on Saturday morning at 10:00 am. You can get more info about the race at the official Race to the Sky website here.
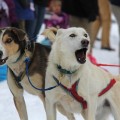
The walk from parking along the road, to the starting line at Camp Rimini is short. I like to find a place to watch up the trail — away from the crowds. When the dog teams come by where we are standing, they’re usually quieter and more focused. It’s a different (and equally fascinating) experience back at the actual starting line, where all of the dog teams are barking to beat the band in anticipation of taking off!
I am exhibiting the photos below at 1+1=1 Gallery in Helena. Please come by the gallery to see the show while you’re in town for the race. There is also an 8 foot antique dog sled on display in the gallery. All of these 12 x 18 inch archival prints are available for purchase (details at bottom of this post.) The exhibit will be up for one month, through March 2nd.
IF YOU GO:
1+1=1 Gallery
335 North Last Chance Gulch. Open Wednesdays, Fridays, Saturdays and Sundays noon to 5:00 pm.
Official Race Start near Rimini on Saturday Feb 15 at 10:00 am
Take Highway 12 (Helena side of McDonald Pass). At the bottom of McDonald Pass, turn south on Rimini Road and follow Rimini Road past Moose Creek Campground on the right. Watch for the snowmobile parking area on the right side of the road, park on right side of the road.
Race Re-Start in Lincoln on Sunday Feb 16 at 2:00 pm
Follow Highway 12 past Elliston and Avon. Turn right (north) at Highway 141 just beyond Avon, cross the railroad tracks, and follow Hwy. 141 for 34 miles to the end of the Helmville Road. At the stop sign intersecting Highway 141 and Highway 200, turn right (east) toward Lincoln and travel another 16 miles farther. Hi-Country Snack Foods is on the left side of the road when going toward Lincoln from the Helmville Road. Watch for the sign. The Race to the Sky starts and finishes under the big archway.
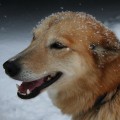
Do you love dogs? Have any wall space at home that just begs for one of these sweet dog portraits?
Are you a veterinarian or doctor? These beguiling portraits might be just the thing for your waiting room or exam rooms — imagine your patients connecting with the feelings evoked by these photos of care, love, enthusiasm and personality!
Do you have your own office? Can you imagine yourself connecting with one of these human-canine images when you look up from your work?
Picture a grouping of these striking portraits wherever you live or work, to remind you of the special bond we humans share with our dogs:
Sizes: most of the signed photos are 18 inches x 12 inches.
Paper: photos are digitally printed on archival Silver Rag Gloss (more of a luster finish) paper.
Quality: these are the highest quality digital prints I can find, made for me in South Carolina by a fine art printer. The colors and black and white tones are rich and the paper feels like a traditional cotton fiber based paper.
Price unframed: $100 each
Price for Ready-to-Hang prints mounted on Baltic Birch gallery panels: $200 each. These are light-weight cradled wood panels 1 1/4 inches deep, with natural birch sides. The photos are mounted with archival adhesive flush to the edge of the panel.
How to Buy: please let me know by email if you want to purchase one or more prints from this exhibit. [email protected]
If you missed the opening reception of All Things Sled Dog (and Dog) at 1+1=1, you can still see the photos at the gallery through March 2nd, 2014. We are located at 335 North Last Chance Gulch in Helena, Montana.
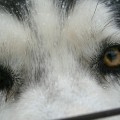
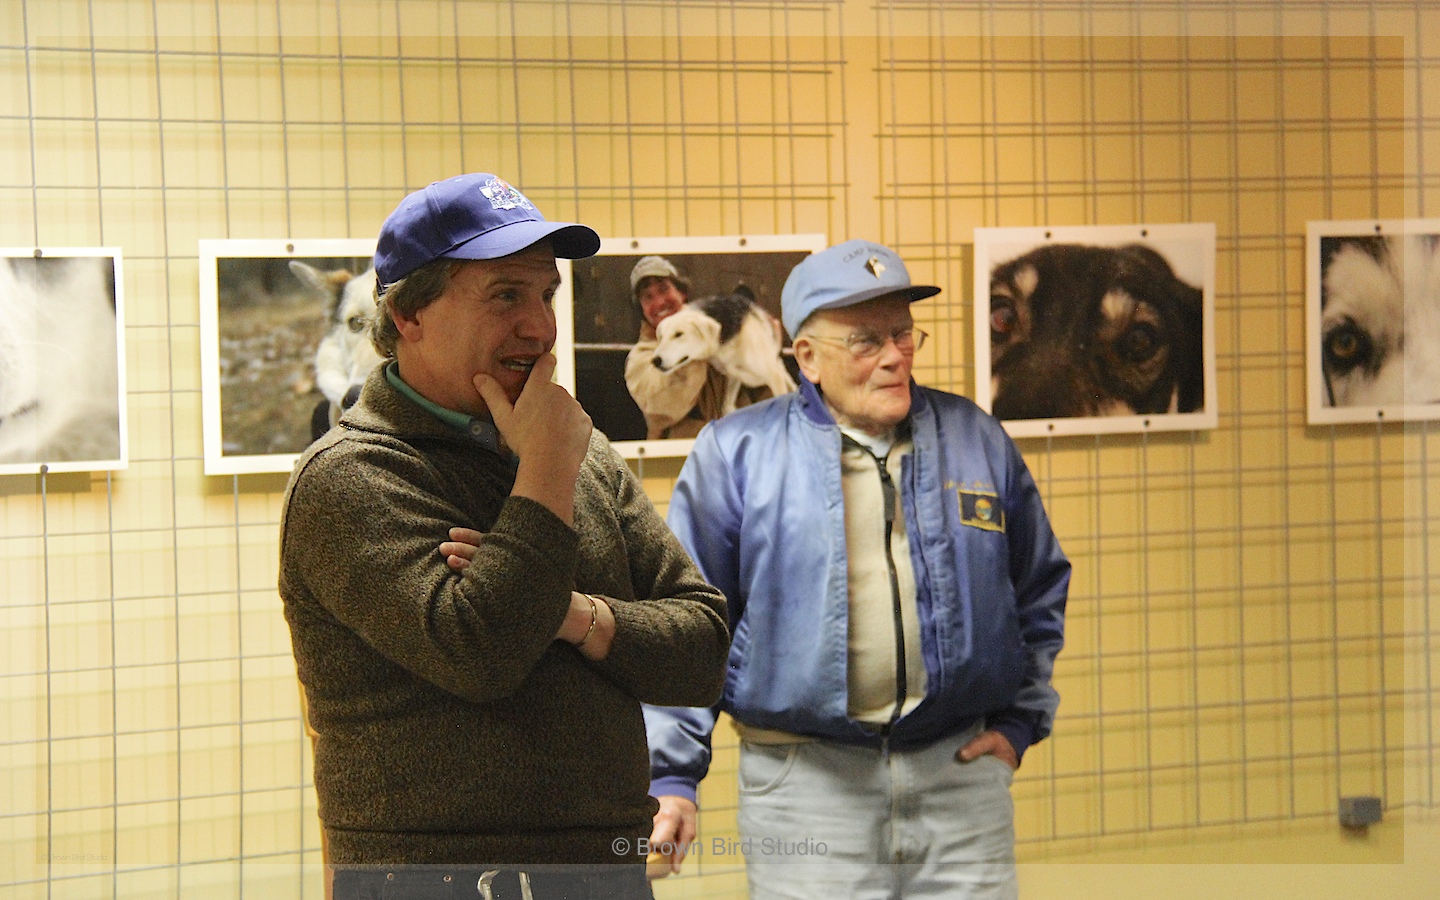
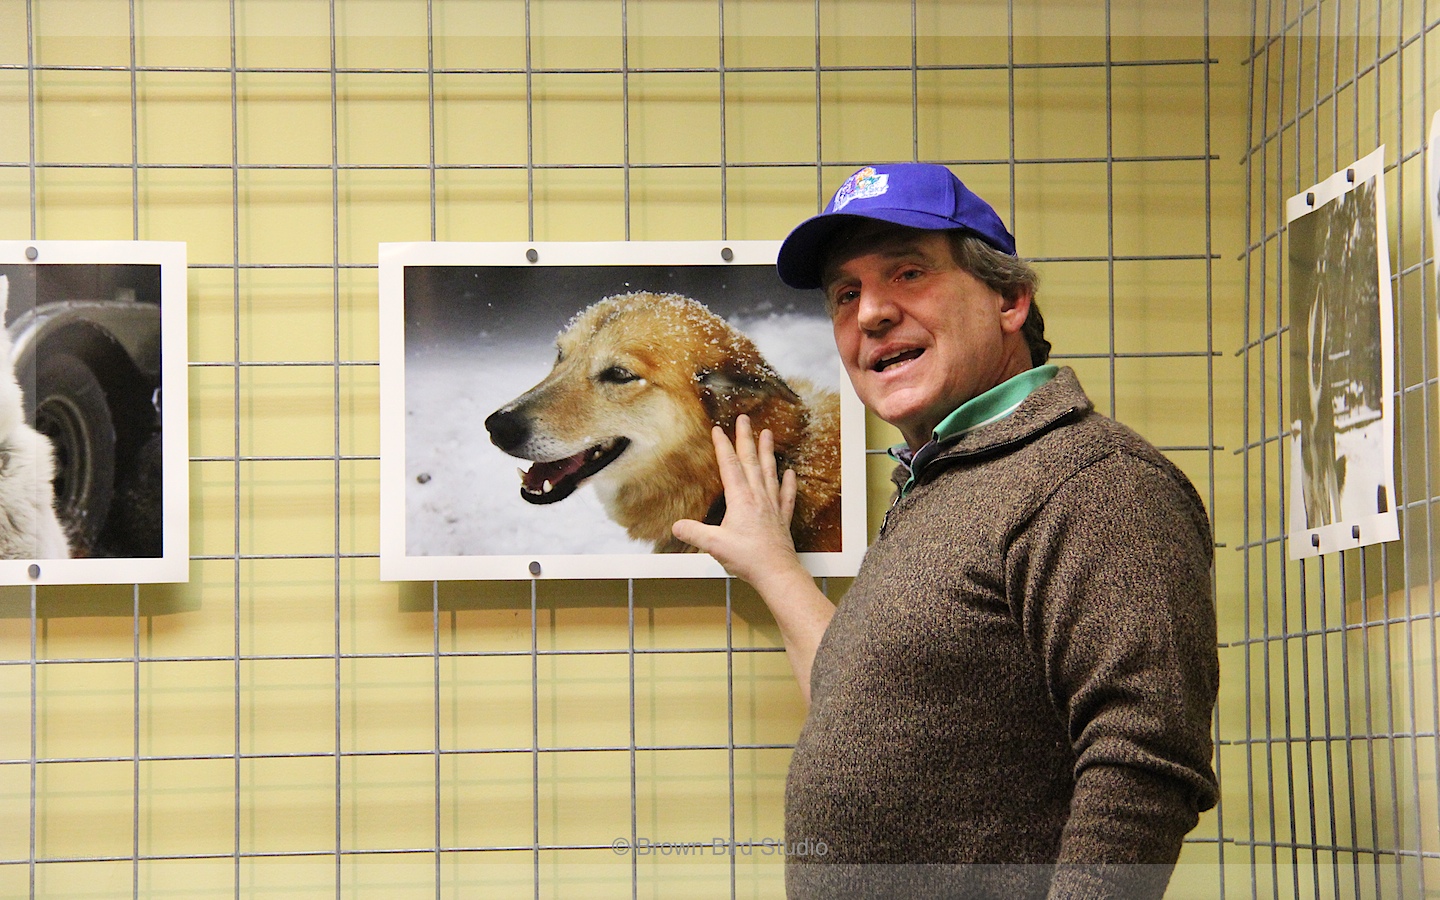
There are two exhibits by Maureen Shaughnessy at the gallery this month: Ancient Bond, an exhibit of sled dogs portraits emphasizing the dogs’ personalities and the bond with their handlers and mushers… and Charlie’s Closet, select portraits of Charlie putting up with being dressed up in human clothes.
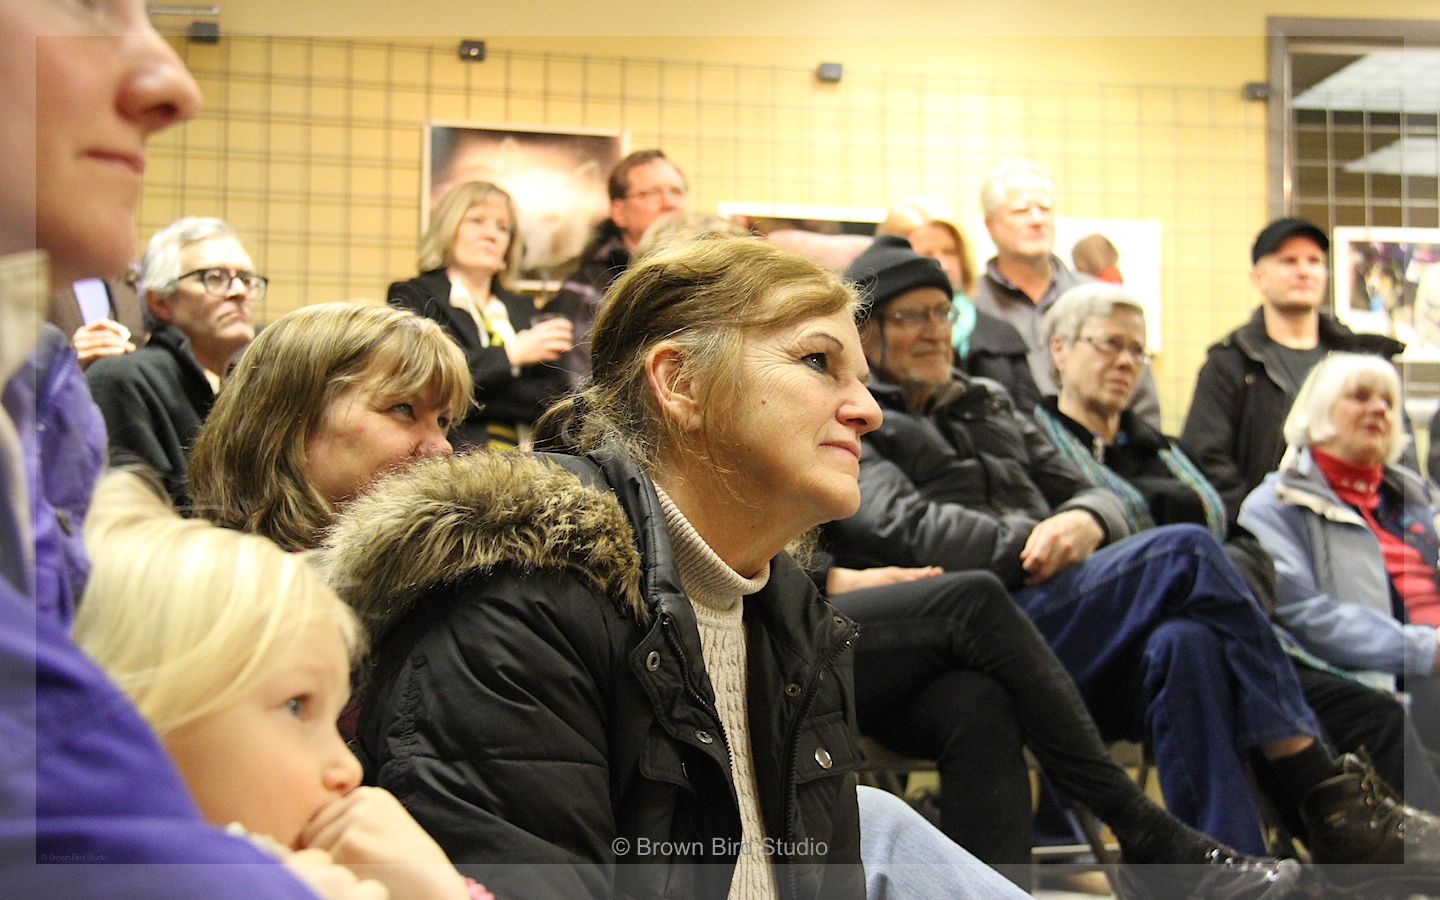
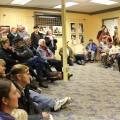
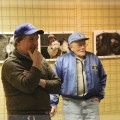
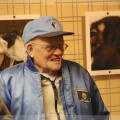
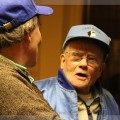
Our Friday night reception was well attended. I began with a talk about how I shoot portraits of dogs, and try to build connections between the dogs (the photos) and viewers. Mark Ibsen followed with a humorous talk about mushing, using my photos to enlighten the audience about what the dogs might be feeling or thinking. He had the guests (and me) laughing and smiling. Dave Armstrong and several other old-time mushers attended and we even got Dave to give us some history about the Race to the Sky and the antique sled displayed at the gallery this month.
We had a mix of mushers and mushing-fans along with other dog lovers and a handful of photo buffs. I promised a couple of guests that I would post my talk, along with the 19 tips for photographing dogs, so I’ll do that in the next day or so. Check back later this week.
Thank you to my dear friends, Jaime for helping me hang the show and to Ema and Adia for your help with the food during the reception. Thank you especially to Tim Carney, who mounted the utility panels on the gallery walls and helped me serve wine and finance the exhibit. Plus you are always my greatest fan and helpmate. You’re awesome!
Please enjoy the opening night photos. If you see yourself in the crowd and want to comment, please do. Or comment even if you weren’t there.
for more about this exhibit, click “return to gallery.” Thank you!
All of Maureen’s photos are for sale.
The size of most of the signed photos is 18 inches x 12 inches.
The photos are digitally printed on archival Silver Rag Gloss (more of a luster finish) paper.
These are the highest quality digital prints I can find, made for me in South Carolina: the colors and black and white tones are rich and the paper feels like a traditional cotton fiber based paper.
Unframed prints are $100 each.
Ready-to-Hang prints mounted on Baltic Birch gallery panels are $200 each.
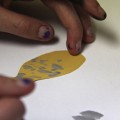
Cootie Catchers (aka salt cellars or fortune tellers) are perfect for a unique Valentine card that becomes a game. The basic shape is an origami fold. Make these with inexpensive copy paper in different colors. To make a cootie catcher into a Valentine gift, instead of writing “fortunes” on the inside, write little love notes or positive messages like the ones you find on Valentine candy hearts. Examples: “Be Mine” … “Call Me Later” “I-Luv-U” “Kiss Me” and “Hugs!” and “Sweetheart.”
Cootie catchers are easy to make and can be adapted for any age from 3 up. For toddlers, you might want to fold the shapes for them, letting them decorate the paper. They can tell you what they want you to write on the inside. This is a fun way to remind your little ones of all the positive messages you give them every day.
For older kids, try suggesting they use rubber stamps for the numbers or letters on the outside of the folded shapes. Or they can think of Valentine-related symbols such as a bumble bee (bee-mine) a heart, a flower or pair of lips to use instead of the traditional numbers on the outside flaps.
Remind kids to stay positive, and keep a great sense of humor. Your kids may surprise you with the fun sayings they come up with for their cootie catchers.
One of the kids came up with a cool idea: on the inside flaps she wrote things like, “Hug the person to your right” and “Your Valentine is on your left.” A perfect party cootie catcher!
HERE’S WHAT YOU NEED:
pink or white printer paper
rubber stamps and stamp pads (optional)
scissors (to make letter-size paper into squares)
markers, colored pencils
HOW TO DO IT:
Instead of trying to formulate instructions that make sense, I am sending you to momsminivan.com because she has not only complete instructions, but detailed photos and a video on folding. Check it out here. And here’s how to play cootie catchers:
Practice opening and closing the cootie catcher. Open it first with your forefinger and thumb on each hand together. Then open it with your two forefingers together and your two thumbs together.
With the Cootie Catcher closed, have someone choose a number or symbol from the four outside flaps. Open the Cootie Catcher once for each letter in the symbol (eg if they choose a heart, spell out h-e-a-r-t) or count the number they picked. Leave it open at the end so they can see four numbers or symbols inside.
Next, have them choose one of the four inside flaps they can see, and close-and-open the Cootie Catcher that many times, again ending with it open.
Last, they should choose one of the four flaps they now see, and you lift up that flap to show their love note or personal message.
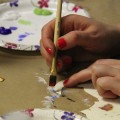
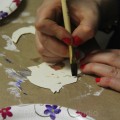
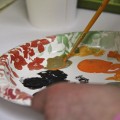
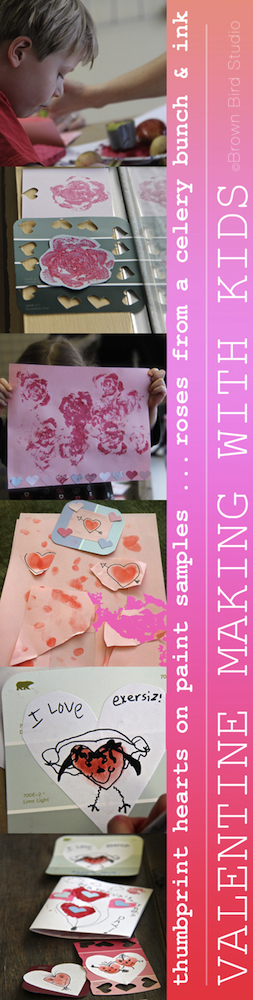
Make Valentine-y Prints Using Fruit and Vegetables
All you need for Valentine printmaking is some fruits and veggies and a few other things you probably have around your house. Think about handing your Valentine a bunch of flowers you made yourself!
HERE’S WHAT YOU NEED:
pink or white printer paper
vegetables such as a bunch of celery, apples, brussels sprouts, carrot, potato and lemon
cheap sponges
a printmaking roller
little plates to put the sponges on
red, pink and black stamp pads
very sharp knife and a cutting board
HOW TO DO IT:
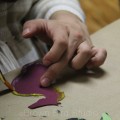
Place a moistened sponge on a small paper plate. Squeeze a little red tempura or acrylic paint onto the sponge and spread it evenly with the roller. Cut the celery bunch about 3 or 4 inches from the root end, leaving the stalks all together. (Save the stalks you cut off of the root end.) Holding the celery bunch together tightly, press it onto the sponge and get some paint on the ends. Next, stamp it on your paper. Don’t squish it around or you will smear your design. Lift it up and Voila! There is a beautiful “rose!” Make a bouquet of roses.
Cut a brussel sprout in half horizontally. Make a clean cut! Now, press it onto a red stamp pad (paint is too much for a brussel sprout print) and get it good and red. Next, stamp it onto your paper and lift it straight up. You will have a miniature rose. Make a big bouquet of mini roses!
Use the stalks of celery you cut off of the celery bunch, to make little squiggle designs. Use your stamp-ink-pad for these. Play around and see what you can make with these.
Cut an apple in half vertically to make a heart shape. Try cutting an apple in half horizontally for a circular shape with a perfect star in the middle. Use the paint-soaked sponge for the apple prints.
Cut a lemon in half and dry it well on paper towels. Use your ink-stamp-pad to ink up the lemon and press, press, press.
Cut a potato in half and using a sharp knife, carve the flat side into a heart shape or any other simple shape. Use this as a stamp, with either the stamp pads or in paint-soaked sponge.
Compost the veggies and fruits after you finish.
Delight in each other
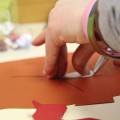
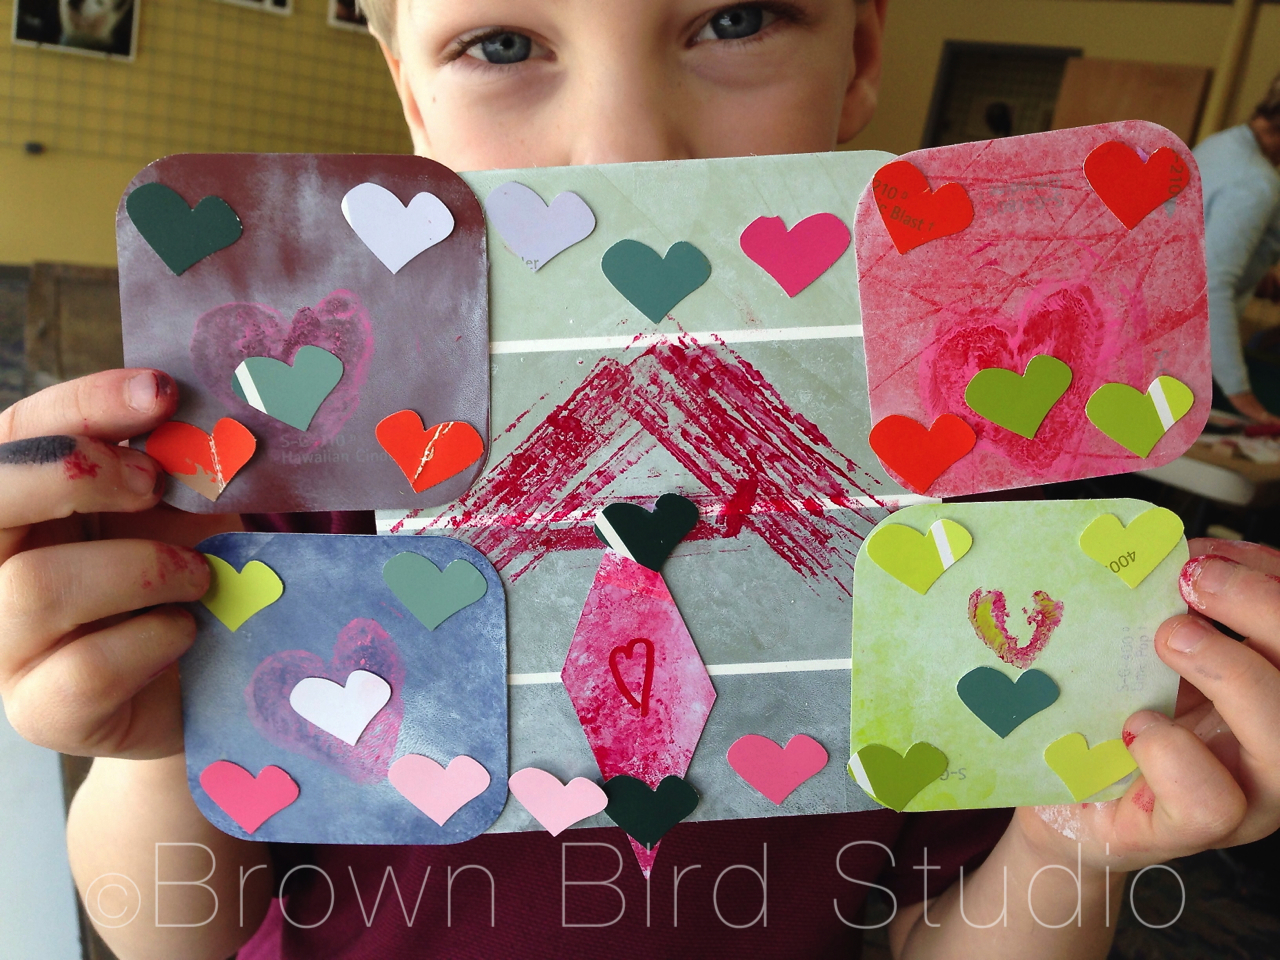
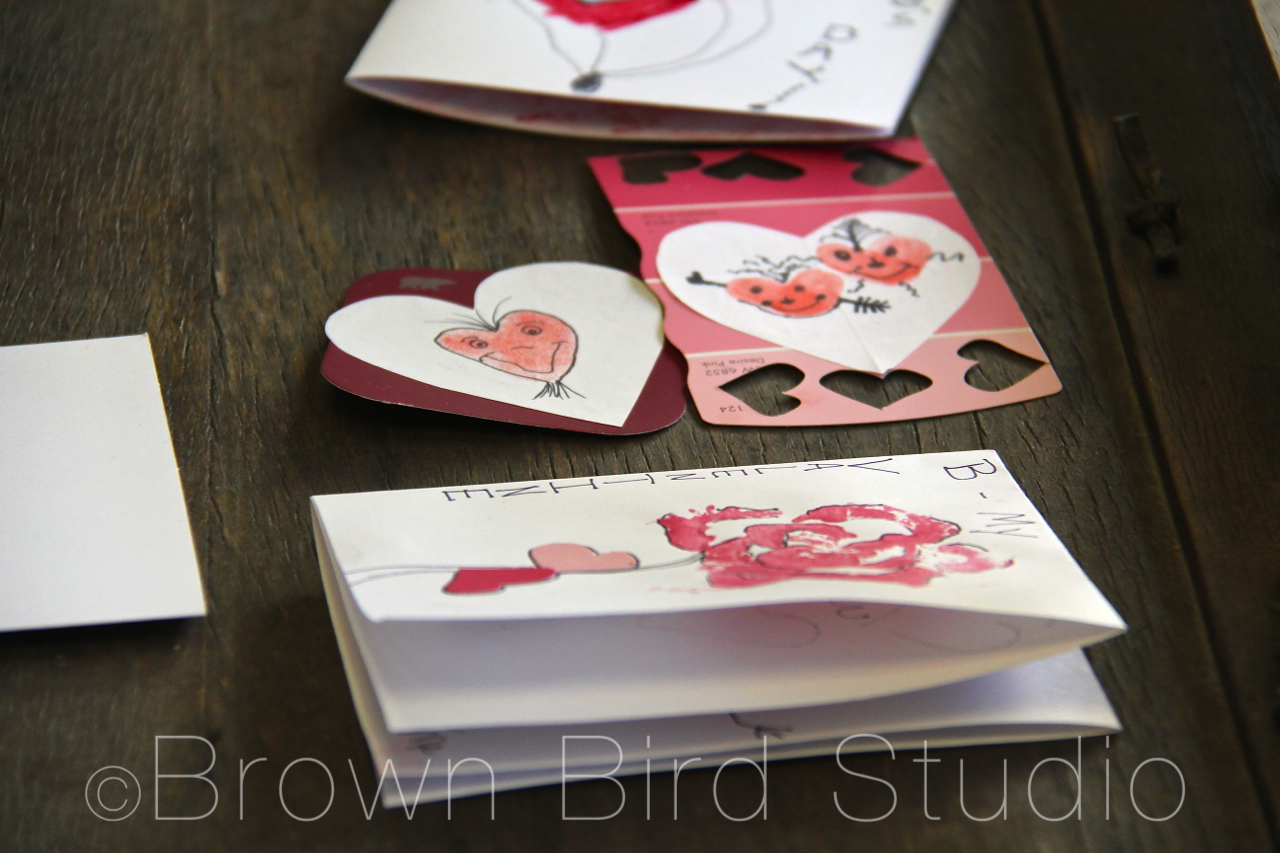
Thumb Print Hearts Make Cute Valentine Cards
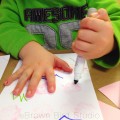
What is easy, simple, and uses something you have on you ALL the time? Hearts made with your very own thumbs. Big grownup thumbs or tiny toddler thumbs make super cute Valentines. This is a popular card making activity with the littlest ones. (I used washable red ink stamp pads for obvious reasons. heh)
Sarah and Bailey were almost all thumbs
HERE’S WHAT YOU NEED:
thumbs
white or pink printer paper
washable red stamp pad
paint samples
glue sticks
scissors
markers, colored pencils, fine-tip permanent pen
heart shaped paper punch (totally optional)
HOW TO DO IT:
Press your thumb onto a red stamp pad and get it good and inky.
Make two thumb impressions, at slight angles to form the shape of a heart. Play around with your own ideas.
After the thumb prints dry (takes a minute) draw on them with markers, colored pencils or sharpies.
Cut the hearts out and glue onto paint samples from the paint store.
We also used a heart punch to embellish these cards.
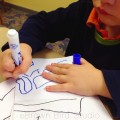
Just Draw!
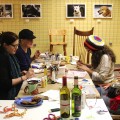
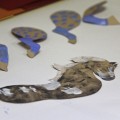
Some of the kids who came to this workshop decided just to draw their Valentine’s cards — and I just say there were some really cool cards being made at that table! They used the markers and printer paper we had to exercise their creativity. Three-year old twins and their sister made these:
Multi-layered loveliness
The rubber stamps might have inspired this three-year-old
Meticulous and Focused
And Then There Was Aidan — He Went All Out(side-the-box)
I love, love, love how this happens! Aidan made a cootie catcher, but the thing that really caught his imagination was the idea of printing and getting messy with paints. I had three planned valentine techniques and Aidan made such a beautiful — creative — Valentine using the materials and tools I had available but his very own multi-layered techniques. If he had given me his Valentine I would have proudly framed it and hung it in the gallery. Check it out below. Can you tell how Aidan made his valentine? (I’ll give you a hint about one little part of his design … below the picture)
Aidan proudly shows his amazing Valentine creation!
(hint: Aidan used the outside of the celery stalk, lengthwise, to make the cross-hatched pattern in the middle. The rest of his techniques you’ll have to figure out yourselves.)
Lily really got into punching and cutting the paper samples!