
Make Cootie Catchers with Love Notes Inside
Cootie Catchers (aka salt cellars or fortune tellers) are perfect for a unique Valentine card that becomes a game. The basic shape is an origami fold. Make these with inexpensive copy paper in different colors. To make a cootie catcher into a Valentine gift, instead of writing “fortunes” on the inside, write little love notes or positive messages like the ones you find on Valentine candy hearts. Examples: “Be Mine” … “Call Me Later” “I-Luv-U” “Kiss Me” and “Hugs!” and “Sweetheart.”

Cootie catchers are easy to make and can be adapted for any age from 3 up. For toddlers, you might want to fold the shapes for them, letting them decorate the paper. They can tell you what they want you to write on the inside. This is a fun way to remind your little ones of all the positive messages you give them every day.
For older kids, try suggesting they use rubber stamps for the numbers or letters on the outside of the folded shapes. Or they can think of Valentine-related symbols such as a bumble bee (bee-mine) a heart, a flower or pair of lips to use instead of the traditional numbers on the outside flaps.
Remind kids to stay positive, and keep a great sense of humor. Your kids may surprise you with the fun sayings they come up with for their cootie catchers.
One of the kids came up with a cool idea: on the inside flaps she wrote things like, “Hug the person to your right” and “Your Valentine is on your left.” A perfect party cootie catcher!
HERE’S WHAT YOU NEED:
- pink or white printer paper
- rubber stamps and stamp pads (optional)
- scissors (to make letter-size paper into squares)
- markers, colored pencils
HOW TO DO IT:
Instead of trying to formulate instructions that make sense, I am sending you to momsminivan.com because she has not only complete instructions, but detailed photos and a video on folding. Check it out here. And here’s how to play cootie catchers:
- Practice opening and closing the cootie catcher. Open it first with your forefinger and thumb on each hand together. Then open it with your two forefingers together and your two thumbs together.
- With the Cootie Catcher closed, have someone choose a number or symbol from the four outside flaps. Open the Cootie Catcher once for each letter in the symbol (eg if they choose a heart, spell out h-e-a-r-t) or count the number they picked. Leave it open at the end so they can see four numbers or symbols inside.
- Next, have them choose one of the four inside flaps they can see, and close-and-open the Cootie Catcher that many times, again ending with it open.
- Last, they should choose one of the four flaps they now see, and you lift up that flap to show their love note or personal message.
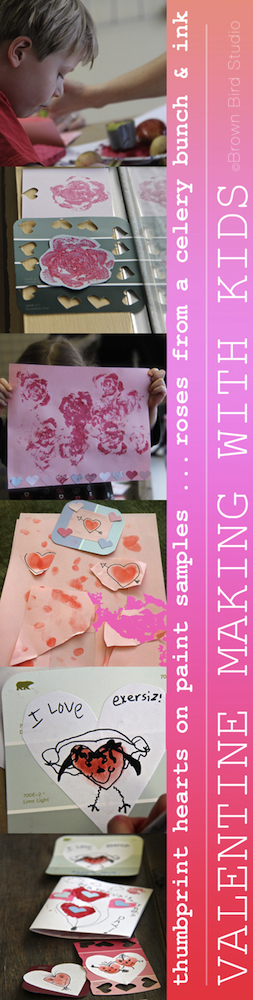 Make Valentine-y Prints Using Fruit and Vegetables
All you need for Valentine printmaking is some fruits and veggies and a few other things you probably have around your house. Think about handing your Valentine a bunch of flowers you made yourself!
HERE’S WHAT YOU NEED:
- pink or white printer paper
- vegetables such as a bunch of celery, apples, brussels sprouts, carrot, potato and lemon
- cheap sponges
- a printmaking roller
- little plates to put the sponges on
- red, pink and black stamp pads
- very sharp knife and a cutting board
HOW TO DO IT:
- Place a moistened sponge on a small paper plate. Squeeze a little red tempura or acrylic paint onto the sponge and spread it evenly with the roller. Cut the celery bunch about 3 or 4 inches from the root end, leaving the stalks all together. (Save the stalks you cut off of the root end.) Holding the celery bunch together tightly, press it onto the sponge and get some paint on the ends. Next, stamp it on your paper. Don’t squish it around or you will smear your design. Lift it up and Voila! There is a beautiful “rose!” Make a bouquet of roses.
- Cut a brussel sprout in half horizontally. Make a clean cut! Now, press it onto a red stamp pad (paint is too much for a brussel sprout print) and get it good and red. Next, stamp it onto your paper and lift it straight up. You will have a miniature rose. Make a big bouquet of mini roses!
- Use the stalks of celery you cut off of the celery bunch, to make little squiggle designs. Use your stamp-ink-pad for these. Play around and see what you can make with these.
- Cut an apple in half vertically to make a heart shape. Try cutting an apple in half horizontally for a circular shape with a perfect star in the middle. Use the paint-soaked sponge for the apple prints.
- Cut a lemon in half and dry it well on paper towels. Use your ink-stamp-pad to ink up the lemon and press, press, press.
- Cut a potato in half and using a sharp knife, carve the flat side into a heart shape or any other simple shape. Use this as a stamp, with either the stamp pads or in paint-soaked sponge.
- Compost the veggies and fruits after you finish.
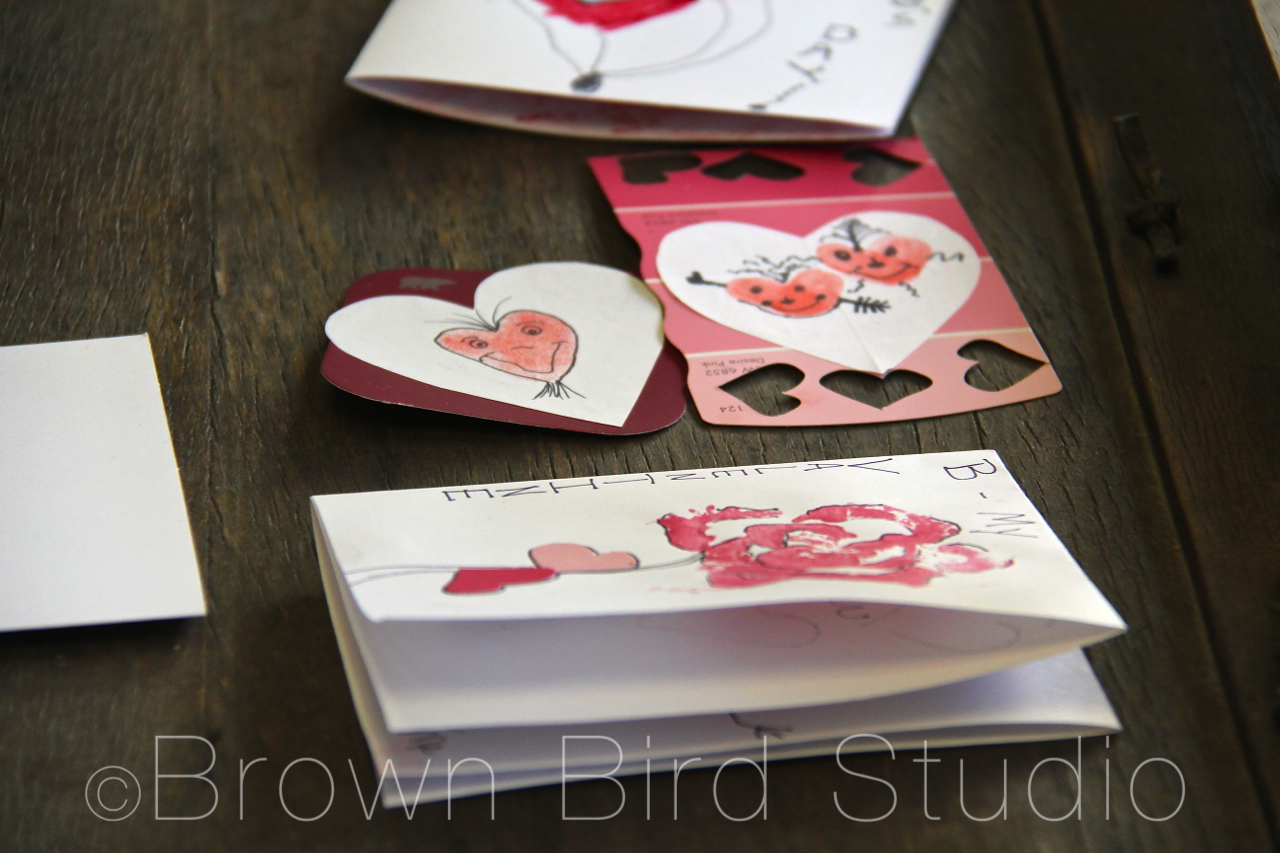
Thumb Print Hearts Make Cute Valentine Cards
What is easy, simple, and uses something you have on you ALL the time? Hearts made with your very own thumbs. Big grownup thumbs or tiny toddler thumbs make super cute Valentines. This is a popular card making activity with the littlest ones. (I used washable red ink stamp pads for obvious reasons. heh)
HERE’S WHAT YOU NEED:
- thumbs
- white or pink printer paper
- washable red stamp pad
- paint samples
- glue sticks
- scissors
- markers, colored pencils, fine-tip permanent pen
- heart shaped paper punch (totally optional)
HOW TO DO IT:
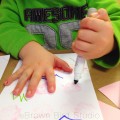
- Press your thumb onto a red stamp pad and get it good and inky.
- Make two thumb impressions, at slight angles to form the shape of a heart. Play around with your own ideas.
- After the thumb prints dry (takes a minute) draw on them with markers, colored pencils or sharpies.
- Cut the hearts out and glue onto paint samples from the paint store.
- We also used a heart punch to embellish these cards.
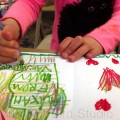
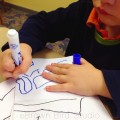
Just Draw!
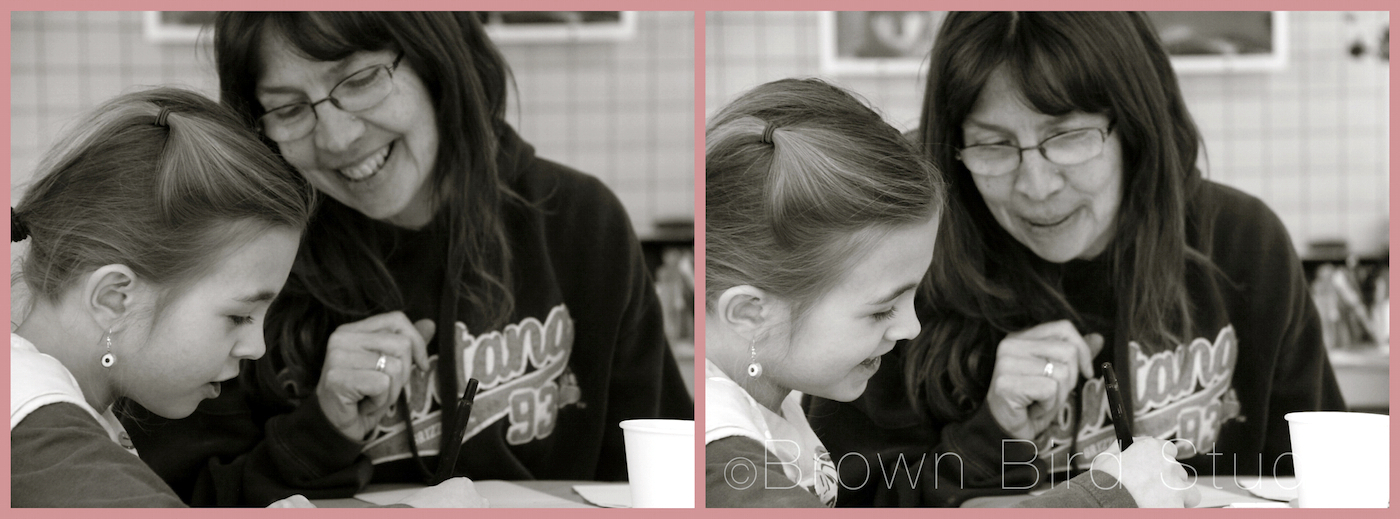
Some of the kids who came to this workshop decided just to draw their Valentine’s cards — and I just say there were some really cool cards being made at that table! They used the markers and printer paper we had to exercise their creativity. Three-year old twins and their sister made these:
And Then There Was Aidan — He Went All Out(side-the-box)
I love, love, love how this happens! Aidan made a cootie catcher, but the thing that really caught his imagination was the idea of printing and getting messy with paints. I had three planned valentine techniques and Aidan made such a beautiful — creative — Valentine using the materials and tools I had available but his very own multi-layered techniques. If he had given me his Valentine I would have proudly framed it and hung it in the gallery. Check it out below. Can you tell how Aidan made his valentine? (I’ll give you a hint about one little part of his design … below the picture)
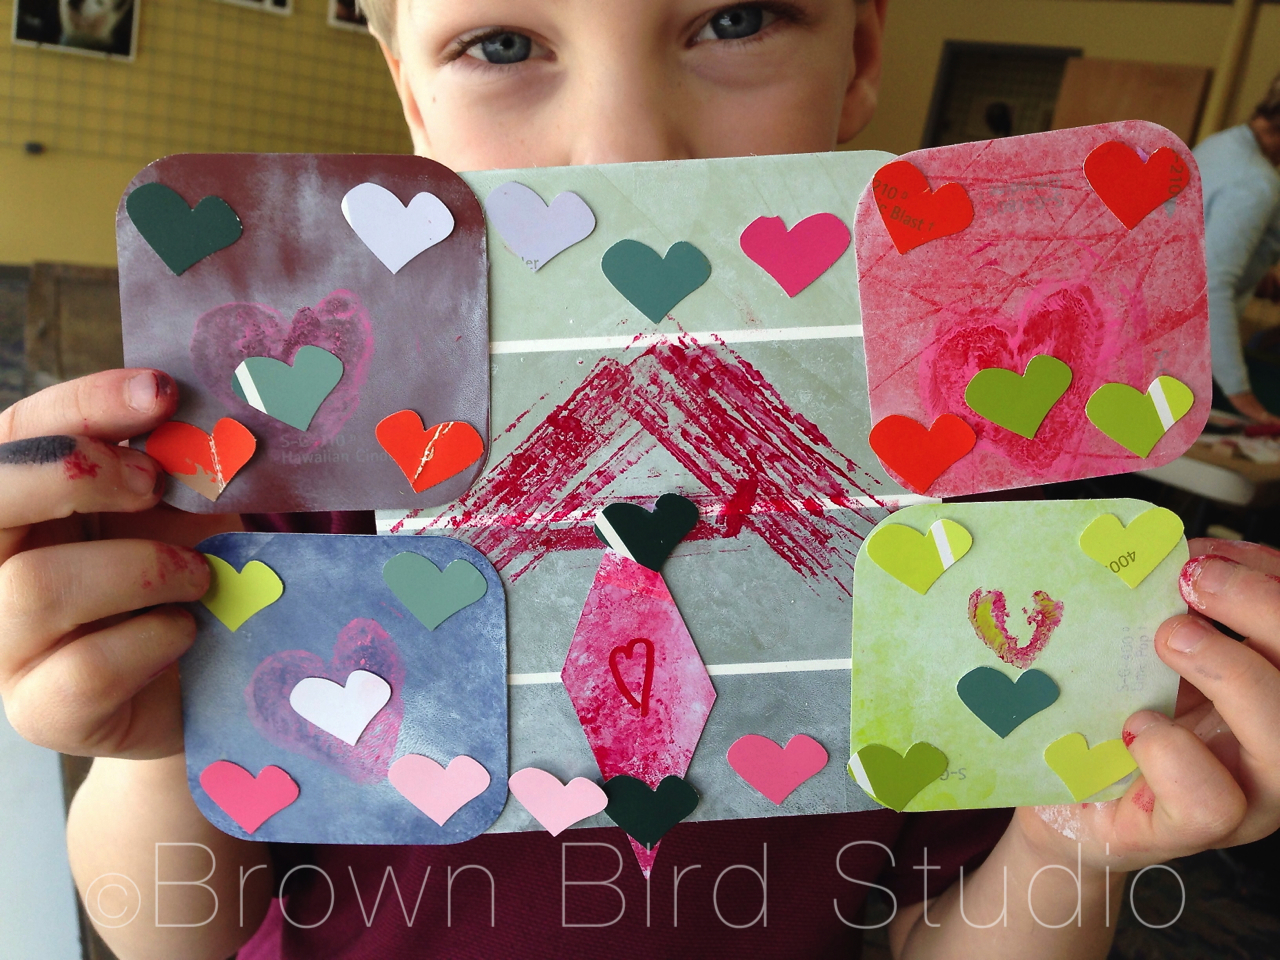
(hint: Aidan used the outside of the celery stalk, lengthwise, to make the cross-hatched pattern in the middle. The rest of his techniques you’ll have to figure out yourselves.)
