Seems like I write a new post whenever I’m pressed for time in my studio. Maybe it’s avoidance. Maybe it’s just that when I’m struggling or when I’m jumping up and down with joy because I got over my hump is exactly when I feel like sharing that struggle and that joy with you. I’m feelin’ scrappy. That’s it.
Soooo … I’m in the flow and I apologize for my weird sentences and non-grammar.
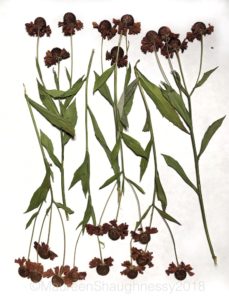
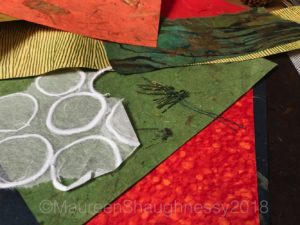
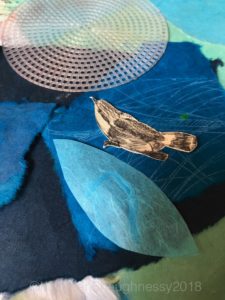
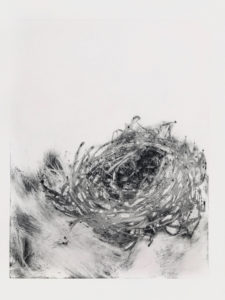
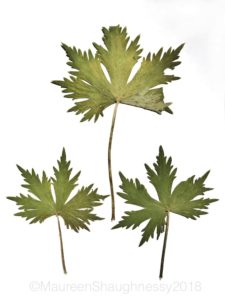
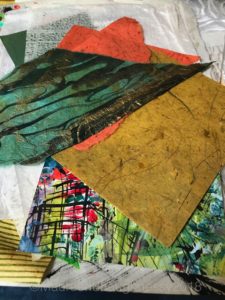
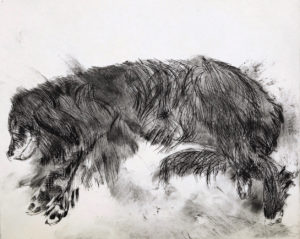
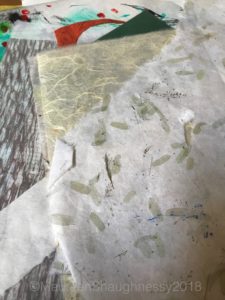
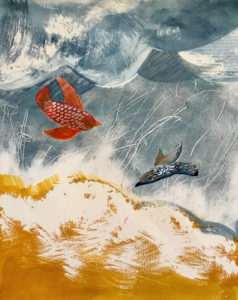
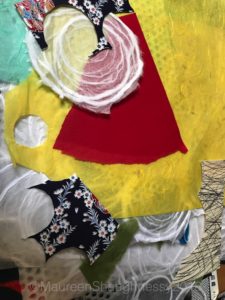
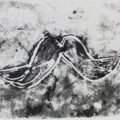
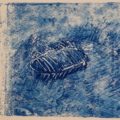
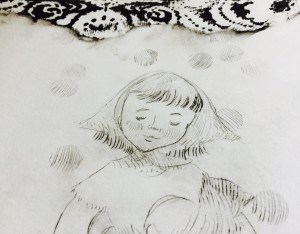
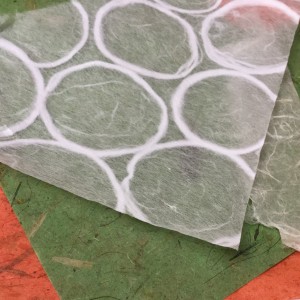
Today I reflect on the scraps and leftovers, the layers and stashed pieces of beauty that normally stay hidden in boxes until I’m in a creative flow and just need to see what I’ve got. When it’s all out on the studio tables — any flat surface that isn’t covered in ink — I can swim in the colors and textures and gorgeousness and it gets me going. I am simultaneously (well, almost) working on 9 or 10 different images. Some will make it into the upcoming printmakers’ showand others will make it to the “scrap pile” (I rarely throw away a print even if it’s un-good.) I’m experimenting with a short series of four bird nests and two other prints about birds. Plus two of my animal companions and one about home. Just home. Actually, they are all about home, come to think of it. A deep sense of home. Home empty. Home full. Home in a storm. Home when you have someone. Home when you love someone.
I want to share some of my studio scraps. And maybe a couple of prints that are bubbling up from the deep. Not quite done. Not quite ready for framing. Still experiments. Still works-in-progress. I’ll post again when I decide what’s going in the exhibit, PRESS HERE – – and give y’all some sneak peeks.
Our kids creativity seshes for the last couple of weeks were about making monoprints with some different techniques and a small tabletop press.
The first week, we made monoprint plates with drypoint etching on plexi. After learning how to ink the plates and wipe them (leaving the ink only in the scratched lines) we added other ink colors and made painterly marks in the ink layer.
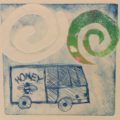
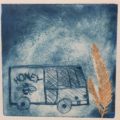
Monoprint by Ema
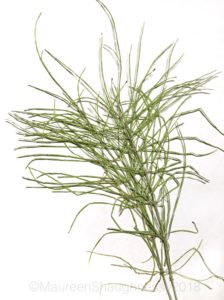
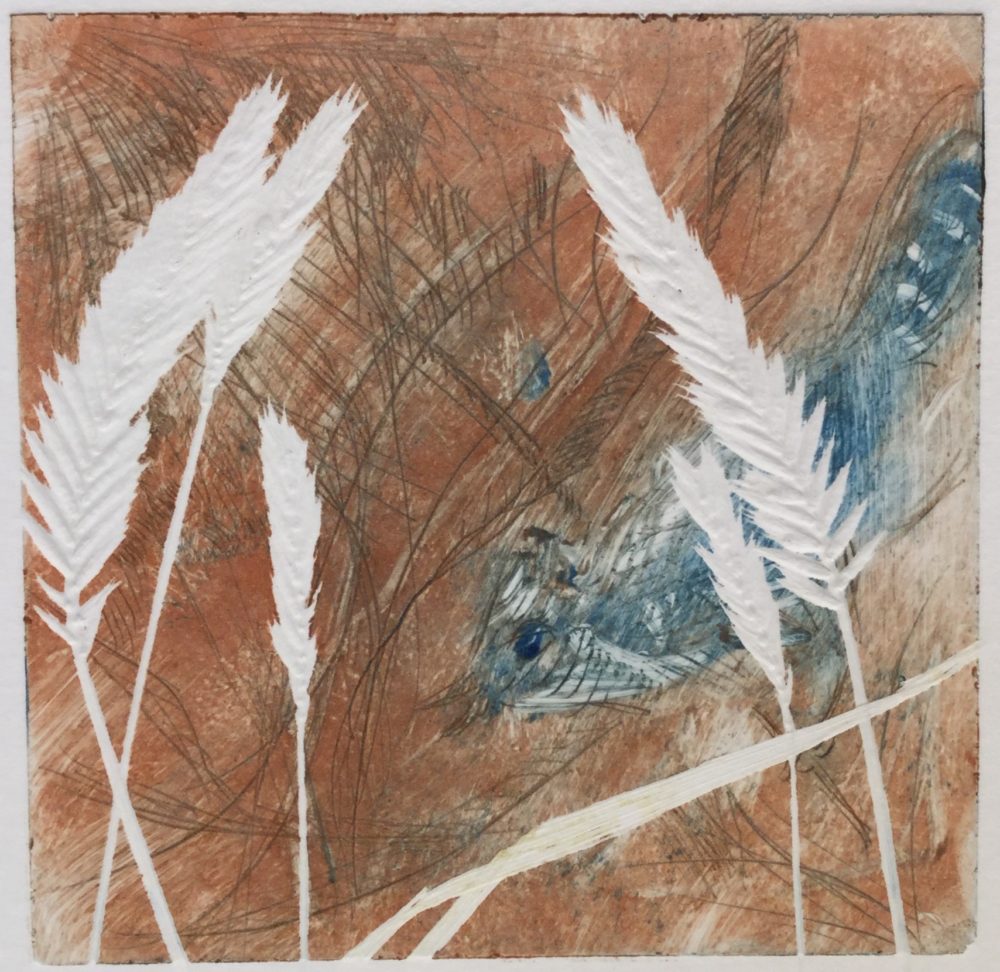
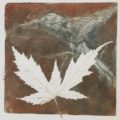
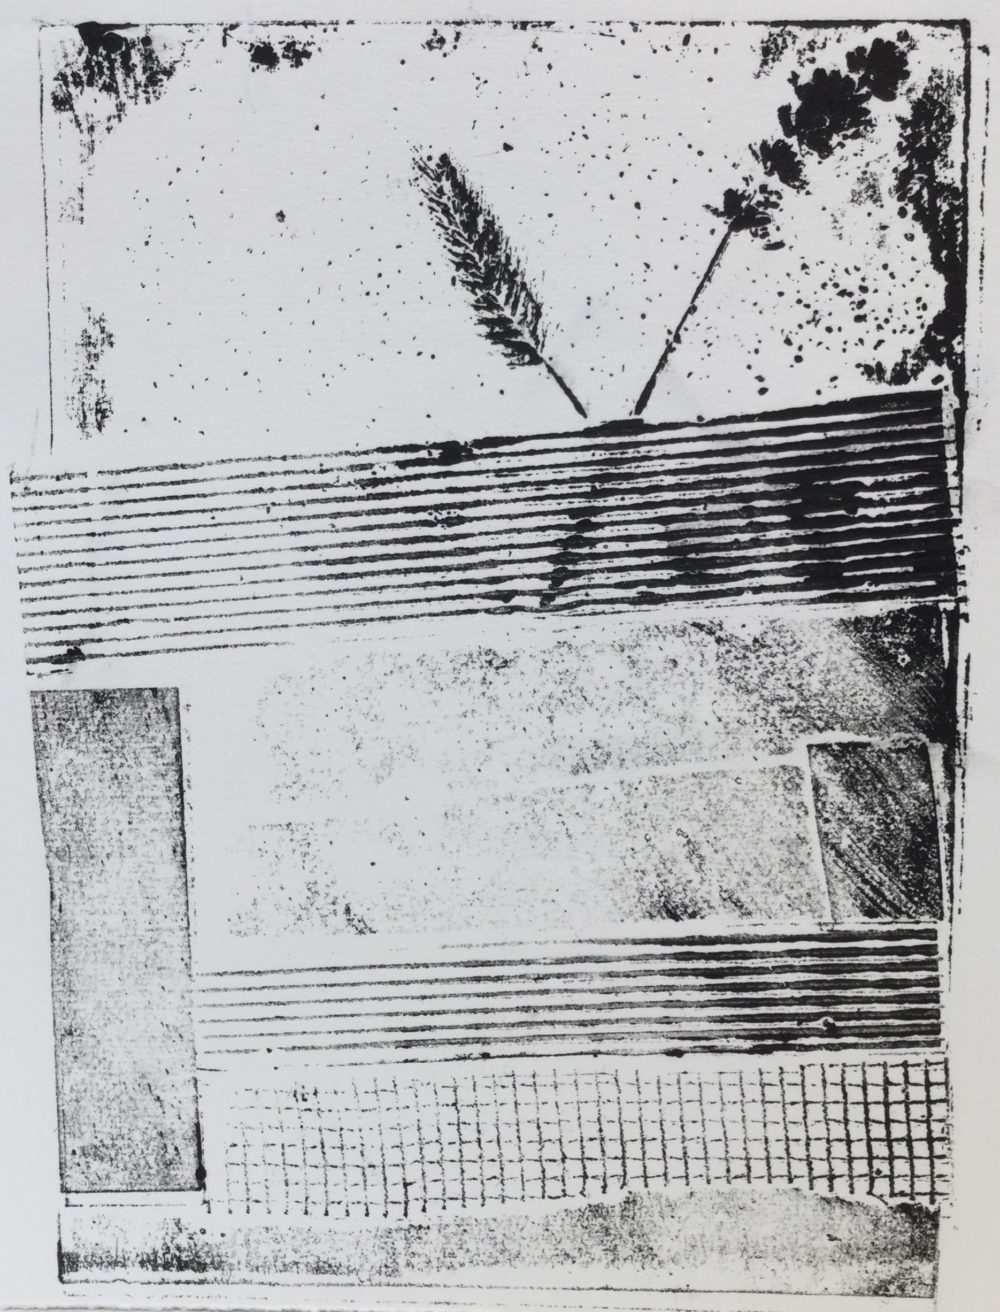
When the inked plates were ready, some of us added flat objects on top, like paper cutouts and pressed leaves or flowers to create collagraphs. The objects we put on top of the inked plates, left white areas on the monoprints (see the grasses on the print below.)
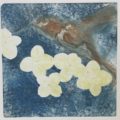
Monoprint “Blue Jay 2” by Maureen
We used really good quality cotton rag paper soaked for a few minutes in water, then pressed dry. Then we ran our printing plates through the small press with the paper on top.
Monoprint by Adia
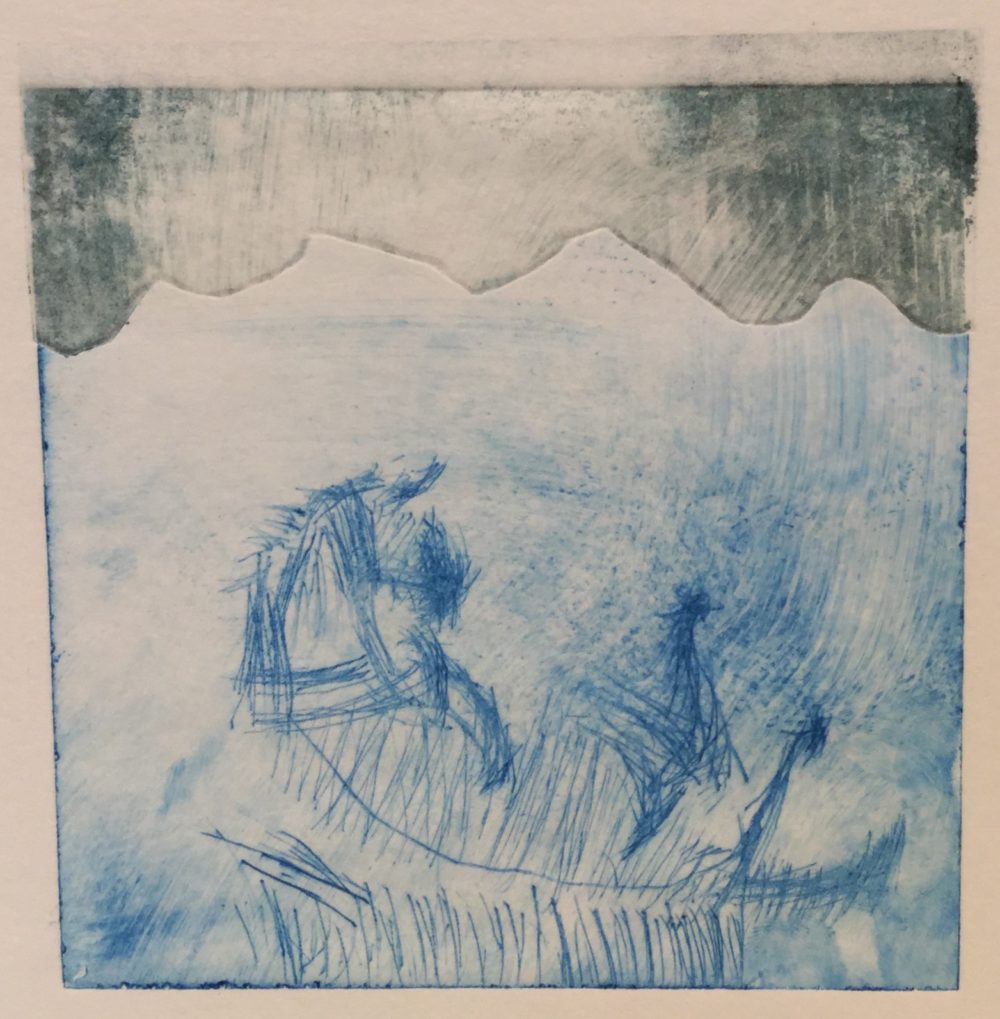
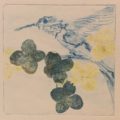
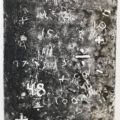
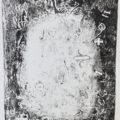
Here are some of the different drypoint monoprints we made. You can see that one etching plate is used to make many different designs. That’s why they are called mono prints.
Monoprint by Lily
Monoprint by Lily
Monoprint by Lily
Monoprint by Ema
Monoprint by Ema
Monoprint by Ema
Okay, so the next week we made two other kinds of printing plates.
No boring stuff in these kids creativity sessions!
This time we didn’t scratch the designs into the plates. The first type of plate we made was a collagraph printing plate. You make these by gluing different things to a heavy cardboard surface to create textures. Then we coated the plates (objects and all) with a sealer and waited for them to be totally dry. The sealer keeps the ink from soaking into the cardboard and other objects we used to create out designs. Some kids used corrugated cardboard, stencils, grid fabric and paper cutouts to cover their cardboard almost totally with textures. Other kids left a lot of empty space on their cardboard plates and just made marks on them with ink and different tools such as their fingers, cotton swabs, brushes and rags.
Monoprint by LilyMonoprint by Silas
We tried using corn meal sprinkled onto area where we had painted glue. This worked pretty well to make a very different texture. In the blue monoprint (below) made by Jasmine, you can see the cornmeal in the sky. She wanted to show flower pollen blowing in the wind. In the black and white monoprint (above) by Silas, you can see very lightly sprinkled cornmeal made a cool texture near the top of his composition.
Monoprint by Jasmine
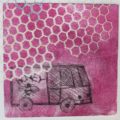
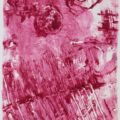
The other kind of plate we made the second week was plexiglass with hot wax applied to it by brushing and dripping. Then we carved designs into the wax with tools. The wax was easier to draw into than last week when we had to scratch with sharp tools into the hard plexiglass. We inked up the wax plates and ran them through the press with paper. Those came out kinda cool. Here are some examples of the waxed monoprints:
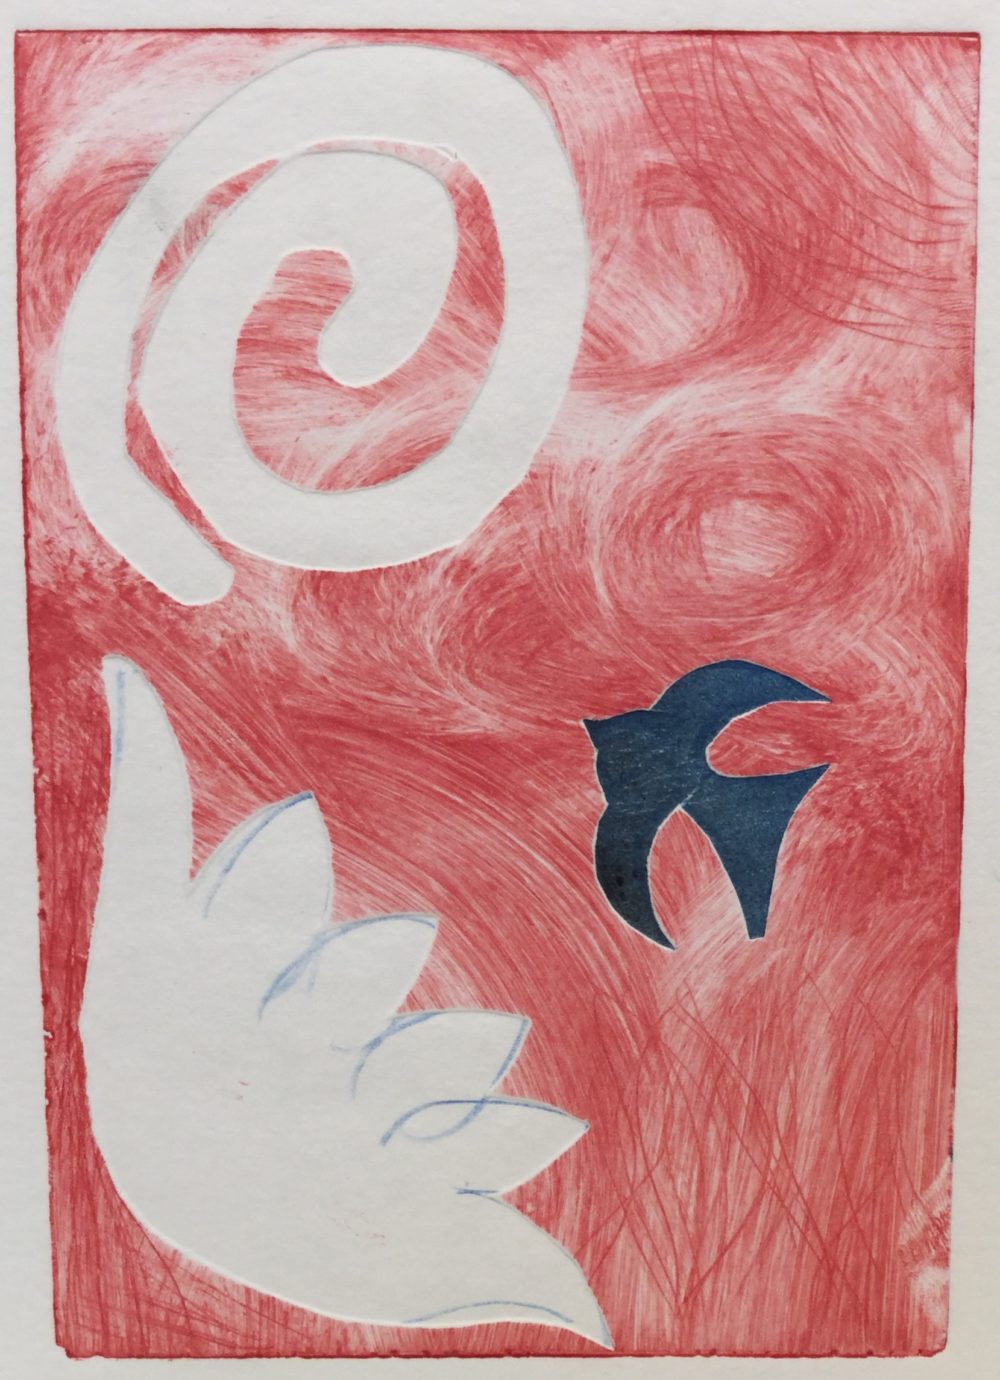
Monoprint “Flying Math,” by Adia
Monoprint “Crawdad” by Colton
Monoprint “Flying Math II” by Adia
Monoprint in Red by Silas
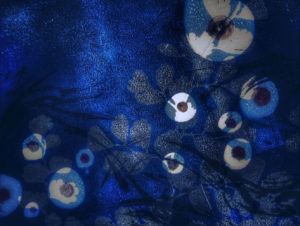
Monoprint “Eye with Lavender” by Colton
Monoprint “Mustache” by Lily
Monoprint “Emoticons” by Jasmine
Monoprint demo
Monoprint “Eye” by Colton
We hope you enjoyed seeing the results of our hard work and fun play in Maureen’s art classes. Most of these prints will be framed and on display in October when we have our 2nd Annual Young Voices art exhibit at 1+1=1 Gallery in Helena. Watch for news about that show! We’re all excited about it.
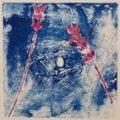
Every time I begin working on a new series, I have mixed feelings. Being held by what I’ve already started mixed with being impelled by what I want to do next. Melancholy mixed with excitement. Curiosity mixed with worry. Delight mixed with feeling vulnerable. Do you ever feel that way when you start something new?
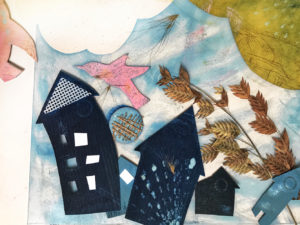
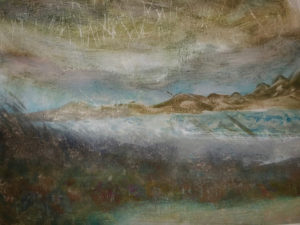
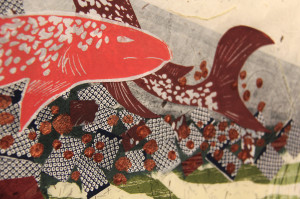
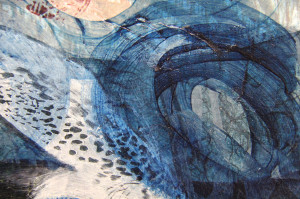
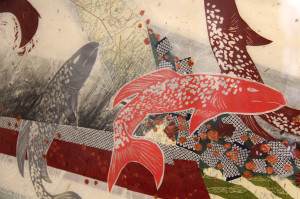
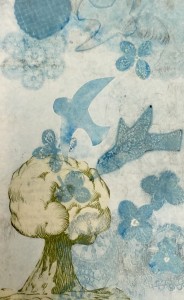
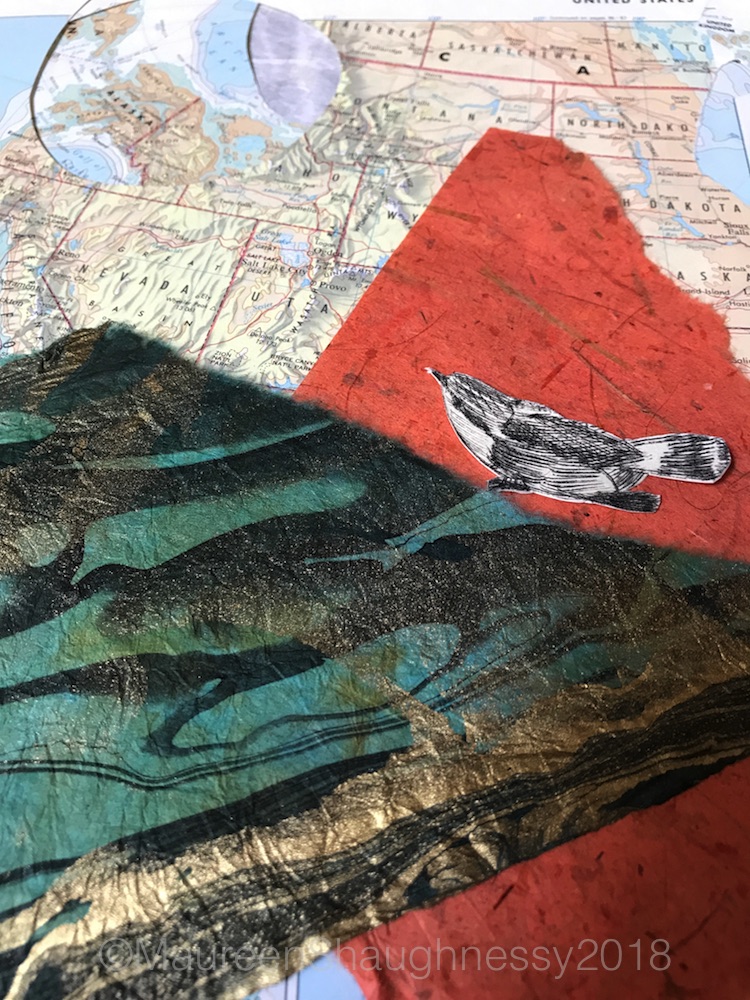
I haven’t yet exhausted my last series (The Mother Tree work) but I’m ready to keep growing and moving forward. I think to myself “I’ll go back to the Mother Tree or the Salmon Forest or the Ecology of the Unconscious.” Will I? Probably not — right now I’m exploring a new(ish) medium for me. My current mixed media pieces have a new look — still mine, but I think better. I love experimenting with materials, exploring different ways of putting marks on a surface, and new ways to express what wants to come out of me.
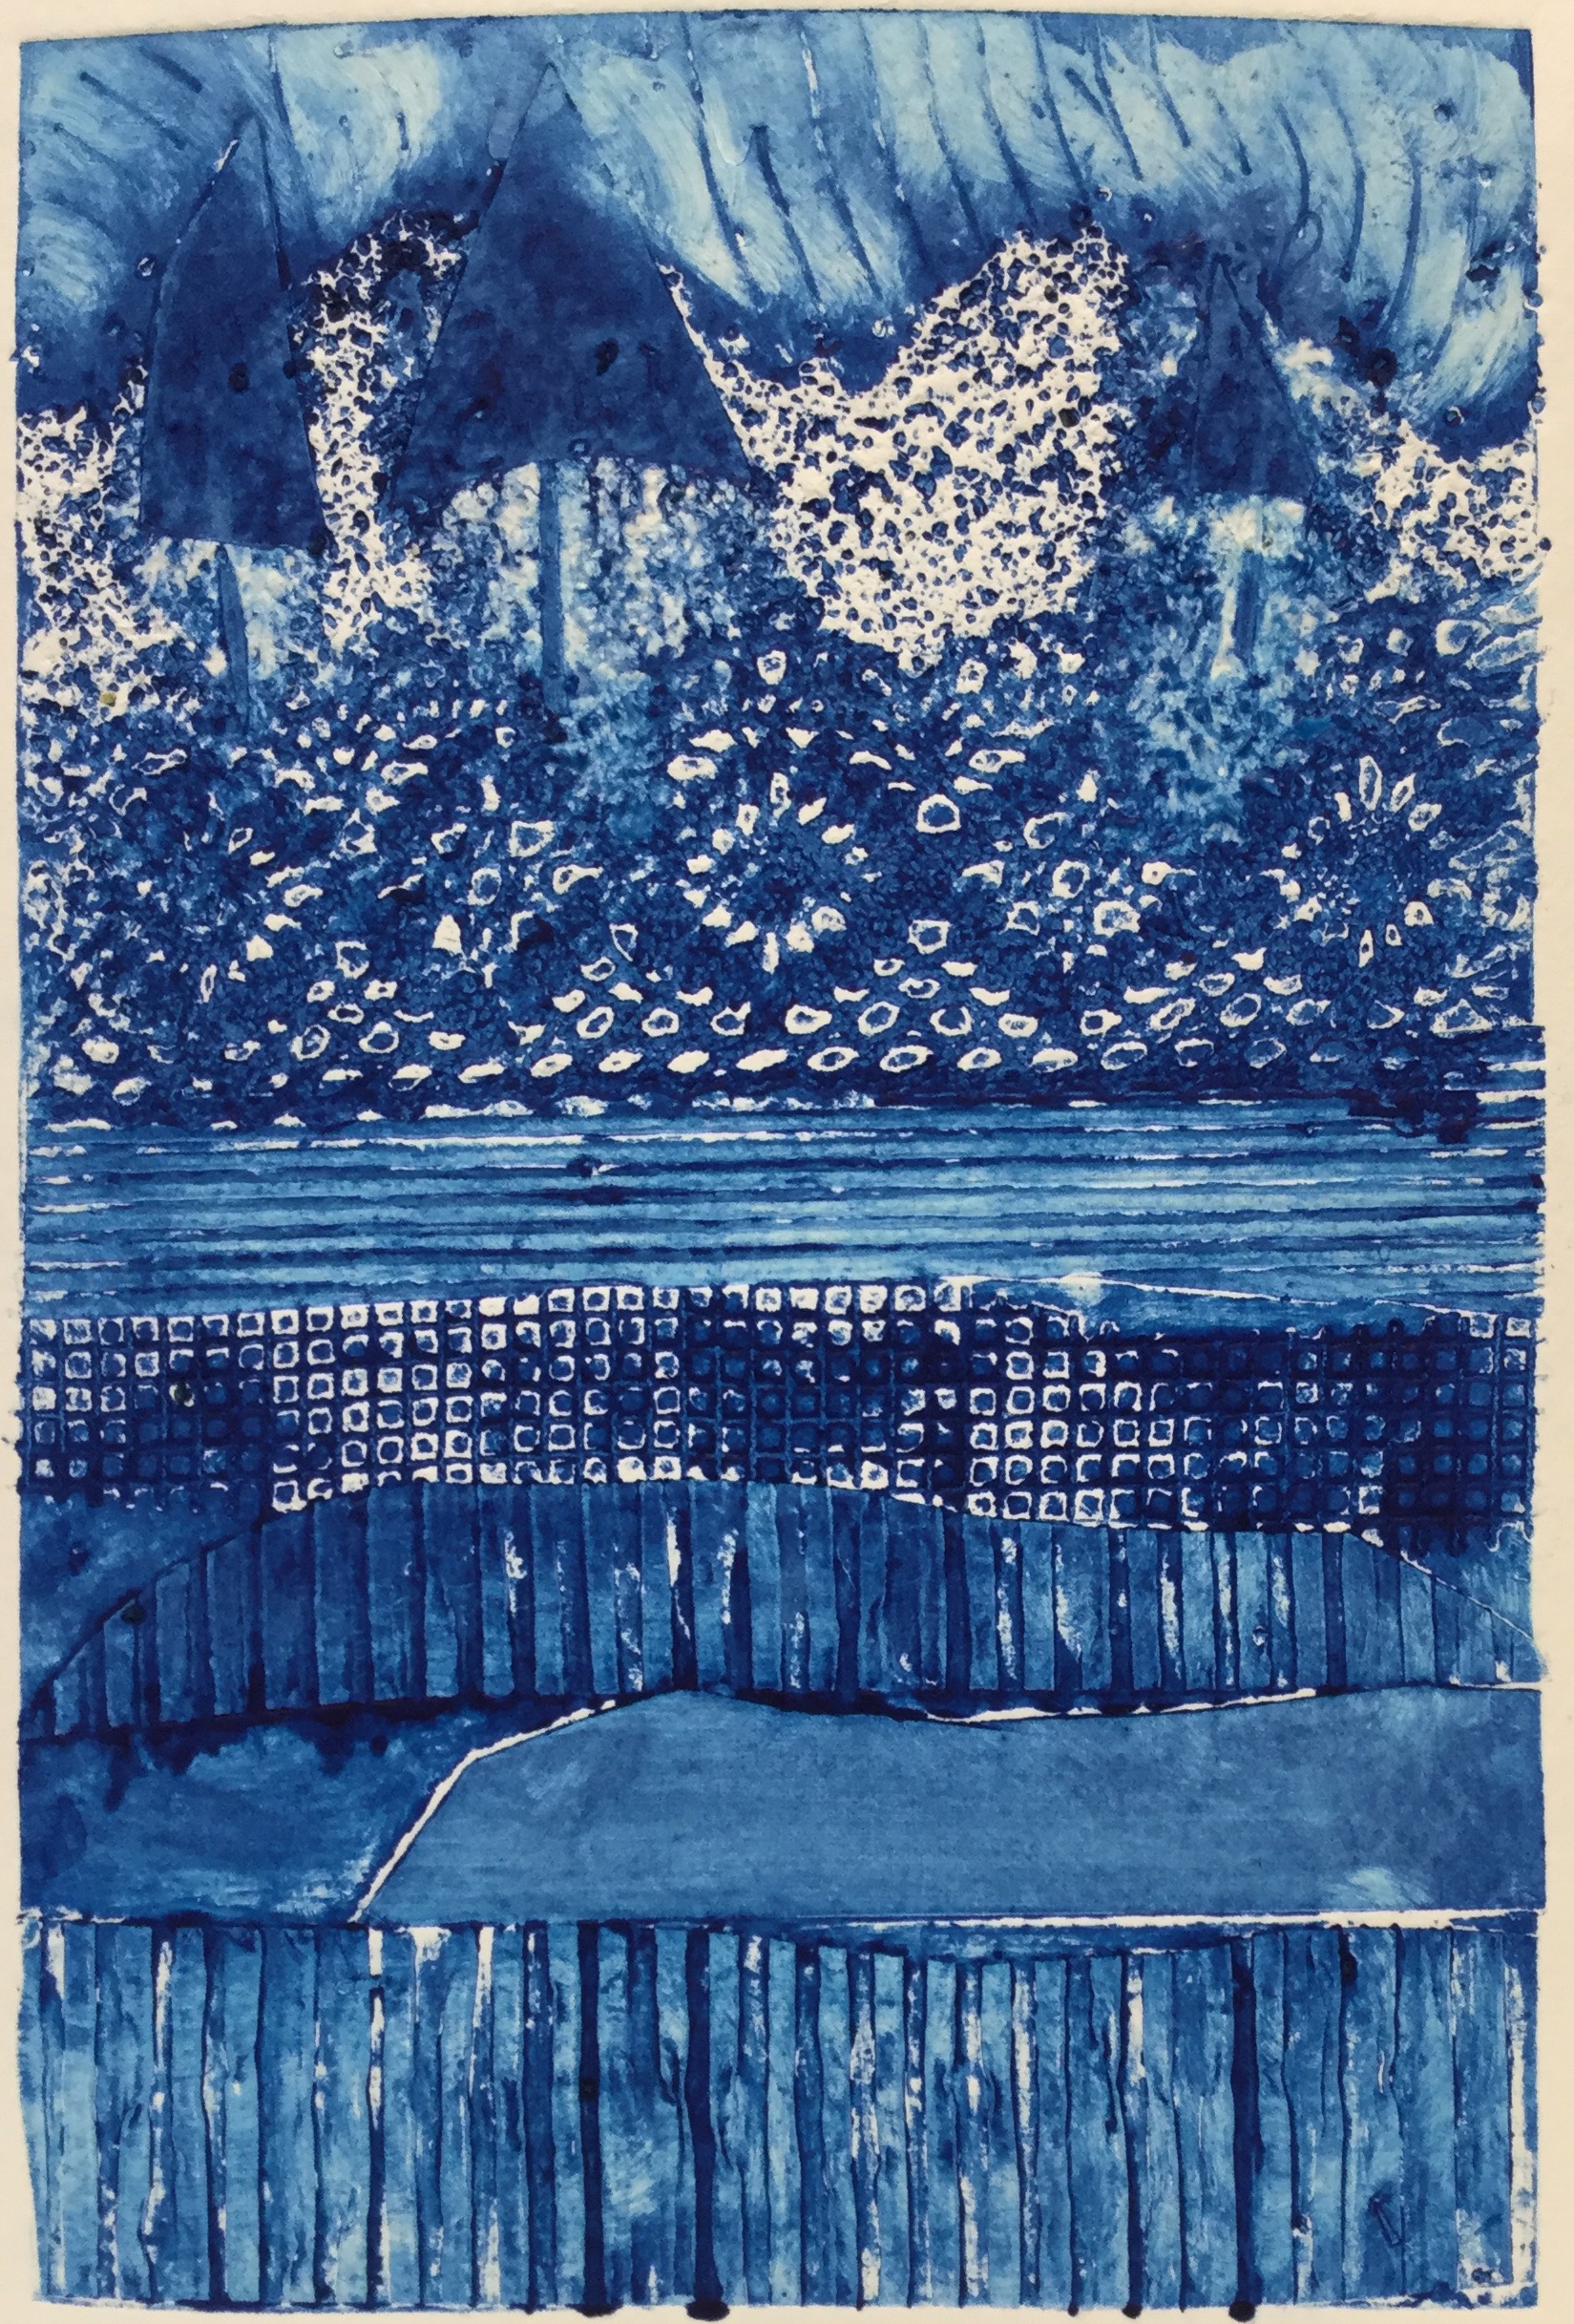
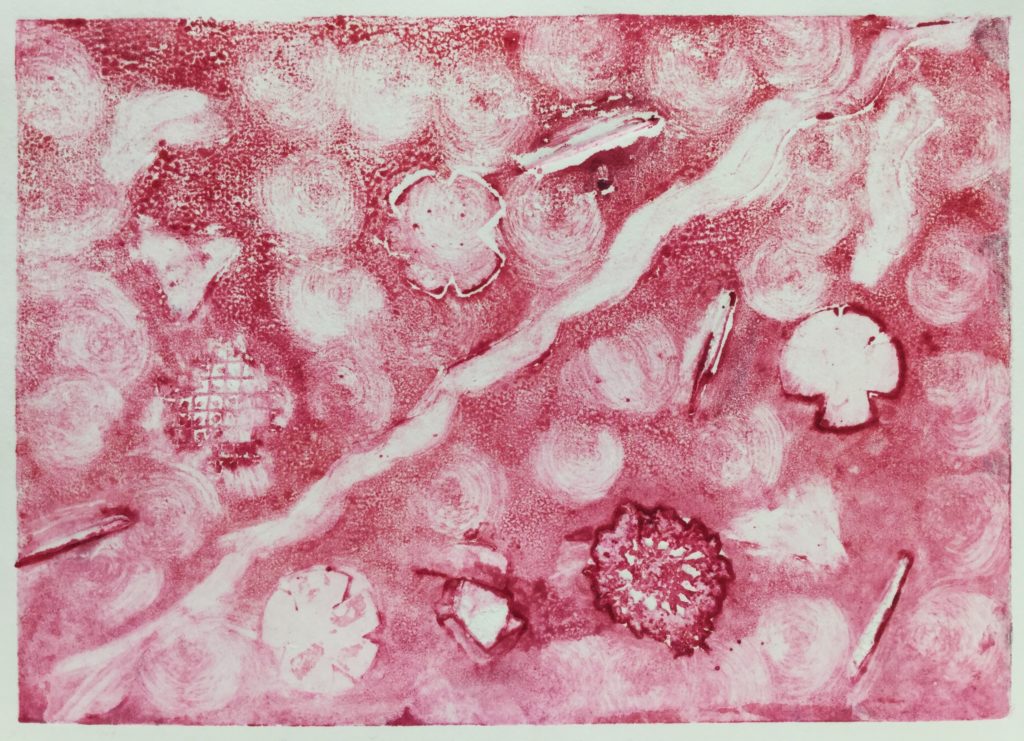
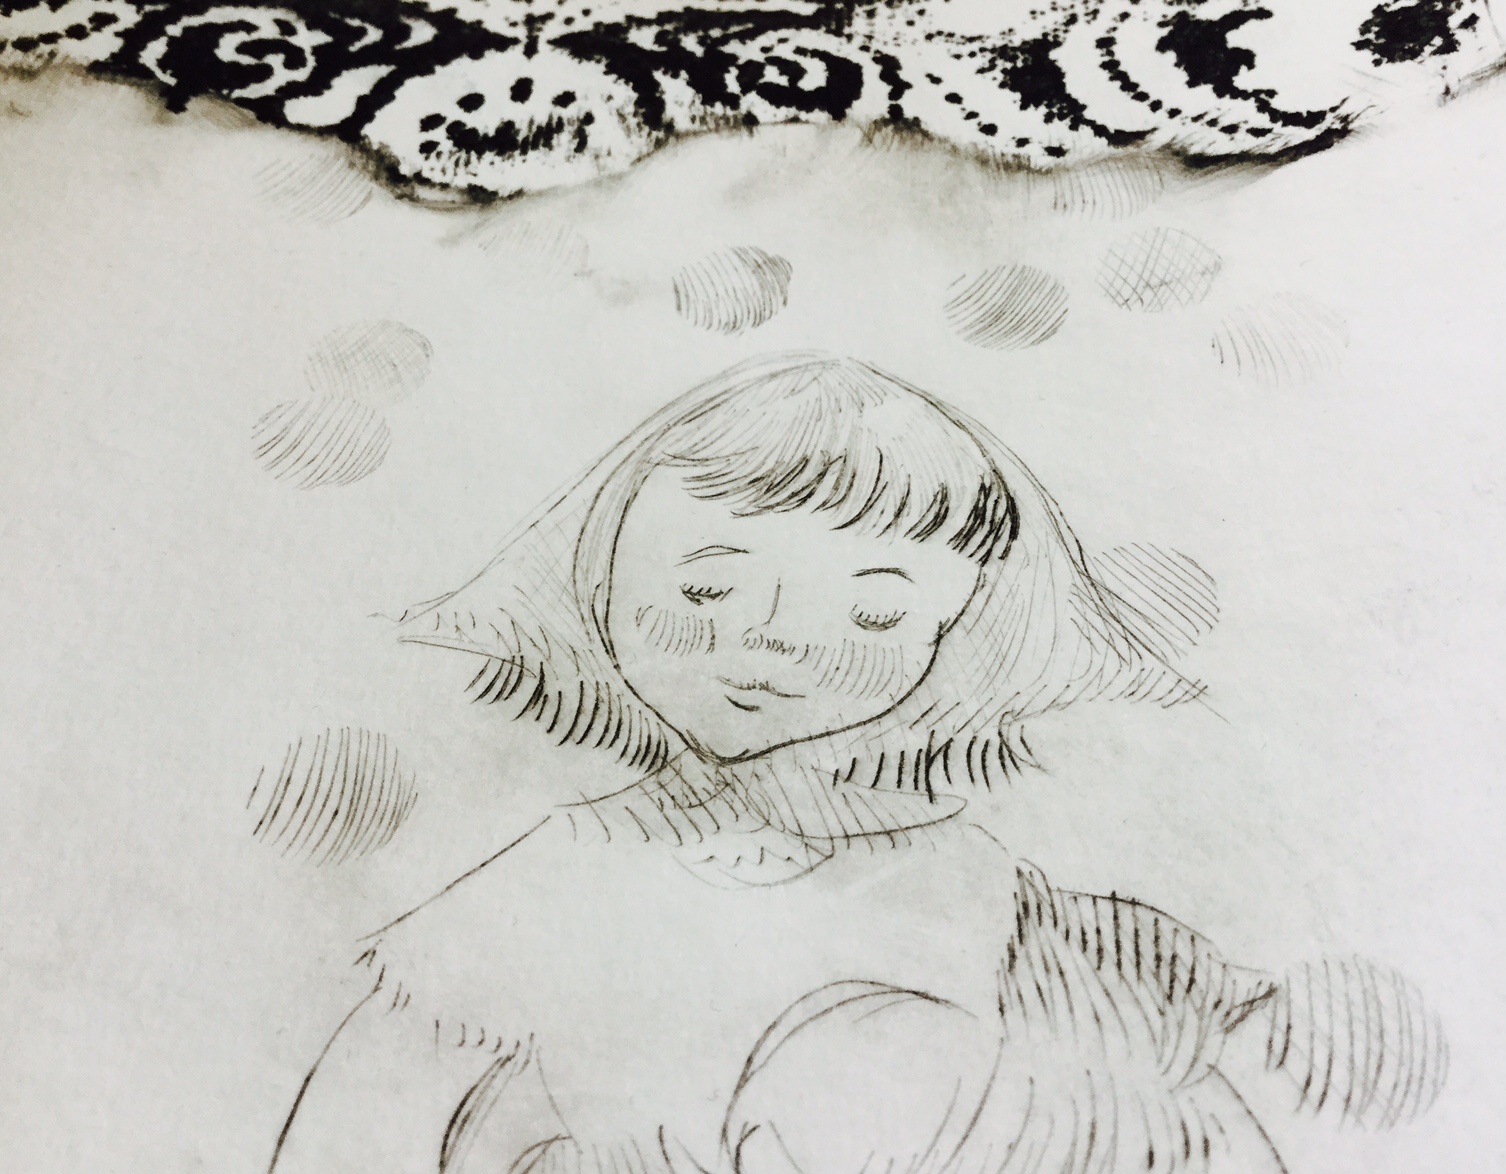
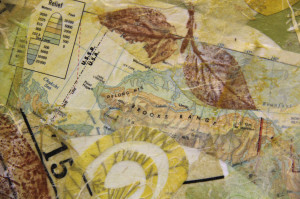
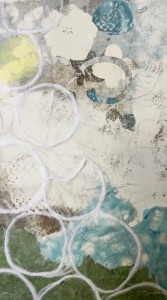
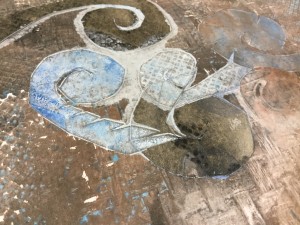
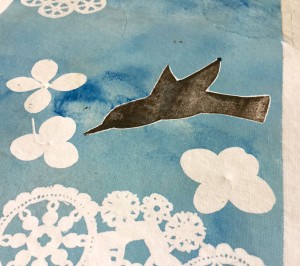
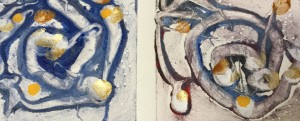
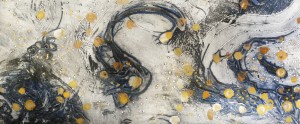
So, one of the questions I ask myself as I embark on a new series is, how does this have anything to do with the work I recently completed? Where is the thread of continuity between those other series and this one? I’ve been playing with printmaking for several years (in the big picture, that’s not long at all) and have barely started incorporating collagraphs, monoprints and relief printing into my mixed media paintings. Here are a couple of pieces that have some of my prints as part of the composition:
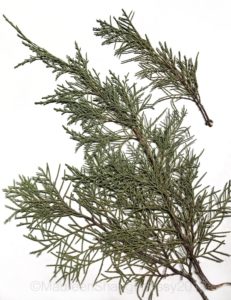
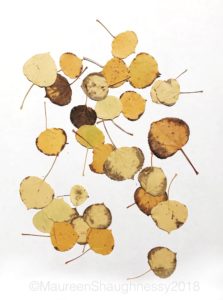
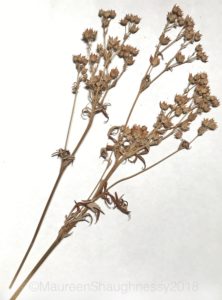
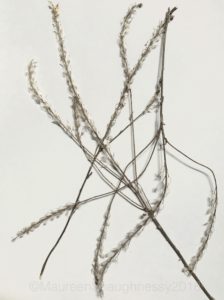
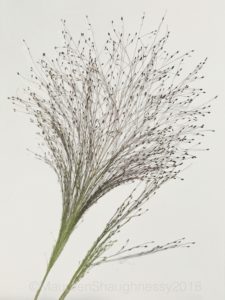
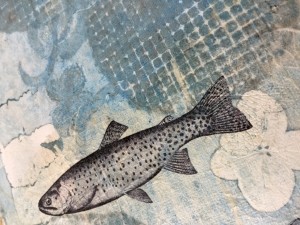
Right now, I’m playing with a small tabletop press (wishing it were alot larger.) I’m trying out techniques that are new to me, but fit my style and objectives perfectly. Chine colle´ is a way to use some of the paper scraps — prints, studies, watercolors, paintings and collage papers I’ve saved. I’m using the old textbooks and readers that have become familiar in my artwork, incorporating childhood motifs along with fish, birds and the occasional nuclear bomb or tree. My personal vocabulary of marks and shapes continues in my new pieces — spirals, circles, spheres, peculiar cross hatching, jabs, roots, geometric shapes and voluptuous strokes. And of course, I’m always passionate about Nature and that’s prominent in my new work: leaves, branches, grasses and other botanical images; water, waves, currents, raindrops; and animals both large and microscopic.
I’m curious to see where I go. That’s a great motivator. I’ll post more when I get something I like enough to say, “This is what I’m doing for the next show.” In the meantime, it’s just a direction.
Cootie Catchers (aka salt cellars or fortune tellers) are perfect for a unique Valentine card that becomes a game. The basic shape is an origami fold. Make these with inexpensive copy paper in different colors. To make a cootie catcher into a Valentine gift, instead of writing “fortunes” on the inside, write little love notes or positive messages like the ones you find on Valentine candy hearts. Examples: “Be Mine” … “Call Me Later” “I-Luv-U” “Kiss Me” and “Hugs!” and “Sweetheart.”
Cootie catchers are easy to make and can be adapted for any age from 3 up. For toddlers, you might want to fold the shapes for them, letting them decorate the paper. They can tell you what they want you to write on the inside. This is a fun way to remind your little ones of all the positive messages you give them every day.
For older kids, try suggesting they use rubber stamps for the numbers or letters on the outside of the folded shapes. Or they can think of Valentine-related symbols such as a bumble bee (bee-mine) a heart, a flower or pair of lips to use instead of the traditional numbers on the outside flaps.
Remind kids to stay positive, and keep a great sense of humor. Your kids may surprise you with the fun sayings they come up with for their cootie catchers.
One of the kids came up with a cool idea: on the inside flaps she wrote things like, “Hug the person to your right” and “Your Valentine is on your left.” A perfect party cootie catcher!
HERE’S WHAT YOU NEED:
pink or white printer paper
rubber stamps and stamp pads (optional)
scissors (to make letter-size paper into squares)
markers, colored pencils
HOW TO DO IT:
Instead of trying to formulate instructions that make sense, I am sending you to momsminivan.com because she has not only complete instructions, but detailed photos and a video on folding. Check it out here. And here’s how to play cootie catchers:
Practice opening and closing the cootie catcher. Open it first with your forefinger and thumb on each hand together. Then open it with your two forefingers together and your two thumbs together.
With the Cootie Catcher closed, have someone choose a number or symbol from the four outside flaps. Open the Cootie Catcher once for each letter in the symbol (eg if they choose a heart, spell out h-e-a-r-t) or count the number they picked. Leave it open at the end so they can see four numbers or symbols inside.
Next, have them choose one of the four inside flaps they can see, and close-and-open the Cootie Catcher that many times, again ending with it open.
Last, they should choose one of the four flaps they now see, and you lift up that flap to show their love note or personal message.
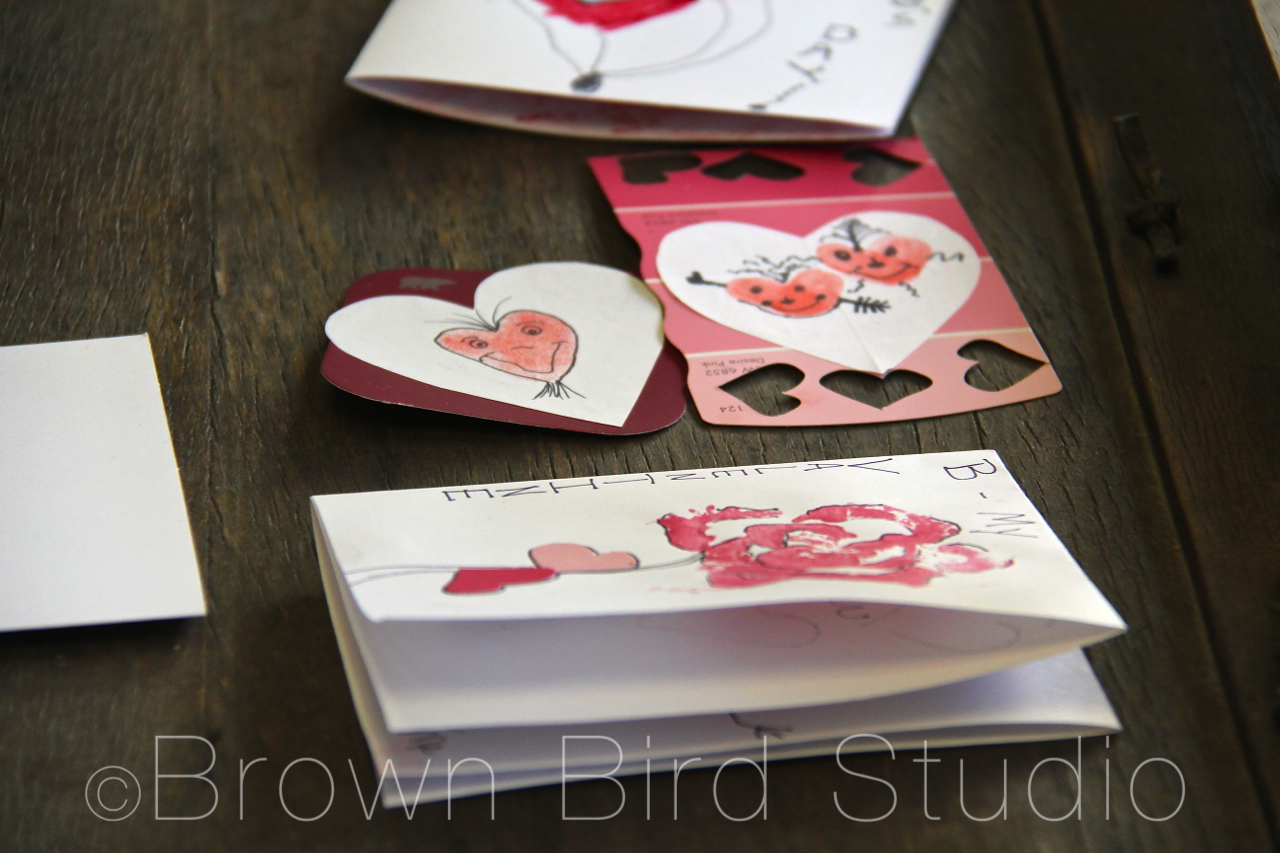
Make Valentine-y Prints Using Fruit and Vegetables
All you need for Valentine printmaking is some fruits and veggies and a few other things you probably have around your house. Think about handing your Valentine a bunch of flowers you made yourself!
HERE’S WHAT YOU NEED:
pink or white printer paper
vegetables such as a bunch of celery, apples, brussels sprouts, carrot, potato and lemon
cheap sponges
a printmaking roller
little plates to put the sponges on
red, pink and black stamp pads
very sharp knife and a cutting board
HOW TO DO IT:
Place a moistened sponge on a small paper plate. Squeeze a little red tempura or acrylic paint onto the sponge and spread it evenly with the roller. Cut the celery bunch about 3 or 4 inches from the root end, leaving the stalks all together. (Save the stalks you cut off of the root end.) Holding the celery bunch together tightly, press it onto the sponge and get some paint on the ends. Next, stamp it on your paper. Don’t squish it around or you will smear your design. Lift it up and Voila! There is a beautiful “rose!” Make a bouquet of roses.
Cut a brussel sprout in half horizontally. Make a clean cut! Now, press it onto a red stamp pad (paint is too much for a brussel sprout print) and get it good and red. Next, stamp it onto your paper and lift it straight up. You will have a miniature rose. Make a big bouquet of mini roses!
Use the stalks of celery you cut off of the celery bunch, to make little squiggle designs. Use your stamp-ink-pad for these. Play around and see what you can make with these.
Cut an apple in half vertically to make a heart shape. Try cutting an apple in half horizontally for a circular shape with a perfect star in the middle. Use the paint-soaked sponge for the apple prints.
Cut a lemon in half and dry it well on paper towels. Use your ink-stamp-pad to ink up the lemon and press, press, press.
Cut a potato in half and using a sharp knife, carve the flat side into a heart shape or any other simple shape. Use this as a stamp, with either the stamp pads or in paint-soaked sponge.
Compost the veggies and fruits after you finish.
Delight in each other
Thumb Print Hearts Make Cute Valentine Cards
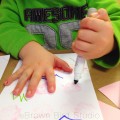
What is easy, simple, and uses something you have on you ALL the time? Hearts made with your very own thumbs. Big grownup thumbs or tiny toddler thumbs make super cute Valentines. This is a popular card making activity with the littlest ones. (I used washable red ink stamp pads for obvious reasons. heh)
Sarah and Bailey were almost all thumbs
HERE’S WHAT YOU NEED:
thumbs
white or pink printer paper
washable red stamp pad
paint samples
glue sticks
scissors
markers, colored pencils, fine-tip permanent pen
heart shaped paper punch (totally optional)
HOW TO DO IT:
Press your thumb onto a red stamp pad and get it good and inky.
Make two thumb impressions, at slight angles to form the shape of a heart. Play around with your own ideas.
After the thumb prints dry (takes a minute) draw on them with markers, colored pencils or sharpies.
Cut the hearts out and glue onto paint samples from the paint store.
We also used a heart punch to embellish these cards.
Just Draw!
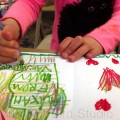
Some of the kids who came to this workshop decided just to draw their Valentine’s cards — and I just say there were some really cool cards being made at that table! They used the markers and printer paper we had to exercise their creativity. Three-year old twins and their sister made these:
Multi-layered loveliness
The rubber stamps might have inspired this three-year-old
Meticulous and Focused
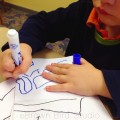
And Then There Was Aidan — He Went All Out(side-the-box)
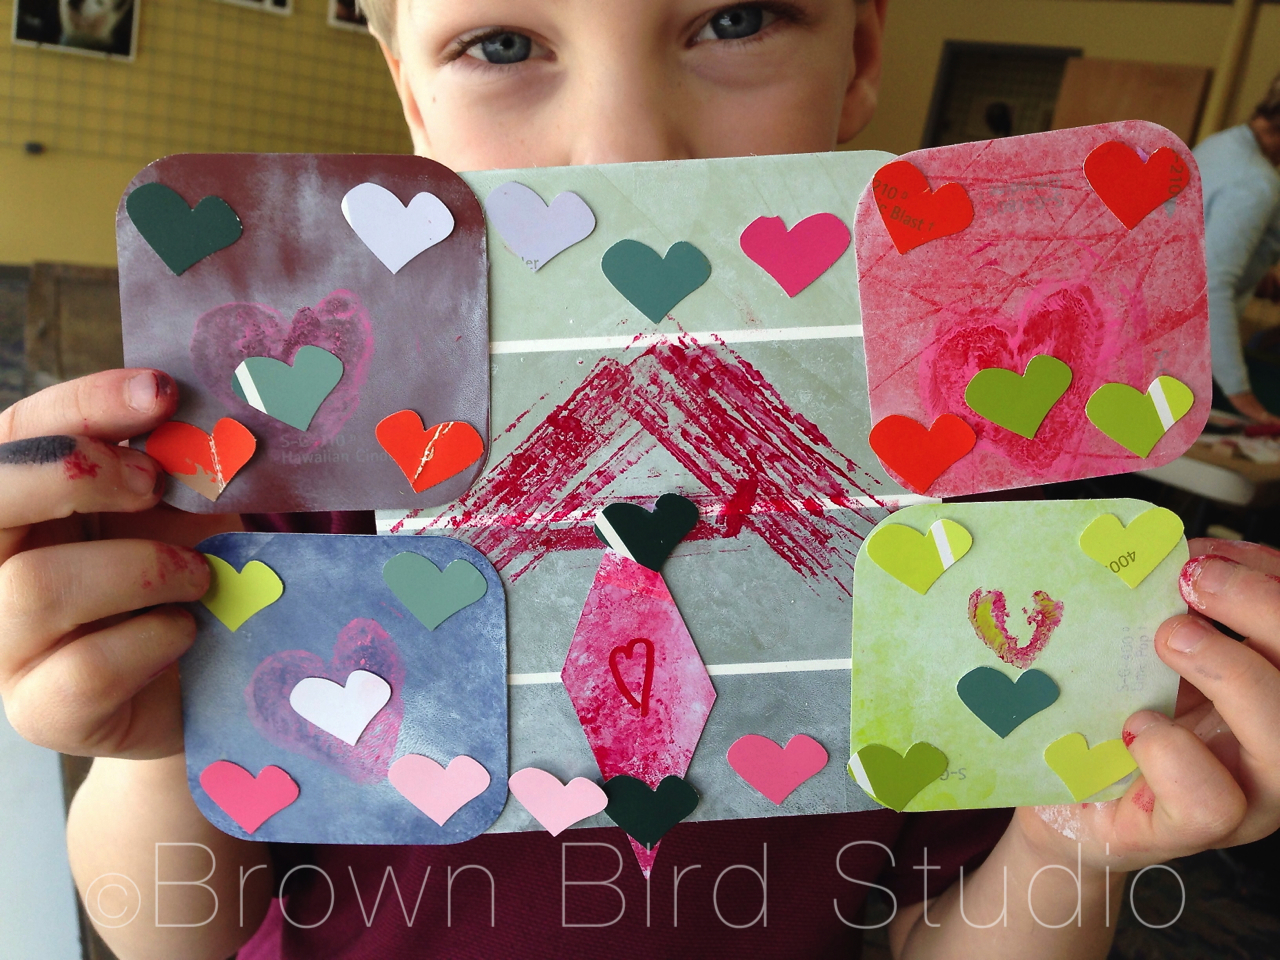
I love, love, love how this happens! Aidan made a cootie catcher, but the thing that really caught his imagination was the idea of printing and getting messy with paints. I had three planned valentine techniques and Aidan made such a beautiful — creative — Valentine using the materials and tools I had available but his very own multi-layered techniques. If he had given me his Valentine I would have proudly framed it and hung it in the gallery. Check it out below. Can you tell how Aidan made his valentine? (I’ll give you a hint about one little part of his design … below the picture)
Aidan proudly shows his amazing Valentine creation!
(hint: Aidan used the outside of the celery stalk, lengthwise, to make the cross-hatched pattern in the middle. The rest of his techniques you’ll have to figure out yourselves.)
Lily really got into punching and cutting the paper samples!


 Seems like I write a new post whenever I’m pressed for time in my studio. Maybe it’s avoidance. Maybe it’s just that when I’m struggling or when I’m jumping up and down with joy because I got over my hump is exactly when I feel like sharing that struggle and that joy with you. I’m feelin’ scrappy. That’s it.