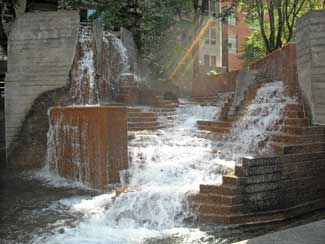
Garden features such as urns, ponds and small flowing streams can add to your enjoyment of the garden as well as connect the different parts of your garden together.
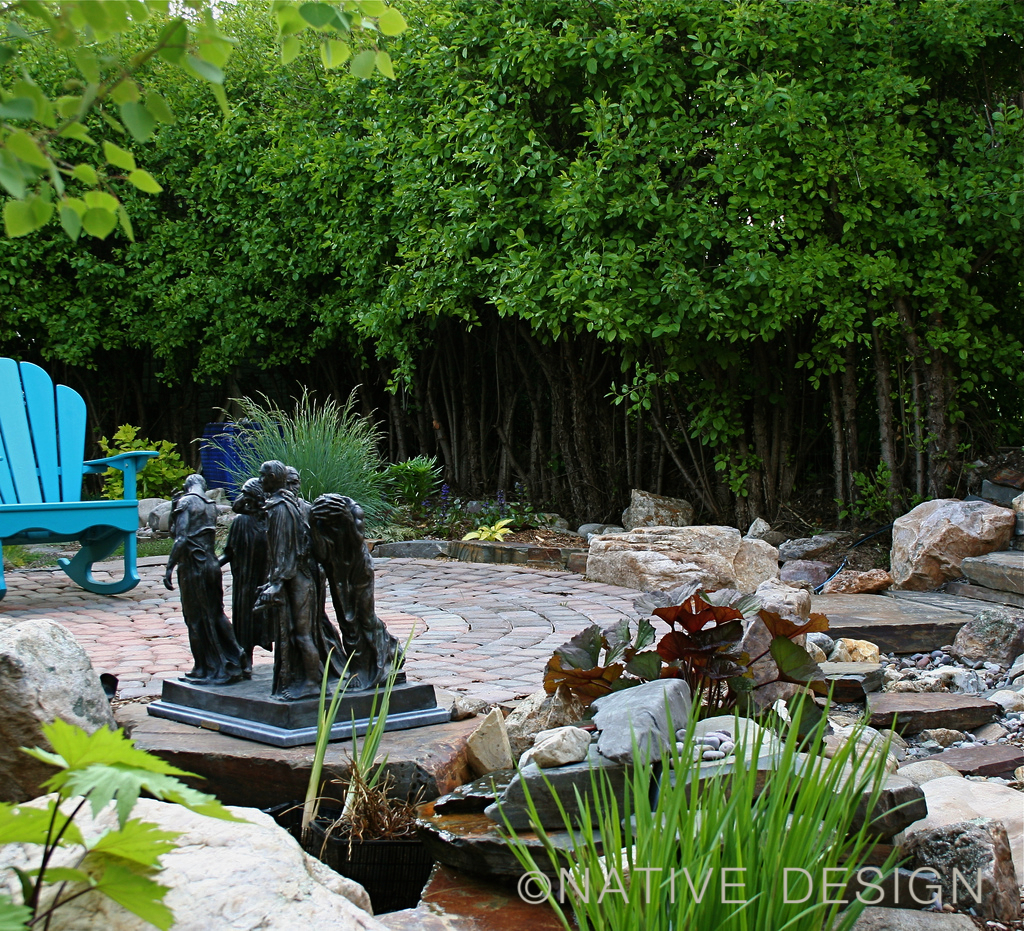
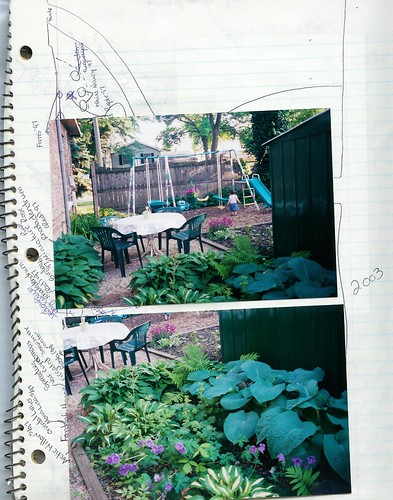
Here is an example of an outdoor room with two water features. The water features — a flowing urn and a pond — are separated by a distance of about 25 feet in this garden. We needed a design solution to visually connect them. The garden’s pond is located next to a low deck and appears to extend under the deck. The second water feature is an overflowing urn fountain on the other side of the small garden (in the photo above, look for the blue urn, barely visible behind the ornamental grasses.) The water flows over the rim of the urn and disappears into a hidden reservoir under the container. We wanted to visually and psychologically connect the urn fountain with the small garden pond as well as solve a drainage problem.
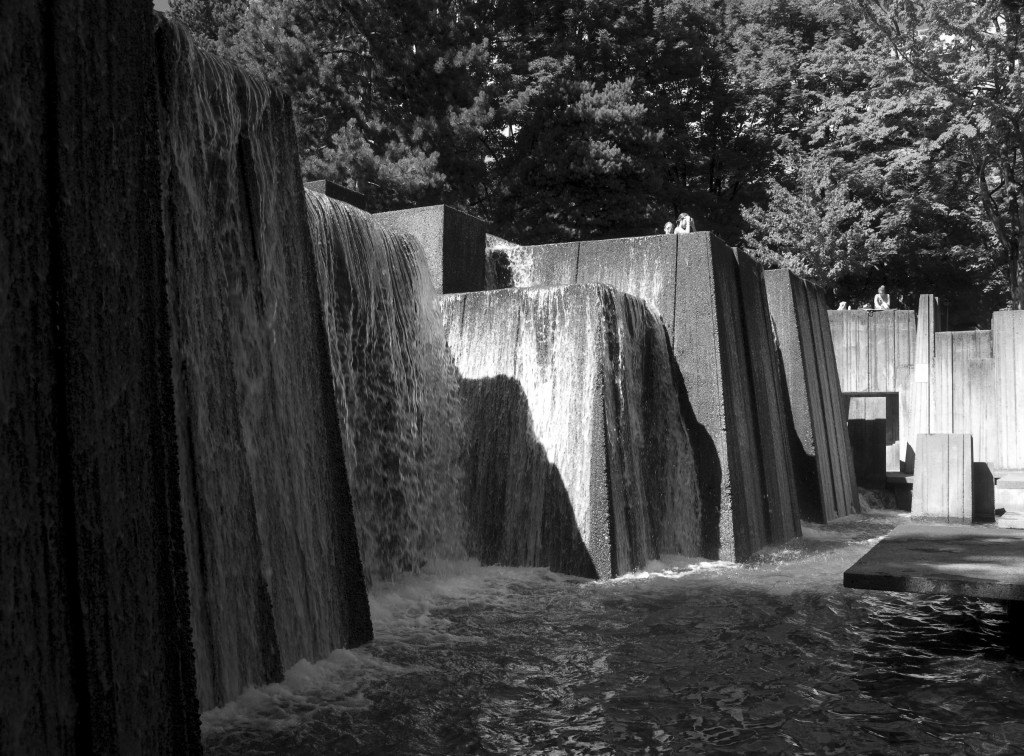
Our solution was to build a dry stream bed using the same stones we used in the pond and around the urn. The dry stream gives an illusion of flowing water and in the imagination and mind of garden visitors, the urn is a perpetually flowing source of clear fresh water for the pond.
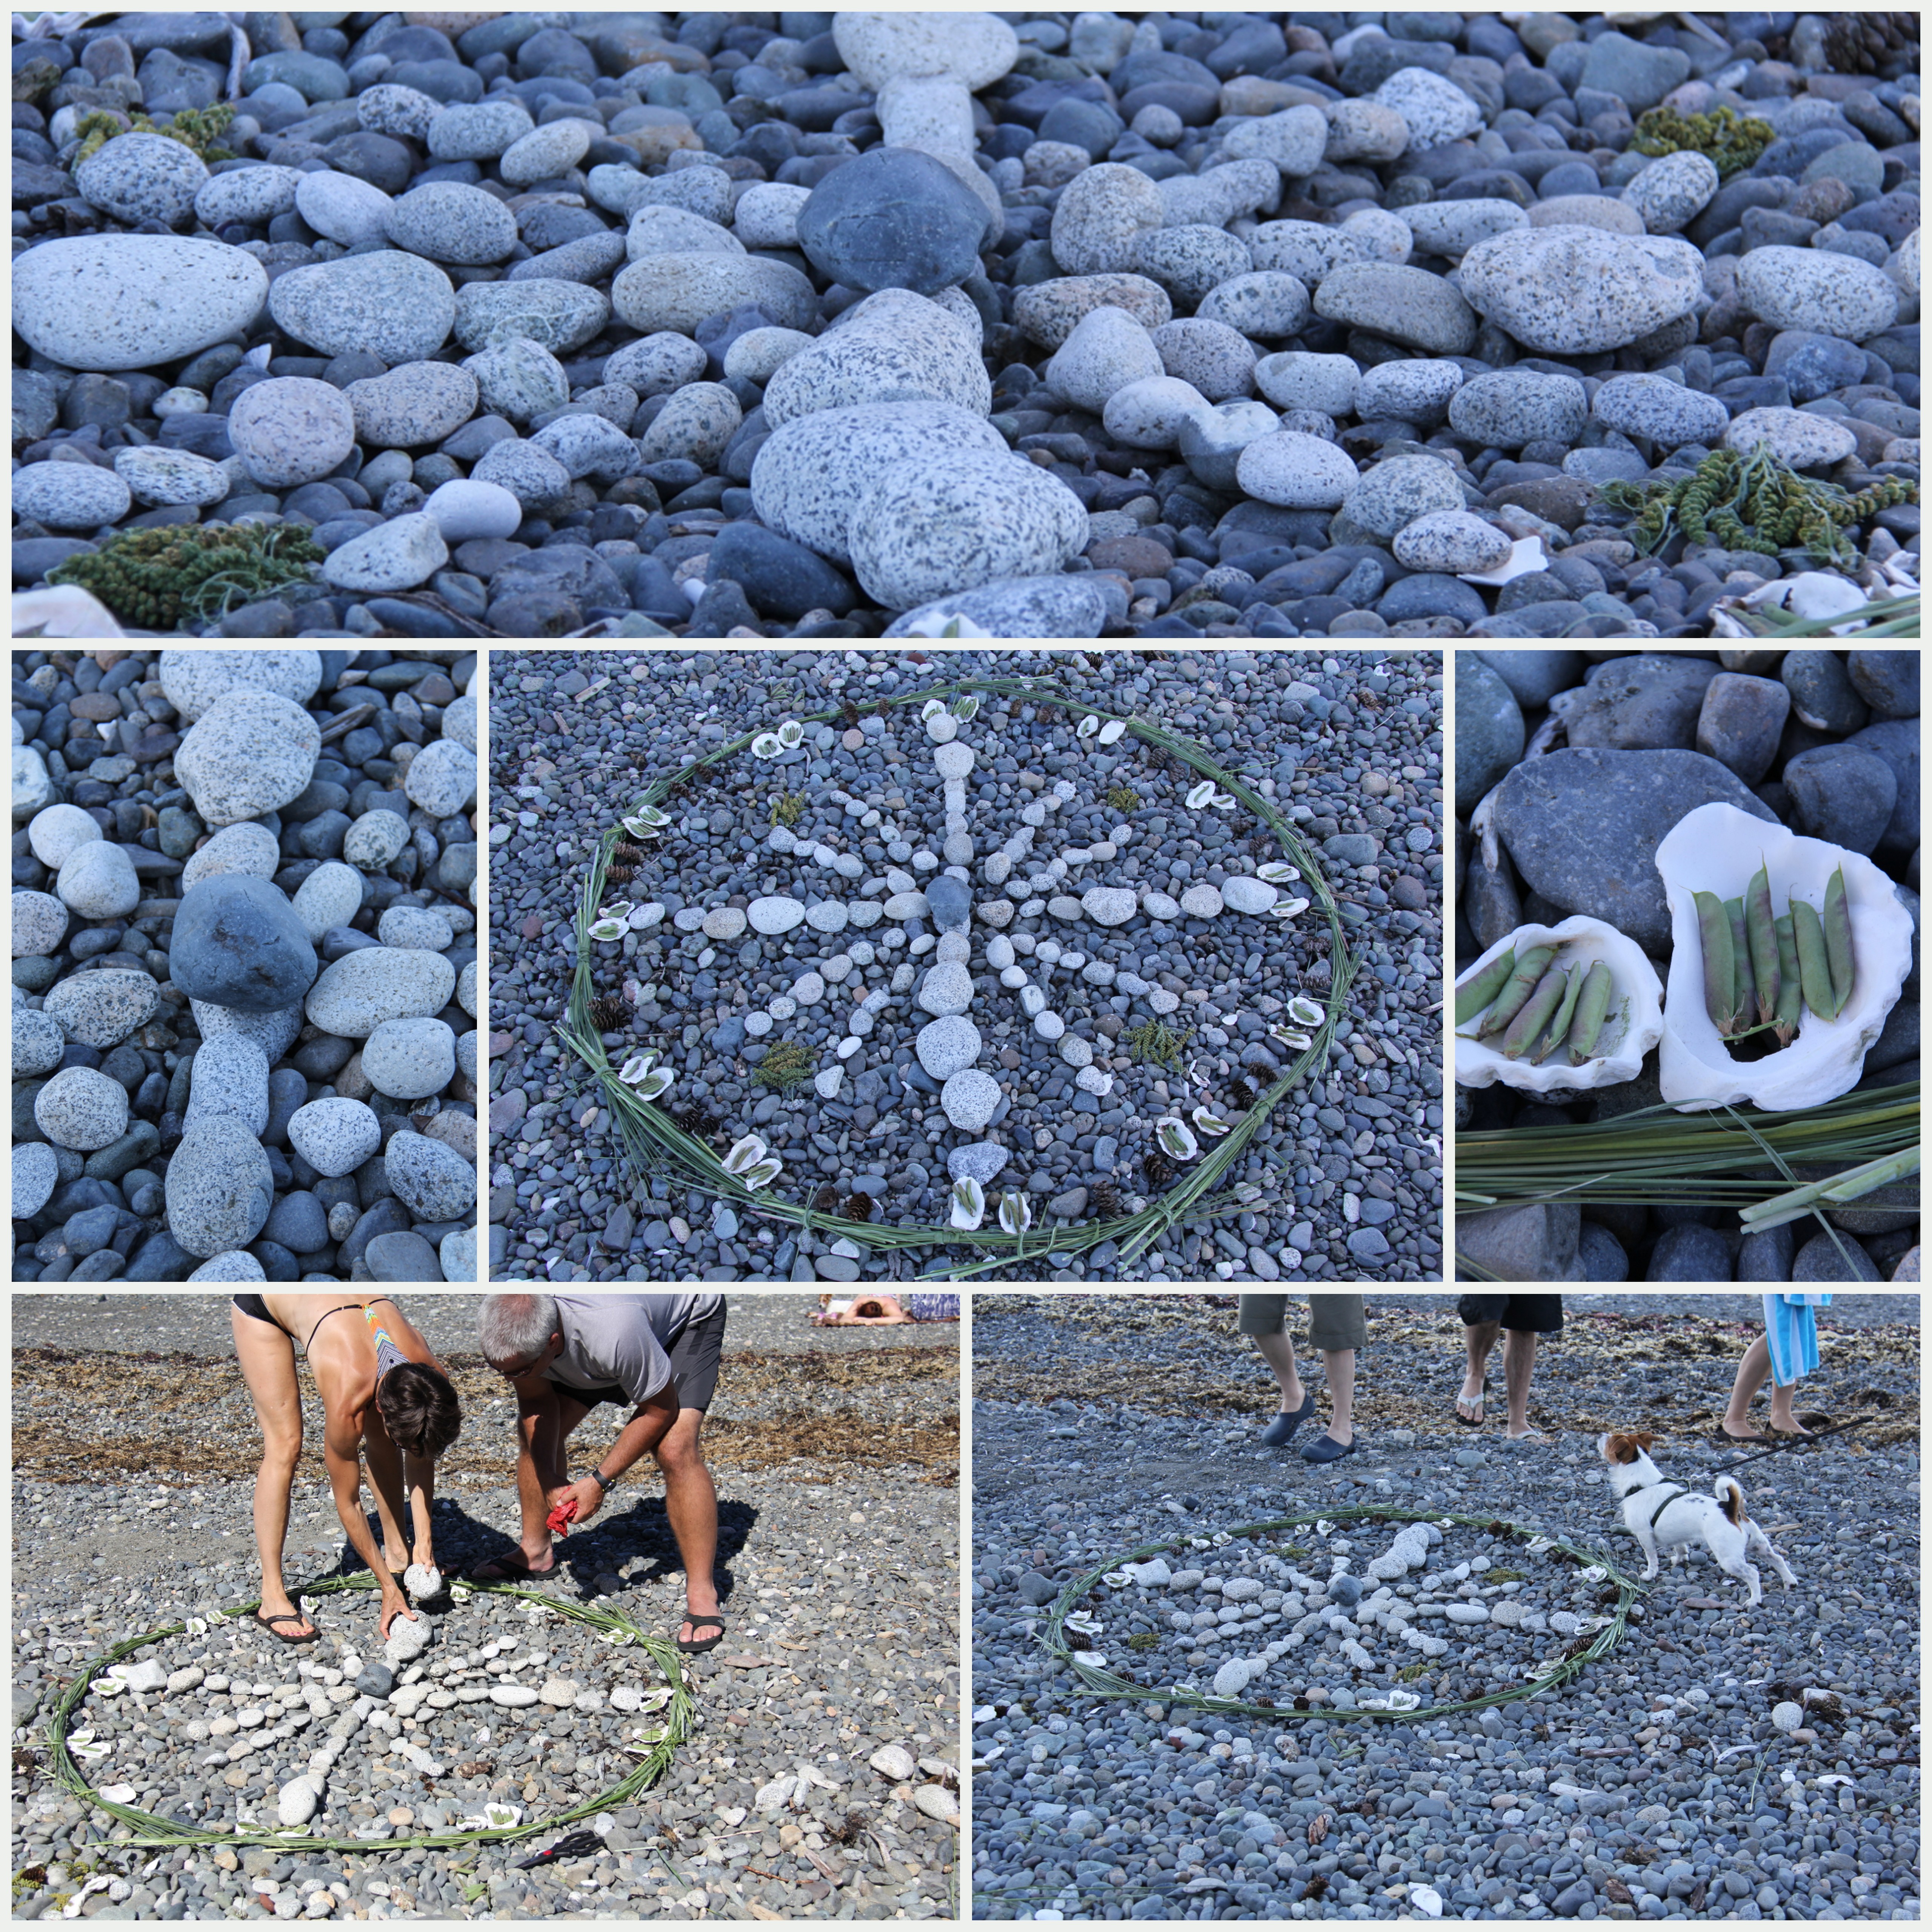
In order to fool the eye and create as natural-looking a stream bed as possible, I took my inspiration from the way bedrock, boulders and cobbles come to rest in a mountain stream. Too many times when folks attempt to create a dry stream bed in their landscaping it results in something that looks very unnatural — or worse. The tendency people have is to dig a swale or channel; line the edges with large rocks and fill the center with smaller river rock. That isn’t the way river dynamics form streams in nature.
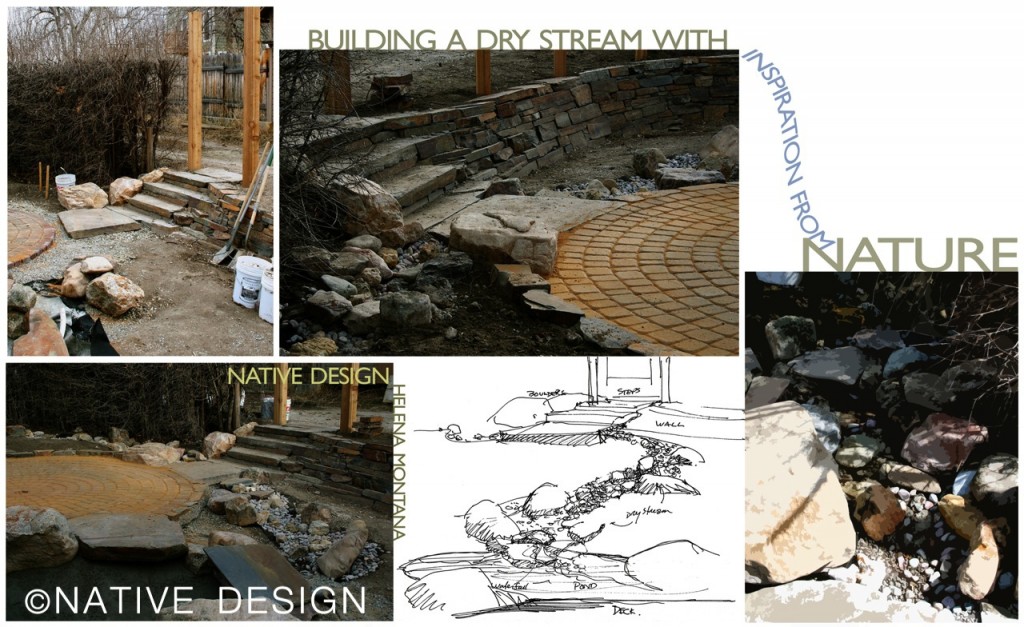
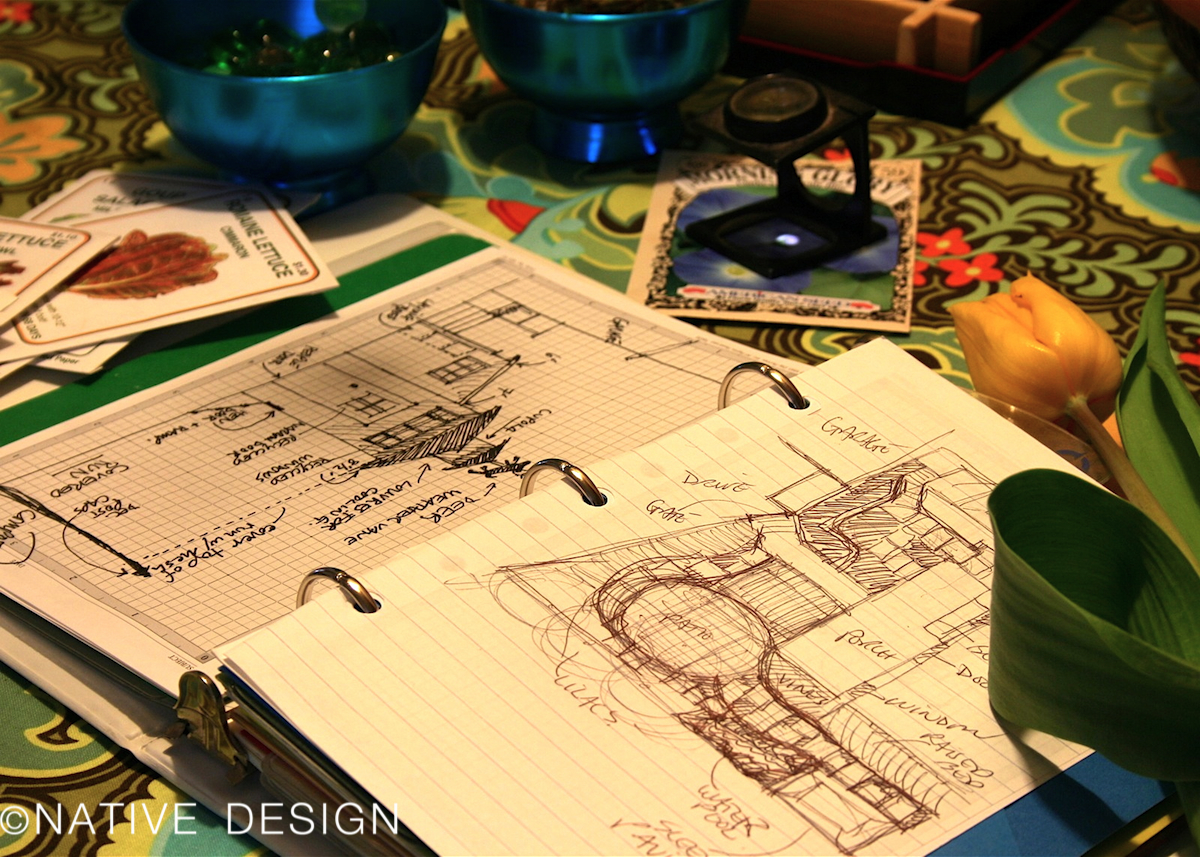
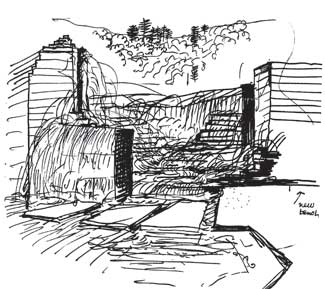
In the center of the above montage, you can see the rough sketch I made before we started construction. It’s almost impossible to design the exact layout of water features, when working with boulders and other natural materials. Fortunately I was able to stay involved in the construction process to make sure the final results matched what was in my head. I also owe much of the credit to the contractor who installed the water feature — he was sensitive to the same forces of nature I observe, and we worked well together.
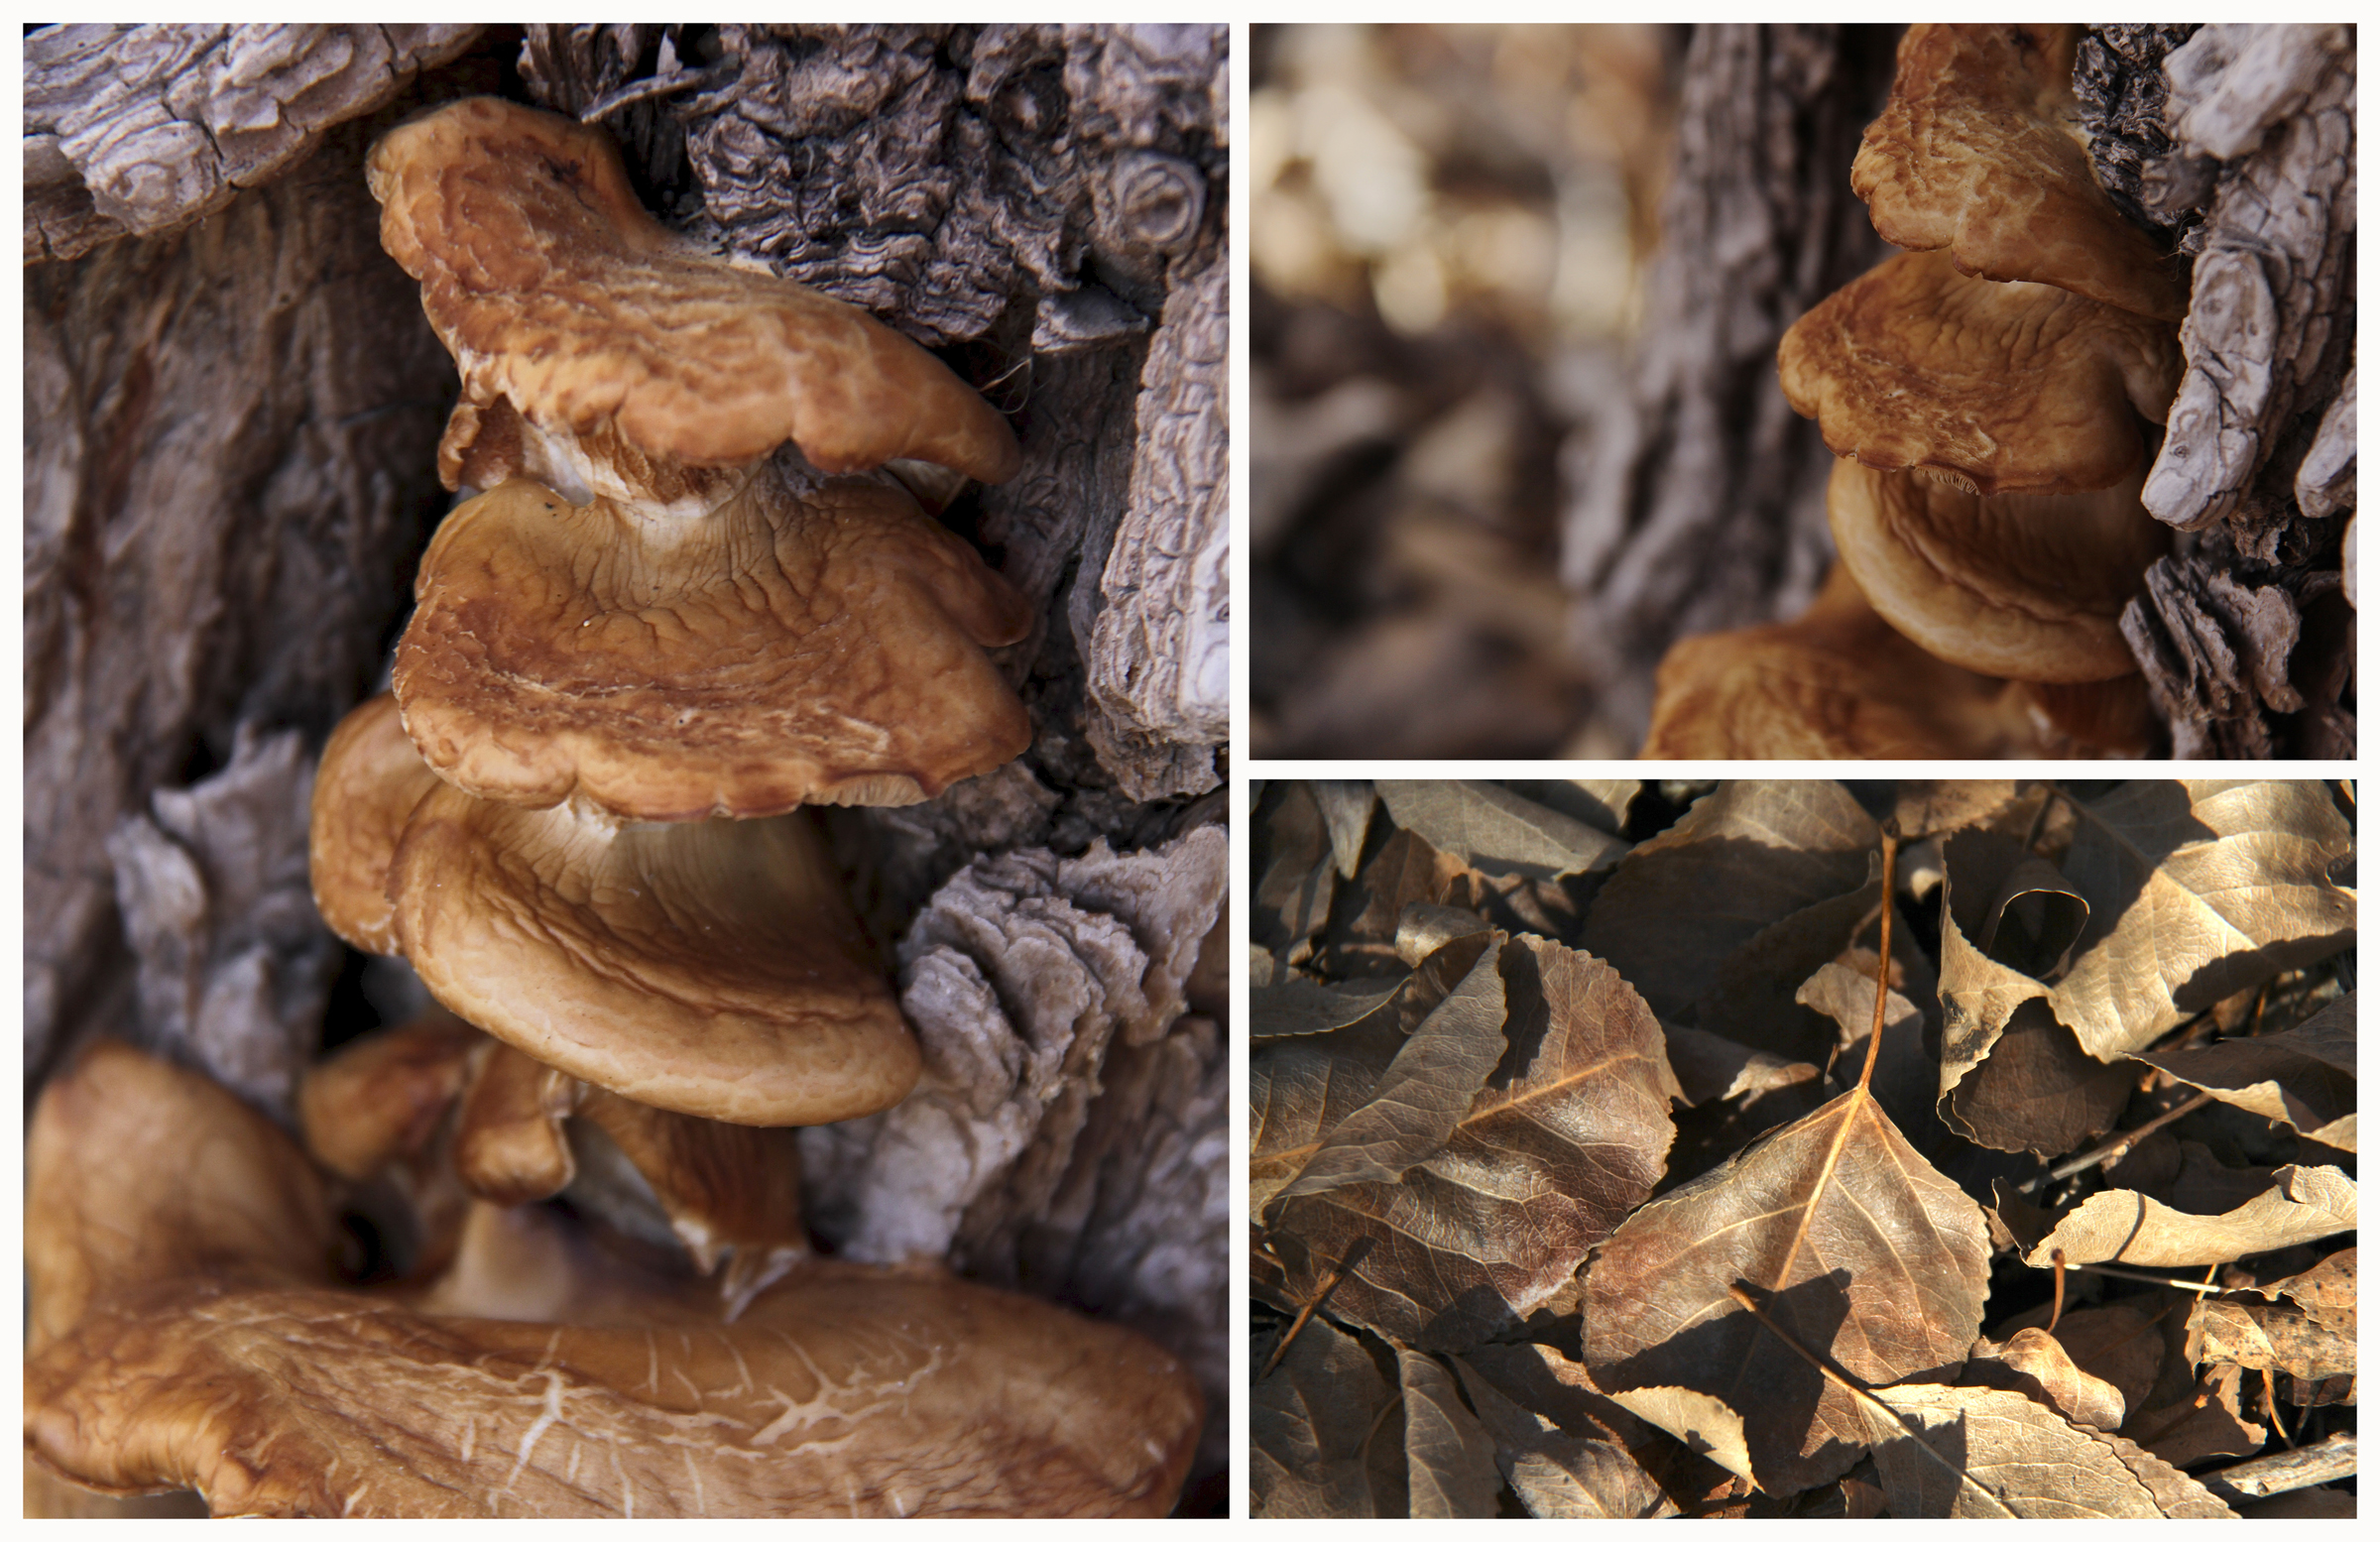
If you want to design water features in a “natural” style, consider water’s natural behavior — particularly the way water affects the environment through which it flows. Take a hike in the mountains and observe the way gravel and cobbles fill the nooks and crannies between boulders lin a tumbling mountain stream. Gravel is lighter than boulders, so it is picked up and carried by water more readily than the larger stones. Spring runoff and high flows are strong enough to move boulders so these are shifted until they get stuck in a tumbly looking pattern. If you live in a valley — there may be natural water features you can imitate. A stream or river can give you design clues in the shape of the meanders, the oxbows, the inner and outer curves and how the banks are sculpted by the flow. Where are the large rocks, if any? Where is the gravel deposited and is it all the same size?
What other garden features might benefit from an observation of nature in the design process? Ponds, boulder benches, stepping stones and other pathways, terraces, stone walls, even steps leading from one garden level to another. These will be topics in at least one future post so check back for more design inspiration.
Links that might help with designing garden features in a “Nature Inspired” style:
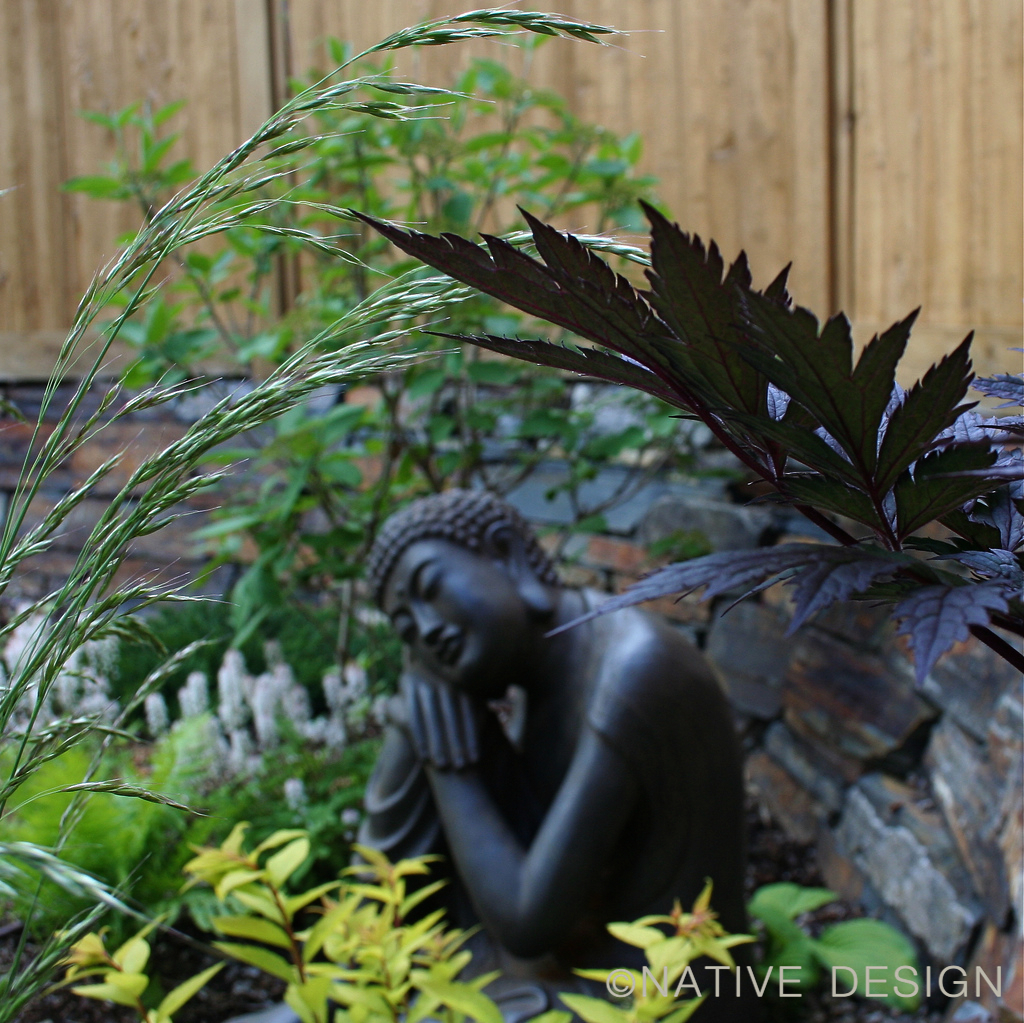
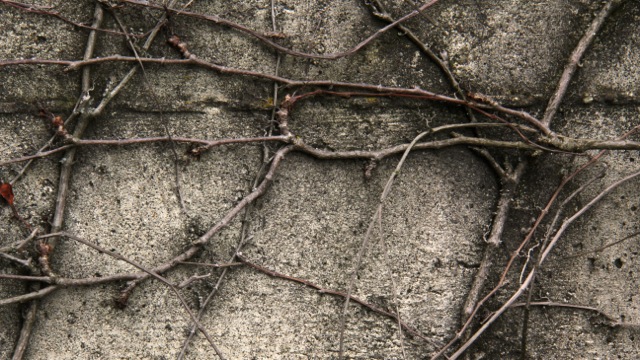
Here are some more photos from this garden installation and it’s first year. There are several nature-inspired garden features in this small private landscape project including dry-laid stone walls, shade structures, a wandering stepping stone pathway, boulder benches and a total absence of lawn. Click on any of the photos to see a larger version. Enjoy! And please comment if you have any questions about your own water feature. Thank you for reading!

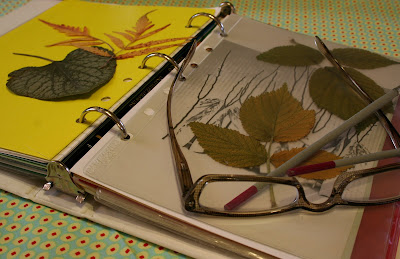
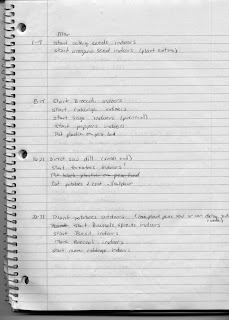
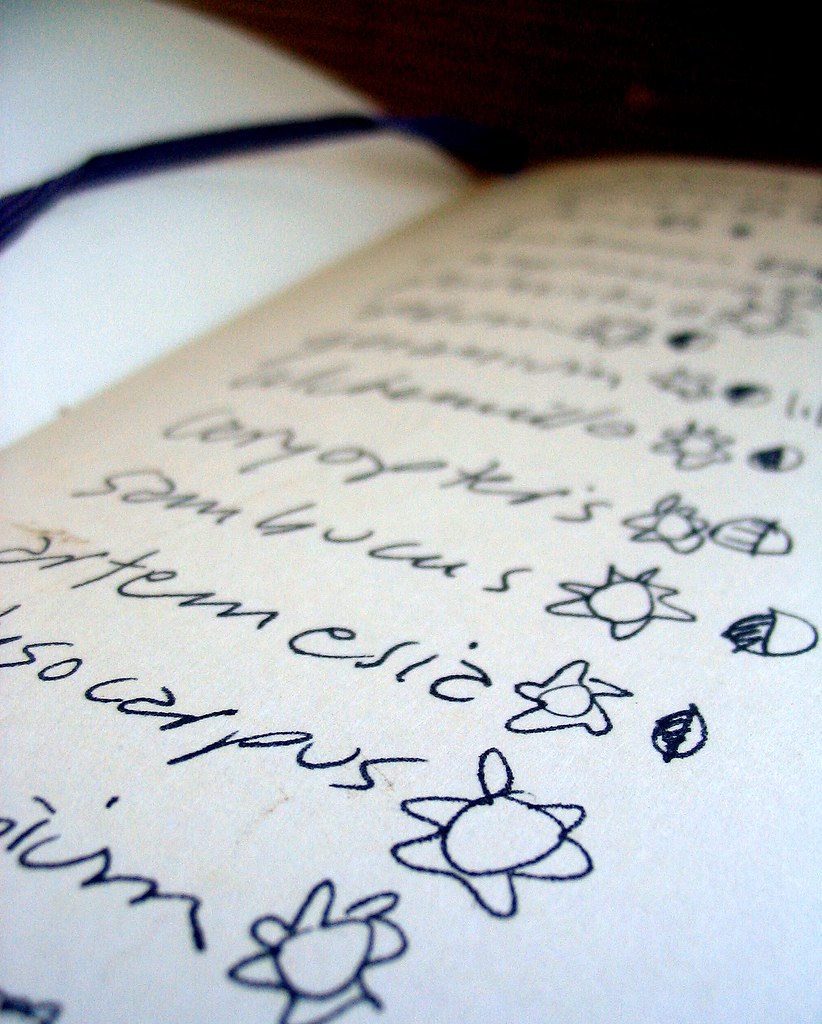 I’ve kept a separate notebook or journal for my garden for years. Off and on. I’m not as disciplined as I’d like to be about keeping track of what is planted where; which plants are blooming when; what I’ve spent on the garden … or where I bought my materials, pots, and other stuff.
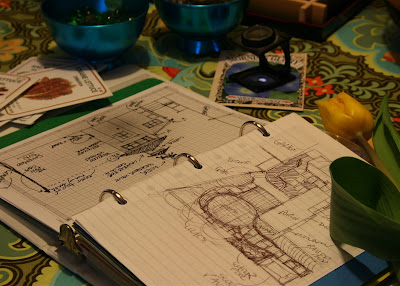


