Fun Art Project with Kids: Wild Horses

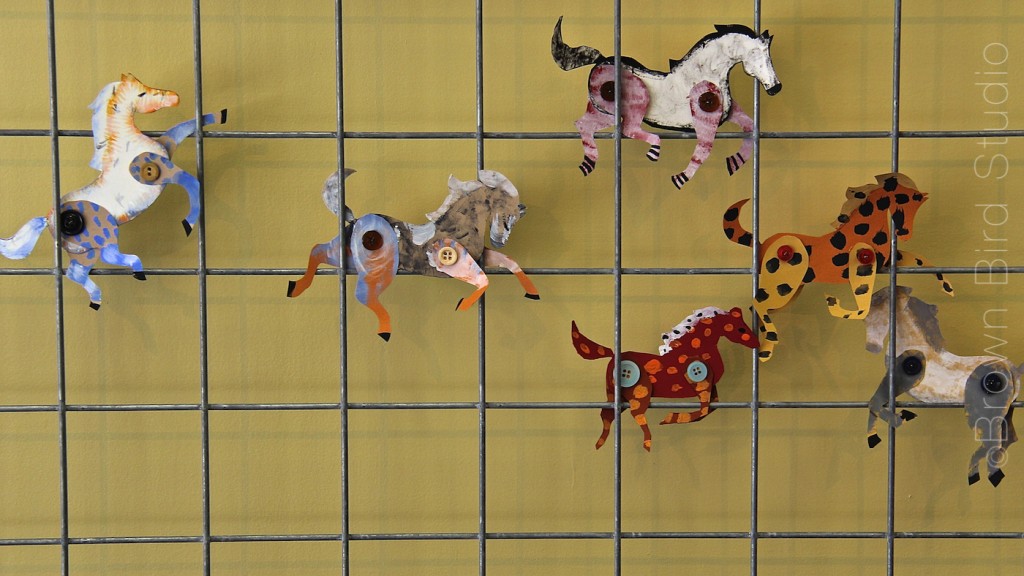
Herd of Painted Horses

It’s Wednesday, the day Ema comes to assist me at 1+1=1 Gallery. Well, today was early release day from school, so I spent the afternoon with not one — but two — of my favorite young ladies, Ema and Adia. They are always up for an art project after we have our snack and catch up with each other: what’s new in school, what was the most fun you had so far today, what do you think about gardening together this summer, blah blah blah.

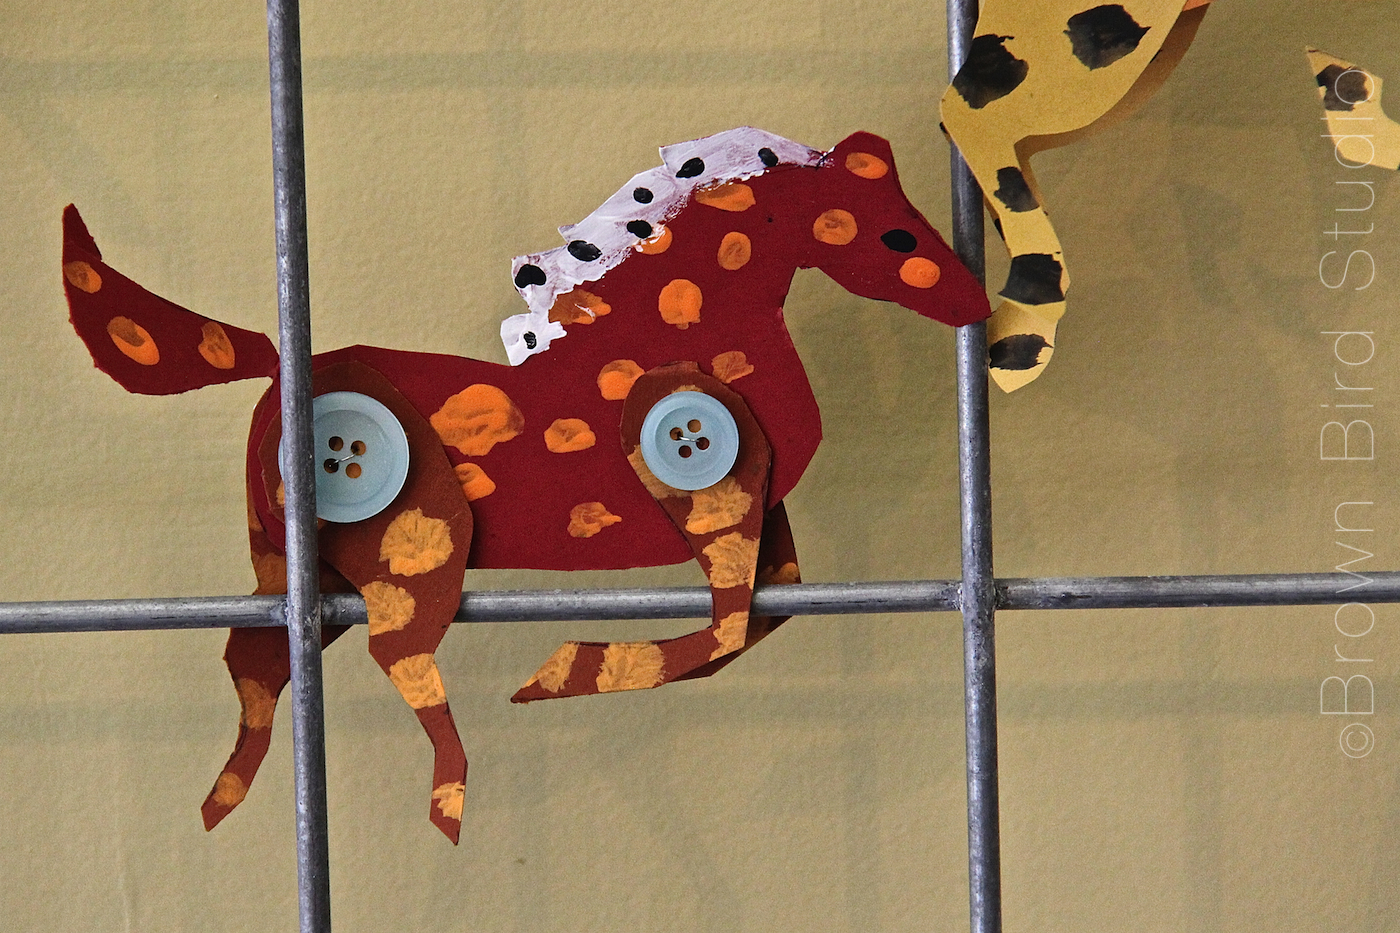
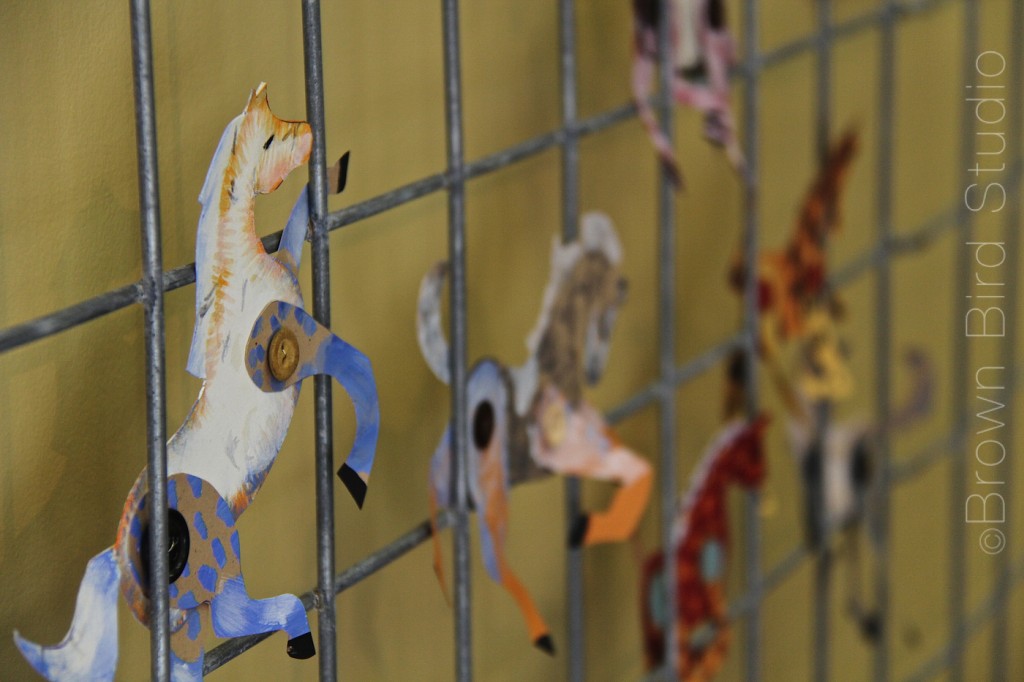
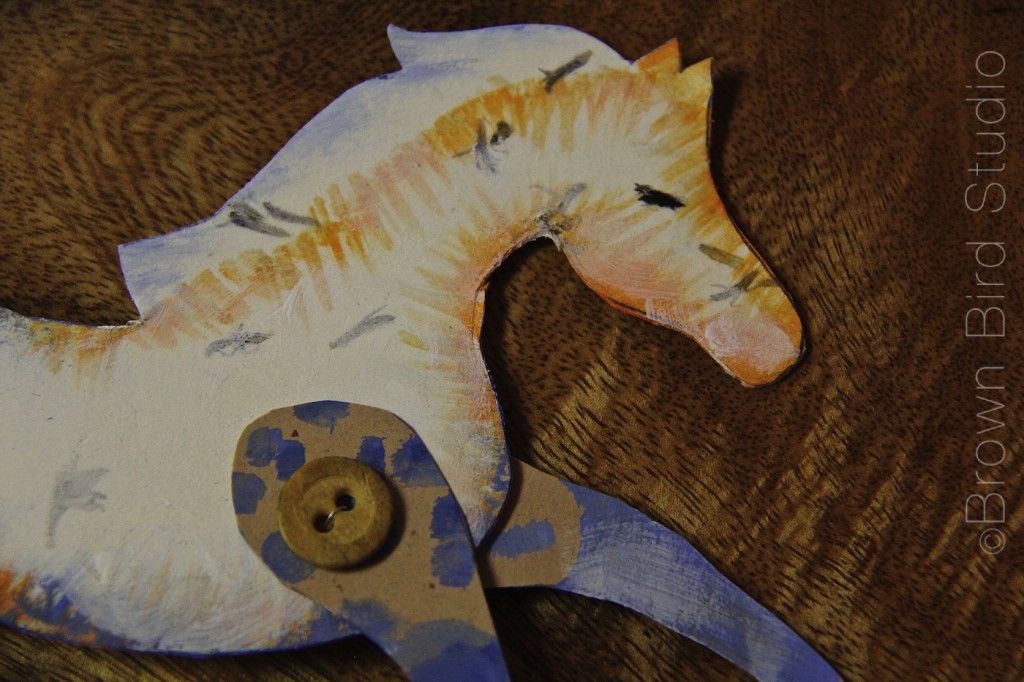
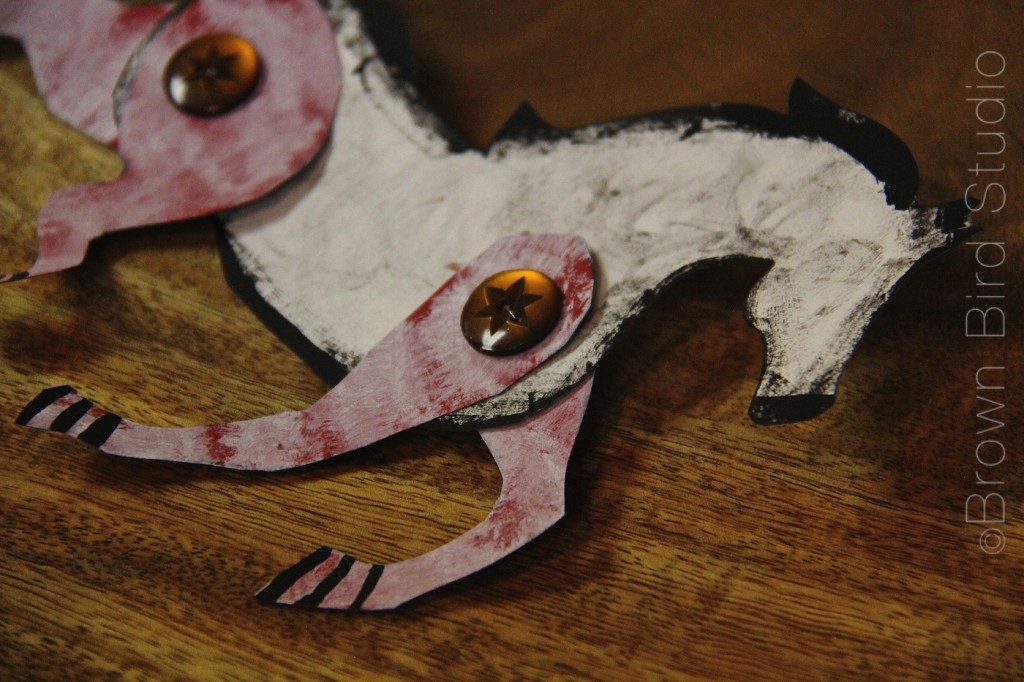
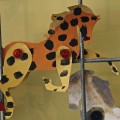
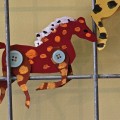
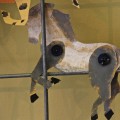
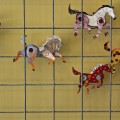
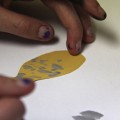
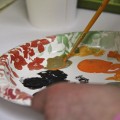
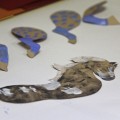
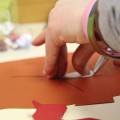
Today we made a small herd of wild horses patterned after Ann Wood’s beautiful stampede of horses. She provides a downloadable template for the horses, and a great tutorial so I’m not going to duplicate her wonderful instructions here. This awesome project took us about an hour and a half, including set-up and clean-up.

The horses are pretty easy, but not something I’d recommend for toddlers or really little ones (see adaptation ideas in list below.)

WildHorseHerd03-imp

Painted Wild Horse

Herd of Painted Wild Horses

Ideas to Adapt this activity for younger children:

  • pre-cut the shapes and have the children paint them. Then an older child or adult may assemble the horses
  • use scrapbook papers that are already decorated. Cut the shapes and let children glue the legs on instead of having them be articulated legs
  • use bendable brads instead of buttons and wire
  • Cut the shapes out of colorful card stock and have younger children brush glue on and sprinkle glitter

Ways to use/display the horses:

  • mount with tacky glue, double-sided tape or sticky-mounting-squares onto a foam core or poster board. 
  • display directly on a wall using mounting putty.
  • the horses don’t all have to be facing the same way.
  • arrange the horses on whatever background you are using, so they look energetic and dynamic
  • make a mobile of horses using fishing line to hang them.
  • use one horse, mounted with re-positionable double sticky tape, to make a greeting card. The receiver of the card can take the horse off to play with.

LINKS:

Here are a few more photos of what the girls and I made today:
Painted Critters and Things Made of Clay

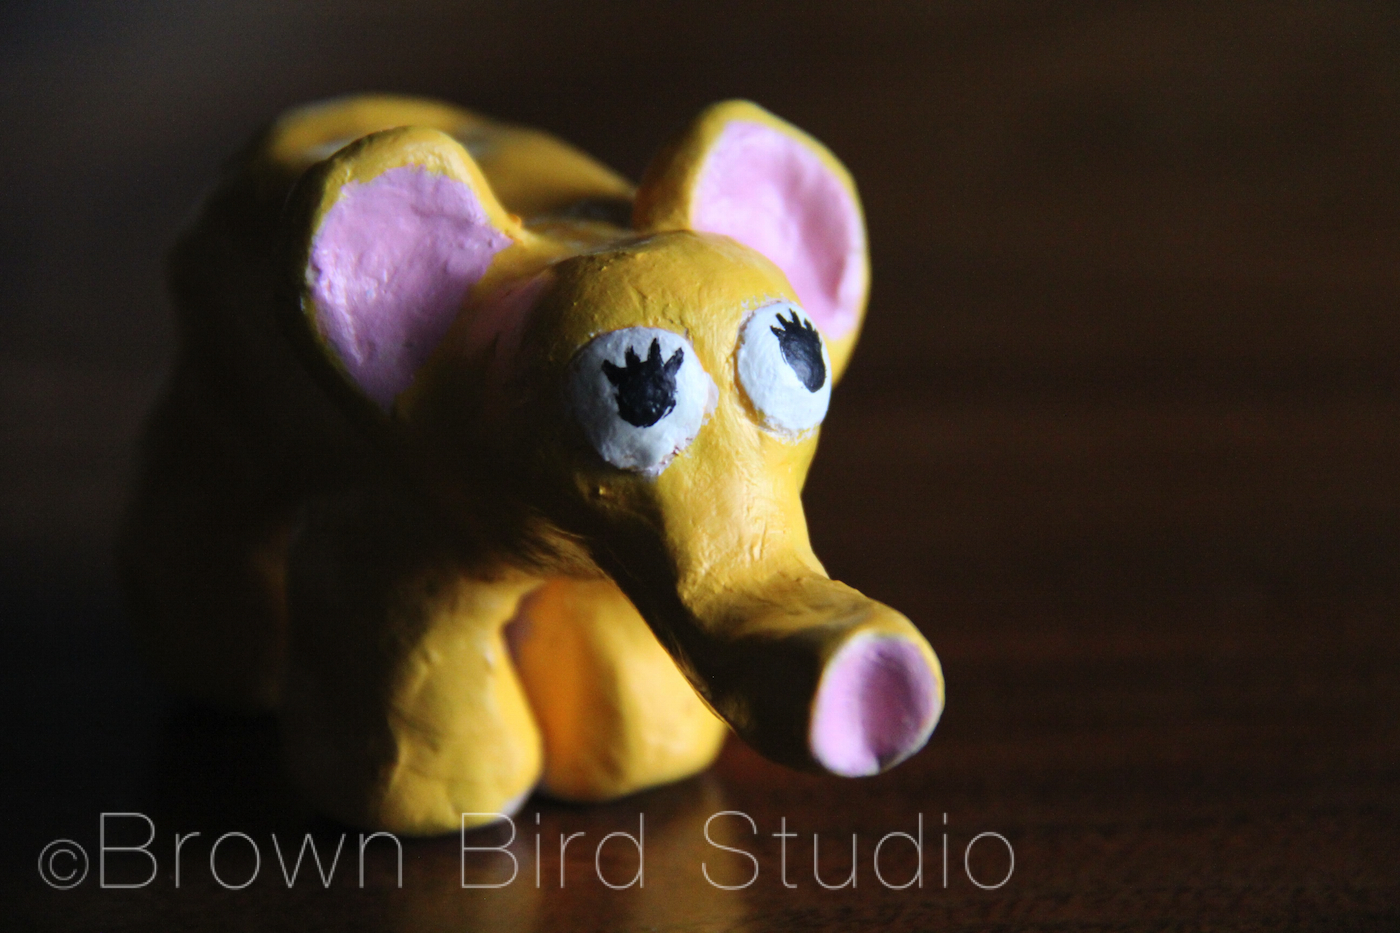
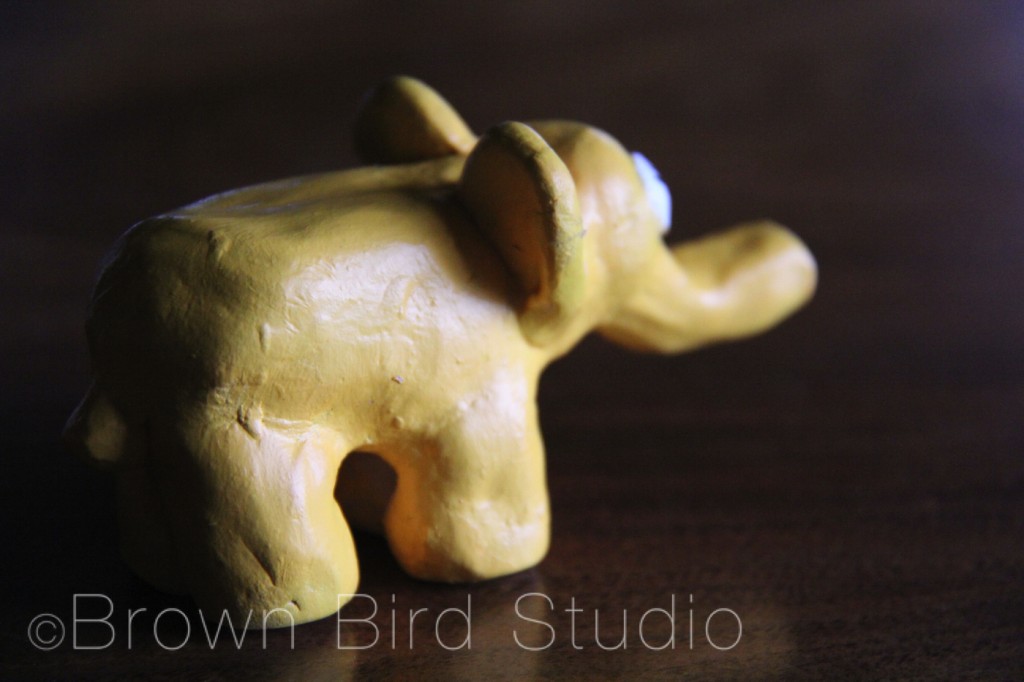
yellow ceramic elephant

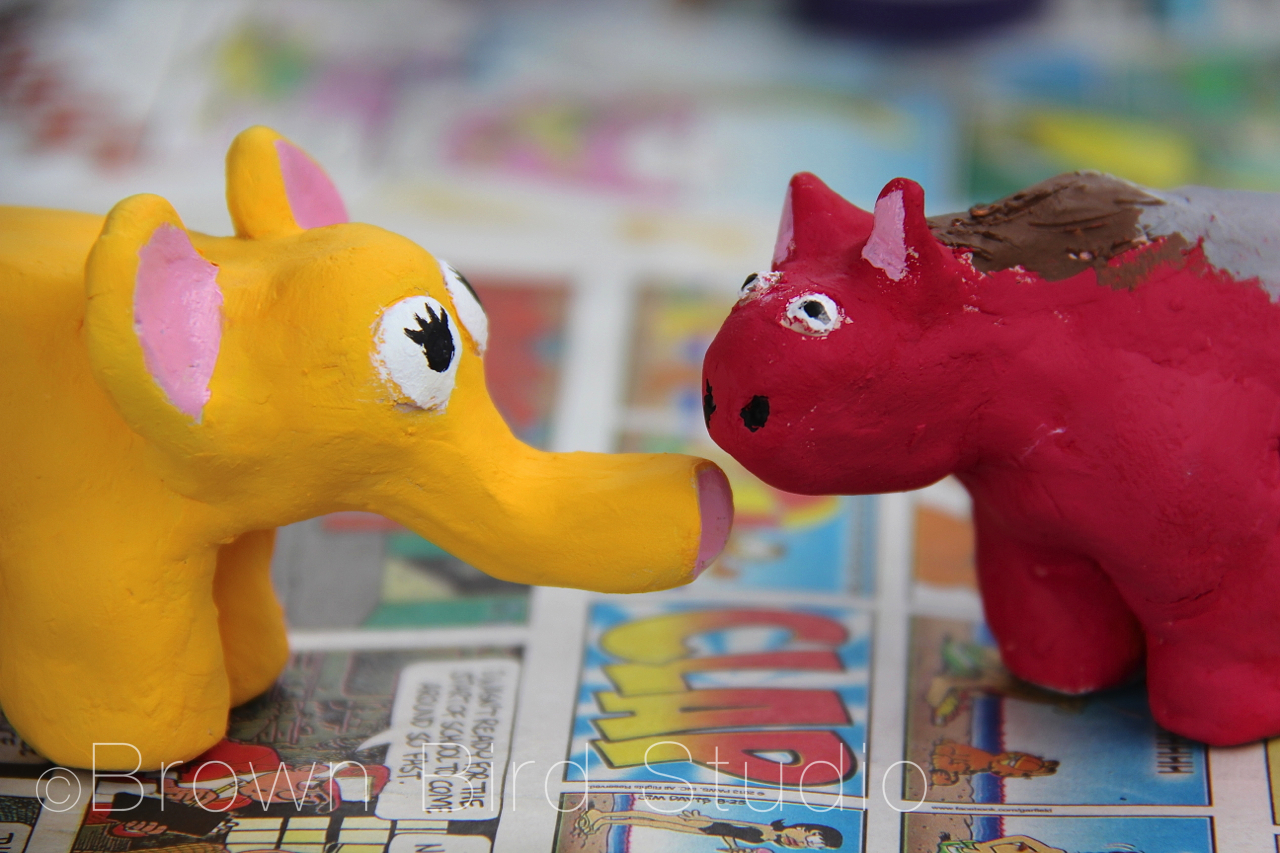
painted elephant and horse

If you have access to a kiln, or a friend who does, get a chunk of clay and make some of these cute little critters with your kids. We painted them instead of glazing them this time. Next time we want to experiment with glazes. Ema and Adia have some tips on making and painting little clay objects, based on their own experiences with this project.

Thank you to Gene Hickman of the Helena Clay Arts Guild, for the clay, and teaching the girls some tricks of the trade.

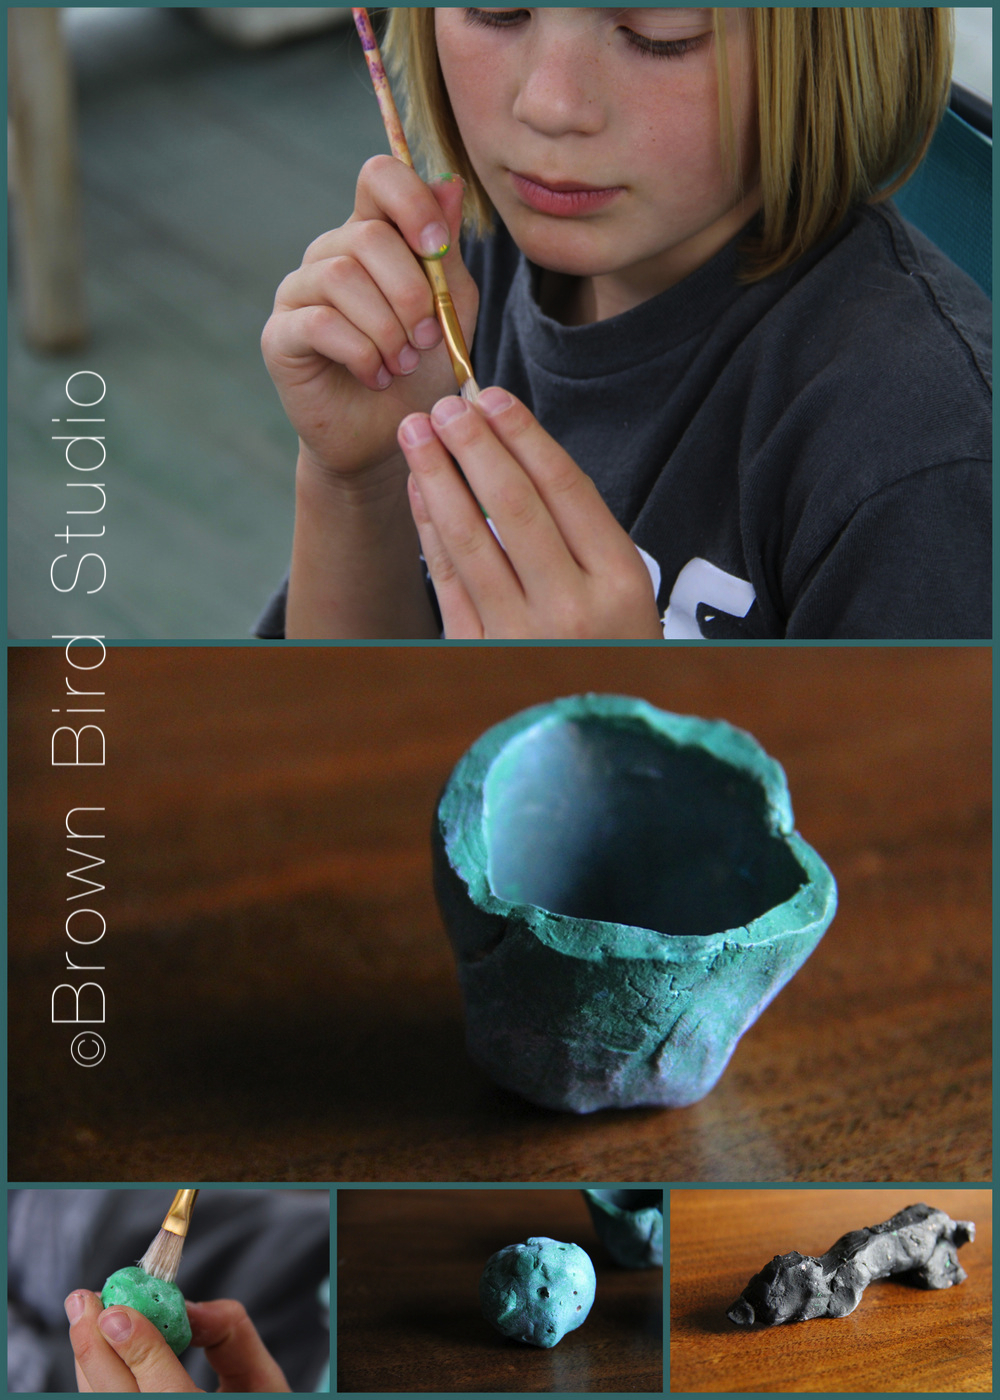
tiny painted ceramic objects
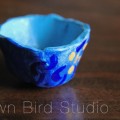
Adia describes her ceramic creations by saying, “I made a moon, a dog lying down, a bead and a bowl. The bowl is about as tall as a cat’s paw, and as big around as a cherry tomato. What I might put in it is a bouncy ball small enough to fit. For the moon, I chose green because I was thinking of blue cheese — the kind you eat — and I thought of green. So that’s what I painted it.”

Adia’s advice on this project:

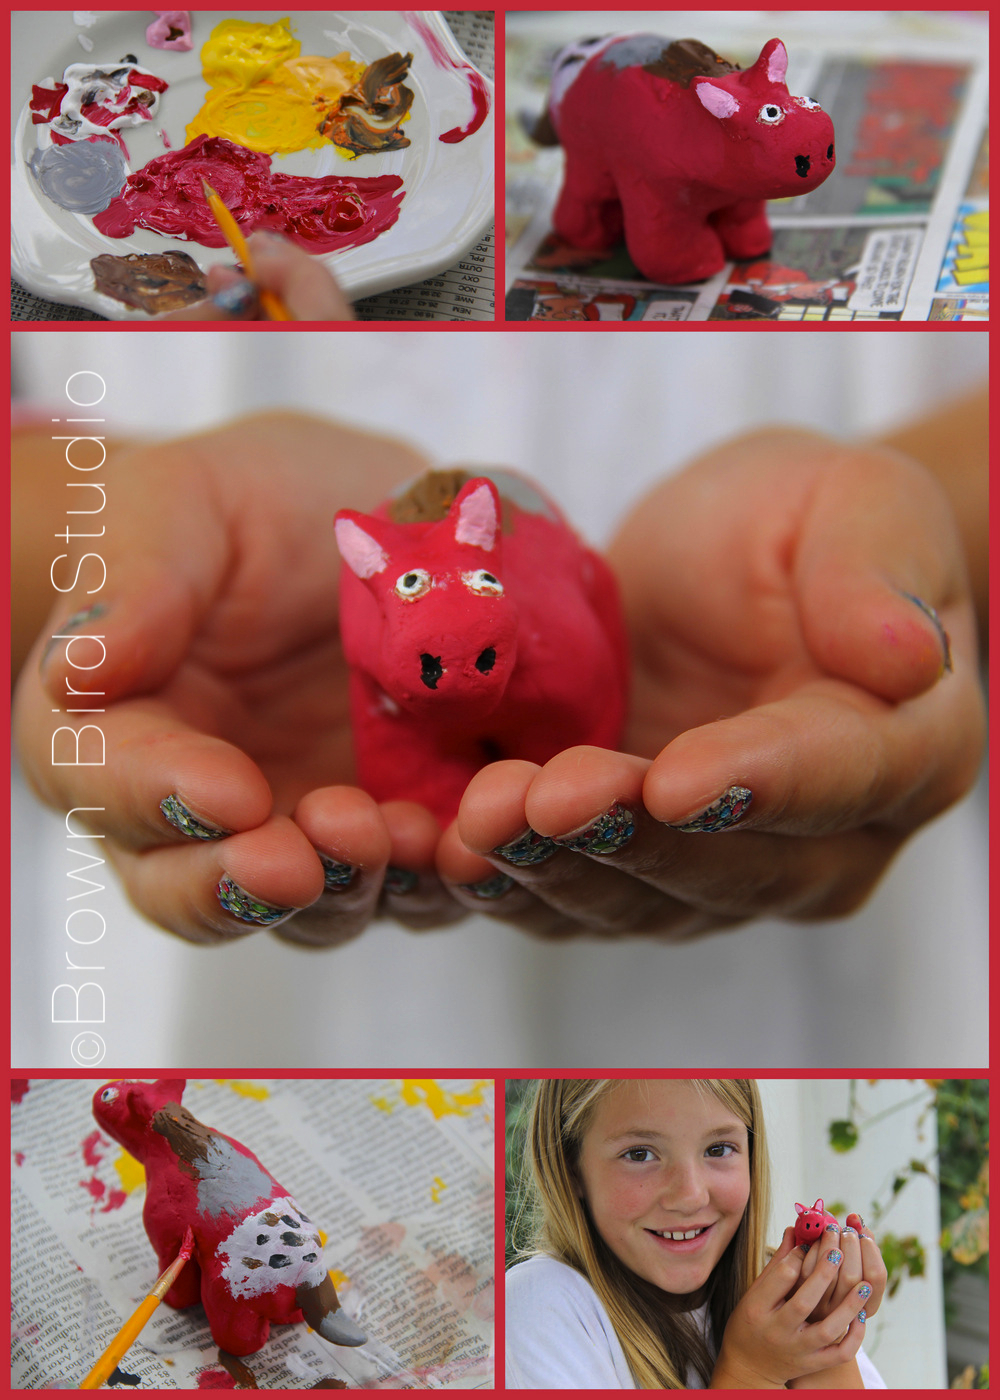
  • First paint your clay thing one solid color, then let it dry. Then, you can paint other colors you want on top of that.

  • When you make the shapes, try not to make them too thick or they might explode in the kiln.

Red Roan Ceramic Horse
Ema explains, “I made a small horse and a little elephant. When I made the horse, I was thinking of my favorite horse that my grandmother owns. Her name is Rosebud. The design on the back of my horse is similar to Rosebud’s design. She is a red roan, so I painted her red.

When I made the elephant, I was thinking of my mom. I think elephants are her favorite animal. I painted it gold because gold makes me feel happy. It also has pink, black and white. I made a happy accident with the eyes. I accidentally drew a black line on the eye and the black line turned into an eyelash and then I made more. So now she looks cute. I gave the little elephant to my mom.

Ema’s tips on making ceramic critters:

  • Don’t make it too thin. It might crack.

  • If you want to paint more than one color, wait until the first color dries before you paint on top of it or the colors will mix and make a different color. If you painted yellow on top of blue when it is wet, it would make green and you might not like green. And if you painted a bunch of colors on top of another it would make brown and you might not like brown. And so on.

  • If you make your creature too thick, it might explode in the kiln! And that might not be good for other pottery in the kiln, but especially not good for yours.

  • Don’t try to make it perfect. It won’t be. But you may make some happy accidents and those are good accidents. How will you know if you have a happy accident? Say you were painting an elephant and you accidentally drew a black line on it’s back. It could turn into wrinkles. Or, say you were painting a bowl and you were painting it yellow and you accidentally got blue on it. You could make it a rainbow bowl. And so on. And that’s how you would know it’s a happy accident.

yellow ceramic elephant yellow ceramic elephant