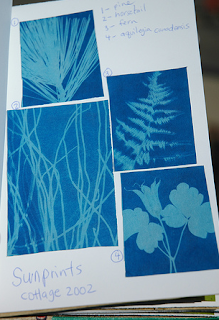
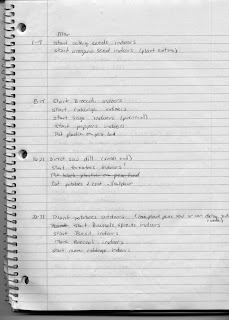
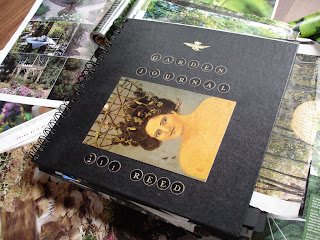
Smash. Smoosh. Squish. Mash. Moosh. Mush. Stuff … Oh, the things you can do with an old book!
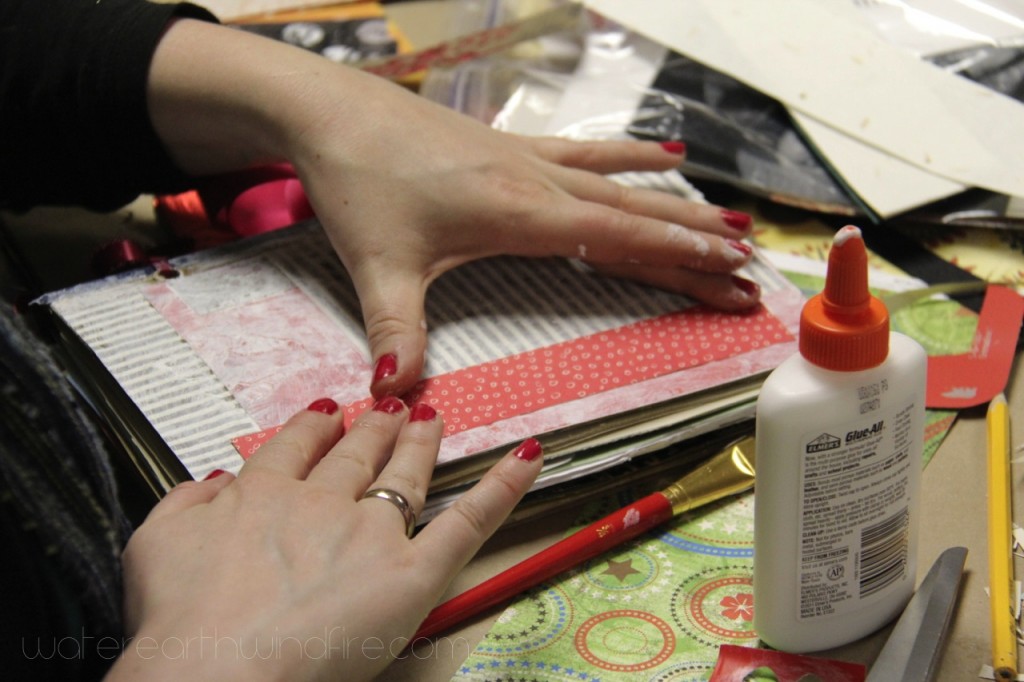
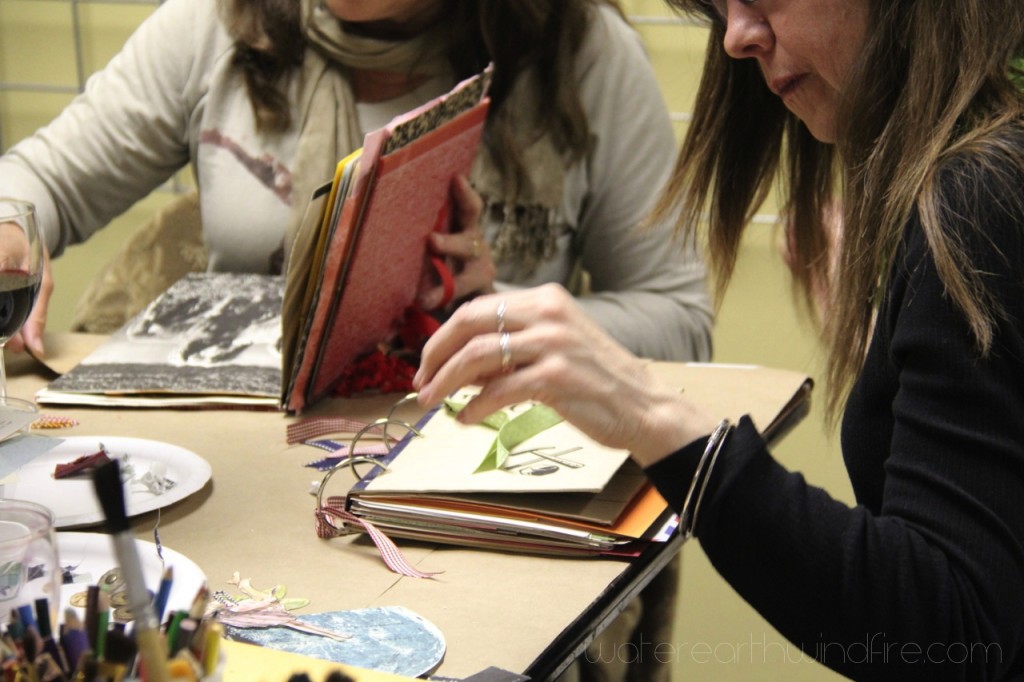
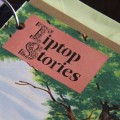
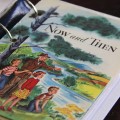
At our monthly Girls Art Night on March 27th, we altered vintage hardback books into Smoosh Books (my take on the official Smash Journals.) There were eleven of us mooshing, drilling, gluing, smooshing and stuffing away at 1+1=1 Gallery. We enjoyed tea, wine, and yummy finger foods. It was a great group of women friends — lots of comraderie and chemistry, laughter and concentration.
If you want to try a Smoosh Book yourself, and you live in Helena, let me know in the comments and maybe we can get together in a smaller group sometime soon to make more smoosh books. Otherwise there is a How-To towards the bottom of this post. 🙂
I have a few vintage books left (I’ve already cut the spines off.) And lots of stuff to stuff into them. I will bring the “ingredients” to our Girls Go gathering in October. What do you think of that idea, my sisters?
Maybe one of these will be a diary of your journey to health. Or a baby book. A collection of family recipes. A book of quotes or a “commonplace book.” A trip journal. A wedding planner, a place to record things your kids say … Whatever you use your smoosh book for, it will be wonderful once you smash it full of your stuff.
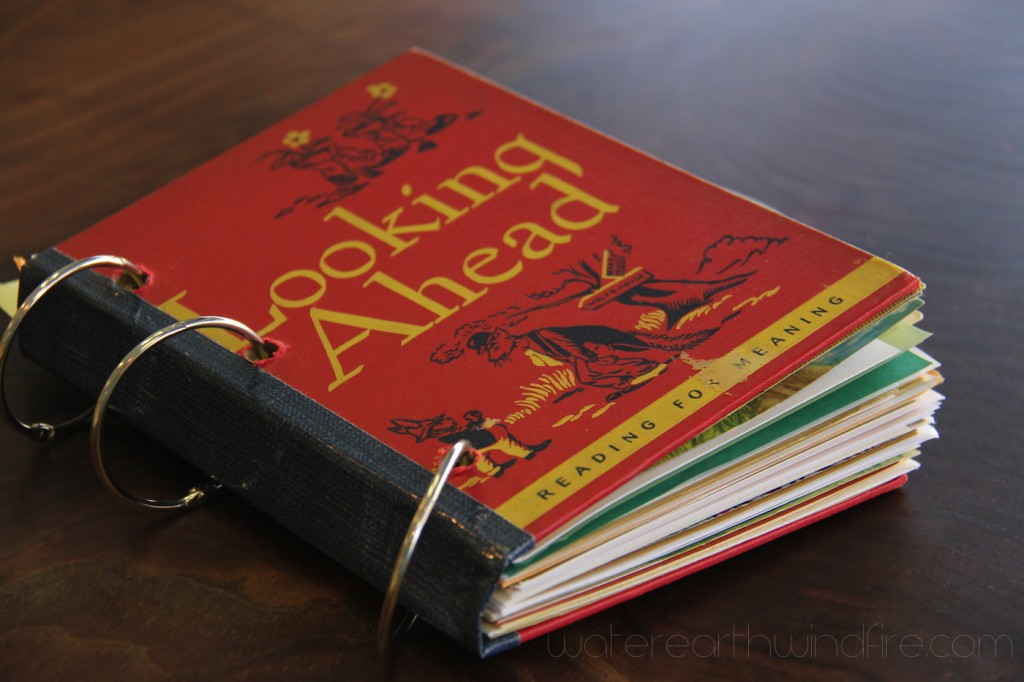
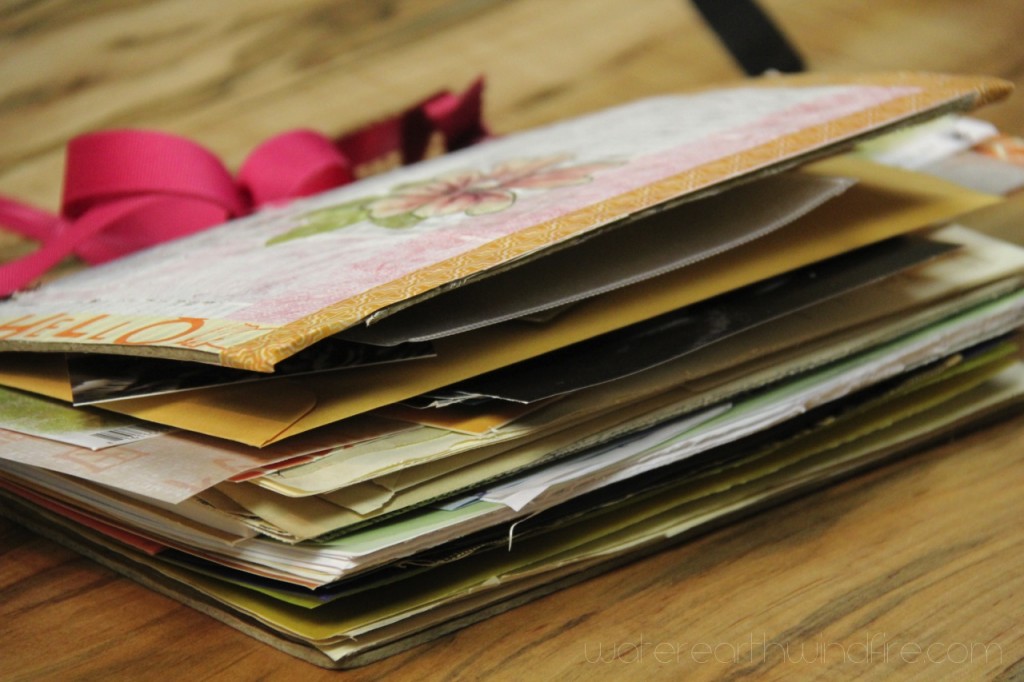
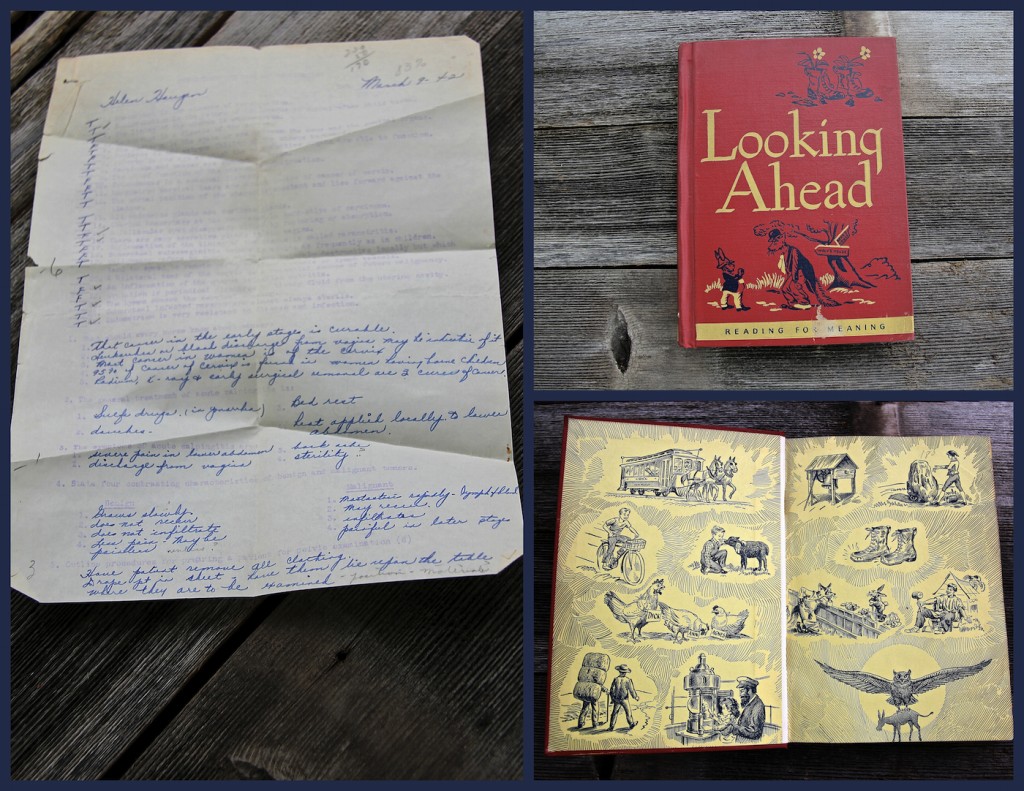
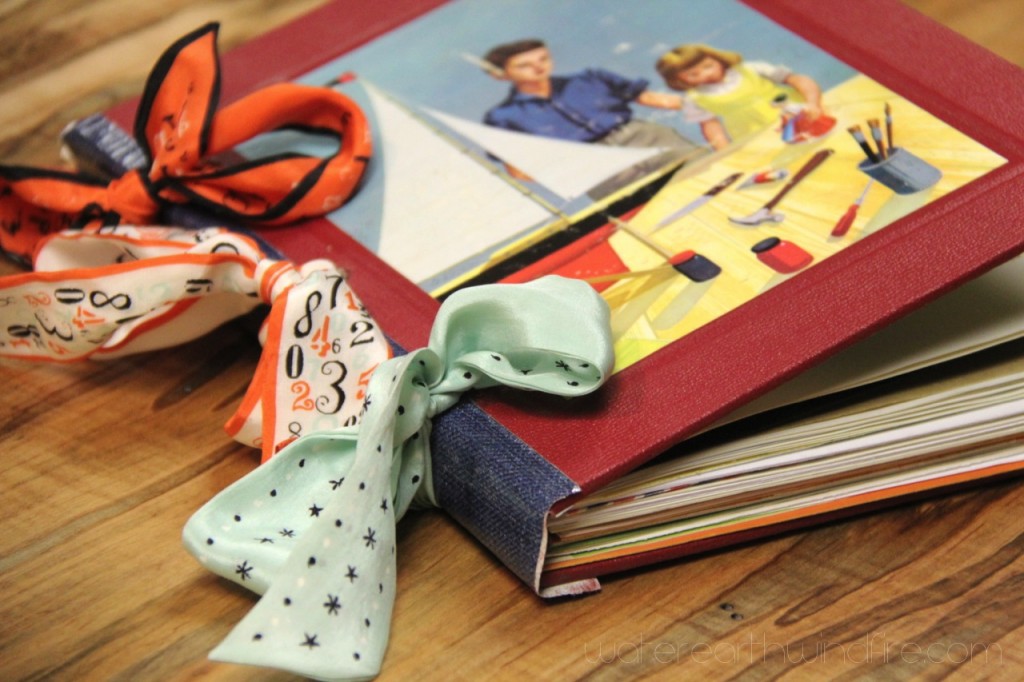
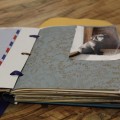
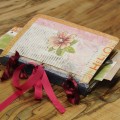
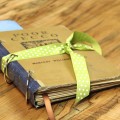
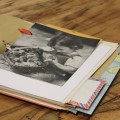
Here’s my mom’s Smoosh Book: I love that she picked the old children’s story collection, “Looking Ahead.” She is going to fill it with stories of her life. Cool!
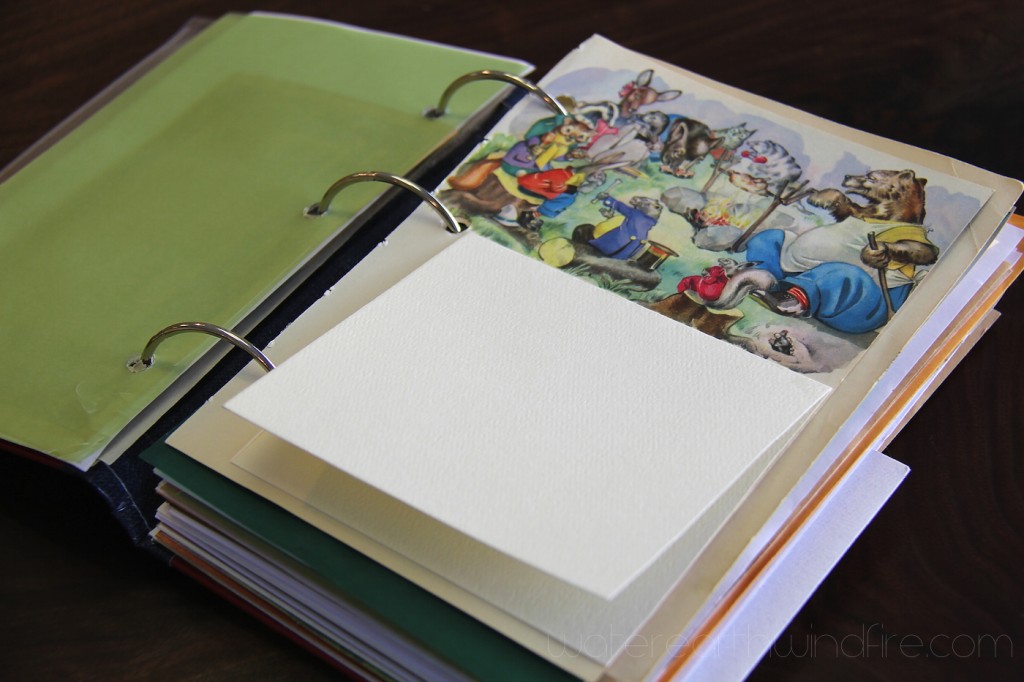
Your Smoosh Book doesn’t have to be perfect. Or finished. It’s a work in progress. This kind of “journal” or scrapbook is great if you’re like me and don’t have the time or personality to do elaborate scrapbooking. The way scrapbooking has changed, it’s the last thing I want to do … I remember when a scrapbook was an album of plain pages you glued things onto — like photos, birthday cards, autographs, paper dolls, ticket stubs, pressed corsages, leaves and flowers. Remember photo-corners? Or LePage’s glue with the red rubber tip? (I know. I know. I’m dating myself. Oh well.)
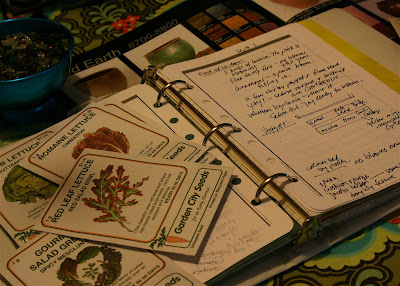
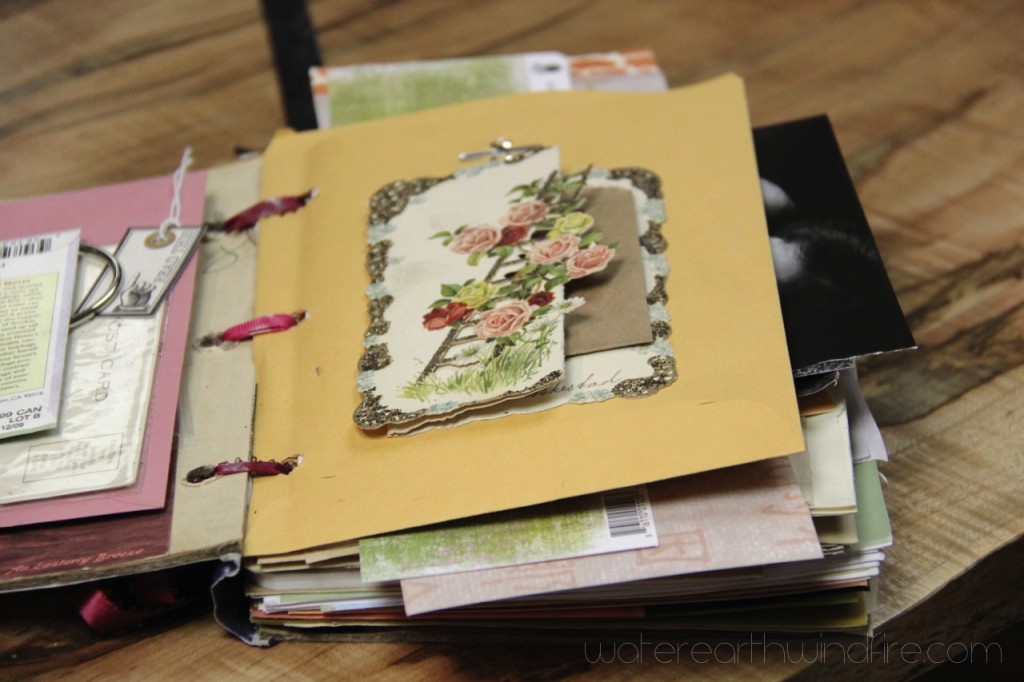
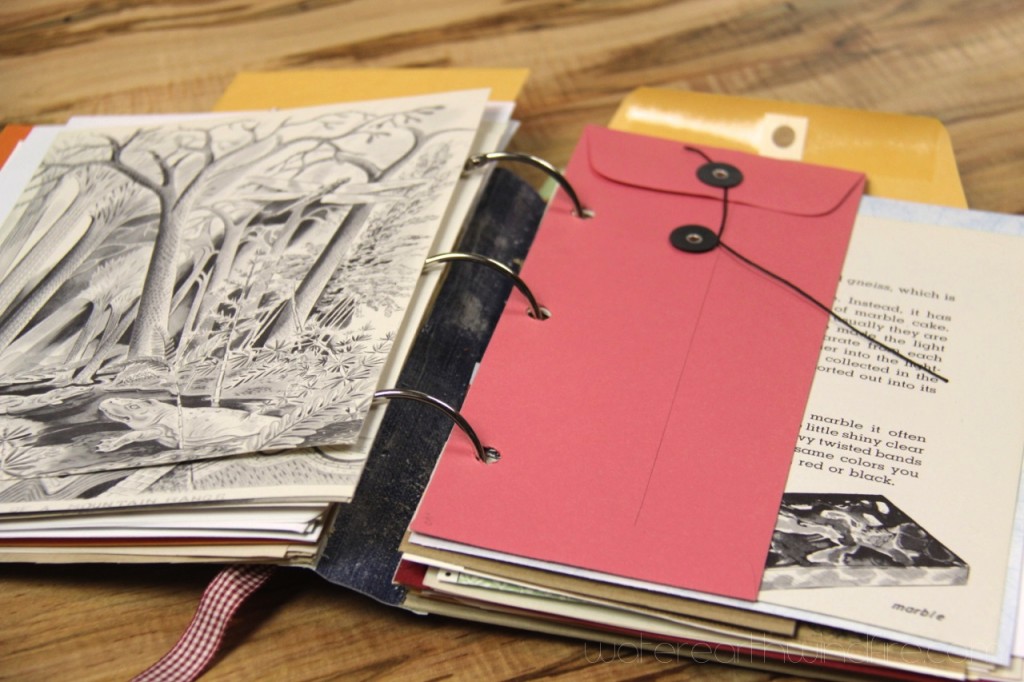
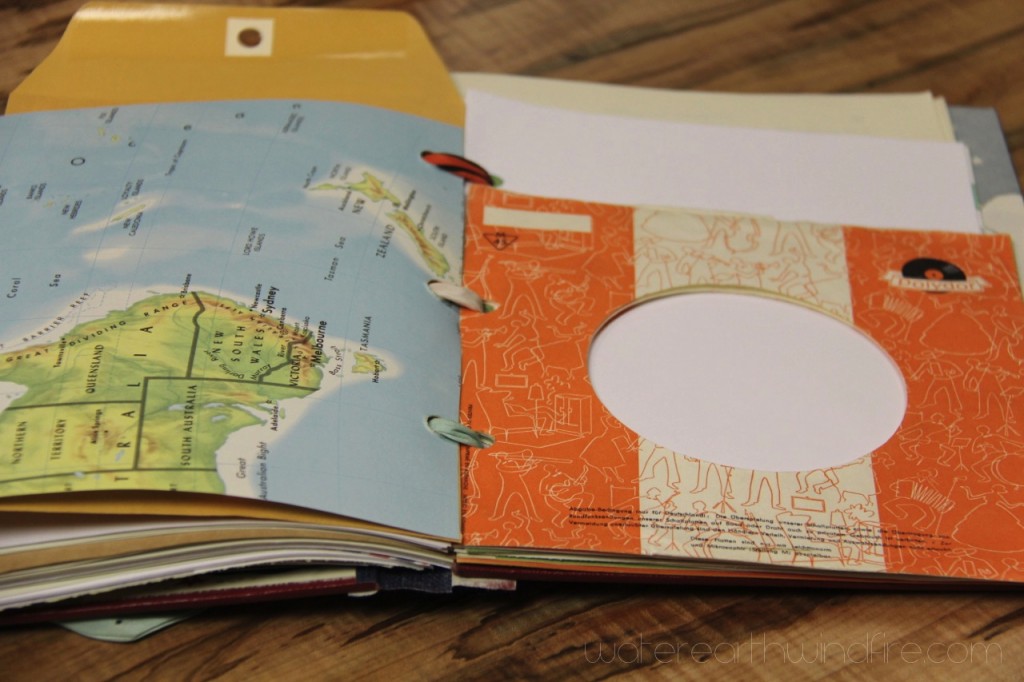
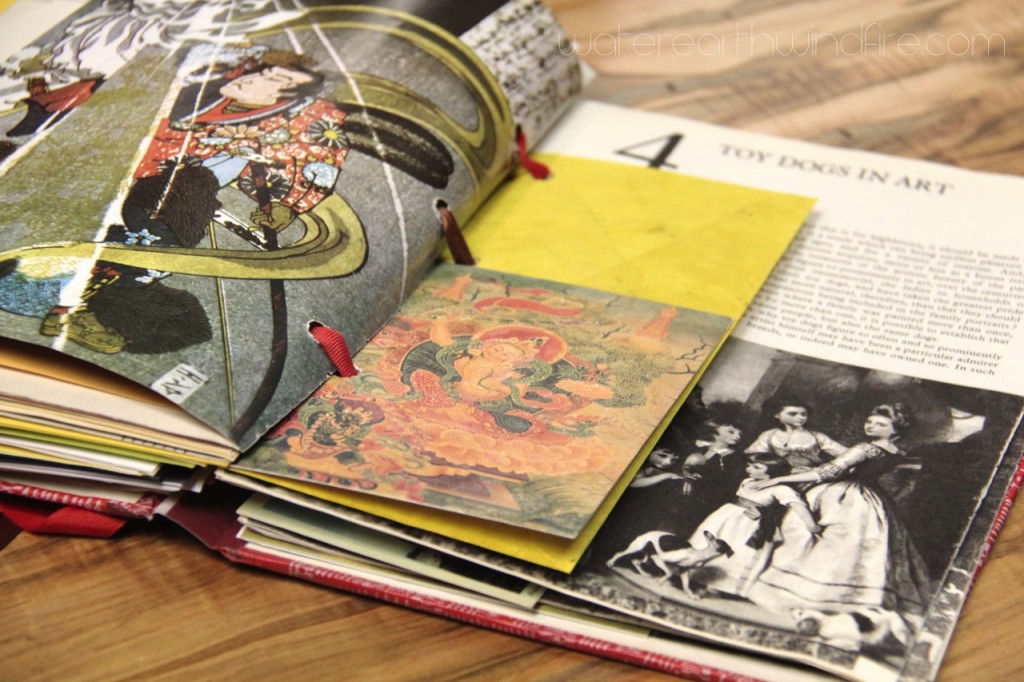
A Smoosh Book can be kinda funky and alotta fun. When you first make the book, you can sort through the old book’s pages and keep the ones you like, recycling the rest. Try incorporating comic book pages, other special papers, translucent papers, seed packets, tiny bags, cellophane bags, glassine envelopes, ribbons, stickers, cards, and any other kind of envelope or pocket.
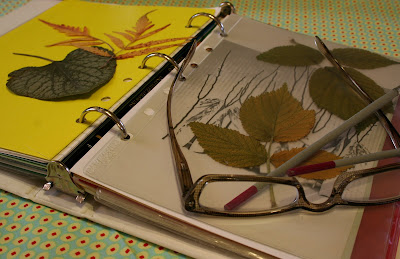
To use your Smoosh Book, add written passages, poetry, quotes … lists of stuff you’re doing/planning/wishing, recipes, pressed flowers and leaves, feathers, seeds, labels, photos, doodles, menus, tickets, found lists, anything you can think of.
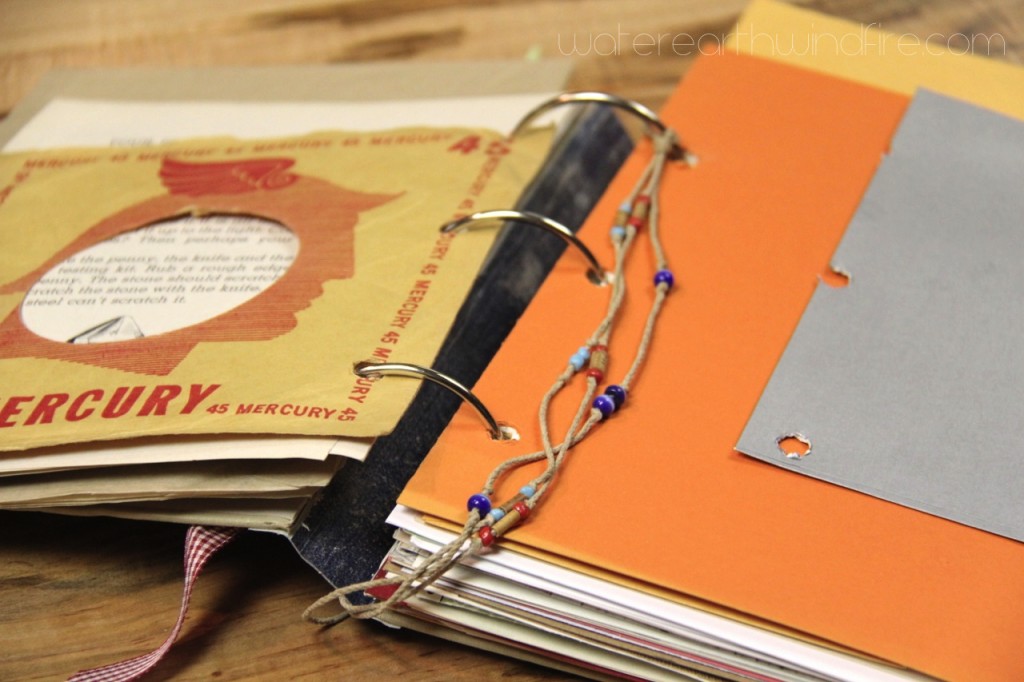
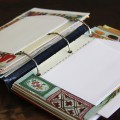
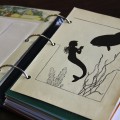
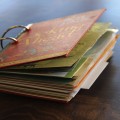
Use ribbons or binder rings to tie the book together so you can add pages as you find cool stuff (like envelopes.) Your book will grow as you use it. Eventually it becomes stuffed with stuff. And looks like it’s exploding and that’s totally okay. You can add bigger binder rings if it gets hard to turn the pages because you’re adding so much stuff.
Here’s what you need to make your own Smoosh Book:
- Old hardback book from thrift store
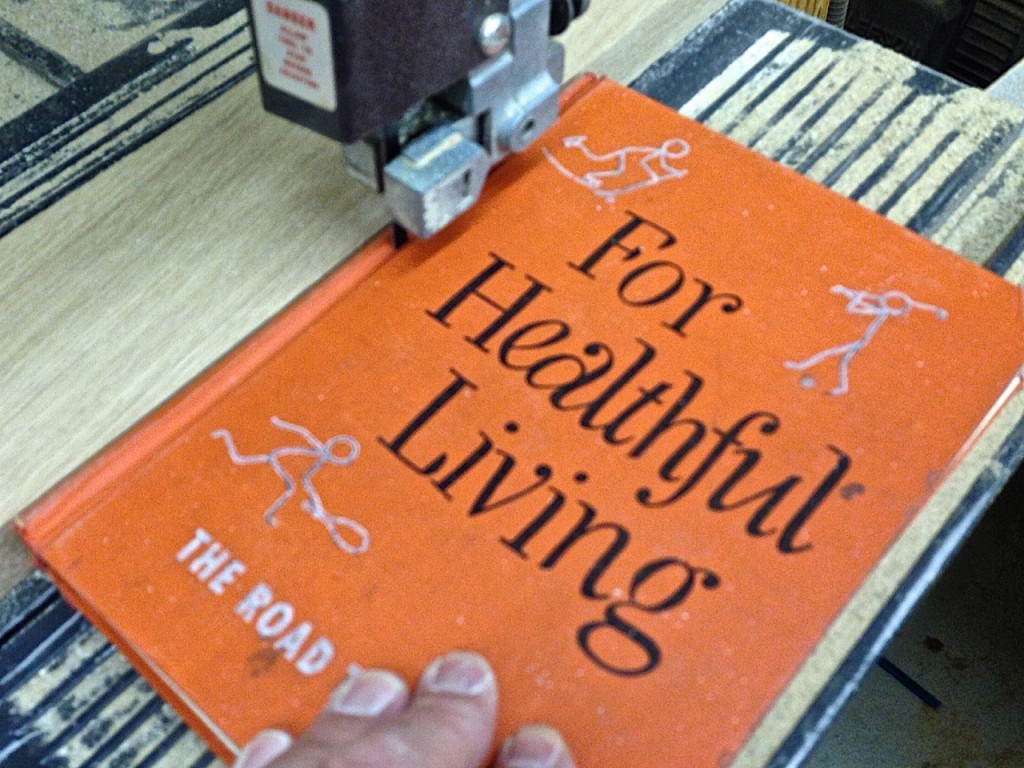
- band saw to cut off the spines
- power sander to sand the edges where you cut
- drill to drill holes through the entire book
- clamp to hold the book covers and pages together while you drill
- paper punch for miscellaneous papers — use one you can line up to match the holes you drilled
- envelopes, extra blank papers, etc to fill the book
- ring binders (preferably large) or ribbons, twine, leather cords, shoelaces
- duct tape (for your new spine)
- spray adhesive or dry-mount glue to attach pockets and envelopes that are not bound in to the book
- washi tape, other tapes
- white acrylic paint or gesso to paint over text where you want to be able to write
- flat wide brushes, either bristle or foam, for painting
- bits and pieces from the list below, or whatever you have around
Basic Instructions to Make Your Own Smoosh Book:
- Cut off the spine of your hardback book with a band saw. Watch out for metal staples. If the spine has staples, just cut a little more off to avoid the metal.
- Sand off the edges to make them nice and even.
- Separate the pile of book pages from the front and back covers.
- Make a new “spine” using duct tape attached to just the two covers. This will keep all the loose stuff inside your book.
- Go through the pages of the book and pull out all the pages except the ones you want to keep. This will make your book much “thinner” at this point.
- Decide what other papers you are going to add to your book. This can include large envelopes, flat bags, pockets, other types of papers …
- Cut the extra papers to size and put them where you want them in the book.
- Add the other papers such as envelopes where you want them. Don’t worry about everything lining up perfectly. It’s okay to have some things sticking out. These act like “tabs” later.
- Clamp everything together on a work table, and using your power drill, drill 3 holes through the whole mess.
- Put it all together with ribbons, ring binders or whatever you have decided to use to attach.
- Now you’re ready to start gluing things into your Smoosh Book, then adding your words.
- Above all else, have fun!
Below is a list of ideas and inspiration: things you might want to stuff in your Smoosh Book as it grows …
- lunch box notes
- love letters
- wine labels
- restaurant menus
- chopstick papers
- flattened match boxes
- any kind of food label
- receipts
- concert and theater tickets
- travel tickets
- baggage claims
- old photos
- autographs
- ribbons
- scraps of special fabric
- doilies
- valentines
- rick-rack
- trim, ribbons
- twine
- business cards
- postcards
- seed packets
- glassine envelopes
- packaging of any kind
- feathers
- leaves, flower petals
- drawings, doodles
- airmail envelopes
- buttons
- lace
- pet photos
- manilla envelopes
- tassels
- recipes
- poetry
- old calendar pages
- those square slide holders
- tiny brown bags
- cd protectors
- singles record covers (remember those?)
- quotes
- shoelaces
- patches
- bookmarks
- found papers
- grocery lists
- clear photo pages
- report cards
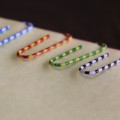
- paper clips
- bandaids
- washi tape
- masking tape
- any kind of tape
- vintage advertisements
- certificates
- luggage tags
- sheet music
- Monopoly money
- playing cards
- postage stamps
- ledger book papers
- I could go on forever … please add your own ideas in the comments below the post. I’d love to hear what you’re thinking of and making.
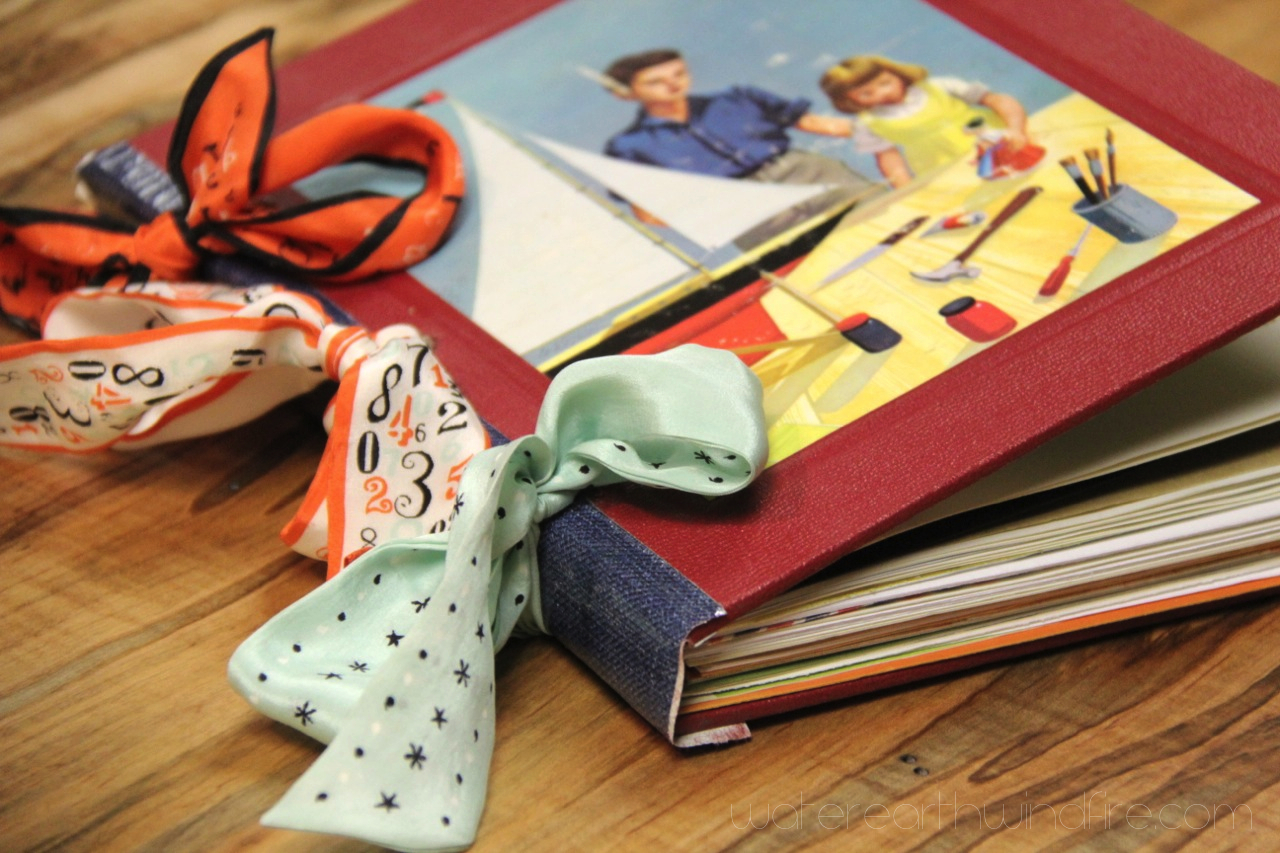
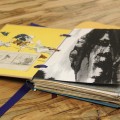
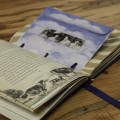
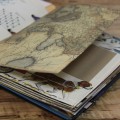
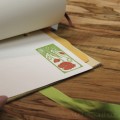
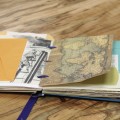
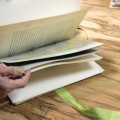
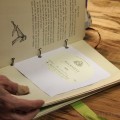
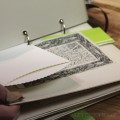
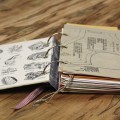
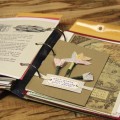
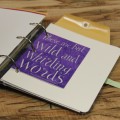
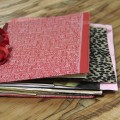
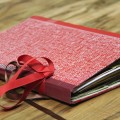
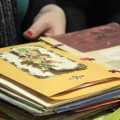
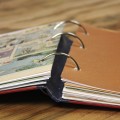
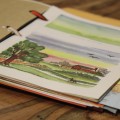
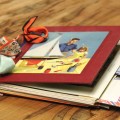
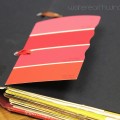
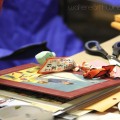
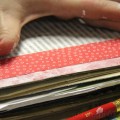
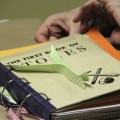
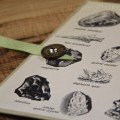
More photos. Click to see them larger:




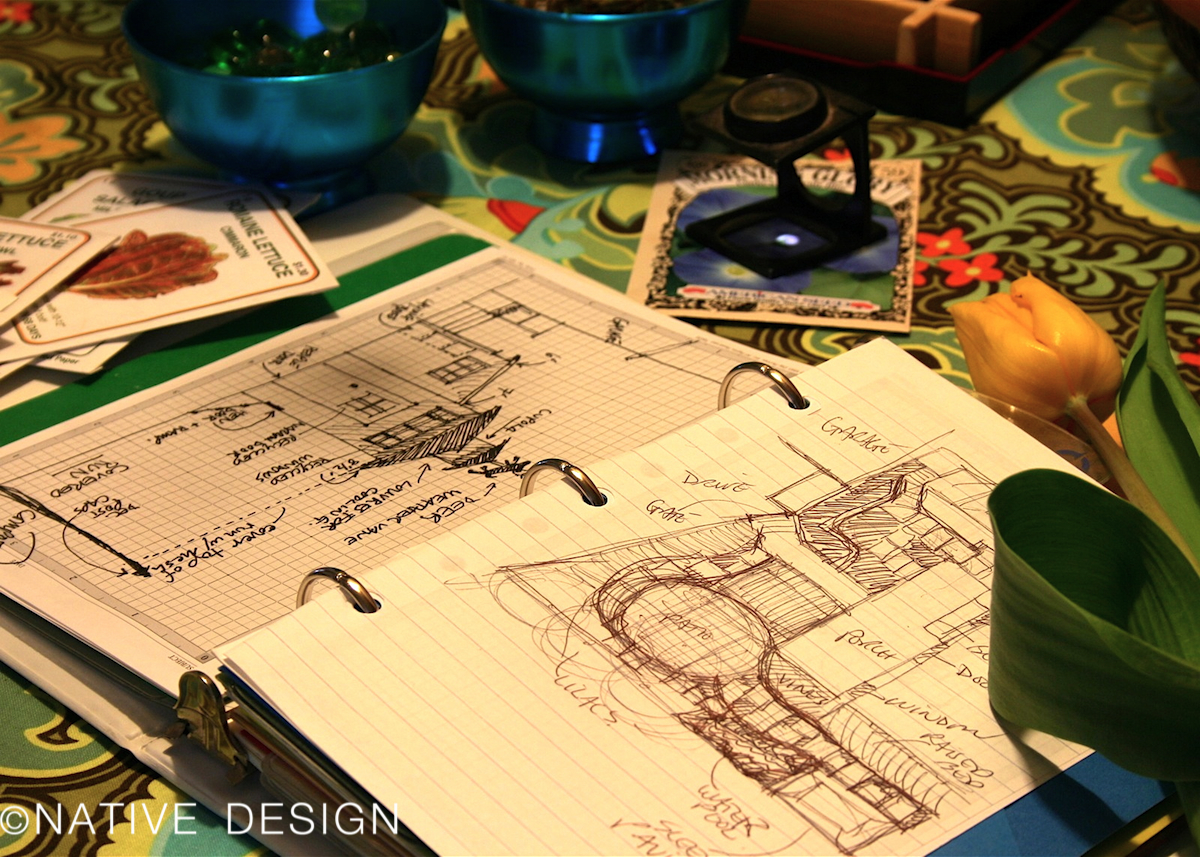
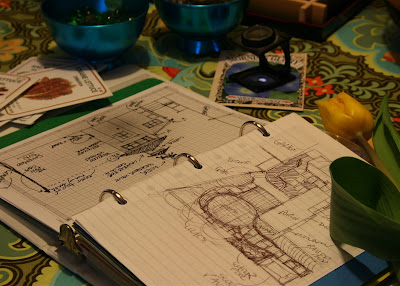
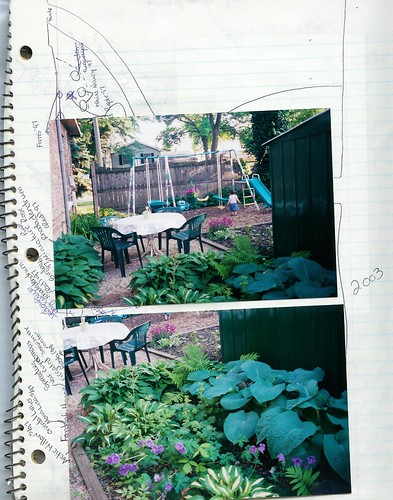
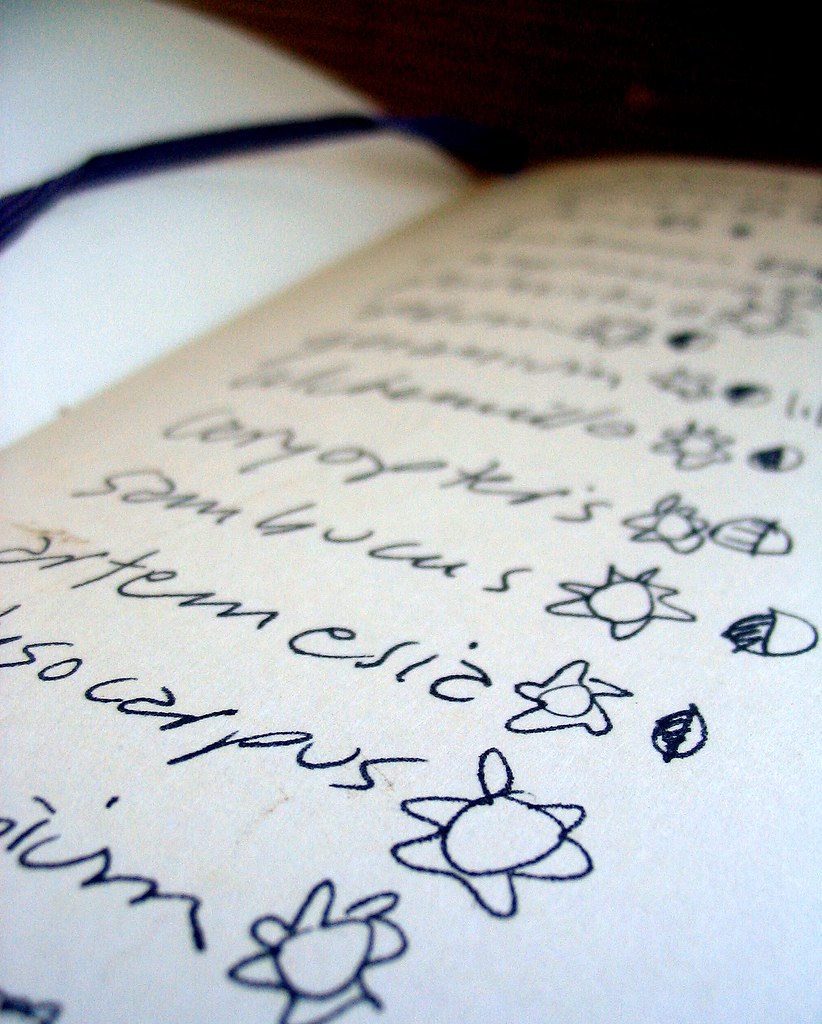 I’ve kept a separate notebook or journal for my garden for years. Off and on. I’m not as disciplined as I’d like to be about keeping track of what is planted where; which plants are blooming when; what I’ve spent on the garden … or where I bought my materials, pots, and other stuff.