Painted Critters and Things Made of Clay

yellow ceramic elephant

painted elephant and horse

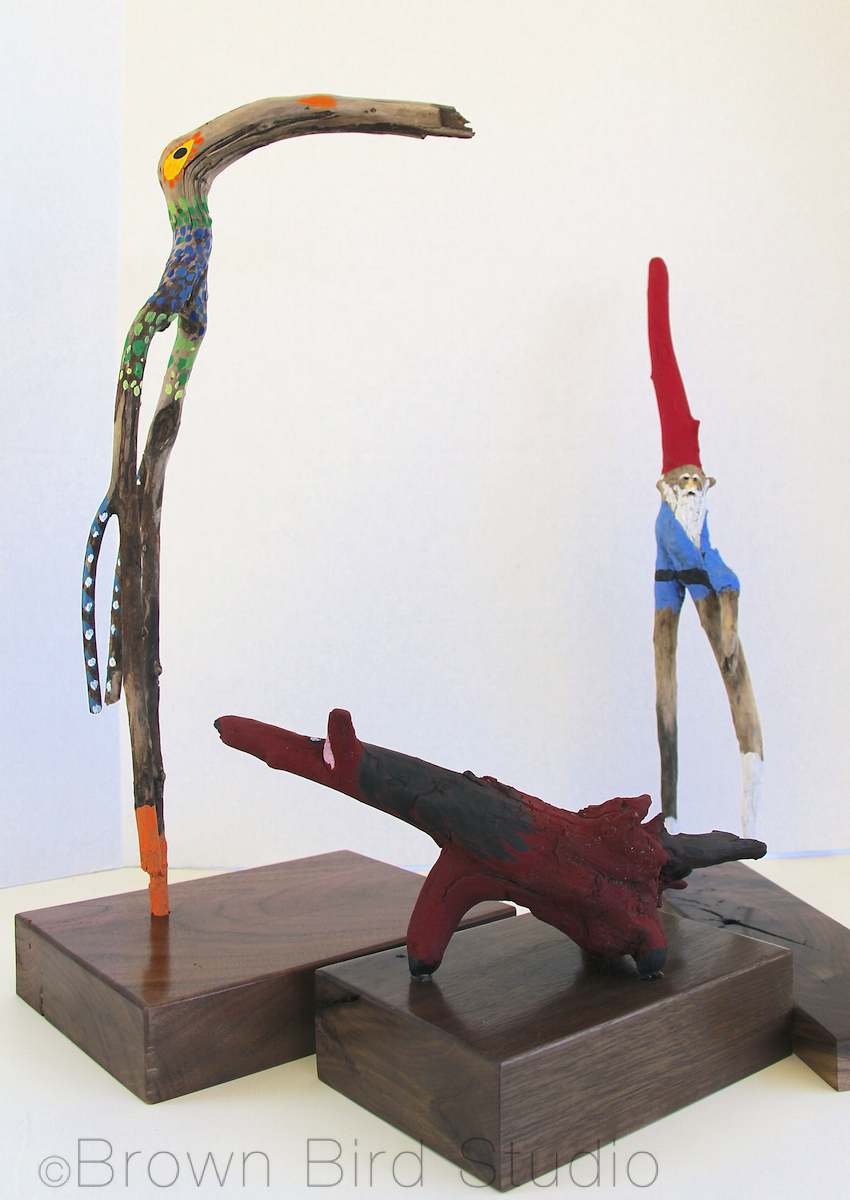
If you have access to a kiln, or a friend who does, get a chunk of clay and make some of these cute little critters with your kids. We painted them instead of glazing them this time. Next time we want to experiment with glazes. Ema and Adia have some tips on making and painting little clay objects, based on their own experiences with this project.

Thank you to Gene Hickman of the Helena Clay Arts Guild, for the clay, and teaching the girls some tricks of the trade.

tiny painted ceramic objects
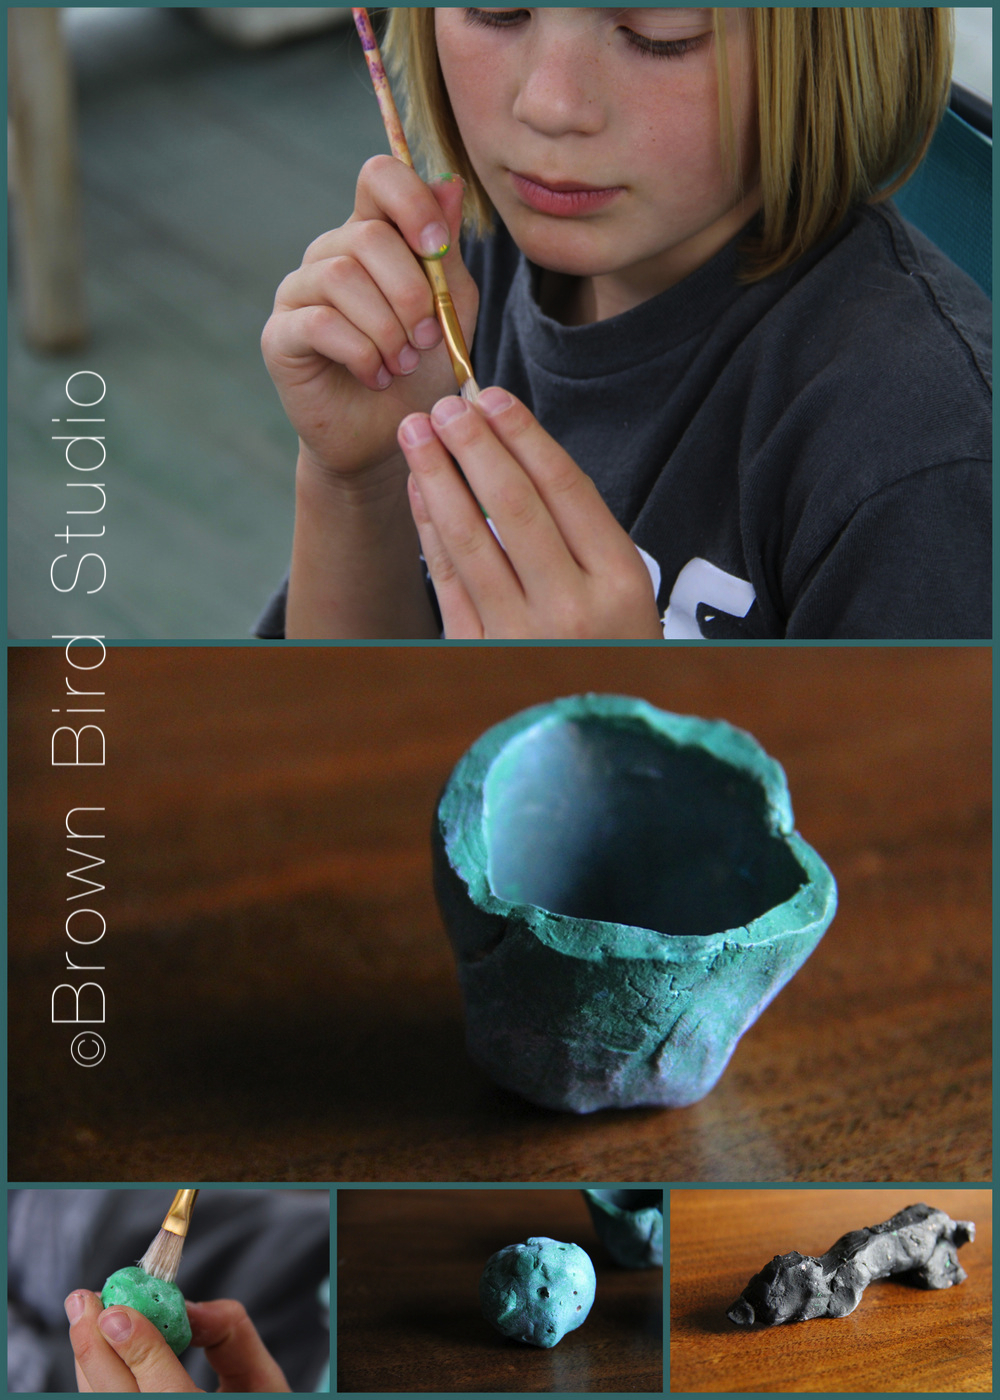
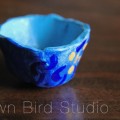
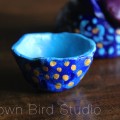
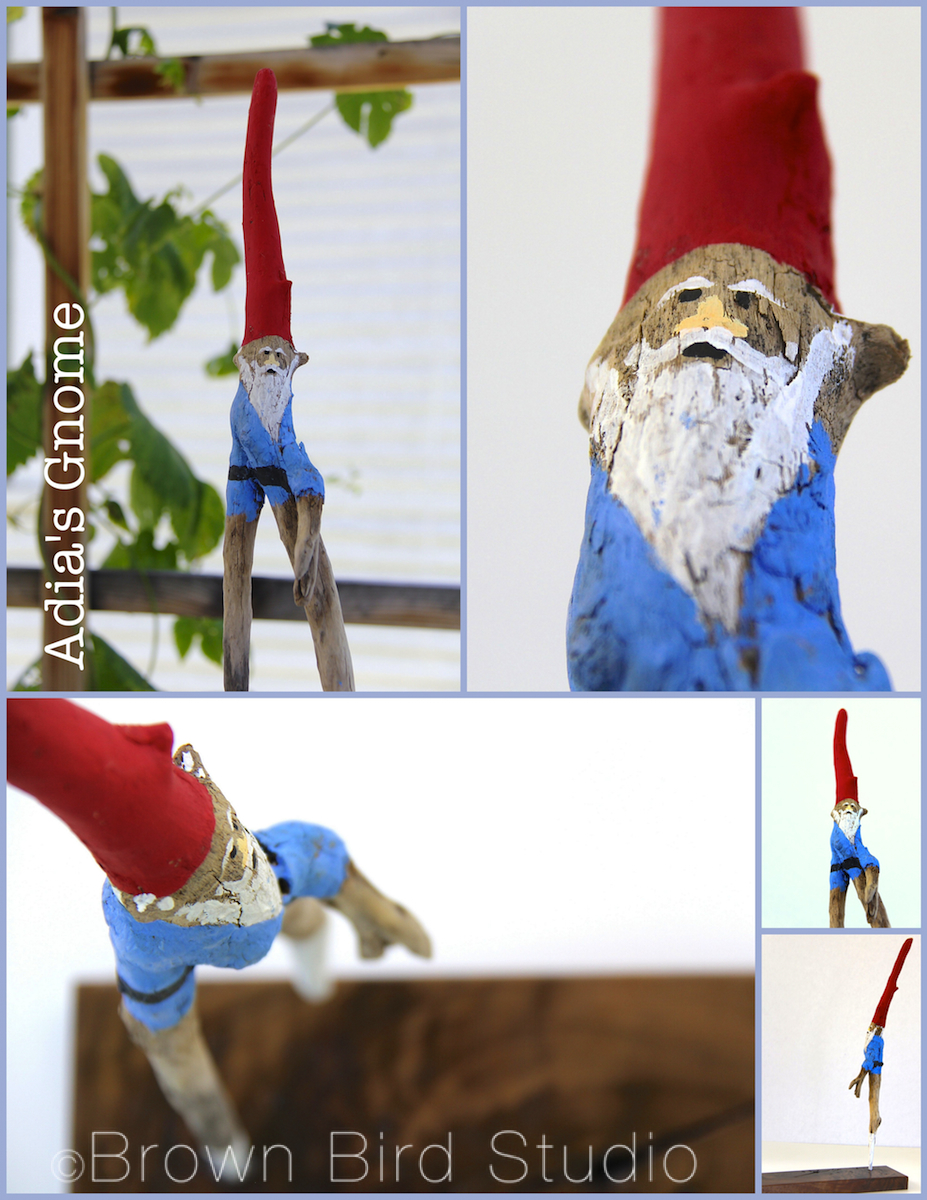
Adia describes her ceramic creations by saying, “I made a moon, a dog lying down, a bead and a bowl. The bowl is about as tall as a cat’s paw, and as big around as a cherry tomato. What I might put in it is a bouncy ball small enough to fit. For the moon, I chose green because I was thinking of blue cheese — the kind you eat — and I thought of green. So that’s what I painted it.”

Adia’s advice on this project:

  • First paint your clay thing one solid color, then let it dry. Then, you can paint other colors you want on top of that.

  • When you make the shapes, try not to make them too thick or they might explode in the kiln.

Red Roan Ceramic Horse
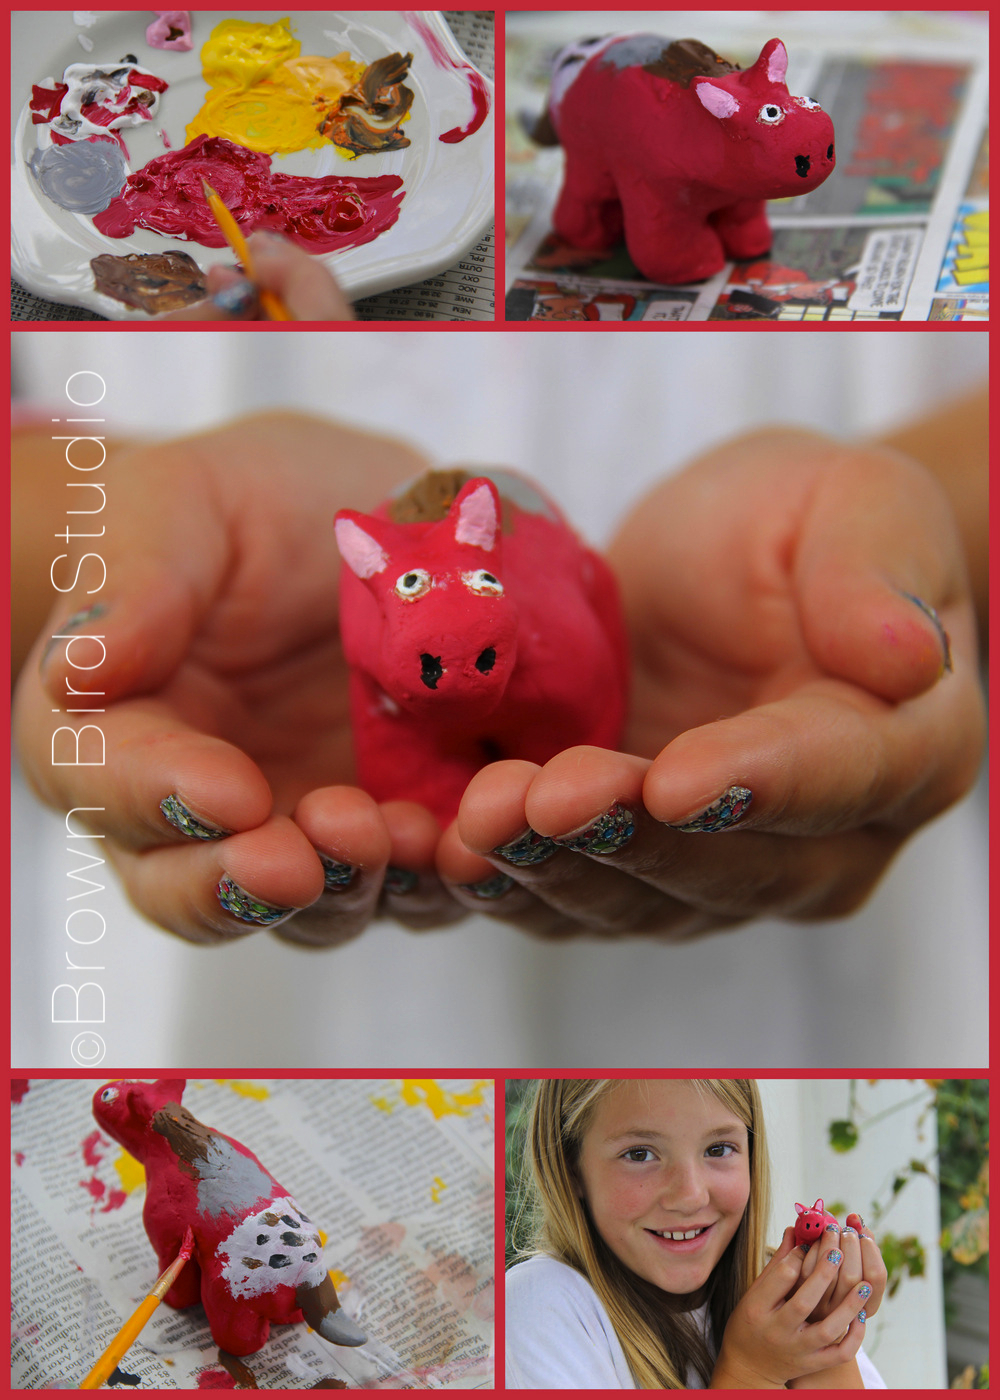
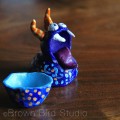
Ema explains, “I made a small horse and a little elephant. When I made the horse, I was thinking of my favorite horse that my grandmother owns. Her name is Rosebud. The design on the back of my horse is similar to Rosebud’s design. She is a red roan, so I painted her red.

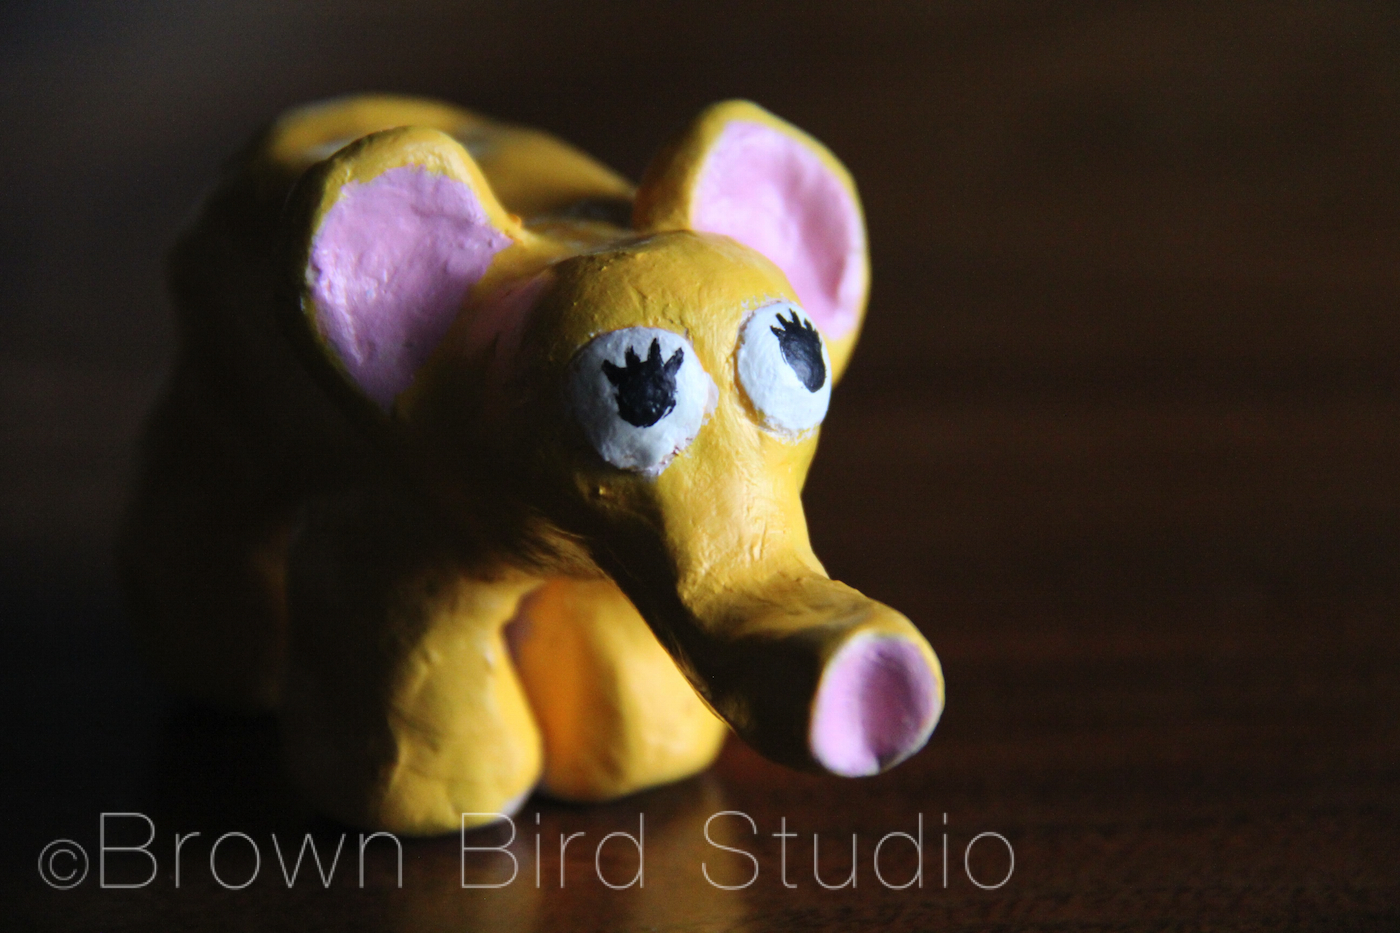
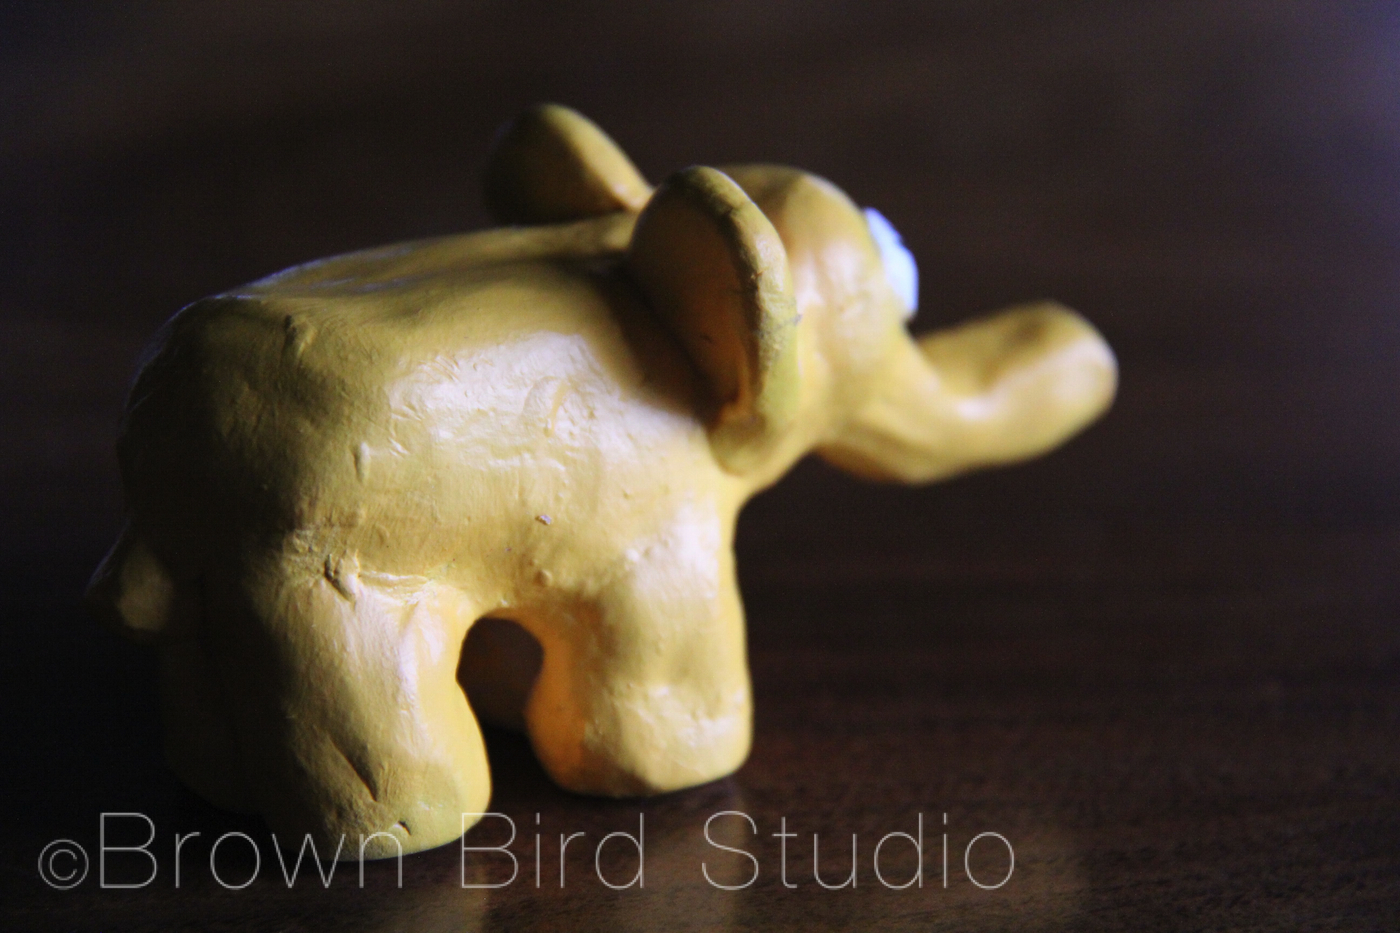
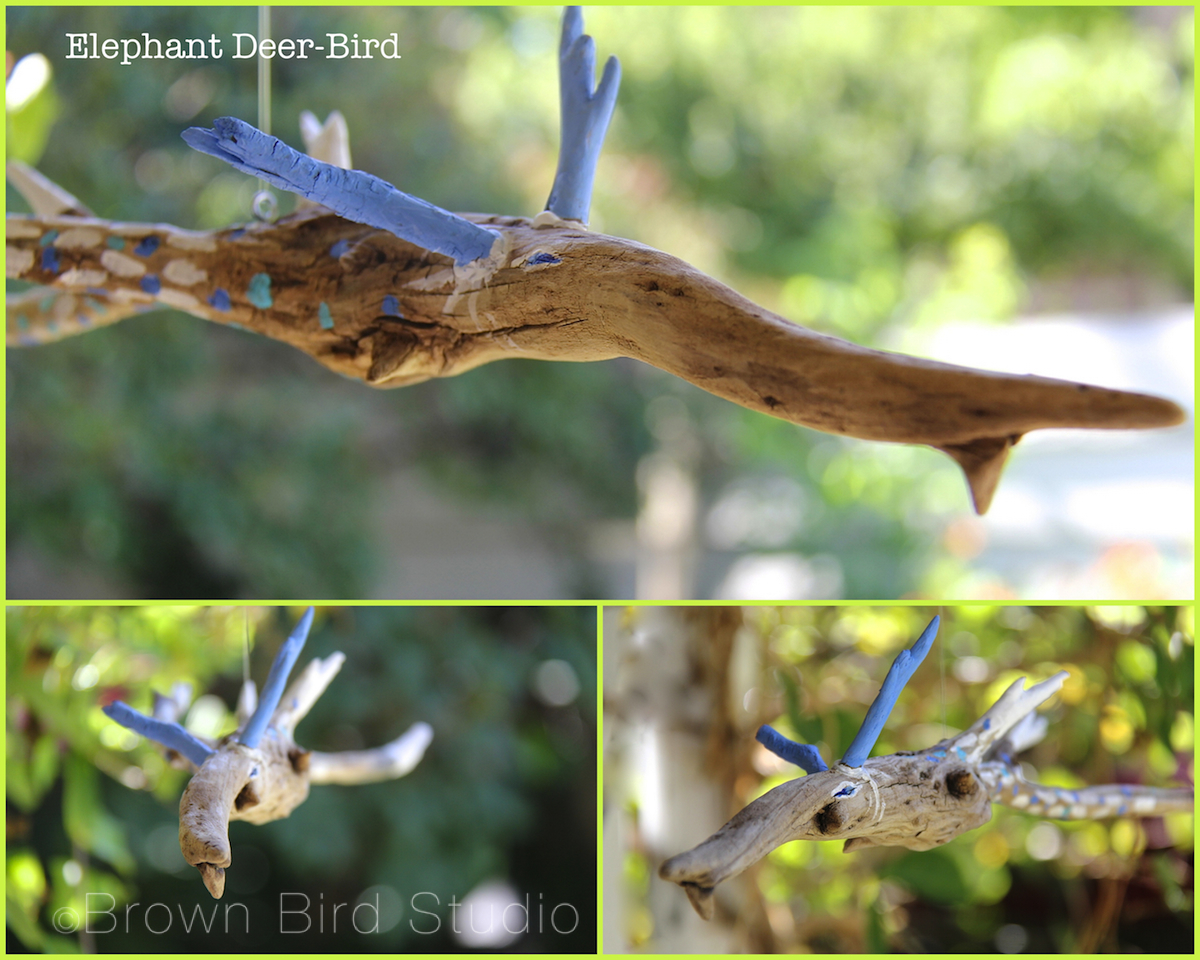
When I made the elephant, I was thinking of my mom. I think elephants are her favorite animal. I painted it gold because gold makes me feel happy. It also has pink, black and white. I made a happy accident with the eyes. I accidentally drew a black line on the eye and the black line turned into an eyelash and then I made more. So now she looks cute. I gave the little elephant to my mom.

Ema’s tips on making ceramic critters:

  • Don’t make it too thin. It might crack.

  • If you want to paint more than one color, wait until the first color dries before you paint on top of it or the colors will mix and make a different color. If you painted yellow on top of blue when it is wet, it would make green and you might not like green. And if you painted a bunch of colors on top of another it would make brown and you might not like brown. And so on.

  • If you make your creature too thick, it might explode in the kiln! And that might not be good for other pottery in the kiln, but especially not good for yours.

  • Don’t try to make it perfect. It won’t be. But you may make some happy accidents and those are good accidents. How will you know if you have a happy accident? Say you were painting an elephant and you accidentally drew a black line on it’s back. It could turn into wrinkles. Or, say you were painting a bowl and you were painting it yellow and you accidentally got blue on it. You could make it a rainbow bowl. And so on. And that’s how you would know it’s a happy accident.

yellow ceramic elephant yellow ceramic elephant

Kid’s Art: Root Creatures

crane creature made from a painted root

bird made from root and paintEma, Adia and I made some really cool creatures using roots we found on the lakeshore. We picked them up because we thought each of these looked at least vaguely critter-like. Today we painted several of the roots to try to bring out the little features in the wood that looked like something or another. How do you like them now?

Root CreaturesWe have a horse, a gnome, an elephant-deer-bird, and another bird — a long-legged crane.

The following tutorial was written by Ema and Adia:

Have you ever wanted to make an imaginary creatures? Well here’s how. All you need is a few sticks and some paint. You can make whatever you can imagine when you look at the sticks.

You will need:

  • sticks, driftwood or roots
  • hot glue*
  • acrylic paint**
  • brushes
  • something to use for bases for the creatures that will stand up*** …. or
  • tiny eye hooks and some monofilament for creatures that will fly (hang)

EmasHorseCollage-imp

I got a funky root and I kept turning it and turning it and looking at it from different angles and then I saw that it looked like a horse. So I painted it to look like a red roan horse, specifically my favorite horse, Rosebud, who lives at my Grandma’s house in Anaconda. I glued mine onto the base instead of drilling a hole because it stands up by itself.  — Ema, age 10

Gnome by Adia, age 8

I made a gnome. A gnome is a little person with a beard. Santa Claus is a gnome. My gnome has a really tall red hat and is walking across the log that is my base. One leg is shorter than the other because he is walking. He also has a really long white beard and tall white boots. I drilled a hole in the base and glued my gnome’s longest leg into the hole. He looks like Santa. — Adia, age 8

MaureensCrane-imp

One of my roots looked exactly like a long, curved-bill crane so I made a fantasy bird that I named, an “oo-ooga crane.” This is the sound it makes when it’s happy. It has green and blue feathers with white spots. Also some yellow and orange eyes. I glued one of the crane’s legs into a hole in the walnut base. — Maureen

Elephant Deer Bird Detail

Maureen's Elephant Deer-Bird

My other root reminded me of an elephant with wings. It has big long trunk, two skinny wings and a tail. I added little antlers so it’s an elephant-deer-bird. I painted the antlers blue because the Huichol Blue Deer is special to me. This one hangs from the ceiling because it’s flying. I screwed in a tiny eye-hook and hung the bird by a piece of monofilament. — Maureen

NOTES FROM THE TUTORIAL AND SUPPLY LIST:

*We used a little hot glue to attach odds and ends of roots to our creatures.

**For painting the creatures, you don’t have to completely cover the surface of the wood with paint. Leaving some of the natural wood showing looks really cool.

***If you want to make bases, cut some nice wood in a square or rectangle or any shape. Sand it so it’s nice and smooth. Sand the edges to make them roundish so they aren’t sharp. Figure out if you want to drill a hole or just glue on your creature onto the base. We made our bases out of scraps of walnut wood, the trees that grow actual walnuts on them.

root creatures11-improot creatures10-imp


Below, we have a few other roots we haven’t painted yet. We are going to keep making these creatures. One of these roots is going to become a flying dragon with a tail made of smoke and fire coming out of its mouth. What do you see in these?  Please let us know in the comments.

Driftwood Root Driftwood Root Driftwood Root

Driftwood Root