Girls Art Night was a Smash Hit

Smoosh Book 25

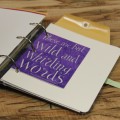
Smash. Smoosh. Squish. Mash. Moosh. Mush. Stuff … Oh, the things you can do with an old book!

Smoosh Book 1

Smoosh Book 24

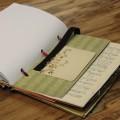
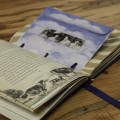
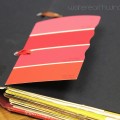
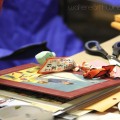
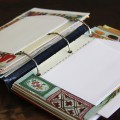
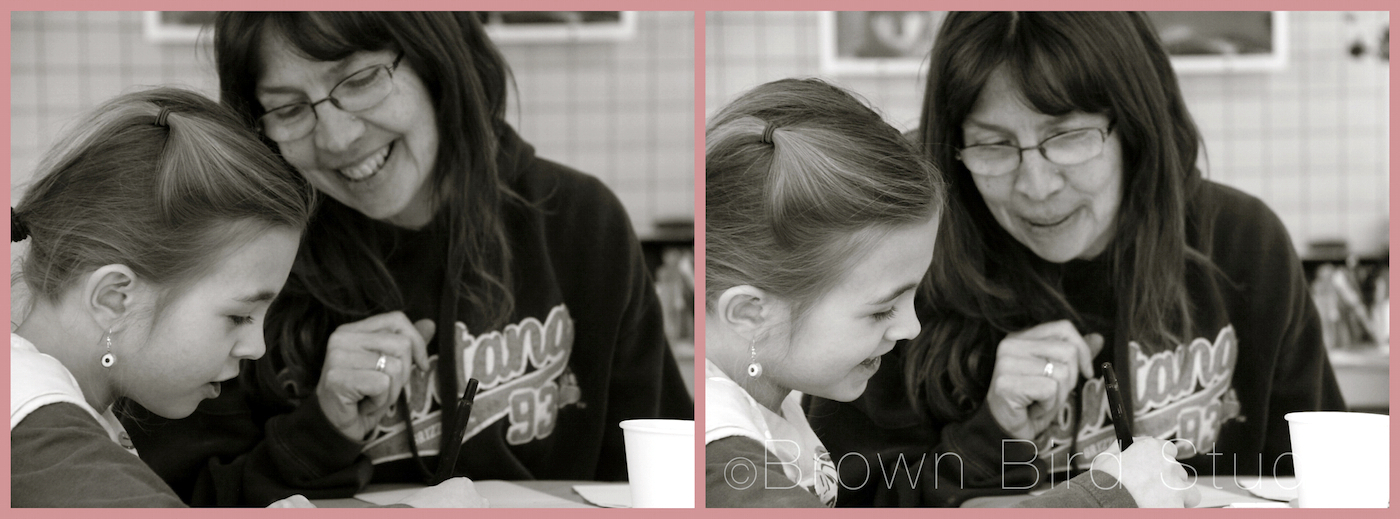
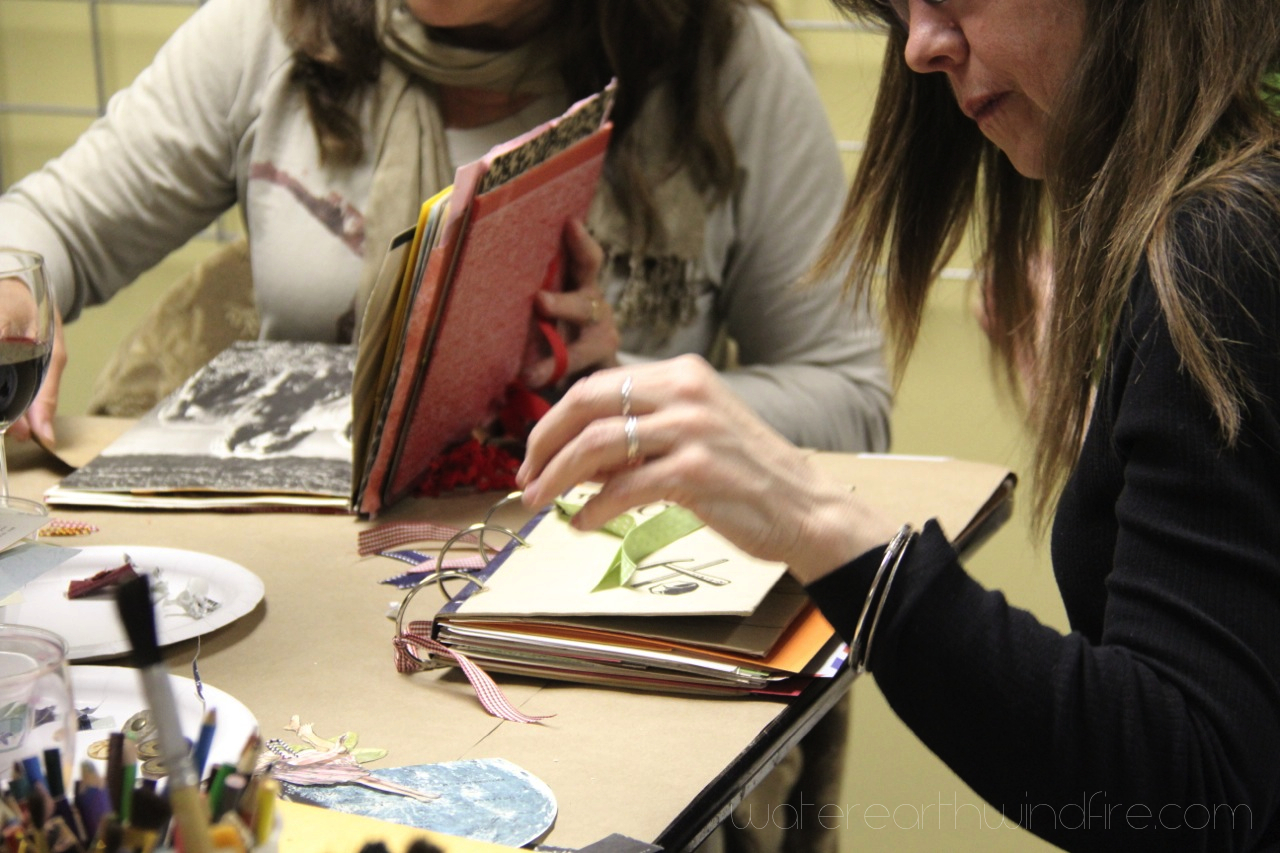
At our monthly Girls Art Night on March 27th, we altered vintage hardback books into Smoosh Books (my take on the official Smash Journals.) There were eleven of us mooshing, drilling, gluing, smooshing and stuffing away at 1+1=1 Gallery. We enjoyed tea, wine, and yummy finger foods. It was a great group of women friends — lots of comraderie and chemistry, laughter and concentration.

Smoosh Book 14

If you want to try a Smoosh Book yourself, and you live in Helena, let me know in the comments and maybe we can get together in a smaller group sometime soon to make more smoosh books. Otherwise there is a How-To towards the bottom of this post. 🙂

I have a few vintage books left (I’ve already cut the spines off.) And lots of stuff to stuff into them. I will bring the “ingredients” to our Girls Go gathering in October. What do you think of that idea, my sisters?

Smoosh Book 12

Maybe one of these will be a diary of your journey to health. Or a baby book. A collection of family recipes. A book of quotes or a “commonplace book.” A trip journal. A wedding planner, a place to record things your kids say …  Whatever you use your smoosh book for, it will be wonderful once you smash it full of your stuff.

SmashBooksLookingAhead-imp

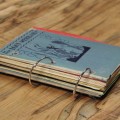
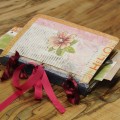
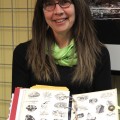
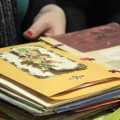
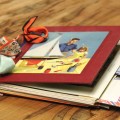
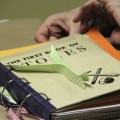
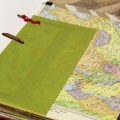
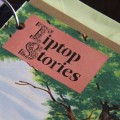
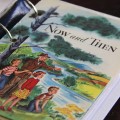
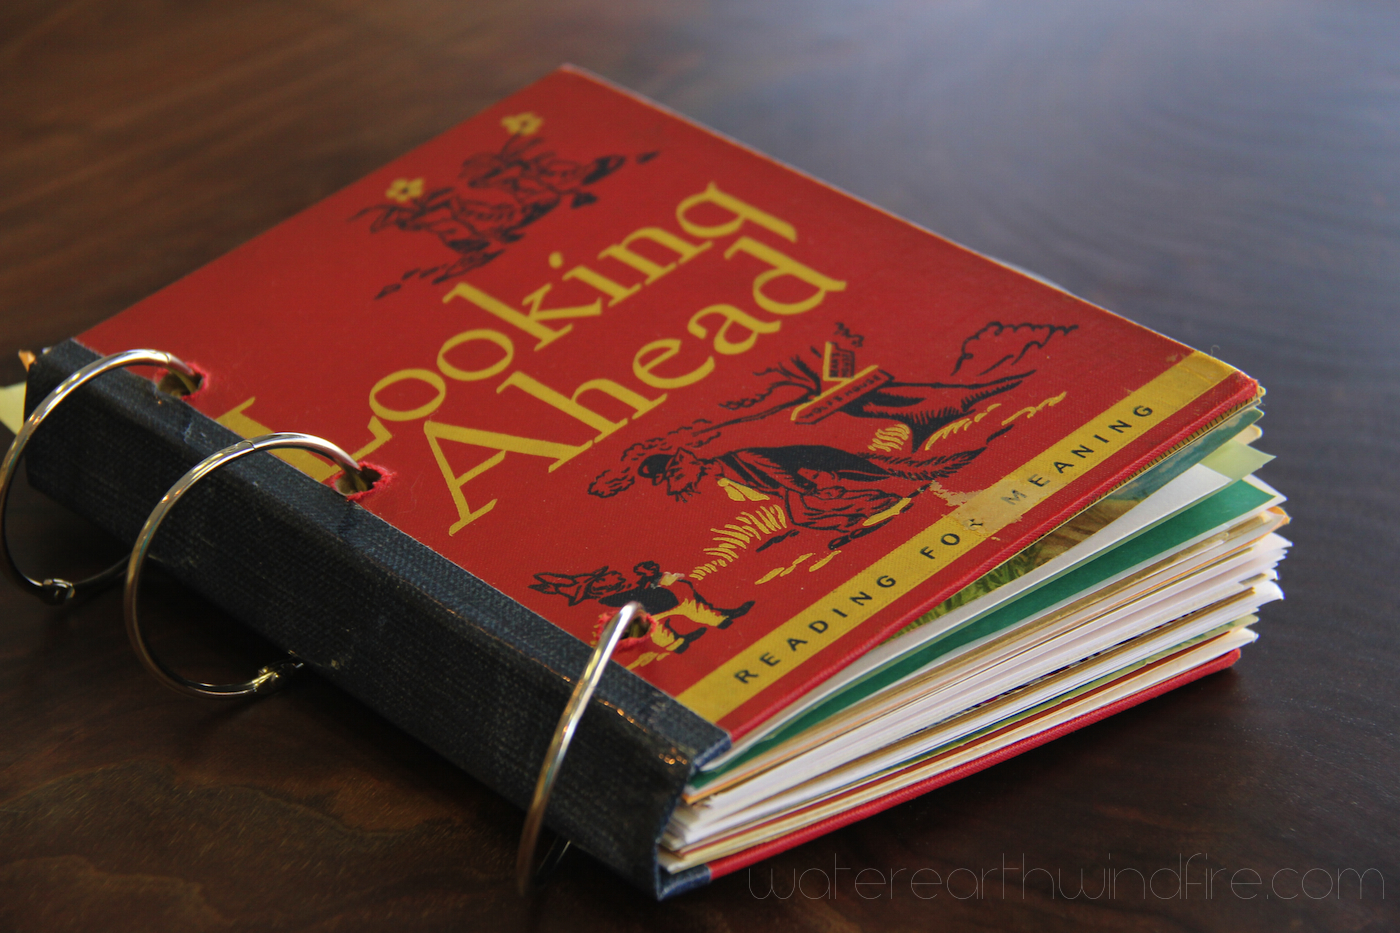
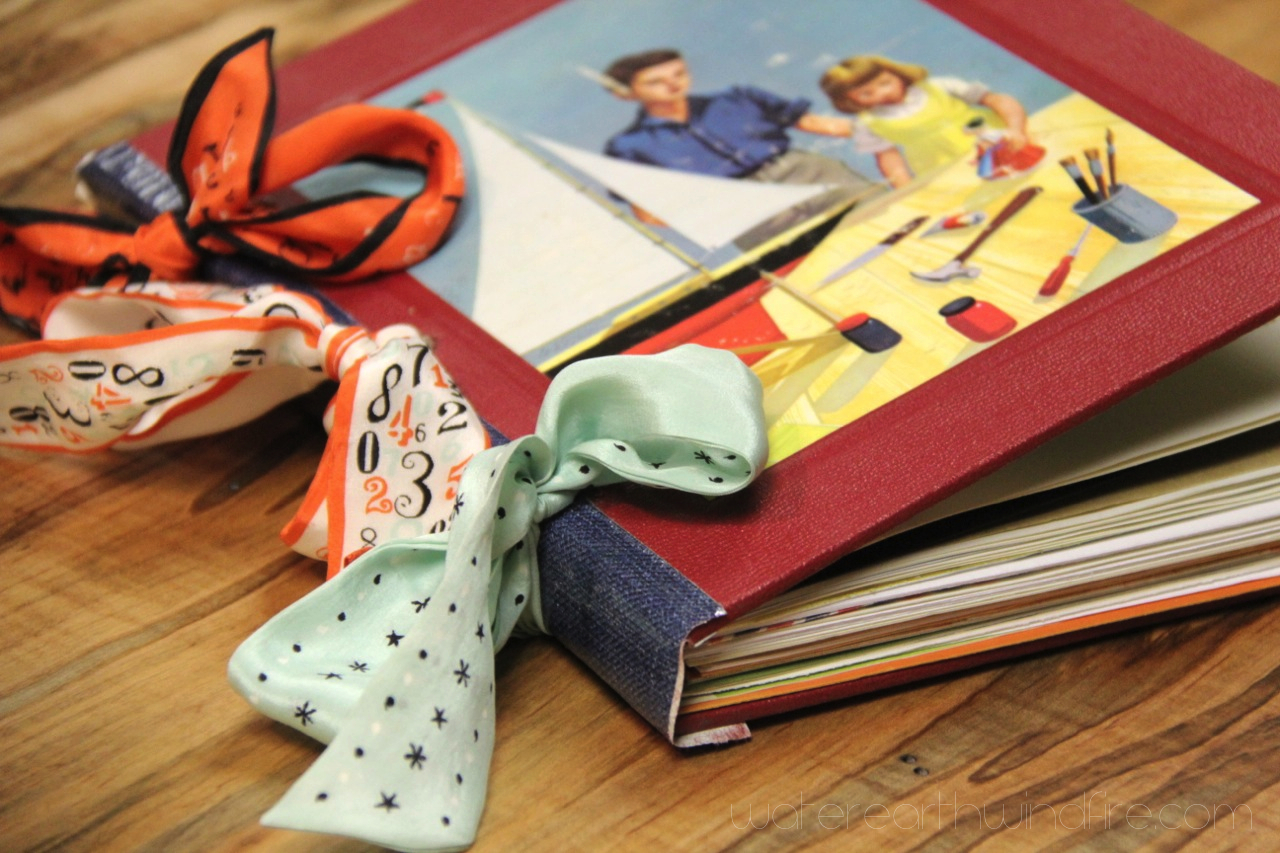
Here’s my mom’s Smoosh Book: I love that she picked the old children’s story collection, “Looking Ahead.” She is going to fill it with stories of her life. Cool!
PatsSmashBook14-impPatsSmashBook13-imp

Your Smoosh Book doesn’t have to be perfect. Or finished. It’s a work in progress. This kind of “journal” or scrapbook is great if you’re like me and don’t have the time or personality to do elaborate scrapbooking. The way scrapbooking has changed, it’s the last thing I want to do … I remember when a scrapbook was an album of plain pages you glued things onto — like photos, birthday cards, autographs, paper dolls, ticket stubs, pressed corsages, leaves and flowers. Remember photo-corners? Or LePage’s glue with the red rubber tip? (I know. I know. I’m dating myself. Oh well.)

Smoosh Book 4

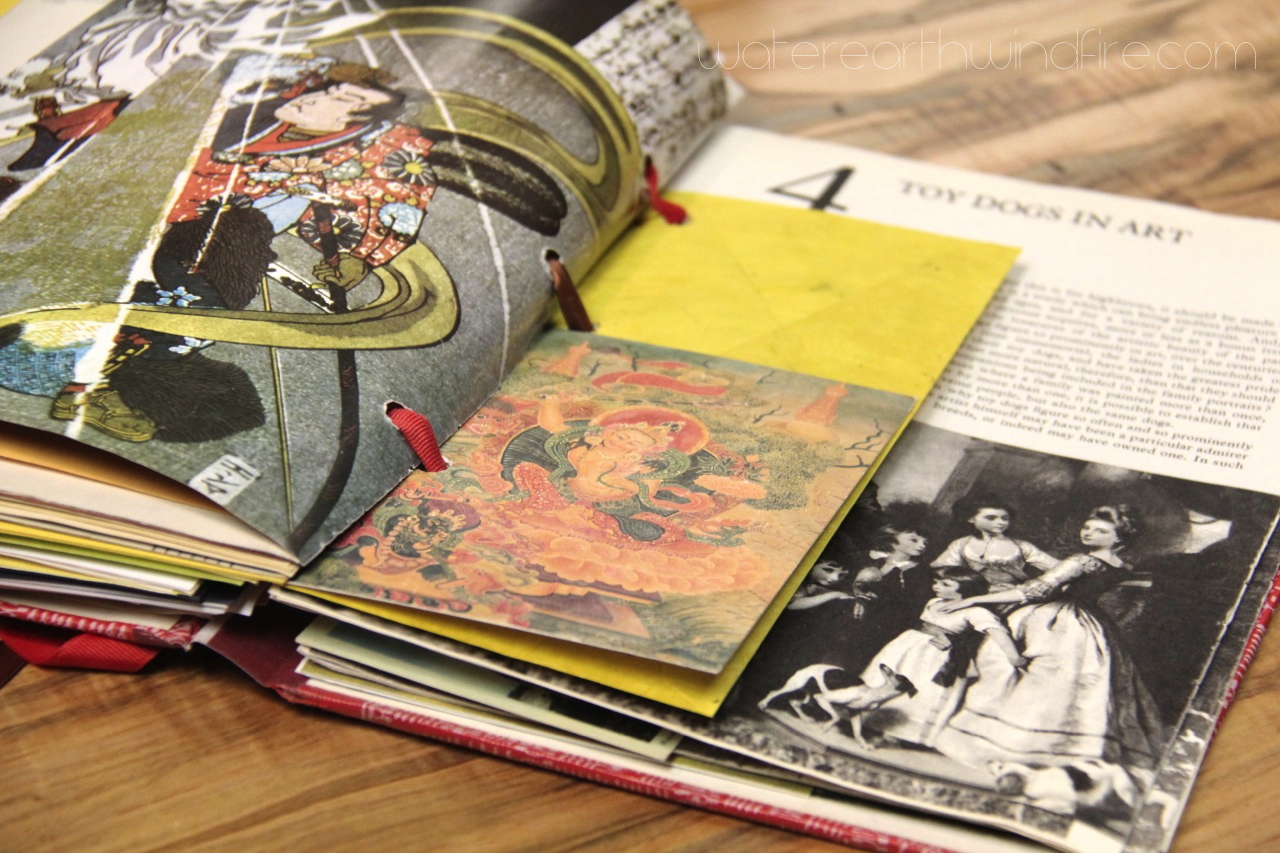
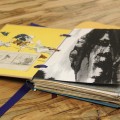
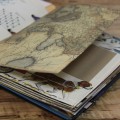
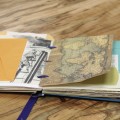
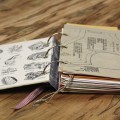
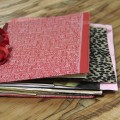
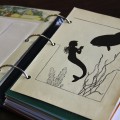
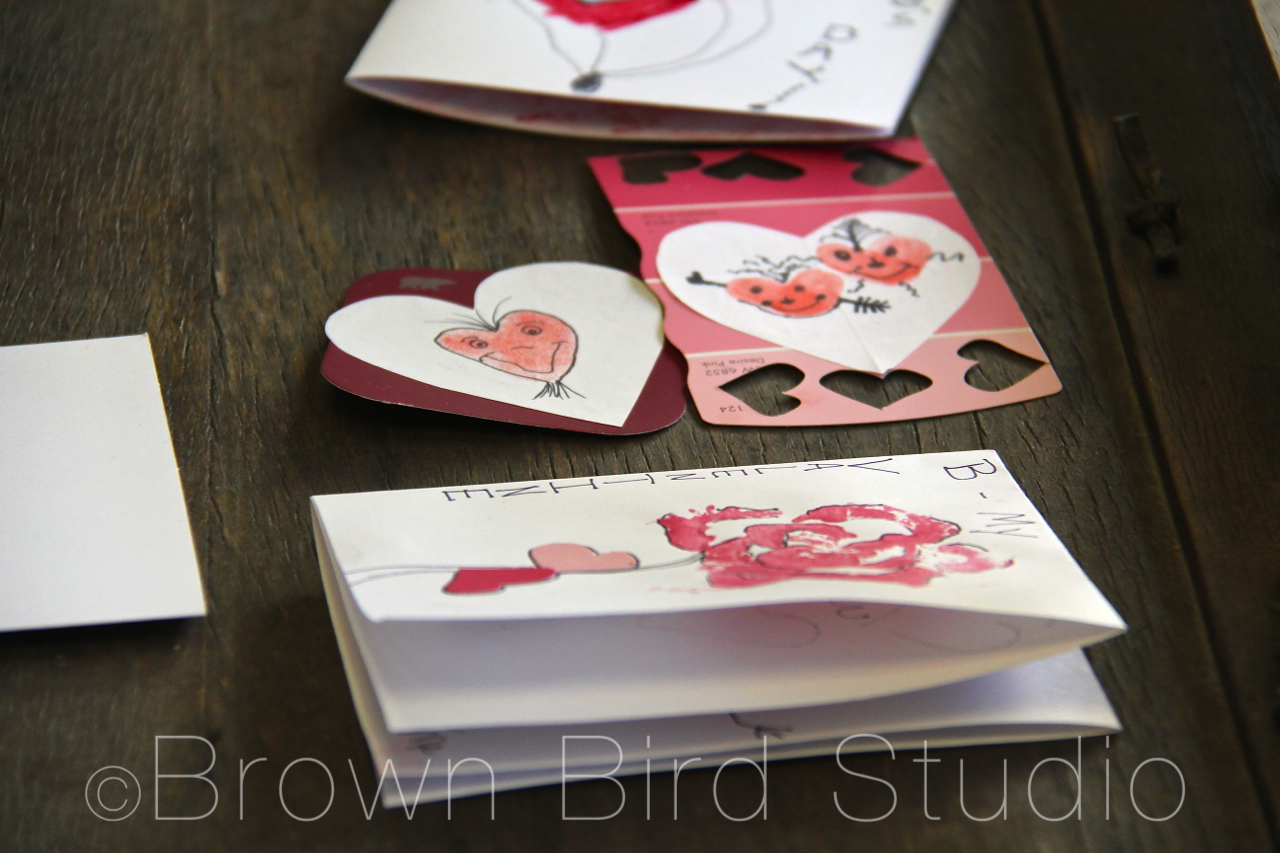
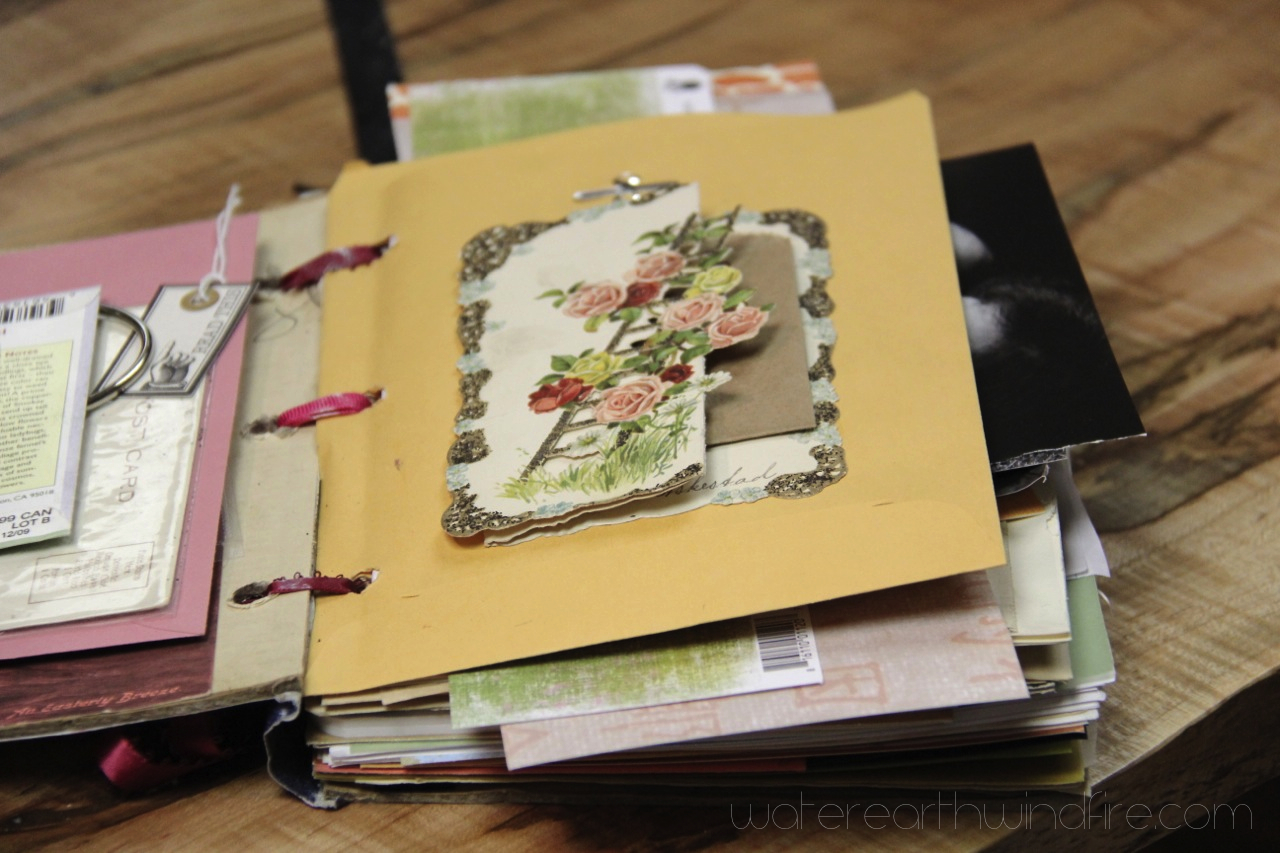
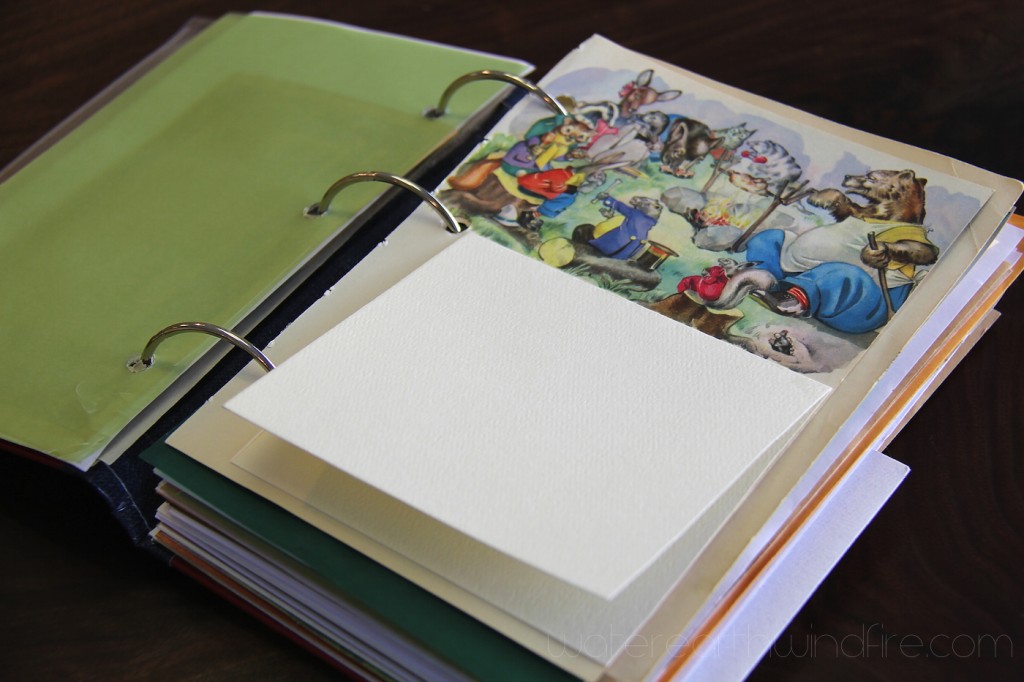
A Smoosh Book can be kinda funky and alotta fun. When you first make the book, you can sort through the old book’s pages and keep the ones you like, recycling the rest. Try incorporating comic book pages, other special papers, translucent papers, seed packets, tiny bags, cellophane bags, glassine envelopes, ribbons, stickers, cards, and any other kind of envelope or pocket.

Smoosh Book Sarah and Joyce

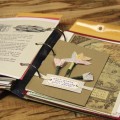
To use your Smoosh Book, add written passages, poetry, quotes … lists of stuff you’re doing/planning/wishing, recipes, pressed flowers and leaves, feathers, seeds, labels, photos, doodles, menus, tickets, found lists, anything you can think of.

Smoosh Book 10

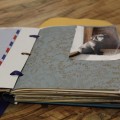
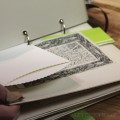
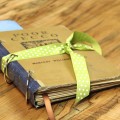
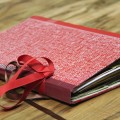
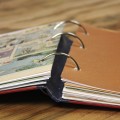
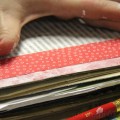
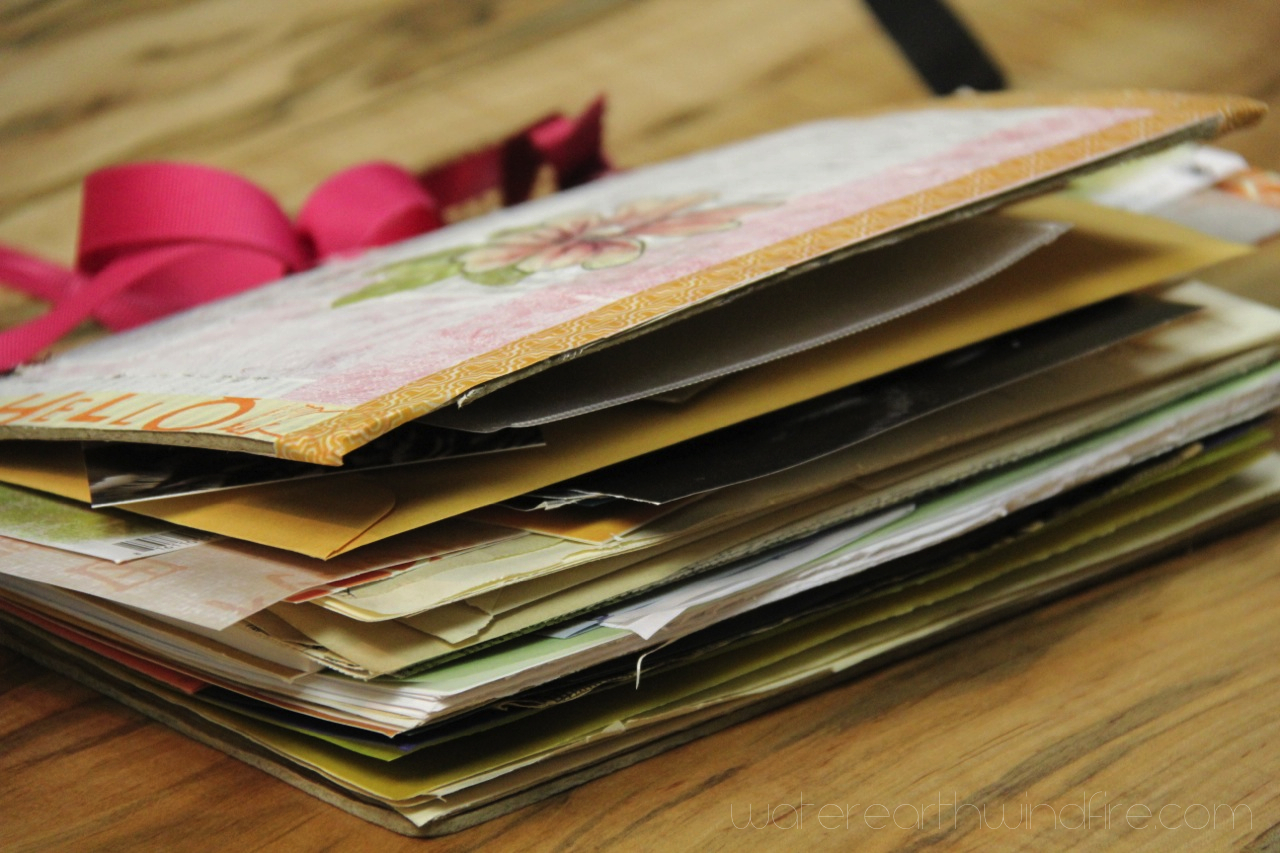
Use ribbons or binder rings to tie the book together so you can add pages as you find cool stuff (like envelopes.) Your book will grow as you use it. Eventually it becomes stuffed with stuff. And looks like it’s exploding and that’s totally okay. You can add bigger binder rings if it gets hard to turn the pages because you’re adding so much stuff.

Smoosh Book 3

Here’s what you need to make your own Smoosh Book:

  • Old hardback book from thrift store
  • band saw to cut off the spines
  • power sander to sand the edges where you cut
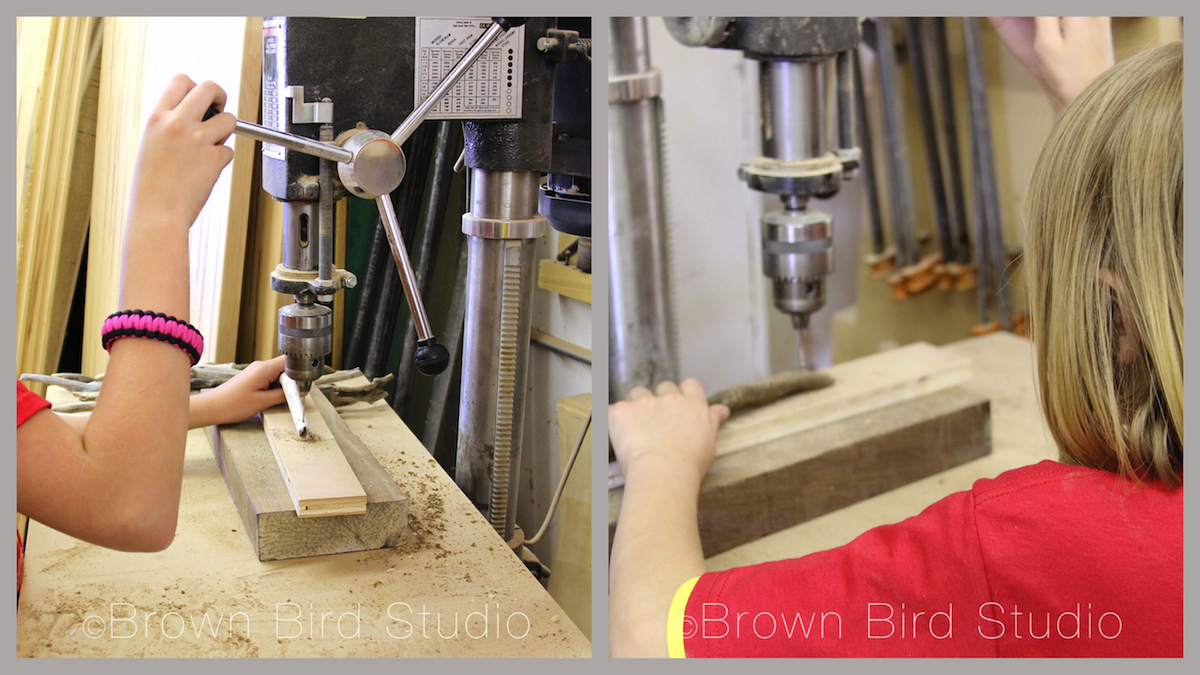
  • drill to drill holes through the entire book
  • clamp to hold the book covers and pages together while you drill
  • paper punch for miscellaneous papers — use one you can line up to match the holes you drilled
  • envelopes, extra blank papers, etc to fill the book
  • ring binders (preferably large) or ribbons, twine, leather cords, shoelaces
  • duct tape (for your new spine)
  • spray adhesive or dry-mount glue to attach pockets and envelopes that are not bound in to the book
  • washi tape, other tapes
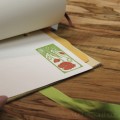
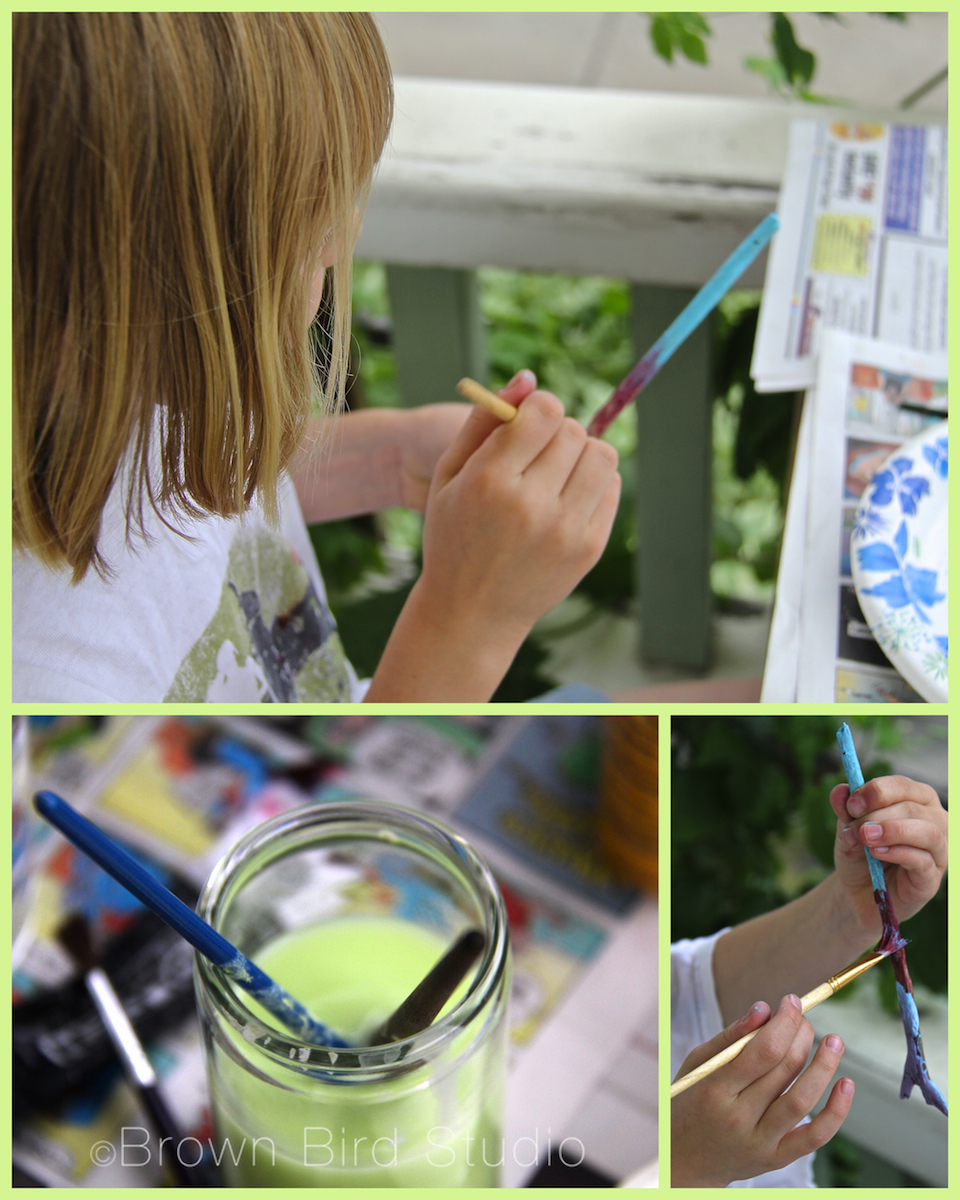
  • white acrylic paint or gesso to paint over text where you want to be able to write
  • flat wide brushes, either bristle or foam, for painting
  • bits and pieces from the list below, or whatever you have around

Basic Instructions to Make Your Own Smoosh Book: 

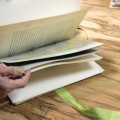
  1. Cut off the spine of your hardback book with a band saw. Watch out for metal staples. If the spine has staples, just cut a little more off to avoid the metal.
  2. Sand off the edges to make them nice and even.
  3. Separate the pile of book pages from the front and back covers.
  4. Make a new “spine” using duct tape attached to just the two covers. This will keep all the loose stuff inside your book.
  5. Go through the pages of the book and pull out all the pages except the ones you want to keep. This will make your book much “thinner” at this point.
  6. Decide what other papers you are going to add to your book. This can include large envelopes, flat bags, pockets, other types of papers …
  7. Cut the extra papers to size and put them where you want them in the book.
  8. Add the other papers such as envelopes where you want them. Don’t worry about everything lining up perfectly. It’s okay to have some things sticking out. These act like “tabs” later.
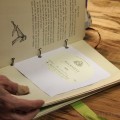
  9. Clamp everything together on a work table, and using your power drill, drill 3 holes through the whole mess.
  10. Put it all together with ribbons, ring binders or whatever you have decided to use to attach.
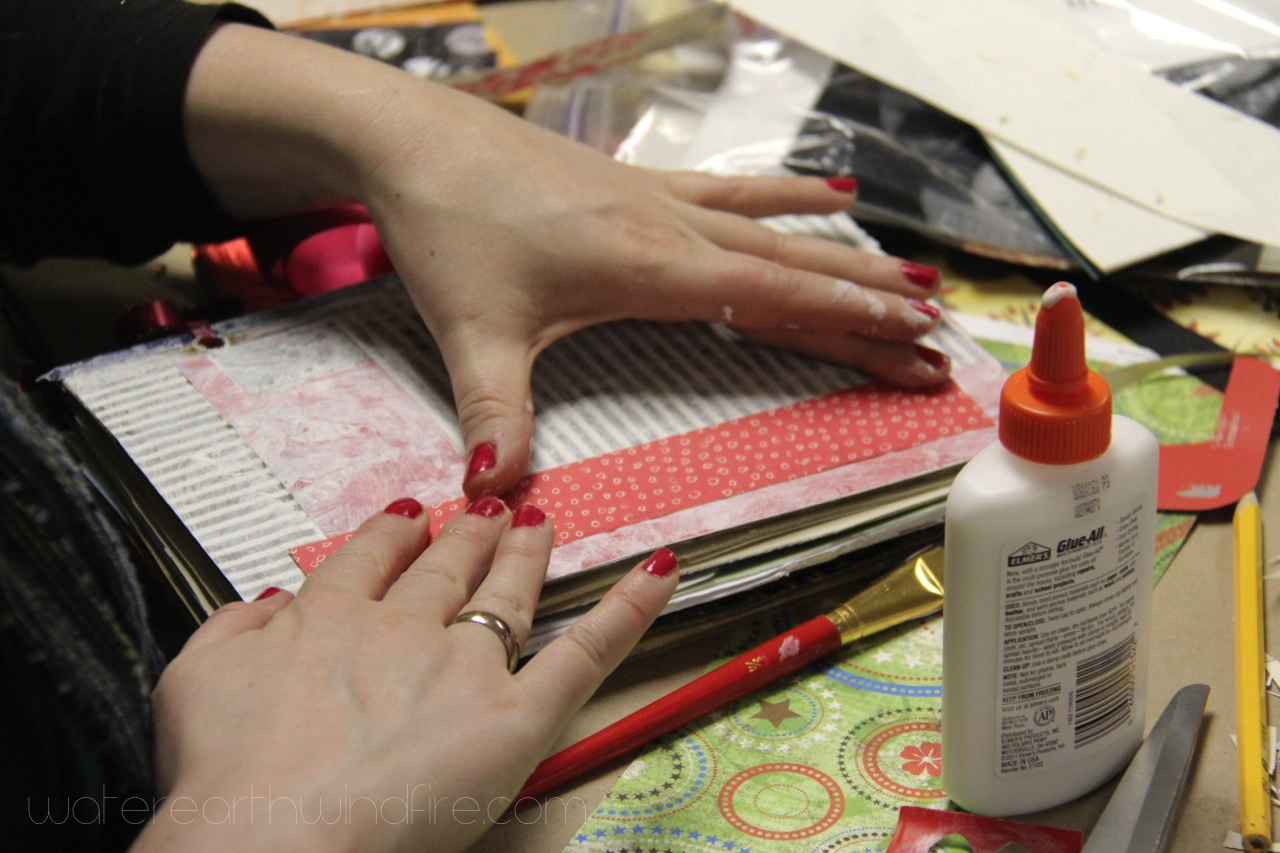
  11. Now you’re ready to start gluing things into your Smoosh Book, then adding your words.
  12. Above all else, have fun!
cutting spine off of a book
Use a band saw to cut off the spine of your hardback book

Below is a list of ideas and inspiration:  things you might want to stuff in your Smoosh Book as it grows …

  • lunch box notes
  • love letters
  • wine labels
  • restaurant menus
  • chopstick papers
  • flattened match boxes
  • any kind of food label
  • receipts
  • concert and theater tickets
  • travel tickets
  • baggage claims
  • old photos
  • autographs
  • ribbons
  • scraps of special fabric
  • doilies
  • valentines
  • rick-rack
  • trim, ribbons
  • twine
  • business cards
  • postcards
  • seed packets
  • glassine envelopes
  • packaging of any kind
  • feathers
  • leaves, flower petals
  • drawings, doodles
  • airmail envelopes
  • buttons
  • lace
  • pet photos
  • manilla envelopes
  • tassels
  • recipes
  • poetry
  • old calendar pages
  • those square slide holders
  • tiny brown bags
  • cd protectors
  • singles record covers (remember those?)
  • quotes
  • shoelaces
  • patches
  • bookmarks
  • found papers
  • grocery lists
  • clear photo pages
  • report cards
  • paper clips
  • bandaids
  • washi tape
  • masking tape
  • any kind of tape
  • vintage advertisements
  • certificates
  • luggage tags
  • sheet music
  • Monopoly money
  • playing cards
  • postage stamps
  • ledger book papers
  • I could go on forever … please add your own ideas in the comments below the post. I’d love to hear what you’re thinking of and making.

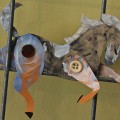
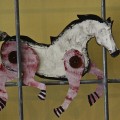
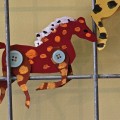
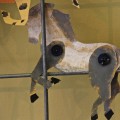
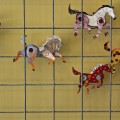
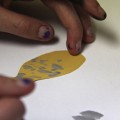
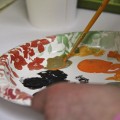
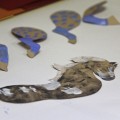
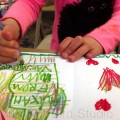
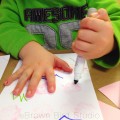
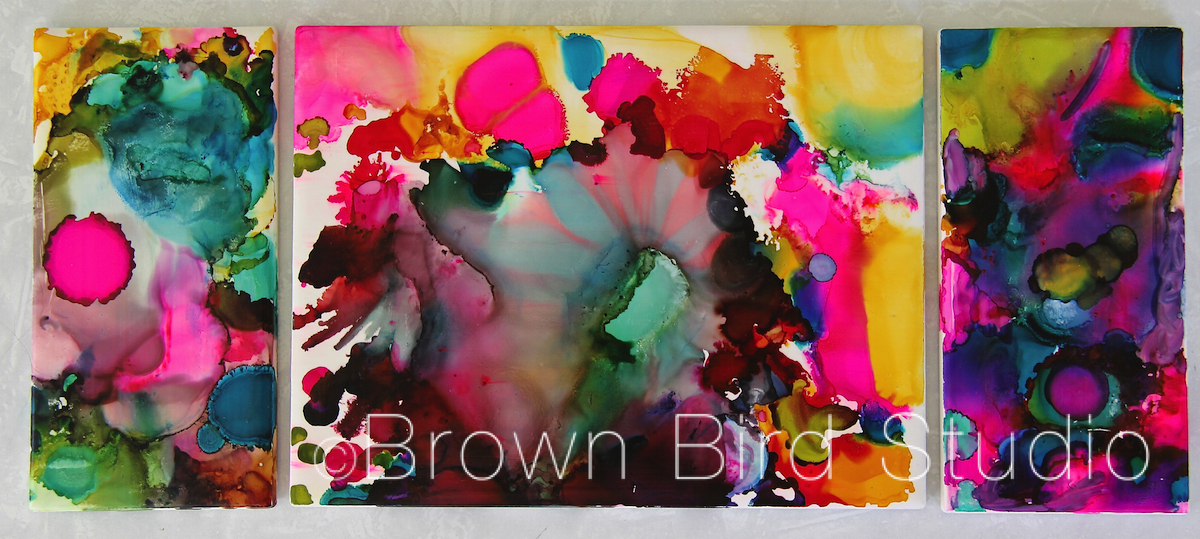
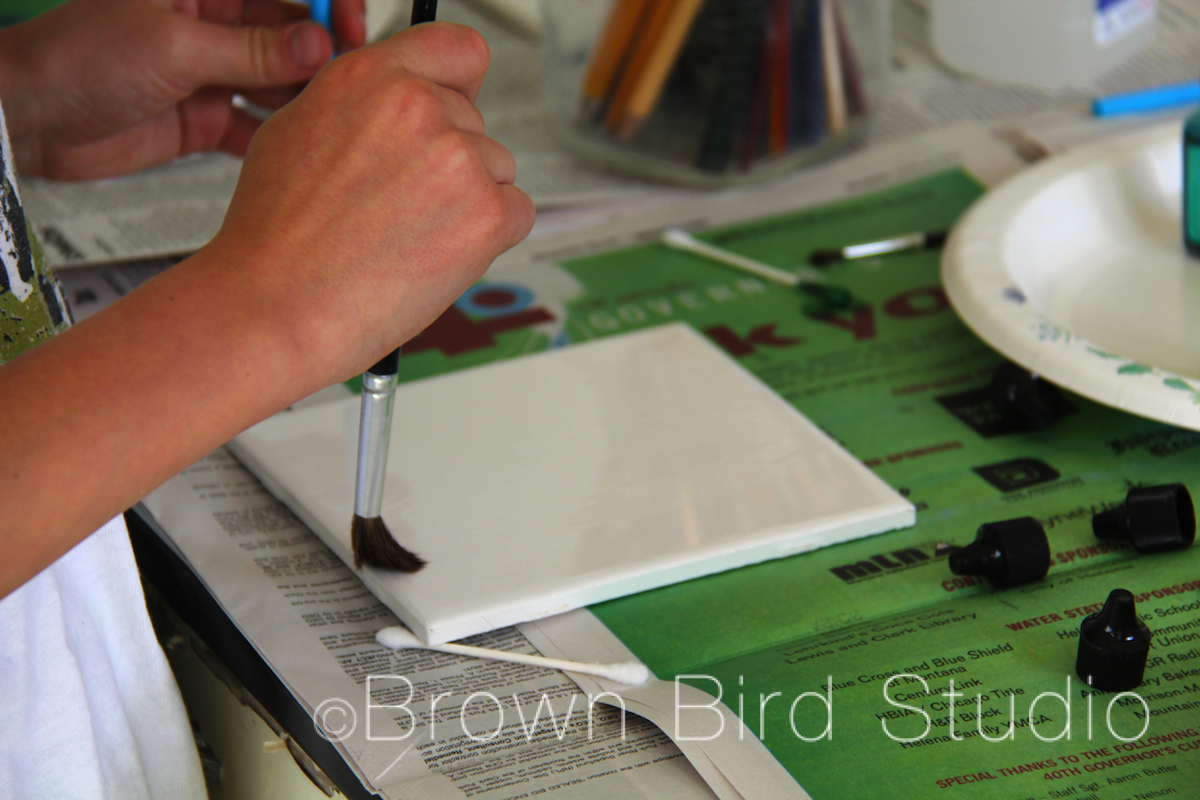
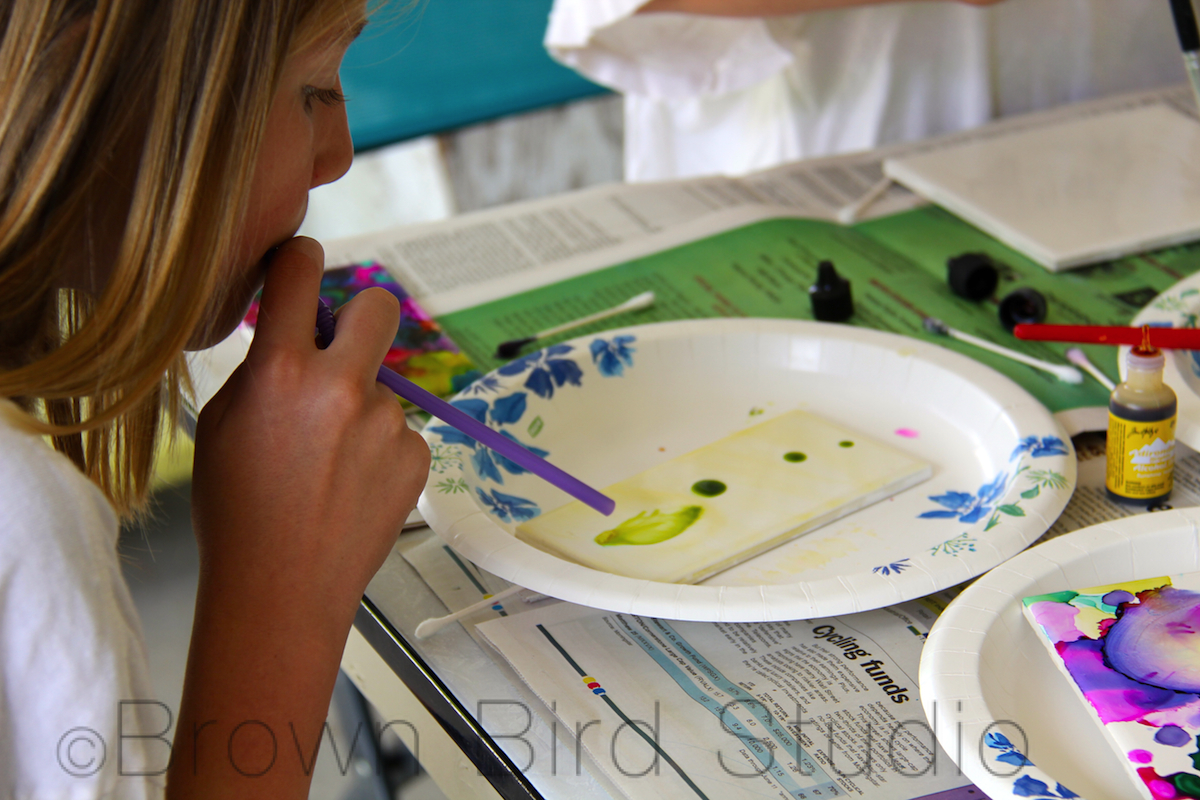
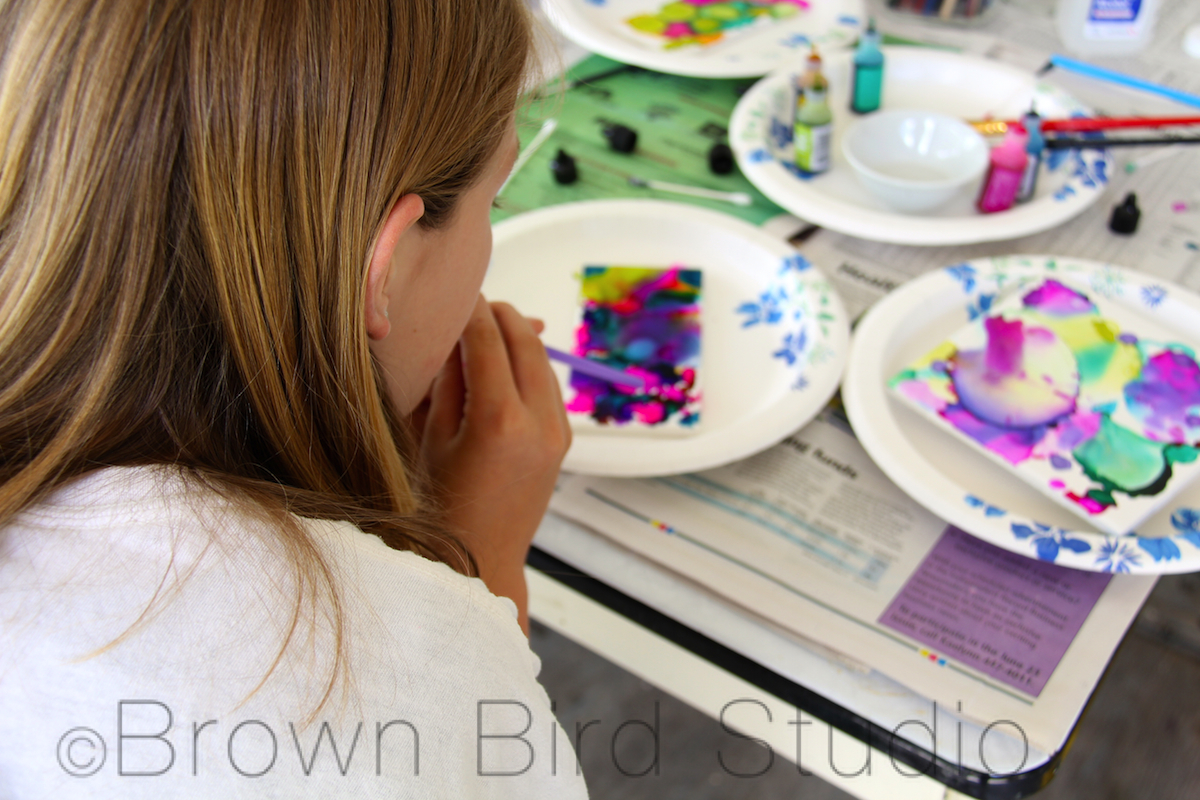
More photos. Click to see them larger:

Fun Art Project with Kids: Wild Horses

Herd of Painted Horses

It’s Wednesday, the day Ema comes to assist me at 1+1=1 Gallery. Well, today was early release day from school, so I spent the afternoon with not one — but two — of my favorite young ladies, Ema and Adia. They are always up for an art project after we have our snack and catch up with each other: what’s new in school, what was the most fun you had so far today, what do you think about gardening together this summer, blah blah blah.

Today we made a small herd of wild horses patterned after Ann Wood’s beautiful stampede of horses. She provides a downloadable template for the horses, and a great tutorial so I’m not going to duplicate her wonderful instructions here. This awesome project took us about an hour and a half, including set-up and clean-up.

The horses are pretty easy, but not something I’d recommend for toddlers or really little ones (see adaptation ideas in list below.)

WildHorseHerd03-imp

Painted Wild Horse

Herd of Painted Wild Horses

Ideas to Adapt this activity for younger children:

  • pre-cut the shapes and have the children paint them. Then an older child or adult may assemble the horses
  • use scrapbook papers that are already decorated. Cut the shapes and let children glue the legs on instead of having them be articulated legs
  • use bendable brads instead of buttons and wire
  • Cut the shapes out of colorful card stock and have younger children brush glue on and sprinkle glitter

Ways to use/display the horses:

  • mount with tacky glue, double-sided tape or sticky-mounting-squares onto a foam core or poster board. 
  • display directly on a wall using mounting putty.
  • the horses don’t all have to be facing the same way.
  • arrange the horses on whatever background you are using, so they look energetic and dynamic
  • make a mobile of horses using fishing line to hang them.
  • use one horse, mounted with re-positionable double sticky tape, to make a greeting card. The receiver of the card can take the horse off to play with.

LINKS:

Here are a few more photos of what the girls and I made today:

5 Fun Kid-Made Valentines

Aidan Proudly Shows one of his Valentine Creations

Make Cootie Catchers with Love Notes Inside

Cootie Catchers (aka salt cellars or fortune tellers) are perfect for a unique Valentine card that becomes a game. The basic shape is an origami fold. Make these with inexpensive copy paper in different colors. To make a cootie catcher into a Valentine gift, instead of writing “fortunes” on the inside, write little love notes or positive messages like the ones you find on Valentine candy hearts.  Examples: “Be Mine” … “Call Me Later”  “I-Luv-U” “Kiss Me” and “Hugs!” and “Sweetheart.”

Valentine Cootie Catchers

Cootie catchers are easy to make and can be adapted for any age from 3 up. For toddlers, you might want to fold the shapes for them, letting them decorate the paper. They can tell you what they want you to write on the inside. This is a fun way to remind your little ones of all the positive messages you give them every day.

For older kids, try suggesting they use rubber stamps for the numbers or letters on the outside of the folded shapes. Or they can think of Valentine-related symbols such as a bumble bee (bee-mine) a heart, a flower or pair of lips to use instead of the traditional numbers on the outside flaps.

Remind kids to stay positive, and keep a great sense of humor. Your kids may surprise you with the fun sayings they come up with for their cootie catchers.

One of the kids came up with a cool idea: on the inside flaps she wrote things like, “Hug the person to your right” and “Your Valentine is on your left.” A perfect party cootie catcher!

HERE’S WHAT YOU NEED:

  • pink or white printer paper
  • rubber stamps and stamp pads (optional)
  • scissors (to make letter-size paper into squares)
  • markers, colored pencils

HOW TO DO IT:

Instead of trying to formulate instructions that make sense, I am sending you to momsminivan.com because she has not only complete instructions, but detailed photos and a video on folding. Check it out here.  And here’s how to play cootie catchers:

  1. Practice opening and closing the cootie catcher. Open it first with your forefinger and thumb on each hand together. Then open it with your two forefingers together and your two thumbs together.
  2. With the Cootie Catcher closed, have someone choose a number or symbol from the four outside flaps. Open the Cootie Catcher once for each letter in the symbol (eg if they choose a heart, spell out h-e-a-r-t) or count the number they picked. Leave it open at the end so they can see four numbers or symbols inside.
  3. Next, have them choose one of the four inside flaps they can see, and close-and-open the Cootie Catcher that many times, again ending with it open.
  4. Last, they should choose one of the four flaps they now see, and you lift up that flap to show their love note or personal message.

Printing Valentines with Fruits and VeggiesMake Valentine-y Prints Using Fruit and Vegetables

All you need for Valentine printmaking is some fruits and veggies and a few other things you probably have around your house. Think about handing your Valentine a bunch of flowers you made yourself!

HERE’S WHAT YOU NEED:

  • pink or white printer paper
  • vegetables such as a bunch of celery, apples, brussels sprouts, carrot, potato and lemon
  • cheap sponges
  • a printmaking roller
  • little plates to put the sponges on
  • red, pink and black stamp pads
  • very sharp knife and a cutting board

HOW TO DO IT:

  1. Place a moistened sponge on a small paper plate. Squeeze a little red tempura or acrylic paint onto the sponge and spread it evenly with the roller. Cut the celery bunch about 3 or 4 inches from the root end, leaving the stalks all together. (Save the stalks you cut off of the root end.) Holding the celery bunch together tightly, press it onto the sponge and get some paint on the ends. Next, stamp it on your paper. Don’t squish it around or you will smear your design. Lift it up and Voila! There is a beautiful “rose!” Make a bouquet of roses.
  2. Cut a brussel sprout in half horizontally. Make a clean cut! Now, press it onto a red stamp pad (paint is too much for a brussel sprout print) and get it good and red. Next, stamp it onto your paper and lift it straight up. You will have a miniature rose. Make a big bouquet of mini roses!
  3. Use the stalks of celery you cut off of the celery bunch, to make little squiggle designs. Use your stamp-ink-pad for these. Play around and see what you can make with these.
  4. Cut an apple in half vertically to make a heart shape. Try cutting an apple in half horizontally for a circular shape with a perfect star in the middle. Use the paint-soaked sponge for the apple prints.
  5. Cut a lemon in half and dry it well on paper towels. Use your ink-stamp-pad to ink up the lemon and press, press, press.
  6. Cut a potato in half and using a sharp knife, carve the flat side into a heart shape or any other simple shape. Use this as a stamp, with either the stamp pads or in paint-soaked sponge.
  7. Compost the veggies and fruits after you finish.

Delight in Each Other
Delight in each other

Thumb Print Hearts Make Cute Valentine Cards

What is easy, simple, and uses something you have on you ALL the time? Hearts made with your very own thumbs. Big grownup thumbs or tiny toddler thumbs make super cute Valentines. This is a popular card making activity with the littlest ones.  (I used washable red ink stamp pads for obvious reasons. heh)

Sarah and Bailey Were Almost All Thumbs
Sarah and Bailey were almost all thumbs

HERE’S WHAT YOU NEED:

  • thumbs
  • white or pink printer paper
  • washable red stamp pad
  • paint samples
  • glue sticks
  • scissors
  • markers, colored pencils, fine-tip permanent pen
  • heart shaped paper punch (totally optional)

HOW TO DO IT:

  1. Press your thumb onto a red stamp pad and get it good and inky.
  2. Make two thumb impressions, at slight angles to form the shape of a heart. Play around with your own ideas.
  3. After the thumb prints dry (takes a minute) draw on them with markers, colored pencils or sharpies.
  4. Cut the hearts out and glue onto paint samples from the paint store.
  5. We also used a heart punch to embellish these cards.

Just Draw!

Some of the kids who came to this workshop decided just to draw their Valentine’s cards — and I just say there were some really cool cards being made at that table! They used the markers and printer paper we had to exercise their creativity. Three-year old twins and their sister made these:


And Then There Was Aidan — He Went All Out(side-the-box)

I love, love, love how this happens! Aidan made a cootie catcher, but the thing that really caught his imagination was the idea of printing and getting messy with paints. I had three planned valentine techniques and Aidan made such a beautiful — creative — Valentine using the materials and tools I had available but his very own multi-layered techniques. If he had given me his Valentine I would have proudly framed it and hung it in the gallery. Check it out below. Can you tell how Aidan made his valentine?  (I’ll give you a hint about one little part of his design  … below the picture)

Aidan Proudly Shows one of his Valentine Creations
Aidan proudly shows his amazing Valentine creation!

(hint: Aidan used the outside of the celery stalk, lengthwise, to make the cross-hatched pattern in the middle. The rest of his techniques you’ll have to figure out yourselves.)

Enthusiastic Valentine Maker
Lily really got into punching and cutting the paper samples!

How to Recycle a Cereal Box into a Mask

how to make a mask from a cereal box

how to make a mask from a cereal box

lady selling masks she made at the farmers market

My friend, Jaime, and I bought these masks from Diane at the Helena Farmers Market last weekend. Here are Jaime and Diane posing with them. Ema and Adia wanted to make their own masks so we got out markers, scissors, clear packing tape, some driftwood sticks and a cereal box and they dived right in to making them without any instruction from me. They basically just copied Diane’s technique.

Here’s how:

  1. Cut open the cereal box. one box will make two masks
  2. Cut a skull shape out of one side of the cereal box (you can use this template by saving the image and printing it out if you want to)
  3. On the inside of the box, draw a skull face. Make it cool. Make it funny or cute. Whatever you like. The nose looks like a skull nose if you draw an upside down heart. Make the eyes big! Decorate the face with interesting features.
  4. Flip it over and use packing tape to add a handle. The handle will also help stabilize the thin cardboard. We didn’t have tongue depressors, so we just used some sticks we had lying around from our summer projects. Diane uses tongue depressors.
  5. Adia wanted to be able to stick her tongue out of the mask, so we cut a small hole in the mouth. We also cut a very tiny hole so she could see out when she’s holding the mask to her face.
  6. Now go out and have fun with your masks.

how to make a mask from a cereal box

how to make a mask from a cereal box

how to make a mask from a cereal box

Tim came home just in time to take some photos of us wearing our masks. Cool, eh?

kids can make these masks from cereal boxes

3 Ways to Have Fun in One Summer Day

Painted Driftwood Sticks

Painted Driftwood Sticks

  1. Attend the Exploration Works/Holter Science of Art Day Camp. Then have french fries and other unmentionable deliciousness.
  2. Head out to Lake Helena Reservoir to collect driftwood sticks of a certain size and smoothness. Take Charlie along for sweetness and chuckles.
  3. Paint your sticks while eating dried seaweed on the porch, all the while enjoying an afternoon thunderstorm.
solar ovens by kids
Teams of kids made solar ovens at Exploration Works

It has been 10 days since Ema and Adia and I spent the day together making art, playing with Charlie and doin other summer kid stuff. I actually missed them. And I think maybe they might have missed playing with me too. When I picked them up at the Exploration Works Science Museum at noon, they both gave Charlie and me big hugs and smiles.

So … we went to a fast food place for lunch (it shall remain unnamed — grin) just to do something totally unexpected and different. The girls liked it. (I remembered why I don’t eat there.)

Lake Helena
After lunch we headed out to the lake to collect sticks for our afternoon art project. Charlie also wanted to get in the water and show us his favorite trail. We could tell there was a thunderstorm brewing over the town.
drill press
Back in town, Tim let us use his shop’s drill press to make holes in our sticks.
painting sticks
Adia stayed absorbed in this activity for a long time — she’s the one who colors outside the lines. 🙂

Thunder and a sweet summer rain kept us company while we painted our sticks. It’s my favorite kind of weather — a warm thunderstorm when you’re nice n’ dry on the porch so you can feel the hairs rising on your skin but you don’t get drenching wet. Welp, that was fun! And definitely something 8 to 10 year olds can handle.

painting stick art
Ema is meticulous … taking her time and considering each brush stroke. Her color choices are fun!
painted stick art
Ema’s finished artful sticks, ready to be threaded and hung tomorrow
Painted Stick Art
Adia’s awesome finished sticks, ready to be threaded and hung as a sculpture tomorrow

Tomorrow it’s time to turn in our Chalk It Up Helena applications. We will have a cooking lesson (Pepperoni Pizza Puffs) and try to finish our stick projects. We’ll show you the finished results next time, okay?

Paint Sample Art — Butterflies Celebrate Summer Solstice

butterfly art project

Butterfly wall artOne of the projects I did with the girls this week was to create this piece of wall art for their mom’s office wall. (Her office is so totally in need of bright beautiful art to cheer up the grayness. heh.)

Butterflies-impWe used the paint samples you can get at hardware stores. Home Depot was kind enough to let us have a big handful of samples for free. The girls picked out the colors, punched the shapes with paper punches and bent the wings to make the butterflies look three dimensional. We also used some leftover pieces of printed papers I had lying around, to add variety.

Next we worked together to come up with the swoosh shape and I glued them onto a large piece of foam core. I wanted to use a large stretched canvas, painted white, but my supply budget for the summer wouldn’t stretch quite that far and I didn’t feel like stretching my own canvas. You could also use a piece of nice 1/4 inch birch plywood with sanded edges … maybe leave the natural wood color, or paint with white acrylic or indoor wall paint.

IMG_0191-impWe used Craft Glue to attach the butterflies to the foam core. I thought about using hot glue but decided it would be too messy and overkill, since the little butterflies are so lightweight.

butterfly art projectWe have a rainbow thing goin’ on in this butterfly swarm, but we could as easily have chosen to use a different color scheme. You could even do an “ombre” design — the great thing about paint samples — there are so many colors, and if you get the sample cards that have 4 or 5 shades of color on each, well that would be just easy!

Glue or stick some hangers on the back and voila! You have a colorful work of happy art. Total cost for this project: $3.00  (I already owned the paper punches. These are expensive, but maybe find someone who would lend you theirs … or plan to spend many evenings hand cutting hundreds of shapes.)

Supply List: craft glue, foam core (stretched canvas or 1/4 inch plywood panel may also be used), lots of paint sample chips, paper punches, one or two picture hangers for the back


Kid’s Art: DIY Painted Tiles, written by Ema and Adia

painted tile
Summer Fun with painted tiles
Adia using her invented tile painting technique, “Strawmania.”


Ema and Adia are spending lots of time with me this summer, just chillin, havin fun, learnin some stuff and makin some art.  So far, I think we are using this first week to get used to each other, test limits, and figure out what we want to do for the rest of the summer. It’s been interesting and … I am very tired each evening. I think they might be too. I think that is a good thing.

I promised the girls I would teach them how to make blog posts, so every once in awhile Ema and/or Adia will be a guest blogger here on Water::Earth::Wind::Fire.  I hope you enjoy their posts.  At first, I will take dictation, typing pretty much exactly what they tell me to type.  At some point, I will let them do the entire post.  So, here goes, with the girls’ first ever blog post….

Head of little girl making painted tiles

Ema writes:

We wanted to make something nice for my mom’s office, so we made these tiles. We saw these on Pinterest, and we saved them to our summer fun Pinterest board and this is one of the projects my sister and I both wanted to do this summer. This was a creative and fun project. I would recommend this to children and their parents. To do one tile it takes about 5 minutes. Well, after you get everything set up, it goes really fast.

We made practice tiles first and my favorite one turned out to be my practice tile (that’s my practice tile, below.) It was my favorite because it had a lot of bright, different colors. I would describe the design as 3 different colored wax seals (like the ones on old envelopes) laying on top of each other. I really like that.

painted tile

Here are the three tiles Ema made to go together as a triptych:

painted tile triptych

Editor’s note: Ema’s sister, Adia, made the list of supplies and wrote the instructions below: 

How to Make Strawmania Painted Tiles

Supplies You Need:

  • Rubbing alcohol
  • Alcohol inks
  • Ceramic tiles
  • Paint brushes
  • Bendy straws (or any kind of straw, but Adia says they should be bendy)
  • Q-Tips (cotton swabs)
  • Newspapers
  • Modge Podge
  • Felt circles
  • Hanger thingamajigs
  • Permanent glue

Instructions:

  1. Put down newspapers so you won’t get ink all over the place  

    tile painting
    Brush rubbing alcohol onto the tile. Use a lot.
  2. Take your tile and paint rubbing alcohol all over it. Use alot because it dries up fast

    Painted Tile in Progress
    Drip little drops on ink on the tile right into the rubbing alcohol
  3. Drip ink on the tile in little drops  

    Painted Tile - blowing with a straw
    Blow the colors around with a straw or just let them do their thing
  4. Use your straw and blow to make the dots expand.You can play around with the straw blowing to make really cool designs in the ink. (editor’s note: Adia and Ema invented this technique and Adia named the technique, “Strawmania.”)
  5. You can use a qtip to make shapes
  6. You can add more colors
    tile painting in progress
    You can add more colors to your tile, blow them around or just let them mix

    painted tile
    Add more colors and blow them around
  7. You can drip more rubbing alcohol to make really cool effects in the inks
  8. Next, let your tile dry
  9. After it’s dry you can add more ink colors, or you can add more alcohol and play around with it.
  10. When it’s all done and totally dry, you paint it with Modge Podge so the inks don’t disappear. Also to make it shiny. Also to protect the ink design
  11. When the ModgePodge is dry, you turn the tile over and put the felt circles on the corners (you need these so it won’t scratch your wall or your tables or tile)
  12. Then, glue on the hanger thingamajig with really good glue

SummerFunMonday08-imp

Above is Adia’s finished triptych of tiles for her mom’s office. Adia writes:

My favorite part of making the tiles was Strawmania. That is what you do with a bendy straw when you blow through it onto the tile. It expands the ink blobs. You can blow colors together and mix them. Sometimes the color goes wherever it wants to go, which looks cool sometimes and other times it makes a big grey blob. If you get a gray blob, you can always add more alcohol and then add another color to make it colorful. That fixes it. This is something I will probably want to do again. Next time I will use less colors so my tiles don’t get big gray blobs. Here is my favorite tile (below). I am squirting the ink on it:

painted tile