Wild Horses and our Naturally Wild Souls

paper horse

paper horses

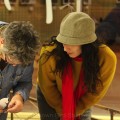
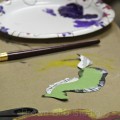
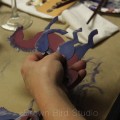
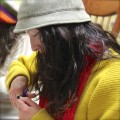
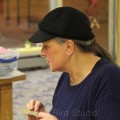
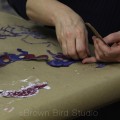
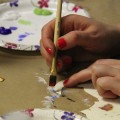
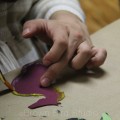
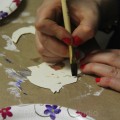
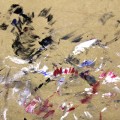
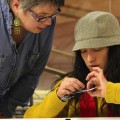
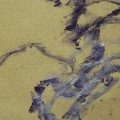
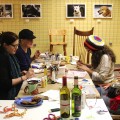
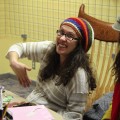
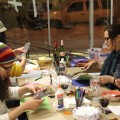
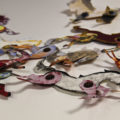
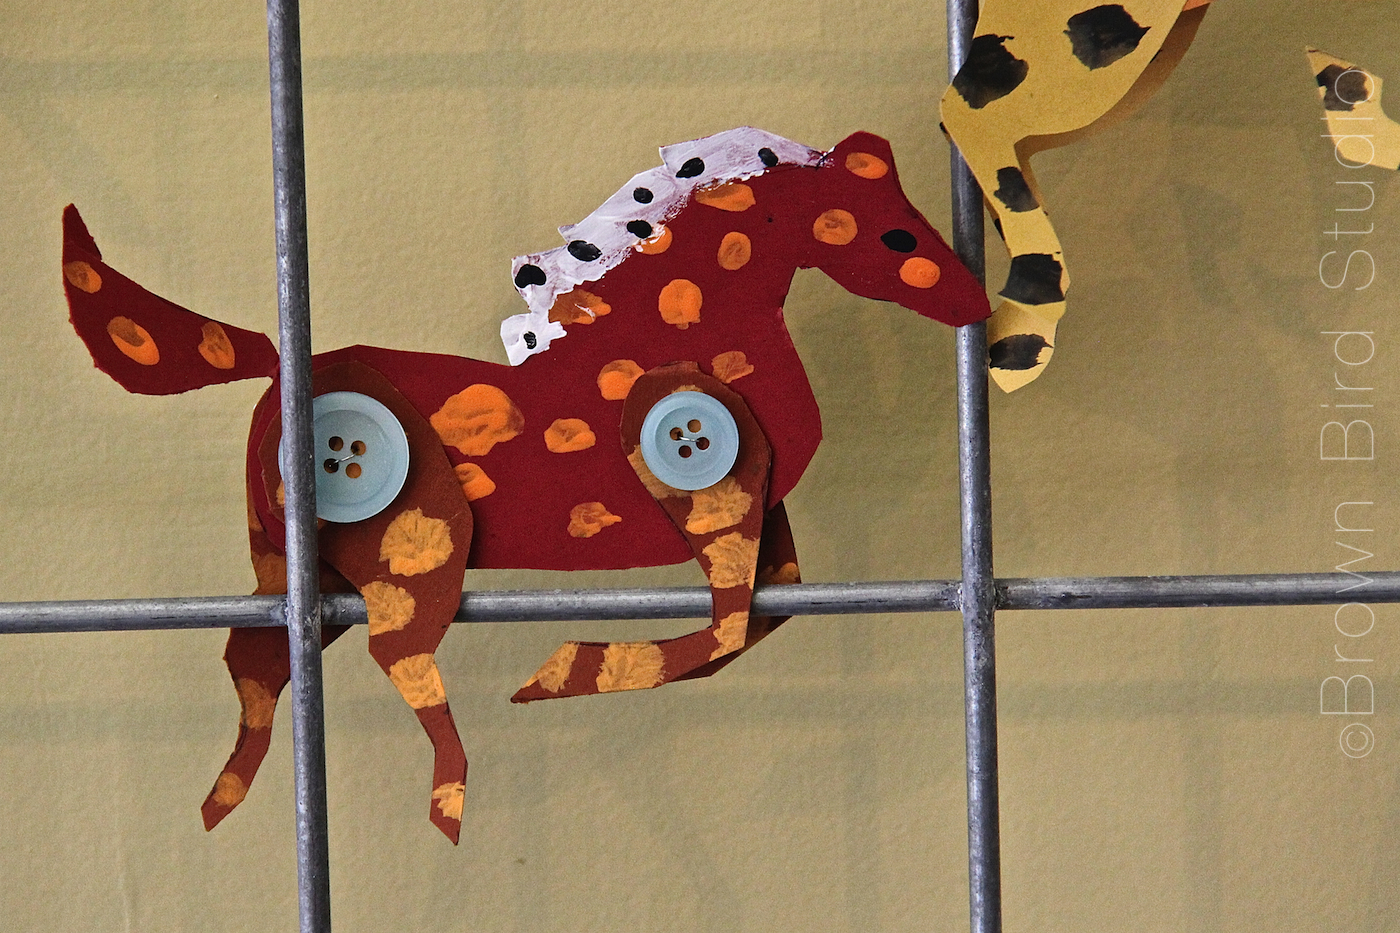
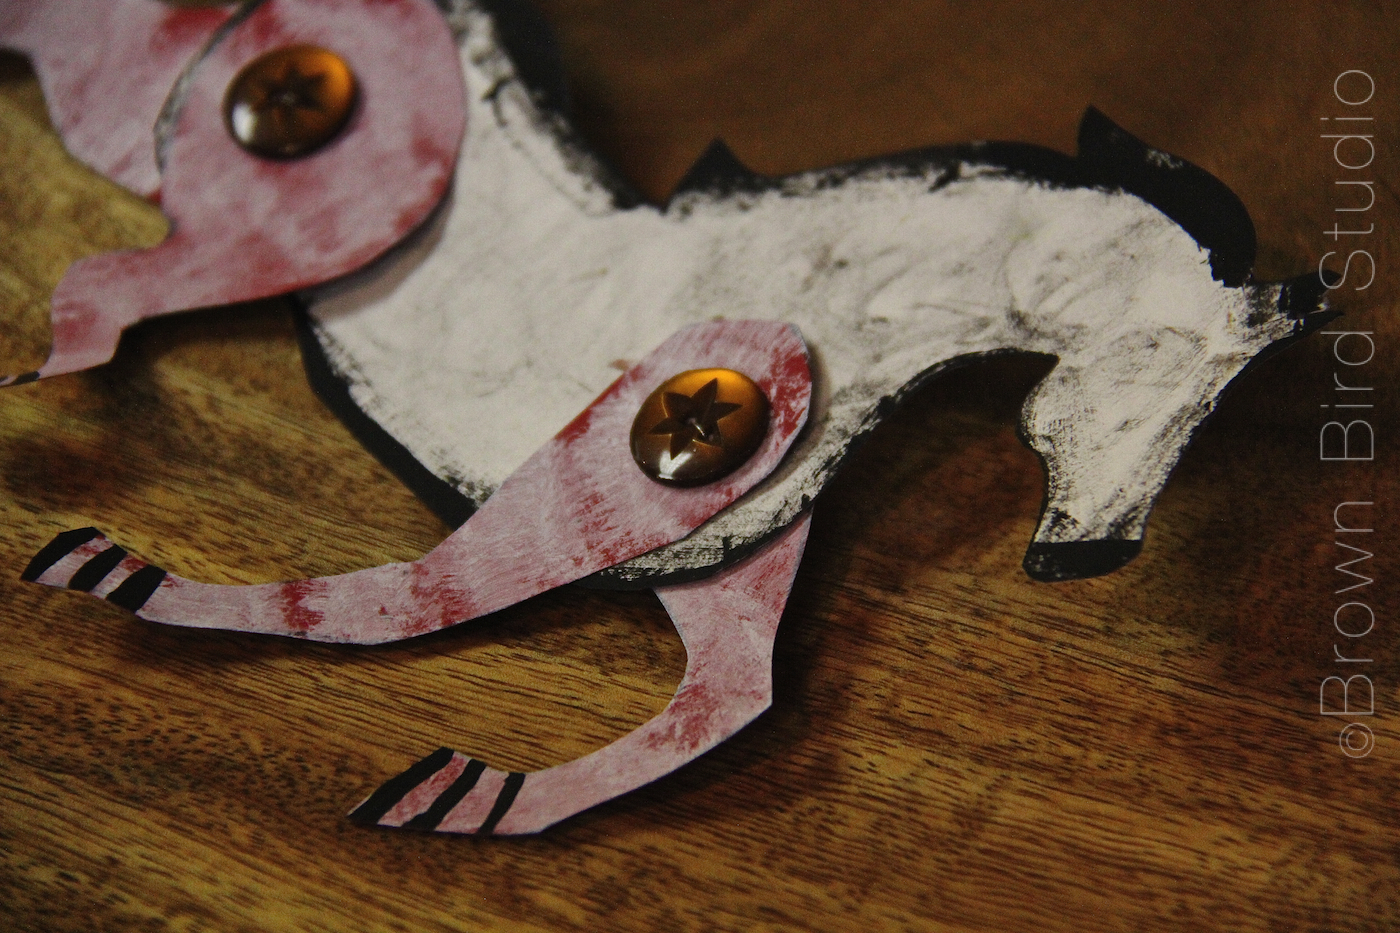
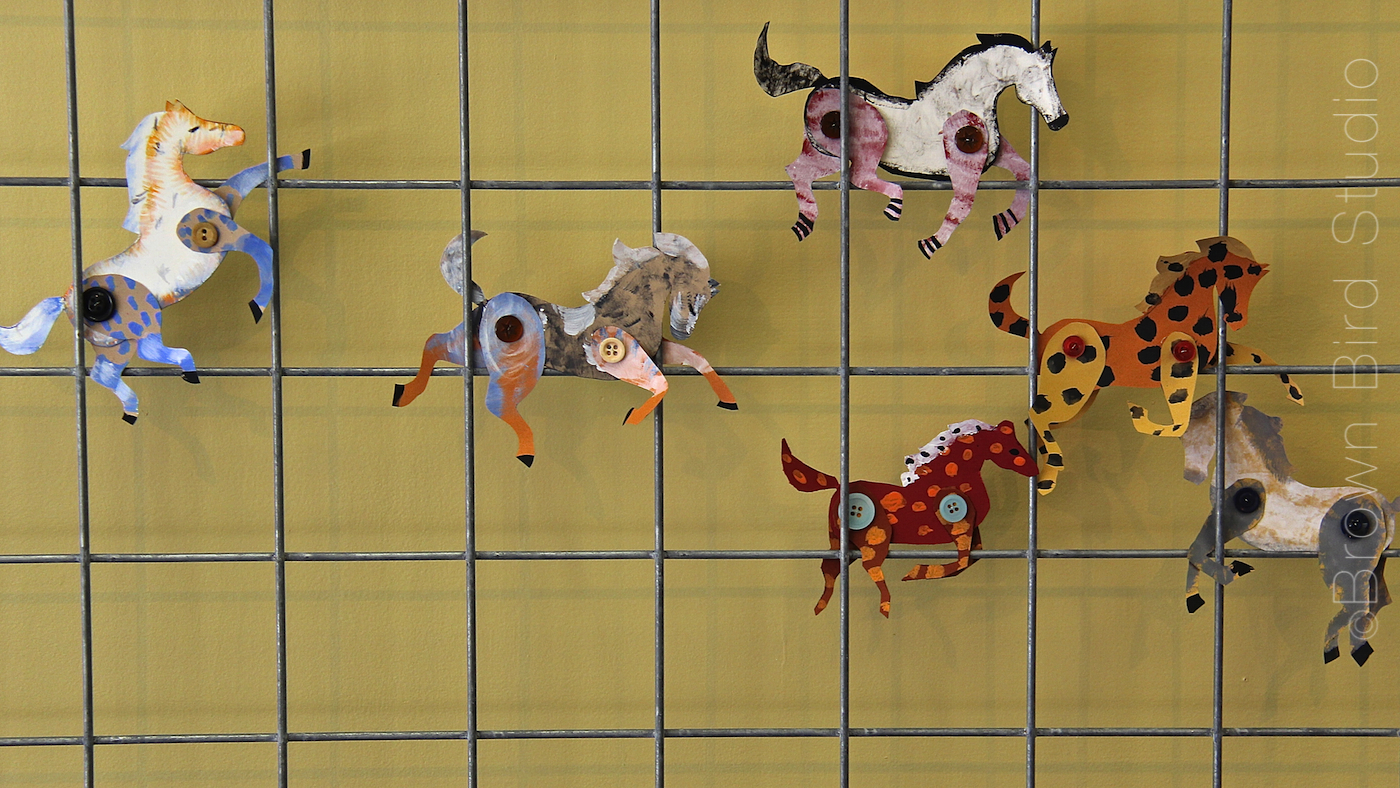
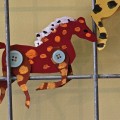
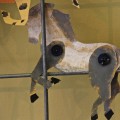
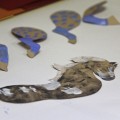
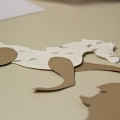
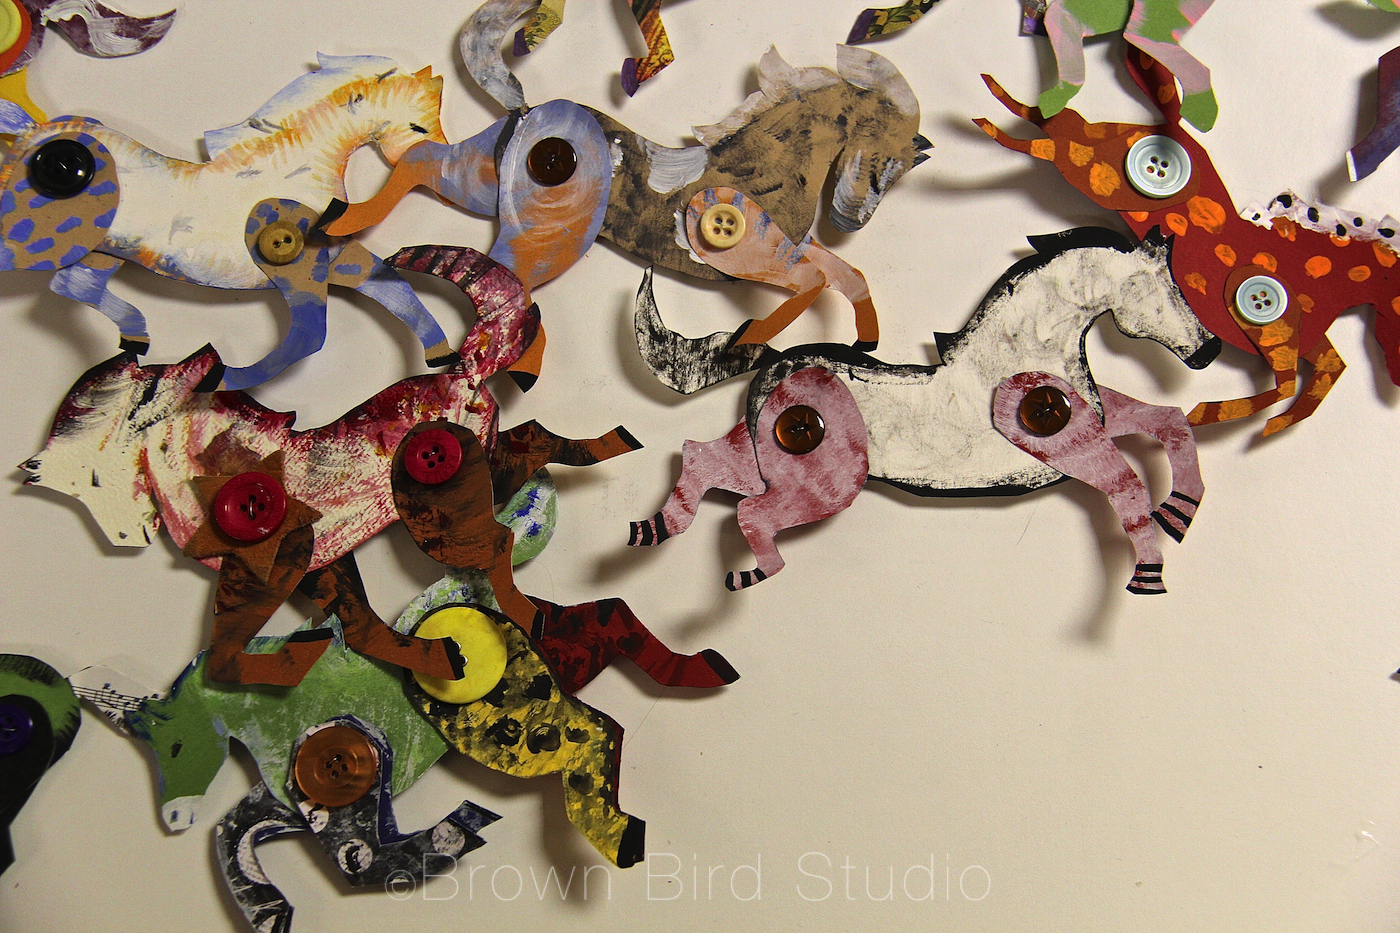
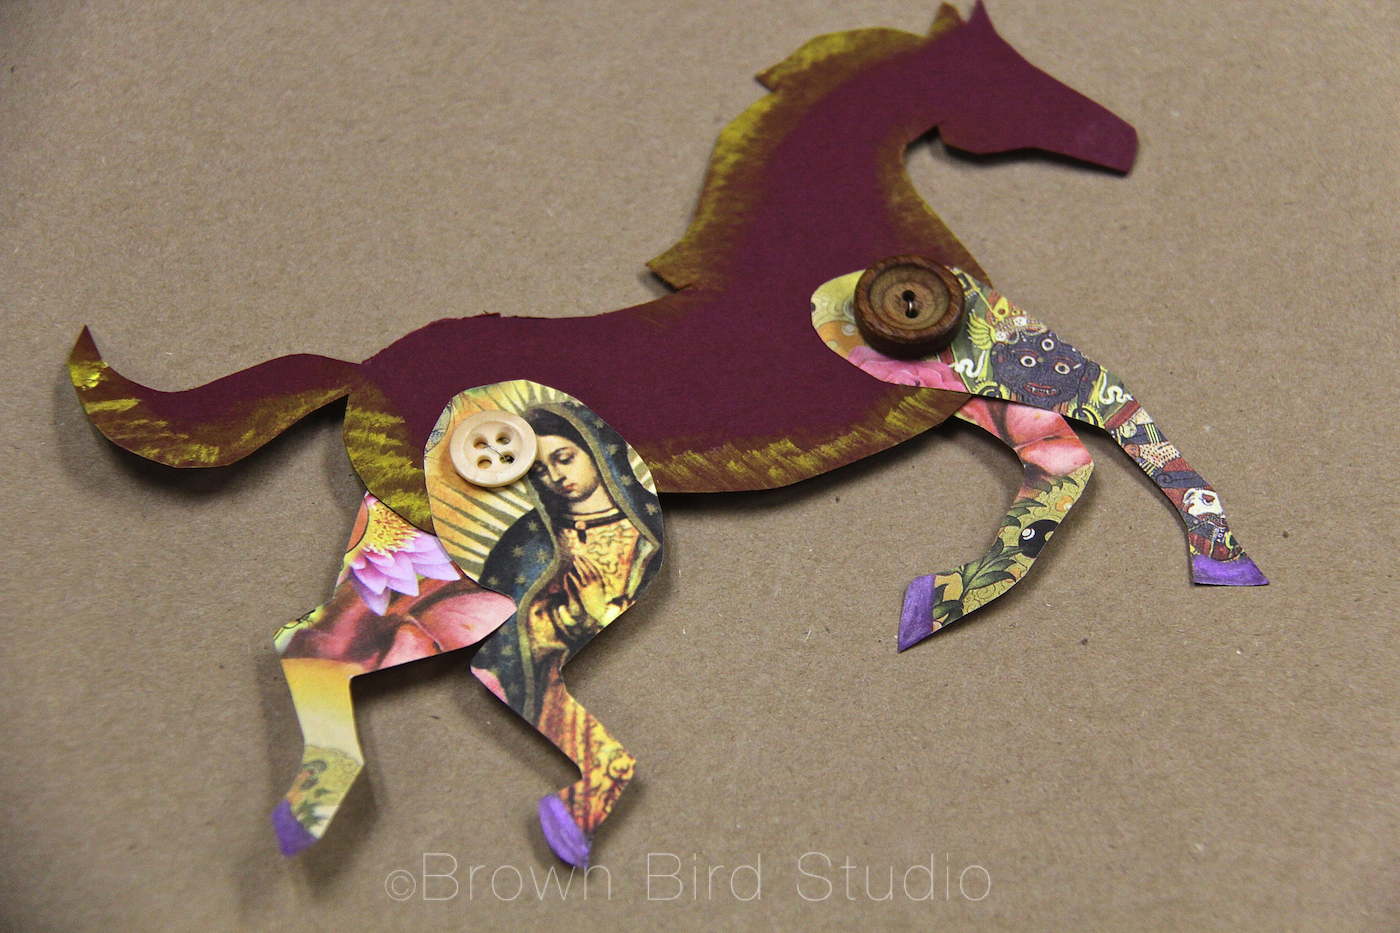
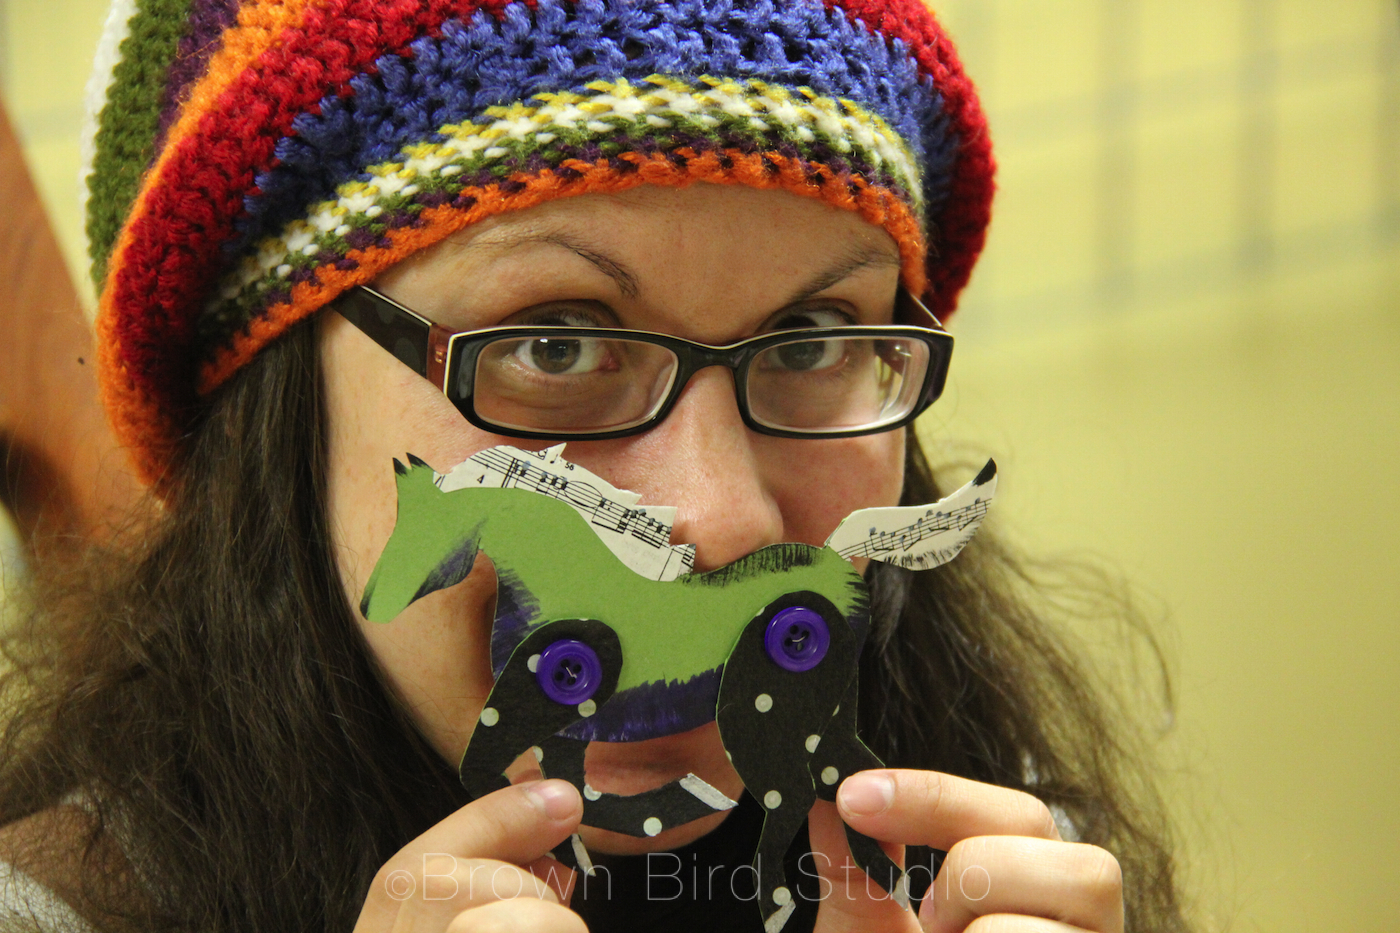
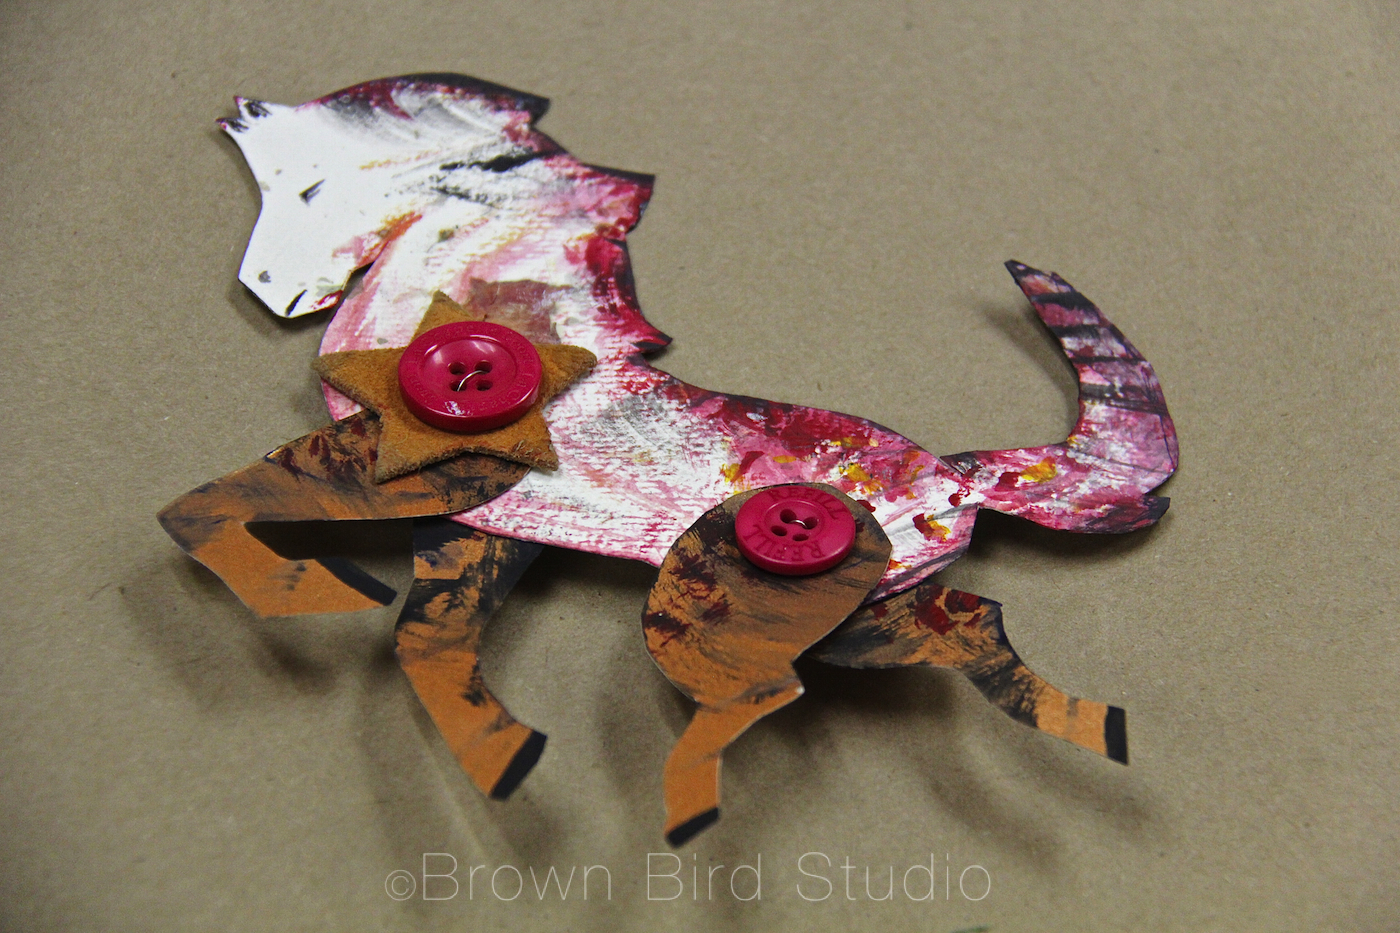
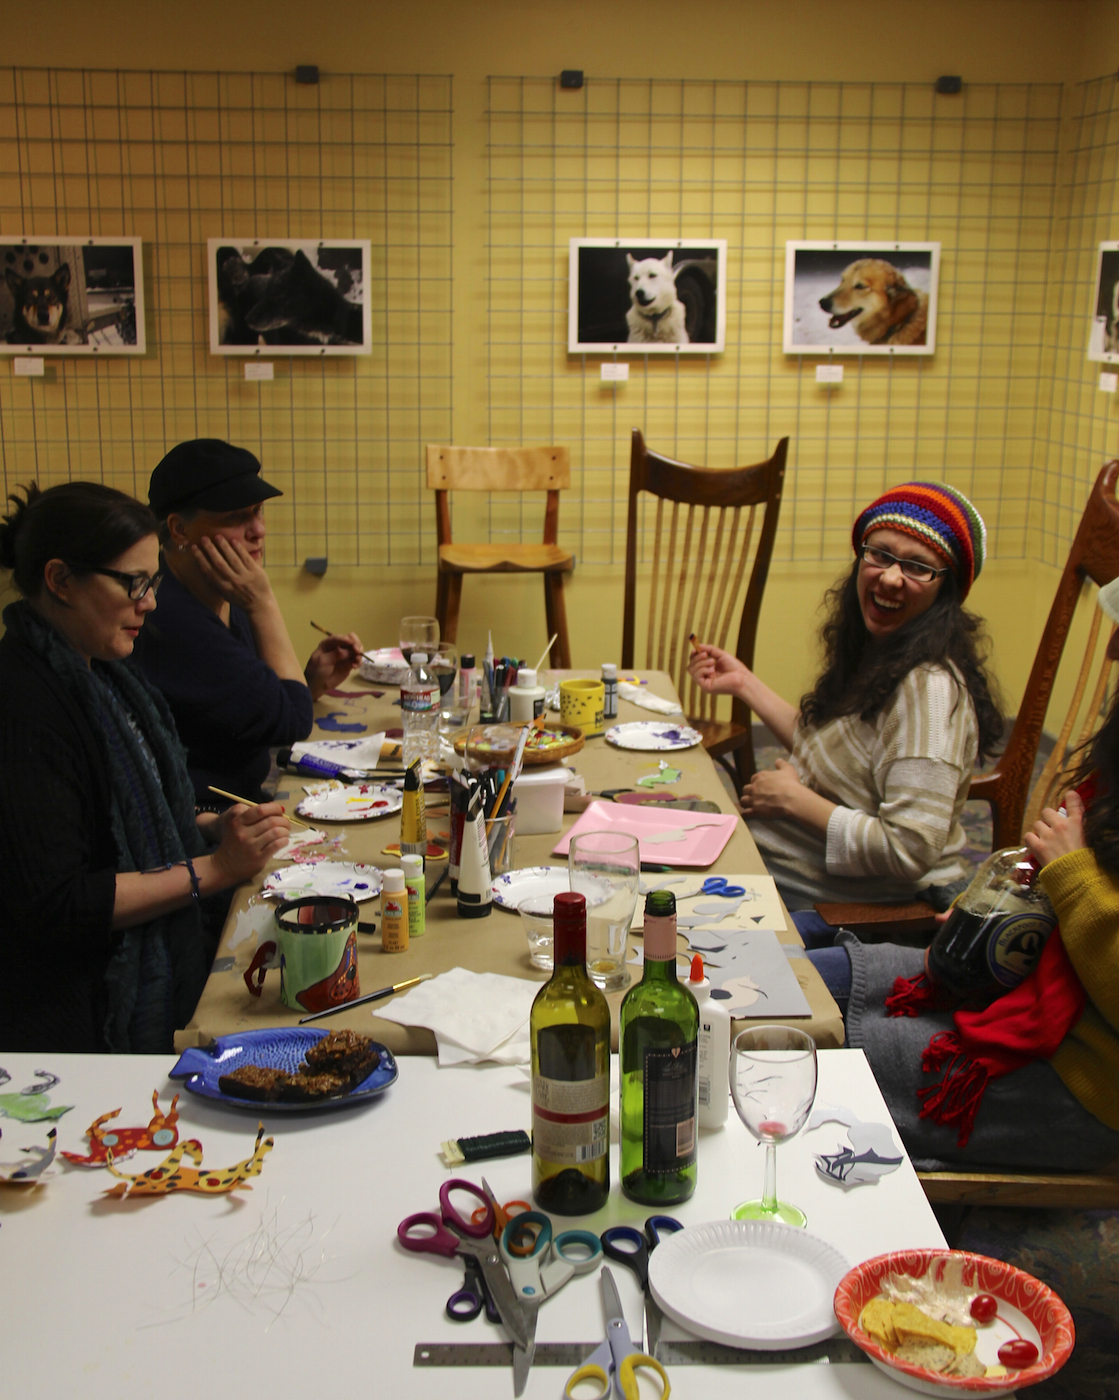
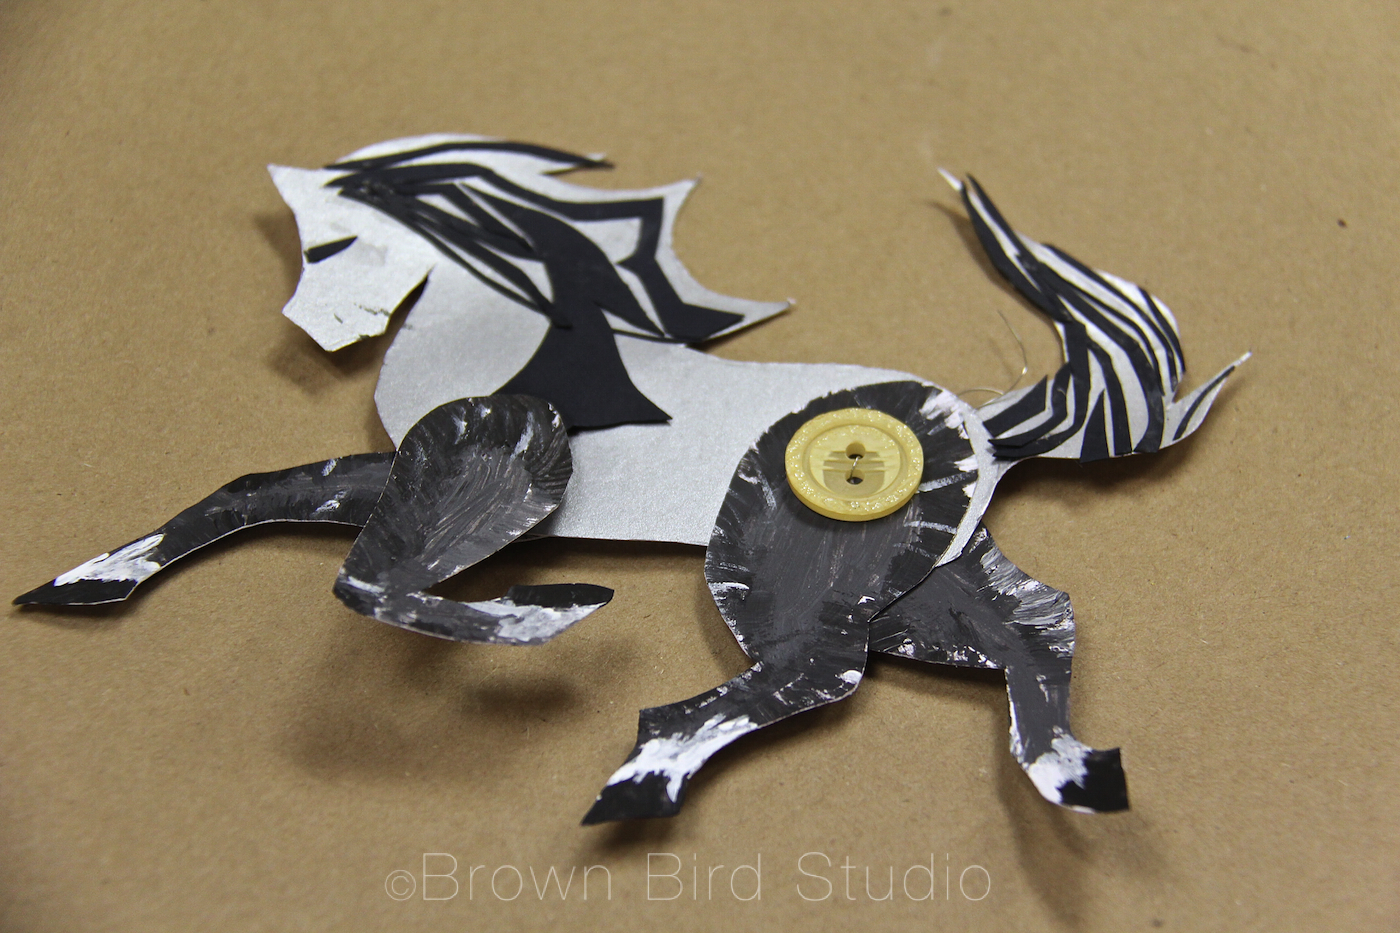
Last night at our first monthly Girls Art Night at 1+1=1 Gallery (Brown Bird Studio) we were inspired by Ann Wood’s creative exercise to make these absolutely delightful horses. We were a small group — just the perfect size, though as we continue to do these art-nights I hope other women will join us.

paper horse

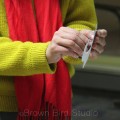
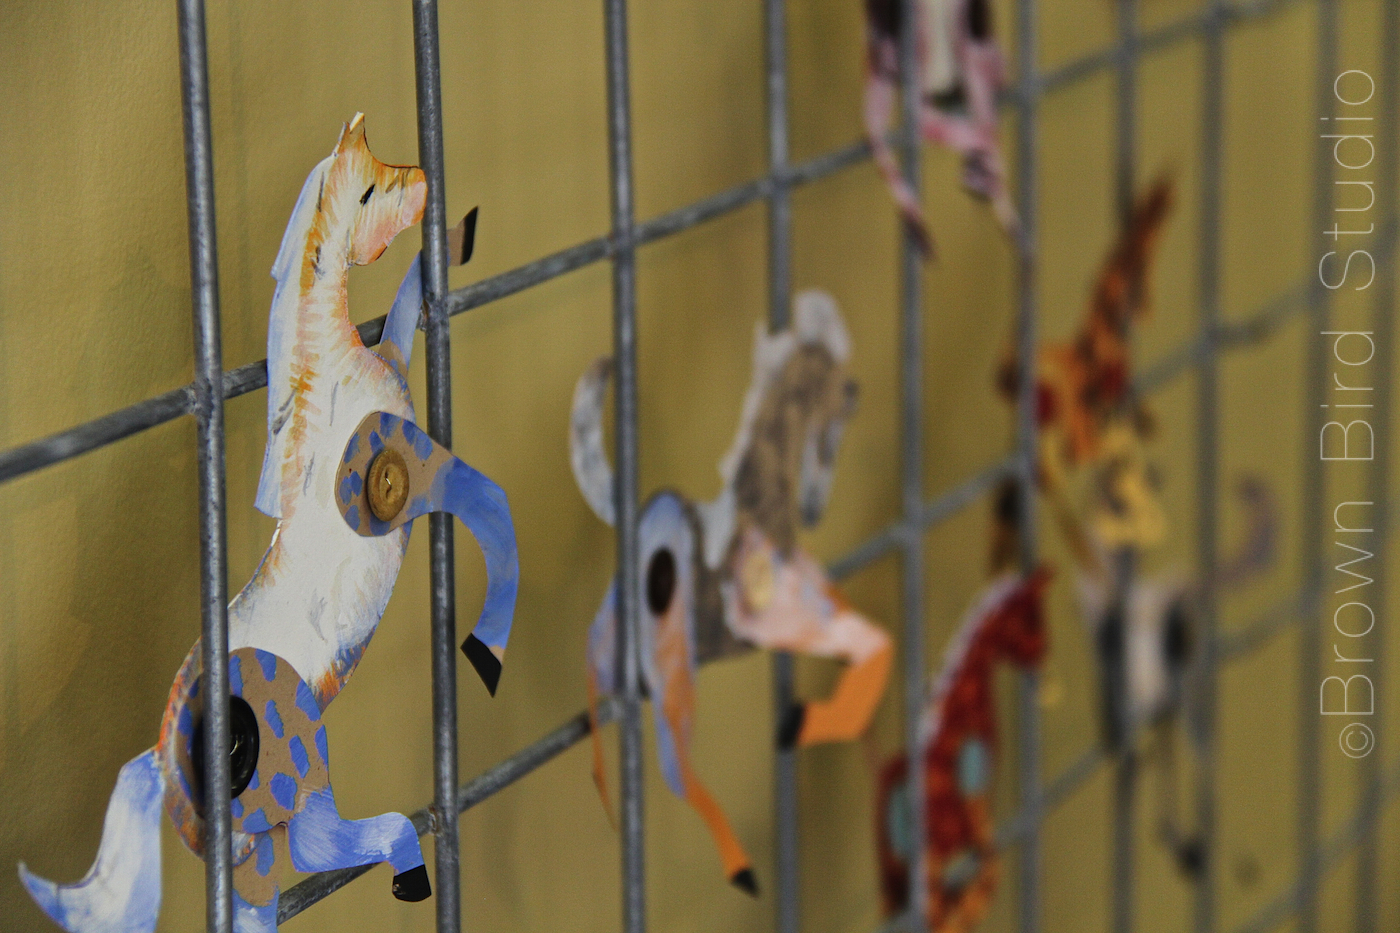
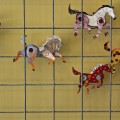
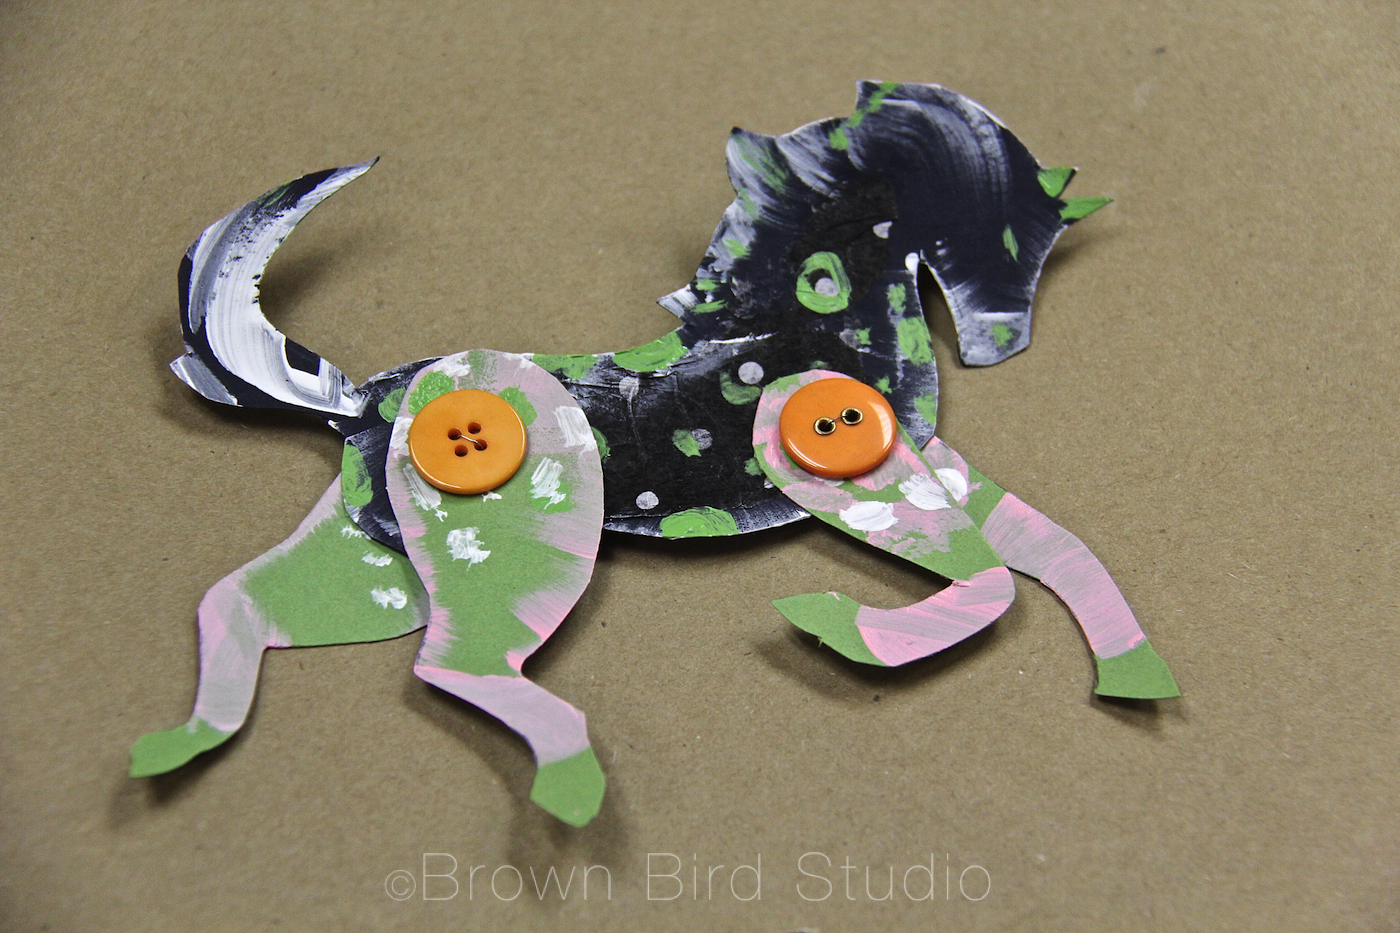
Shayna, Jaime, Cari and I gave some of our horses to Whitney, who is ready to give birth any day now. Her little boy will be born in the Year of the Horse. He will have a herd of wild horses to remind him of his naturally wild joy. With a mama like Whitney we know he’ll grow up snorting with laughter, jumping with glee and letting his wildness out into the world. (*See bottom of this post for some interesting predictions about this baby — and other babies born in this year of the horse.)

Whitney's Horse

paper horses wild horses

“Last night was like a symbolic circling of all the mares … lending the strength of those who have gone before, to the one ready to walk through that door that you never, ever can cross back through … the becoming of motherhood and the strength and grace of sisterhood … so special to me” — Jaime Terry

paper horse

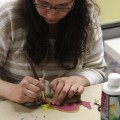
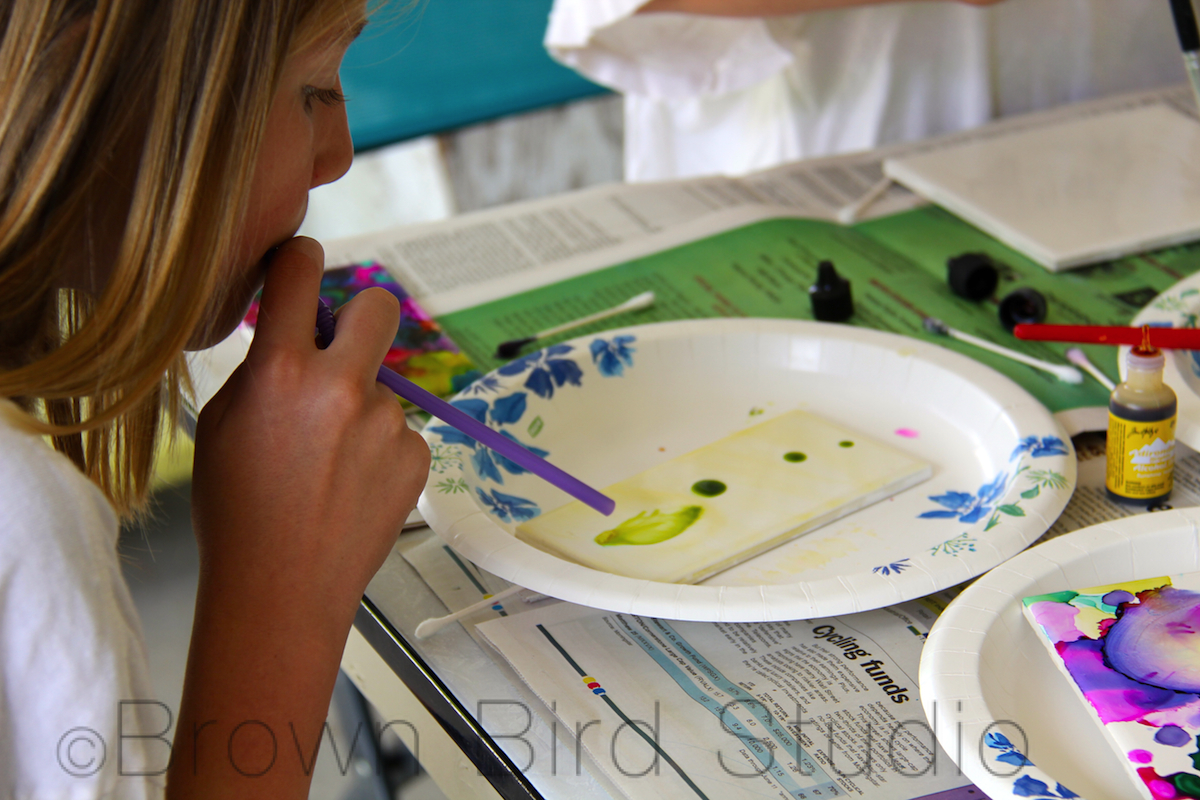
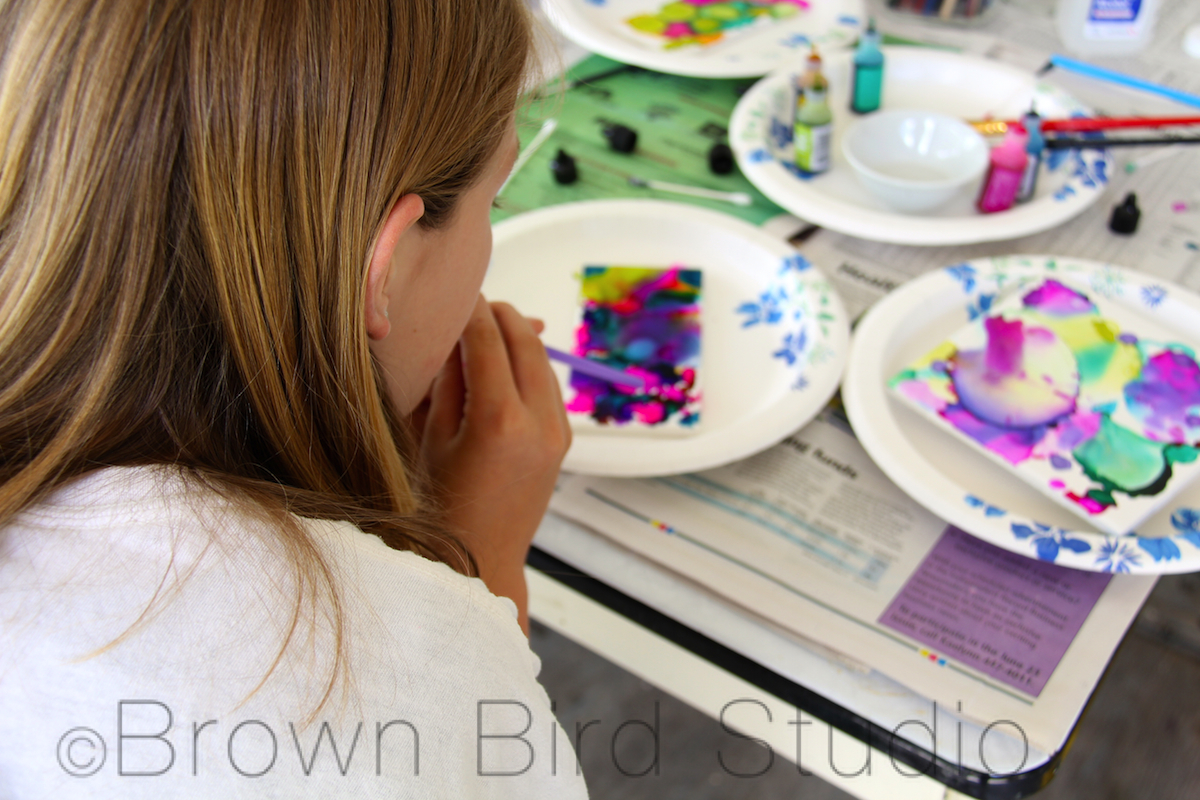
We made horses. We laughed. She contracted. We played. Relaxed. Listened to her talk about the baby, the baby’s name, the nest she is preparing. Talked about lack of sleep and future lack of sleep and hope for sleep. And about other things. And nothing at all.

paper horse

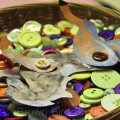
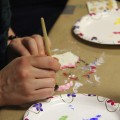
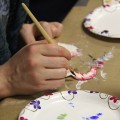
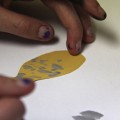
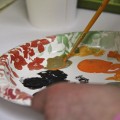
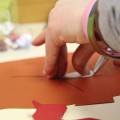
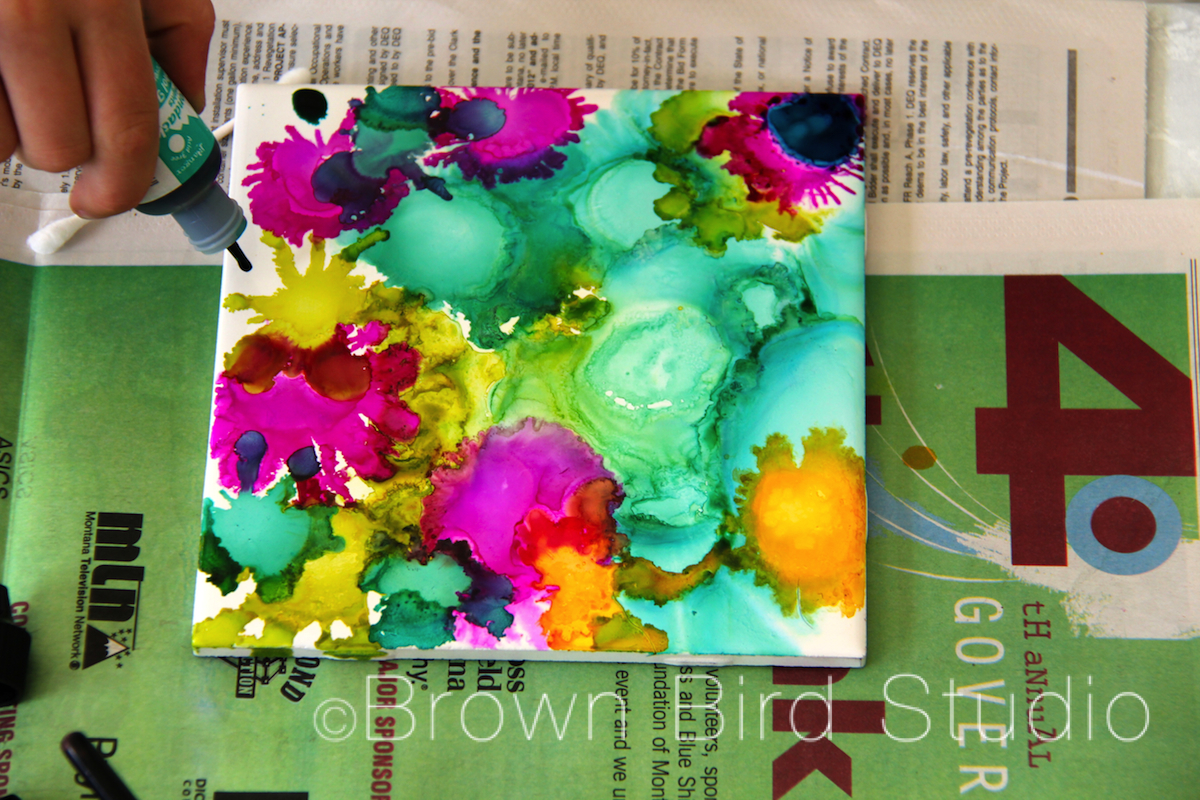
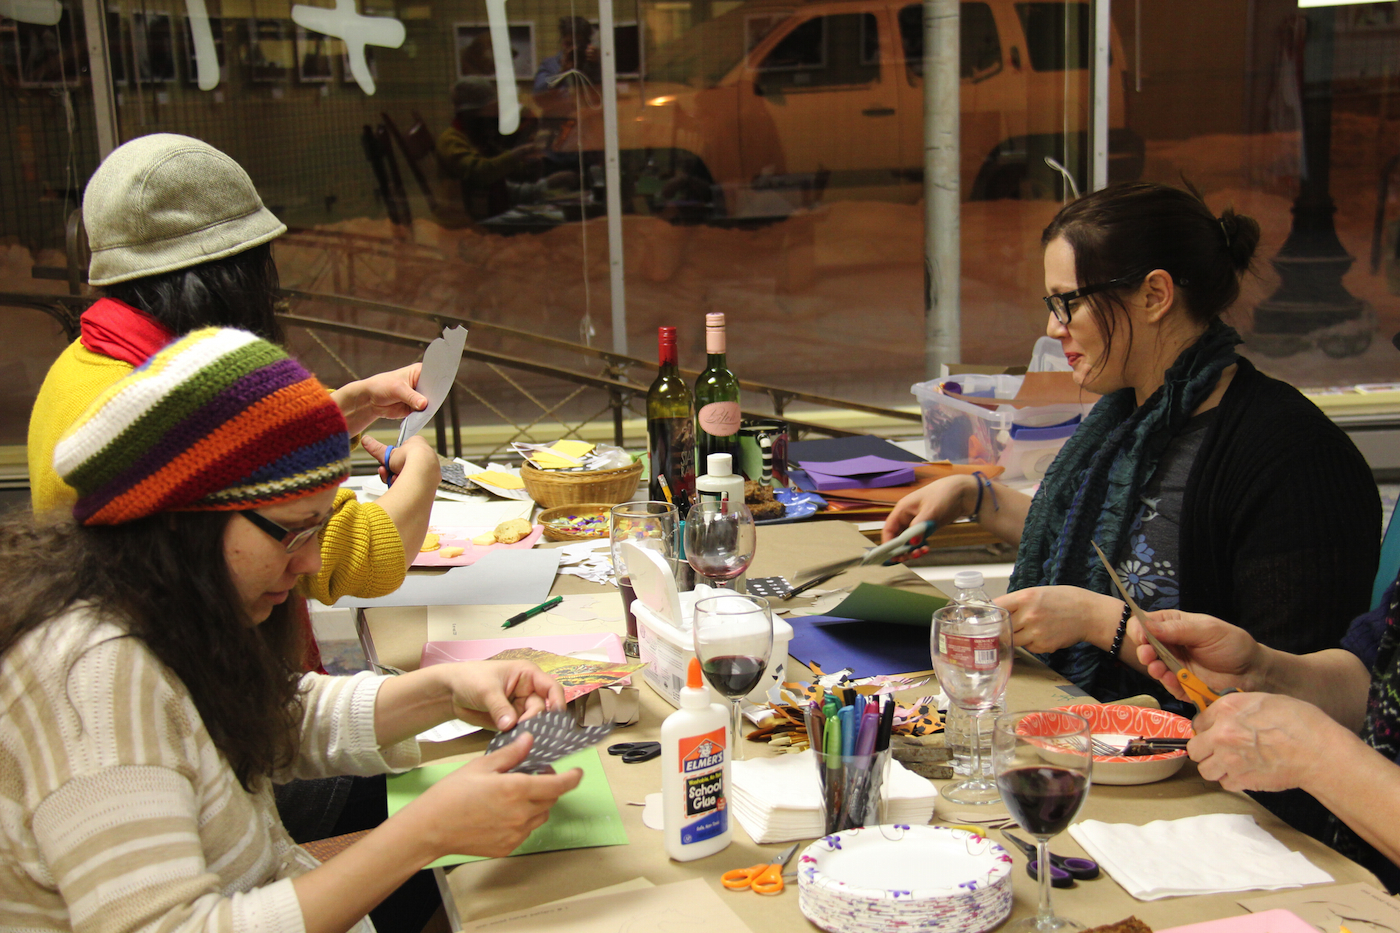
Our hands busy with scissors and paint and buttons. Good food. Good wine. Good company. It’s what women do. We nurture each other with food and listening and love and open arms. A circling of the mares.

GirlsArtNightWildHorses18

We decided to do this every month. Something artsy. Something to connect us. To each other. To our souls. To the Earth.

paper horse

Please join us at our next Girls Art Night with Brown Bird Studio on the last Thursday of each month. Like our gallery’s facebook page or sign up for updates from 1+1=1 Gallery, and we’ll remind you a few days in advance. Put Girls Art Night on your calendar for March 27th at 6:30 pm. 335 North Last Chance Gulch, Helena.

paper horses art night

Our evening gatherings are all about being relaxed and nurturing our inner artistic souls.

Whether you consider yourself artsy or “crafty” or not, I promise you will have a good time. And don’t forget we’ll share food, music and laughter too. The cost is free or minimal, depending on the materials we use.

GirlsArtNightWildHorses15

LINKS:


Fun Art Project with Kids: Wild Horses

Herd of Painted Horses

It’s Wednesday, the day Ema comes to assist me at 1+1=1 Gallery. Well, today was early release day from school, so I spent the afternoon with not one — but two — of my favorite young ladies, Ema and Adia. They are always up for an art project after we have our snack and catch up with each other: what’s new in school, what was the most fun you had so far today, what do you think about gardening together this summer, blah blah blah.

Today we made a small herd of wild horses patterned after Ann Wood’s beautiful stampede of horses. She provides a downloadable template for the horses, and a great tutorial so I’m not going to duplicate her wonderful instructions here. This awesome project took us about an hour and a half, including set-up and clean-up.

The horses are pretty easy, but not something I’d recommend for toddlers or really little ones (see adaptation ideas in list below.)

WildHorseHerd03-imp

Painted Wild Horse

Herd of Painted Wild Horses

Ideas to Adapt this activity for younger children:

  • pre-cut the shapes and have the children paint them. Then an older child or adult may assemble the horses
  • use scrapbook papers that are already decorated. Cut the shapes and let children glue the legs on instead of having them be articulated legs
  • use bendable brads instead of buttons and wire
  • Cut the shapes out of colorful card stock and have younger children brush glue on and sprinkle glitter

Ways to use/display the horses:

  • mount with tacky glue, double-sided tape or sticky-mounting-squares onto a foam core or poster board. 
  • display directly on a wall using mounting putty.
  • the horses don’t all have to be facing the same way.
  • arrange the horses on whatever background you are using, so they look energetic and dynamic
  • make a mobile of horses using fishing line to hang them.
  • use one horse, mounted with re-positionable double sticky tape, to make a greeting card. The receiver of the card can take the horse off to play with.

LINKS:

Here are a few more photos of what the girls and I made today:

Kid’s Art: DIY Painted Tiles, written by Ema and Adia

painted tile
Summer Fun with painted tiles
Adia using her invented tile painting technique, “Strawmania.”


Ema and Adia are spending lots of time with me this summer, just chillin, havin fun, learnin some stuff and makin some art.  So far, I think we are using this first week to get used to each other, test limits, and figure out what we want to do for the rest of the summer. It’s been interesting and … I am very tired each evening. I think they might be too. I think that is a good thing.

I promised the girls I would teach them how to make blog posts, so every once in awhile Ema and/or Adia will be a guest blogger here on Water::Earth::Wind::Fire.  I hope you enjoy their posts.  At first, I will take dictation, typing pretty much exactly what they tell me to type.  At some point, I will let them do the entire post.  So, here goes, with the girls’ first ever blog post….

Head of little girl making painted tiles

Ema writes:

We wanted to make something nice for my mom’s office, so we made these tiles. We saw these on Pinterest, and we saved them to our summer fun Pinterest board and this is one of the projects my sister and I both wanted to do this summer. This was a creative and fun project. I would recommend this to children and their parents. To do one tile it takes about 5 minutes. Well, after you get everything set up, it goes really fast.

We made practice tiles first and my favorite one turned out to be my practice tile (that’s my practice tile, below.) It was my favorite because it had a lot of bright, different colors. I would describe the design as 3 different colored wax seals (like the ones on old envelopes) laying on top of each other. I really like that.

painted tile

Here are the three tiles Ema made to go together as a triptych:

painted tile triptych

Editor’s note: Ema’s sister, Adia, made the list of supplies and wrote the instructions below: 

How to Make Strawmania Painted Tiles

Supplies You Need:

  • Rubbing alcohol
  • Alcohol inks
  • Ceramic tiles
  • Paint brushes
  • Bendy straws (or any kind of straw, but Adia says they should be bendy)
  • Q-Tips (cotton swabs)
  • Newspapers
  • Modge Podge
  • Felt circles
  • Hanger thingamajigs
  • Permanent glue

Instructions:

  1. Put down newspapers so you won’t get ink all over the place  

    tile painting
    Brush rubbing alcohol onto the tile. Use a lot.
  2. Take your tile and paint rubbing alcohol all over it. Use alot because it dries up fast

    Painted Tile in Progress
    Drip little drops on ink on the tile right into the rubbing alcohol
  3. Drip ink on the tile in little drops  

    Painted Tile - blowing with a straw
    Blow the colors around with a straw or just let them do their thing
  4. Use your straw and blow to make the dots expand.You can play around with the straw blowing to make really cool designs in the ink. (editor’s note: Adia and Ema invented this technique and Adia named the technique, “Strawmania.”)
  5. You can use a qtip to make shapes
  6. You can add more colors
    tile painting in progress
    You can add more colors to your tile, blow them around or just let them mix

    painted tile
    Add more colors and blow them around
  7. You can drip more rubbing alcohol to make really cool effects in the inks
  8. Next, let your tile dry
  9. After it’s dry you can add more ink colors, or you can add more alcohol and play around with it.
  10. When it’s all done and totally dry, you paint it with Modge Podge so the inks don’t disappear. Also to make it shiny. Also to protect the ink design
  11. When the ModgePodge is dry, you turn the tile over and put the felt circles on the corners (you need these so it won’t scratch your wall or your tables or tile)
  12. Then, glue on the hanger thingamajig with really good glue

SummerFunMonday08-imp

Above is Adia’s finished triptych of tiles for her mom’s office. Adia writes:

My favorite part of making the tiles was Strawmania. That is what you do with a bendy straw when you blow through it onto the tile. It expands the ink blobs. You can blow colors together and mix them. Sometimes the color goes wherever it wants to go, which looks cool sometimes and other times it makes a big grey blob. If you get a gray blob, you can always add more alcohol and then add another color to make it colorful. That fixes it. This is something I will probably want to do again. Next time I will use less colors so my tiles don’t get big gray blobs. Here is my favorite tile (below). I am squirting the ink on it:

painted tile