
 Our local Habitat for Humanity has a depot for sourcing used building materials, called ReStore. I love to stop in regularly to see what they have that I might up-cycle into something useful, even though we are not building or remodeling right now.
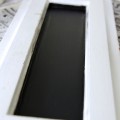
Last week I went to ReStore specifically to find something I could turn into small chalkboard signs with Ema and Adia and I scored! I found some old white frame and flat panel kitchen cupboard parts that already had that slight shabby-chic look that’s so popular now. I already had a can of chalkboard paint, though if I didn’t I would be writing now about making our own chalkboard paint.
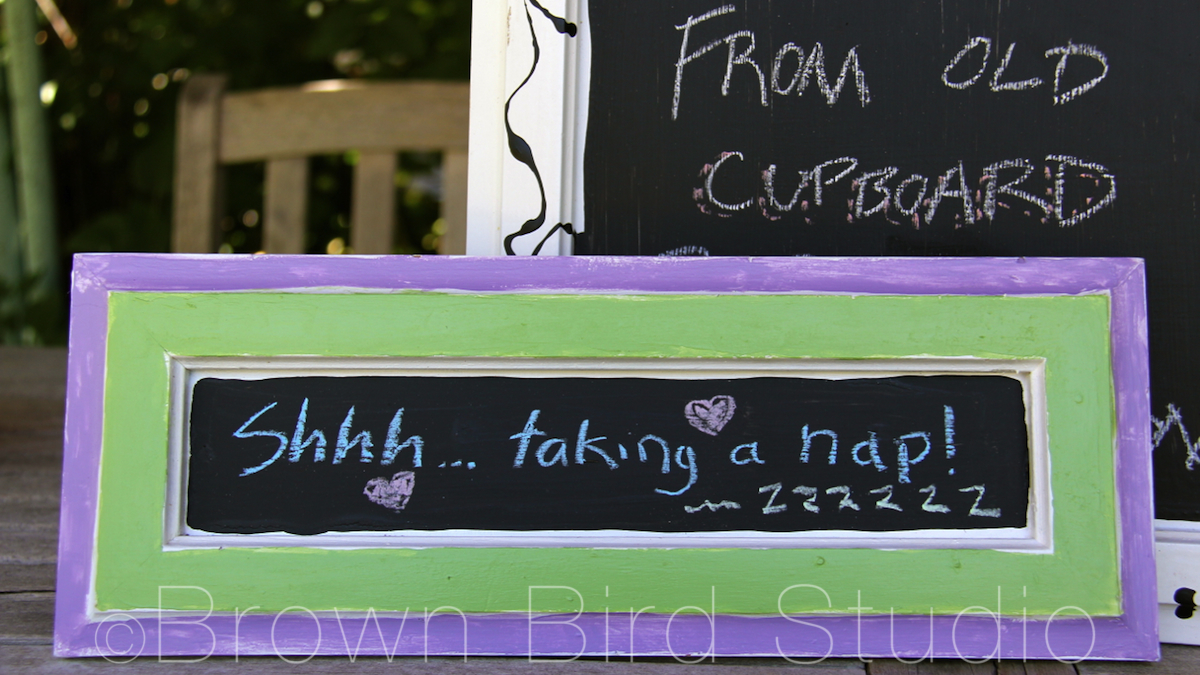
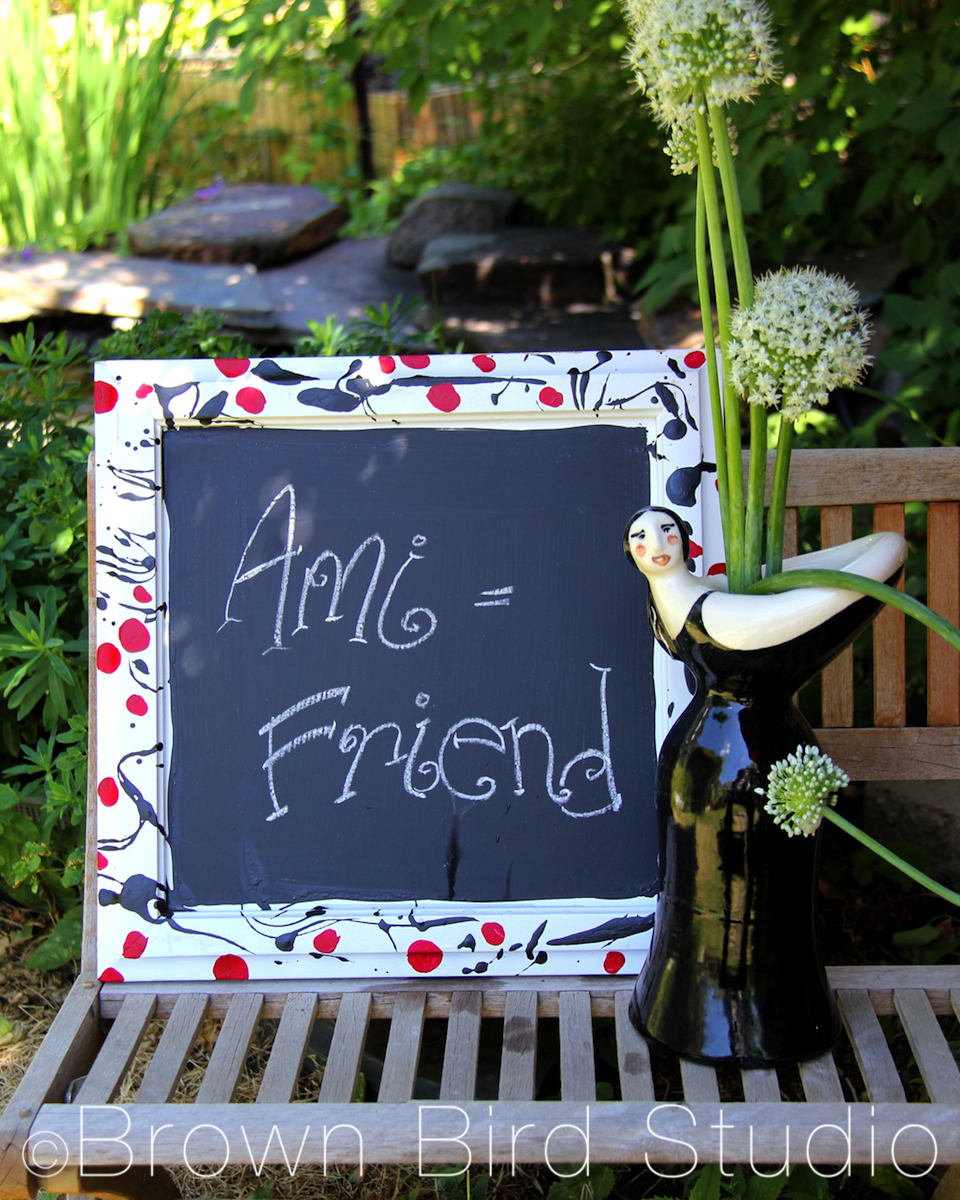
The girls painted two drawer fronts to use as signs on their bedroom door. We also made one for my kitchen, and another for Jaime’s office.
Here is how we made our chalkboard signs:
Supplies Needed:
- Something to use for the board. We used drawer-fronts and cupboard doors. You could also use an old mirror, or any flat piece of wood or substrate that will take the chalk paint.
- Chalkboard paint (You can make your own if you want. I found directions here.)
- Acrylic paint if you want to add decorative designs to the frames
- Modge Podge (matte or gloss) to seal the decorative paint (don’t use Modge-Podge on the chalk paint, though!)
- Sponge brushes or a good quality flat bristle brush for painting the chalk paint
- Smaller brushes for the decorative design
- Metal hanger or brads, for the back of the board
- A ribbon, to hang between the brads if you choose

Instructions:
- Lightly sand the surface of whatever you are using for your chalkboard, so your paint will adhere
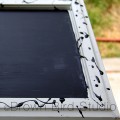
- Use acrylic paint to make decorative designs around the frame of the cupboard door or drawer front. Use brushes appropriate to acrylic paints and the size of your frame and strokes.
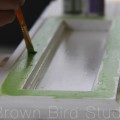
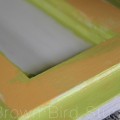
- Use a sponge brush or flat-bristle brush to apply the chalkboard paint — we didn’t worry about getting the edges perfectly even because we wanted a shabby-chic effect. Also, I like the way the brush strokes and imperfections show on the chalkboard part of our signs.
- Let dry. Seal with a layer of Modge Podge and again, let dry.
- Add brads, metal picture hangers, or good tacks on the back of the frame. Add picture wire, string or a lovely ribbon to hang your sign by.
- Enjoy changing the message on your sign whenever you feel like it!
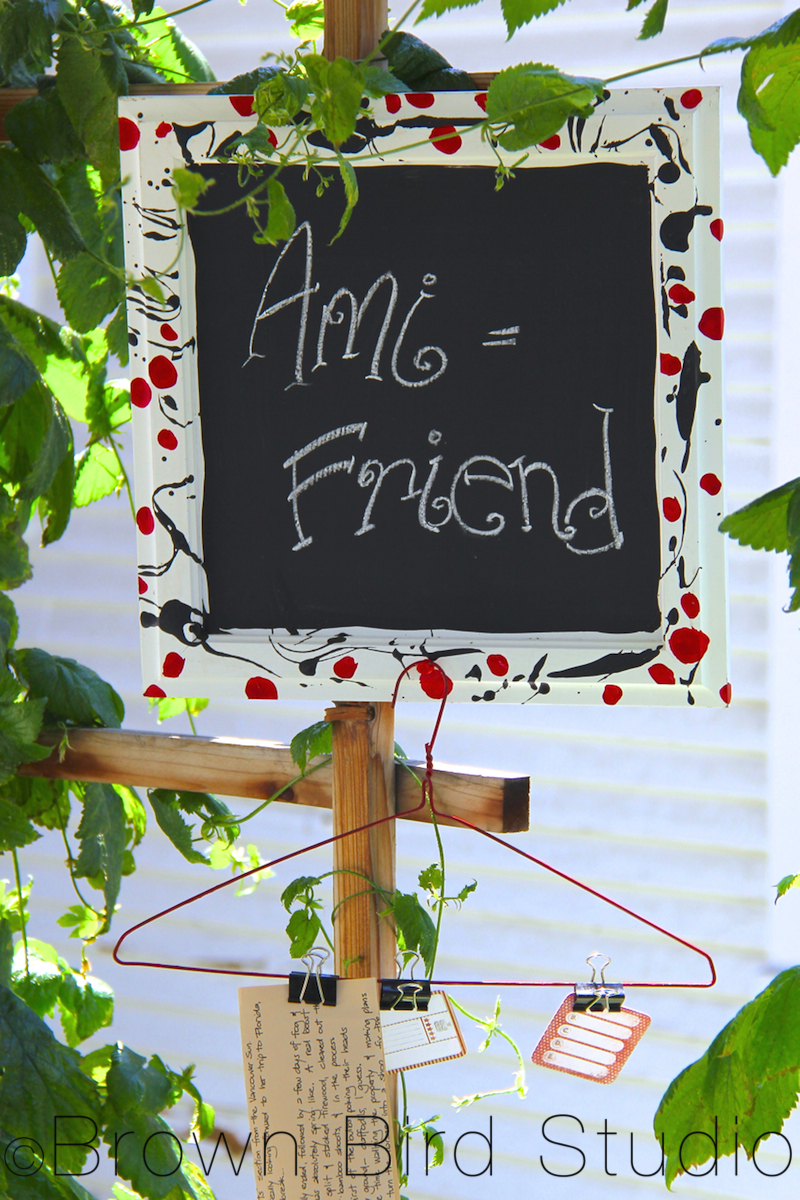
Additions we made to Jaime’s sign: we added a red painted wire clothes hanger and some clips so Jaime can hang notes, photos, whatever. Like it?
Links and Other Chalkboard Ideas:
- Comparison of homemade chalkboard paints — author also has some good ideas on using chalk paint on salvaged furniture
- Fun diy magnetic chalkboard idea. Making this next!
- Paint chalkboard risers on steps and write poetry
- Pinterest board with tons of chalkboard ideas (just a side note: I really appreciate it when people include the ORIGINAL source with their pins on Pinterest. On the other hand, it irks me greatly when people steal others’ photos by downloading, then pinning to their own Pinterest boards without giving credit where credit is due. Just sayin’)