Chocolate Chunk Cookies with a Toddler Tweak

ShamanChocolateChunkCookies1-imp

My young friend, Meria was about 3 years old when I recorded her instructions for baking cookies. That was a couple of years ago.

She had just finished helping her mom make chocolate chip cookies and I asked her to tell me the recipe so I could record it. She was exuburant in the telling, to say the least. I love listening to her on this recording (translated below.) The other voices on the recording are mine and my friends voices, Brenda’s and Tiffany’s (Meria’s mom.)

If you have trouble getting the recording to play, try clicking the volume button on the right a couple of times. Also wait a second after clicking the start arrow — it takes a sec to load. 

Ready set go! First you roll roll roll. And you smash smash smash. The cookies are circles. And we make little pieces squish apart.

Fat cookies for big kids and fat cookies for big people. You don’t put m&ms, you put chocolate chips on them.

(Meria kept getting distracted by the needle on the recording device …)

After you make the cookies into circles, you make make make make, then put them in the oven. After they are in the oven you eat them!

(Bit of a discussion about sharing …) Let’s just share. Once I cook them, then I’ll share. I don’t share to boys. I share to girls. I’ll share with Mr. T (one of her favorite adult guys) I’m going to share with Mr. T! I’ll share with Gretchen, and you (Brenda) and you (Maureen) and mom and the new baby.

That’s how you make my cookies! — Meria

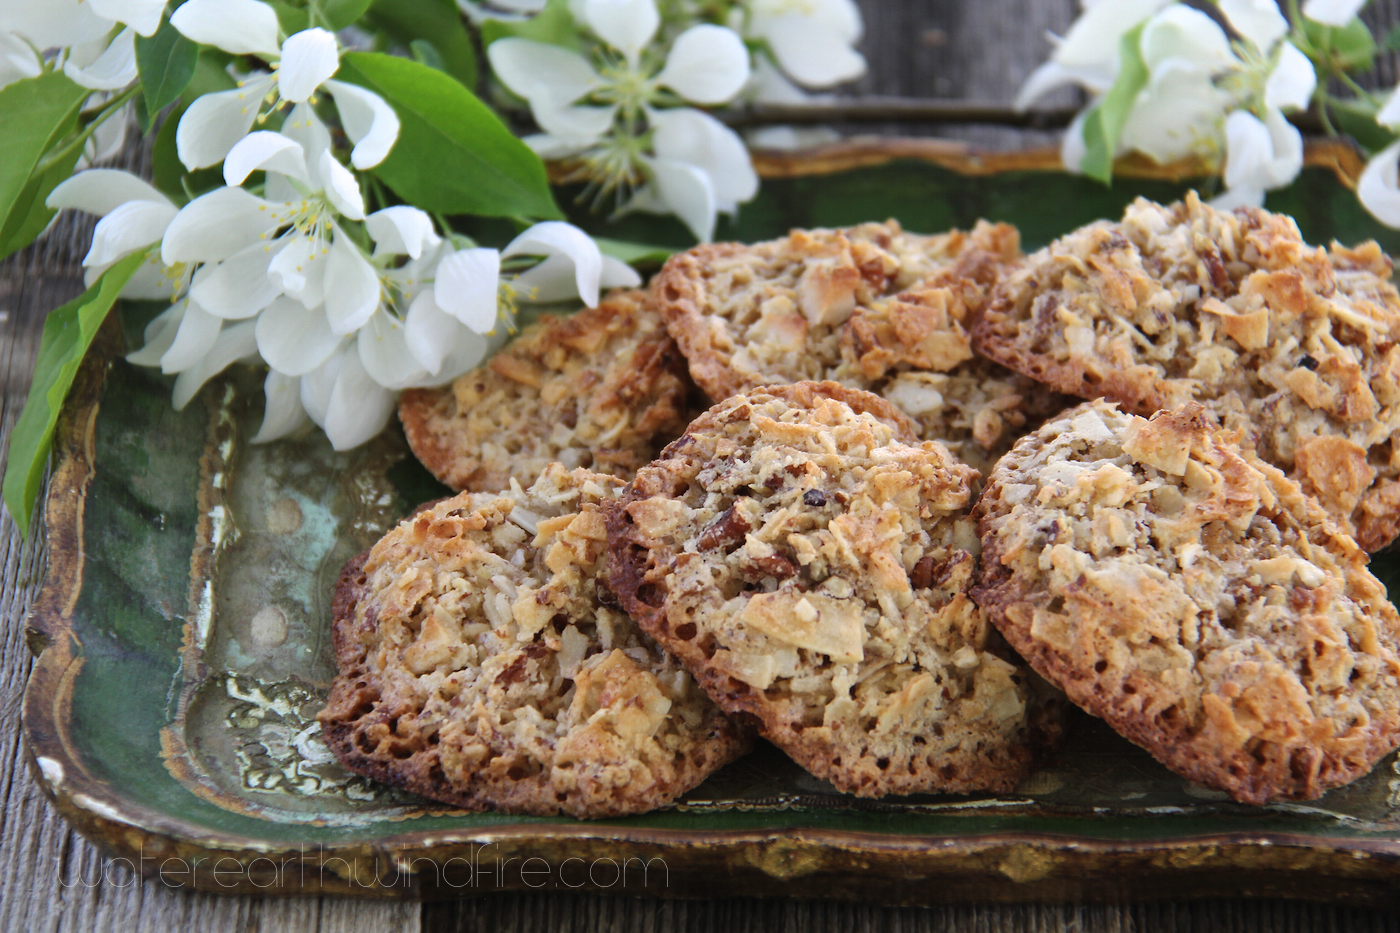
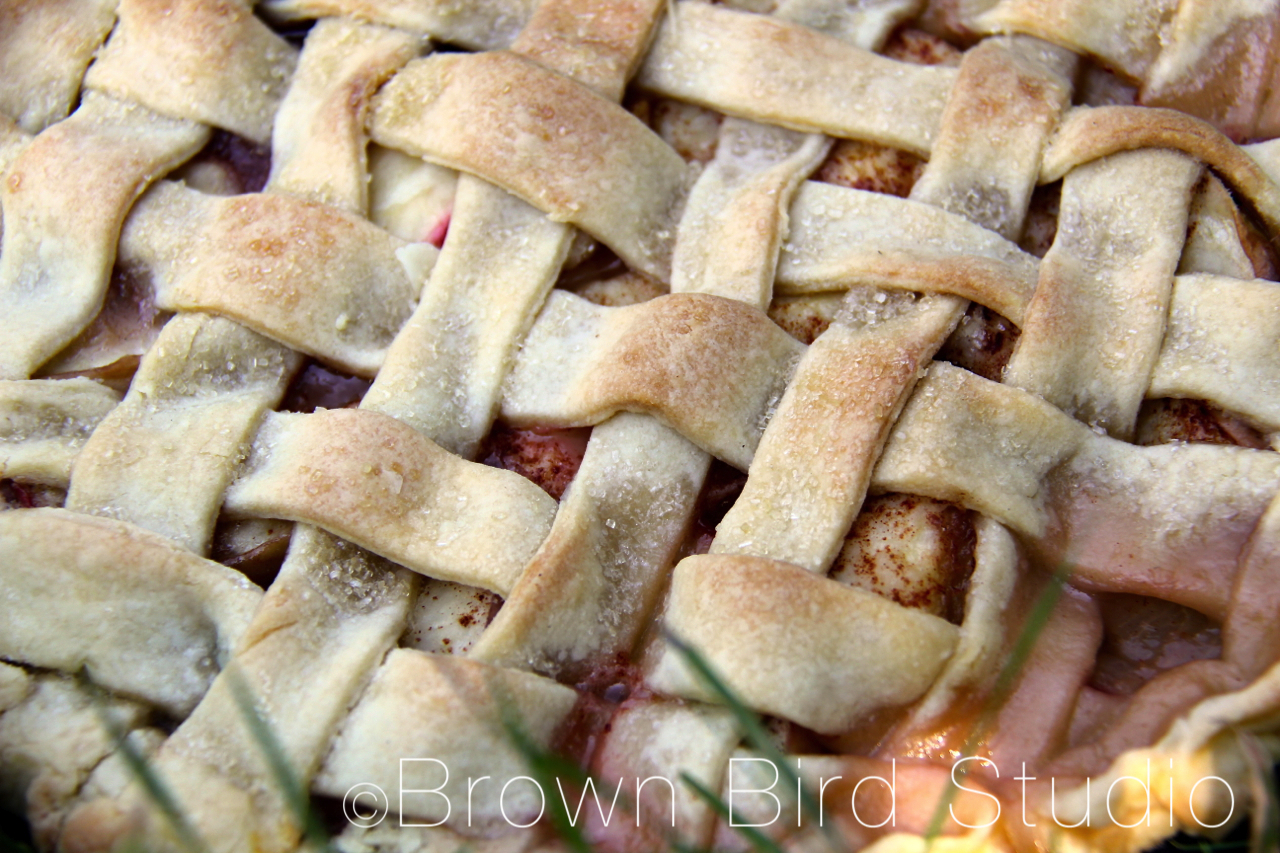
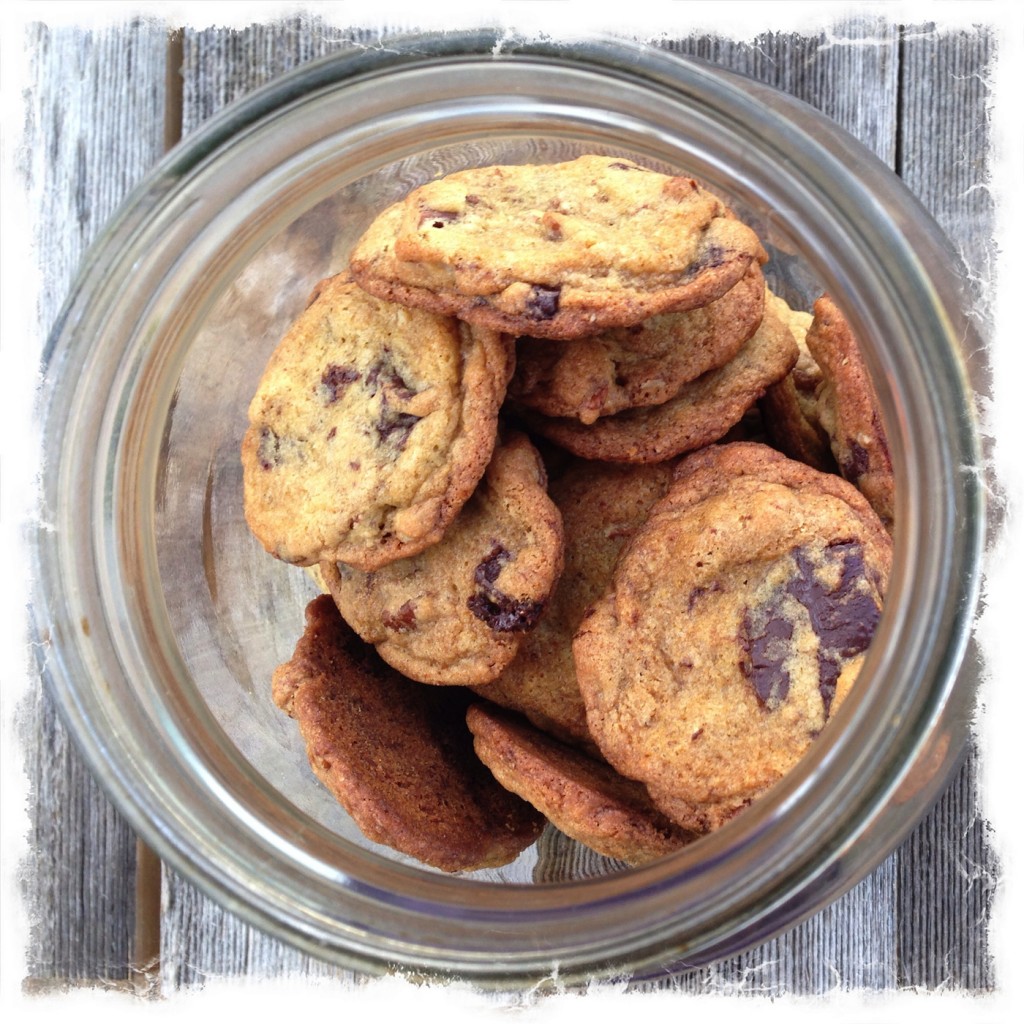
I made the cookies pictured above last week and offered them to gallery visitors over the weekend. They disappeared pretty quickly. My recipe is a slight variation on the traditional Toll House chocolate chip cookies. I add twice as many nuts (pecans) as called for in the recipe, decrease the sugar by 1/2 cup, triple the vanilla, add organic coconut flavoring and I use chunks of Extra Dark Shaman Organic Chocolate instead of chocolate chips. These are so scrummy.

Best Pie Crust Ever

LatticeCrust1-imp

Does your pie crust recipe usually end up in pieces on the kitchen counter when you try to roll it out? Do you get frustrated because your pie crusts are heavy and thick and uninspiring? Try my pie crust recipe and see if it makes a difference. This is a recipe my mom found at some point in my growing up years and it made all the difference in the world to add a little egg and vinegar to the ingredients. The sugar or honey is to counteract the tartness of the vinegar. I don’t know the chemistry of why it works, but crusts made with this recipe almost always turn out very tender and flakey. And a nice bennie is that they are easy to roll out and transfer to the pie pan without falling apart.

I substitute coconut oil for at least some of the butter, just for health’s sake. The original recipe called for lard. Or (Gasp!!!) shortening. Ack! I also use half the original amount of salt. So, if you follow my recipe (below) I think you will have an easy, yummy, tender crust for your pie.

Best Pie Crust Ever

INGREDIENTS

  • 2 cups flour
  • 1/2 tsp salt
  • 1/2 cup butter (1 stick)
  • 1/4 cup coconut oil
  • 1 small egg, beaten (or just the yolk if you have a large egg)
  • 2 tsp apple cider vinegar or lemon juice
  • 1 T brown sugar or honey
  • 1/2 cup (or less) very cold water

PREPARATION

  1. blend the flour and salt.
  2. add butter and coconut oil and using a pastry cutter, blend into the flour until you have a crumbly mixture. Don’t overblend!
  3. beat the egg (or yolk), add vinegar, brown sugar (or honey) and about half of the icy cold water.
  4. Make a well in the dry ingredients, pour in the liquid and stir QUICKLY with a fork until it’s almost all incorporated. VERY important not to overstir or your crust will be tough instead of flakey.
  5. If it’s really really dry, add a little more of the cold water and stir just a little. Dump the dough onto a floured surface like a cutting board or clean counter.
  6. Quickly, and using as little touch as possible, round the dough up into a ball. Wrap in wax paper or plastic wrap and chill while you make your pie filling.
  7. When you are ready to roll out your dough, cut the ball almost in half (one side should be a bit more than the other. The larger “half” will be your bottom crust) Chill the smaller half and roll out the larger half.
  8. Place the bottom crust into the pie pan, fill with fruit or whatever. Then roll out the other half and carry on. (see pie preparation above)

Some people think lattice pie crusts are complicated and difficult. They’re really not. Yes, it takes a couple of extra steps beyond just rolling out the top crust and plopping it over your pie filling. But it’s easy — and it does not have to be perfect (as you can see by my pie photos. Ahem!) Believe me, the little extra effort is SO worth it!

LATTICE CRUST INSTRUCTIONS: 

pie-crust-lattice-how-to20-imp
Make your bottom crust normally, place in pie pan and fill with filling.
pie-crust-lattice-how-to21-imp
Roll out the second half of your pie dough to the same thickness, about 1/8 inch.


pie-crust-lattice-how-to19-imp
Using a long knife or a pie crust rolling cutter, cut strips about 3/4 inch wide
Leaving the strips in place, start with one of the longest (center) strips and lift it, placing it on top of the pie filling
Alternating strips, place every other strip on the pie. The rolled out dough on your counter will look like stripes now. (see photo) Your pie will also look like it has stripes of dough on it.

Alternating strips, place every other strip on the pie. The rolled out dough on your counter will look like stripes now. (see photo above.) Your pie will also look like it has stripes of dough on it.
Now comes the fun part: you get to "weave" the strips. Fold back every other dough strip on the pie, halfway.
Now comes the fun part: you get to “weave” the strips. Fold back every other dough strip on the pie, halfway.
Then, starting again with the longest strip on the counter, lift it and place it across the pie. Fold the strips down over it.
Now, fold the alternating strips back halfway. Place the next pie dough strip across the pie, and fold them down over it.
Now, fold the alternating strips back halfway.
pie-crust-lattice-how-to11-imp
Place the next pie dough strip across the pie, and fold them down over it.
pie-crust-lattice-how-to12-imp
Continue doing this until your pie is covered with a woven beautiful pattern of dough strips.


Continue doing this until your pie is covered with a woven beautiful pattern of dough strips. It sounds complicated, but once you try it, you'll realize it's easy.
It sounds complicated, but once you try it, you’ll realize it’s easy.
pie-crust-lattice-how-to08-imp
Now, you are ready to trim the edges, fold the edges under …


pie-crust-lattice-how-to06-imp
… all the way around the pie …
pie-crust-lattice-how-to01-imp
… then pinch them like you would a regular pie crust.