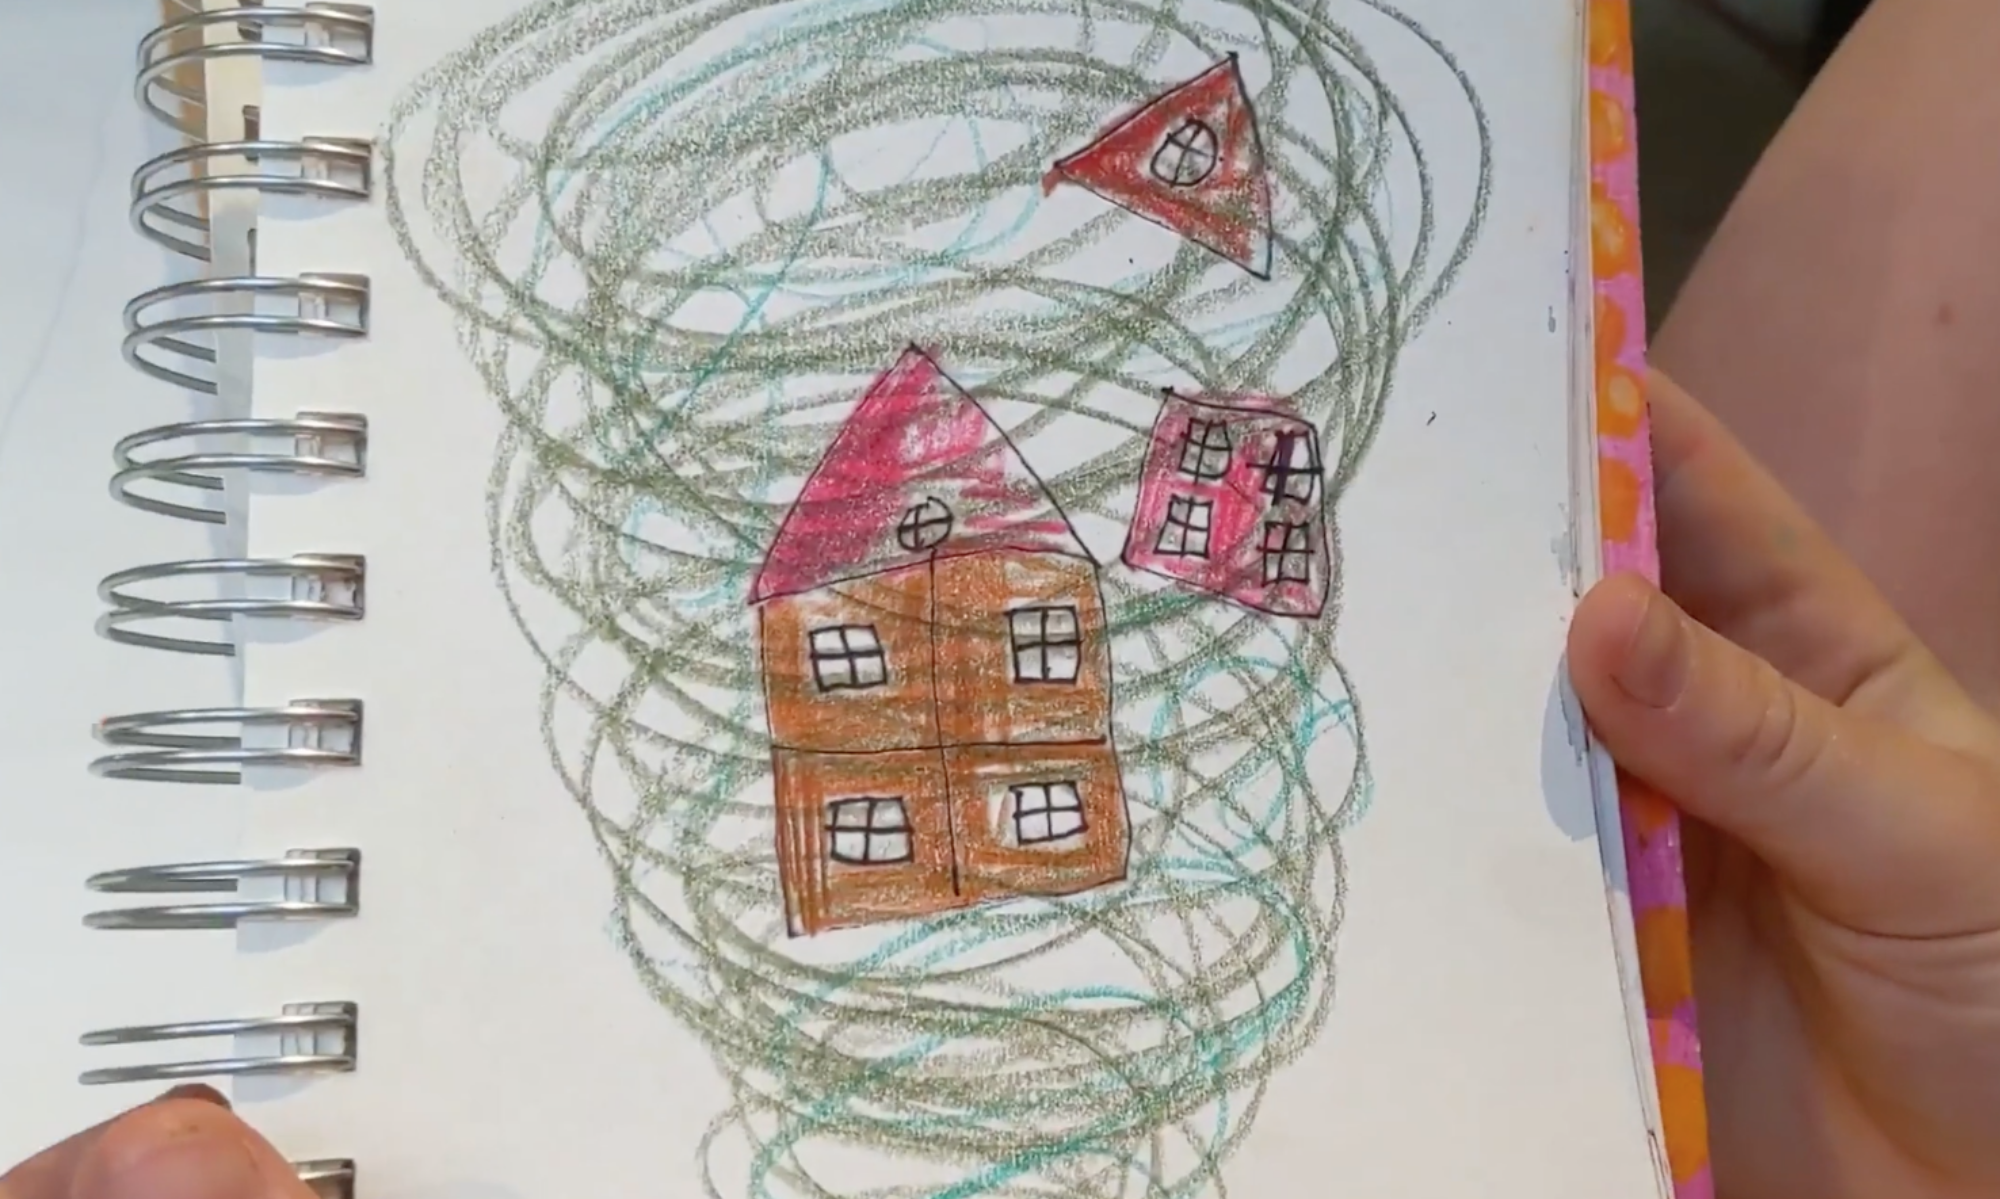
Our kids creativity seshes for the last couple of weeks were about making monoprints with some different techniques and a small tabletop press.
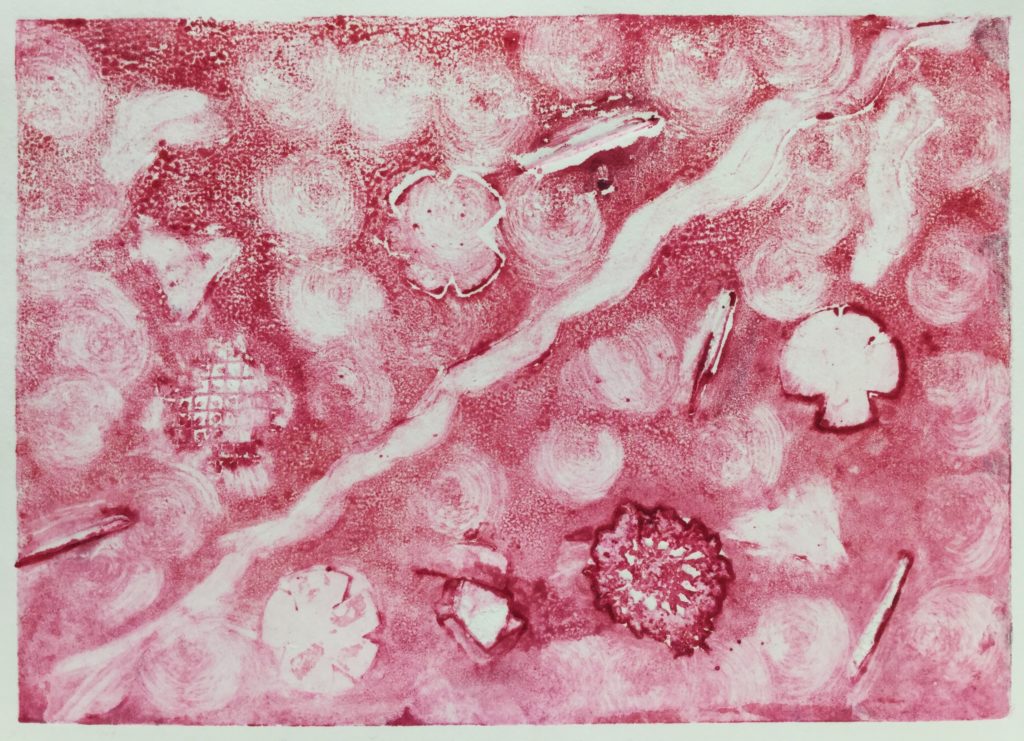
The first week, we made monoprint plates with drypoint etching on plexi. After learning how to ink the plates and wipe them (leaving the ink only in the scratched lines) we added other ink colors and made painterly marks in the ink layer.
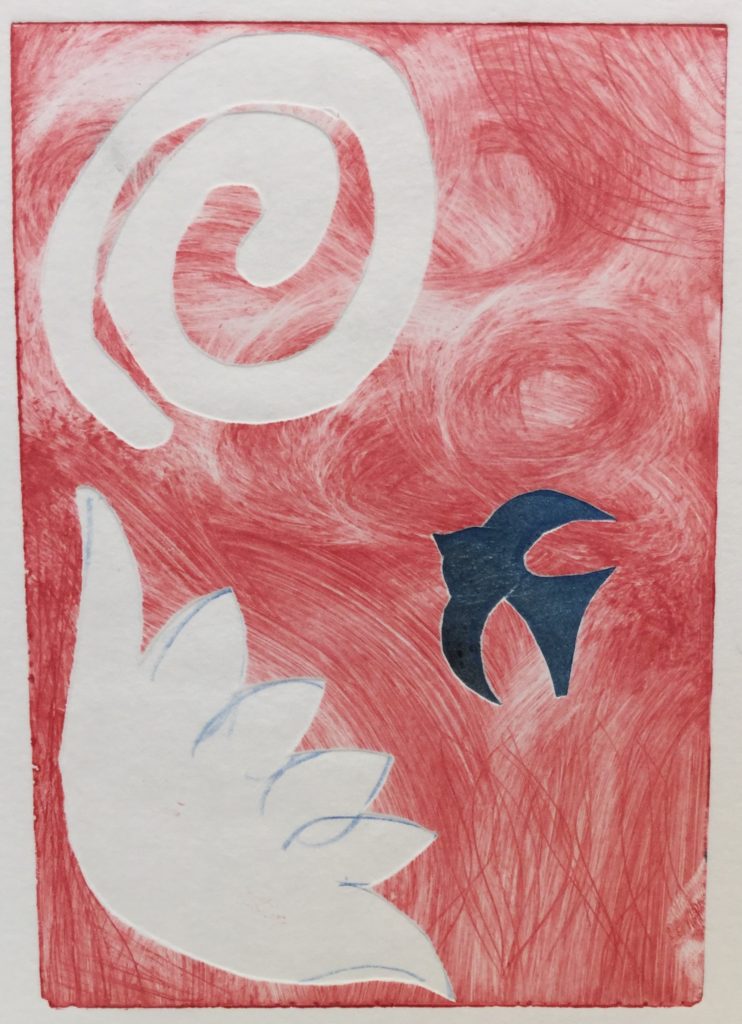
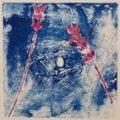
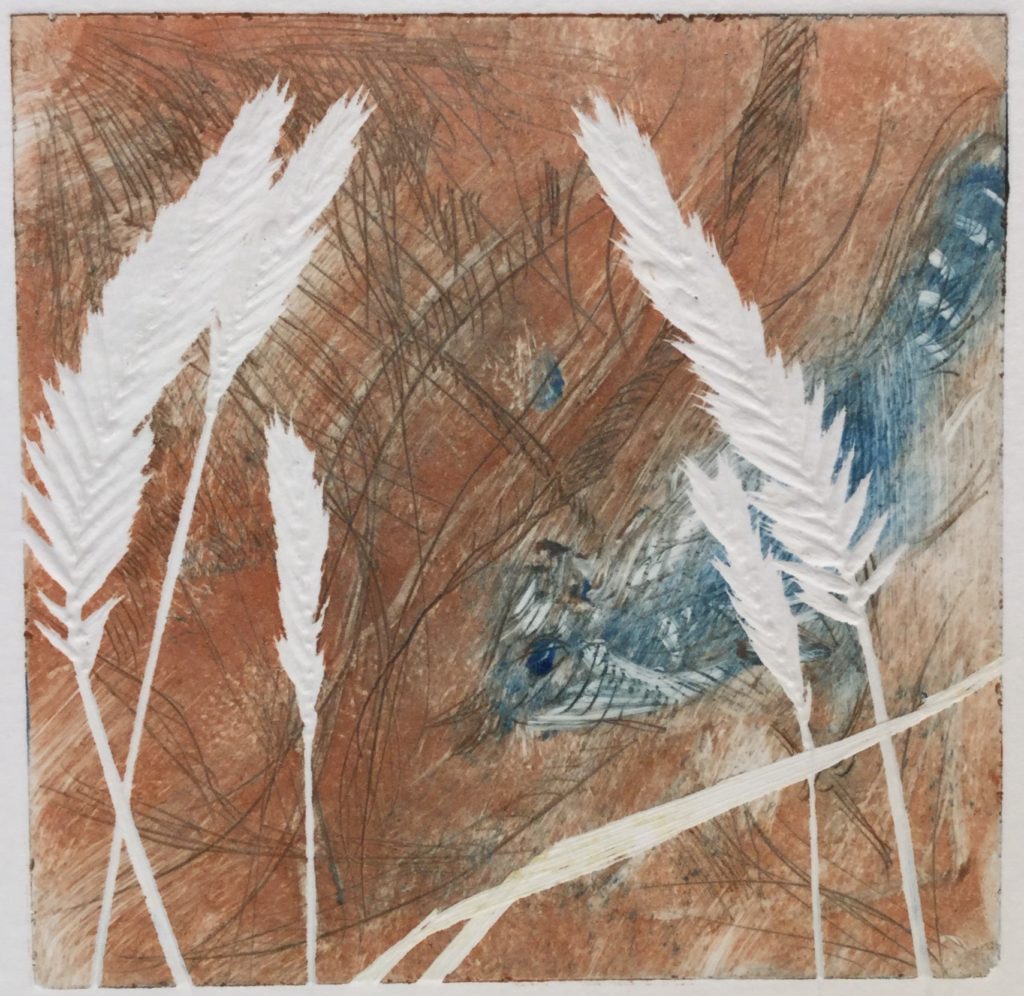
When the inked plates were ready, some of us added flat objects on top, like paper cutouts and pressed leaves or flowers to create collagraphs. The objects we put on top of the inked plates, left white areas on the monoprints (see the grasses on the print below.)
We used really good quality cotton rag paper soaked for a few minutes in water, then pressed dry. Then we ran our printing plates through the small press with the paper on top.
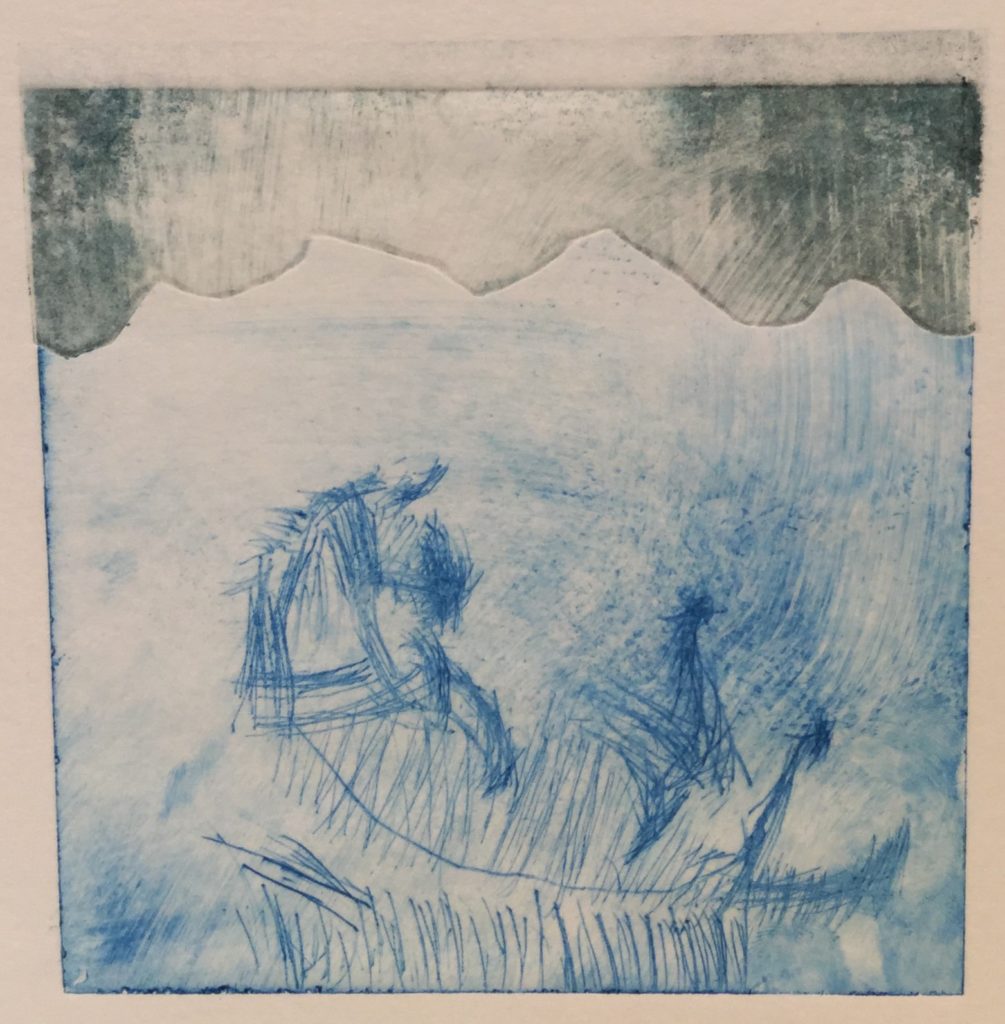
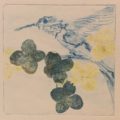
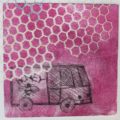
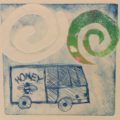
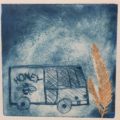
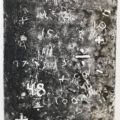
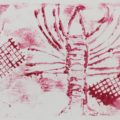
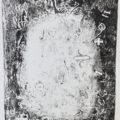
Here are some of the different drypoint monoprints we made. You can see that one etching plate is used to make many different designs. That’s why they are called mono prints.
Okay, so the next week we made two other kinds of printing plates.
No boring stuff in these kids creativity sessions!
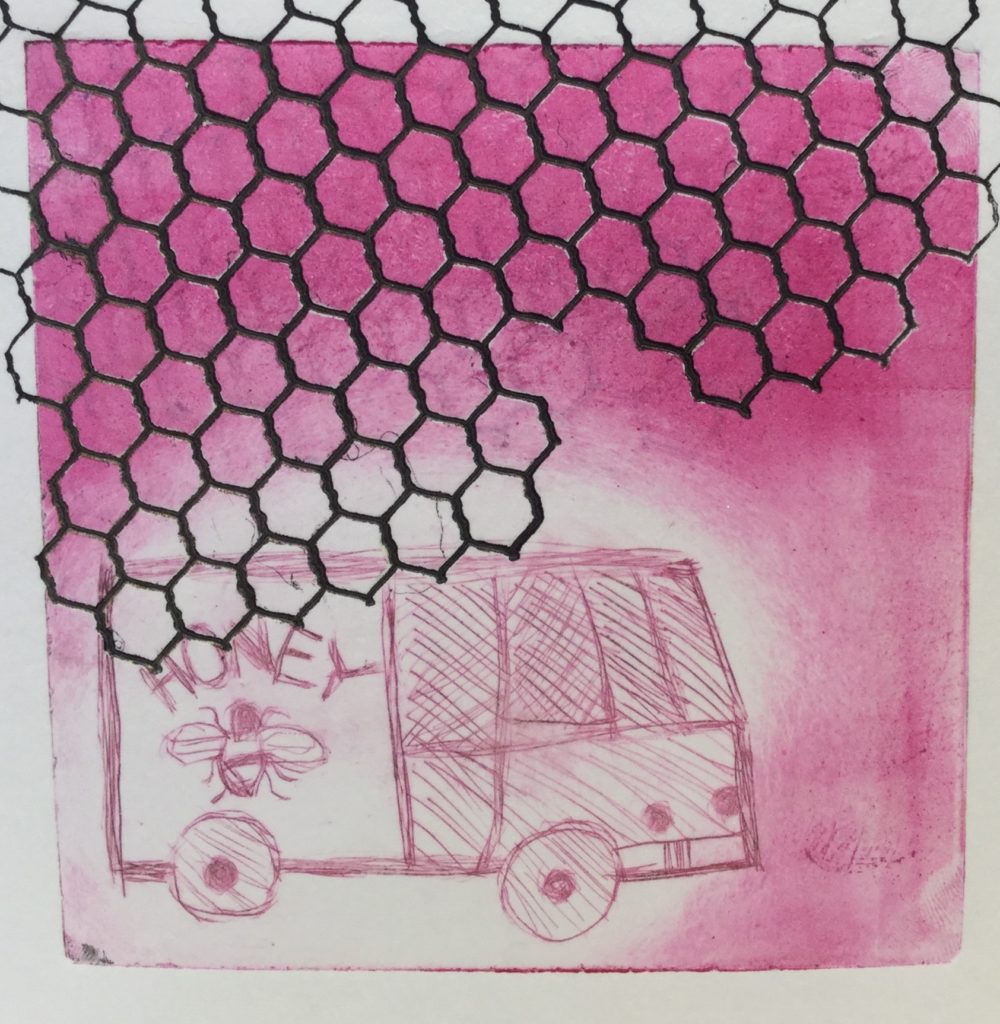
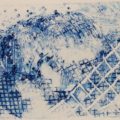
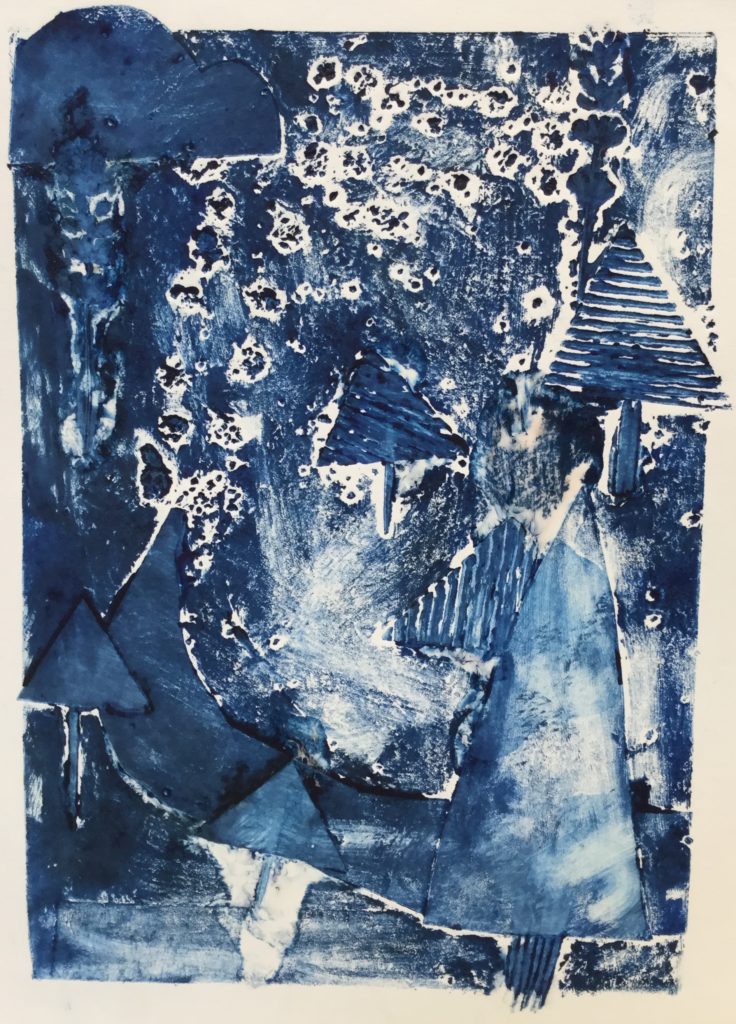
This time we didn’t scratch the designs into the plates. The first type of plate we made was a collagraph printing plate. You make these by gluing different things to a heavy cardboard surface to create textures. Then we coated the plates (objects and all) with a sealer and waited for them to be totally dry. The sealer keeps the ink from soaking into the cardboard and other objects we used to create out designs. Some kids used corrugated cardboard, stencils, grid fabric and paper cutouts to cover their cardboard almost totally with textures. Other kids left a lot of empty space on their cardboard plates and just made marks on them with ink and different tools such as their fingers, cotton swabs, brushes and rags.
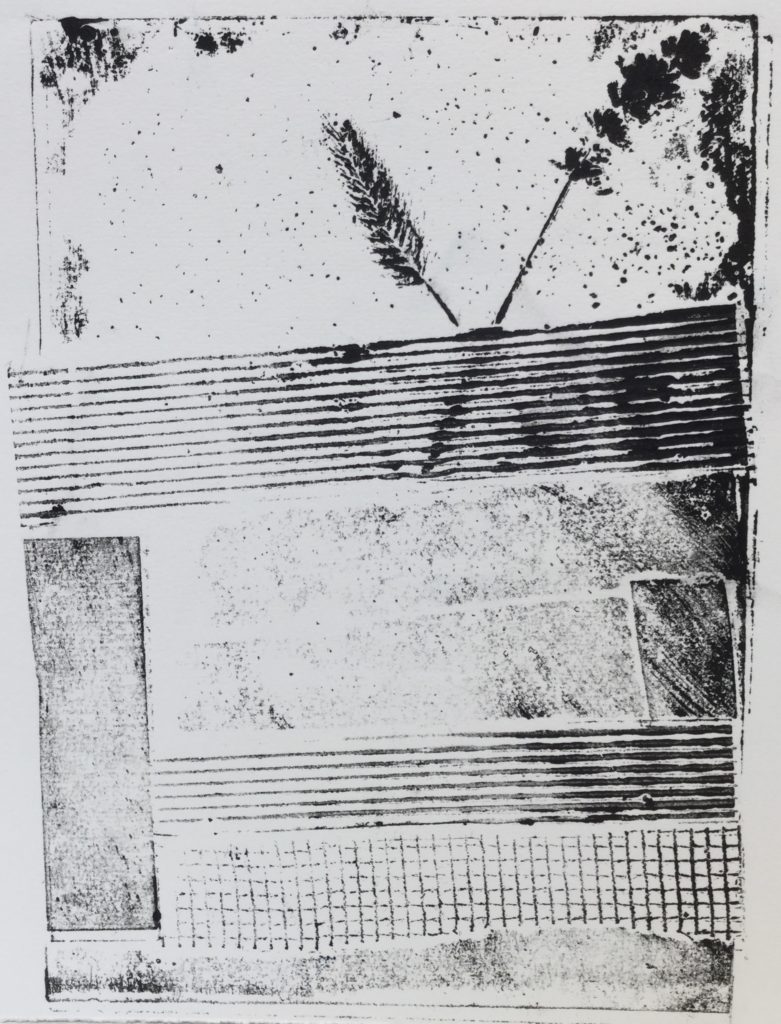
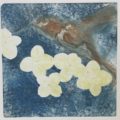
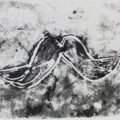
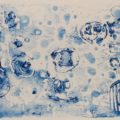
We tried using corn meal sprinkled onto area where we had painted glue. This worked pretty well to make a very different texture. In the blue monoprint (below) made by Jasmine, you can see the cornmeal in the sky. She wanted to show flower pollen blowing in the wind. In the black and white monoprint (above) by Silas, you can see very lightly sprinkled cornmeal made a cool texture near the top of his composition.
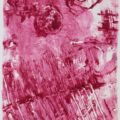
The other kind of plate we made the second week was plexiglass with hot wax applied to it by brushing and dripping. Then we carved designs into the wax with tools. The wax was easier to draw into than last week when we had to scratch with sharp tools into the hard plexiglass. We inked up the wax plates and ran them through the press with paper. Those came out kinda cool. Here are some examples of the waxed monoprints:
We hope you enjoyed seeing the results of our hard work and fun play in Maureen’s art classes. Most of these prints will be framed and on display in October when we have our 2nd Annual Young Voices art exhibit at 1+1=1 Gallery in Helena. Watch for news about that show! We’re all excited about it.
~ The Artful Kids of Kids Creativity Seshes
