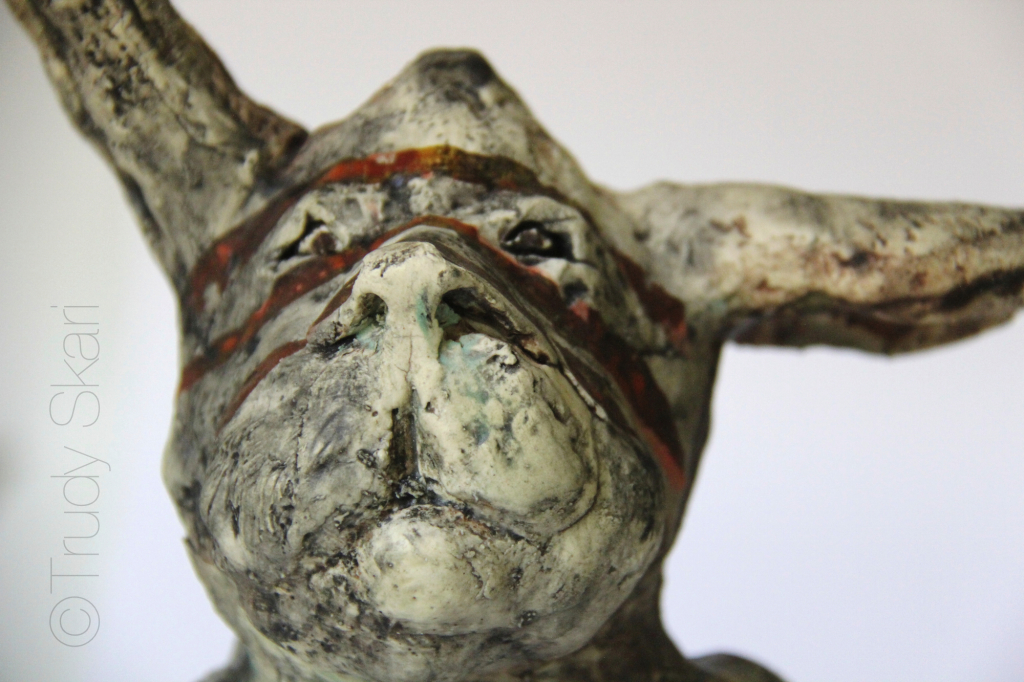
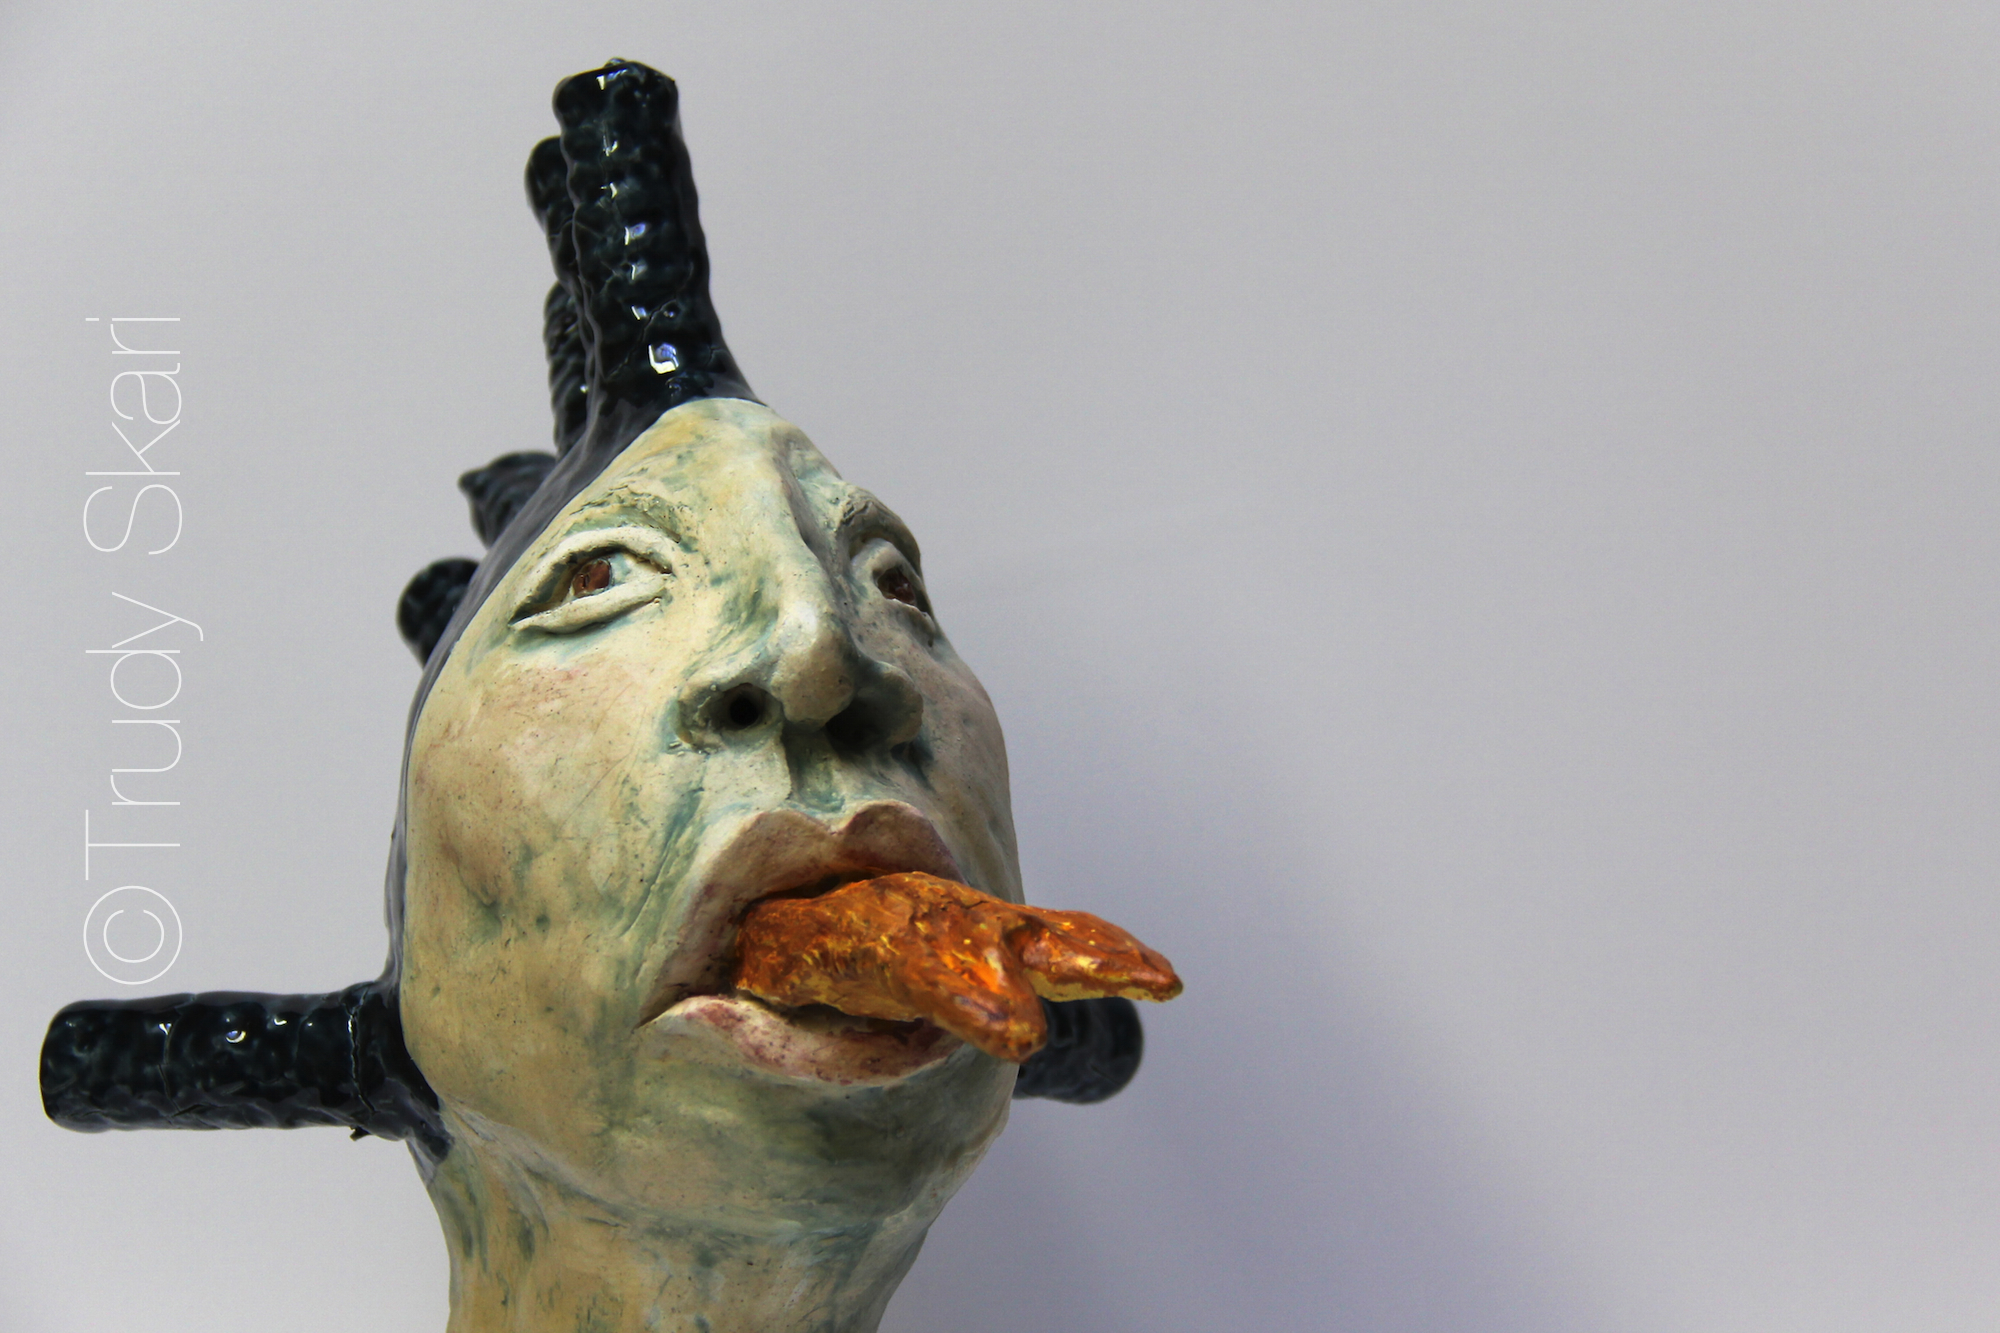
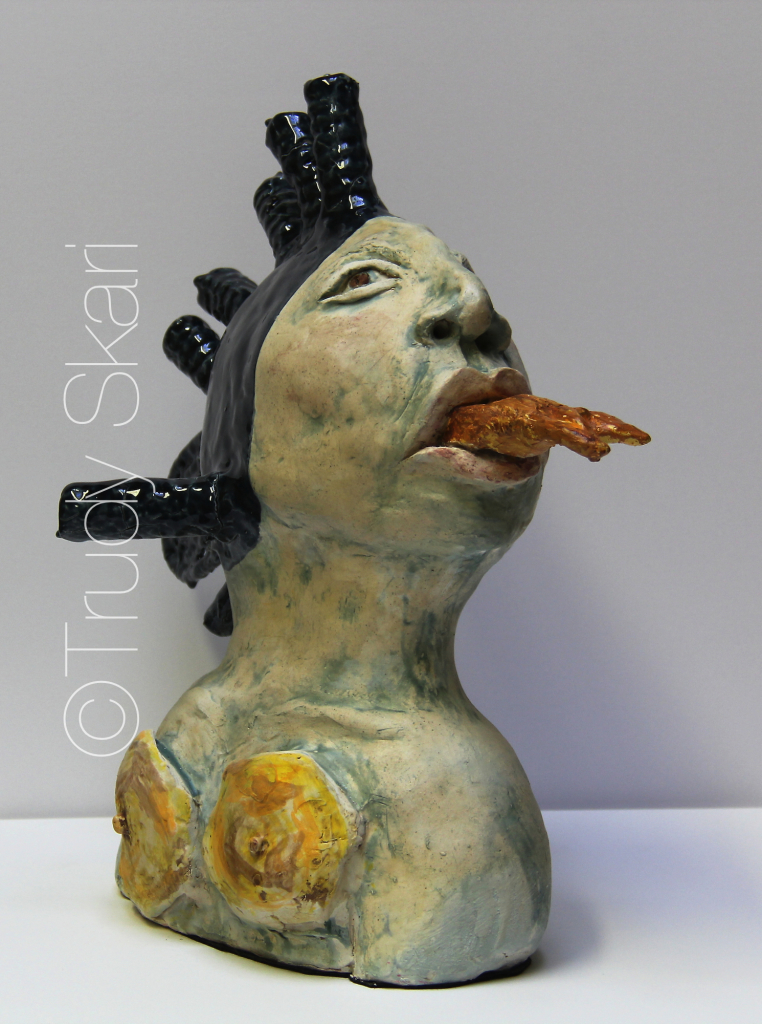
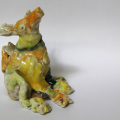
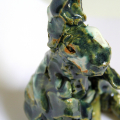
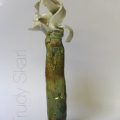
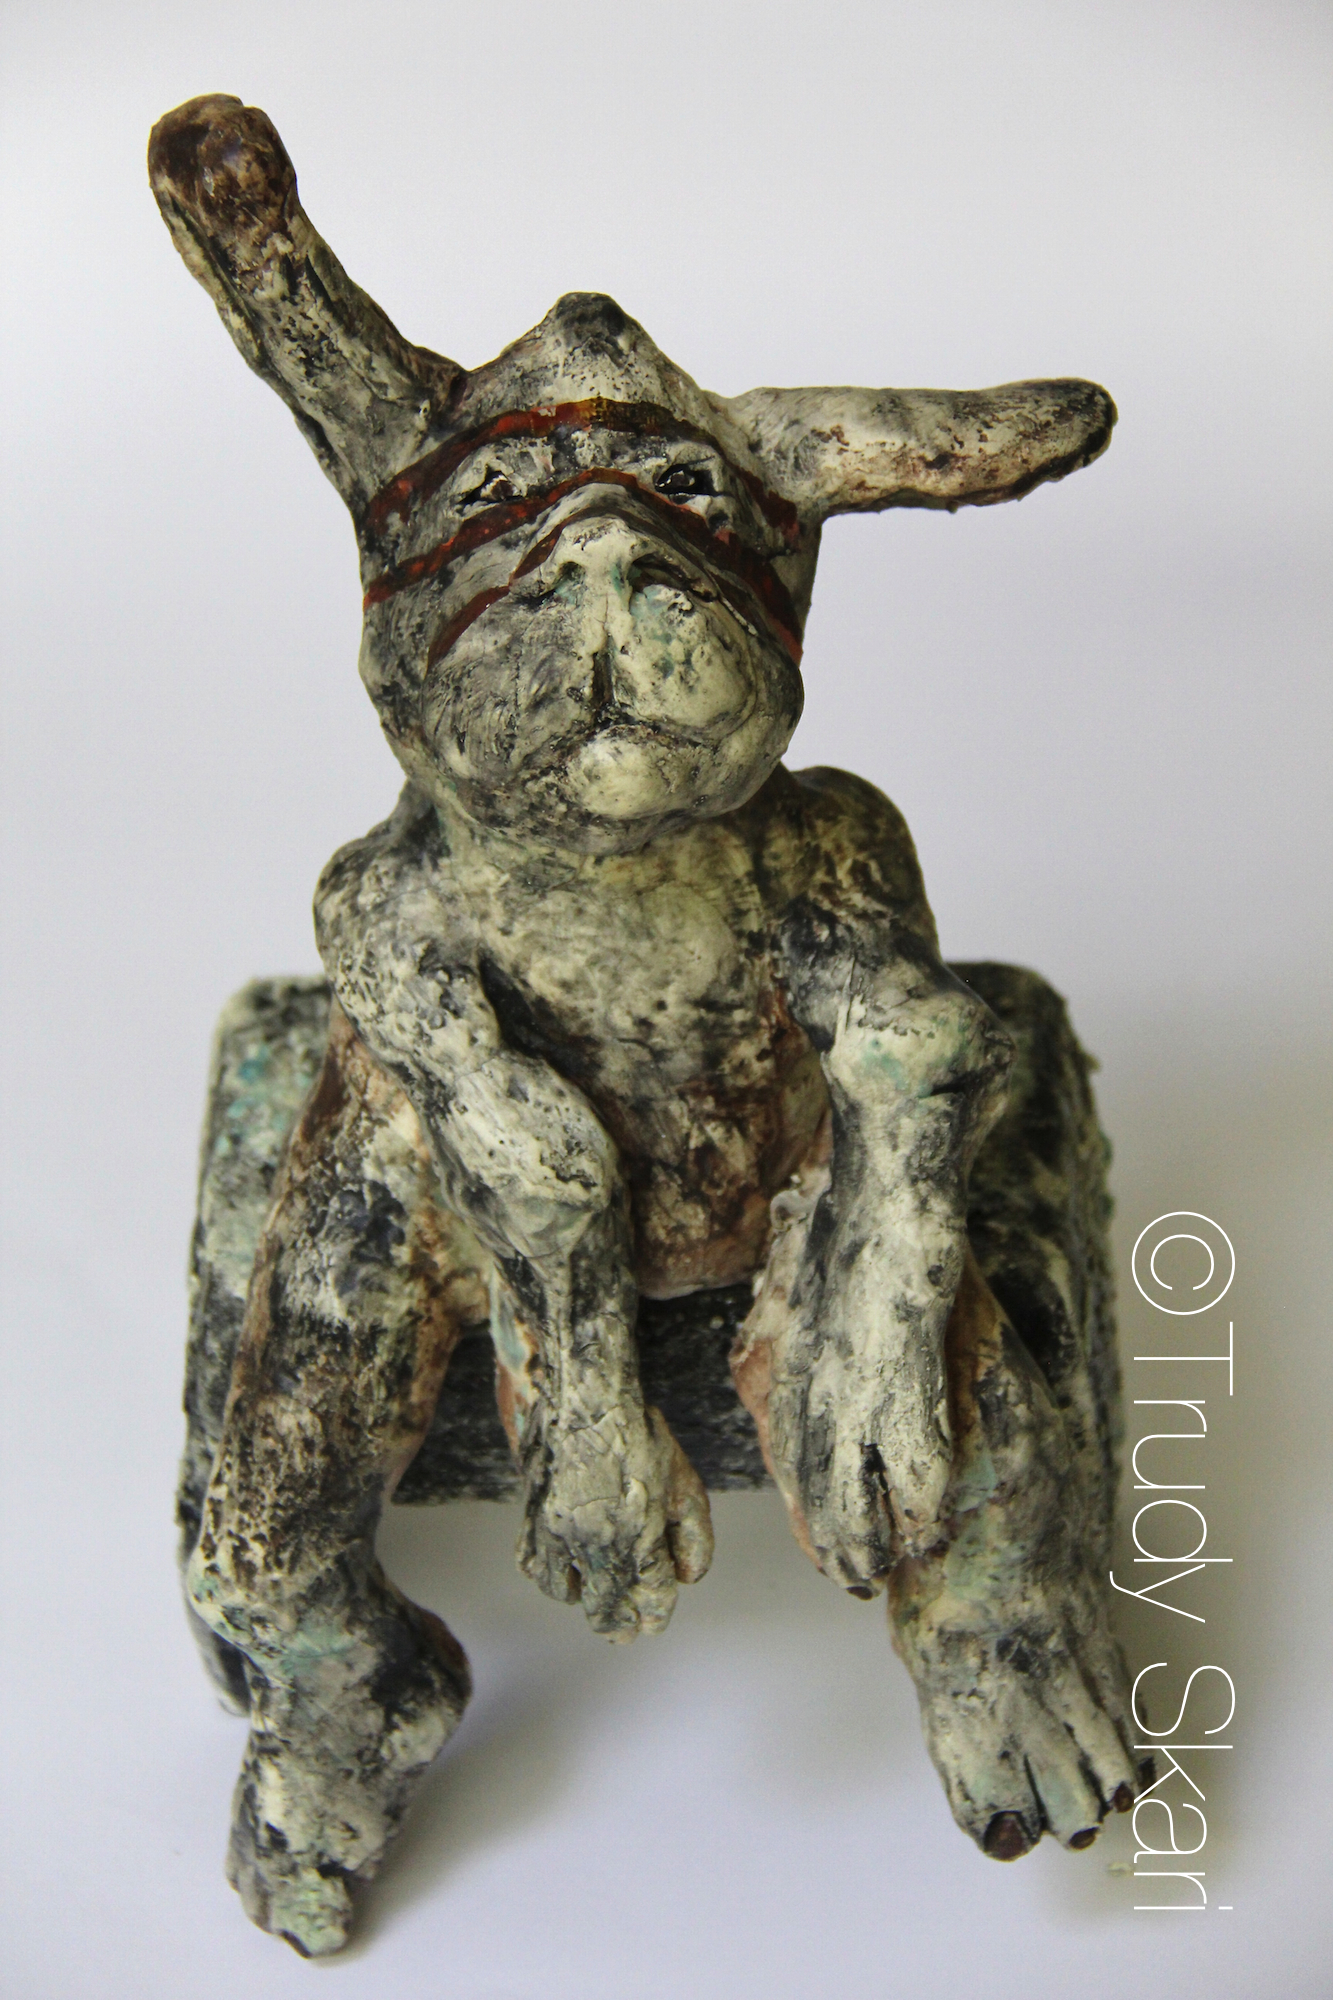
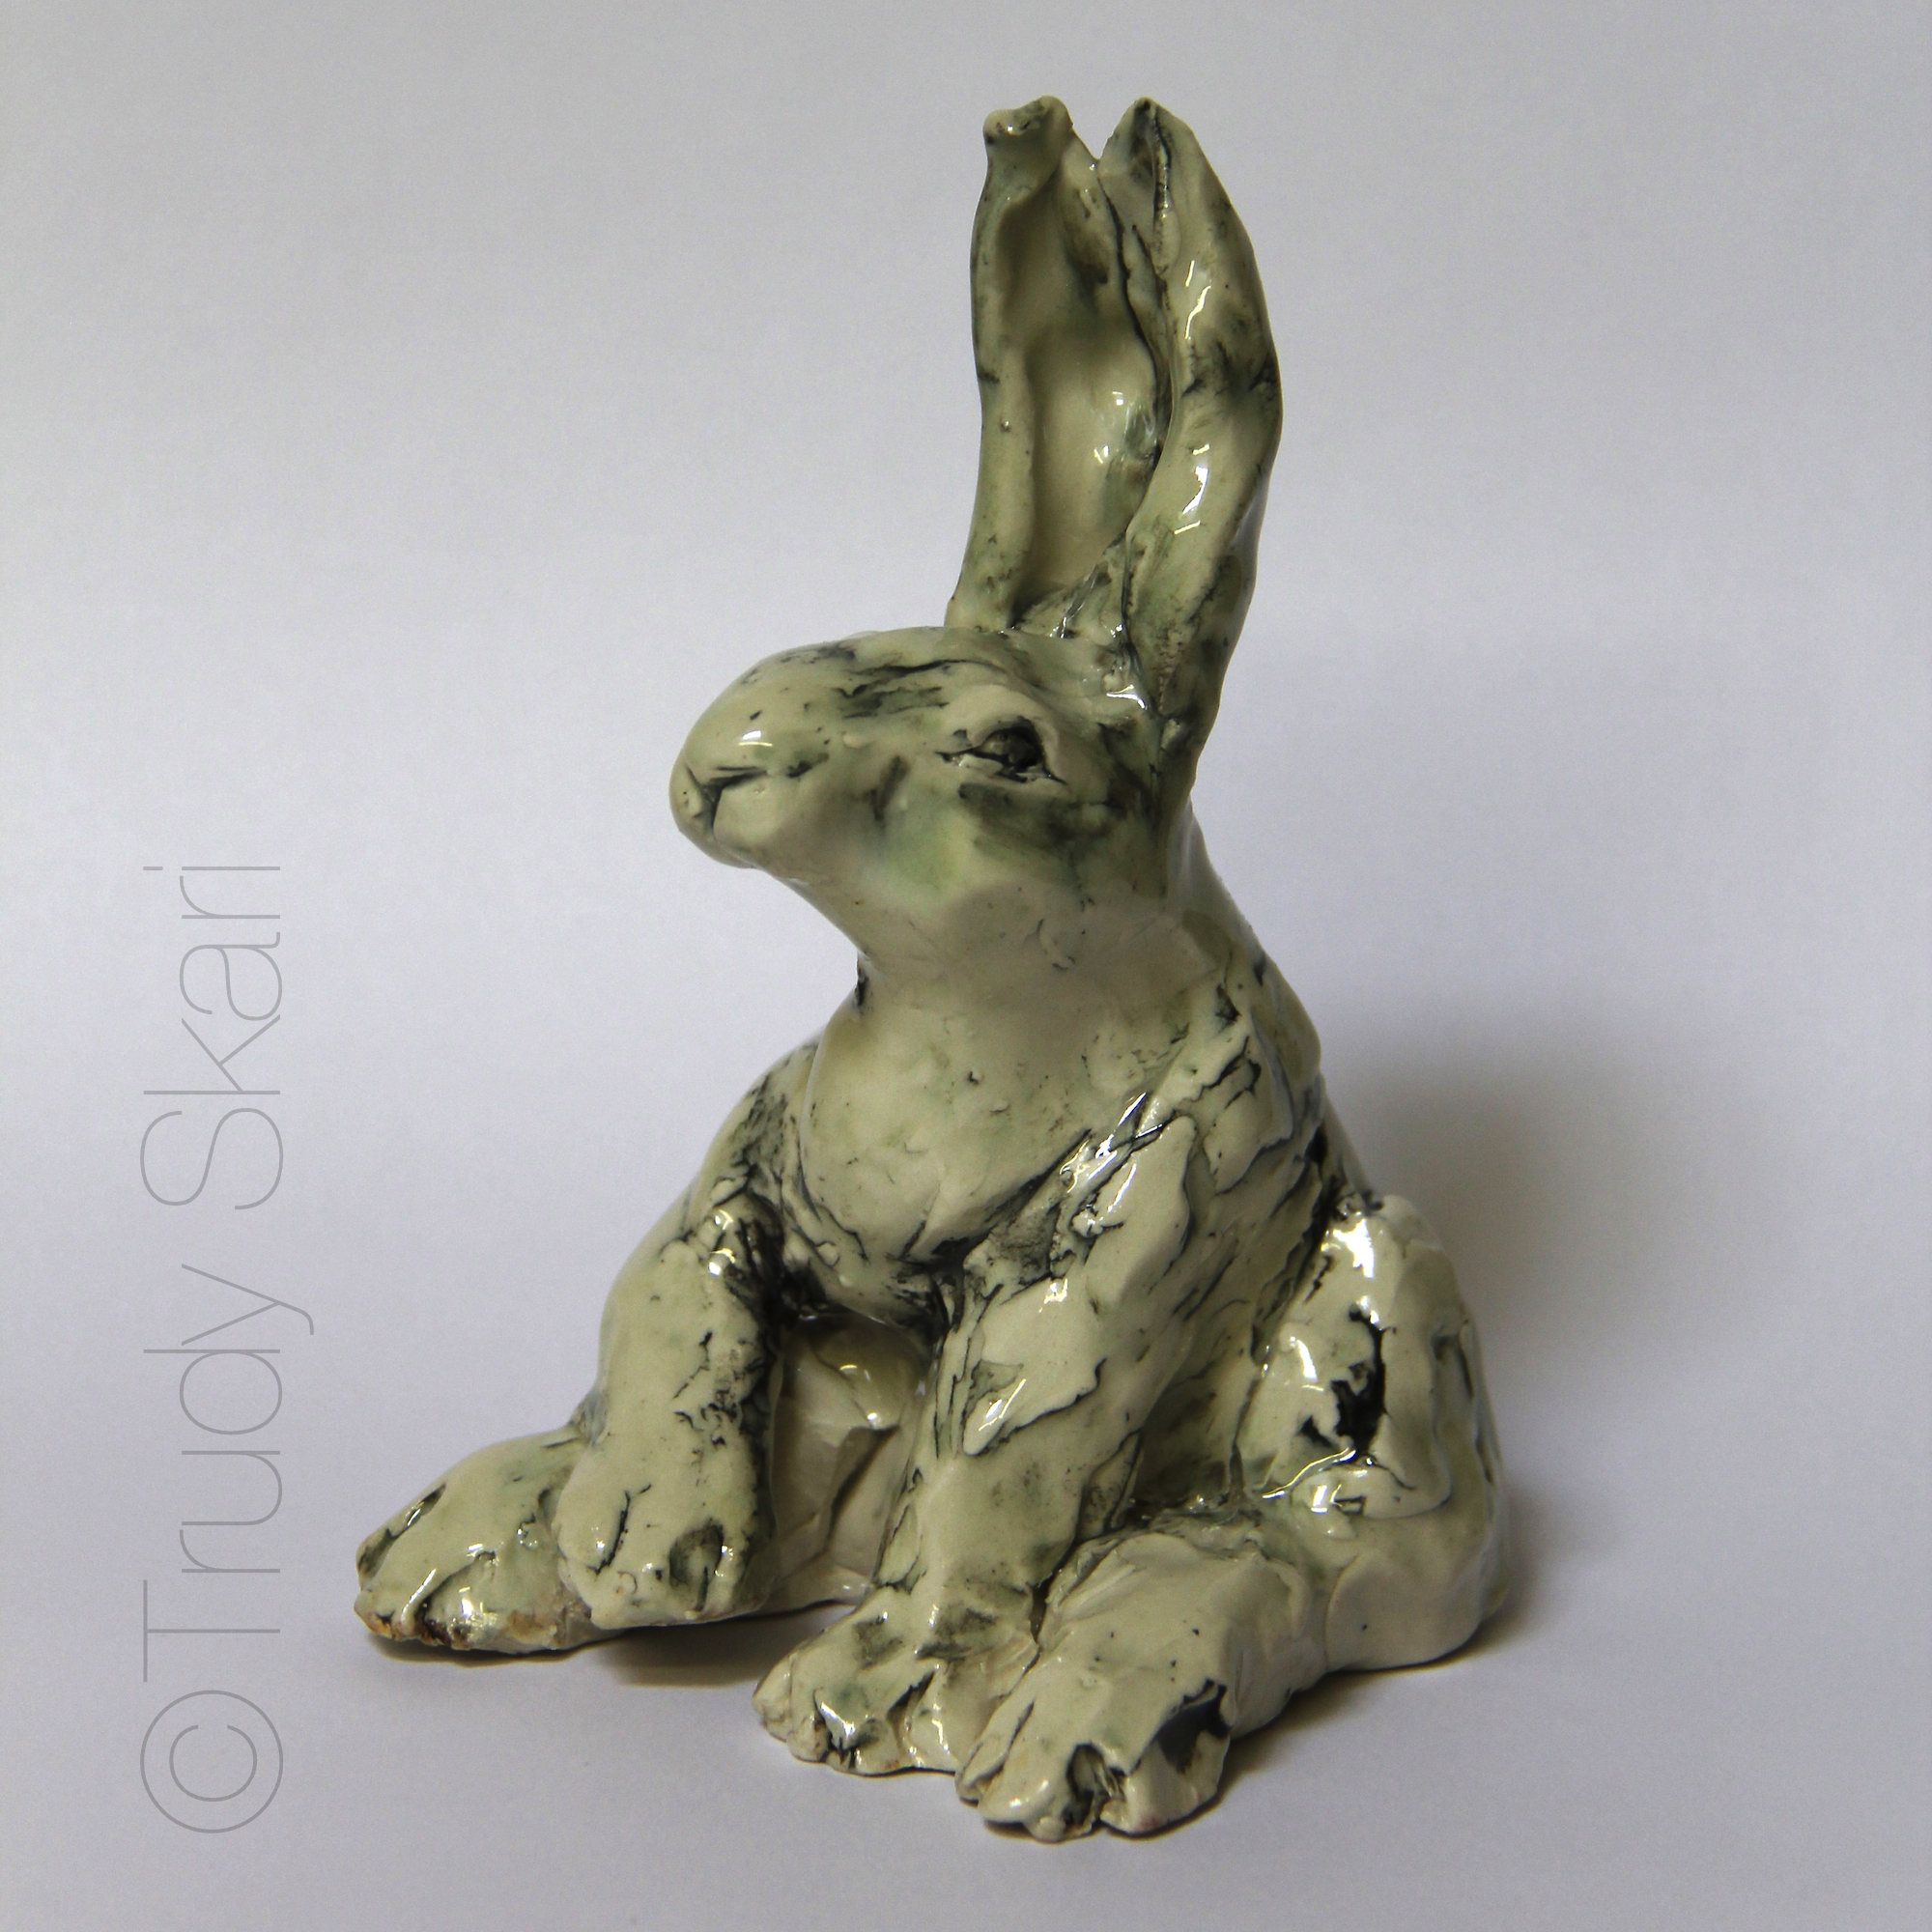
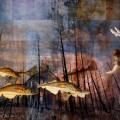
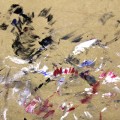
“The Vast Chasm Of Indifference Melted Before He Could Change His Mind” Ceramic Sculpture by Trudy Skari
I want to introduce a friend of mine, a sister artist and one of the artists represented by my contemporary fine art gallery, 1+1=1 Gallery.
Trudy Skari is seriously cool
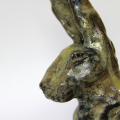
Trudy works intuitively, quickly, and with her whole body, heart and spirit. Her ceramic sculptures seem to come from some other-world, a dream world, a world of childhood memories or a place in nature that lives inside her. Having studied psychology, philosophy, then depth psychology and world religions, Trudy is greatly influenced by mythology and Creation stories from around the world. Her other influences are Joseph Campbell, Carl Jung and the open prairies of Montana.
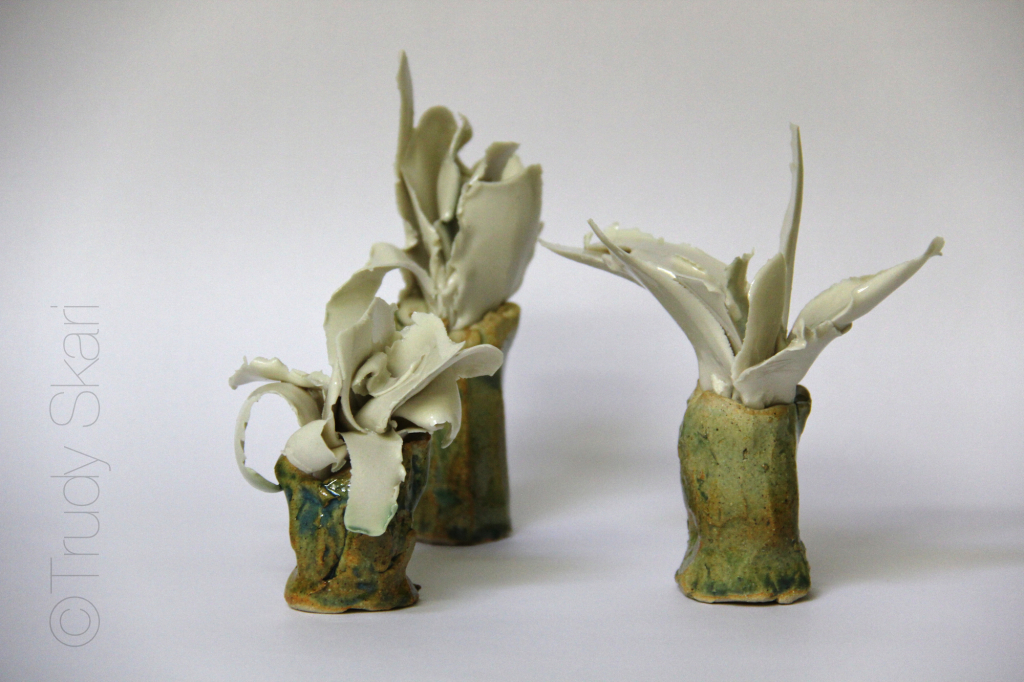
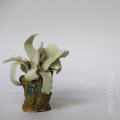
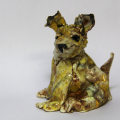
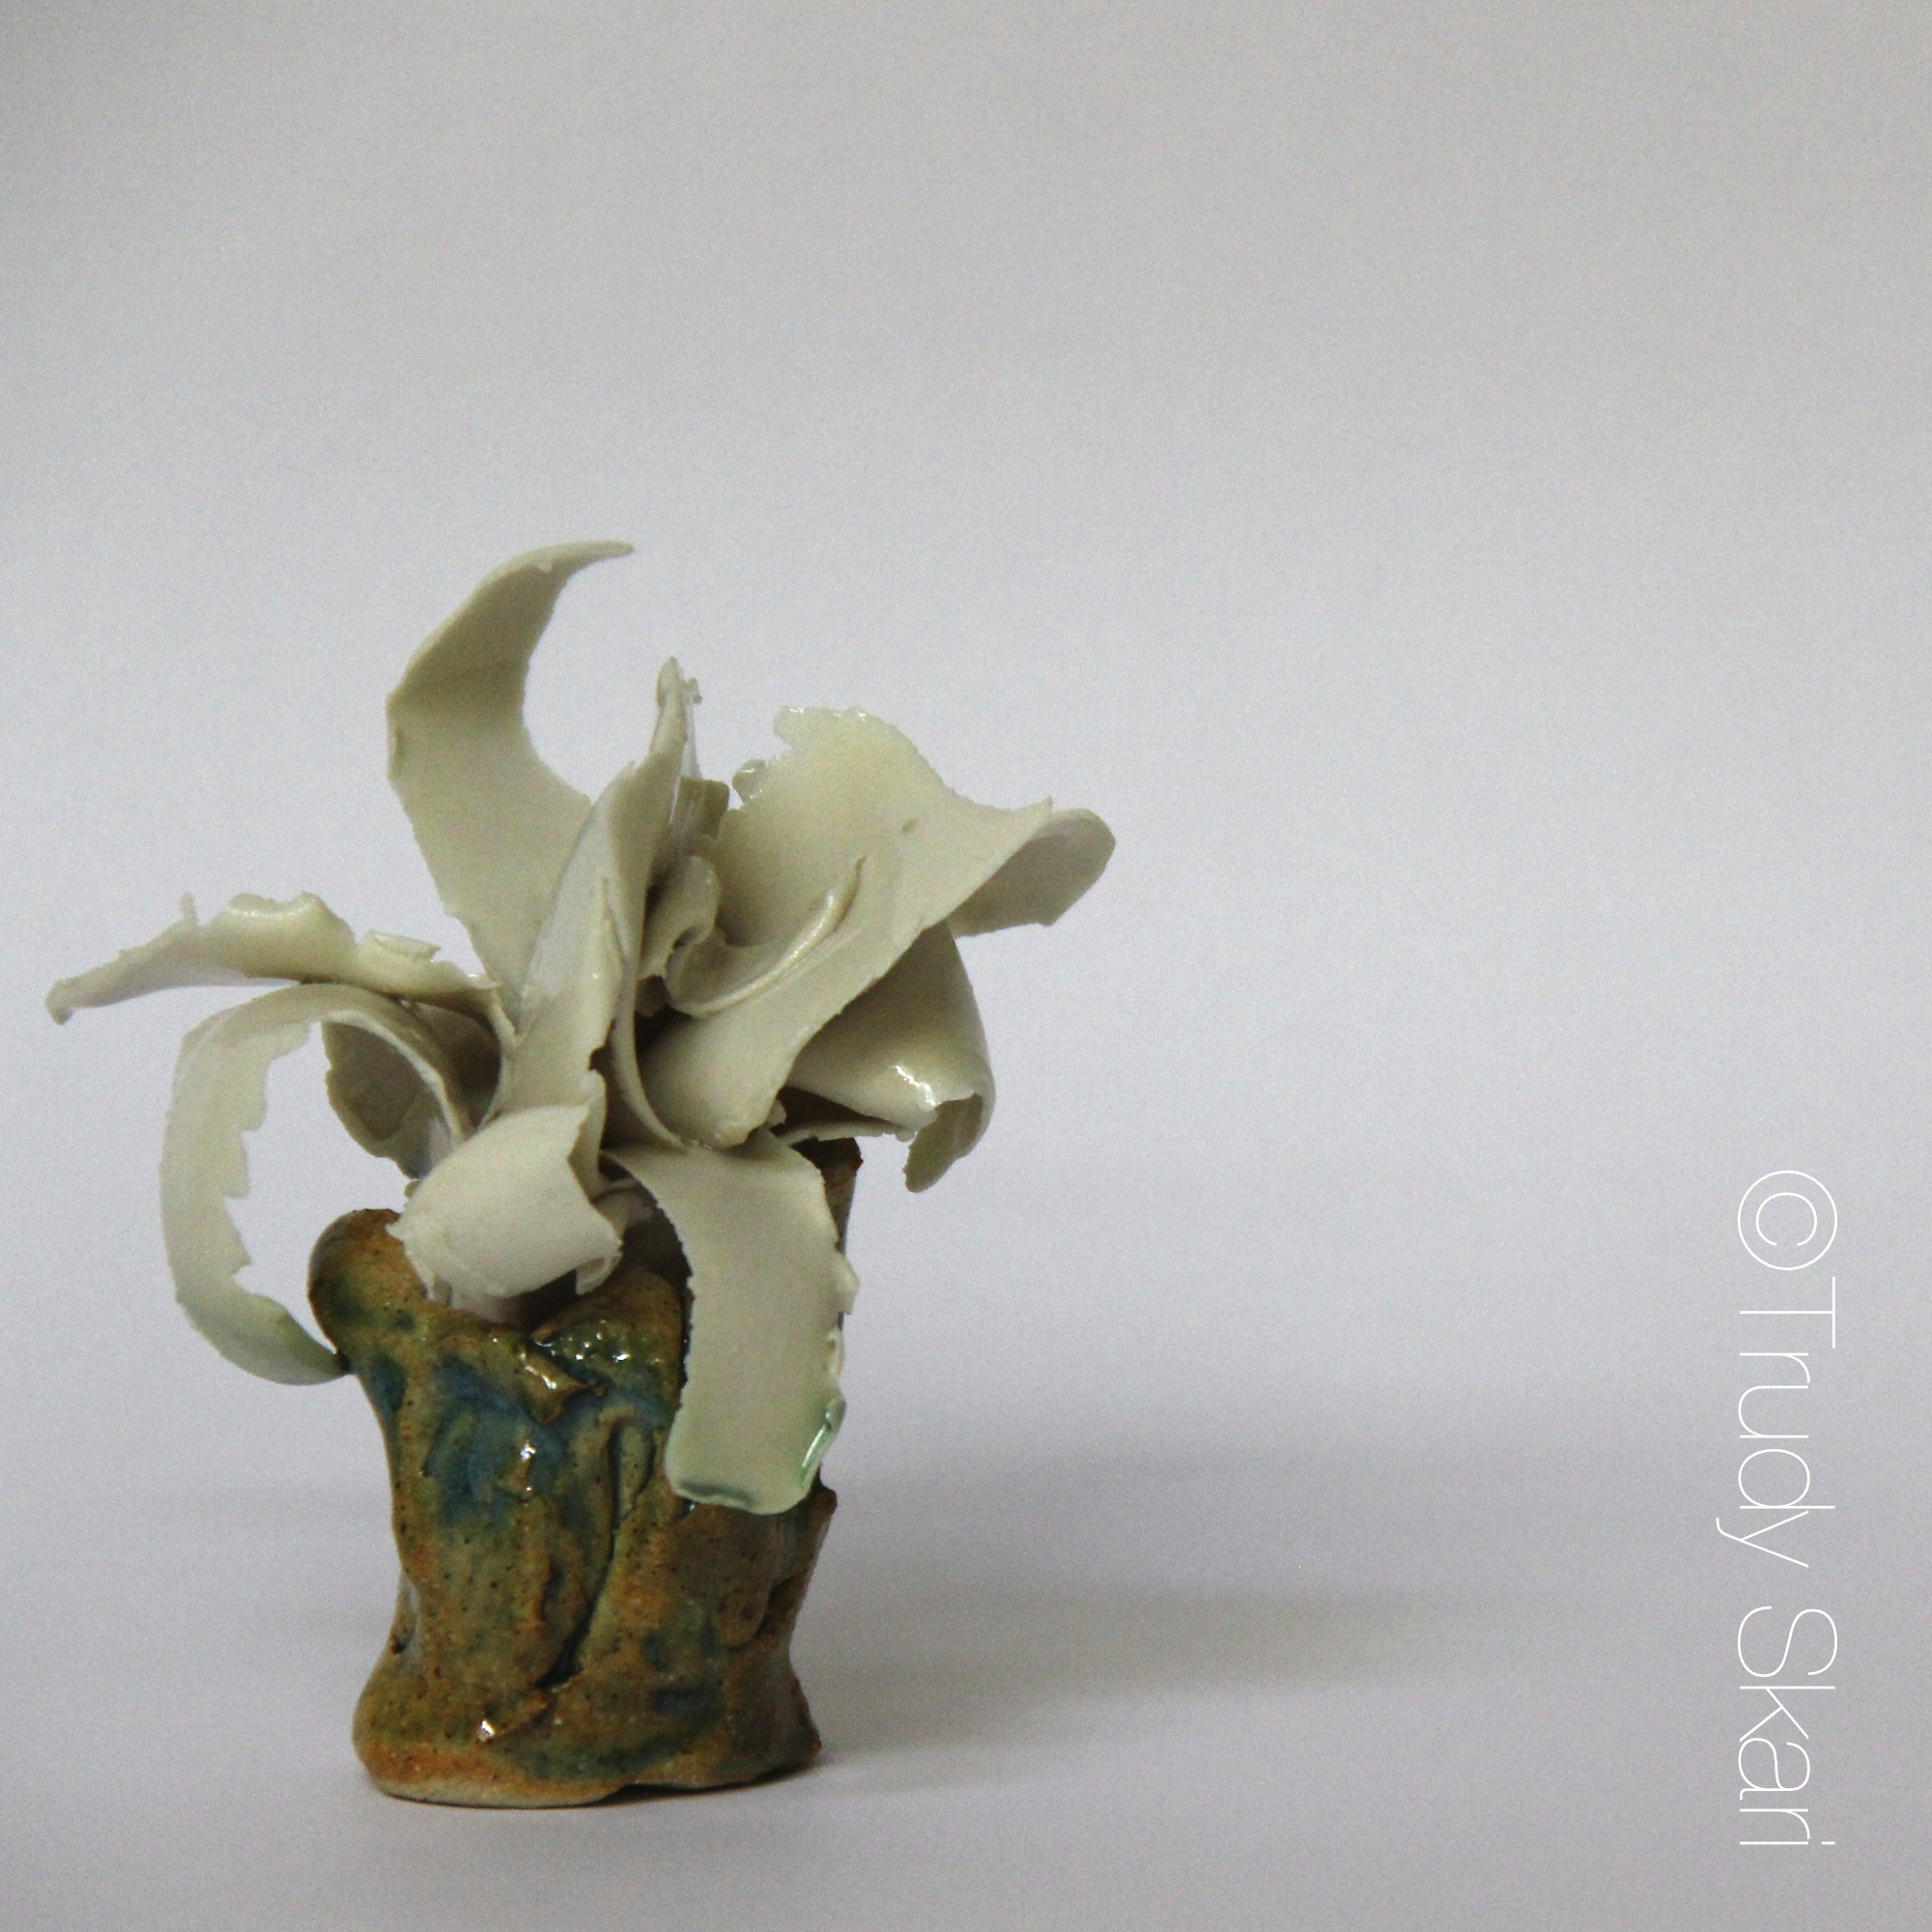
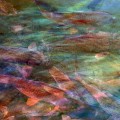
“What a Flower Knows” by Trudy Skari
Like someone who does gestural life-drawings from a model moving through quick poses, Trudy uses scraps and bits of clay to sculpt an implication of a flower … or the essence of a rabbit, bear, fox or dog.
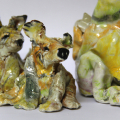
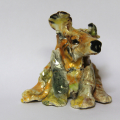
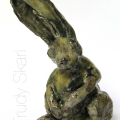
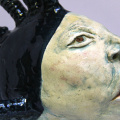
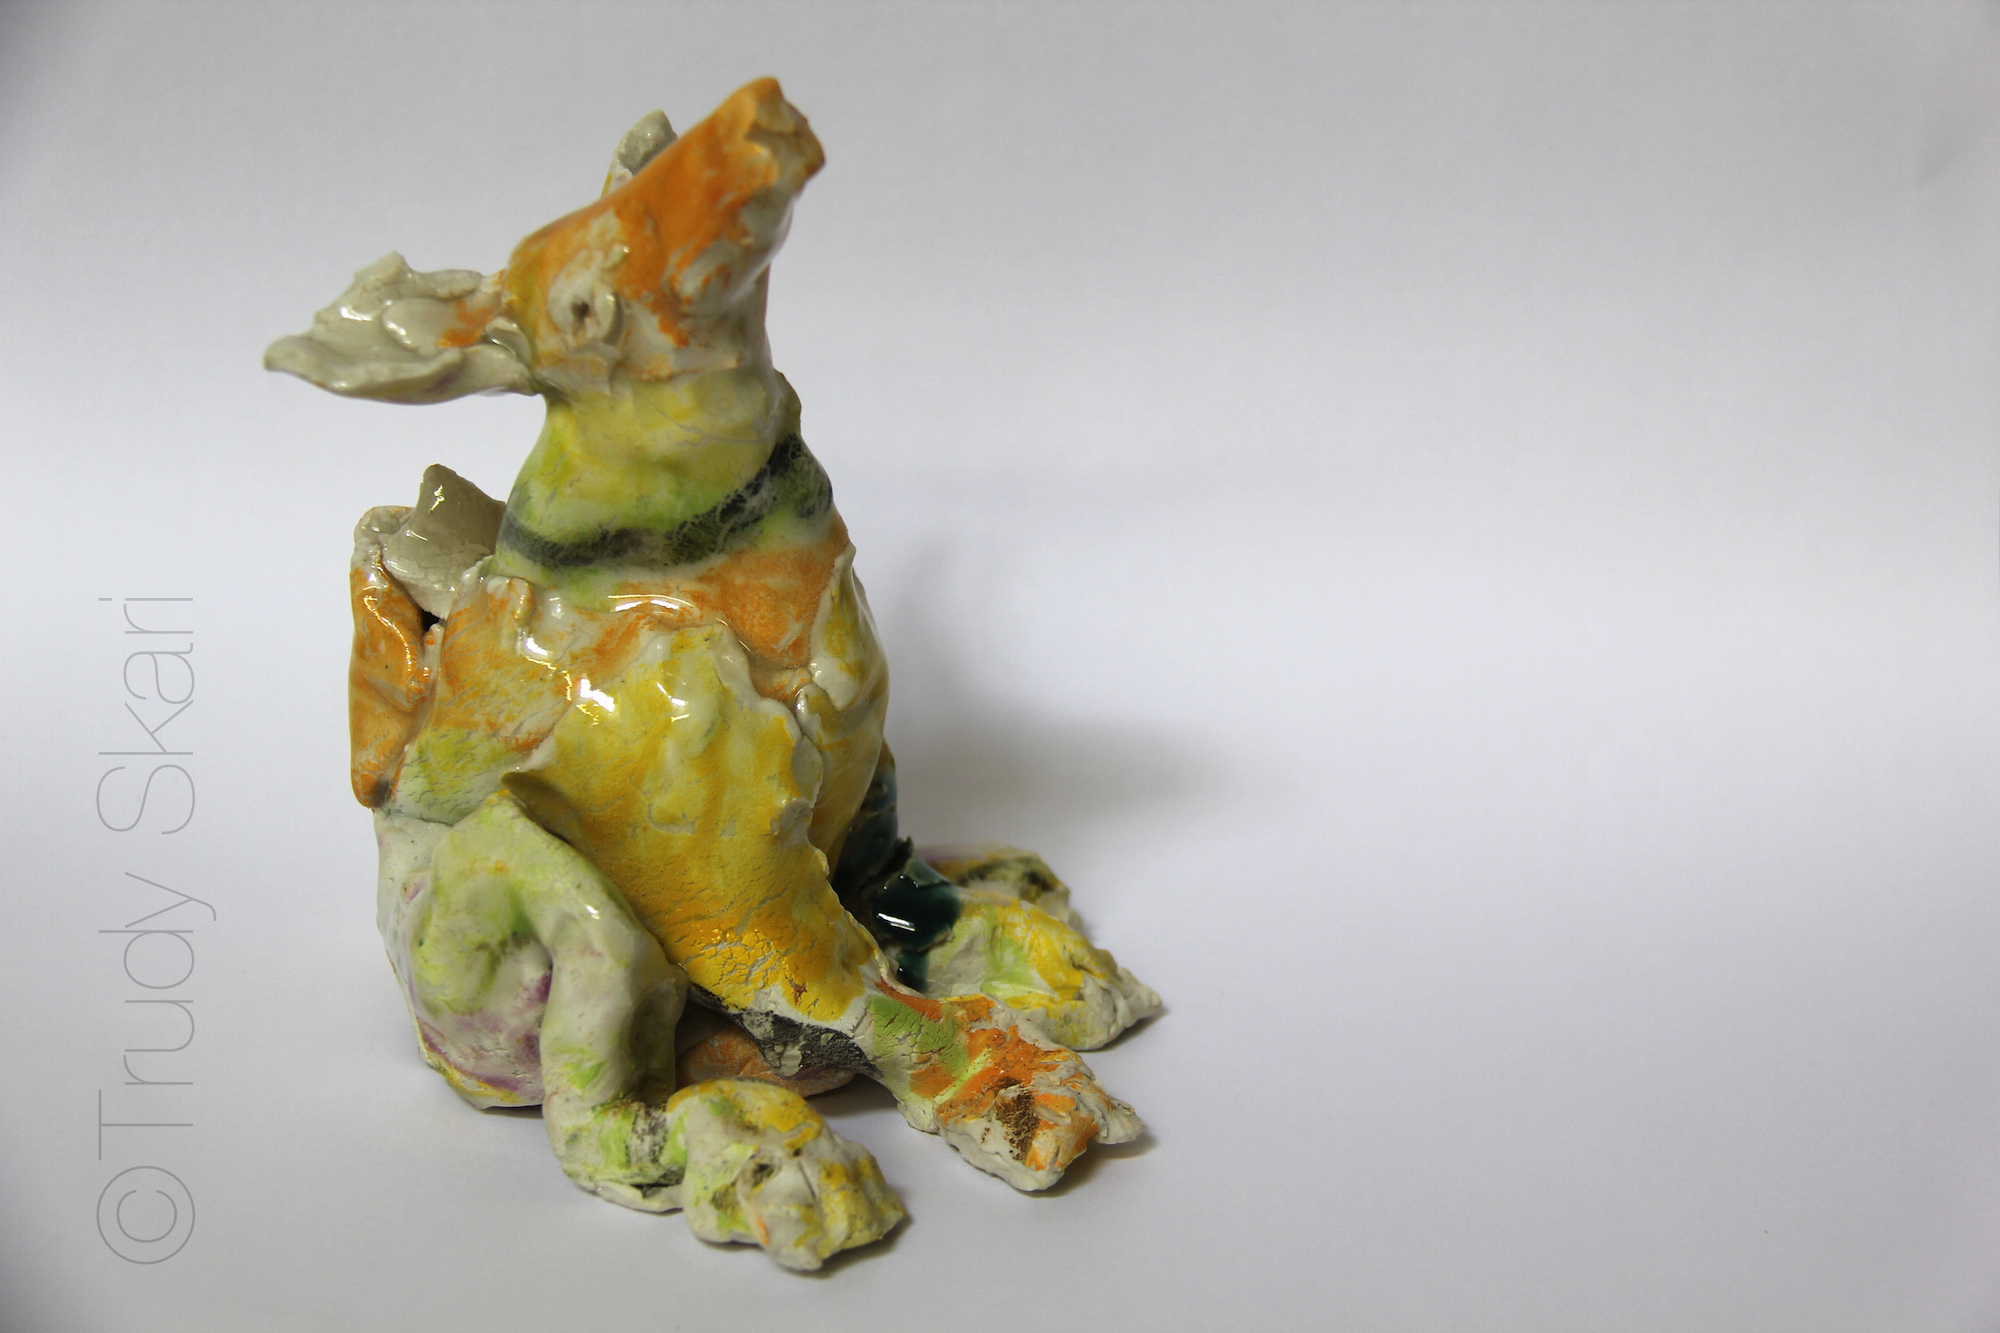
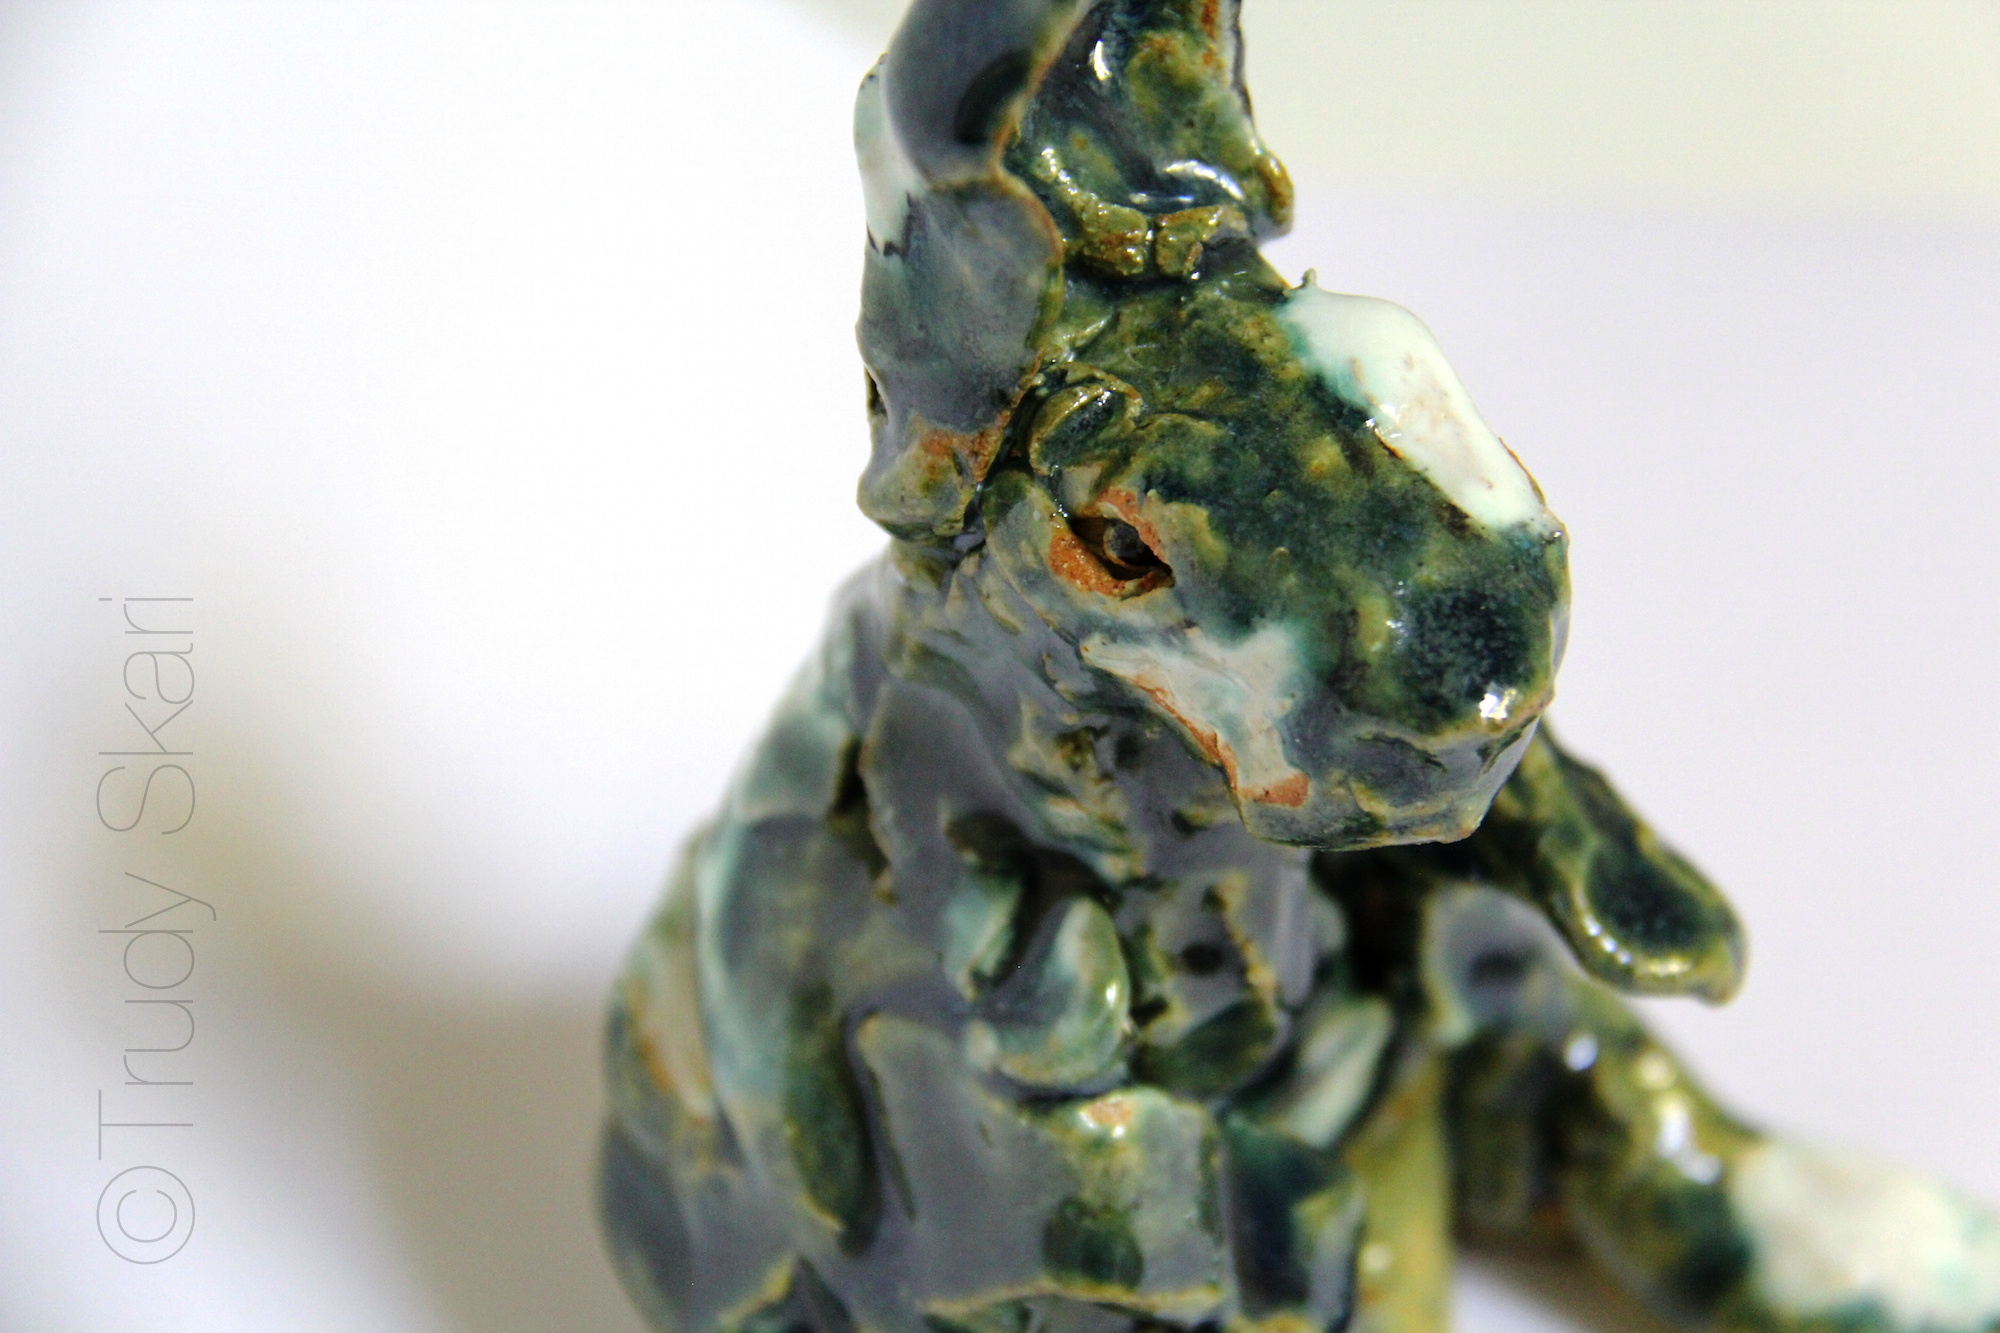
“Serena Finally Gets It” by Trudy Skari
She constantly learns new ceramic techniques and experiments to push herself and her art beyond the obvious. I love her work! I love having it in our gallery and looking at it — deeply — every day.
Each time I look at Trudy’s sculpture of the goddess, “Pele´ Eats a Fish,” I see some other aspect of the feminine, some other level of meaning. Trudy told me she was thinking of titling the piece “On Her Day Off Pele´ Eats Sushi.” This makes me think of how we all have different aspects of ourselves co-existing inside of us: masculine and feminine; adult and child; light and dark; serious and funny; out-there and in-here …
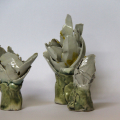
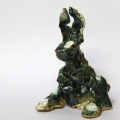
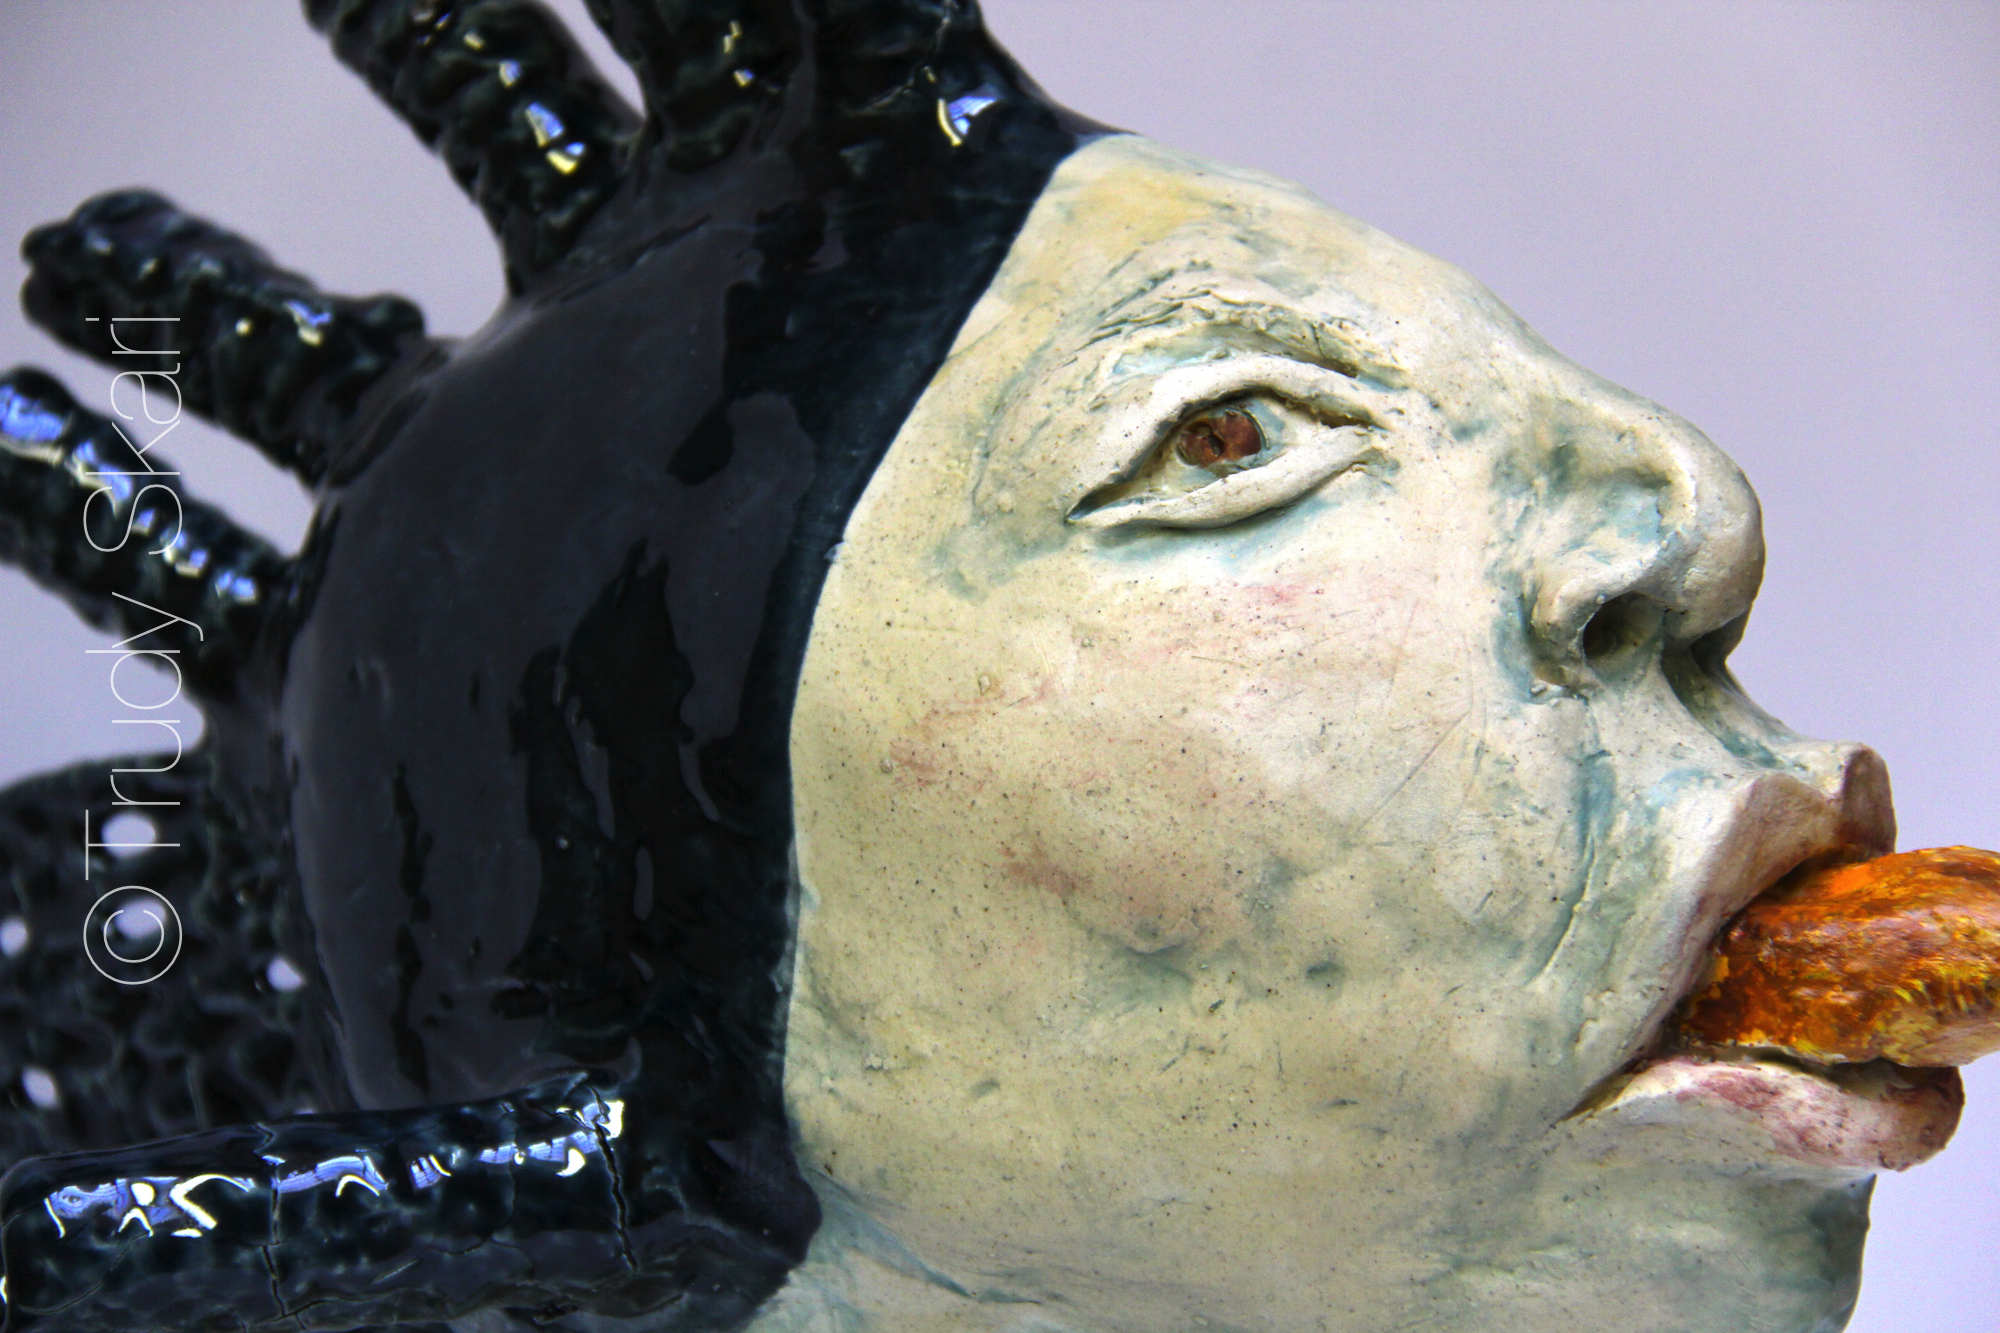
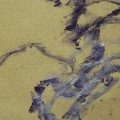
Detail: “Pele´Eats a Fish” by Trudy Skari
Wouldn’t a god or goddess also have co-existing personality aspects? Wouldn’t Pele´– goddess of volcanoes and all things explosive, also have a softer side when she’s taking the day off? And wouldn’t a softness also have a bit of harsh-reality tossed in for balance? So … on her day off, maybe Pele´ wears curlers in her hair, cooks (the spatula) and dives deep into her ocean world to catch and eats fish. She even looks fish-like. And so beautiful in an earthy, watery way.
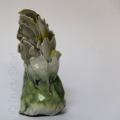
“Pele´Eats A Fish” by Trudy Skari
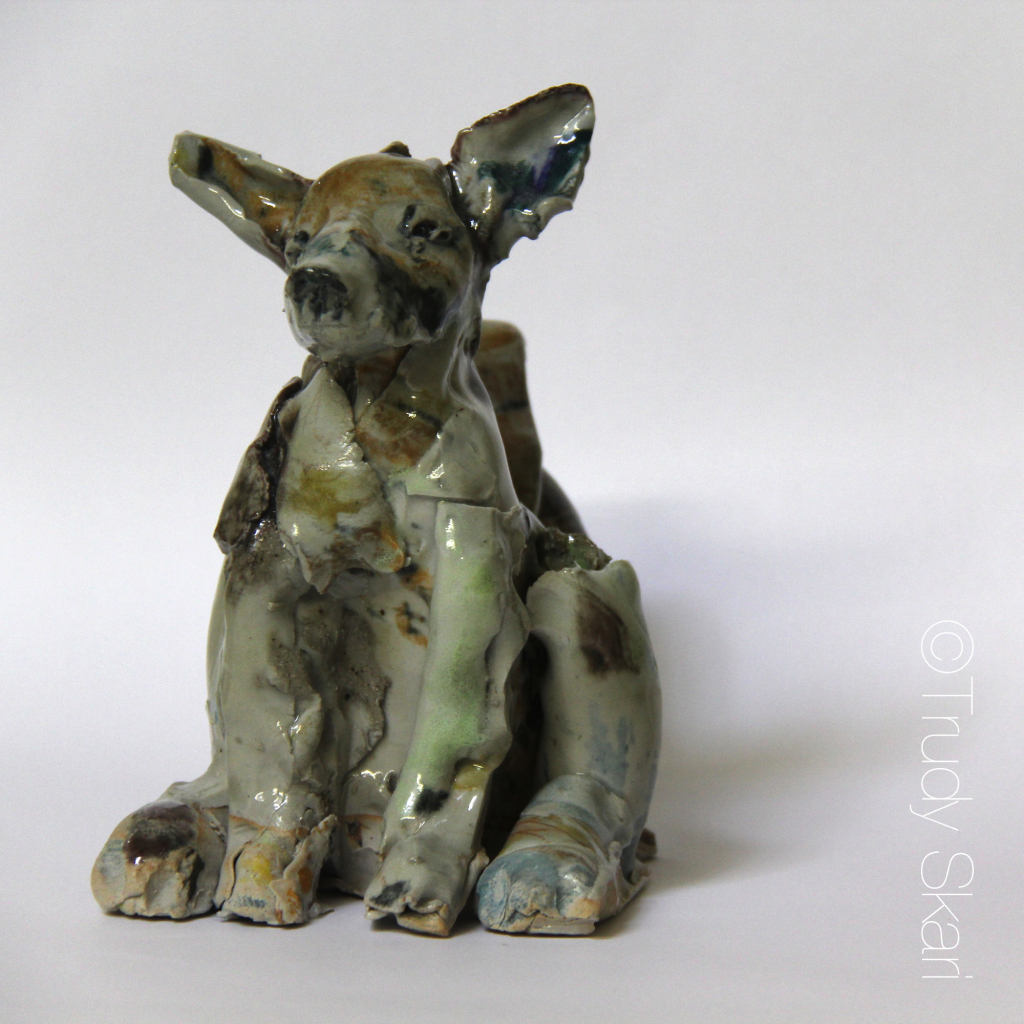
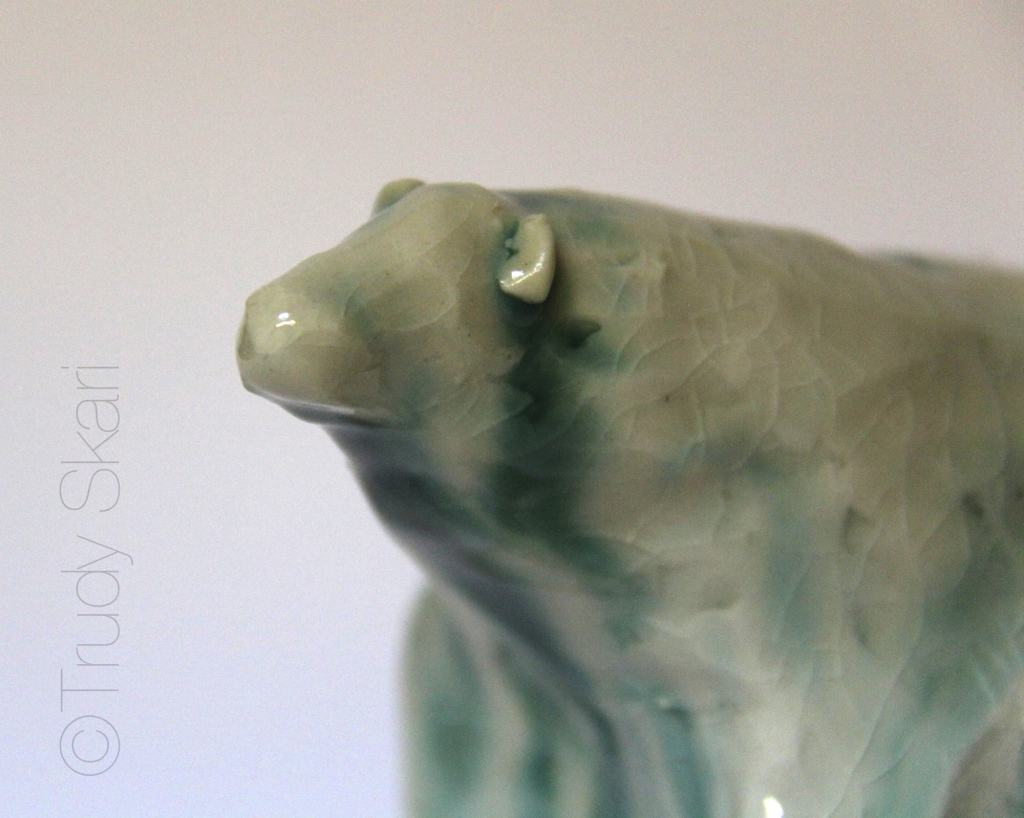
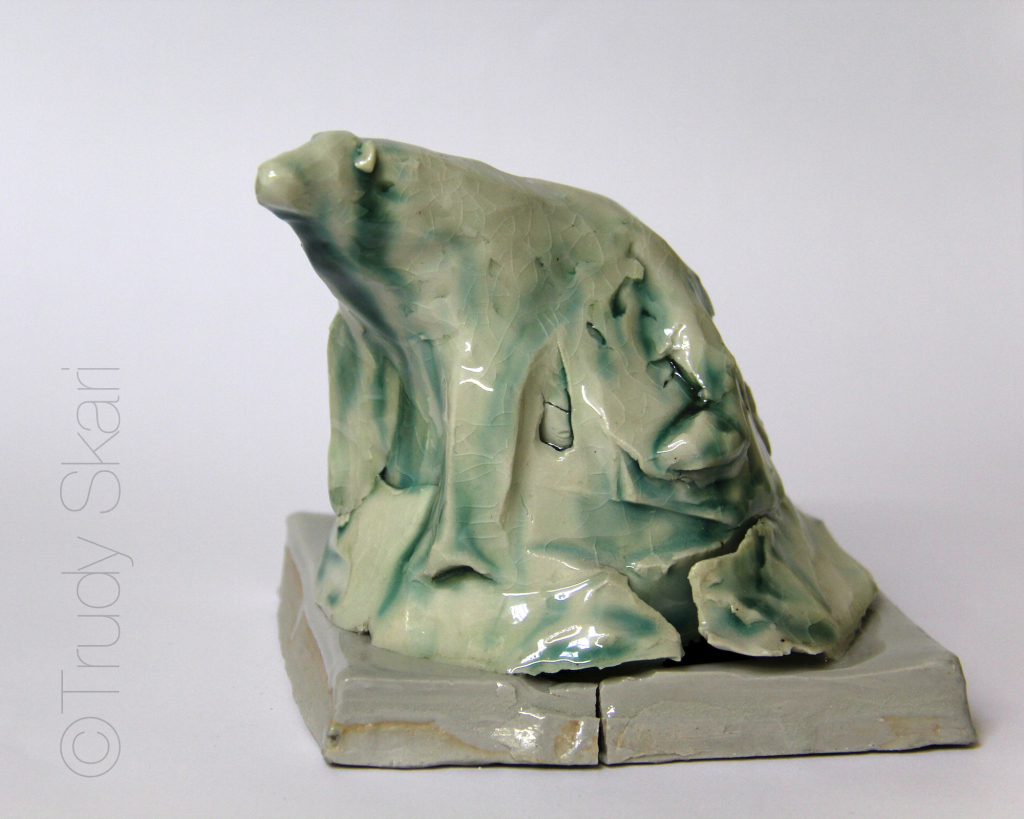
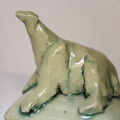
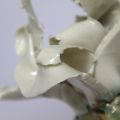
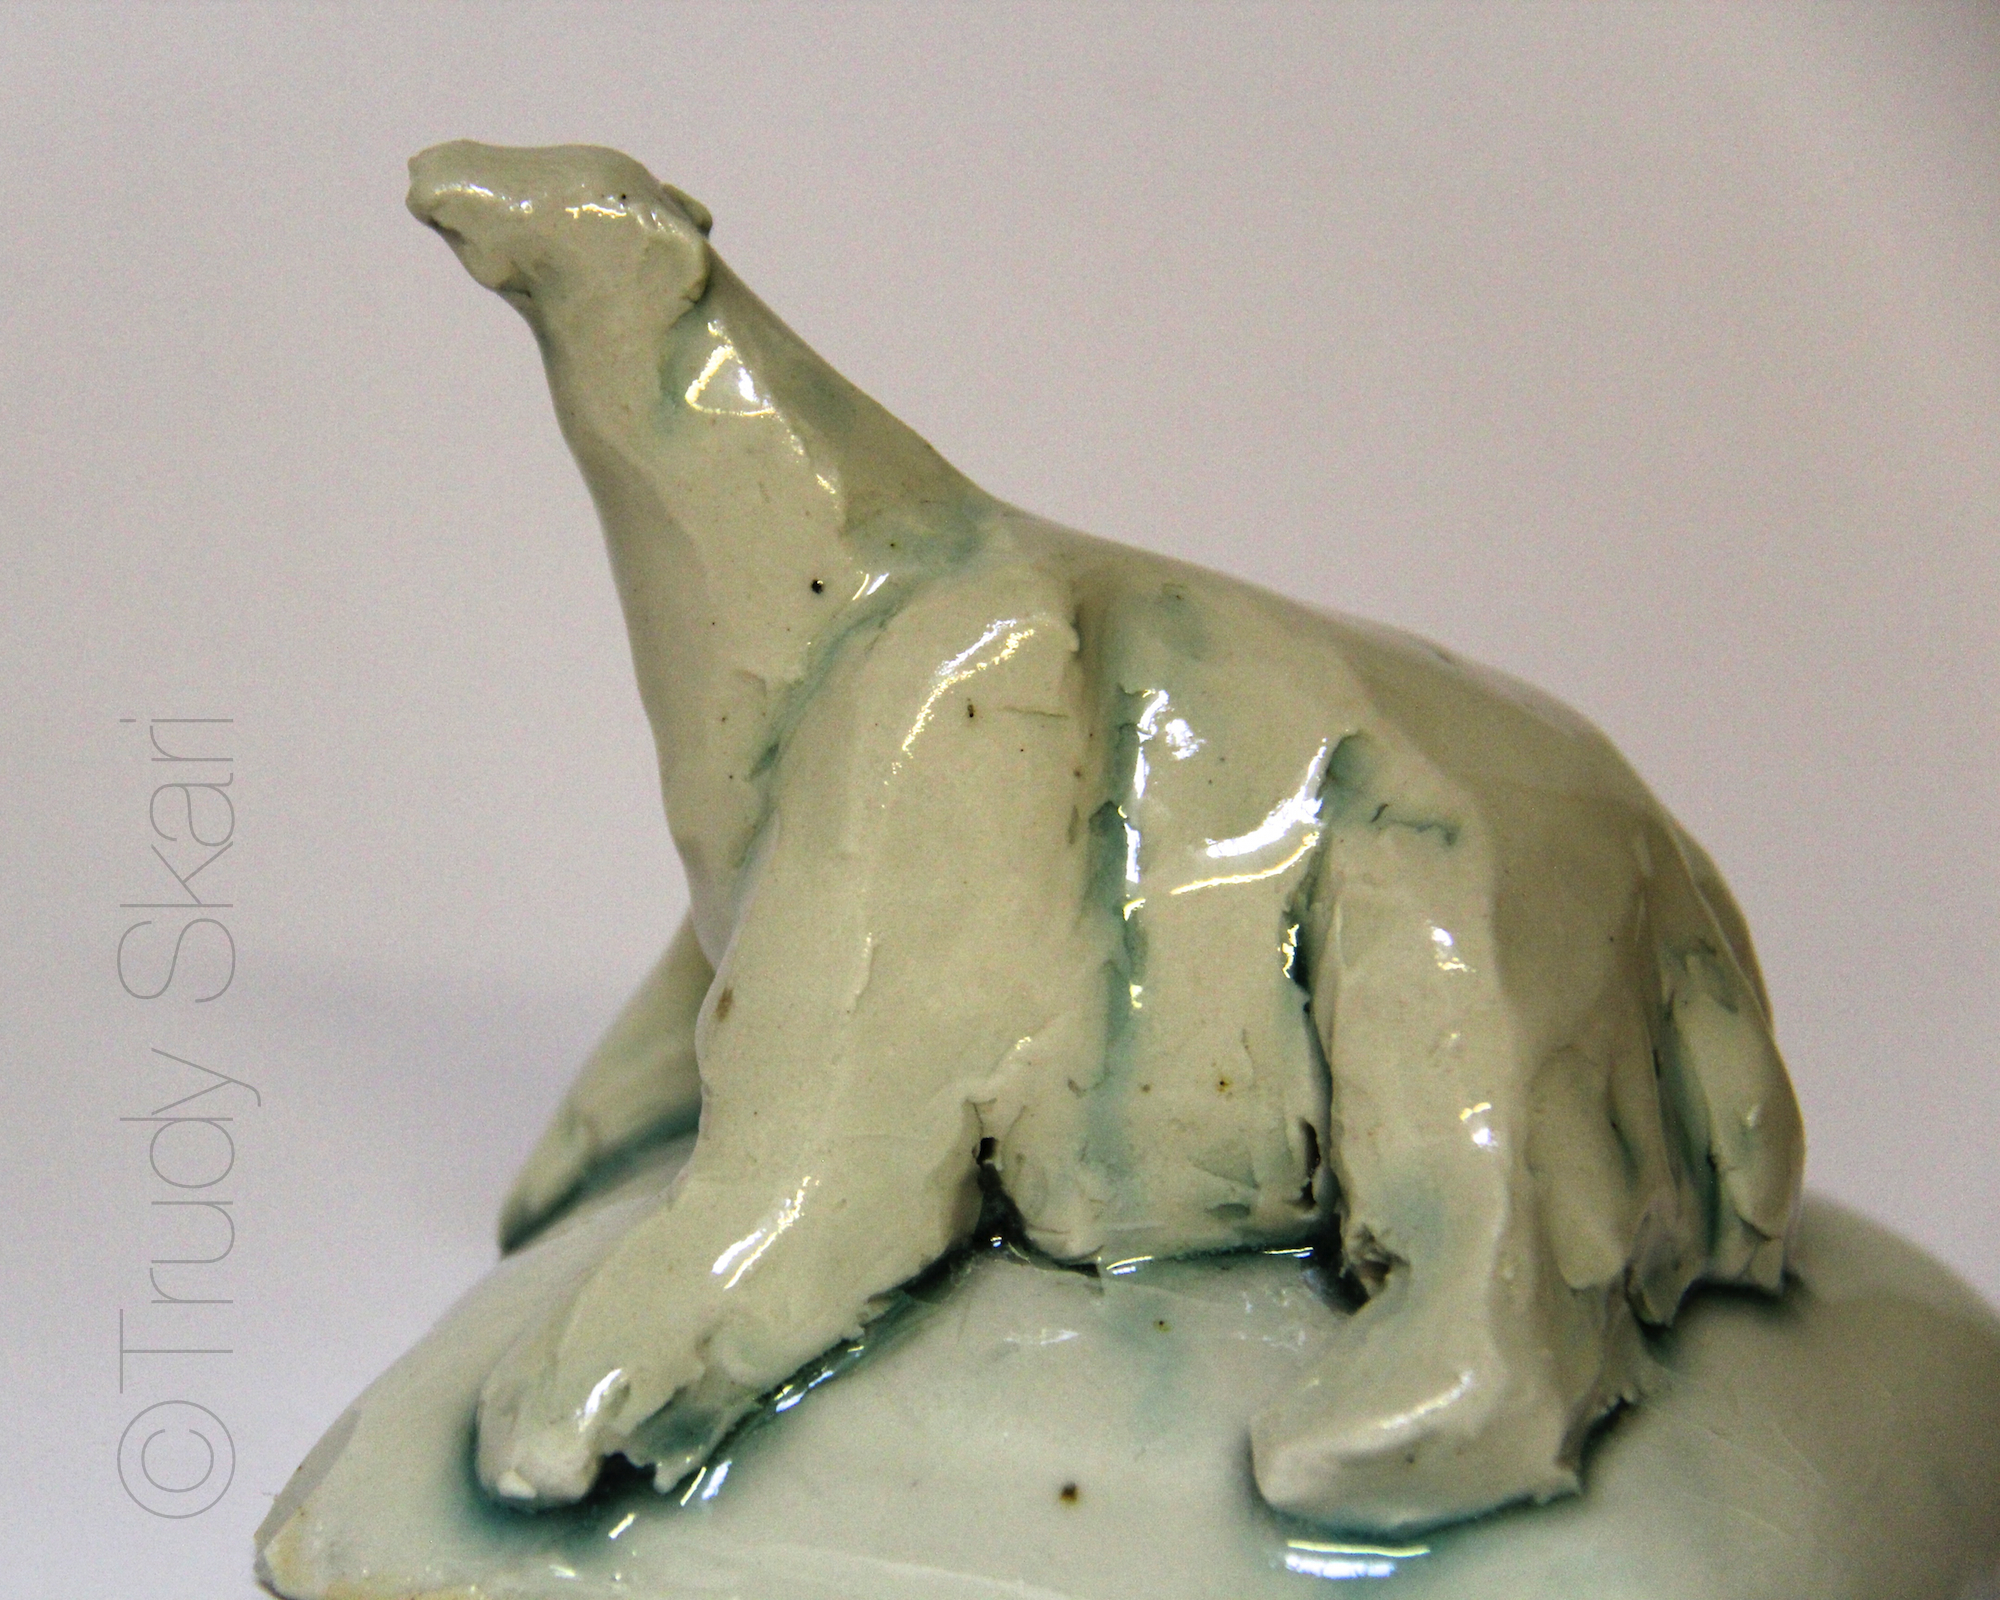
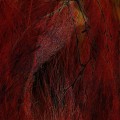
Detail, Polar Bear by Trudy SkariPolar Bear by Trudy Skari
Trudy Skari, Artist Statement:
I find that the objects I make are sometimes part of an unspoken narrative. Rather, they reside under or beside the formulated word or thought. At times the piece goes dallying around in some poetic realm and finishes sentences I was not aware I had uttered. The realm of image is forged in a different light than the realm of word. Like the visible spectrum the imaginal realm has a range that is just outside of the awareness to human senses but wide open to human insight, consciousness and our desire for making meaning.
Animals so are present in our understanding of how we navigate the environment, they protect us from our rigidity and ground us in our mammalian firmament. They are however always other, even if we anthropomorphize them to aid in our understanding. My attempt is to create an animal-ness that functions on a level of knowing and not knowing at the same time. It all works best when a balance is found between the gesture and the intent.
Trudy is represented in Helena, Montana by 1+1=1 Gallery. Her ceramic sculptures will be available for viewing during regular business hours at the gallery located at 434 N. Last Chance Gulch. Please call 406.431.9931 for more information about Trudy’s work.
More of Trudy’s artwork available at 1+!=1 Gallery. If you are interested in any of her pieces, call or email maureenshaughnessy@gmail.com
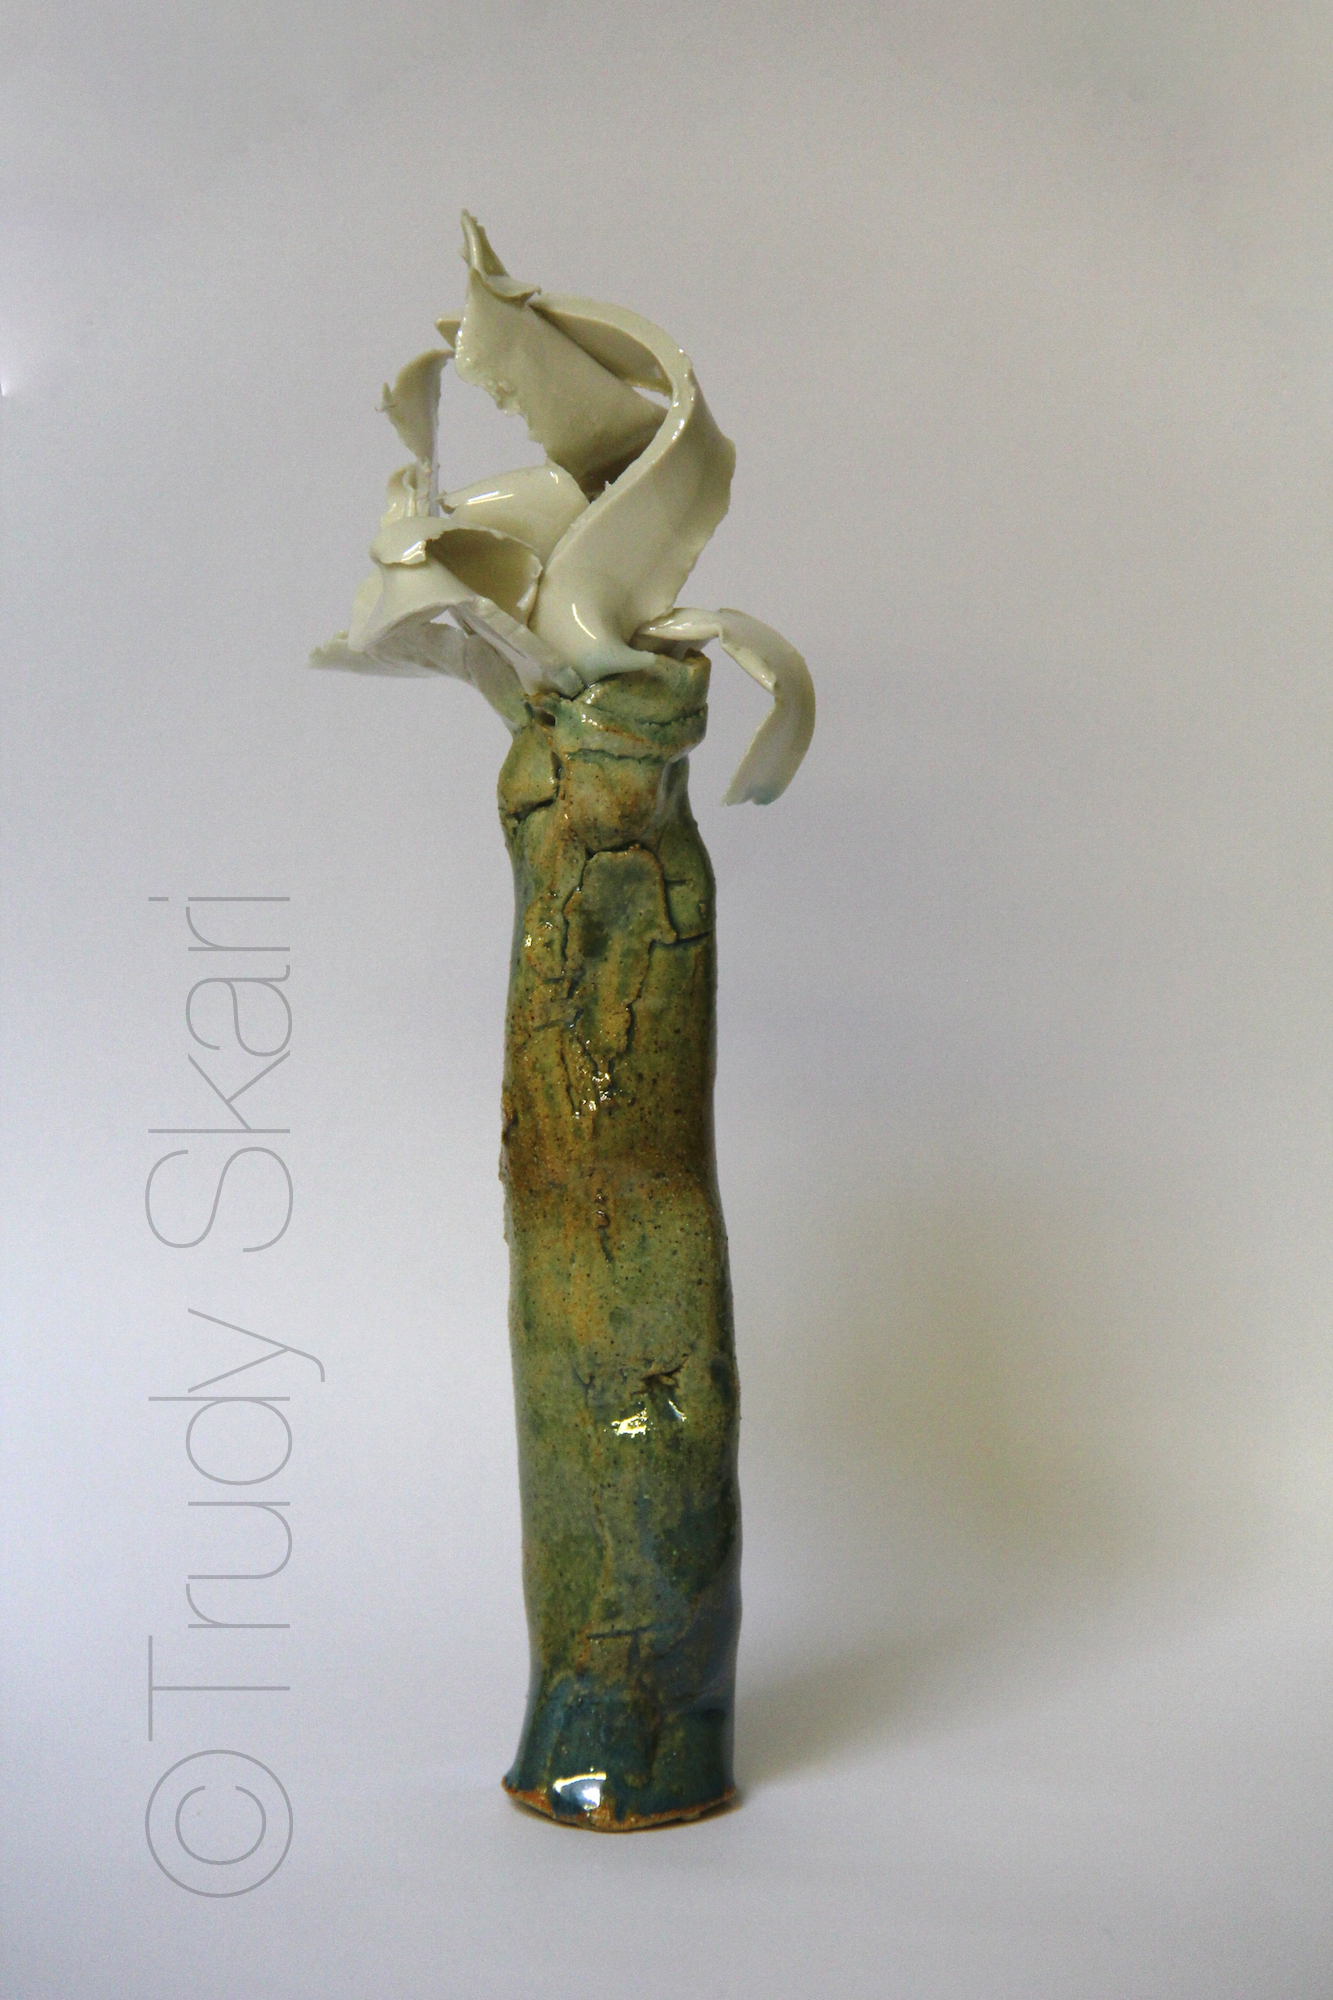
“The Vast Chasm Of Indifference Melted Before He Could Change His Mind” Ceramic Sculpture by Trudy Skari
“The Vast Chasm Of Indifference Melted Before He Could Change His Mind” Ceramic Sculpture by Trudy Skari
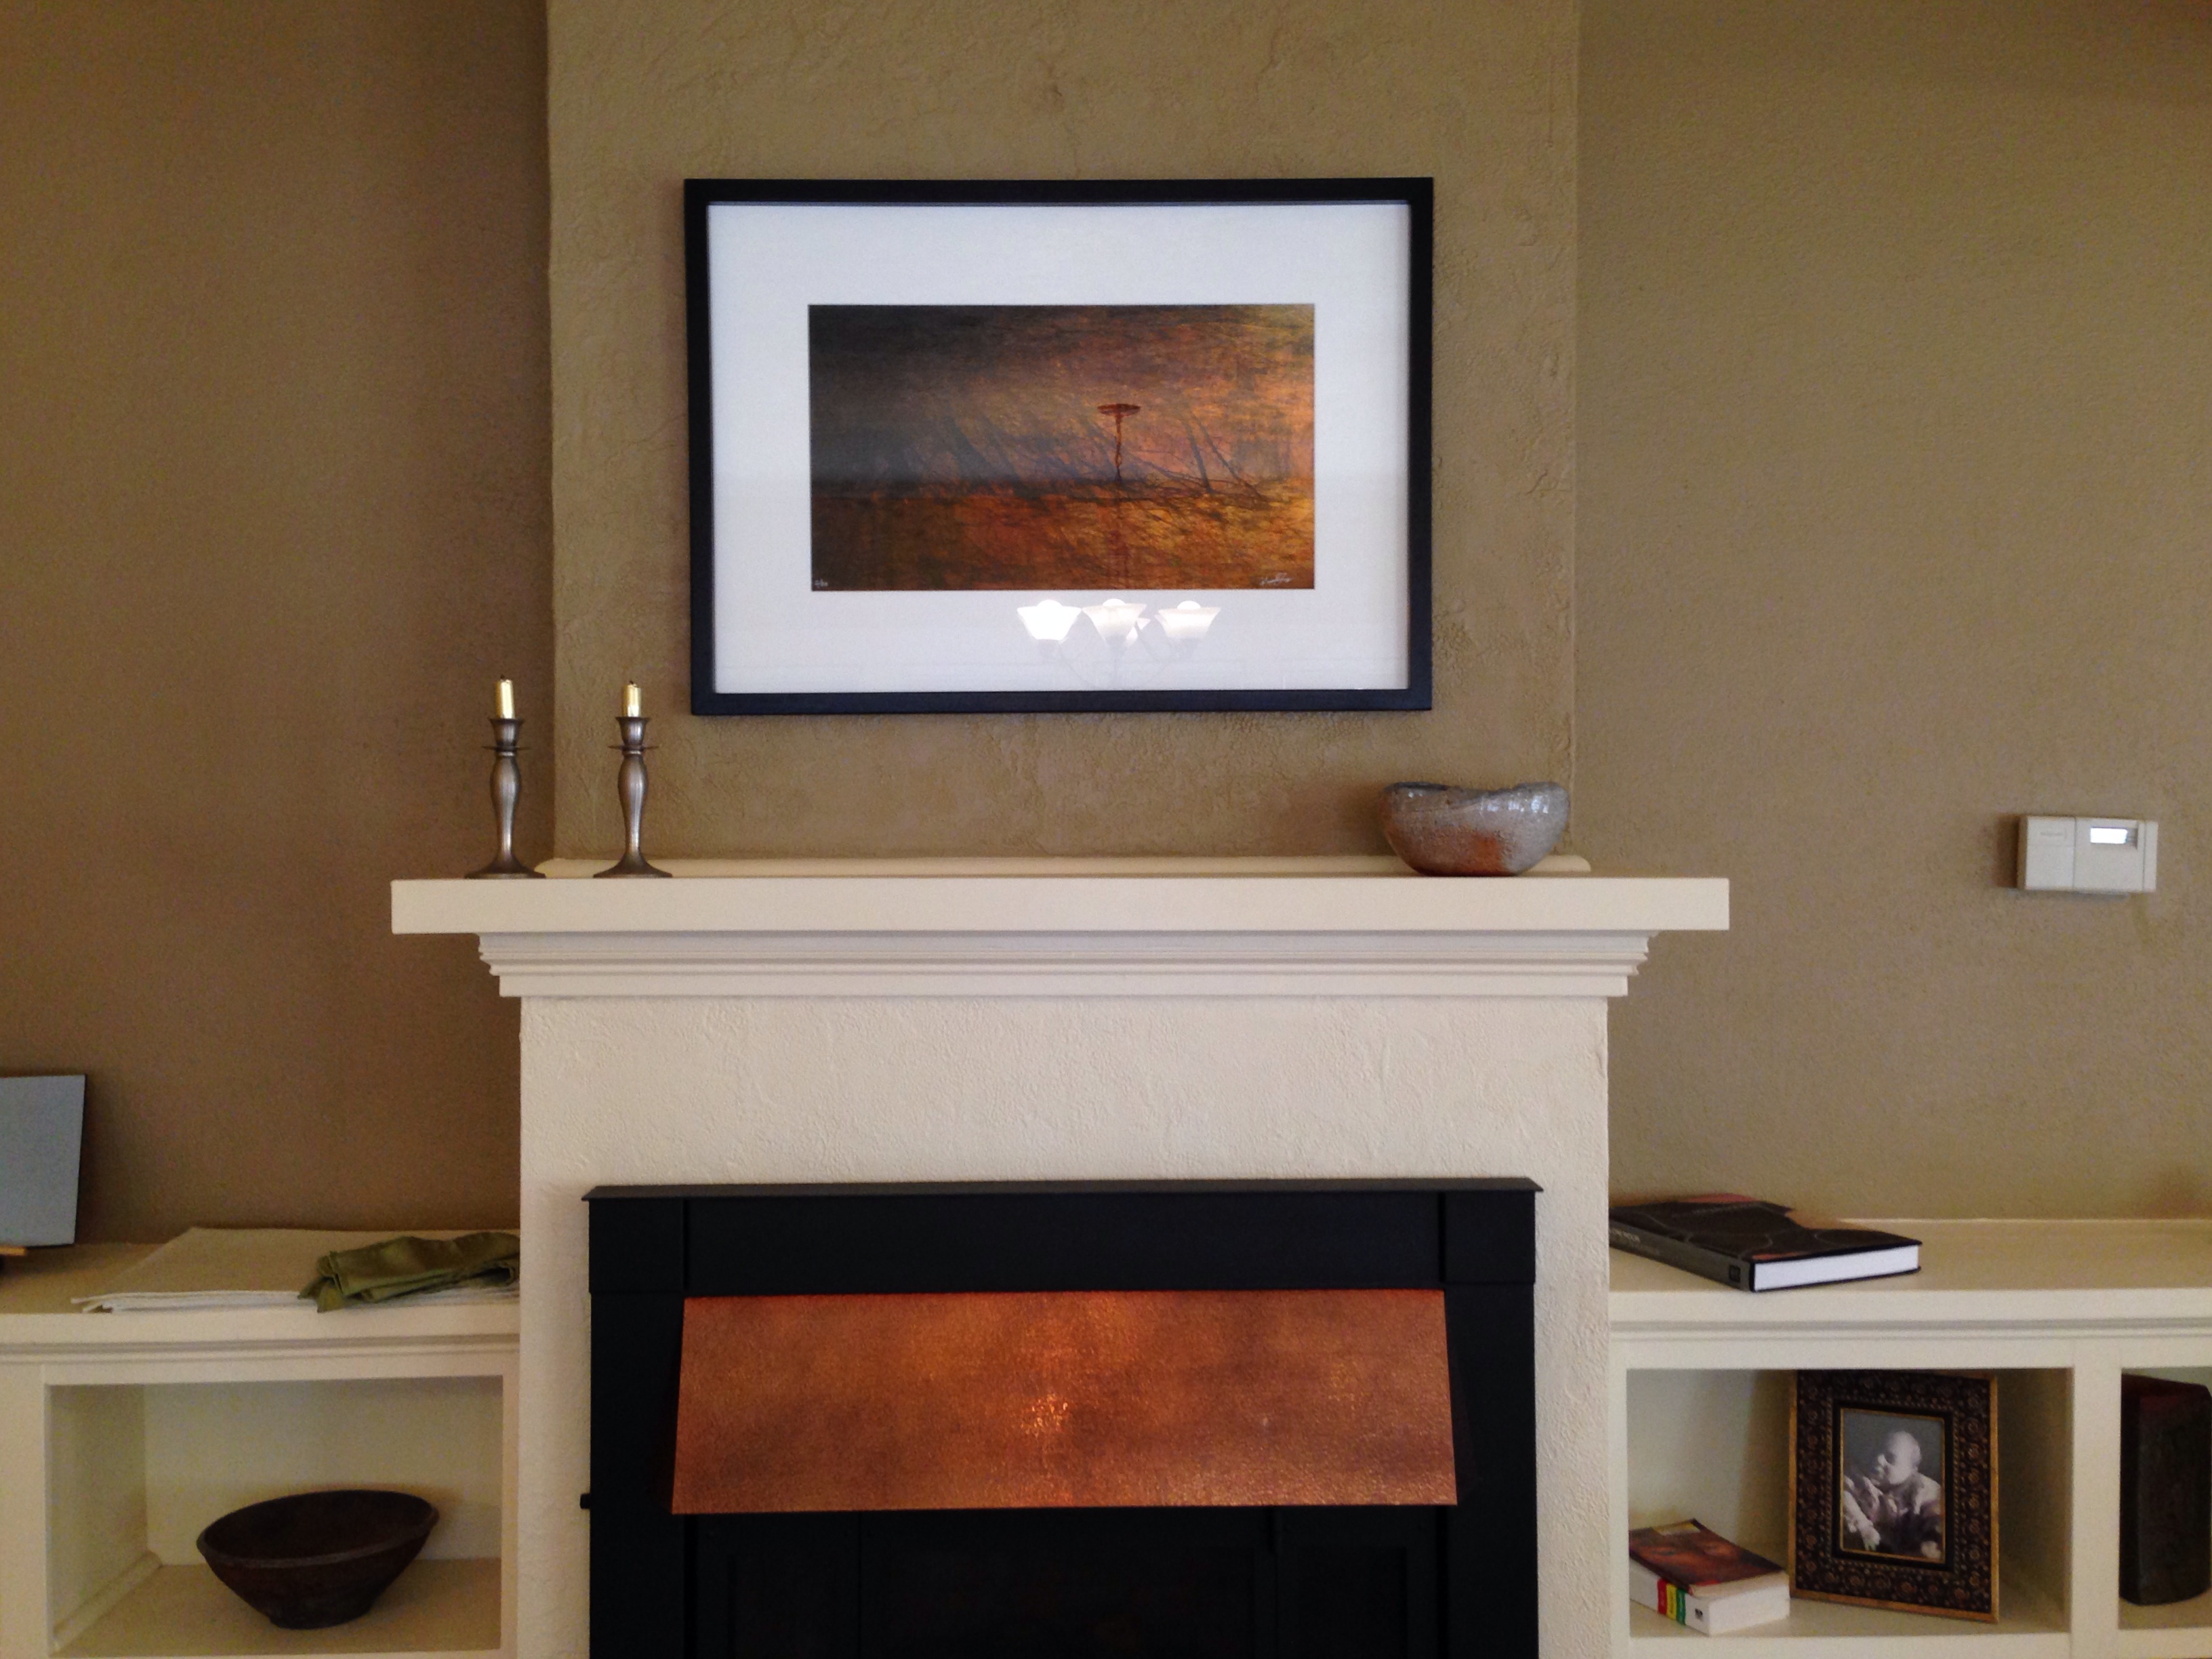
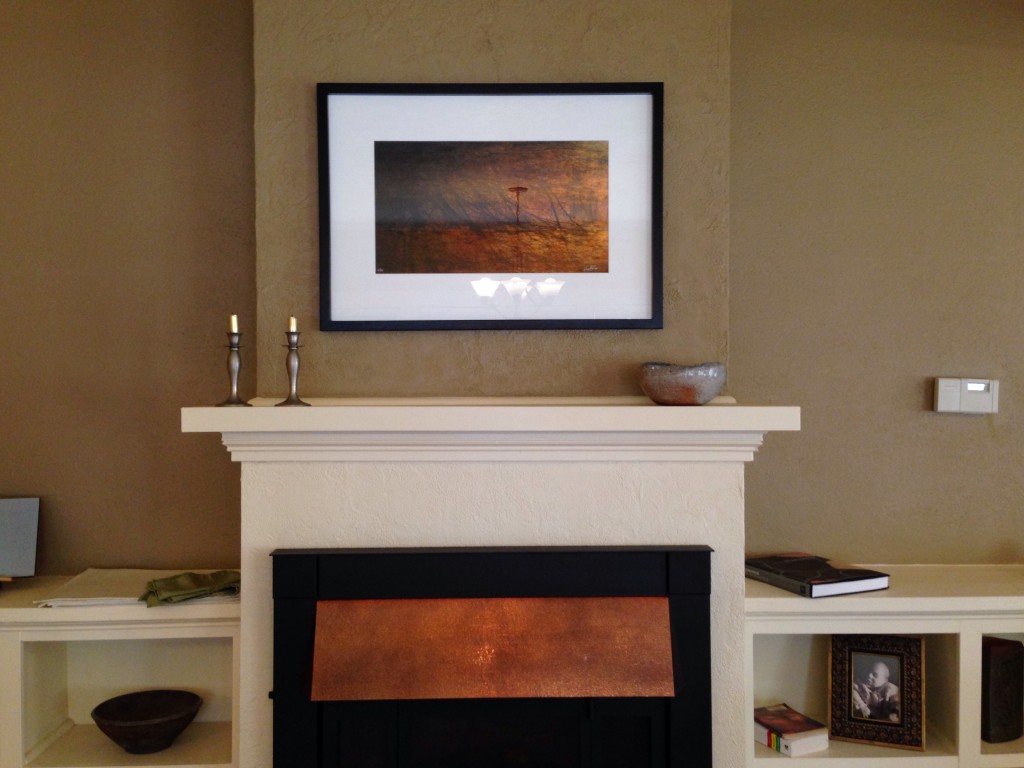
Maureen’s photo, “Night Fires” hanging above fireplace. This is about the size of most of the framed prints we have on sale for the month of September.
Thank you to everyone who has become a collector of our art, who has come in to 1+1=1 Gallery to look, appreciate, help, buy, and just visit, get/give hugs. We couldn’t have done 11 months without you!
Now we are asking for your help and support again. This time we need cash flow to remodel our new gallery down the street.
Imagine one of my framed prints on a wall in your house … above the fireplace, in your dining room, or on a wall in your bedroom. Somewhere you can see it often, experience the symbolism and the personal meaning that only you get from living with a piece of art. Can you visualize it? Are you interested?
Now you can purchase one of my prints — for the month of September only — at a big discount. All of the framed numbered prints we have at our gallery (see thumbnails or Flickr album link below) are on sale — 20% off just through September 30, 2014.
The black stained all-wood frames are made by Tim Carney and professionally assembled by a local framer with glass, hanging hardware and archival mats.
We are moving at the end of September to a bigger, better space at 434 North Last Chance Gulch. After we move, prices have to go up because our rent and all of our expenses are increasing.
We take credit cards through Square and are willing to ship.
Come see the prints in person, at 1+1=1 Gallery, 335 North Last Chance Gulch.
Below are the available prints. We only have one of each on hand, so hurry! Please visit the above link to see more details.
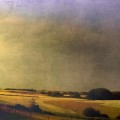
“Passing Storm on the Saskatchwan Prairie”
$350 ($280 with 20% discount)
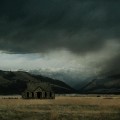
“Landscape with Old Loneliness and Storm”
$350 $280
Winter Light with Lilac
$495 ($396 with 20% discount)
“Woman Child”
$650 ($520 with 20% discount)
“Beneath the Blessed and the Blessing Trees”
$650
$520 with 20 discount)
“Koi Qi”
$650
Koi Qi II
$650 ($520 with the 20% discount)
“Fire Spirit”
$695 ($556 with 20% discount)
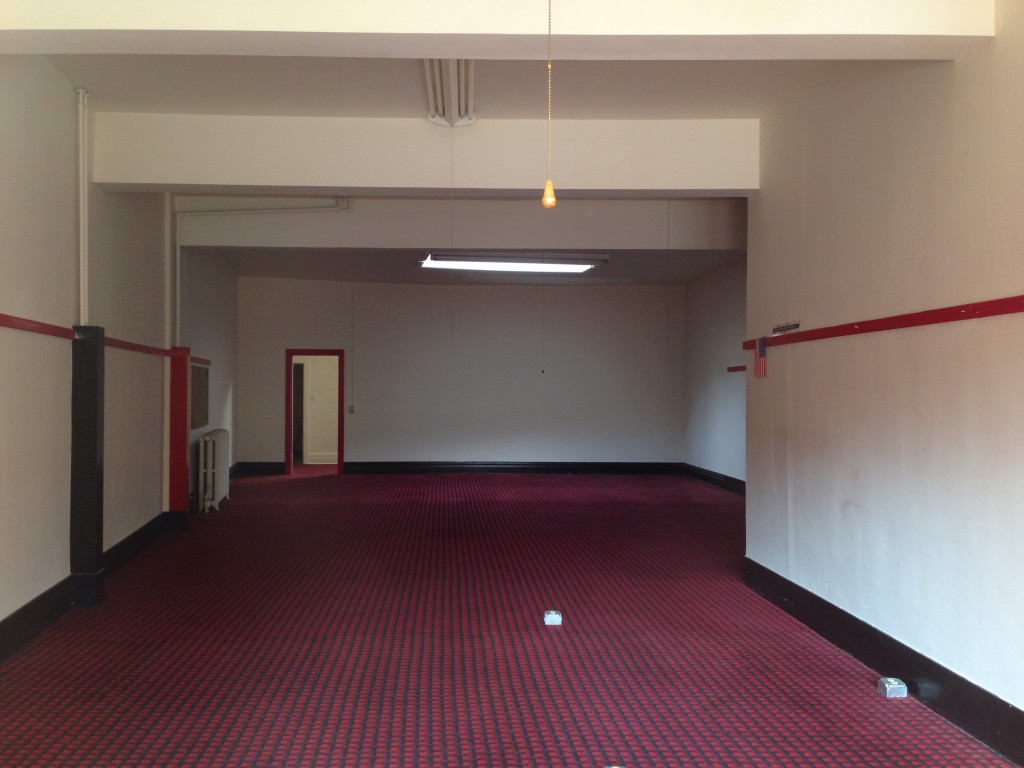
Here are some pre-remodeling views of our new space:
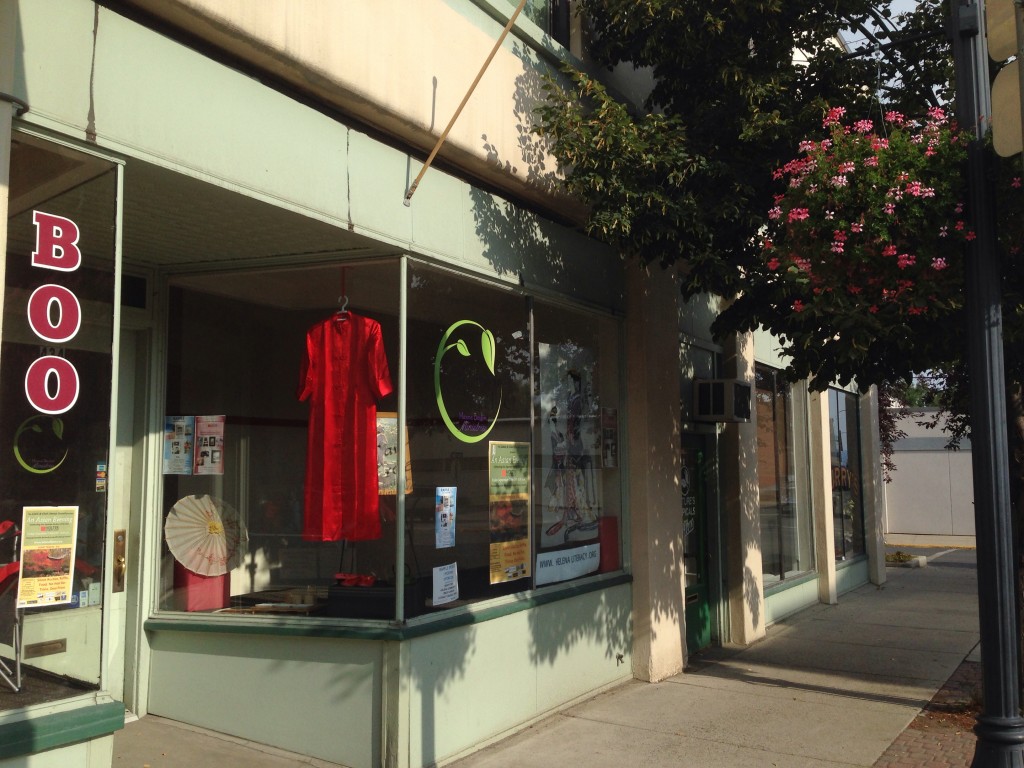
View inside our new gallery space (pre-remodeling) How about that red and black carpet?This is where 1+1=1 Gallery is relocating — what used to be the old Chinese Healing Arts, then became a bookstore. It’s new incarnation will be a fabulous art gallery!
1+1=1 will be open our usual hours until September 19th. After the 19th, we’ll have odd hours because I’ll be working with Tim (and whoever shows up to help) to remodel the new space. I can be reached by phone (431-9931) if you want to come shop at the gallery at 335 North Last Chance Gulch. I’d love to see you at either place. Or email me if you want to buy one of the prints. Thanks again for all of your support!
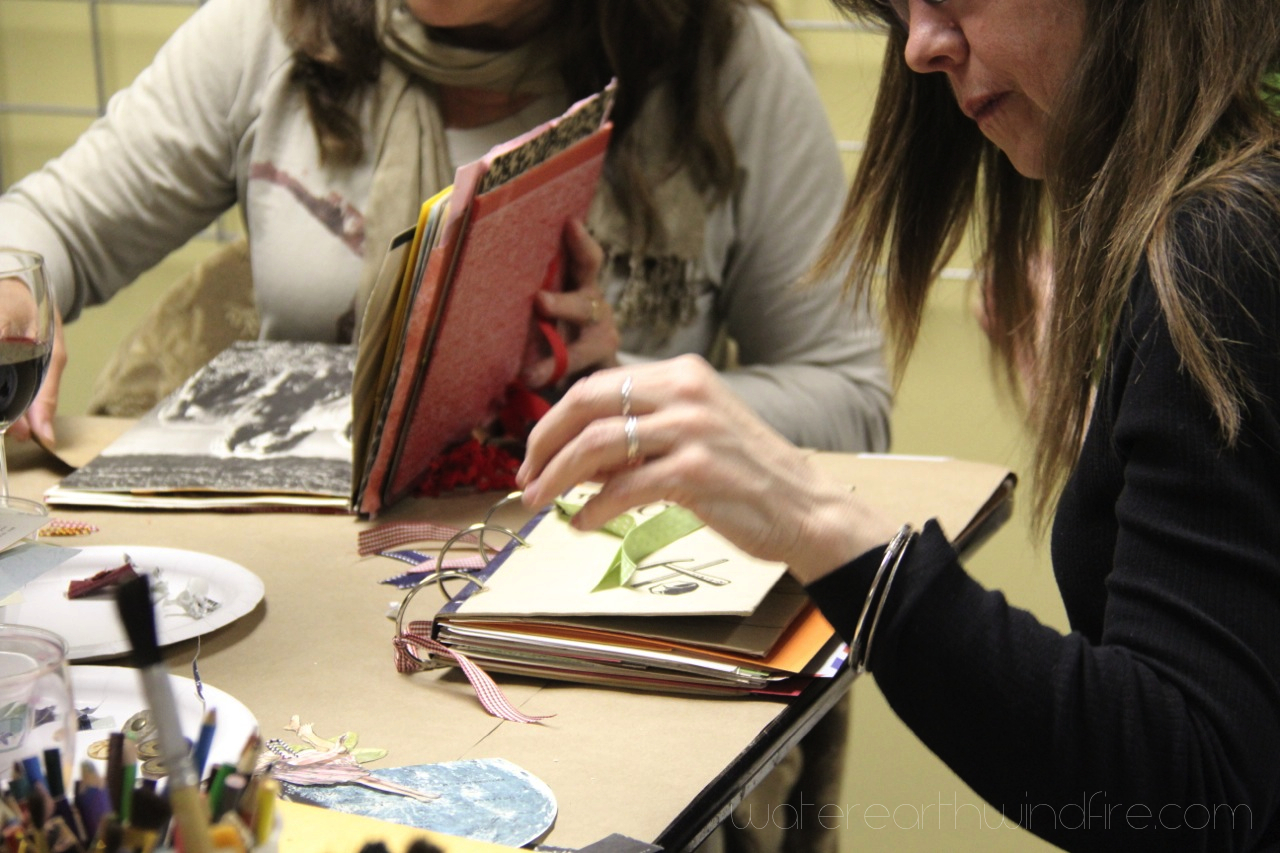
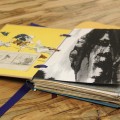
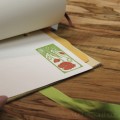
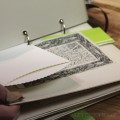
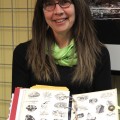
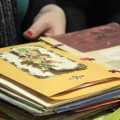
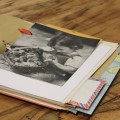
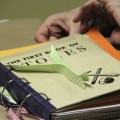
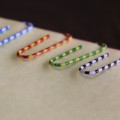
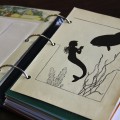
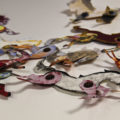
Smash. Smoosh. Squish. Mash. Moosh. Mush. Stuff … Oh, the things you can do with an old book!
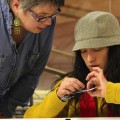
At our monthly Girls Art Night on March 27th, we altered vintage hardback books into Smoosh Books (my take on the official Smash Journals.) There were eleven of us mooshing, drilling, gluing, smooshing and stuffing away at 1+1=1 Gallery. We enjoyed tea, wine, and yummy finger foods. It was a great group of women friends — lots of comraderie and chemistry, laughter and concentration.
If you want to try a Smoosh Book yourself, and you live in Helena, let me know in the comments and maybe we can get together in a smaller group sometime soon to make more smoosh books. Otherwise there is a How-To towards the bottom of this post.
I have a few vintage books left (I’ve already cut the spines off.) And lots of stuff to stuff into them. I will bring the “ingredients” to our Girls Go gathering in October. What do you think of that idea, my sisters?
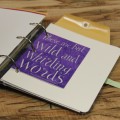
Maybe one of these will be a diary of your journey to health. Or a baby book. A collection of family recipes. A book of quotes or a “commonplace book.” A trip journal. A wedding planner, a place to record things your kids say … Whatever you use your smoosh book for, it will be wonderful once you smash it full of your stuff.
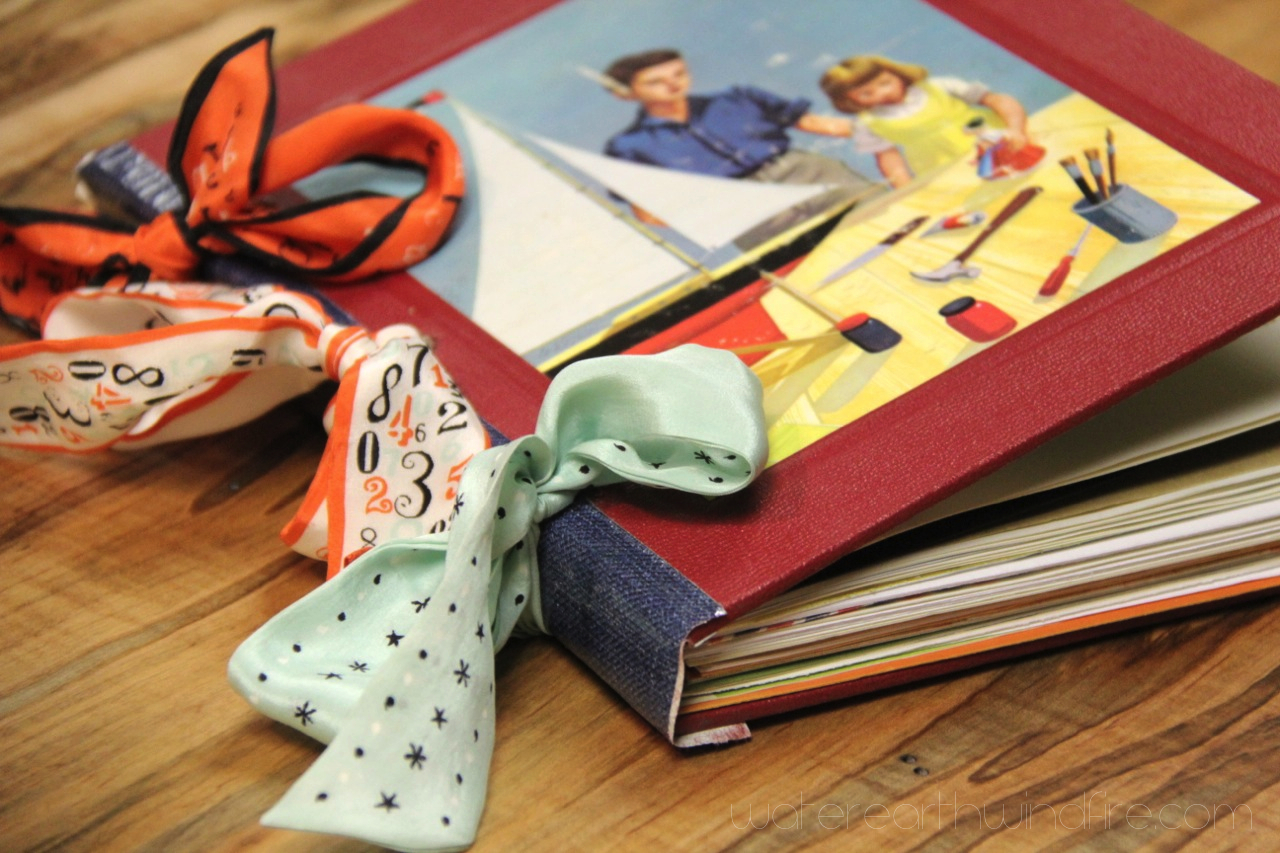
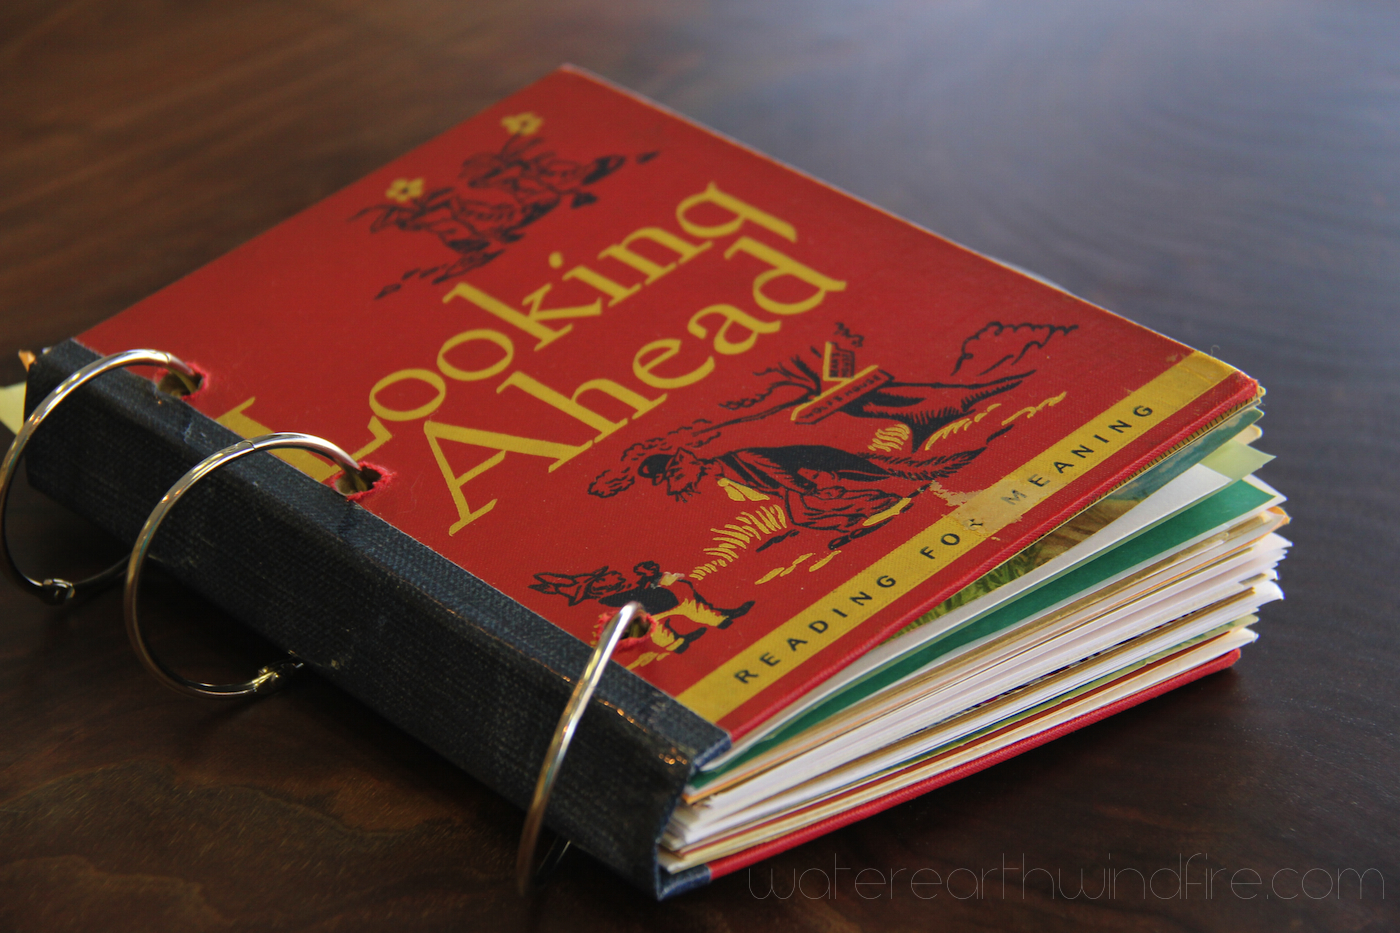
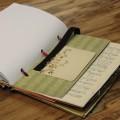
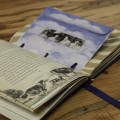
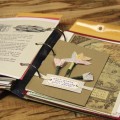
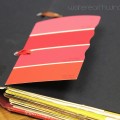
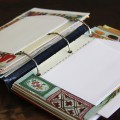
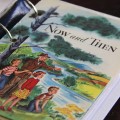
Here’s my mom’s Smoosh Book: I love that she picked the old children’s story collection, “Looking Ahead.” She is going to fill it with stories of her life. Cool!
Your Smoosh Book doesn’t have to be perfect. Or finished. It’s a work in progress. This kind of “journal” or scrapbook is great if you’re like me and don’t have the time or personality to do elaborate scrapbooking. The way scrapbooking has changed, it’s the last thing I want to do … I remember when a scrapbook was an album of plain pages you glued things onto — like photos, birthday cards, autographs, paper dolls, ticket stubs, pressed corsages, leaves and flowers. Remember photo-corners? Or LePage’s glue with the red rubber tip? (I know. I know. I’m dating myself. Oh well.)
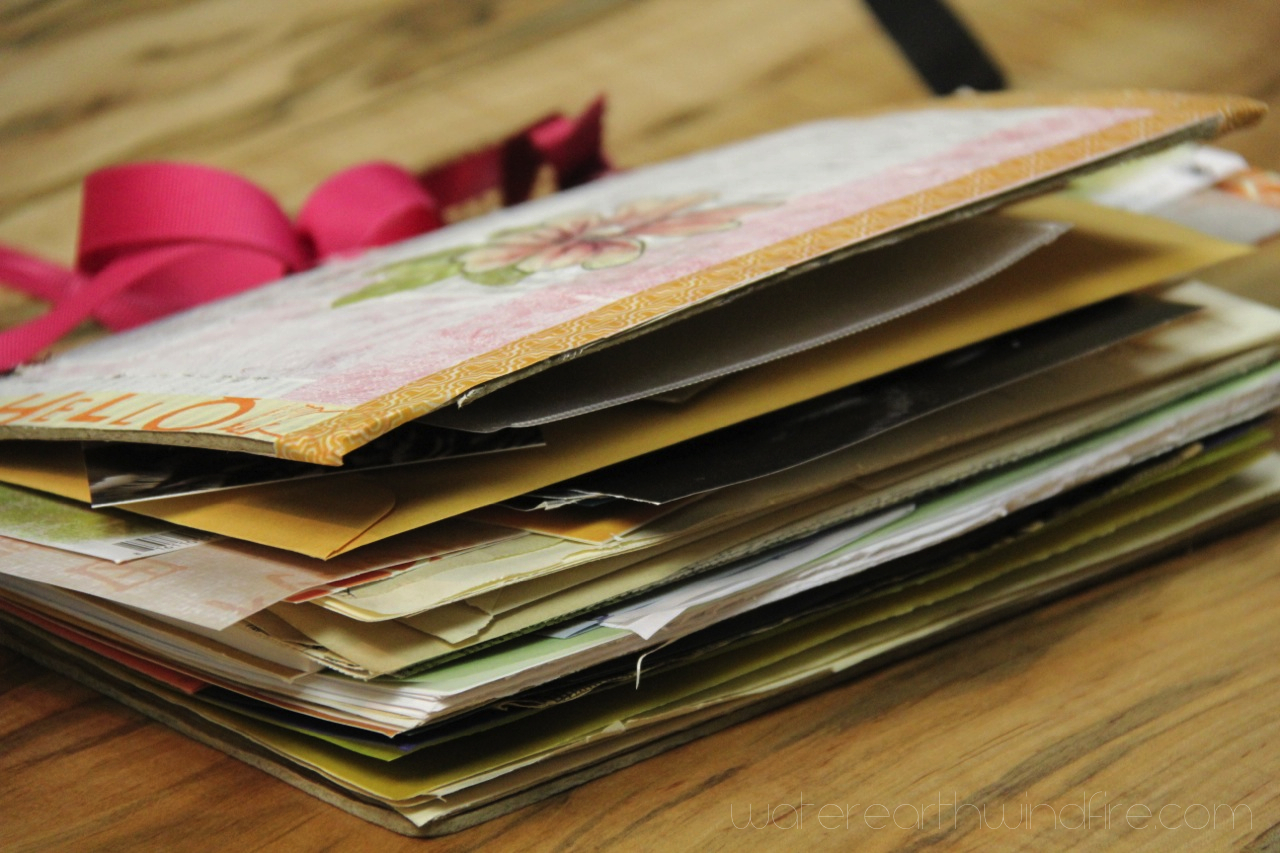
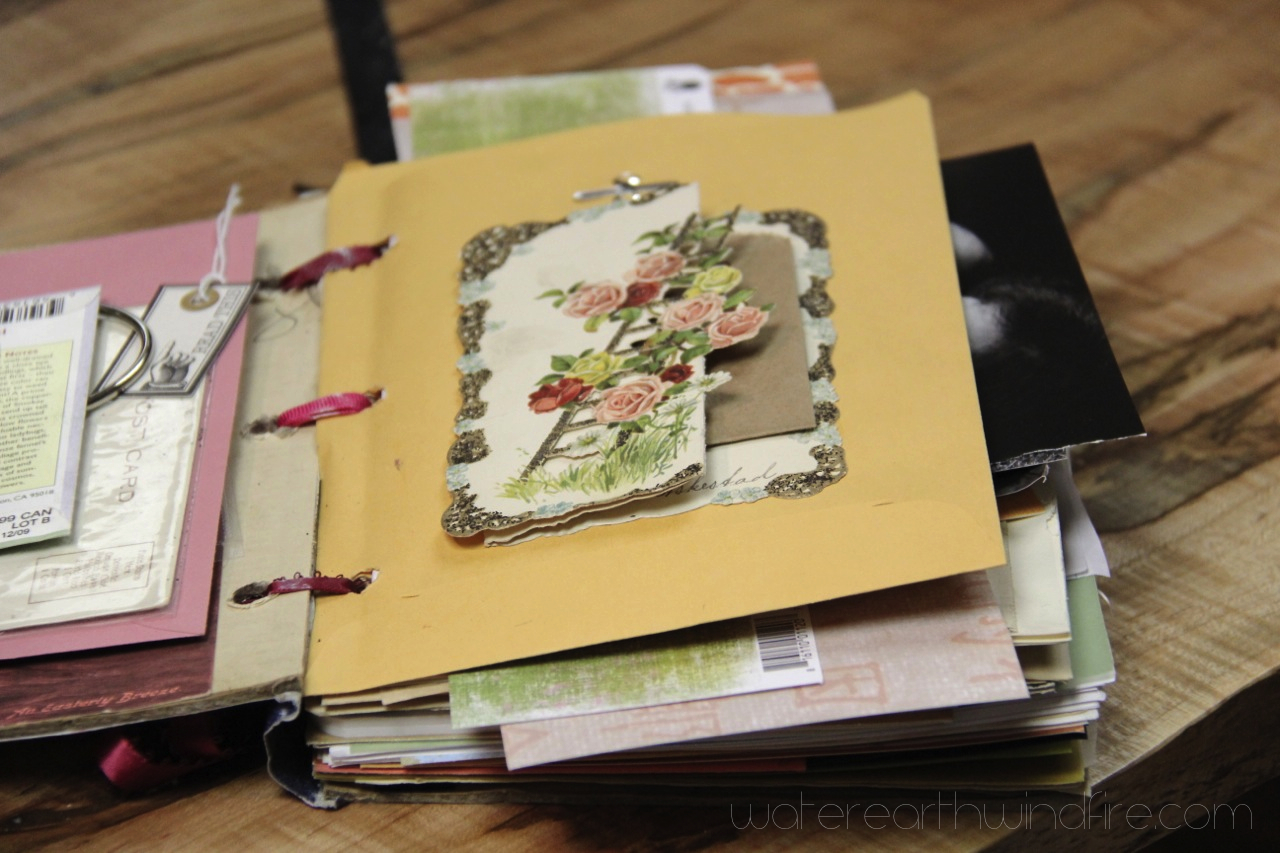
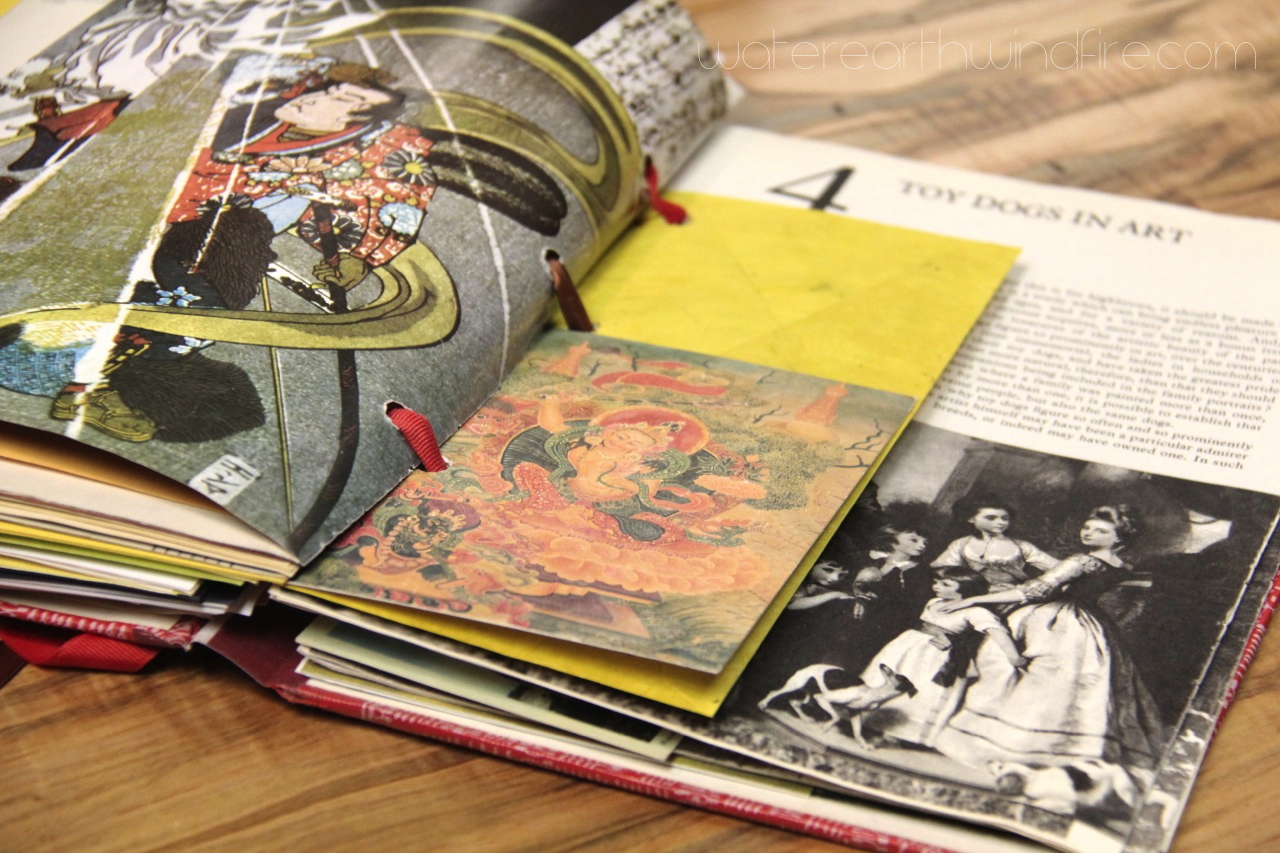
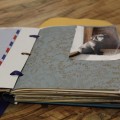
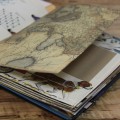
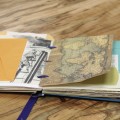
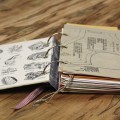
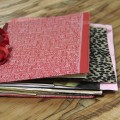
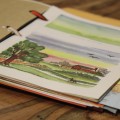
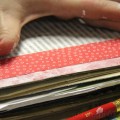
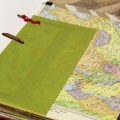
A Smoosh Book can be kinda funky and alotta fun. When you first make the book, you can sort through the old book’s pages and keep the ones you like, recycling the rest. Try incorporating comic book pages, other special papers, translucent papers, seed packets, tiny bags, cellophane bags, glassine envelopes, ribbons, stickers, cards, and any other kind of envelope or pocket.
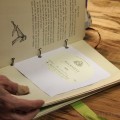
To use your Smoosh Book, add written passages, poetry, quotes … lists of stuff you’re doing/planning/wishing, recipes, pressed flowers and leaves, feathers, seeds, labels, photos, doodles, menus, tickets, found lists, anything you can think of.
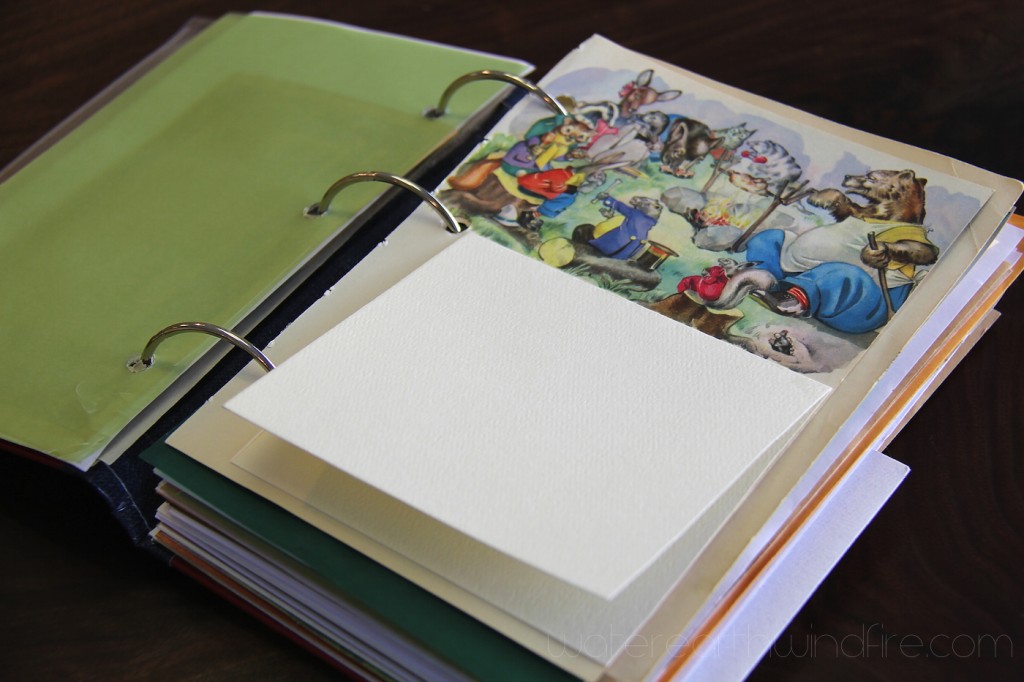
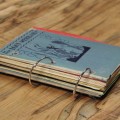
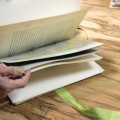
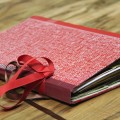
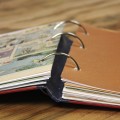
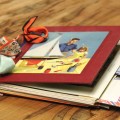
Use ribbons or binder rings to tie the book together so you can add pages as you find cool stuff (like envelopes.) Your book will grow as you use it. Eventually it becomes stuffed with stuff. And looks like it’s exploding and that’s totally okay. You can add bigger binder rings if it gets hard to turn the pages because you’re adding so much stuff.
Here’s what you need to make your own Smoosh Book:
Old hardback book from thrift store
band saw to cut off the spines
power sander to sand the edges where you cut
drill to drill holes through the entire book
clamp to hold the book covers and pages together while you drill
paper punch for miscellaneous papers — use one you can line up to match the holes you drilled
envelopes, extra blank papers, etc to fill the book
ring binders (preferably large) or ribbons, twine, leather cords, shoelaces
duct tape (for your new spine)
spray adhesive or dry-mount glue to attach pockets and envelopes that are not bound in to the book
washi tape, other tapes
white acrylic paint or gesso to paint over text where you want to be able to write
flat wide brushes, either bristle or foam, for painting
bits and pieces from the list below, or whatever you have around
Basic Instructions to Make Your Own Smoosh Book:
Cut off the spine of your hardback book with a band saw. Watch out for metal staples. If the spine has staples, just cut a little more off to avoid the metal.
Sand off the edges to make them nice and even.
Separate the pile of book pages from the front and back covers.
Make a new “spine” using duct tape attached to just the two covers. This will keep all the loose stuff inside your book.
Go through the pages of the book and pull out all the pages except the ones you want to keep. This will make your book much “thinner” at this point.
Decide what other papers you are going to add to your book. This can include large envelopes, flat bags, pockets, other types of papers …
Cut the extra papers to size and put them where you want them in the book.
Add the other papers such as envelopes where you want them. Don’t worry about everything lining up perfectly. It’s okay to have some things sticking out. These act like “tabs” later.
Clamp everything together on a work table, and using your power drill, drill 3 holes through the whole mess.
Put it all together with ribbons, ring binders or whatever you have decided to use to attach.
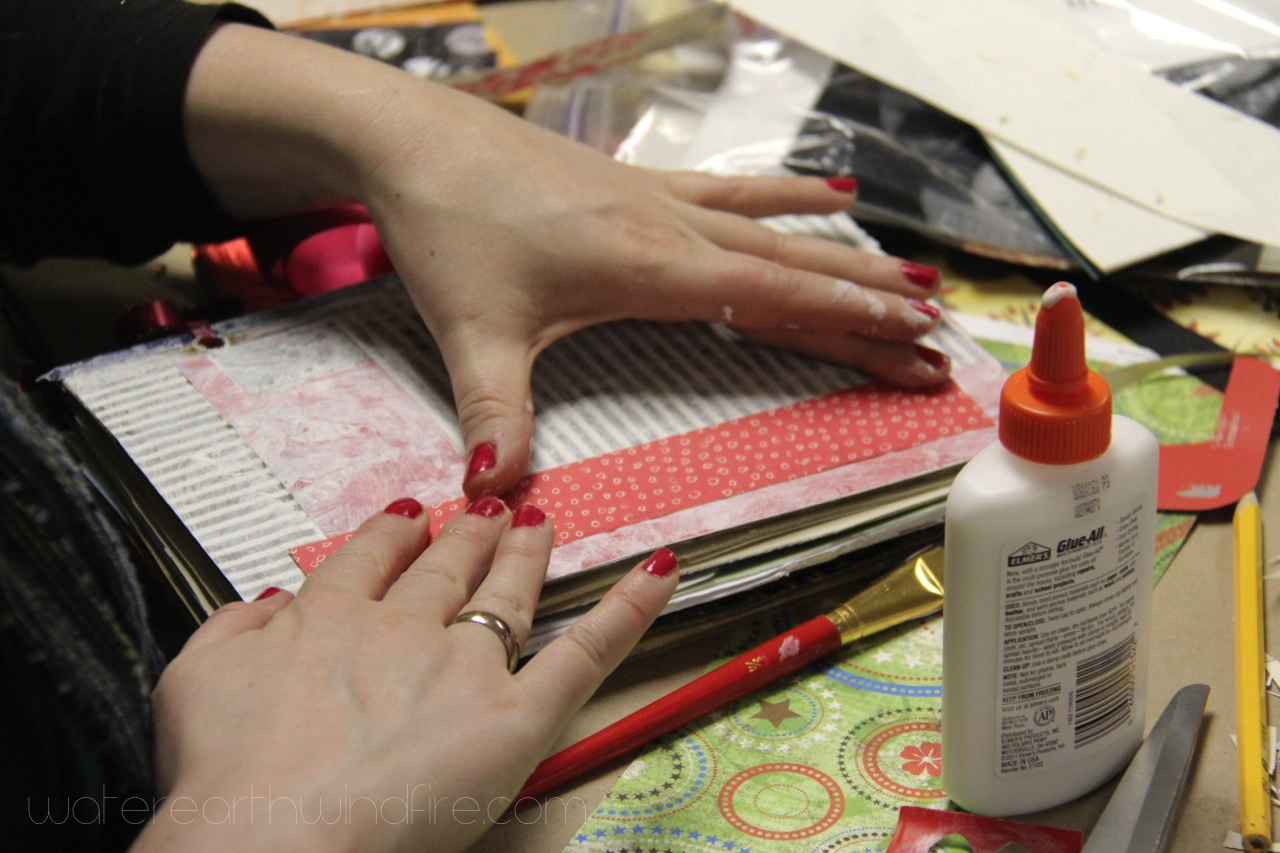
Now you’re ready to start gluing things into your Smoosh Book, then adding your words.
Above all else, have fun!
Use a band saw to cut off the spine of your hardback book
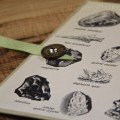
Below is a list of ideas and inspiration: things you might want to stuff in your Smoosh Book as it grows …
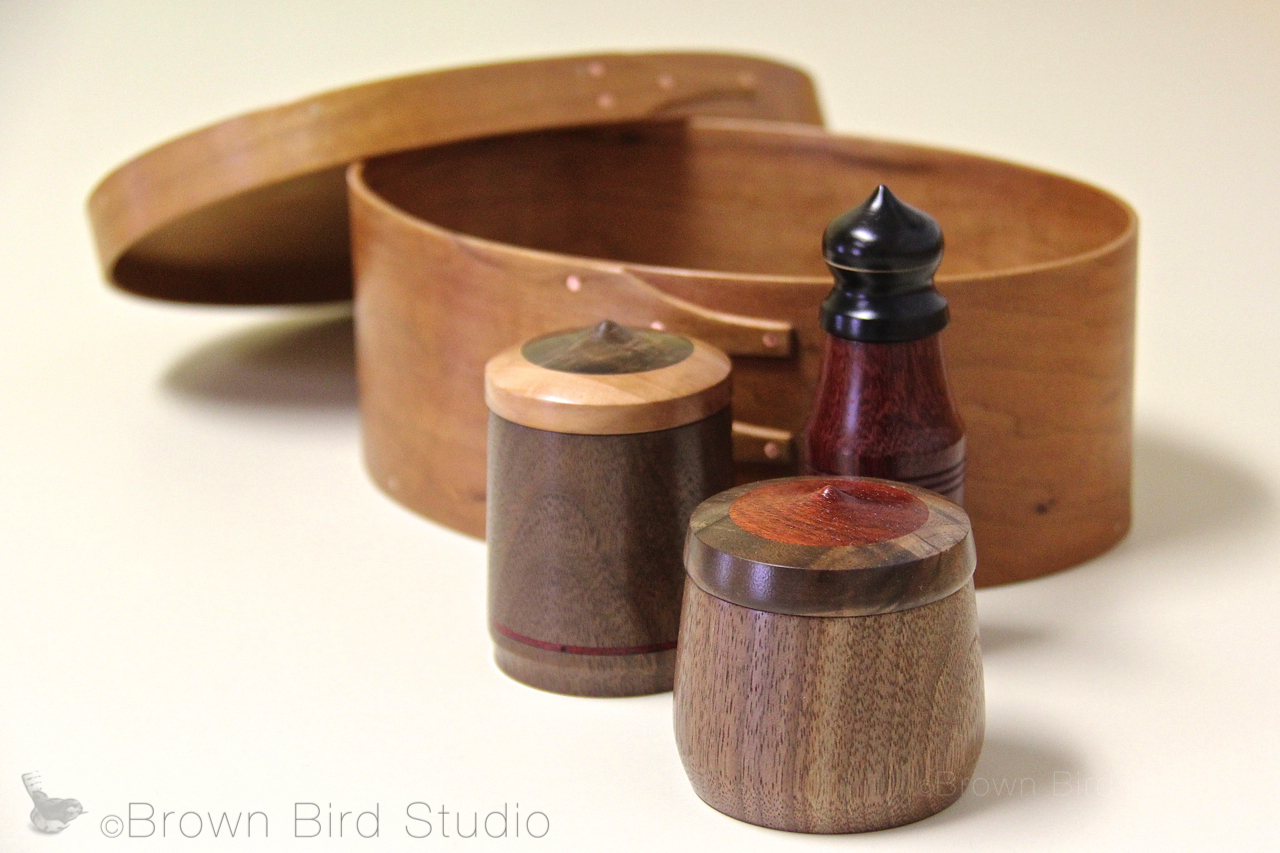
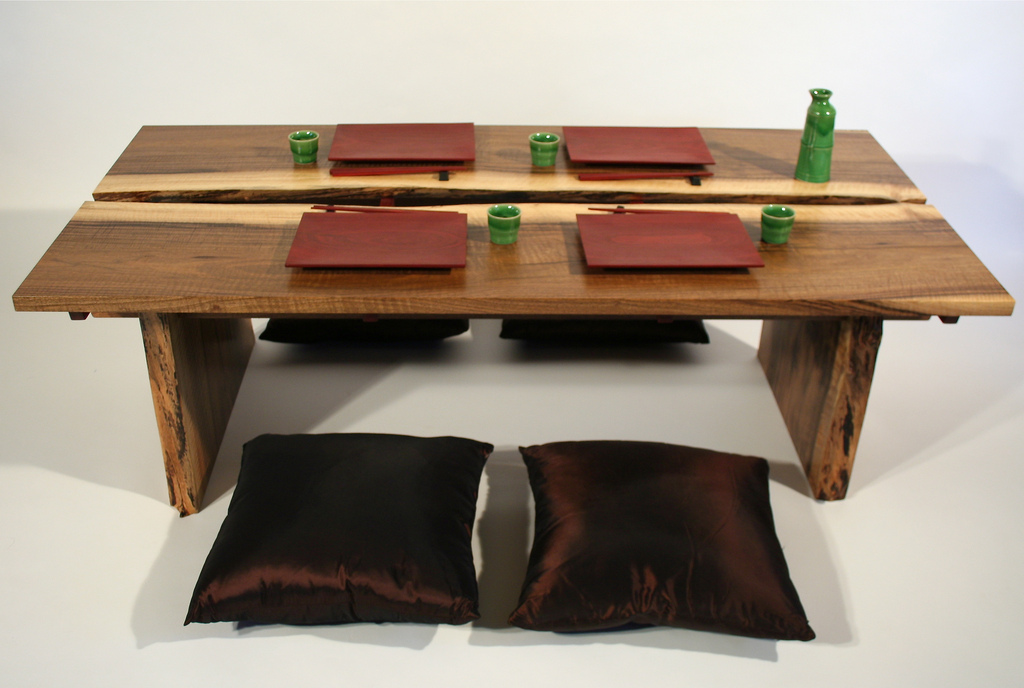
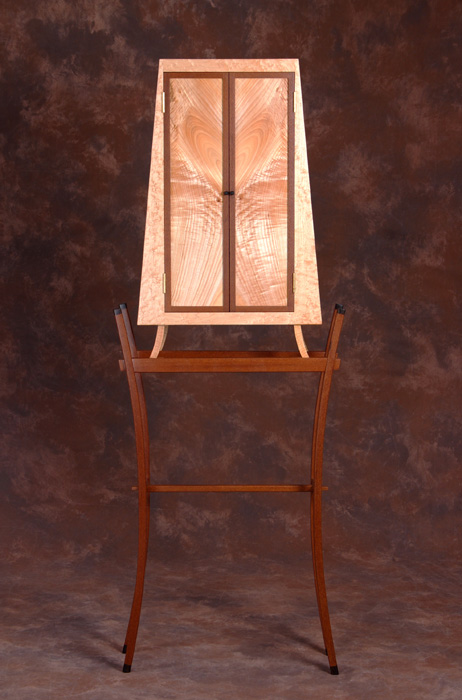
1+1=1 Gallery in Helena, Montana, announces a new, exciting woodworking exhibit of smaller, functional art by four Montana woodworkers: Tim Carney, Dave Carlson, Jim Hill and Phil Pontillo.
Hand Carved Spoons and Gourd Bowls by Jim Hill
Home is Where the Art Is
Whether you are furnishing your home with one-of-a-kind necessities, looking for something cool and unusual to give to a loved one, or trying to find the perfect Mother’s Day gift, you’ll find a variety of unique, affordable wood art at this exhibit.
Opening Reception Friday April 4th 6:30 pm to 9:00 pm. Please join us to meet the artists!
Gallery location: 335 North Last Chance Gulch, Helena, Montana. (between the Painted Pot and the Turman-Larison Contemporary.)
Exhibit: Home is Where the Art Iswill be open from April 4th through May 7th, just before Mother’s Day. Come to the opening reception April 4th or come early in the month, to get first pick of the exhibit.
Sushi plates and chopstick sets made of domestic hardwoods
Hand mirrors
Live-edge bread and cheese boards
Turned bowls and lidded containers
Walnut stemmed wine glasses and maple tray
Shaker boxes
Jewelry boxes
A small four-legged cabinet
Gourd bowls
Hand-carved hardwood spoons and spatulas
Bistro table and stools
and much more
Set of Sushi Plates, Chopsticks and Chopstick Rests by Tim CarneyContainers by Dave CarlsonHeart Cabinet by Phil Pontillo
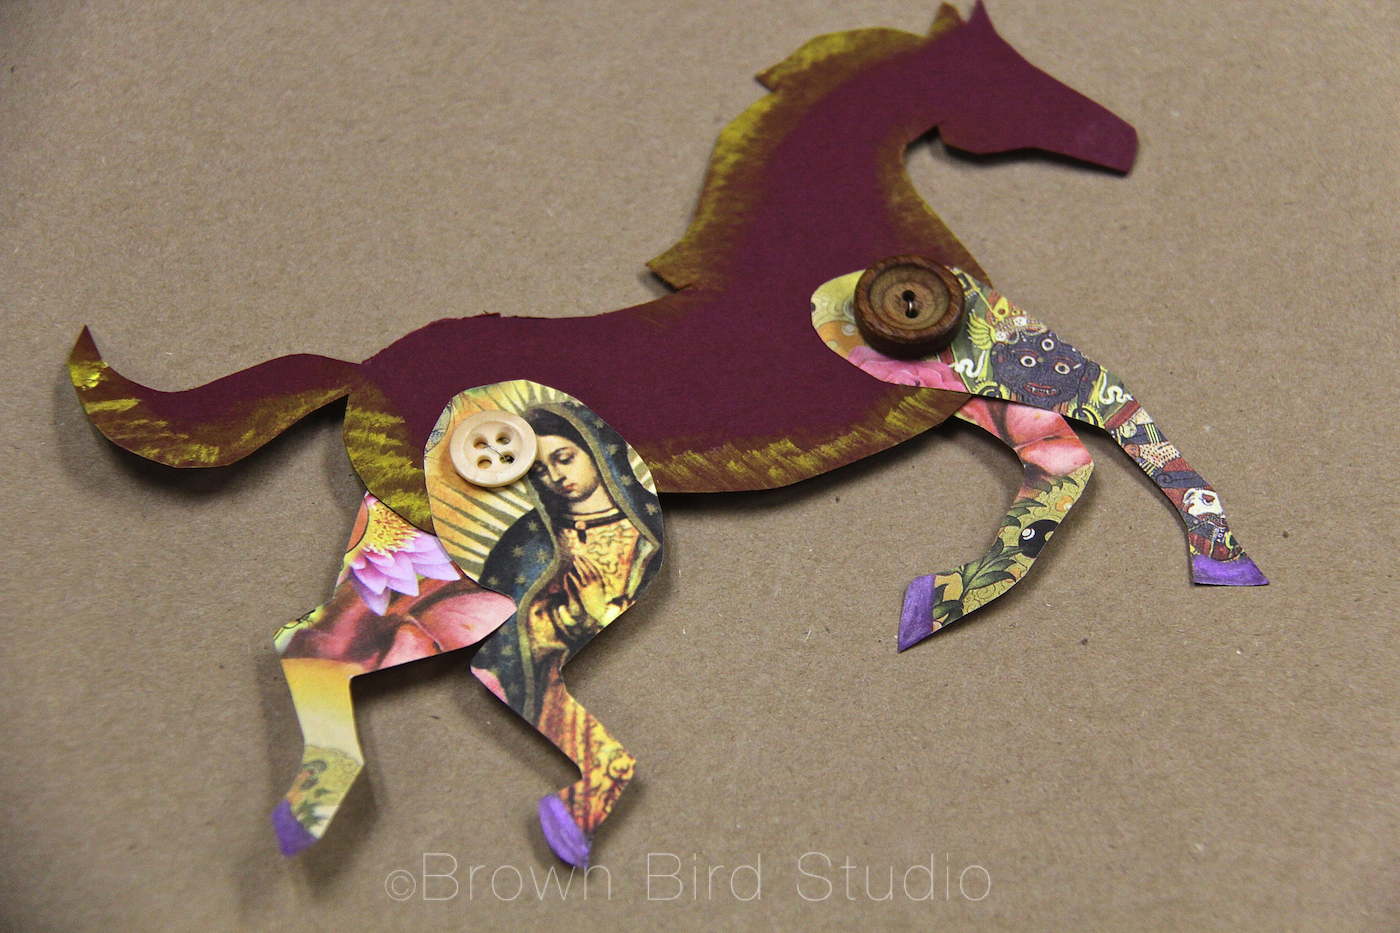
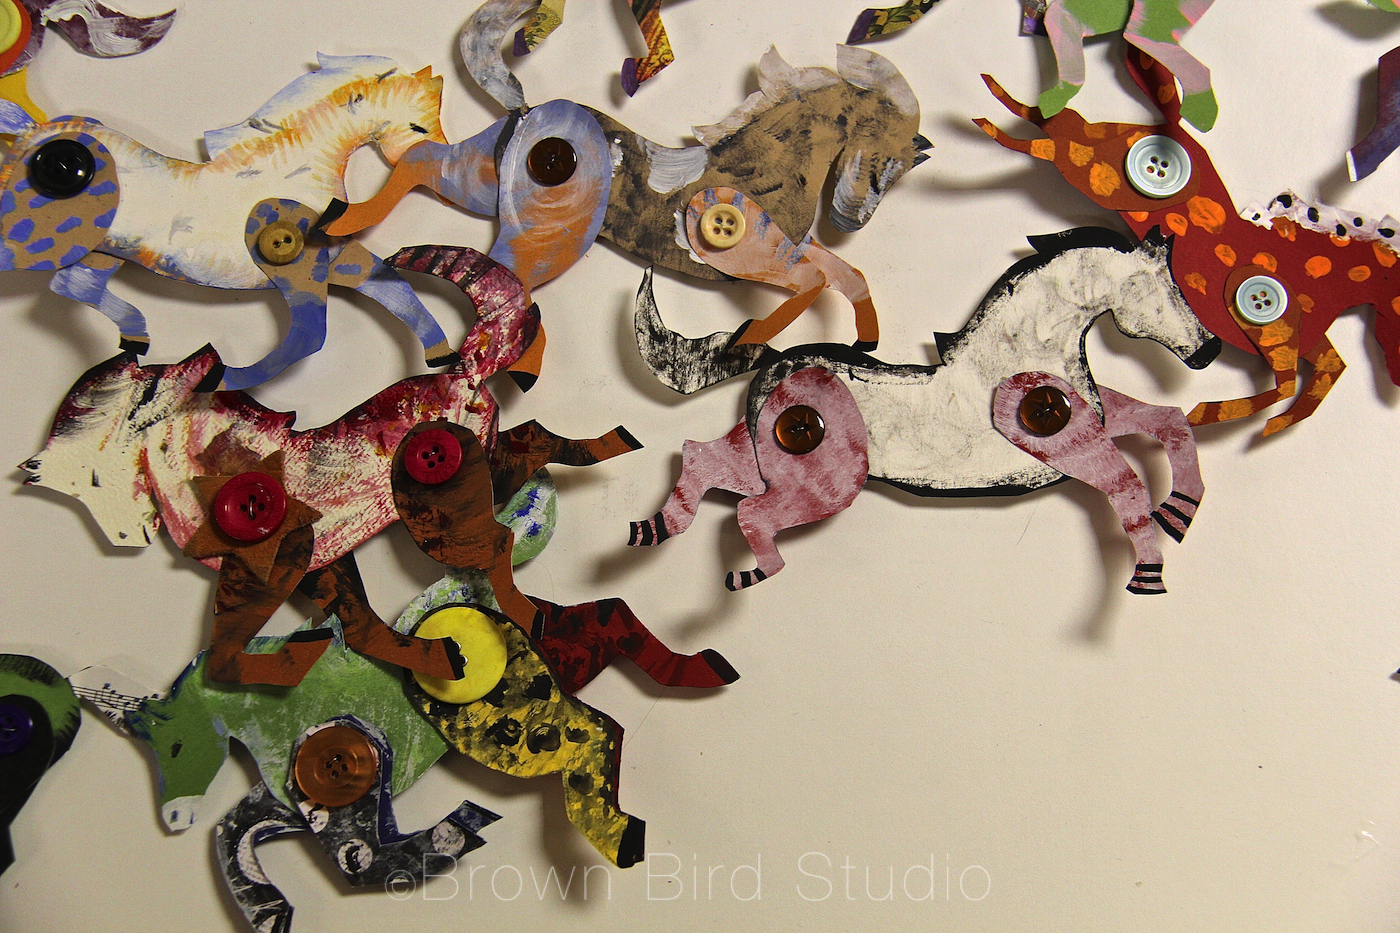
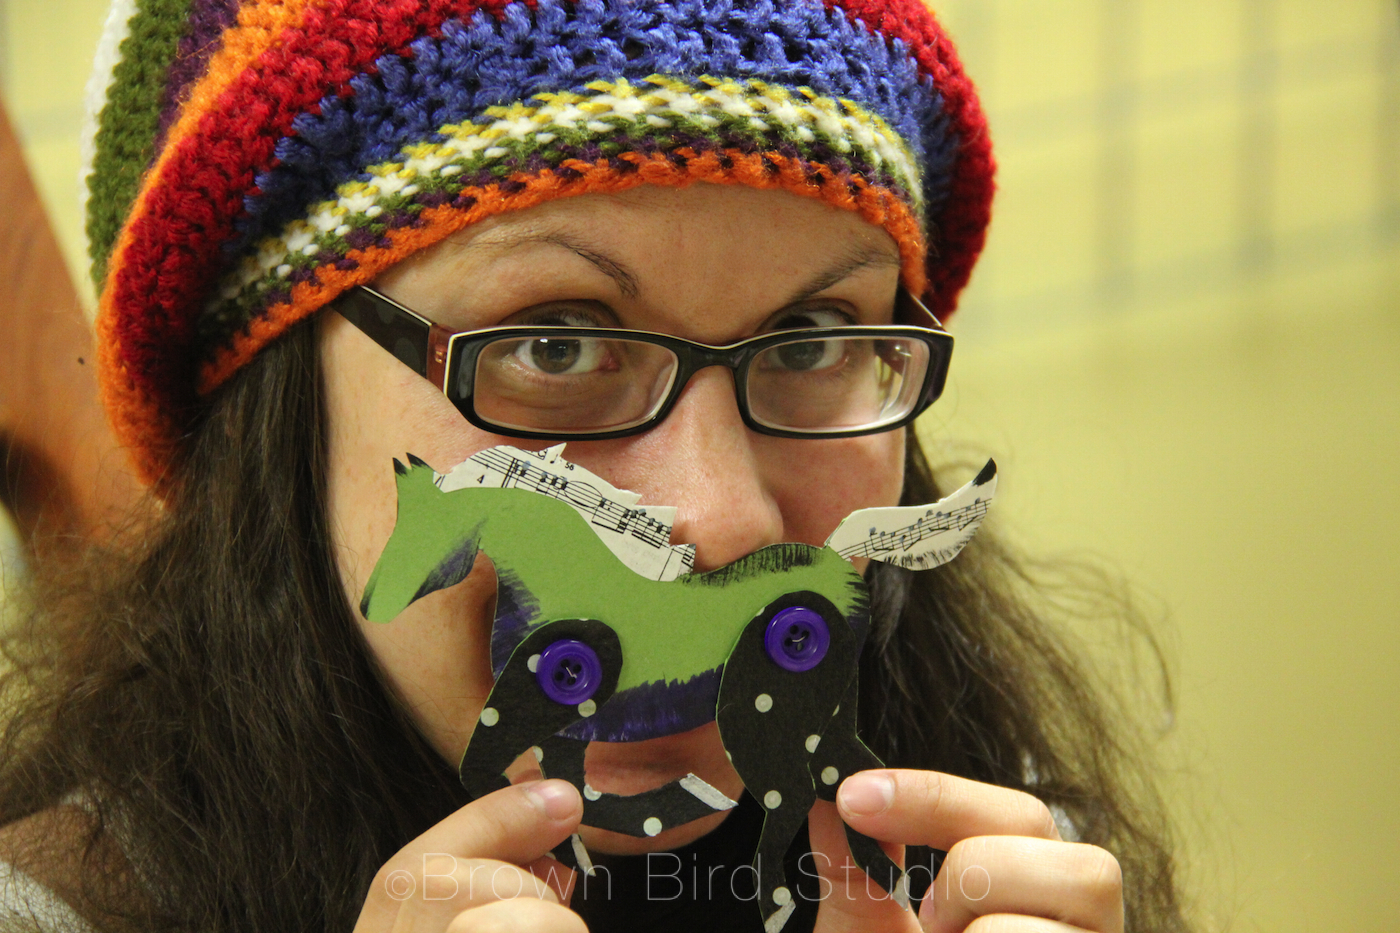
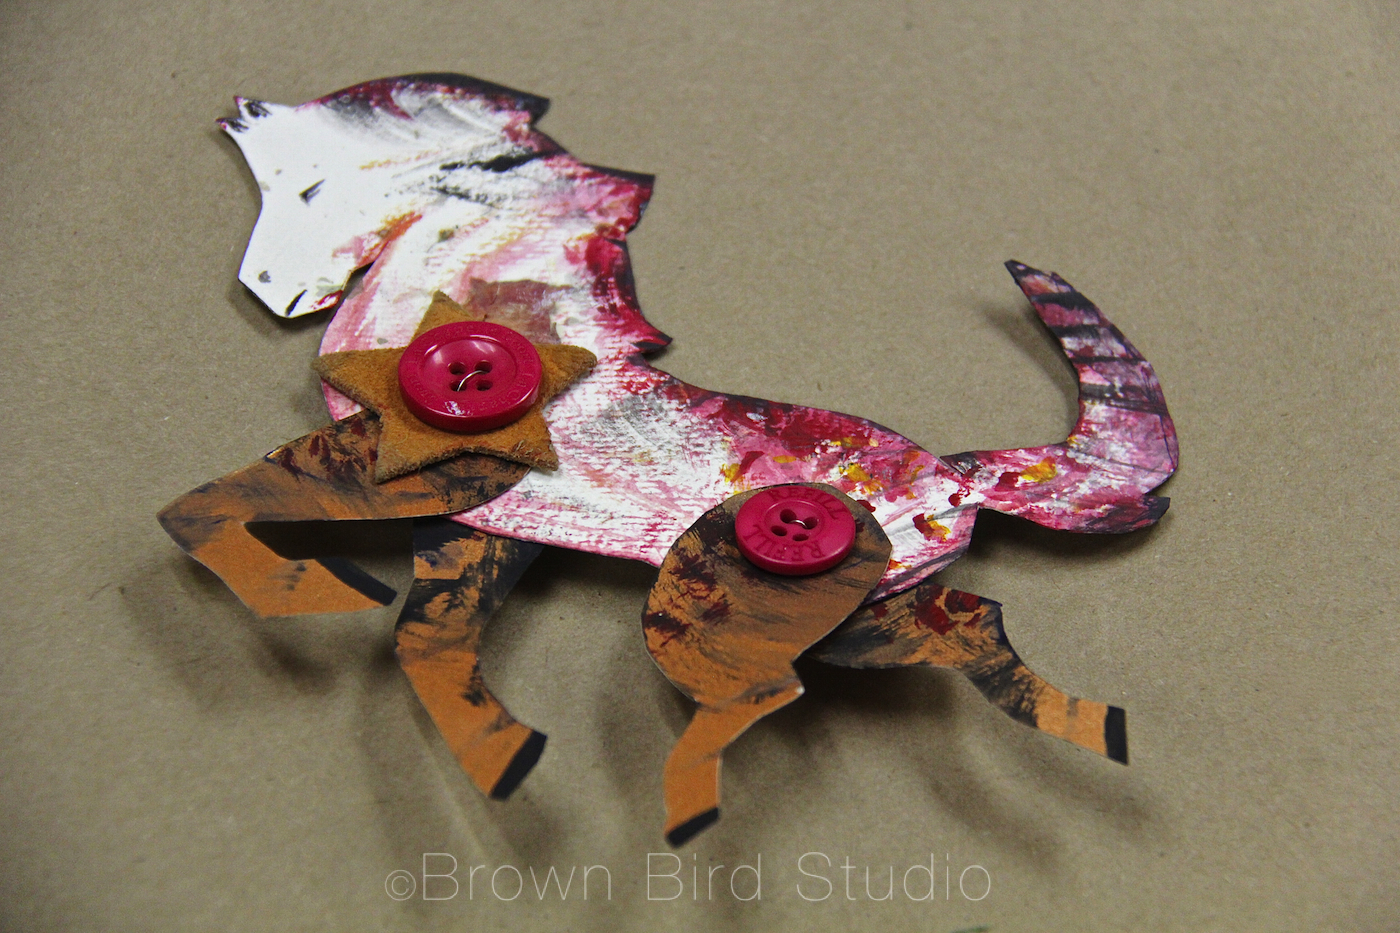
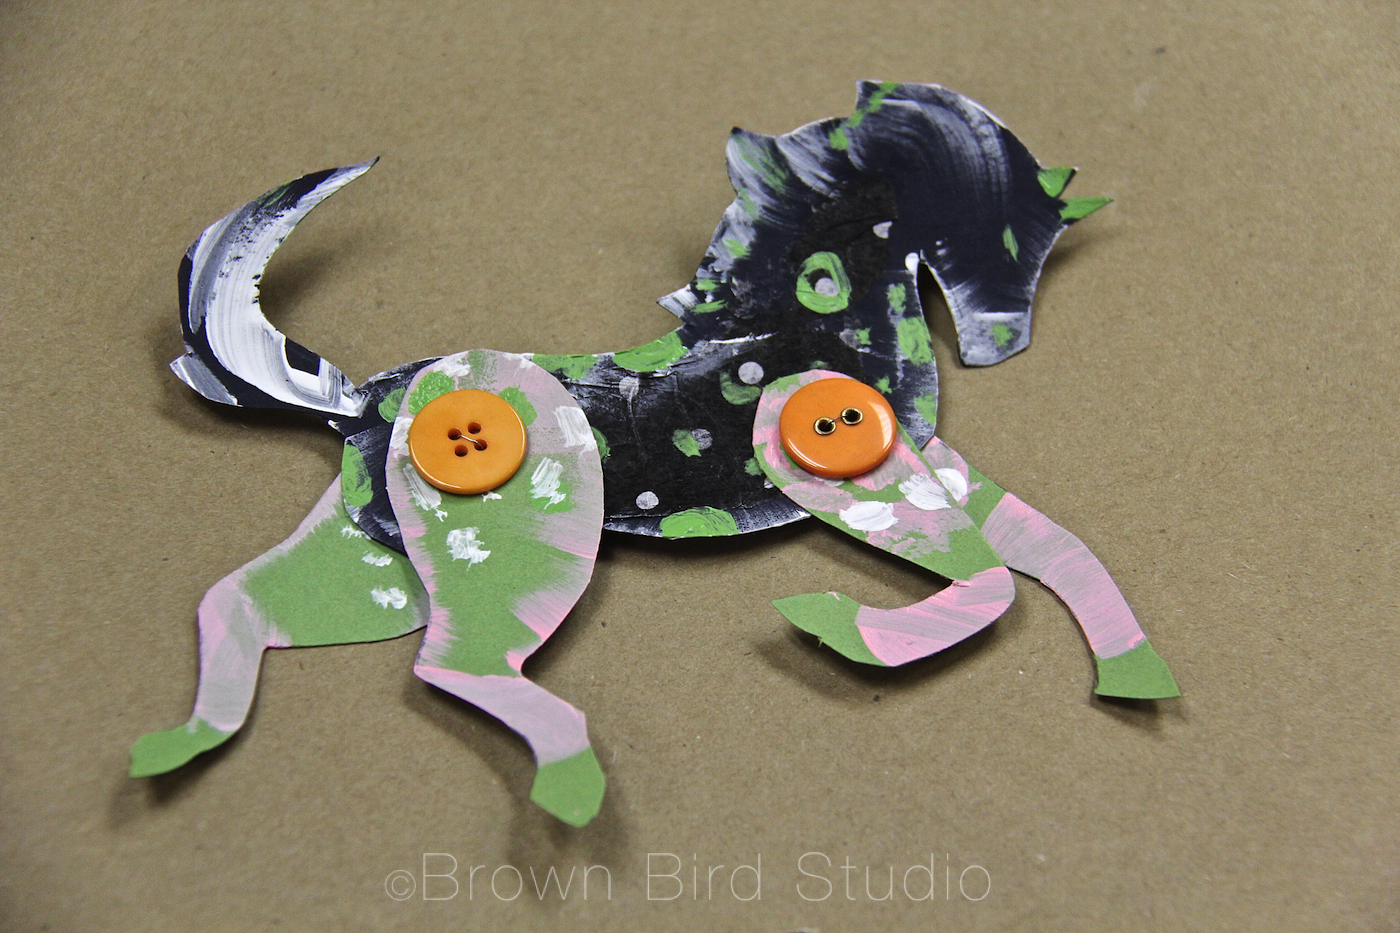
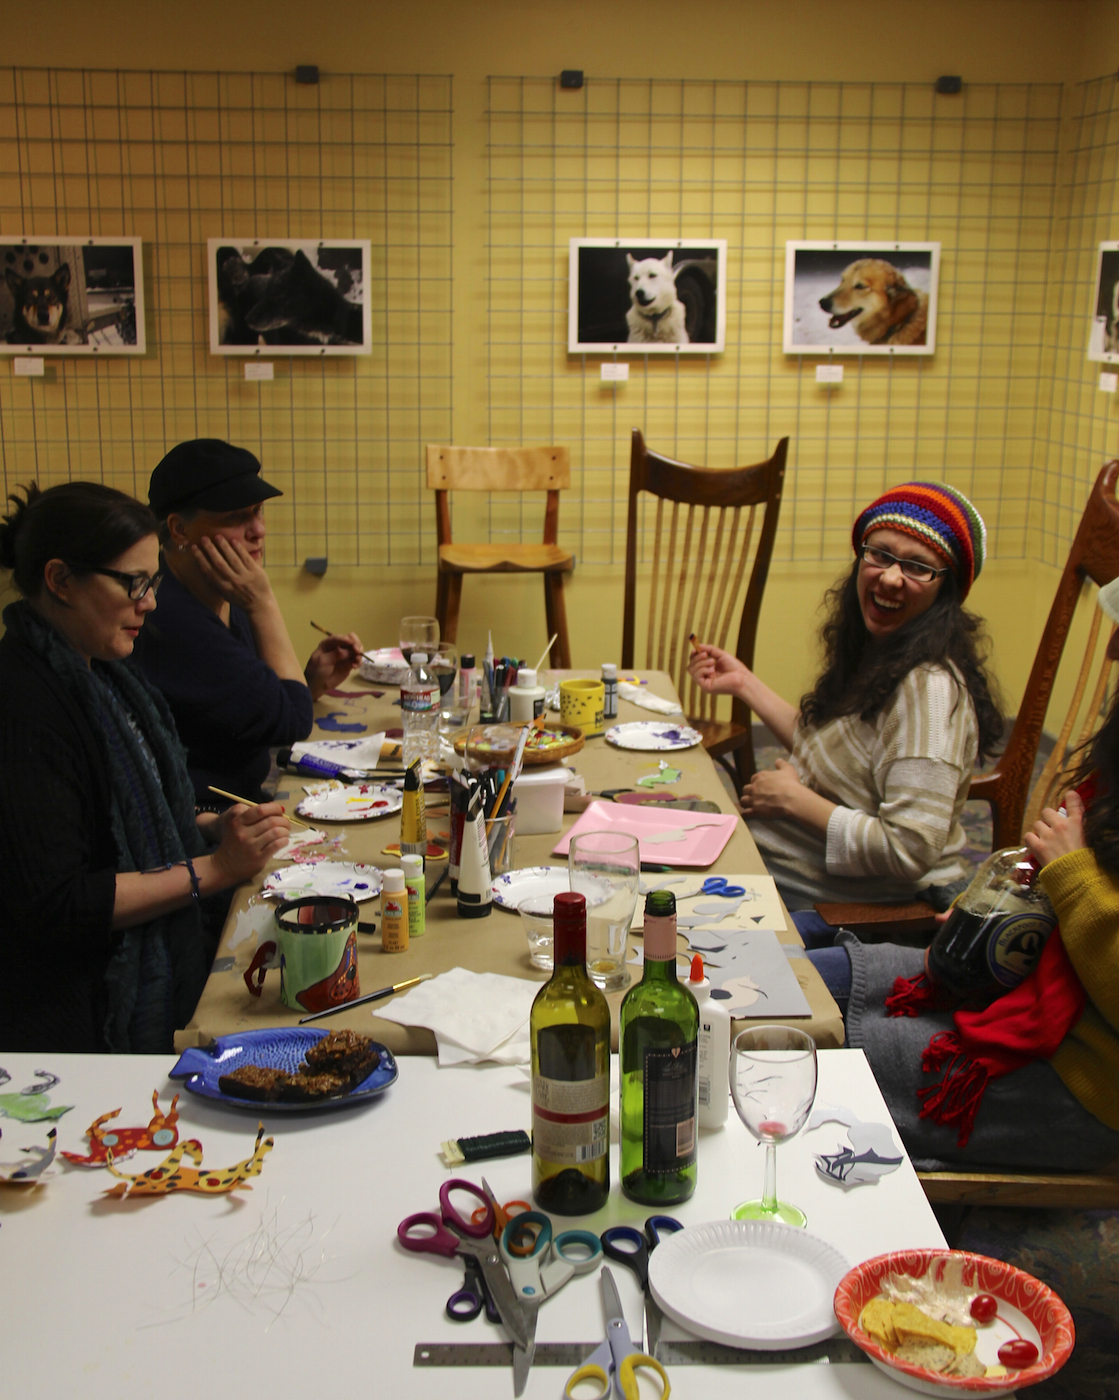
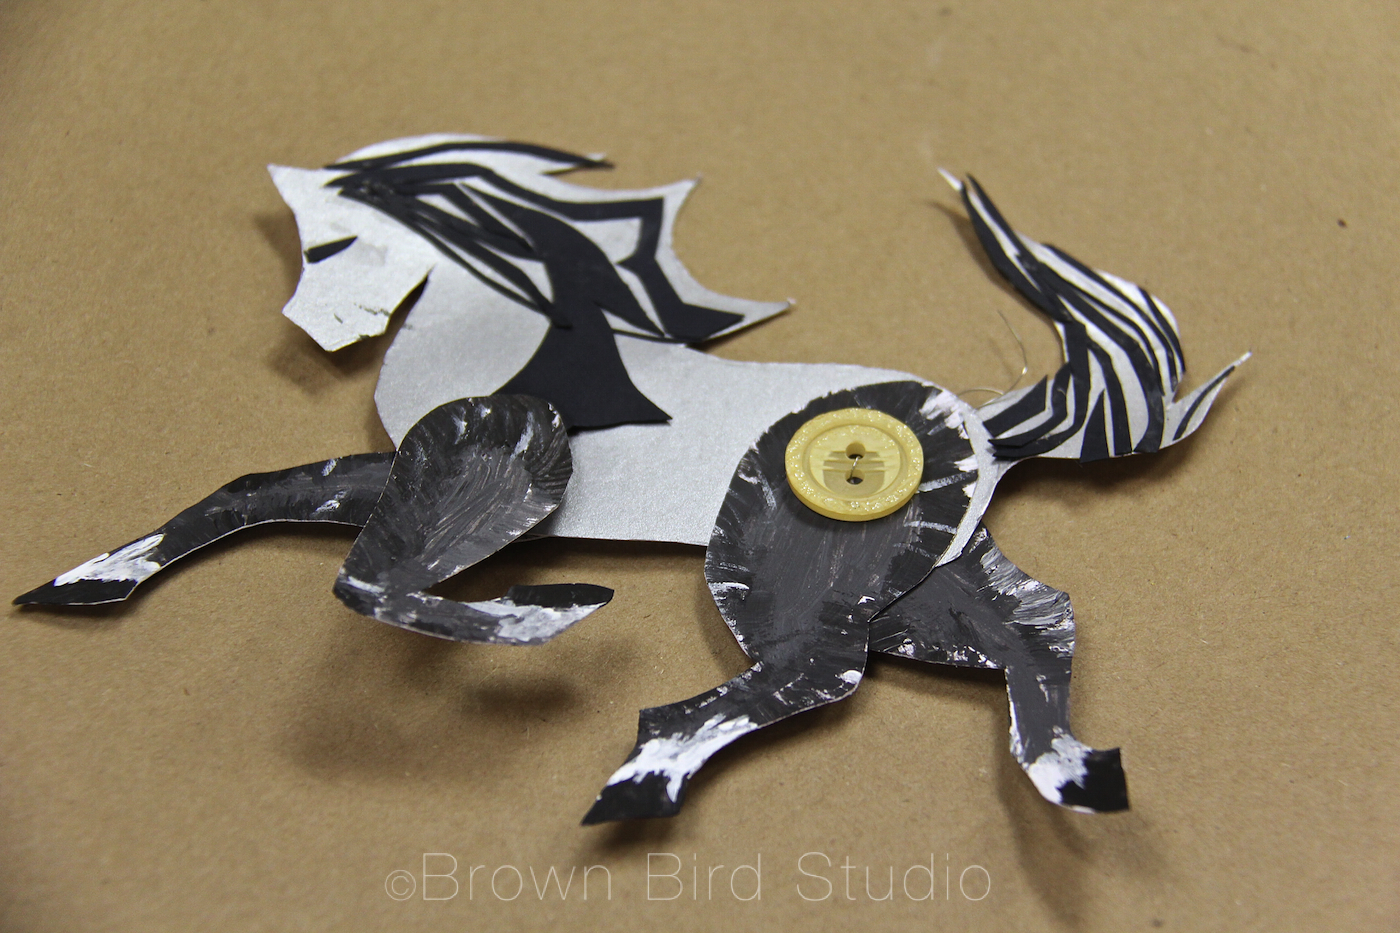
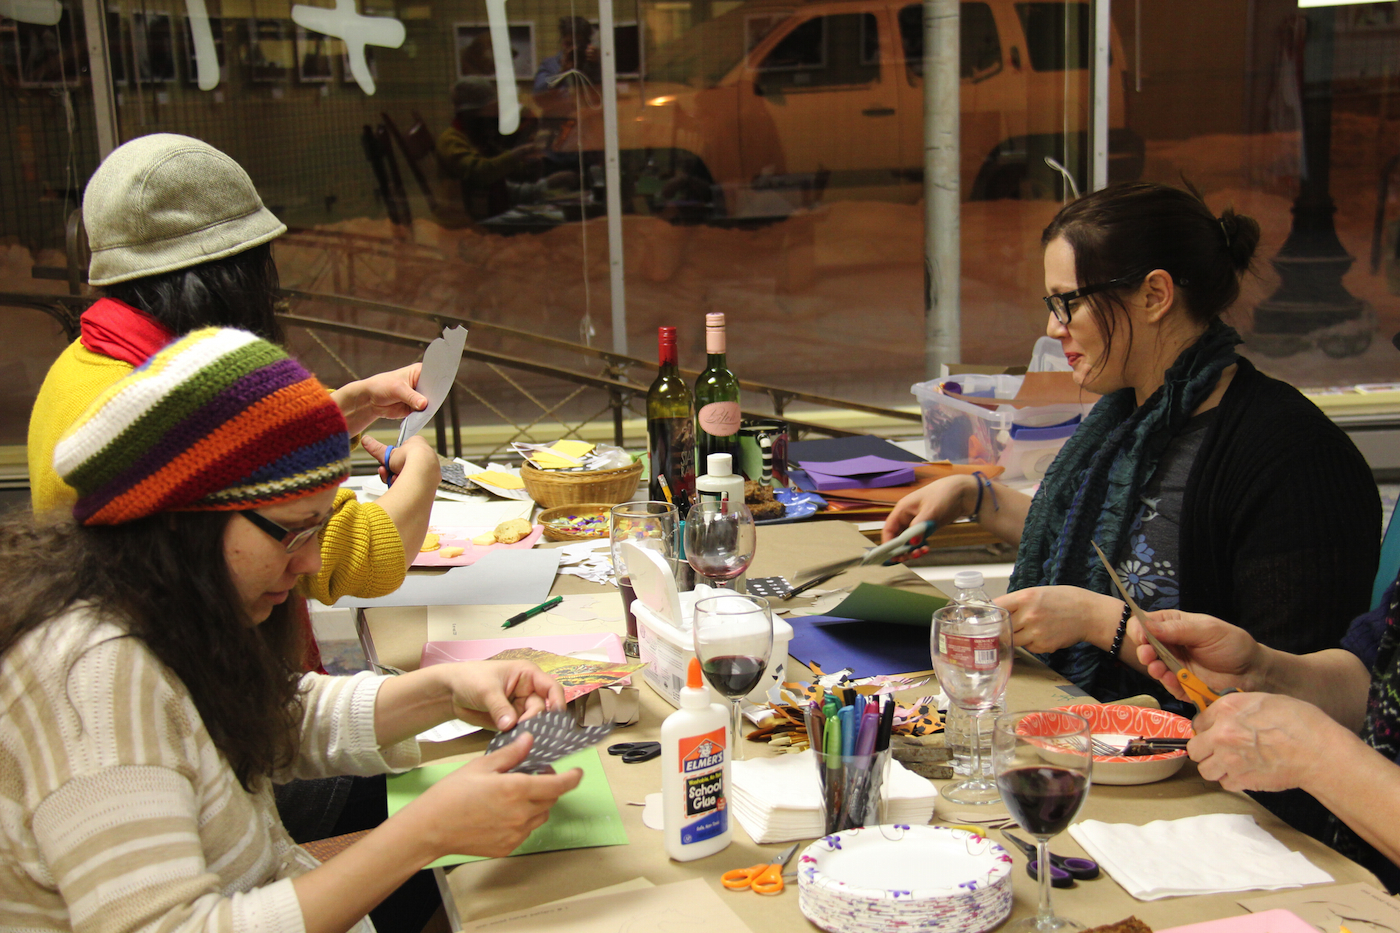
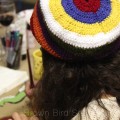
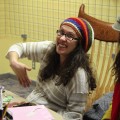
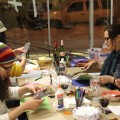
Last night at our first monthly Girls Art Night at 1+1=1 Gallery (Brown Bird Studio) we were inspired by Ann Wood’s creative exercise to make these absolutely delightful horses. We were a small group — just the perfect size, though as we continue to do these art-nights I hope other women will join us.
Shayna, Jaime, Cari and I gave some of our horses to Whitney, who is ready to give birth any day now. Her little boy will be born in the Year of the Horse. He will have a herd of wild horses to remind him of his naturally wild joy. With a mama like Whitney we know he’ll grow up snorting with laughter, jumping with glee and letting his wildness out into the world. (*See bottom of this post for some interesting predictions about this baby — and other babies born in this year of the horse.)
“Last night was like a symbolic circling of all the mares … lending the strength of those who have gone before, to the one ready to walk through that door that you never, ever can cross back through … the becoming of motherhood and the strength and grace of sisterhood … so special to me” — Jaime Terry
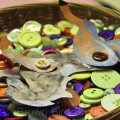
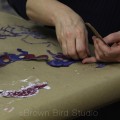
We made horses. We laughed. She contracted. We played. Relaxed. Listened to her talk about the baby, the baby’s name, the nest she is preparing. Talked about lack of sleep and future lack of sleep and hope for sleep. And about other things. And nothing at all.
Our hands busy with scissors and paint and buttons. Good food. Good wine. Good company. It’s what women do. We nurture each other with food and listening and love and open arms. A circling of the mares.
We decided to do this every month. Something artsy. Something to connect us. To each other. To our souls. To the Earth.
Please join us at our next Girls Art Night with Brown Bird Studioon the last Thursday of each month.Like our gallery’s facebook page or sign up for updates from 1+1=1 Gallery, and we’ll remind you a few days in advance. Put Girls Art Night on your calendar for March 27th at 6:30 pm. 335 North Last Chance Gulch, Helena.
Our evening gatherings are all about being relaxed and nurturing our inner artistic souls.
Whether you consider yourself artsy or “crafty” or not, I promise you will have a good time. And don’t forget we’ll share food, music and laughter too. The cost is free or minimal, depending on the materials we use.
LINKS:
A perfect horoscope prediction for Whitney’s baby (knowing Whit …): People born in the year of the horse are said to be a bit like horses: animated, active and energetic – they love being in a crowd. They are quick to learn independence – foals can walk minutes after birth – and they have a straightforward and positive attitude towards life. They are known for their communication skills and are exceedingly witty. — from The Guardian (UK) “8 Things You Probably Didn’t Know about the Year of the Horse.”
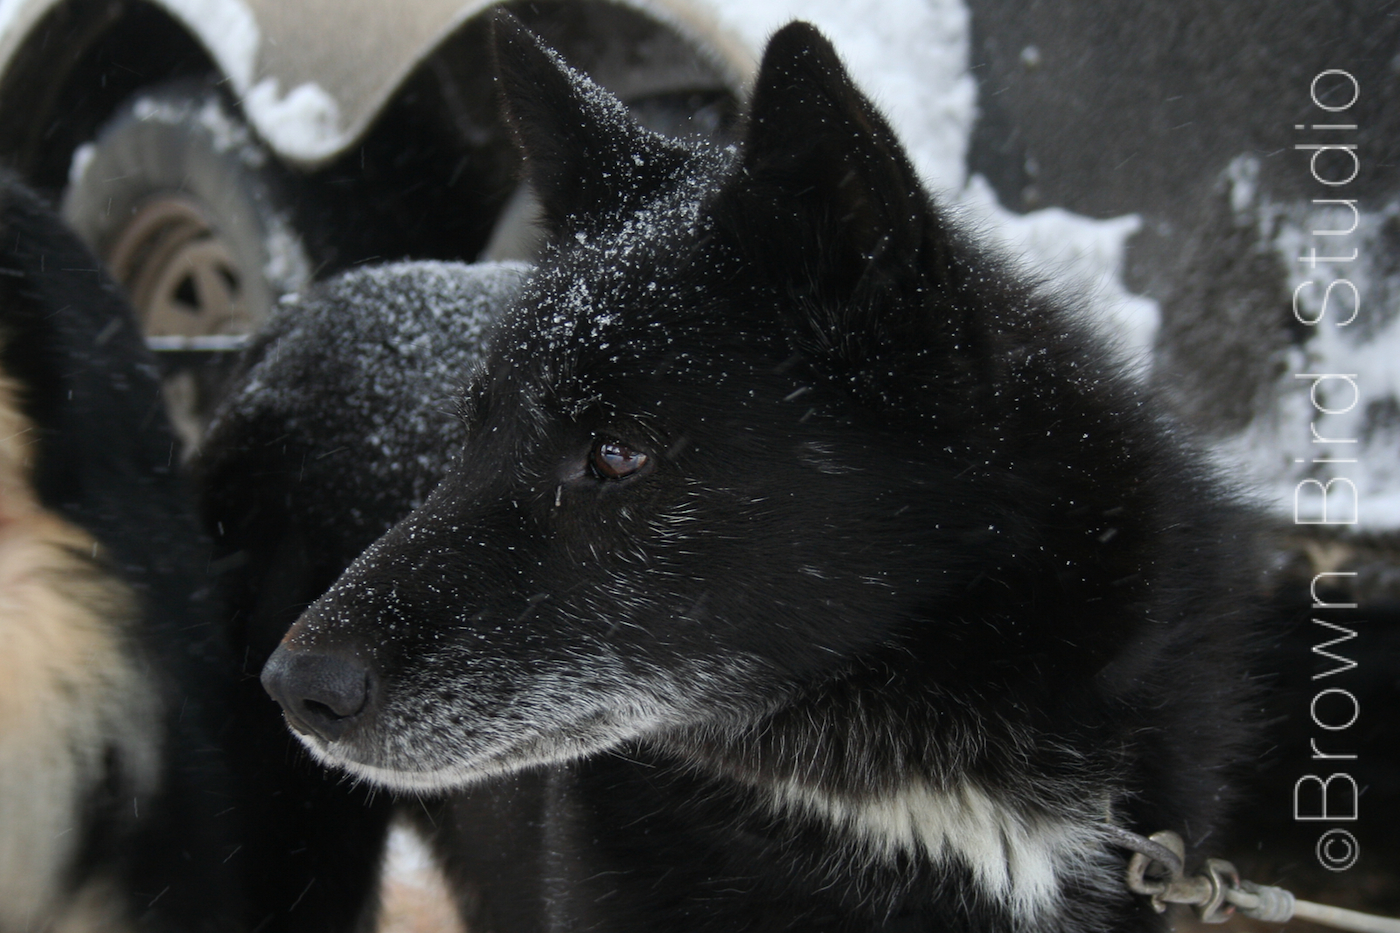
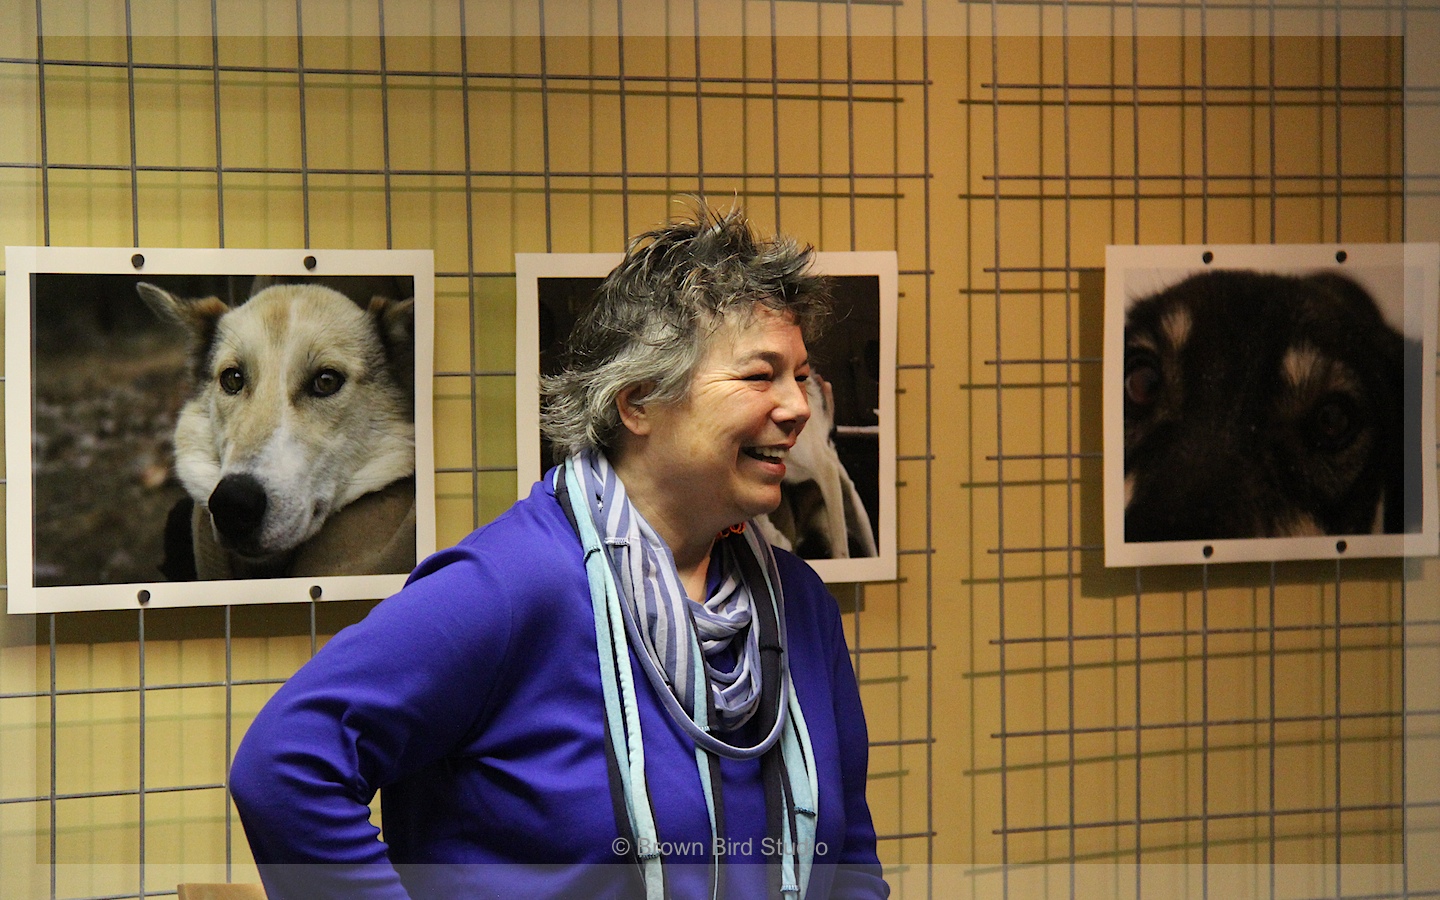
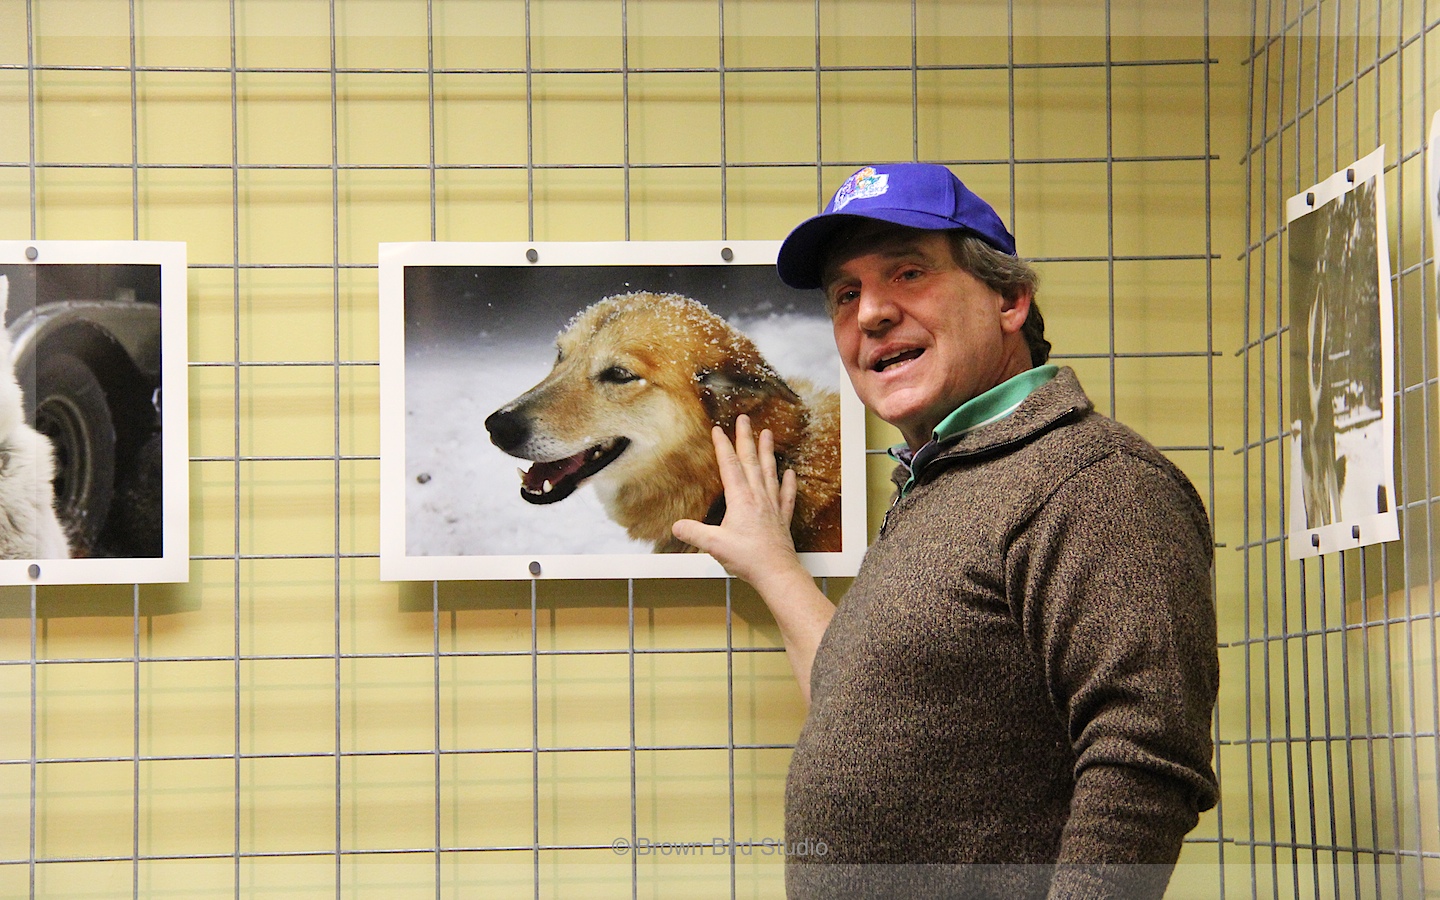
If you missed the opening reception of All Things Sled Dog (and Dog) at 1+1=1, you can still see the photos at the gallery through March 2nd, 2014. We are located at 335 North Last Chance Gulch in Helena, Montana.
There are two exhibits by Maureen Shaughnessy at the gallery this month: Ancient Bond, an exhibit of sled dogs portraits emphasizing the dogs’ personalities and the bond with their handlers and mushers… and Charlie’s Closet, select portraits of Charlie putting up with being dressed up in human clothes.
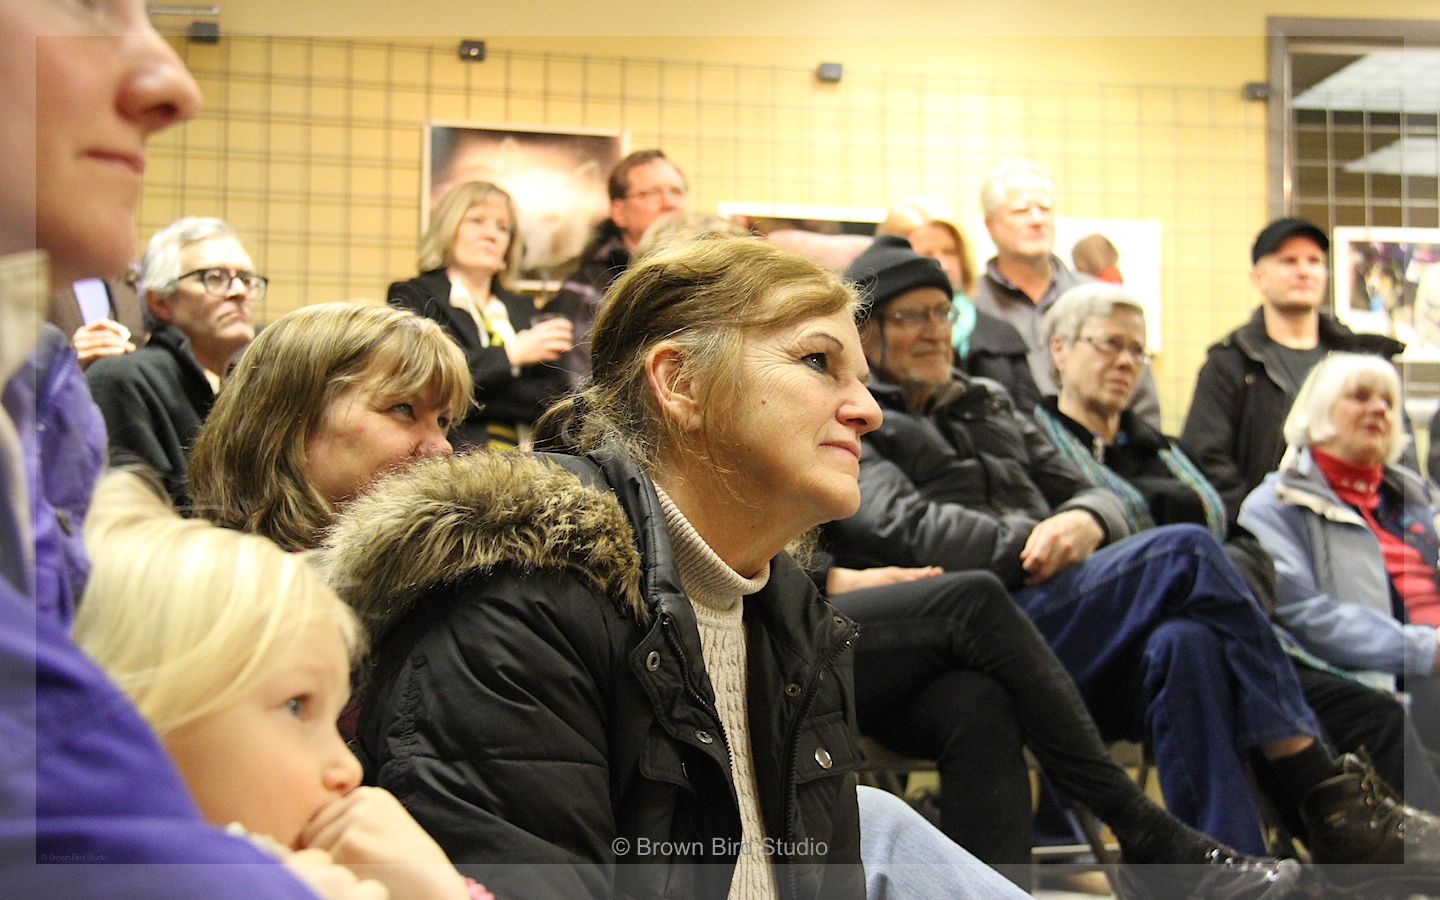
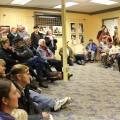
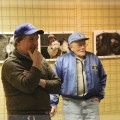
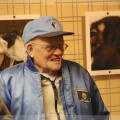
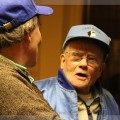
Our Friday night reception was well attended. I began with a talk about how I shoot portraits of dogs, and try to build connections between the dogs (the photos) and viewers. Mark Ibsen followed with a humorous talk about mushing, using my photos to enlighten the audience about what the dogs might be feeling or thinking. He had the guests (and me) laughing and smiling. Dave Armstrong and several other old-time mushers attended and we even got Dave to give us some history about the Race to the Sky and the antique sled displayed at the gallery this month.
We had a mix of mushers and mushing-fans along with other dog lovers and a handful of photo buffs. I promised a couple of guests that I would post my talk, along with the 19 tips for photographing dogs, so I’ll do that in the next day or so. Check back later this week.
Thank you to my dear friends, Jaime for helping me hang the show and to Ema and Adia for your help with the food during the reception. Thank you especially to Tim Carney, who mounted the utility panels on the gallery walls and helped me serve wine and finance the exhibit. Plus you are always my greatest fan and helpmate. You’re awesome!
Please enjoy the opening night photos. If you see yourself in the crowd and want to comment, please do. Or comment even if you weren’t there.
for more about this exhibit, click “return to gallery.” Thank you!
All of Maureen’s photos are for sale.
The size of most of the signed photos is 18 inches x 12 inches.
The photos are digitally printed on archival Silver Rag Gloss (more of a luster finish) paper.
These are the highest quality digital prints I can find, made for me in South Carolina: the colors and black and white tones are rich and the paper feels like a traditional cotton fiber based paper.
Unframed prints are $100 each.
Ready-to-Hang prints mounted on Baltic Birch gallery panels are $200 each.
Cootie Catchers (aka salt cellars or fortune tellers) are perfect for a unique Valentine card that becomes a game. The basic shape is an origami fold. Make these with inexpensive copy paper in different colors. To make a cootie catcher into a Valentine gift, instead of writing “fortunes” on the inside, write little love notes or positive messages like the ones you find on Valentine candy hearts. Examples: “Be Mine” … “Call Me Later” “I-Luv-U” “Kiss Me” and “Hugs!” and “Sweetheart.”
Cootie catchers are easy to make and can be adapted for any age from 3 up. For toddlers, you might want to fold the shapes for them, letting them decorate the paper. They can tell you what they want you to write on the inside. This is a fun way to remind your little ones of all the positive messages you give them every day.
For older kids, try suggesting they use rubber stamps for the numbers or letters on the outside of the folded shapes. Or they can think of Valentine-related symbols such as a bumble bee (bee-mine) a heart, a flower or pair of lips to use instead of the traditional numbers on the outside flaps.
Remind kids to stay positive, and keep a great sense of humor. Your kids may surprise you with the fun sayings they come up with for their cootie catchers.
One of the kids came up with a cool idea: on the inside flaps she wrote things like, “Hug the person to your right” and “Your Valentine is on your left.” A perfect party cootie catcher!
HERE’S WHAT YOU NEED:
pink or white printer paper
rubber stamps and stamp pads (optional)
scissors (to make letter-size paper into squares)
markers, colored pencils
HOW TO DO IT:
Instead of trying to formulate instructions that make sense, I am sending you to momsminivan.com because she has not only complete instructions, but detailed photos and a video on folding. Check it out here. And here’s how to play cootie catchers:
Practice opening and closing the cootie catcher. Open it first with your forefinger and thumb on each hand together. Then open it with your two forefingers together and your two thumbs together.
With the Cootie Catcher closed, have someone choose a number or symbol from the four outside flaps. Open the Cootie Catcher once for each letter in the symbol (eg if they choose a heart, spell out h-e-a-r-t) or count the number they picked. Leave it open at the end so they can see four numbers or symbols inside.
Next, have them choose one of the four inside flaps they can see, and close-and-open the Cootie Catcher that many times, again ending with it open.
Last, they should choose one of the four flaps they now see, and you lift up that flap to show their love note or personal message.
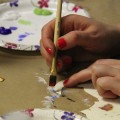
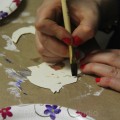
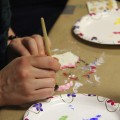
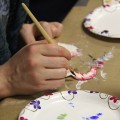
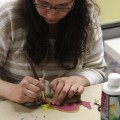
Make Valentine-y Prints Using Fruit and Vegetables
All you need for Valentine printmaking is some fruits and veggies and a few other things you probably have around your house. Think about handing your Valentine a bunch of flowers you made yourself!
HERE’S WHAT YOU NEED:
pink or white printer paper
vegetables such as a bunch of celery, apples, brussels sprouts, carrot, potato and lemon
cheap sponges
a printmaking roller
little plates to put the sponges on
red, pink and black stamp pads
very sharp knife and a cutting board
HOW TO DO IT:
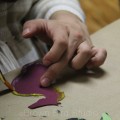
Place a moistened sponge on a small paper plate. Squeeze a little red tempura or acrylic paint onto the sponge and spread it evenly with the roller. Cut the celery bunch about 3 or 4 inches from the root end, leaving the stalks all together. (Save the stalks you cut off of the root end.) Holding the celery bunch together tightly, press it onto the sponge and get some paint on the ends. Next, stamp it on your paper. Don’t squish it around or you will smear your design. Lift it up and Voila! There is a beautiful “rose!” Make a bouquet of roses.
Cut a brussel sprout in half horizontally. Make a clean cut! Now, press it onto a red stamp pad (paint is too much for a brussel sprout print) and get it good and red. Next, stamp it onto your paper and lift it straight up. You will have a miniature rose. Make a big bouquet of mini roses!
Use the stalks of celery you cut off of the celery bunch, to make little squiggle designs. Use your stamp-ink-pad for these. Play around and see what you can make with these.
Cut an apple in half vertically to make a heart shape. Try cutting an apple in half horizontally for a circular shape with a perfect star in the middle. Use the paint-soaked sponge for the apple prints.
Cut a lemon in half and dry it well on paper towels. Use your ink-stamp-pad to ink up the lemon and press, press, press.
Cut a potato in half and using a sharp knife, carve the flat side into a heart shape or any other simple shape. Use this as a stamp, with either the stamp pads or in paint-soaked sponge.
Compost the veggies and fruits after you finish.
Delight in each other
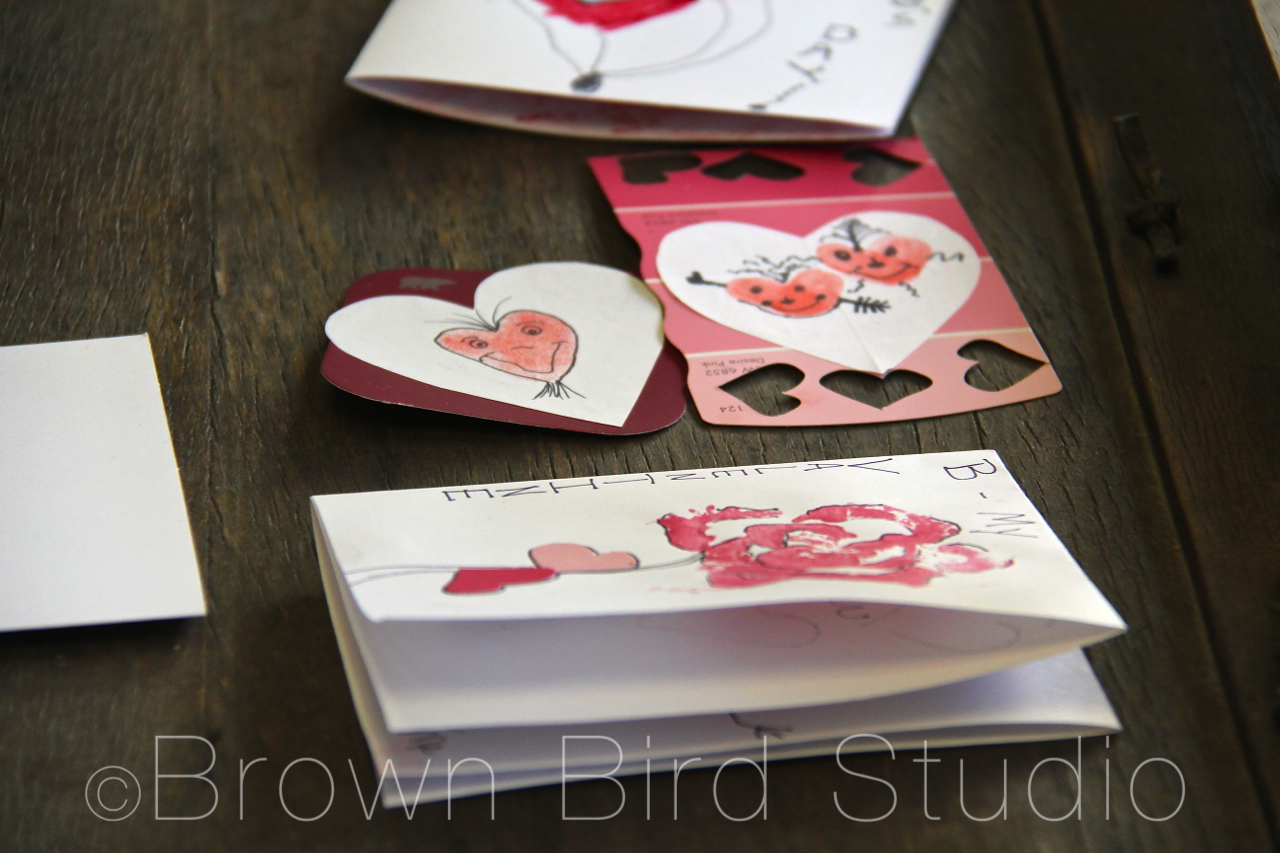
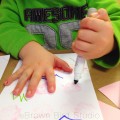
Thumb Print Hearts Make Cute Valentine Cards
What is easy, simple, and uses something you have on you ALL the time? Hearts made with your very own thumbs. Big grownup thumbs or tiny toddler thumbs make super cute Valentines. This is a popular card making activity with the littlest ones. (I used washable red ink stamp pads for obvious reasons. heh)
Sarah and Bailey were almost all thumbs
HERE’S WHAT YOU NEED:
thumbs
white or pink printer paper
washable red stamp pad
paint samples
glue sticks
scissors
markers, colored pencils, fine-tip permanent pen
heart shaped paper punch (totally optional)
HOW TO DO IT:
Press your thumb onto a red stamp pad and get it good and inky.
Make two thumb impressions, at slight angles to form the shape of a heart. Play around with your own ideas.
After the thumb prints dry (takes a minute) draw on them with markers, colored pencils or sharpies.
Cut the hearts out and glue onto paint samples from the paint store.
We also used a heart punch to embellish these cards.
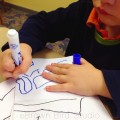
Just Draw!
Some of the kids who came to this workshop decided just to draw their Valentine’s cards — and I just say there were some really cool cards being made at that table! They used the markers and printer paper we had to exercise their creativity. Three-year old twins and their sister made these:
Multi-layered loveliness
The rubber stamps might have inspired this three-year-old
Meticulous and Focused
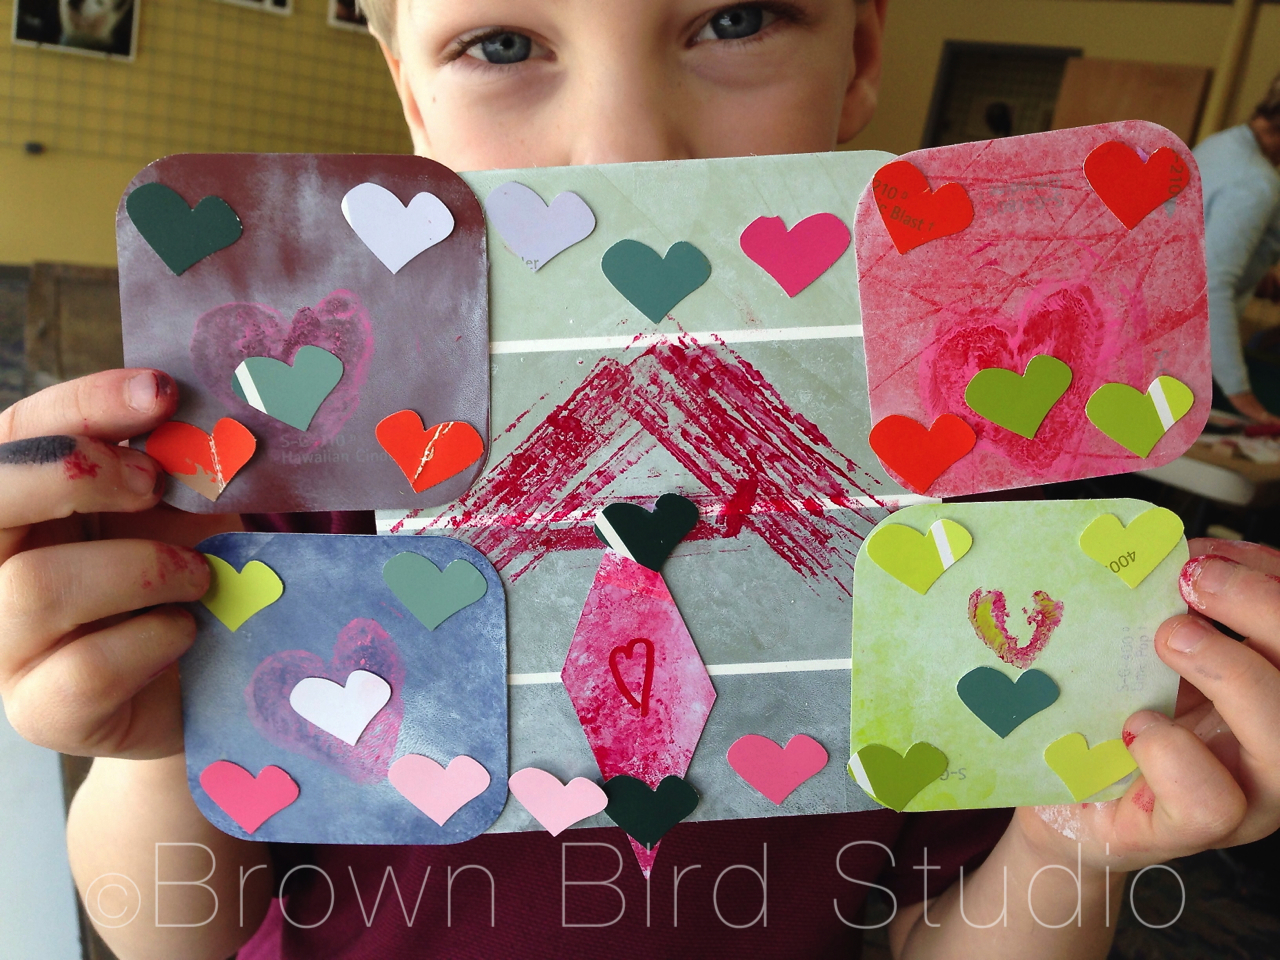
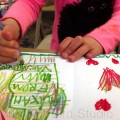
And Then There Was Aidan — He Went All Out(side-the-box)
I love, love, love how this happens! Aidan made a cootie catcher, but the thing that really caught his imagination was the idea of printing and getting messy with paints. I had three planned valentine techniques and Aidan made such a beautiful — creative — Valentine using the materials and tools I had available but his very own multi-layered techniques. If he had given me his Valentine I would have proudly framed it and hung it in the gallery. Check it out below. Can you tell how Aidan made his valentine? (I’ll give you a hint about one little part of his design … below the picture)
Aidan proudly shows his amazing Valentine creation!
(hint: Aidan used the outside of the celery stalk, lengthwise, to make the cross-hatched pattern in the middle. The rest of his techniques you’ll have to figure out yourselves.)
Lily really got into punching and cutting the paper samples!