Best Pie Crust Ever

LatticeCrust1-imp

Does your pie crust recipe usually end up in pieces on the kitchen counter when you try to roll it out? Do you get frustrated because your pie crusts are heavy and thick and uninspiring? Try my pie crust recipe and see if it makes a difference. This is a recipe my mom found at some point in my growing up years and it made all the difference in the world to add a little egg and vinegar to the ingredients. The sugar or honey is to counteract the tartness of the vinegar. I don’t know the chemistry of why it works, but crusts made with this recipe almost always turn out very tender and flakey. And a nice bennie is that they are easy to roll out and transfer to the pie pan without falling apart.

I substitute coconut oil for at least some of the butter, just for health’s sake. The original recipe called for lard. Or (Gasp!!!) shortening. Ack! I also use half the original amount of salt. So, if you follow my recipe (below) I think you will have an easy, yummy, tender crust for your pie.

Best Pie Crust Ever

INGREDIENTS

  • 2 cups flour
  • 1/2 tsp salt
  • 1/2 cup butter (1 stick)
  • 1/4 cup coconut oil
  • 1 small egg, beaten (or just the yolk if you have a large egg)
  • 2 tsp apple cider vinegar or lemon juice
  • 1 T brown sugar or honey
  • 1/2 cup (or less) very cold water

PREPARATION

  1. blend the flour and salt.
  2. add butter and coconut oil and using a pastry cutter, blend into the flour until you have a crumbly mixture. Don’t overblend!
  3. beat the egg (or yolk), add vinegar, brown sugar (or honey) and about half of the icy cold water.
  4. Make a well in the dry ingredients, pour in the liquid and stir QUICKLY with a fork until it’s almost all incorporated. VERY important not to overstir or your crust will be tough instead of flakey.
  5. If it’s really really dry, add a little more of the cold water and stir just a little. Dump the dough onto a floured surface like a cutting board or clean counter.
  6. Quickly, and using as little touch as possible, round the dough up into a ball. Wrap in wax paper or plastic wrap and chill while you make your pie filling.
  7. When you are ready to roll out your dough, cut the ball almost in half (one side should be a bit more than the other. The larger “half” will be your bottom crust) Chill the smaller half and roll out the larger half.
  8. Place the bottom crust into the pie pan, fill with fruit or whatever. Then roll out the other half and carry on. (see pie preparation above)

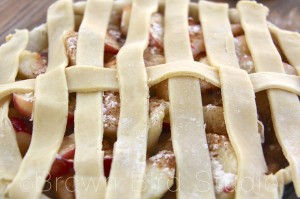
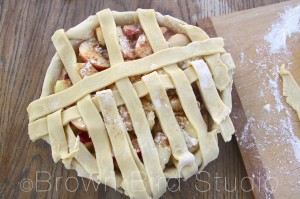
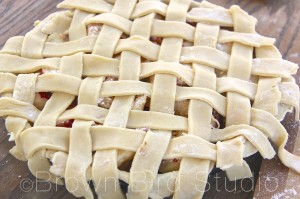
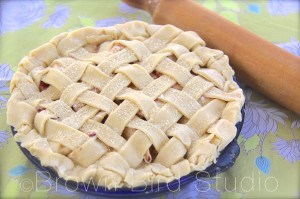
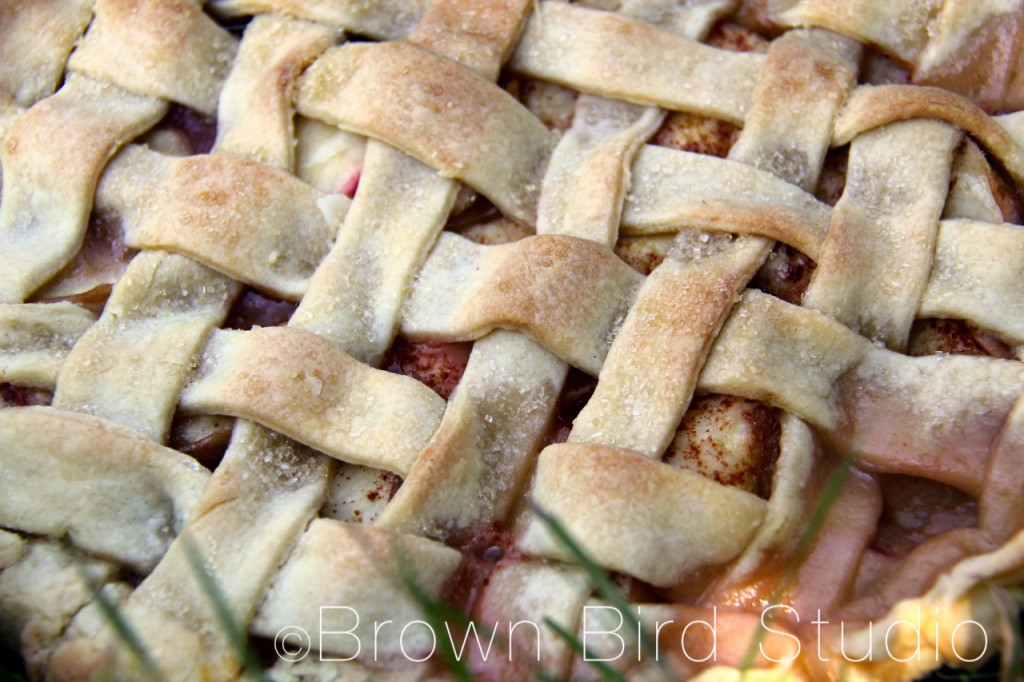
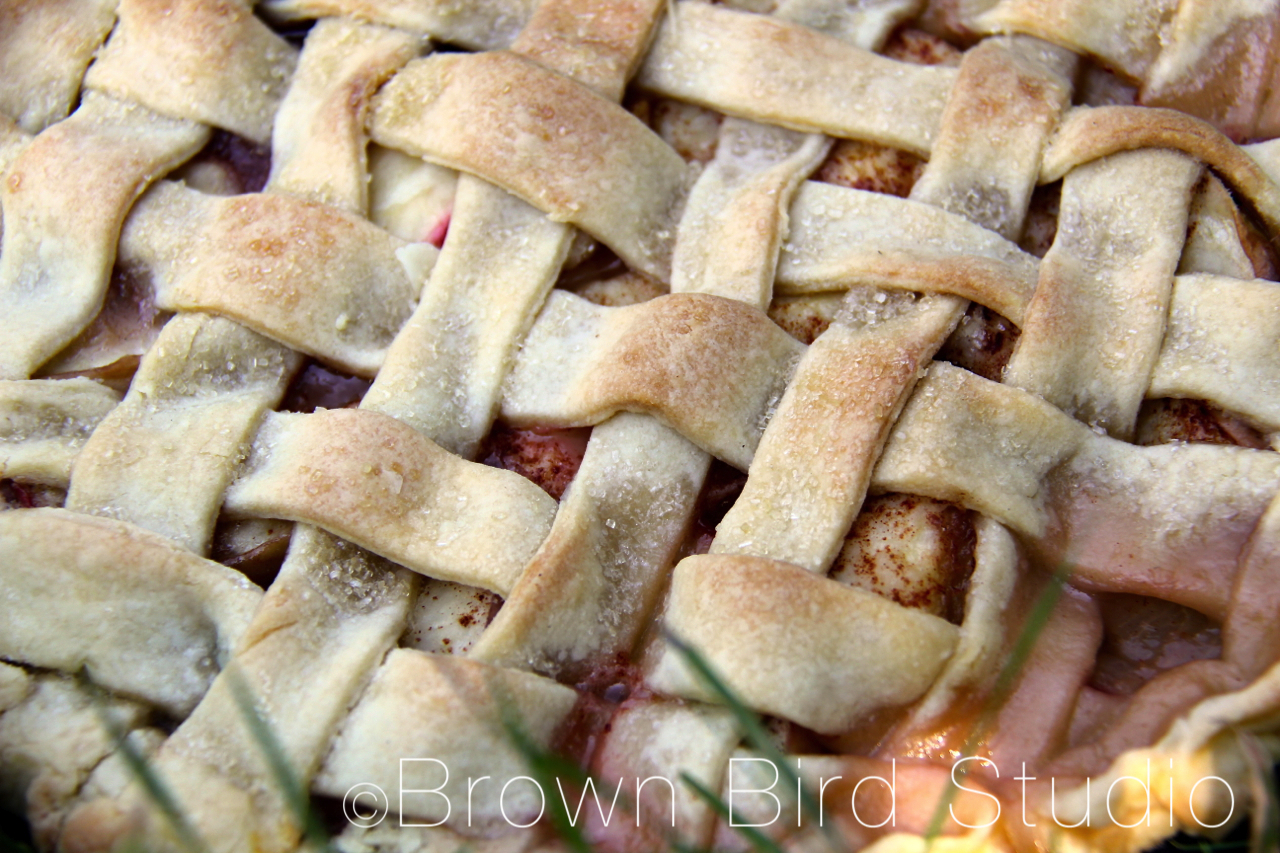
Some people think lattice pie crusts are complicated and difficult. They’re really not. Yes, it takes a couple of extra steps beyond just rolling out the top crust and plopping it over your pie filling. But it’s easy — and it does not have to be perfect (as you can see by my pie photos. Ahem!) Believe me, the little extra effort is SO worth it!

LATTICE CRUST INSTRUCTIONS: 
pie-crust-lattice-how-to20-imp
Make your bottom crust normally, place in pie pan and fill with filling.
pie-crust-lattice-how-to21-imp
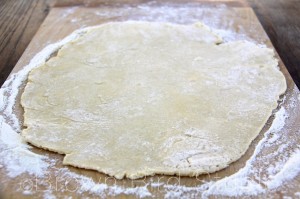
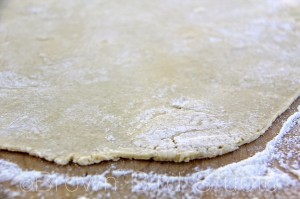
Roll out the second half of your pie dough to the same thickness, about 1/8 inch.


pie-crust-lattice-how-to19-imp
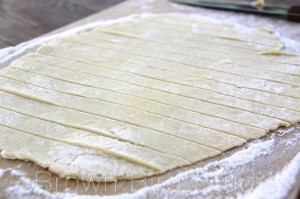
Using a long knife or a pie crust rolling cutter, cut strips about 3/4 inch wide
Leaving the strips in place, start with one of the longest (center) strips and lift it, placing it on top of the pie filling
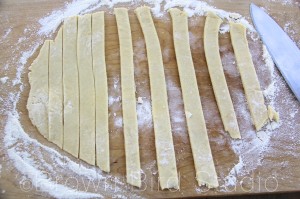
Alternating strips, place every other strip on the pie. The rolled out dough on your counter will look like stripes now. (see photo) Your pie will also look like it has stripes of dough on it.

Alternating strips, place every other strip on the pie. The rolled out dough on your counter will look like stripes now. (see photo above.) Your pie will also look like it has stripes of dough on it.
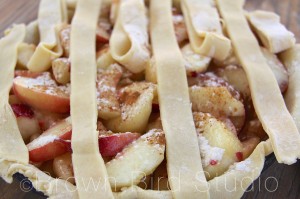
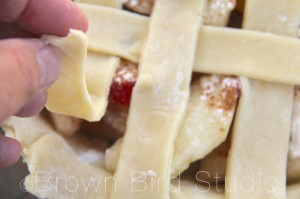
Now comes the fun part: you get to "weave" the strips. Fold back every other dough strip on the pie, halfway.
Now comes the fun part: you get to “weave” the strips. Fold back every other dough strip on the pie, halfway.
Then, starting again with the longest strip on the counter, lift it and place it across the pie. Fold the strips down over it.
Now, fold the alternating strips back halfway. Place the next pie dough strip across the pie, and fold them down over it.
Now, fold the alternating strips back halfway.
pie-crust-lattice-how-to11-imp
Place the next pie dough strip across the pie, and fold them down over it.
pie-crust-lattice-how-to12-imp
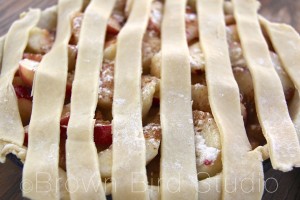
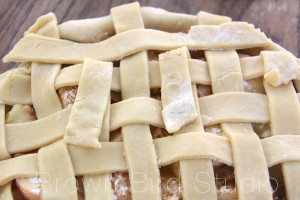
Continue doing this until your pie is covered with a woven beautiful pattern of dough strips.


Continue doing this until your pie is covered with a woven beautiful pattern of dough strips. It sounds complicated, but once you try it, you'll realize it's easy.
It sounds complicated, but once you try it, you’ll realize it’s easy.
pie-crust-lattice-how-to08-imp
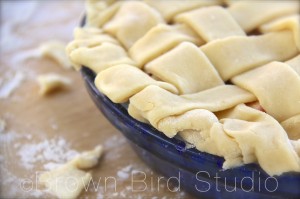
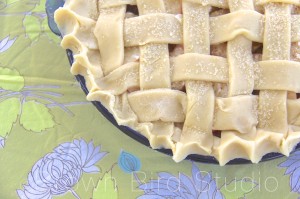
Now, you are ready to trim the edges, fold the edges under …


pie-crust-lattice-how-to06-imp
… all the way around the pie …
pie-crust-lattice-how-to01-imp
… then pinch them like you would a regular pie crust.

Hollyhock Dolls: a throwback to simpler times

Hollyhock-Dolls-09

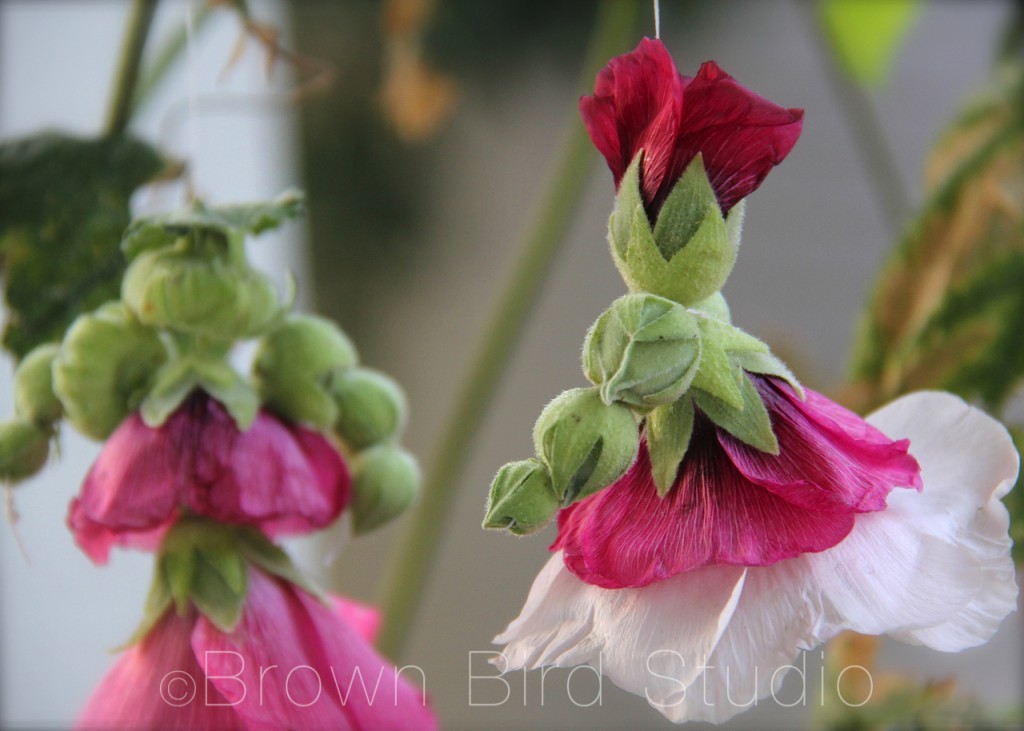
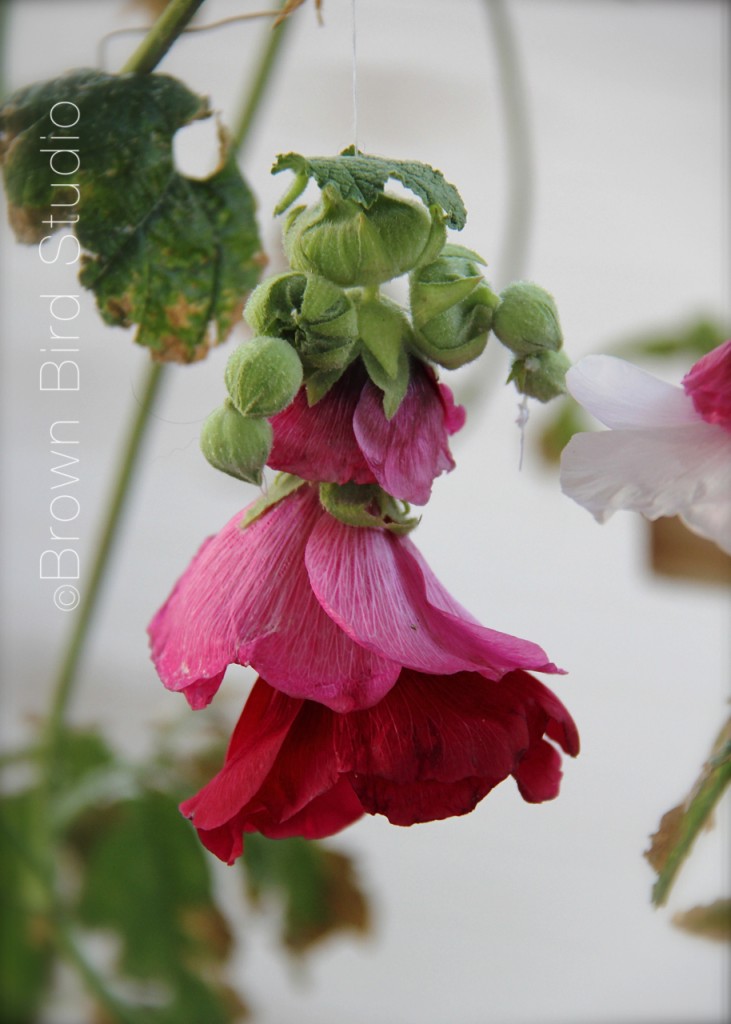
I remember making these dolls from hollyhock blossoms in late summer. They only last for a few hours, even less if you play with them. But they’re fun to make, and really do have lots of personality. Now is hollyhock time in Montana. Do you have hollyhocks where you live? If you do, then you’re in luck. Go find a few, get out a needle and thread and go for it.

tutorial to make hollyhock dolls

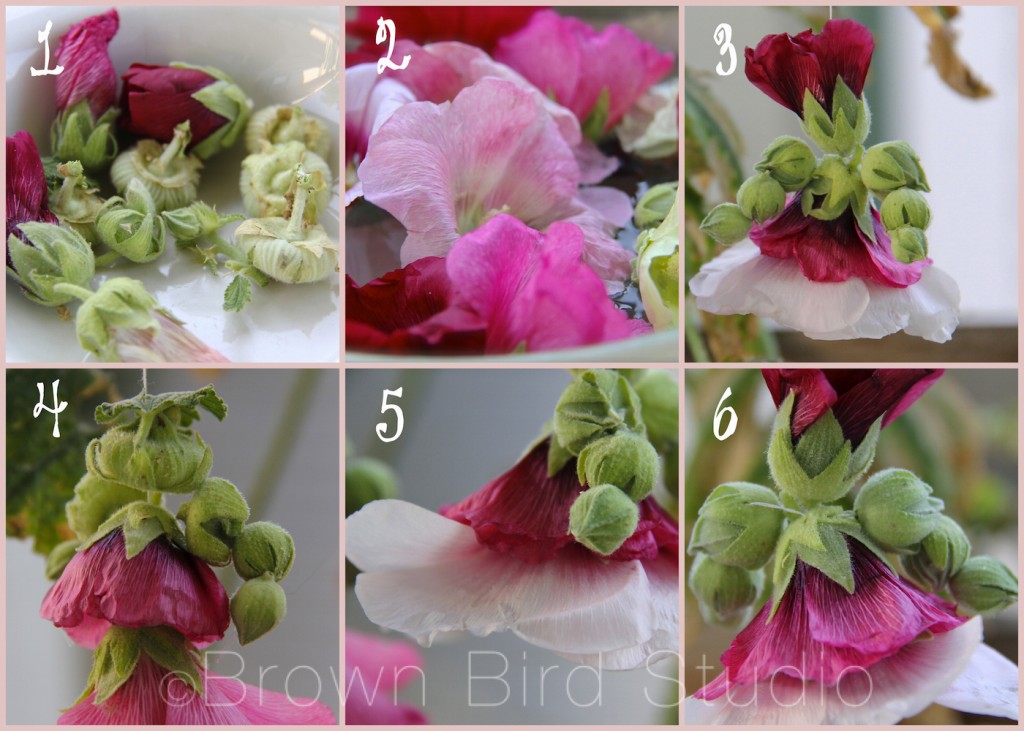
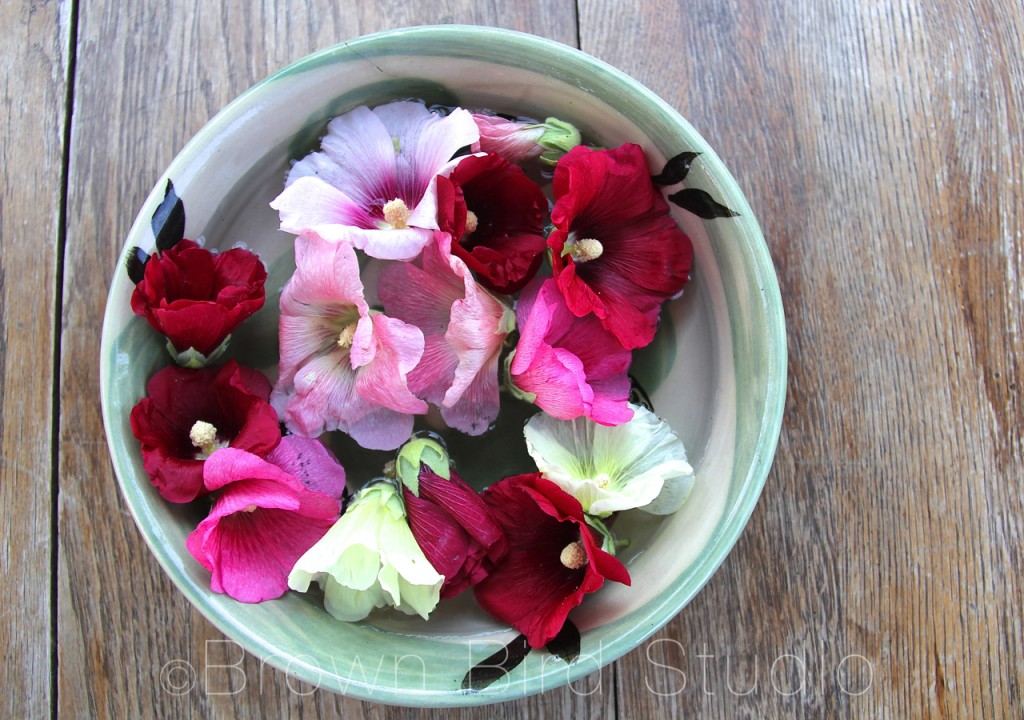
  1. Pick some hollyhock blossoms. Remember to get different sizes of buds, and a few leaves (for hats.) Sort the buds by size, making sure you have at least 3 buds for each arm.
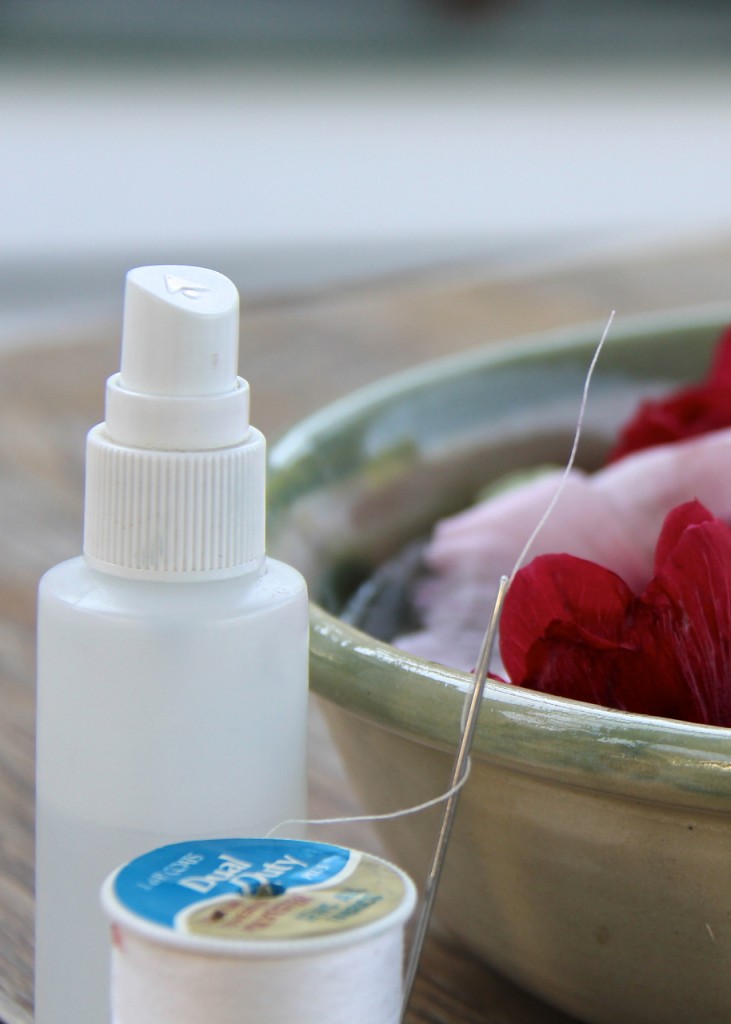
  2. Keep blossoms fresh while you work, by placing them in a bowl of water. You can also mist them with water using a sprayer.
  3. Remove the large, fuzzy stamen that sticks out of the center of each flower. Using a large needle and thread, stitch up through two or three large flowers, layering them to look like a skirt.  You can make multi-color skirts with different colored flowers. Next make the head — you can use either a small blossom that hasn’t fully opened yet, or a large bud. Stitch from the bottom of the head through to the top.
  4. You can add a leaf on top of the head for a hat.
  5. Use 3 buds for each arm, a small, medium and large. I like to start at one hand, thread 3 buds together, then pierce the shoulder with the needle, and continue on the other side with 3 more buds for the opposite arm. (see photo 6)
  6. Your hollyhock doll will have personality and facial expressions if you use your imagination with her.

Swirling Personality of a Hollyhock Doll

Hollyhock-Dolls03-imp

You can add legs if you want but I kinda like them without legs. The big skirts make the dolls look like Southern Belles at a Ball, or Ballerinas Dancing Across the Stage. If you want legs, do them the same as the arms.

Hollyhock-Doll Supplies Another way to make hollyhock dolls is to use long, stiff pine needles, or toothpicks instead of needle and thread. Using the thread allows the arms, legs, neck and waist of the doll to move and jiggle, and if you hang her she will dance in the breeze.  Using pine needles or toothpicks gives you a stiffer doll that can be played with more easily. Here is a link to making hollyhock dolls with toothpicks. 

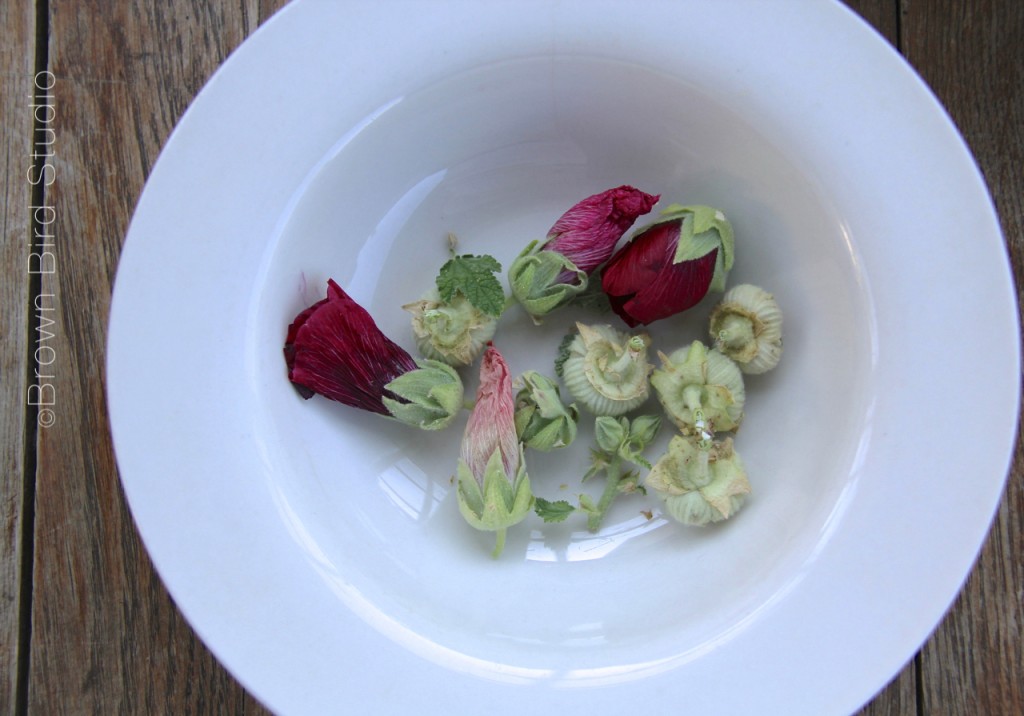
Hollyhock Buds to Make Dolls

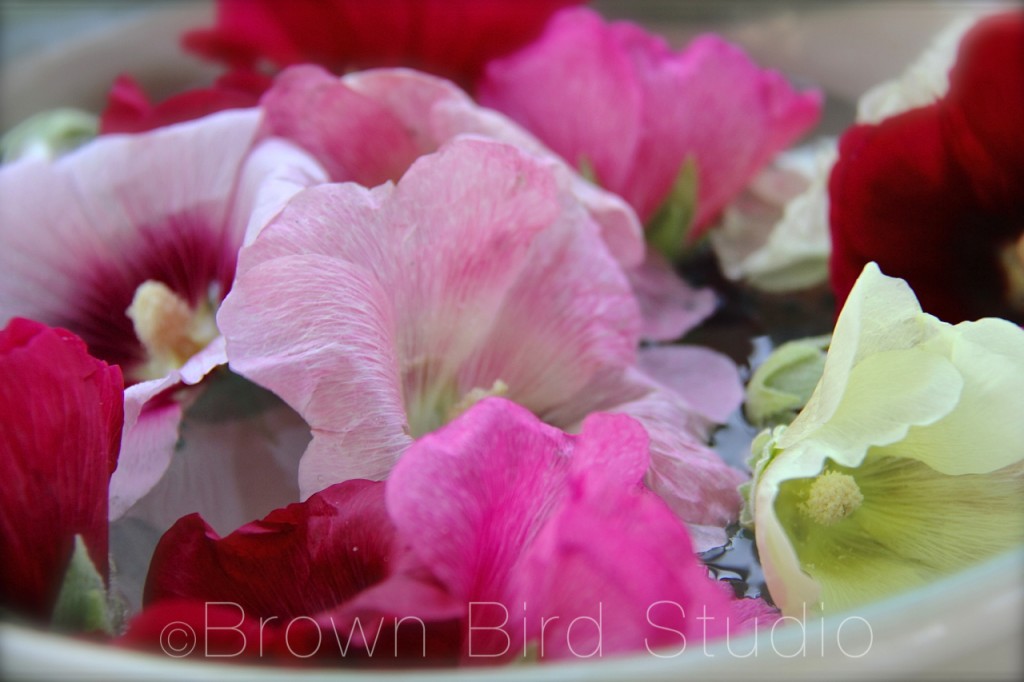
Keep Hollyhocks Flowers Fresh in Water

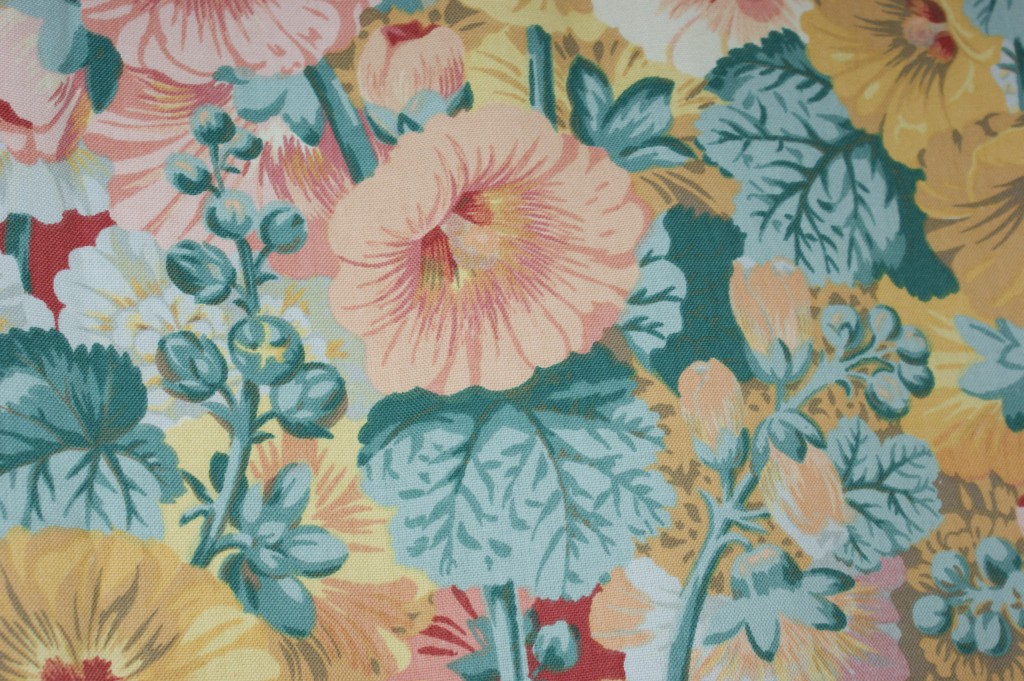
a lovely vintage textile print with hollyhocks

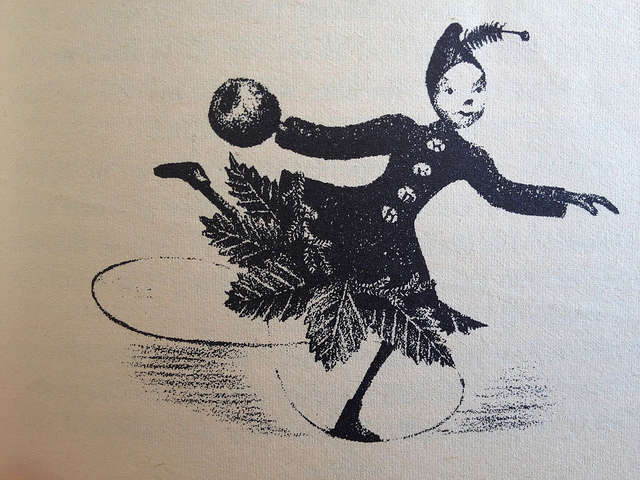
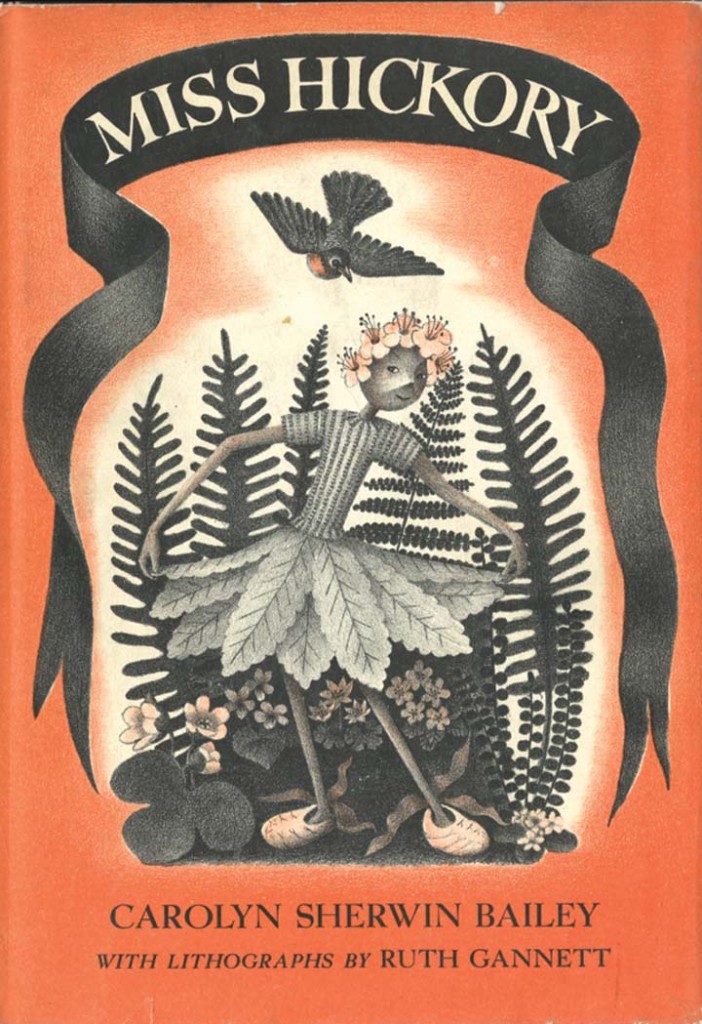
Miss Hickory is a children’s book that dates back to 1948. It is about a tiny doll made of apple twigs with a hickory nut head, so is a little similar to our hollyhock dolls, only longer lasting. The story follows her adventures through the four seasons. And eventually, the story ends with the little doll asleep on a branch of an apple tree and in the spring the apple tree blossoms all around her. Below are a couple of illustrations from the book and a link to a tutorial on how to make a Miss Hickory doll. 

Miss Hickory illustration Miss-Hickory-Book Cover

Painted Critters and Things Made of Clay

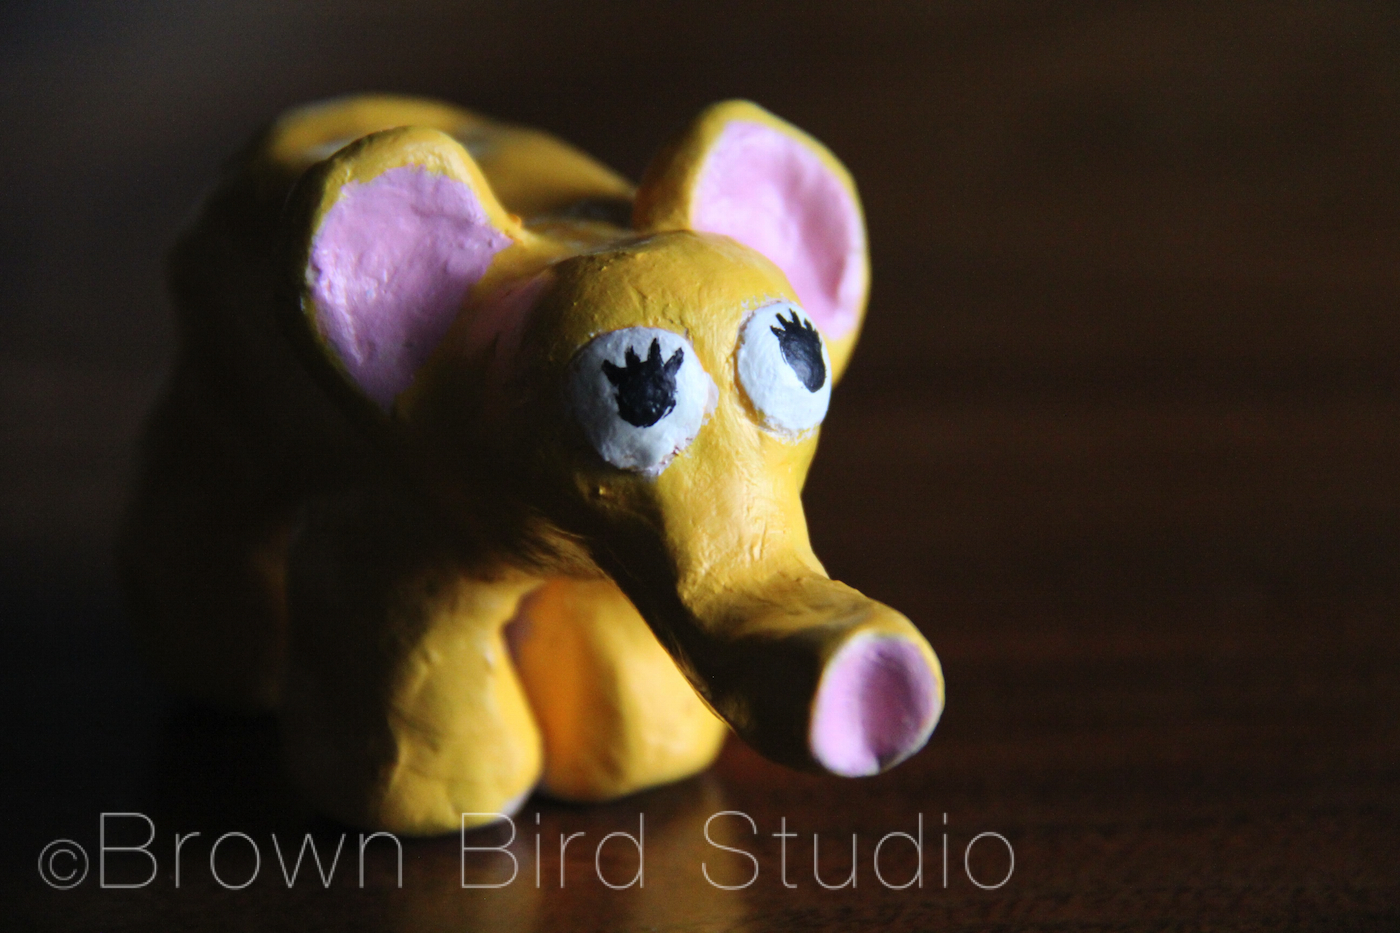
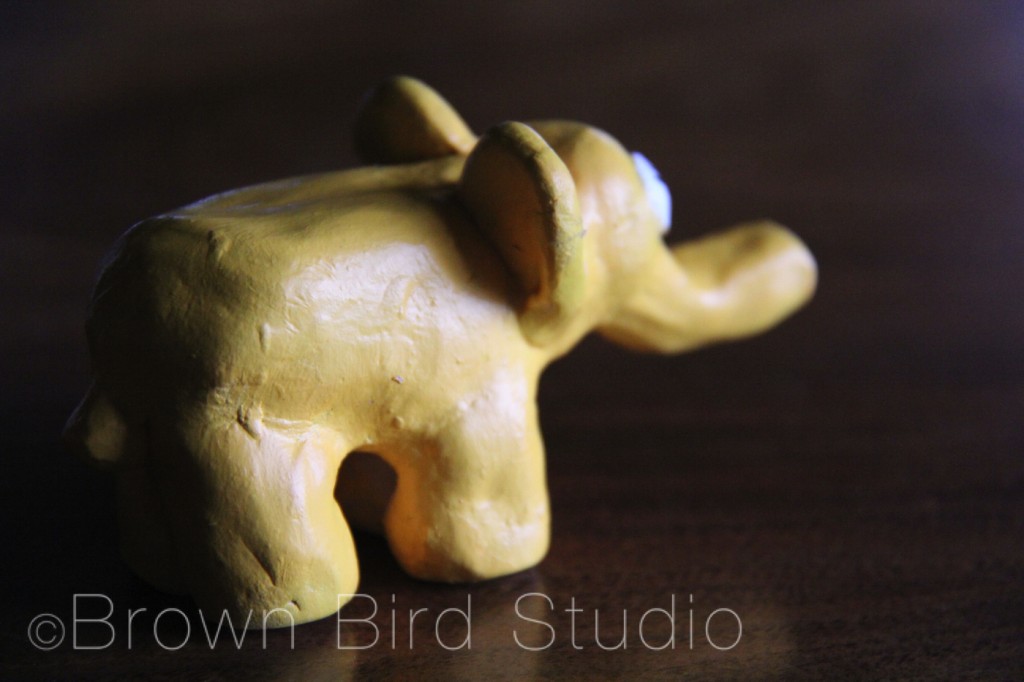
yellow ceramic elephant

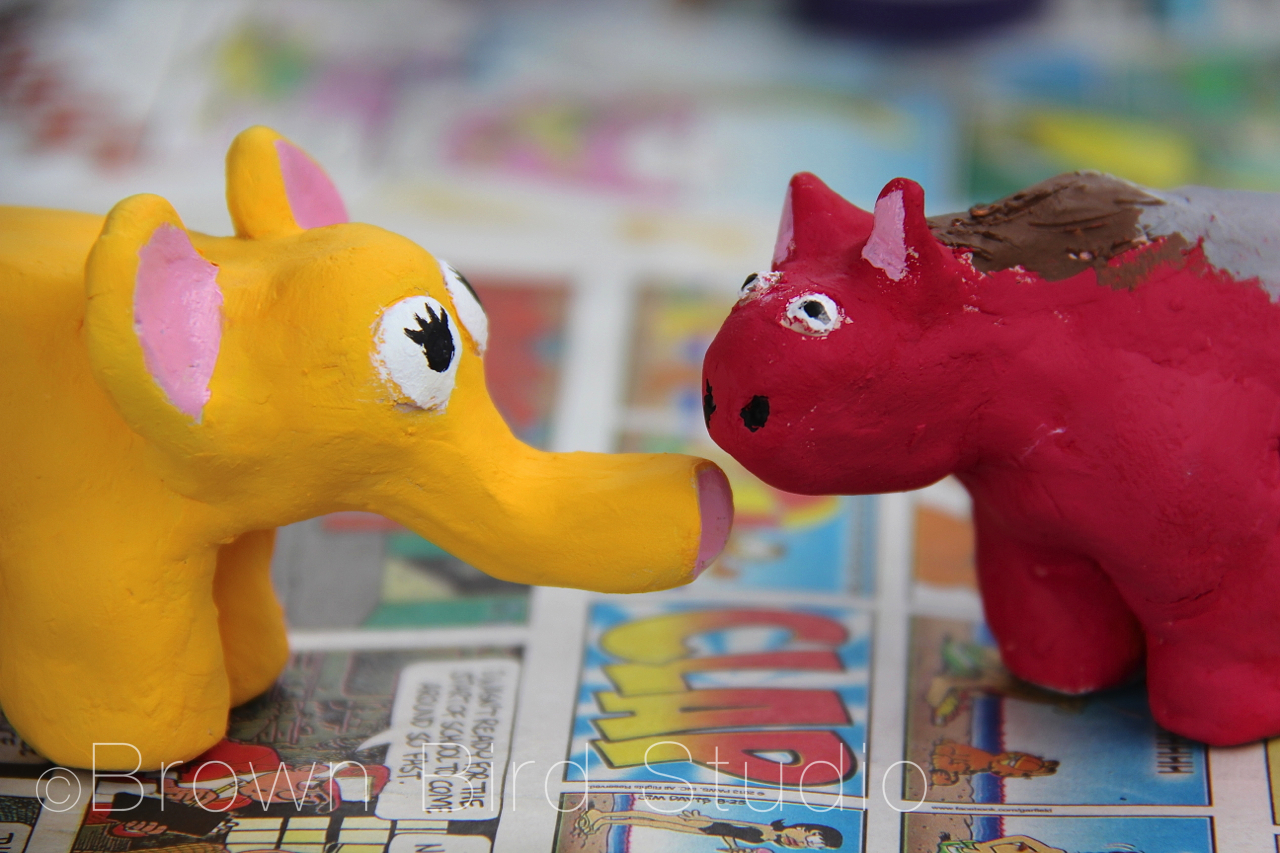
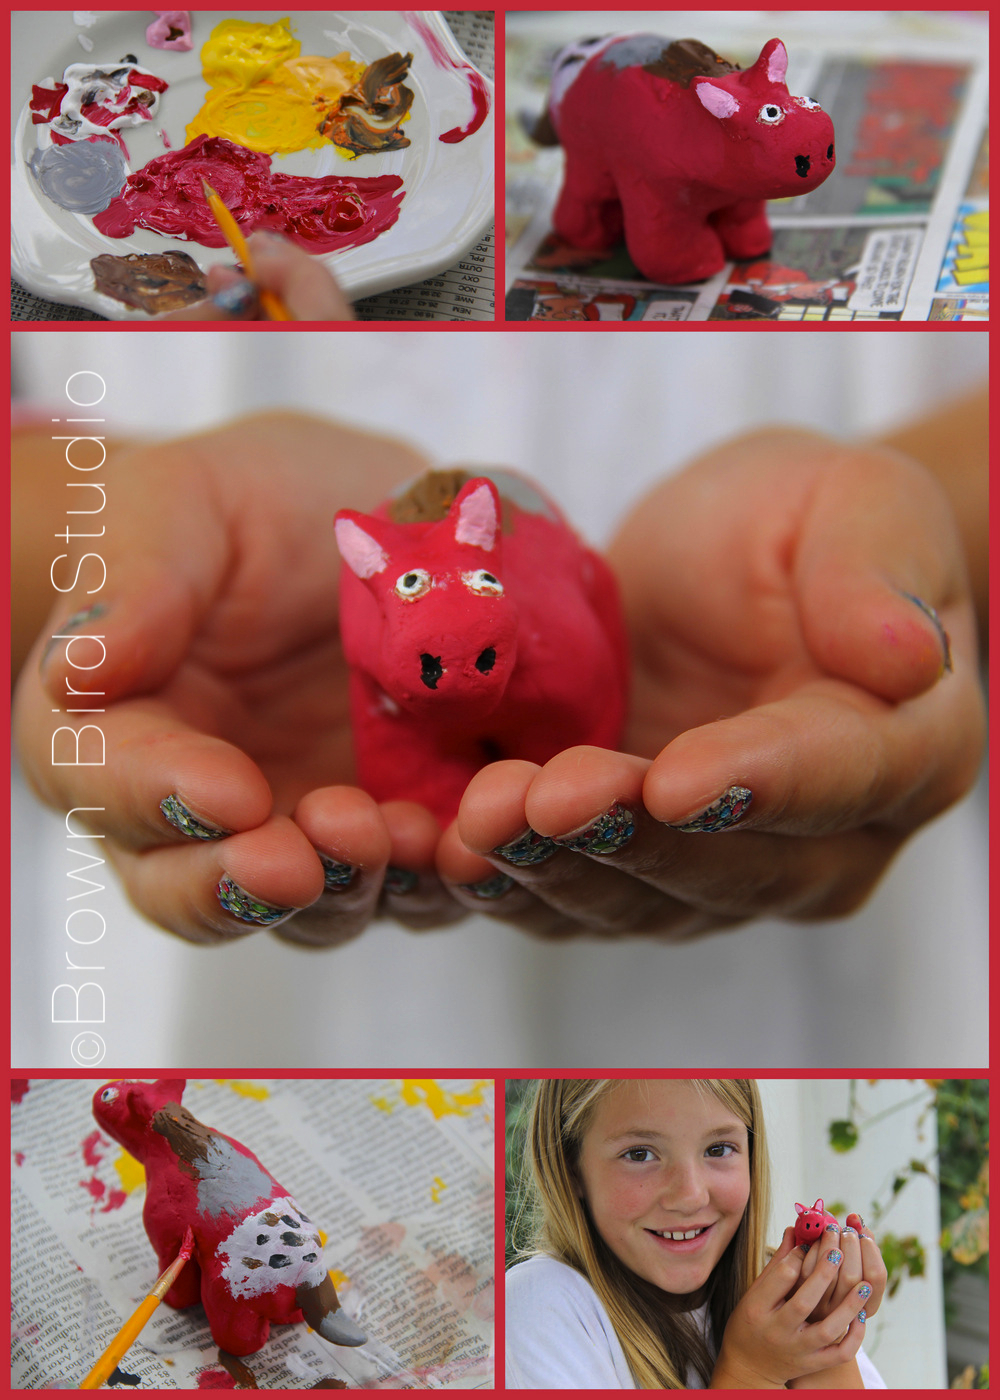
painted elephant and horse

If you have access to a kiln, or a friend who does, get a chunk of clay and make some of these cute little critters with your kids. We painted them instead of glazing them this time. Next time we want to experiment with glazes. Ema and Adia have some tips on making and painting little clay objects, based on their own experiences with this project.

Thank you to Gene Hickman of the Helena Clay Arts Guild, for the clay, and teaching the girls some tricks of the trade.

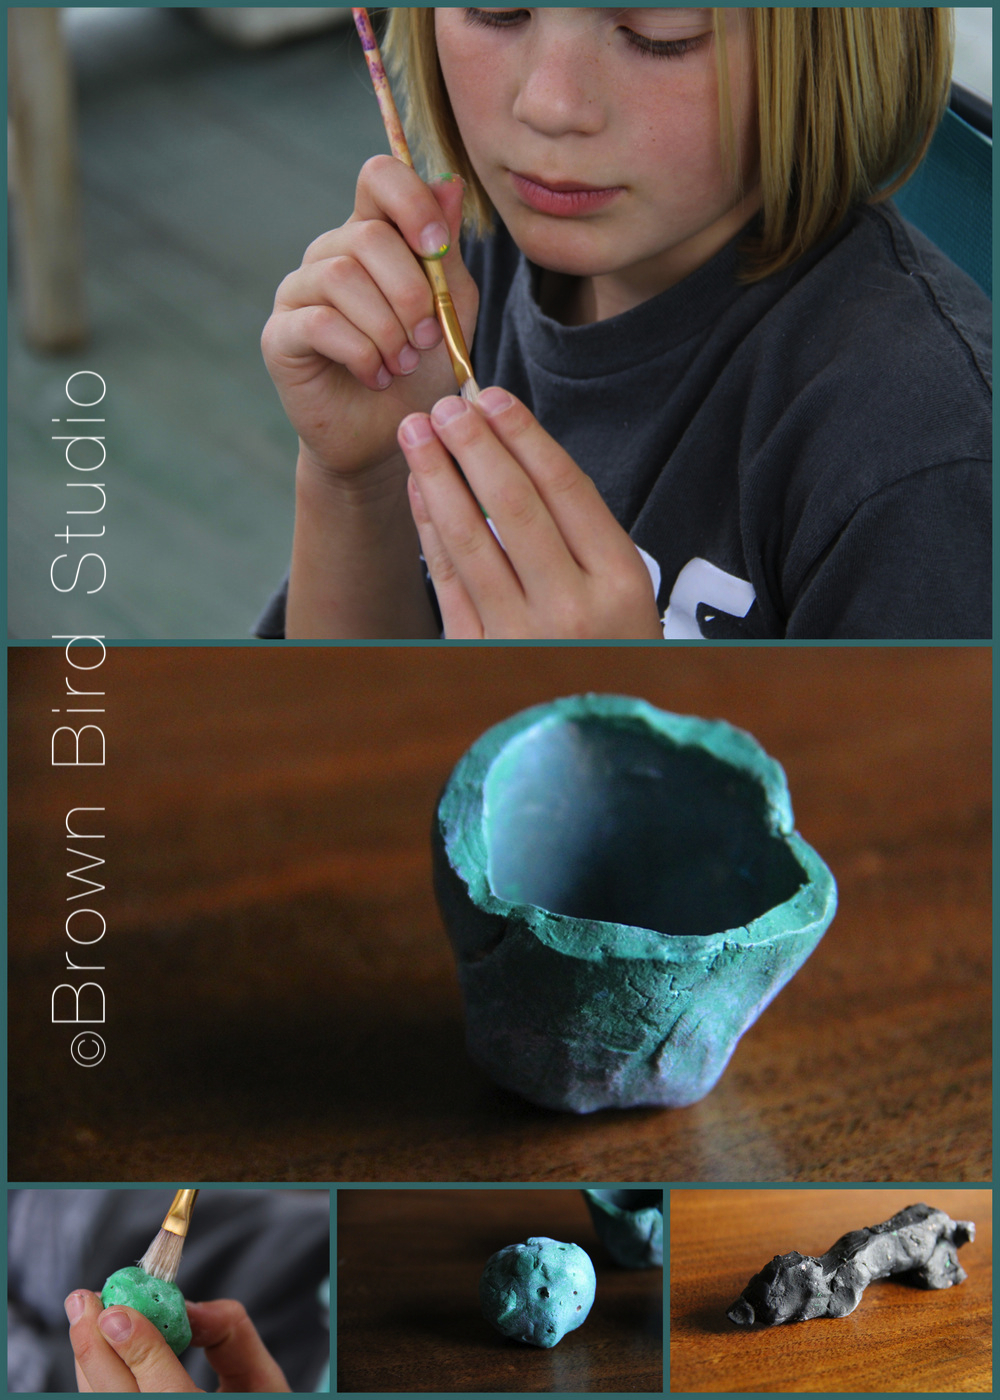
tiny painted ceramic objects
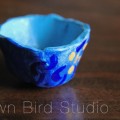
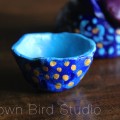
Adia describes her ceramic creations by saying, “I made a moon, a dog lying down, a bead and a bowl. The bowl is about as tall as a cat’s paw, and as big around as a cherry tomato. What I might put in it is a bouncy ball small enough to fit. For the moon, I chose green because I was thinking of blue cheese — the kind you eat — and I thought of green. So that’s what I painted it.”

Adia’s advice on this project:

  • First paint your clay thing one solid color, then let it dry. Then, you can paint other colors you want on top of that.

  • When you make the shapes, try not to make them too thick or they might explode in the kiln.

Red Roan Ceramic Horse
Ema explains, “I made a small horse and a little elephant. When I made the horse, I was thinking of my favorite horse that my grandmother owns. Her name is Rosebud. The design on the back of my horse is similar to Rosebud’s design. She is a red roan, so I painted her red.

When I made the elephant, I was thinking of my mom. I think elephants are her favorite animal. I painted it gold because gold makes me feel happy. It also has pink, black and white. I made a happy accident with the eyes. I accidentally drew a black line on the eye and the black line turned into an eyelash and then I made more. So now she looks cute. I gave the little elephant to my mom.

Ema’s tips on making ceramic critters:

  • Don’t make it too thin. It might crack.

  • If you want to paint more than one color, wait until the first color dries before you paint on top of it or the colors will mix and make a different color. If you painted yellow on top of blue when it is wet, it would make green and you might not like green. And if you painted a bunch of colors on top of another it would make brown and you might not like brown. And so on.

  • If you make your creature too thick, it might explode in the kiln! And that might not be good for other pottery in the kiln, but especially not good for yours.

  • Don’t try to make it perfect. It won’t be. But you may make some happy accidents and those are good accidents. How will you know if you have a happy accident? Say you were painting an elephant and you accidentally drew a black line on it’s back. It could turn into wrinkles. Or, say you were painting a bowl and you were painting it yellow and you accidentally got blue on it. You could make it a rainbow bowl. And so on. And that’s how you would know it’s a happy accident.
yellow ceramic elephant yellow ceramic elephant