Hollyhock Dolls: a throwback to simpler times

Hollyhock-Dolls-09

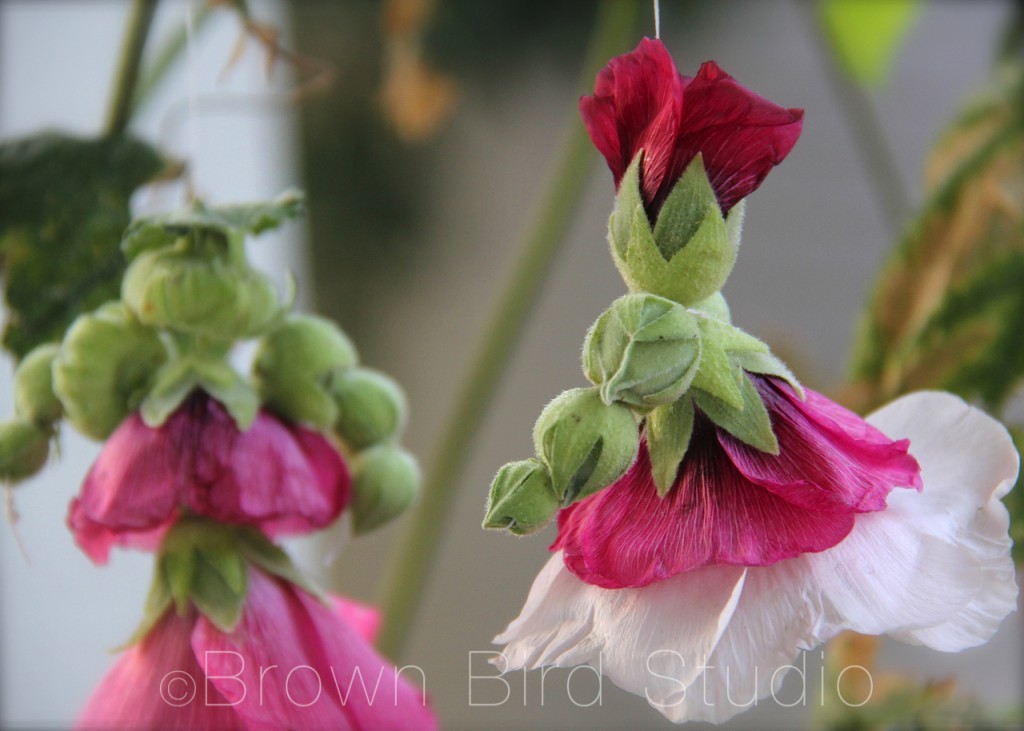
I remember making these dolls from hollyhock blossoms in late summer. They only last for a few hours, even less if you play with them. But they’re fun to make, and really do have lots of personality. Now is hollyhock time in Montana. Do you have hollyhocks where you live? If you do, then you’re in luck. Go find a few, get out a needle and thread and go for it.

tutorial to make hollyhock dolls

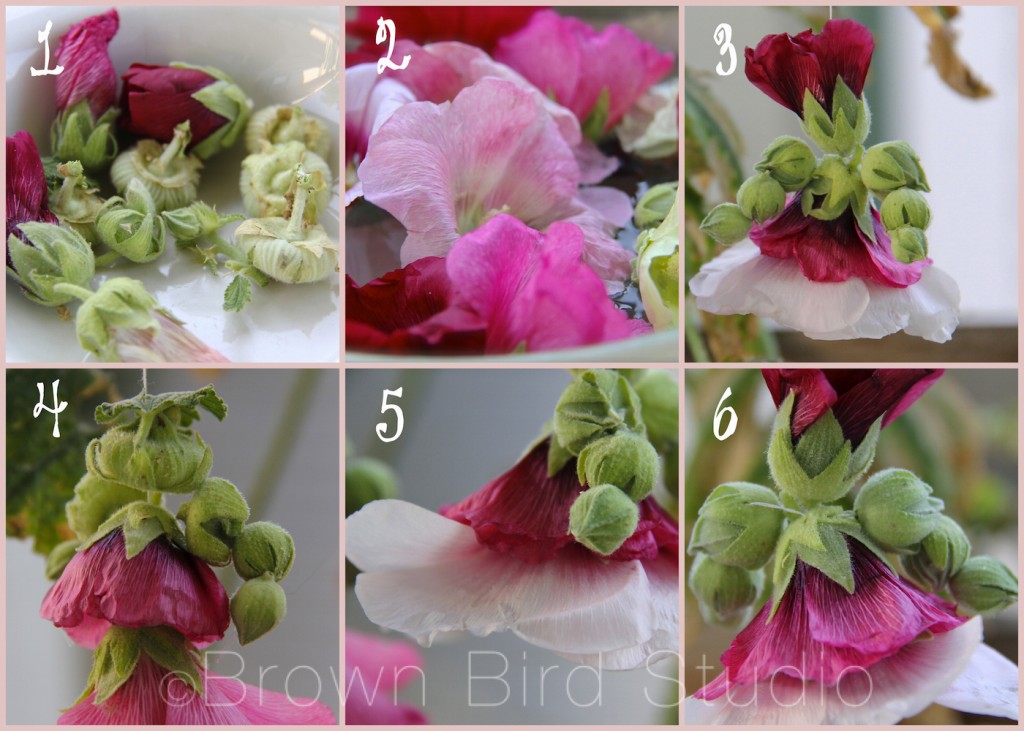
  1. Pick some hollyhock blossoms. Remember to get different sizes of buds, and a few leaves (for hats.) Sort the buds by size, making sure you have at least 3 buds for each arm.
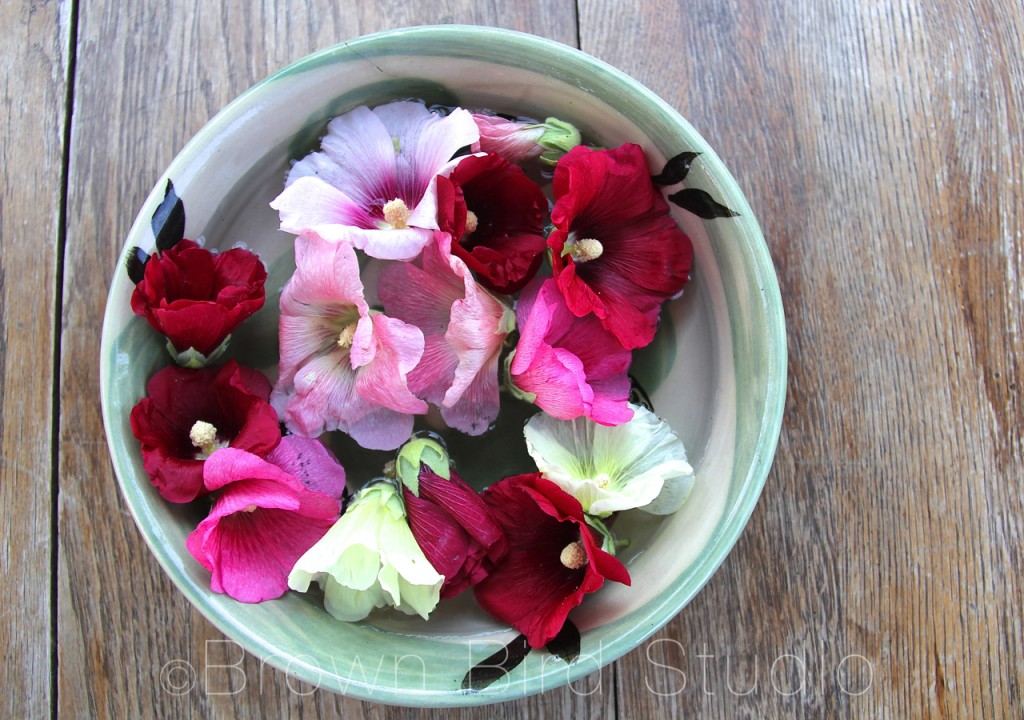
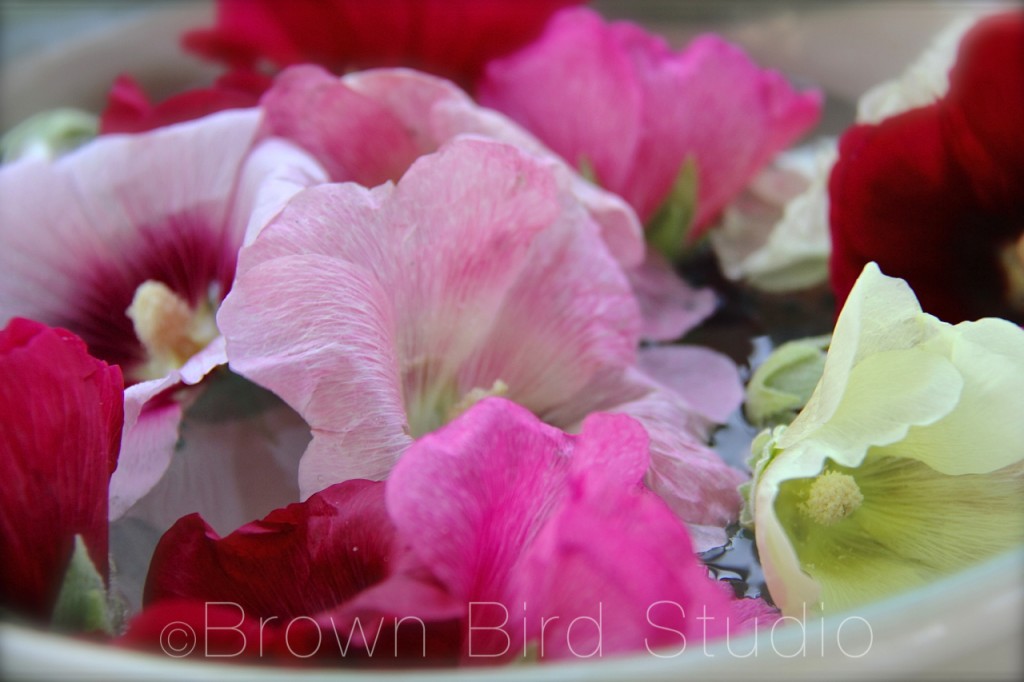
  2. Keep blossoms fresh while you work, by placing them in a bowl of water. You can also mist them with water using a sprayer.
  3. Remove the large, fuzzy stamen that sticks out of the center of each flower. Using a large needle and thread, stitch up through two or three large flowers, layering them to look like a skirt.  You can make multi-color skirts with different colored flowers. Next make the head — you can use either a small blossom that hasn’t fully opened yet, or a large bud. Stitch from the bottom of the head through to the top.
  4. You can add a leaf on top of the head for a hat.
  5. Use 3 buds for each arm, a small, medium and large. I like to start at one hand, thread 3 buds together, then pierce the shoulder with the needle, and continue on the other side with 3 more buds for the opposite arm. (see photo 6)
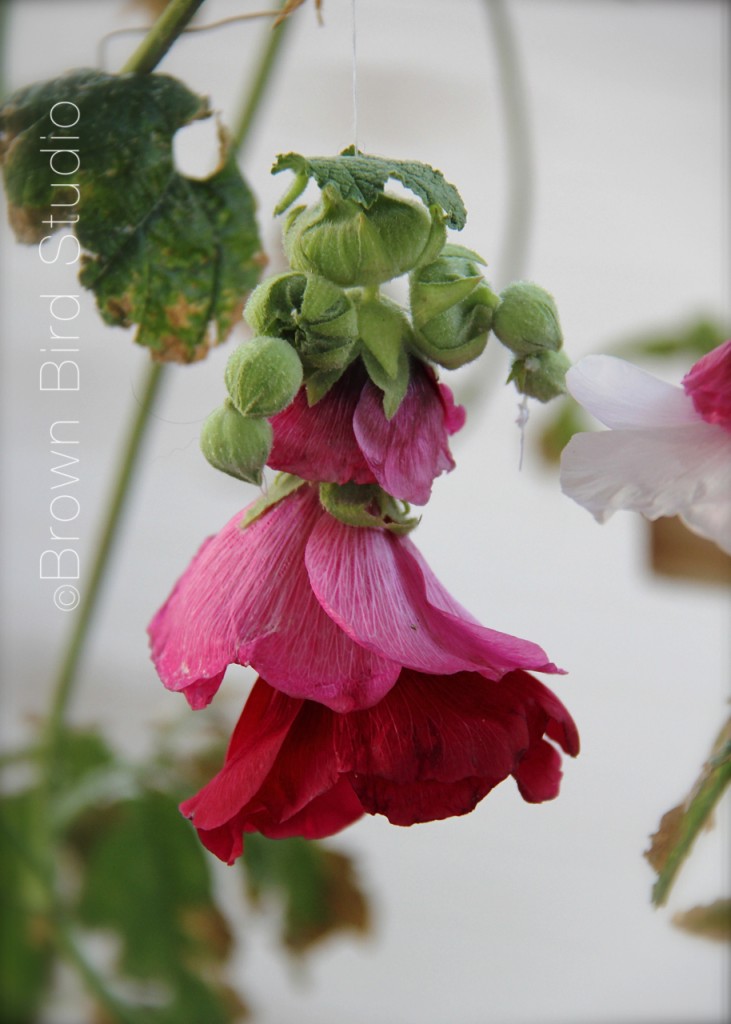
  6. Your hollyhock doll will have personality and facial expressions if you use your imagination with her.

Swirling Personality of a Hollyhock Doll

Hollyhock-Dolls03-imp

You can add legs if you want but I kinda like them without legs. The big skirts make the dolls look like Southern Belles at a Ball, or Ballerinas Dancing Across the Stage. If you want legs, do them the same as the arms.
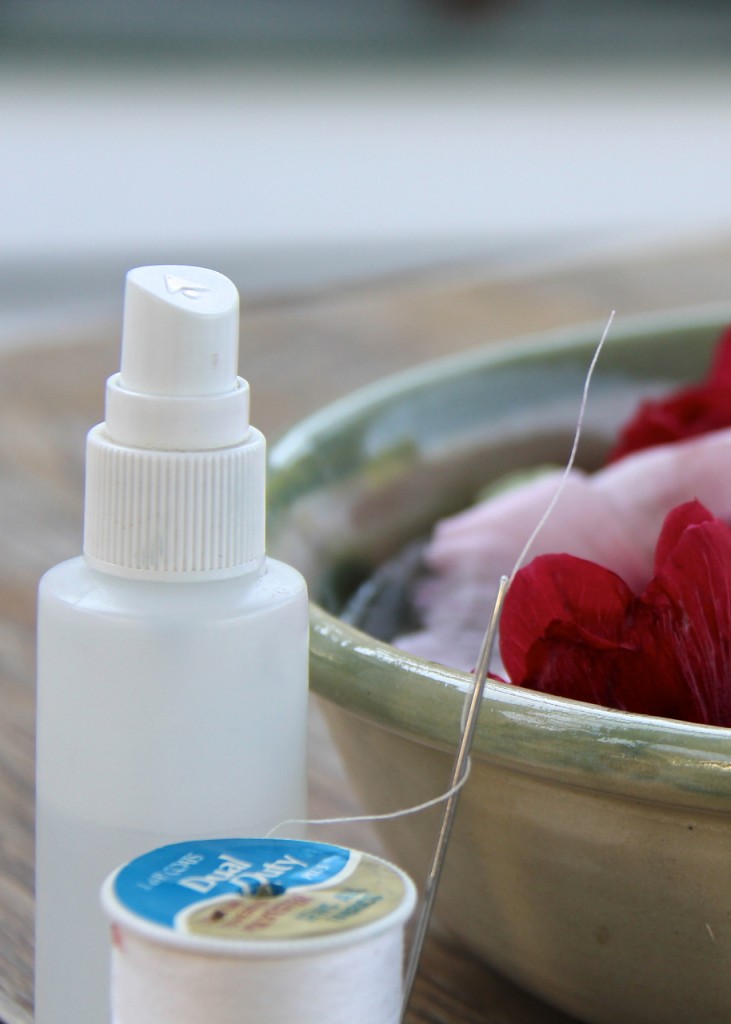
Hollyhock-Doll Supplies Another way to make hollyhock dolls is to use long, stiff pine needles, or toothpicks instead of needle and thread. Using the thread allows the arms, legs, neck and waist of the doll to move and jiggle, and if you hang her she will dance in the breeze.  Using pine needles or toothpicks gives you a stiffer doll that can be played with more easily. Here is a link to making hollyhock dolls with toothpicks. 
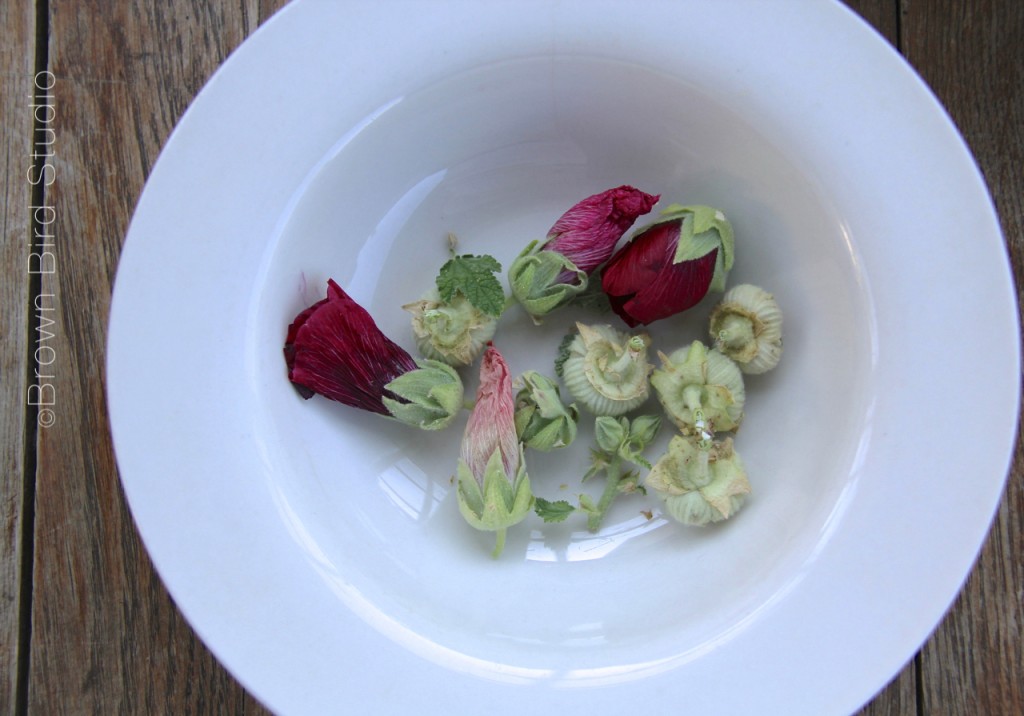
Hollyhock Buds to Make Dolls

Keep Hollyhocks Flowers Fresh in Water

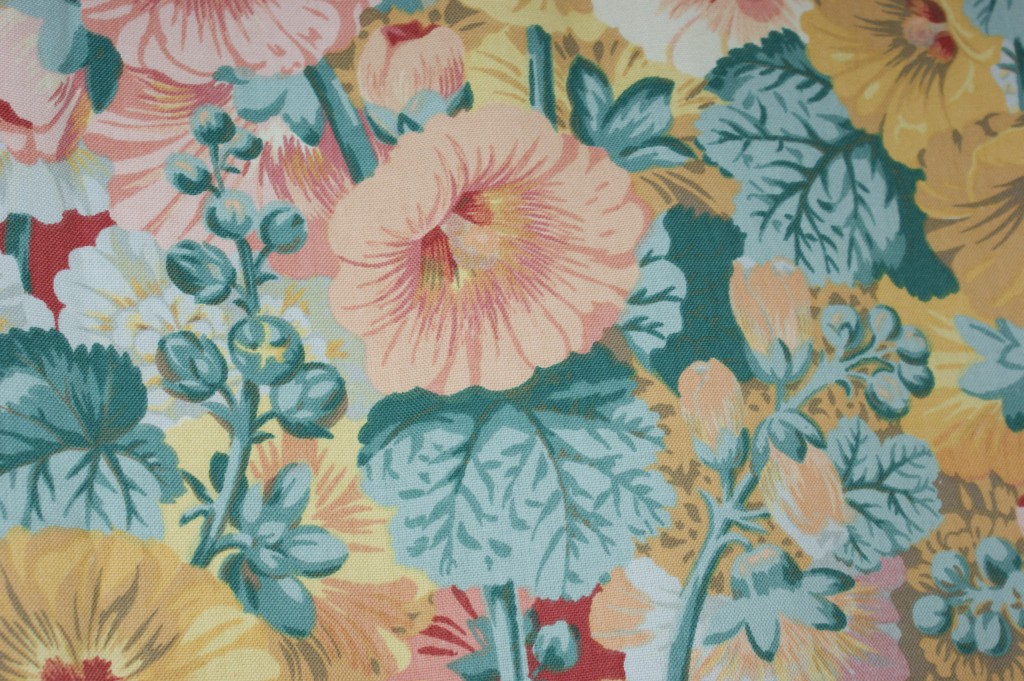
a lovely vintage textile print with hollyhocks

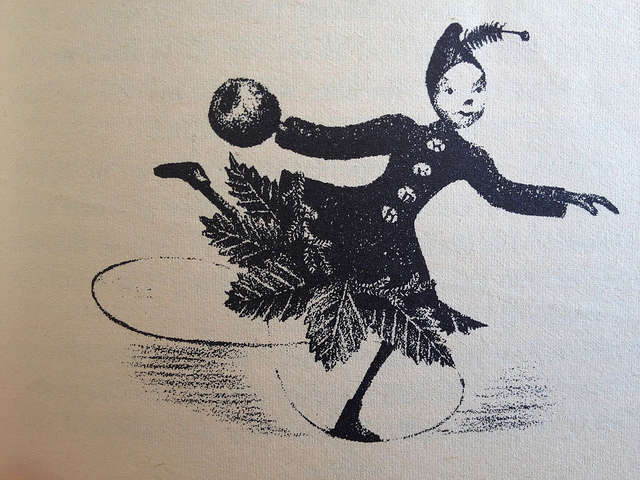
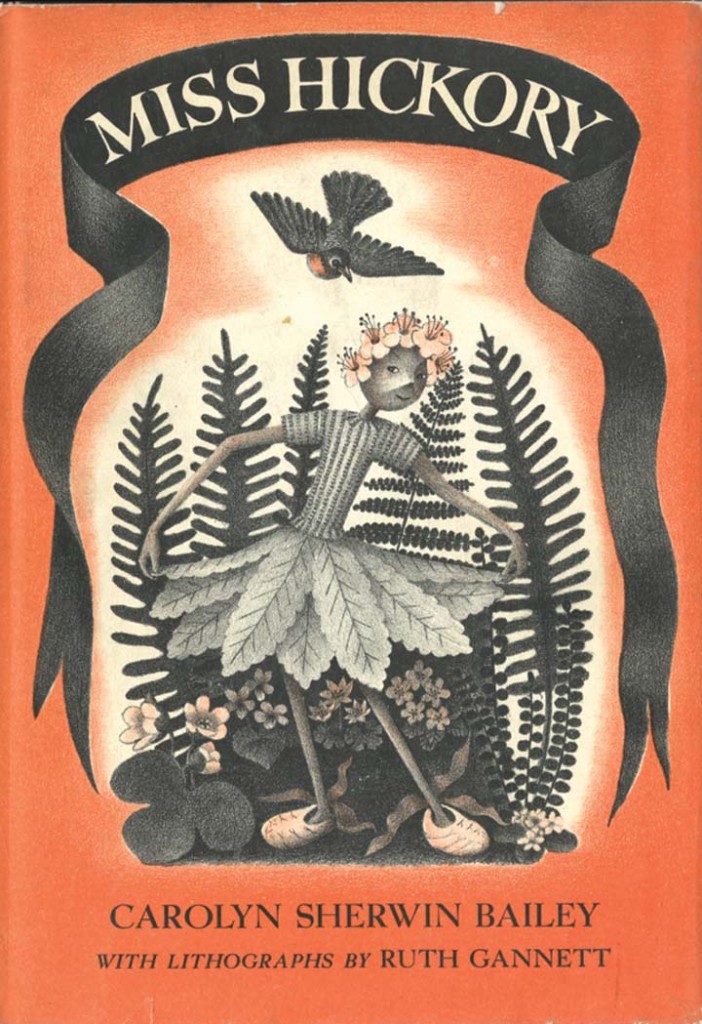
Miss Hickory is a children’s book that dates back to 1948. It is about a tiny doll made of apple twigs with a hickory nut head, so is a little similar to our hollyhock dolls, only longer lasting. The story follows her adventures through the four seasons. And eventually, the story ends with the little doll asleep on a branch of an apple tree and in the spring the apple tree blossoms all around her. Below are a couple of illustrations from the book and a link to a tutorial on how to make a Miss Hickory doll. 
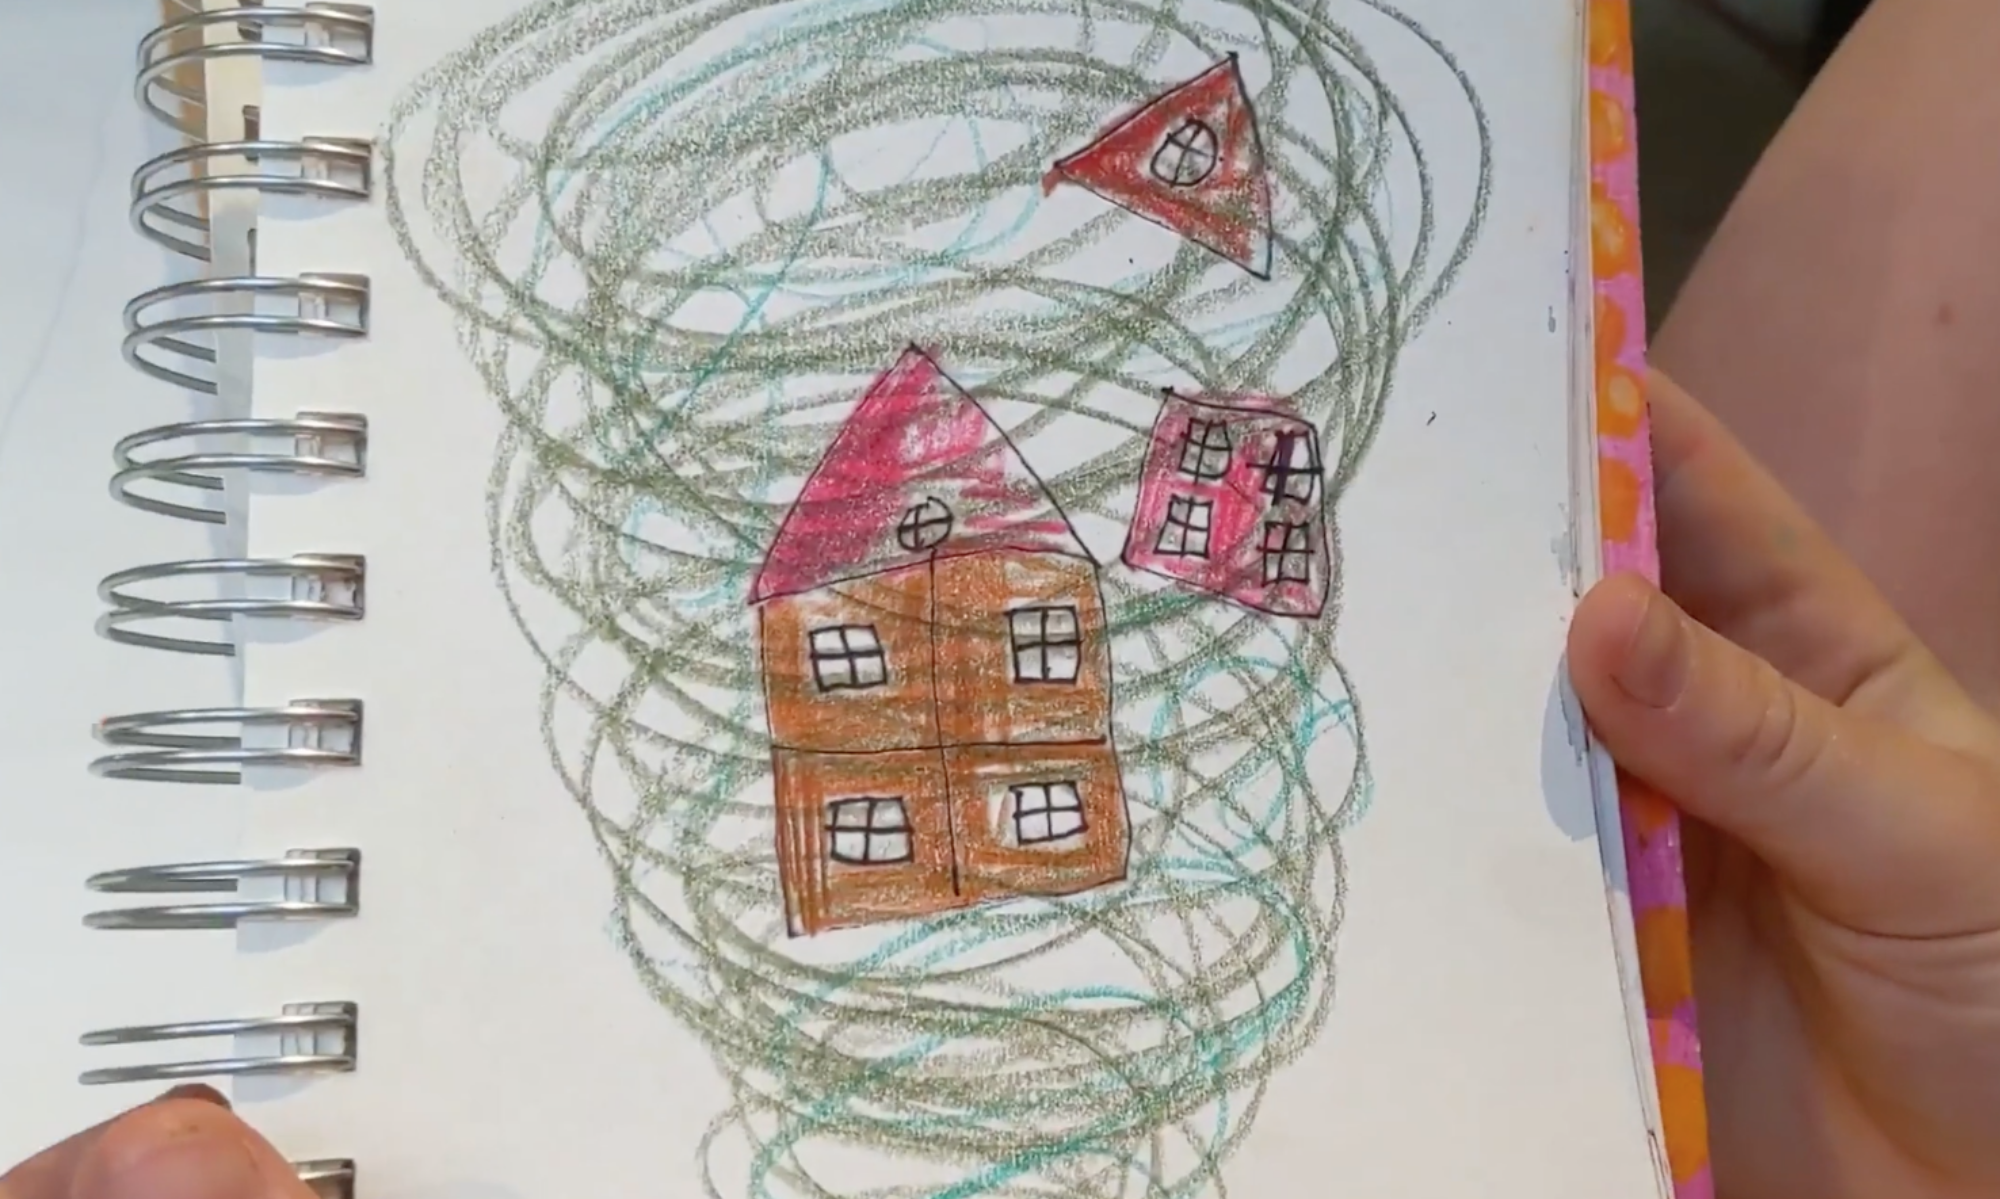
Miss Hickory illustration Miss-Hickory-Book Cover

Painted Critters and Things Made of Clay

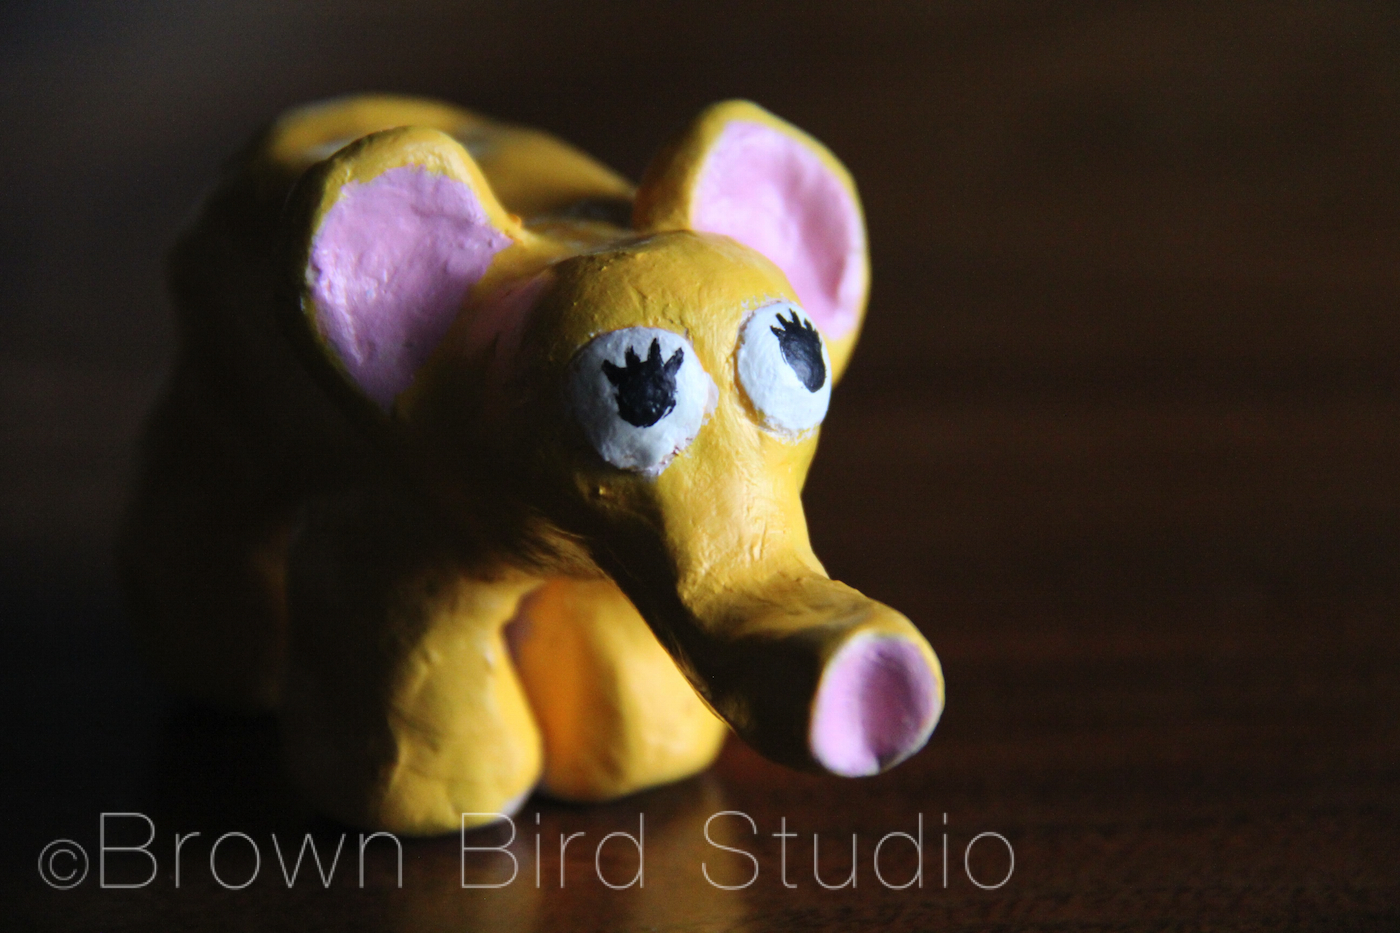
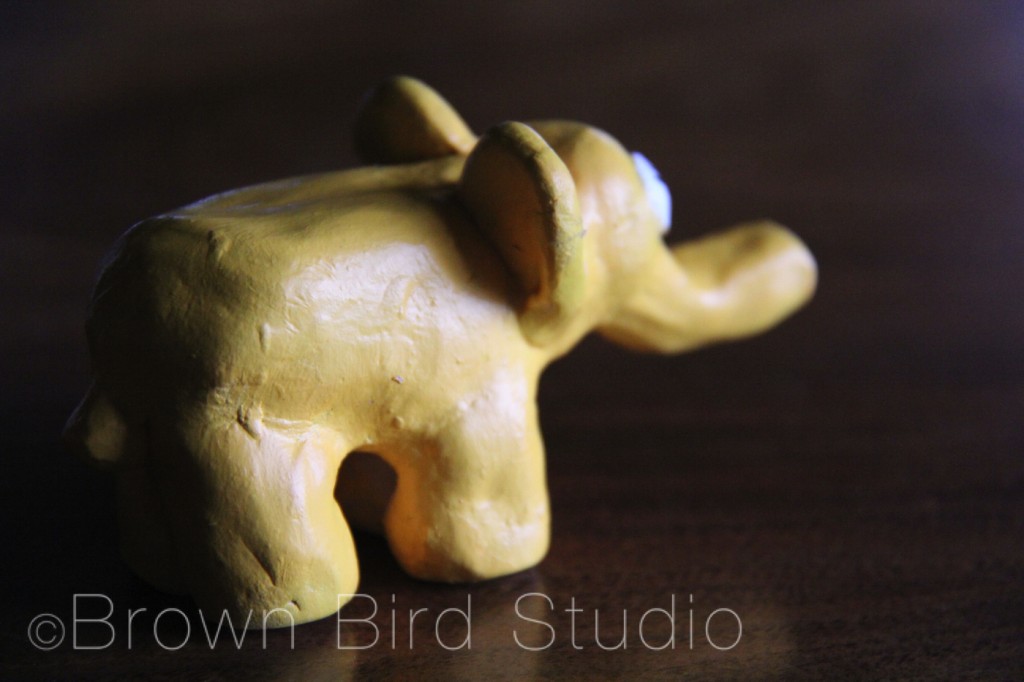
yellow ceramic elephant

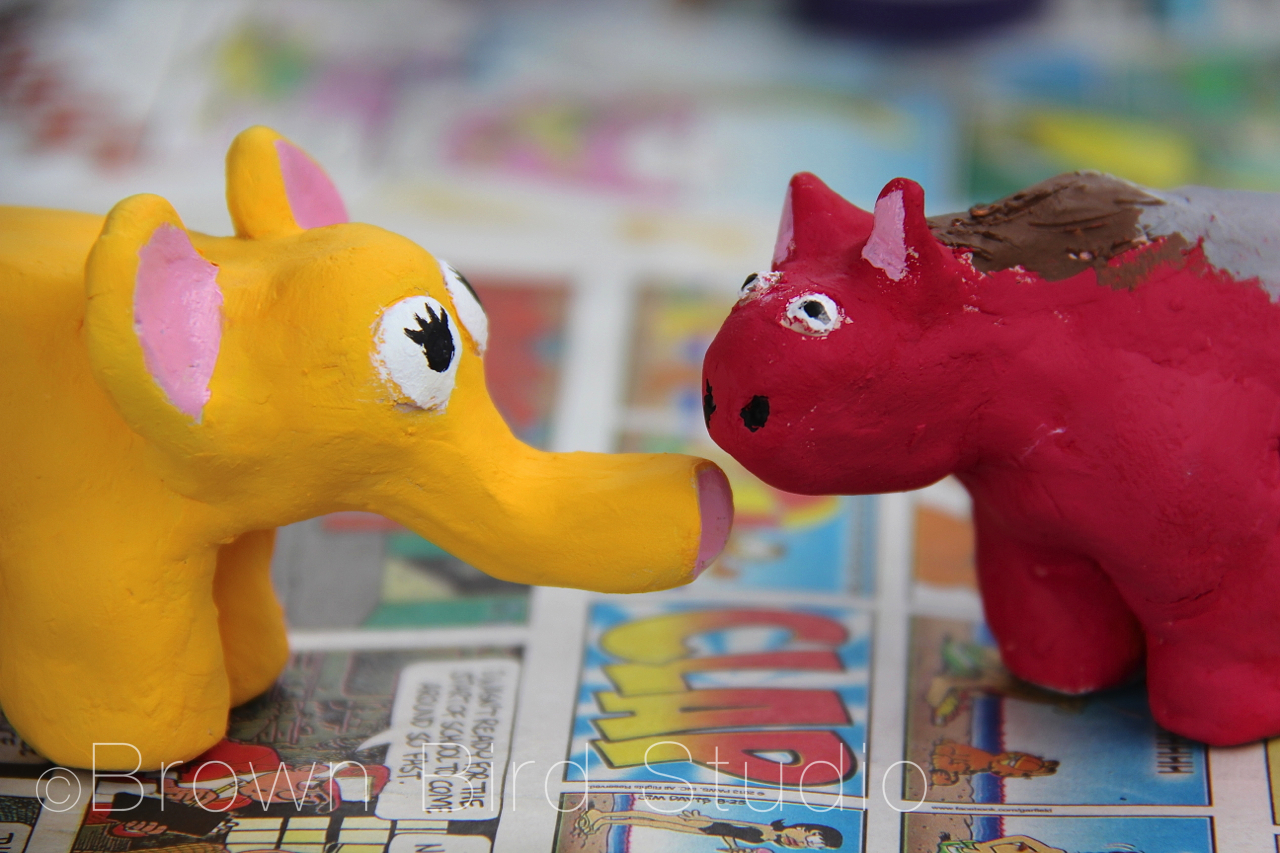
painted elephant and horse

If you have access to a kiln, or a friend who does, get a chunk of clay and make some of these cute little critters with your kids. We painted them instead of glazing them this time. Next time we want to experiment with glazes. Ema and Adia have some tips on making and painting little clay objects, based on their own experiences with this project.

Thank you to Gene Hickman of the Helena Clay Arts Guild, for the clay, and teaching the girls some tricks of the trade.

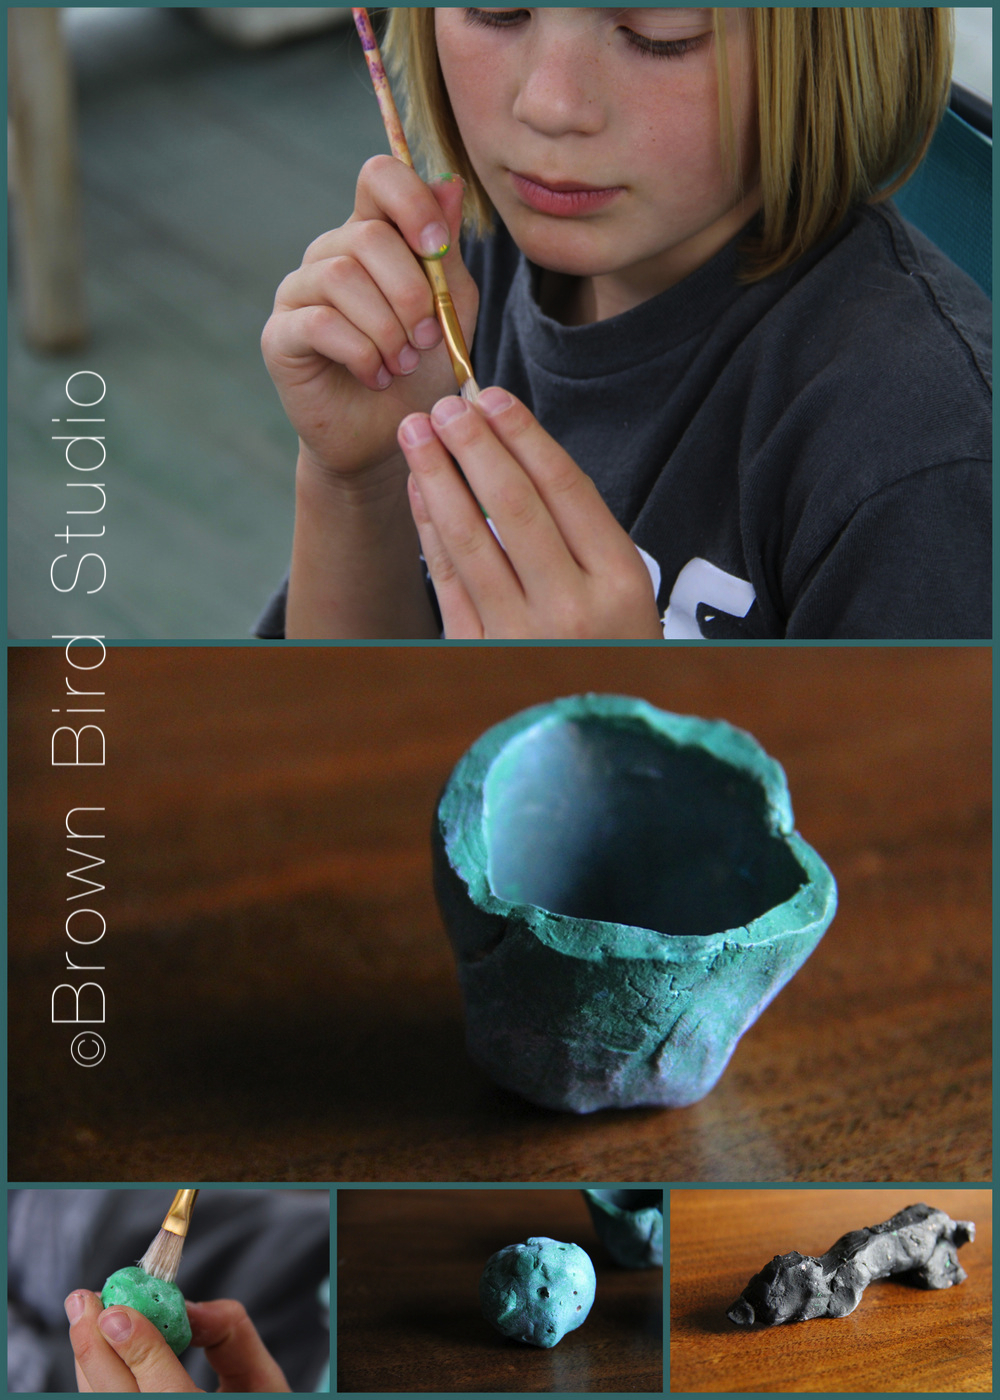
tiny painted ceramic objects
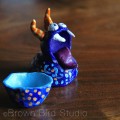
Adia describes her ceramic creations by saying, “I made a moon, a dog lying down, a bead and a bowl. The bowl is about as tall as a cat’s paw, and as big around as a cherry tomato. What I might put in it is a bouncy ball small enough to fit. For the moon, I chose green because I was thinking of blue cheese — the kind you eat — and I thought of green. So that’s what I painted it.”
Adia’s advice on this project:

  • First paint your clay thing one solid color, then let it dry. Then, you can paint other colors you want on top of that.

  • When you make the shapes, try not to make them too thick or they might explode in the kiln.

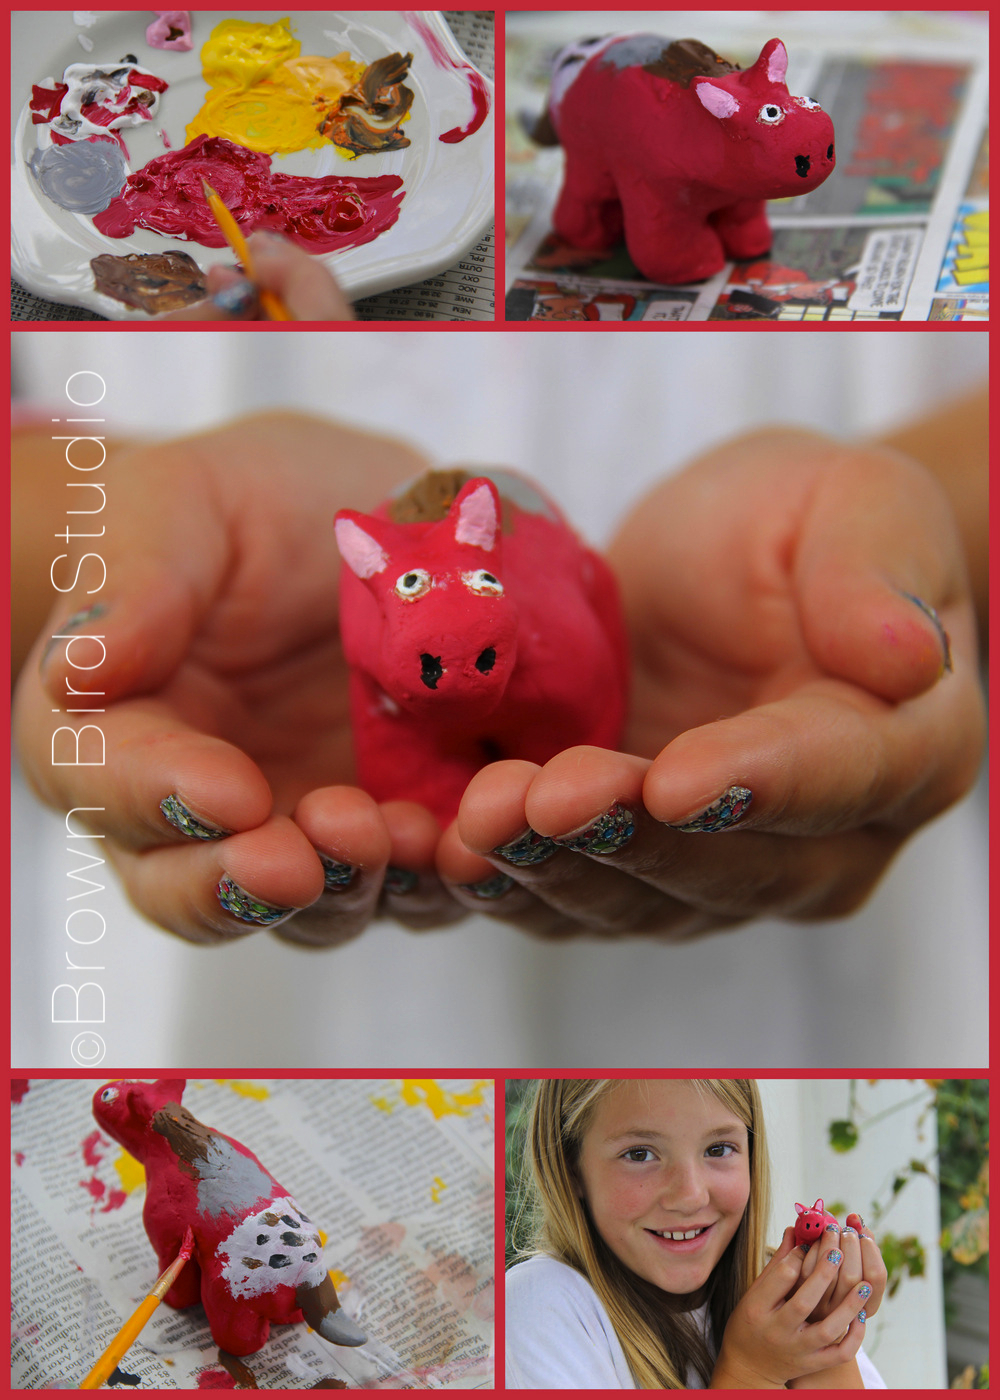
Red Roan Ceramic Horse
Ema explains, “I made a small horse and a little elephant. When I made the horse, I was thinking of my favorite horse that my grandmother owns. Her name is Rosebud. The design on the back of my horse is similar to Rosebud’s design. She is a red roan, so I painted her red.

When I made the elephant, I was thinking of my mom. I think elephants are her favorite animal. I painted it gold because gold makes me feel happy. It also has pink, black and white. I made a happy accident with the eyes. I accidentally drew a black line on the eye and the black line turned into an eyelash and then I made more. So now she looks cute. I gave the little elephant to my mom.

Ema’s tips on making ceramic critters:

  • Don’t make it too thin. It might crack.

  • If you want to paint more than one color, wait until the first color dries before you paint on top of it or the colors will mix and make a different color. If you painted yellow on top of blue when it is wet, it would make green and you might not like green. And if you painted a bunch of colors on top of another it would make brown and you might not like brown. And so on.

  • If you make your creature too thick, it might explode in the kiln! And that might not be good for other pottery in the kiln, but especially not good for yours.

  • Don’t try to make it perfect. It won’t be. But you may make some happy accidents and those are good accidents. How will you know if you have a happy accident? Say you were painting an elephant and you accidentally drew a black line on it’s back. It could turn into wrinkles. Or, say you were painting a bowl and you were painting it yellow and you accidentally got blue on it. You could make it a rainbow bowl. And so on. And that’s how you would know it’s a happy accident.

yellow ceramic elephant yellow ceramic elephant

Street Musicians and Other Farmers Market Characters

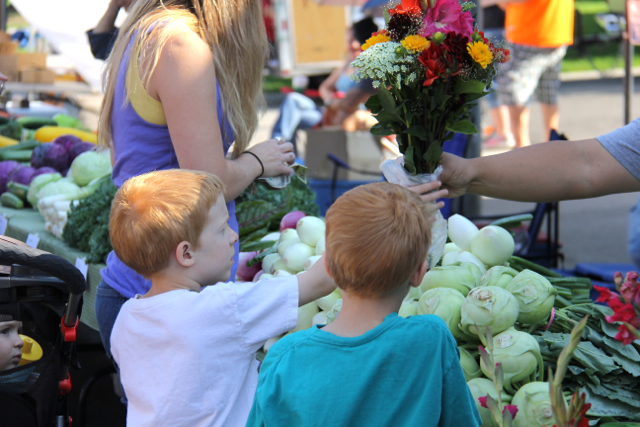
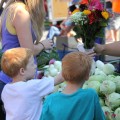
Two Boys Buying a Flower Bouquet

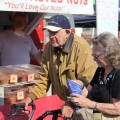
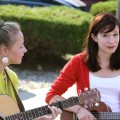
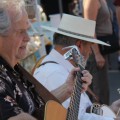
Two Boys Buying a Flower BouquetThe Helena Farmers Market is a hoppin’ place in August when the harvest is rich and our days are warm. People bring their shopping bags and market baskets, their strollers and dogs, and their dollar bills to give to our entertaining street musicians. Today was a special market day because the Lake Helena Watershed Festival was also going on at Women’s Park adjacent to the market, lending an extra excitement. (There was a bounce house, live music, face painting, science learning activities for all ages, wetlands & xeriscape booths, and an ice cream aquifer)

Here is a gallery of shots I took this morning. Hope you find it almost as entertaining as being there.