Carousel

Water :: Earth :: Wind :: Fire
Art and Art Education with the Elements
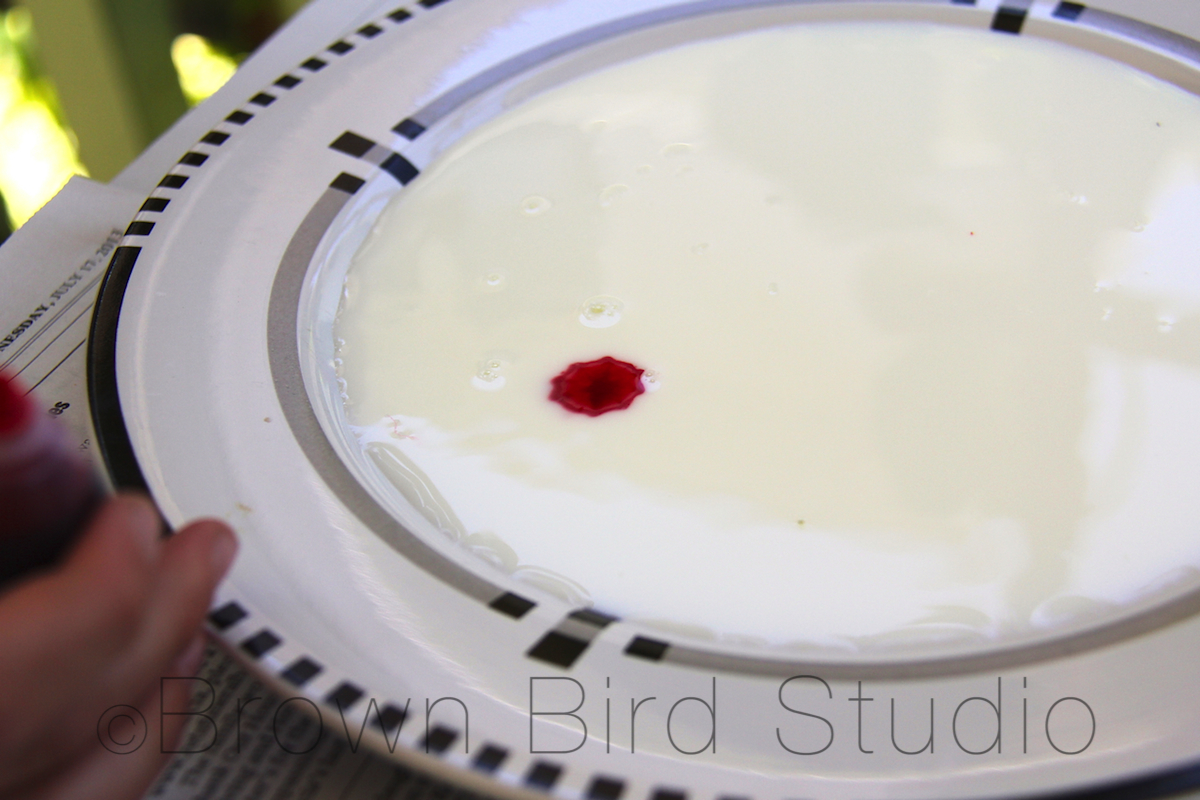
 I saw this idea on Photojojo a couple of days ago and immediately thought of doing this with Adia, who is very good at math and science. When I suggested this fun experiment for today, she was all over it! She remembered seeing the project on a website she called “Science Steve.” Here is an excerpt from Steve’s post about this Color Changing Milk:
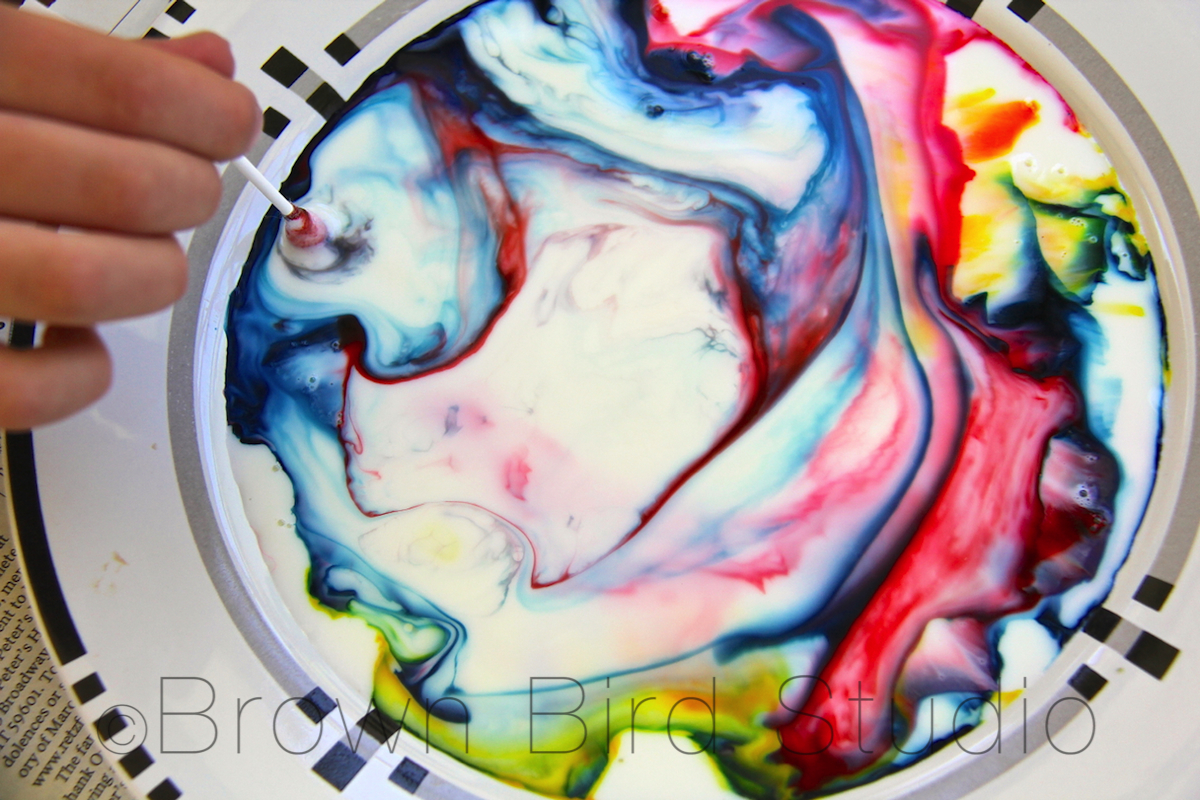
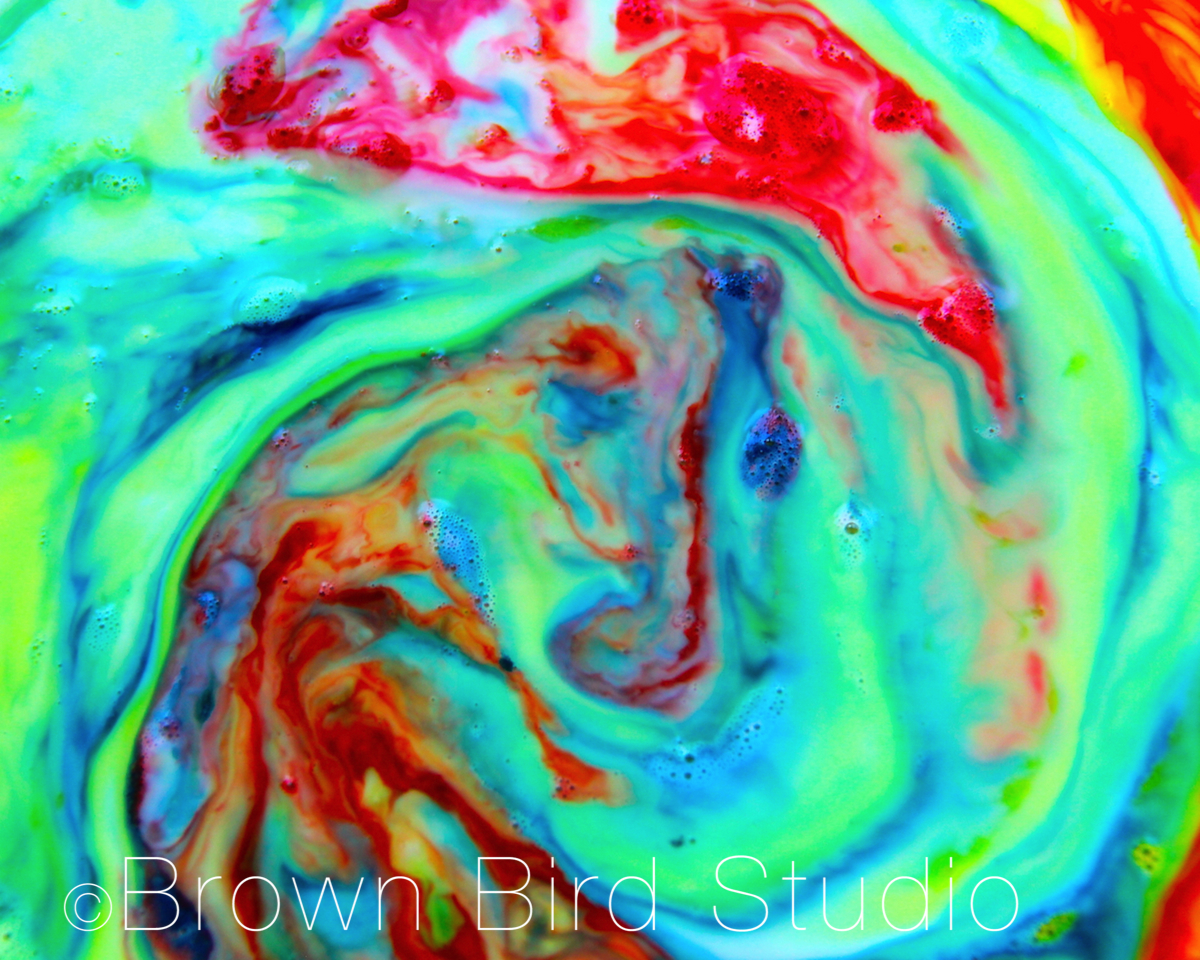
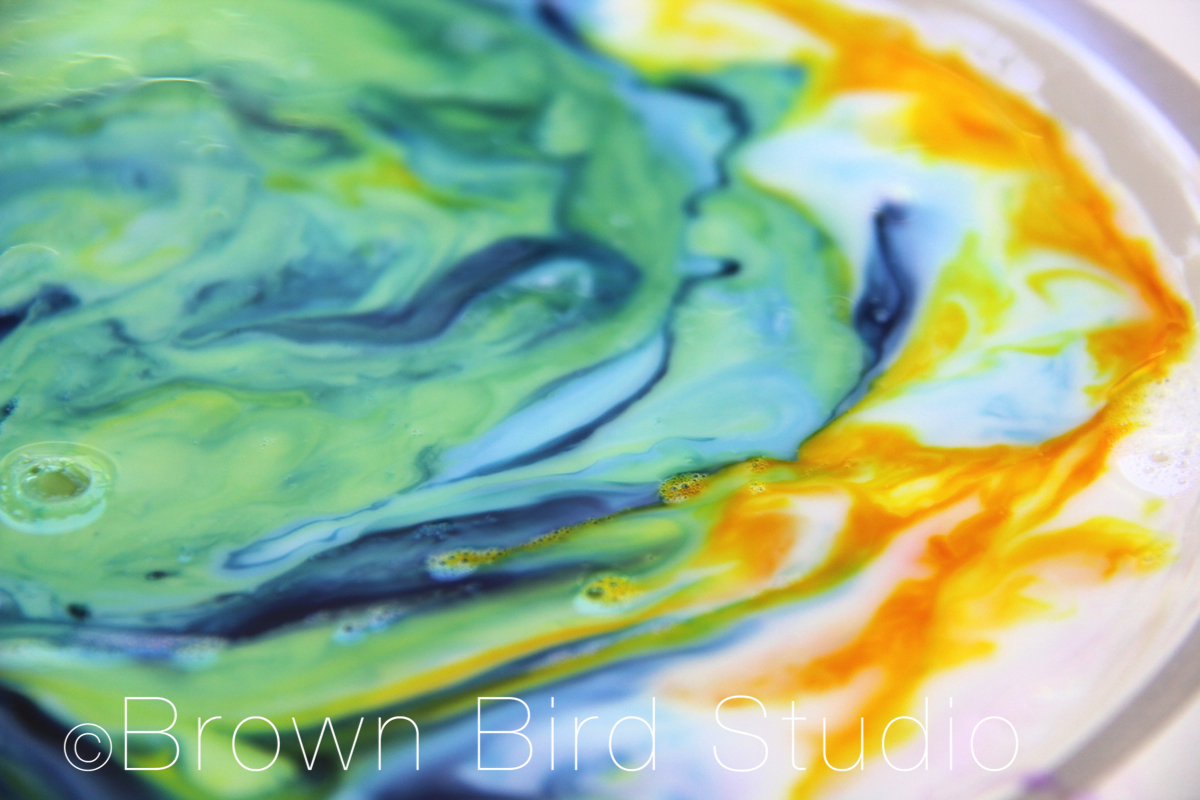
The secret of the bursting colors is the chemistry of that tiny drop of soap. Dish soap, because of its bipolar characteristics (nonpolar on one end and polar on the other), weakens the chemical bonds that hold the proteins and fats in solution. The soap’s polar, or hydrophilic (water-loving), end dissolves in water, and its hydrophobic (water-fearing) end attaches to a fat globule in the milk. This is when the fun begins.
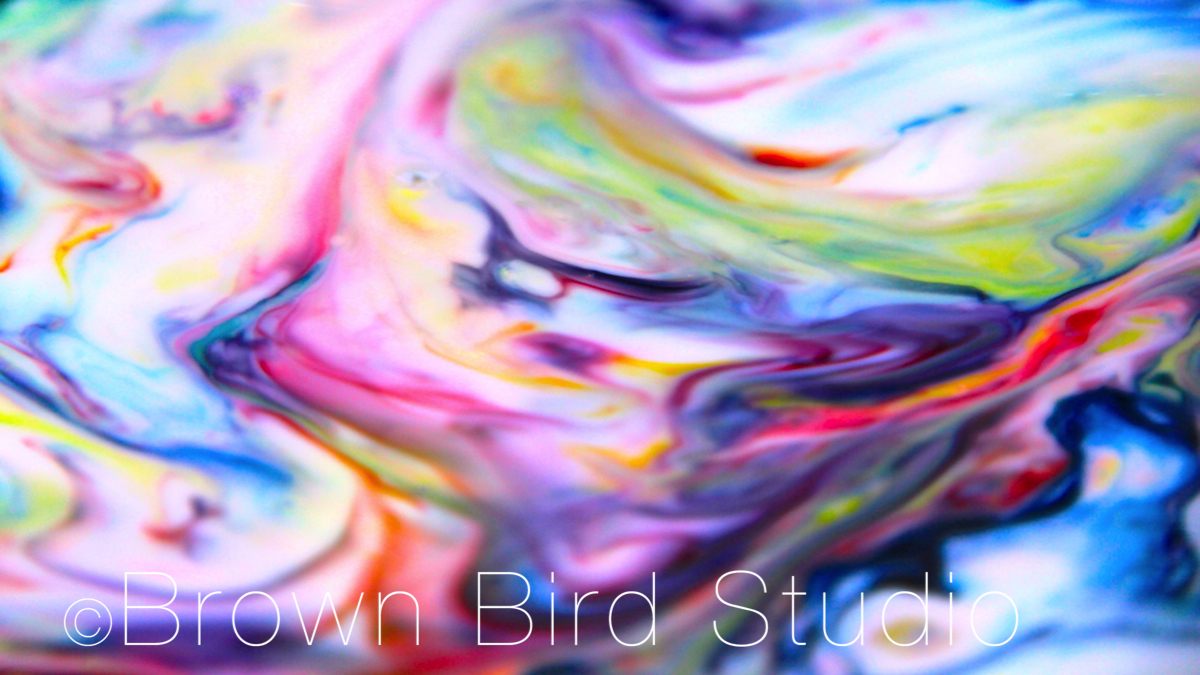
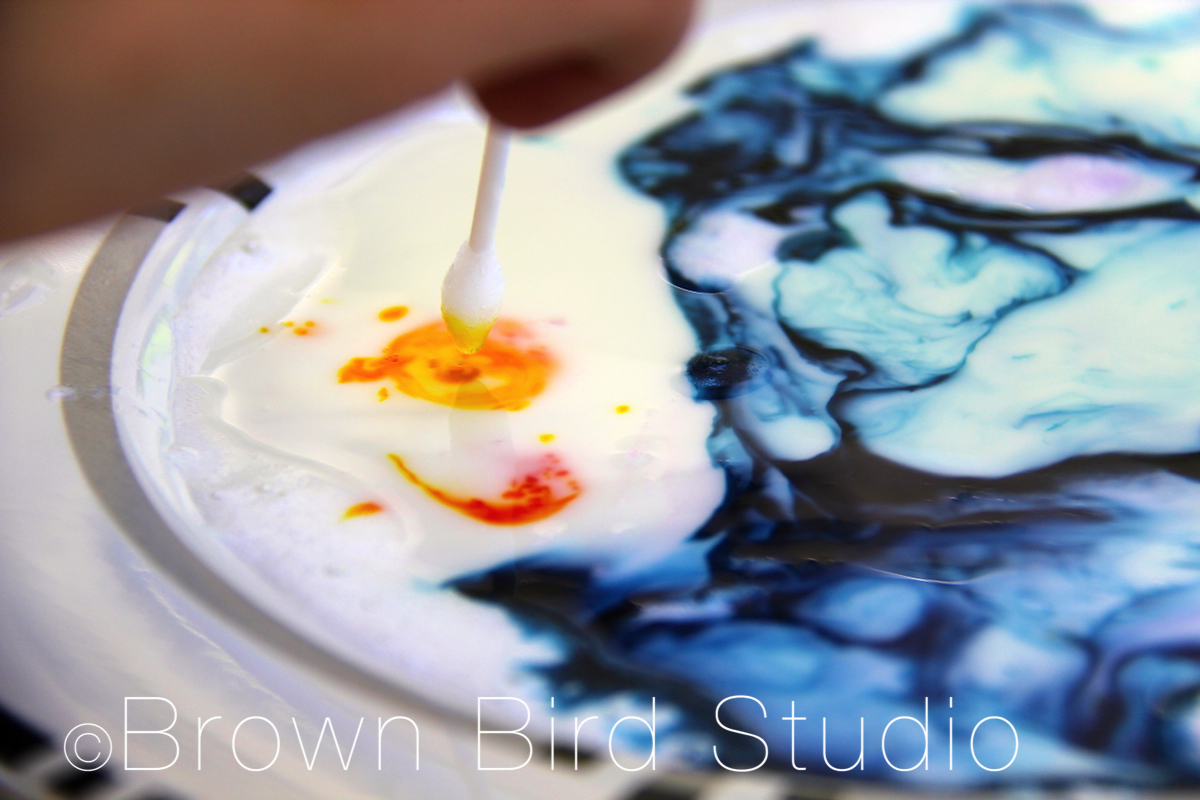
The molecules of fat bend, roll, twist, and contort in all directions as the soap molecules race around to join up with the fat molecules. During all of this fat molecule gymnastics, the food coloring molecules are bumped and shoved everywhere, providing an easy way to observe all the invisible activity. As the soap becomes evenly mixed with the milk, the action slows down and eventually stops.
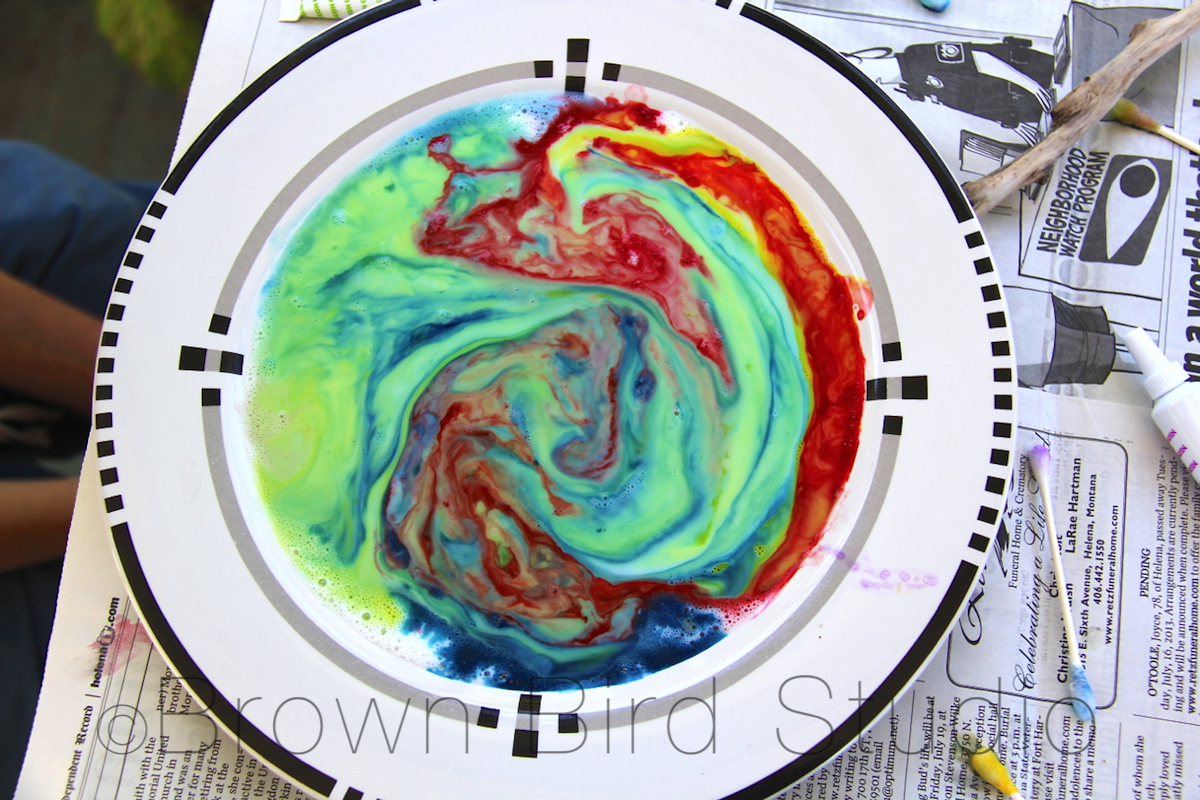
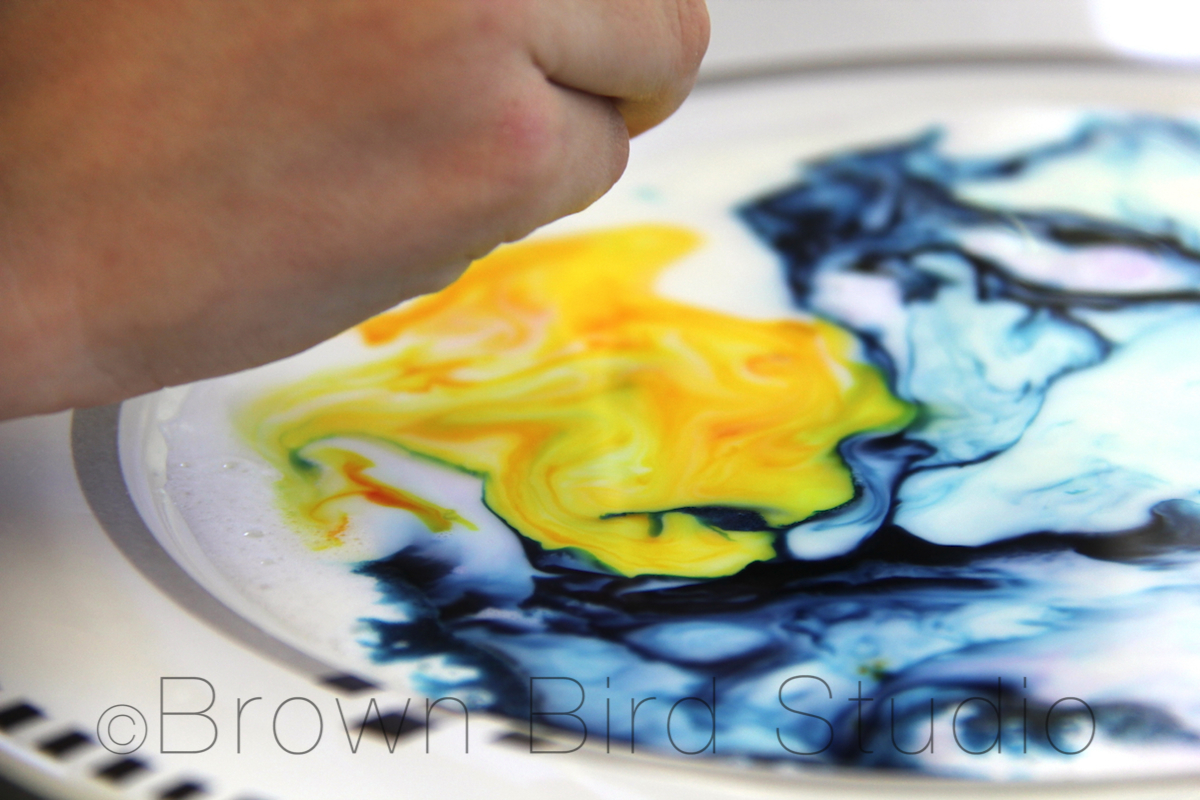
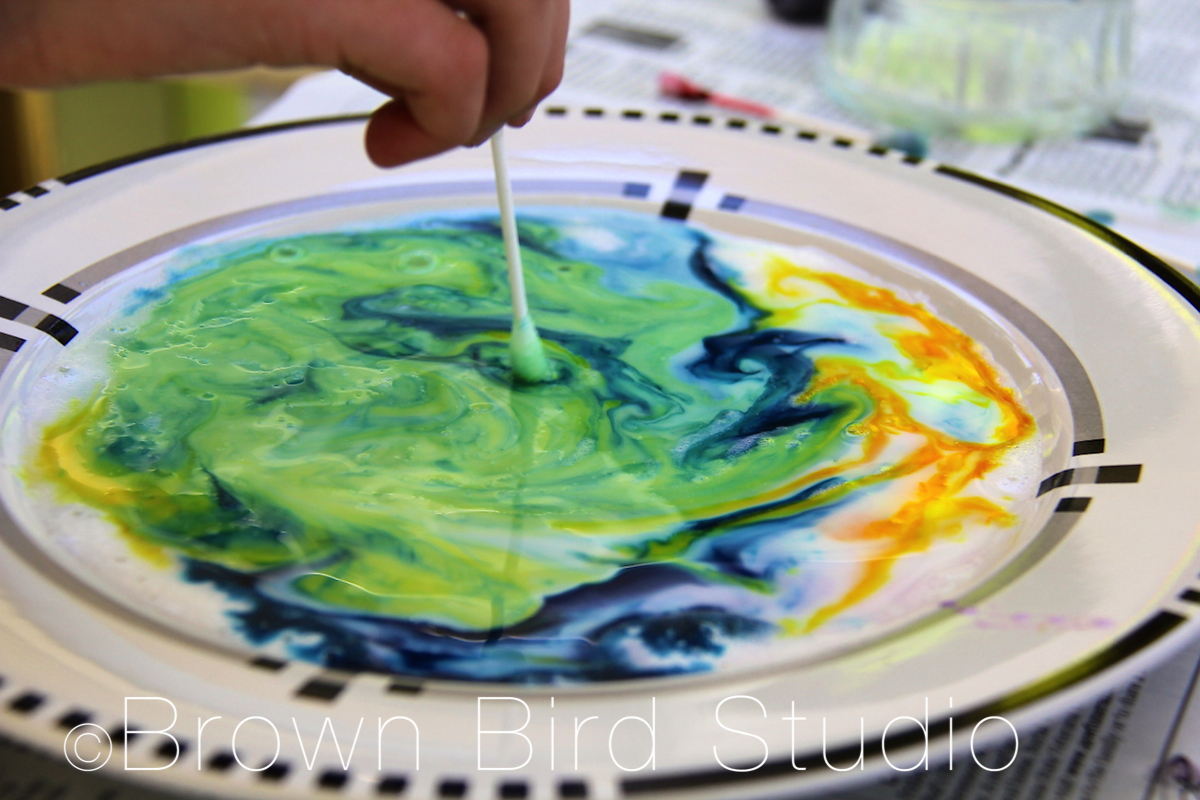
 Steve’s description of this experiment explains that it’s important not to stir the colors and the milk with the cotton swabs, but Adia couldn’t stop herself. She seemed much more interested in seeing what would happen when you stir all the colors together (you get a grayish tan color that looks totally unappetizing!)
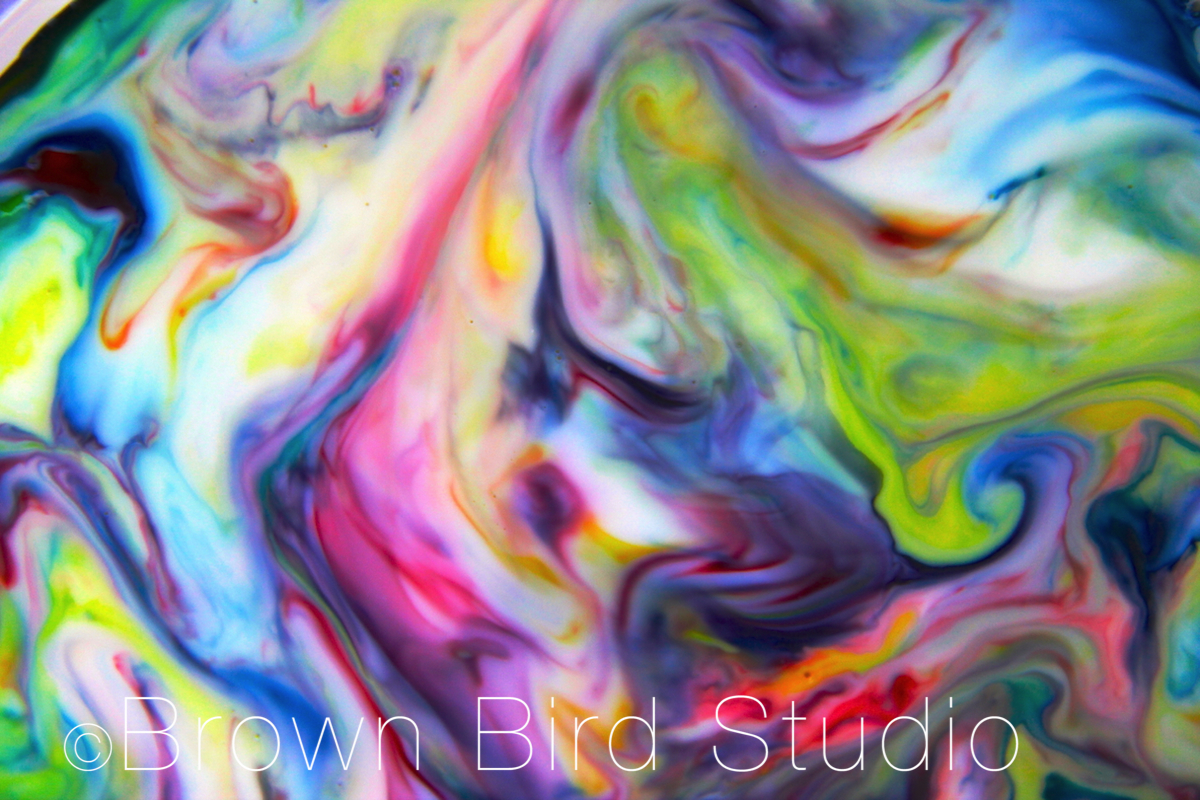
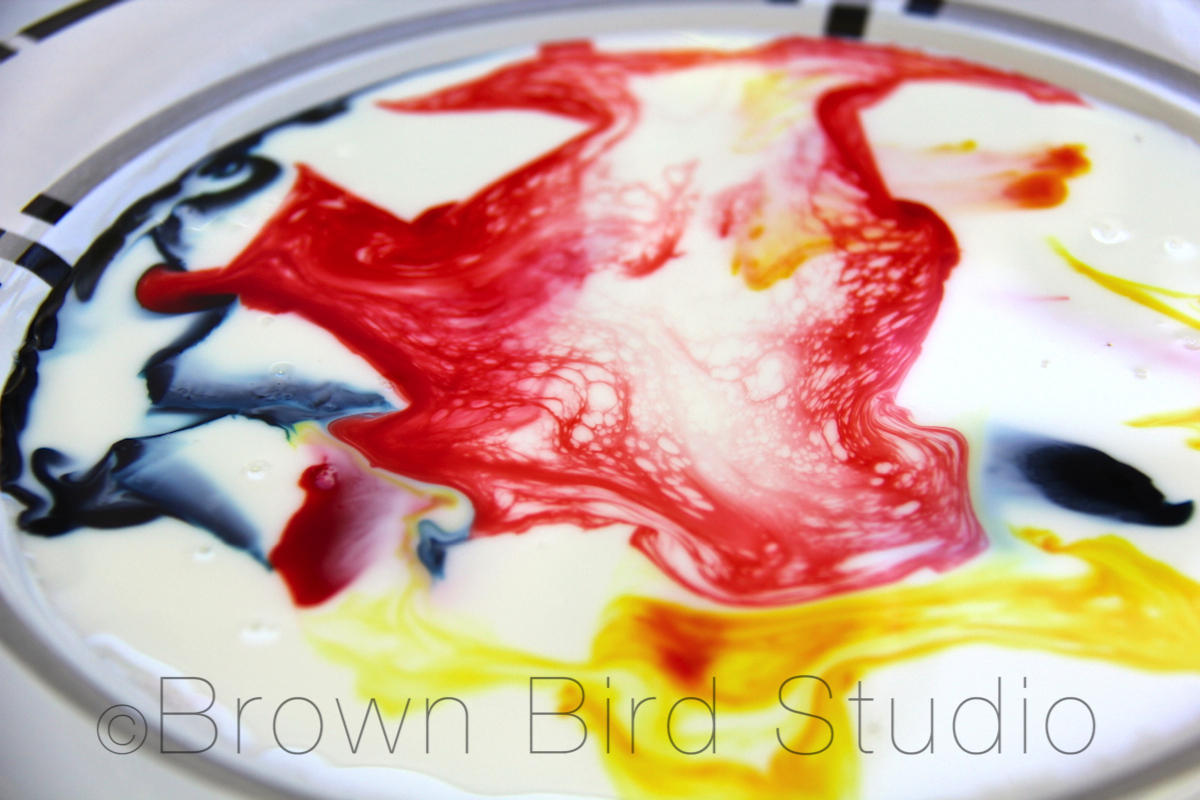
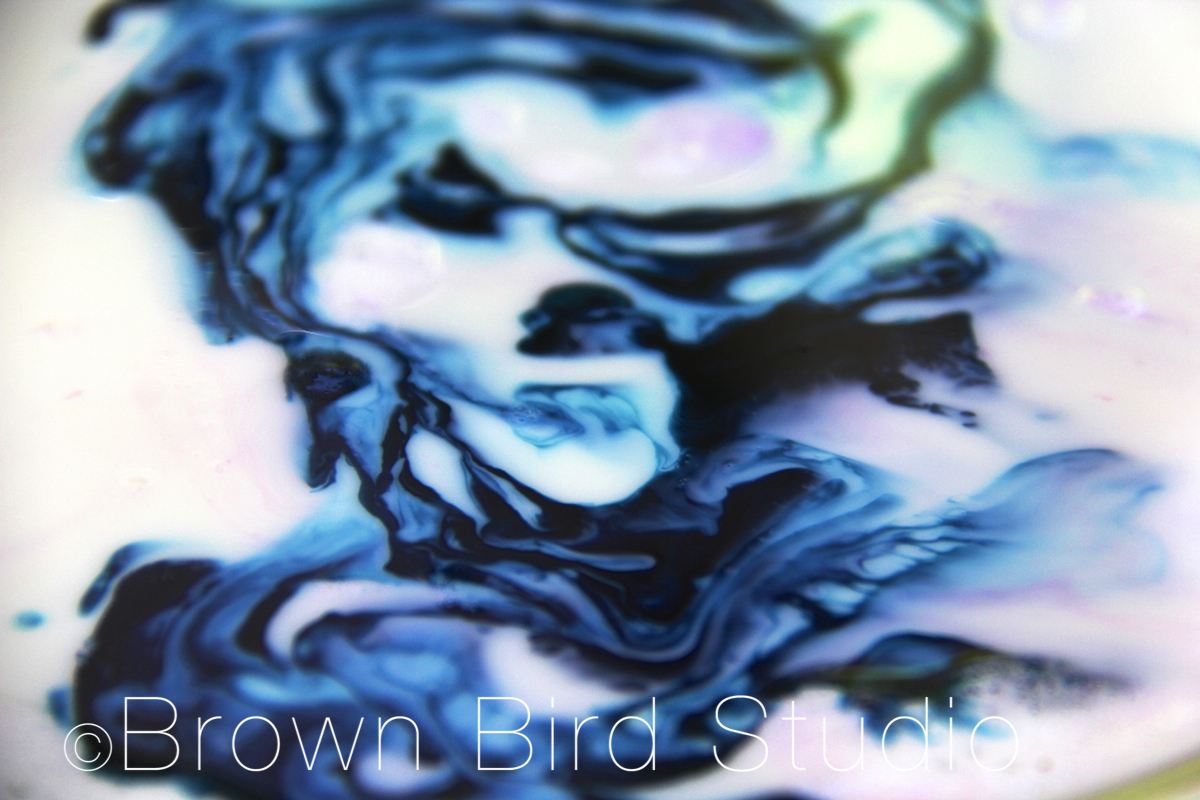
I convinced Adia to let me to take photos along the way, before the colors were all mashed together. Aren’t these cool? The blue one looks a little like an angry face.
What You Will Need
How to Make your Milk Swirl Paintings

LINKS AND IDEAS:
Photojojo has a very clear, short video showing how to do this science/art project
Steve Spangler’s Science Experiment, Color Changing Milk. He even has a section on tips to turn this fun activity into a science fair experiment.
Here is a detailed description with great progress photos, of Steve’s color-changing-milk experiment.


 Our local Habitat for Humanity has a depot for sourcing used building materials, called ReStore. I love to stop in regularly to see what they have that I might up-cycle into something useful, even though we are not building or remodeling right now.
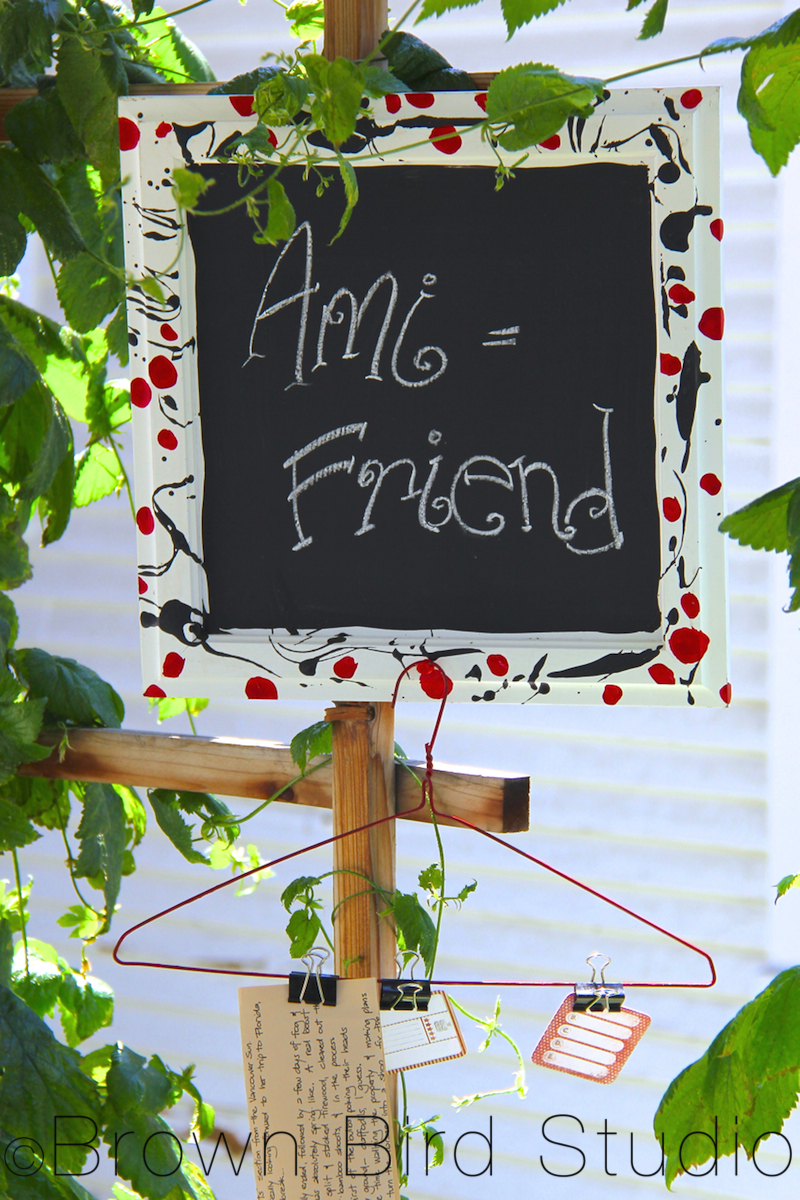
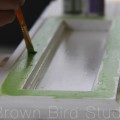
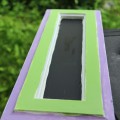
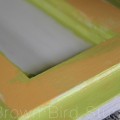
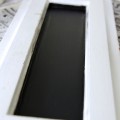
Last week I went to ReStore specifically to find something I could turn into small chalkboard signs with Ema and Adia and I scored! I found some old white frame and flat panel kitchen cupboard parts that already had that slight shabby-chic look that’s so popular now. I already had a can of chalkboard paint, though if I didn’t I would be writing now about making our own chalkboard paint.
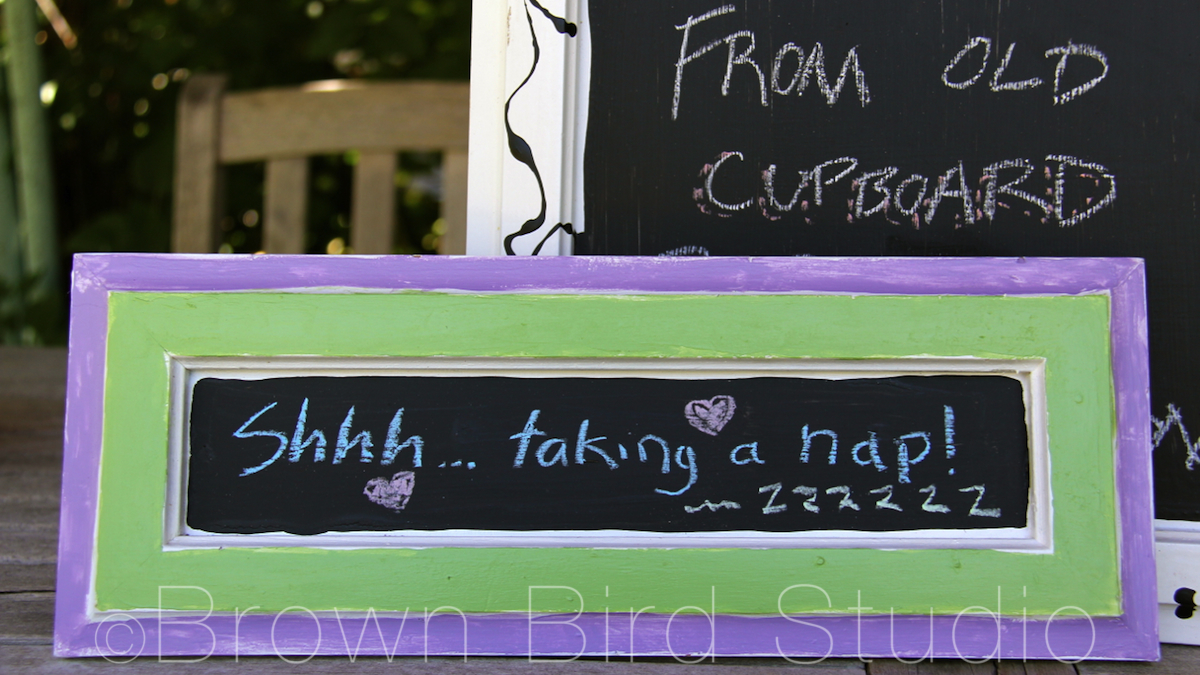
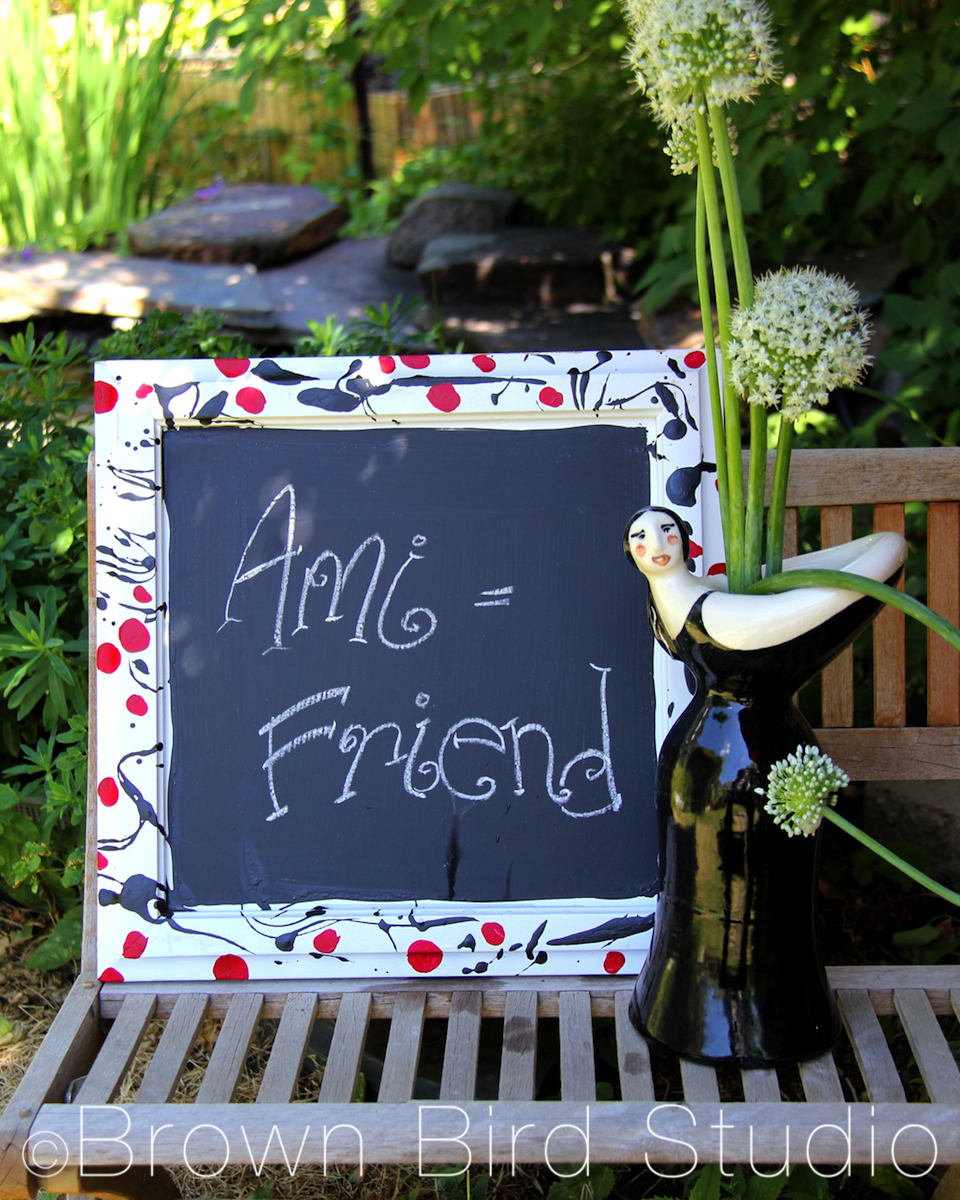
The girls painted two drawer fronts to use as signs on their bedroom door. We also made one for my kitchen, and another for Jaime’s office.
Here is how we made our chalkboard signs:
Supplies Needed:
Instructions:
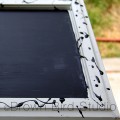
Additions we made to Jaime’s sign: we added a red painted wire clothes hanger and some clips so Jaime can hang notes, photos, whatever. Like it?
Links and Other Chalkboard Ideas:
